
Electrical Mini Cooper R52 RLS retrofit

Thread Starter
|
5th Gear
Joined: Sep 2012
Posts: 699
Likes: 7
Mini Cooper R52 RLS retrofit
So I decided to retrofit an RLS.
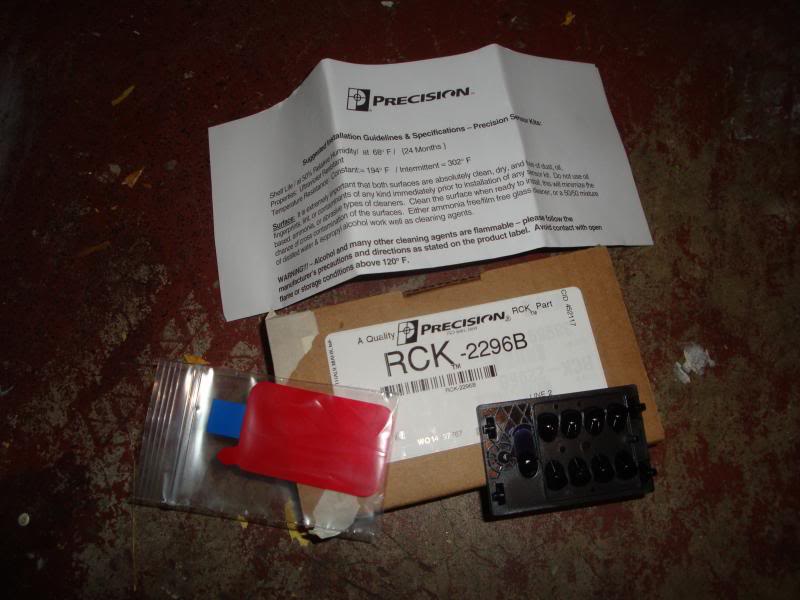
ECS tuning
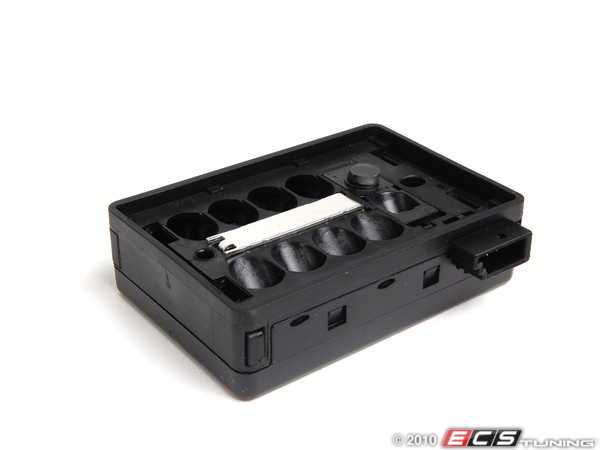
61356930280 RLS Cover
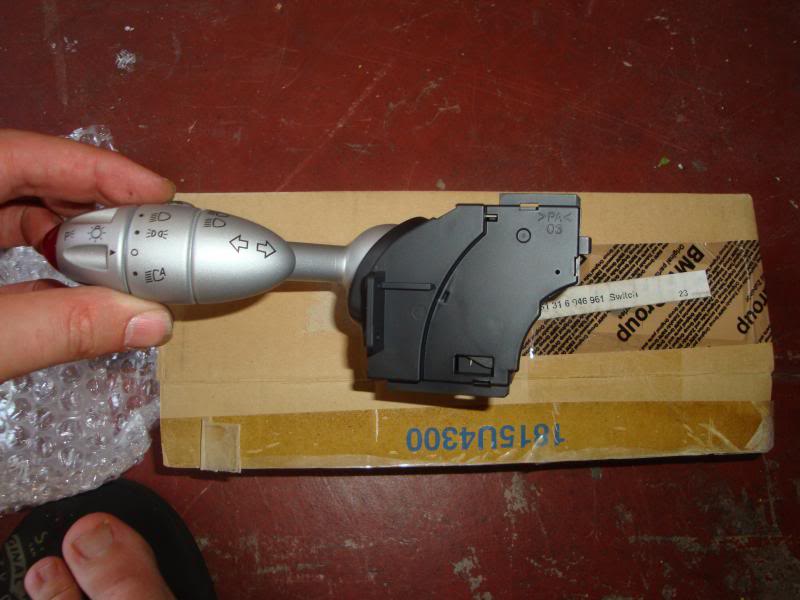
61316946961 Turn signal with alarm and RLS
61138380696 4 pin connector shell 43025-0400 Molex 4 pin housin
eBay
RLS sensor - eBay US used E46 sensor.
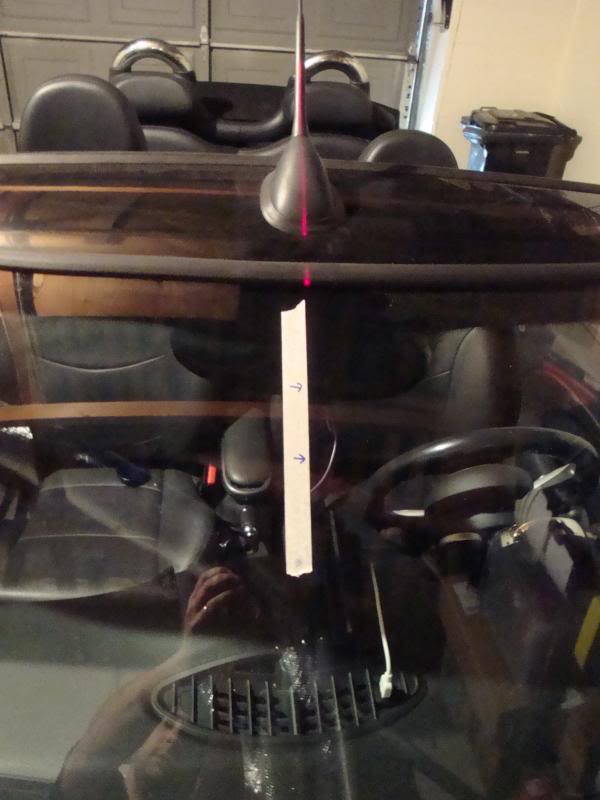
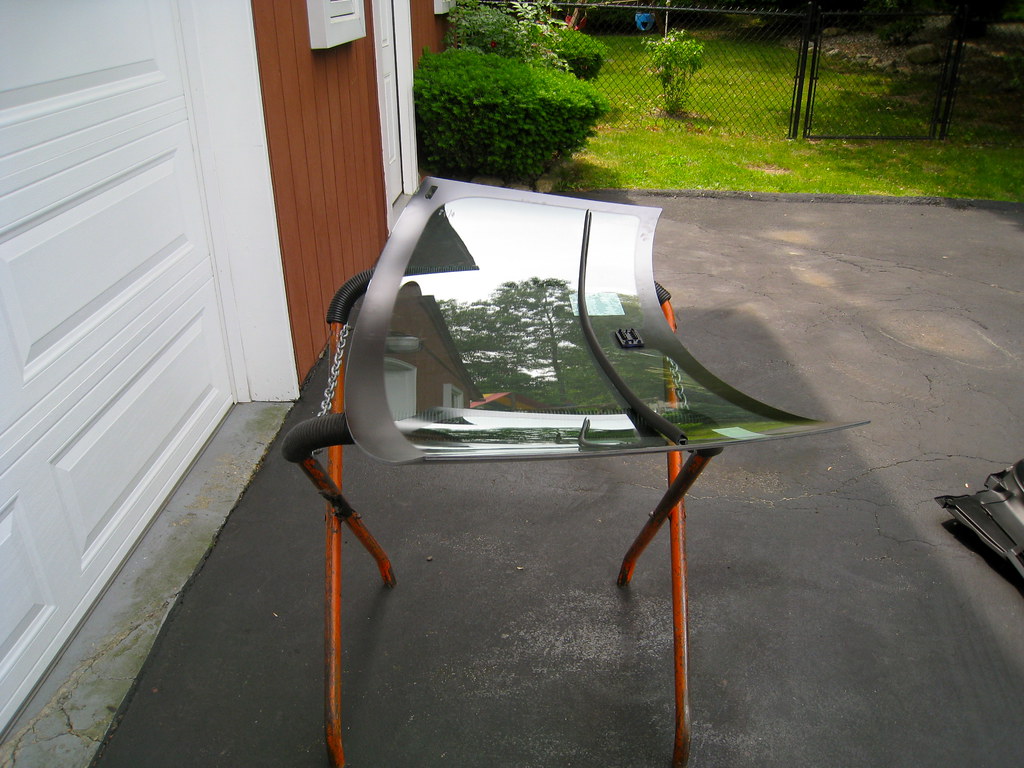
First I bought a prism.
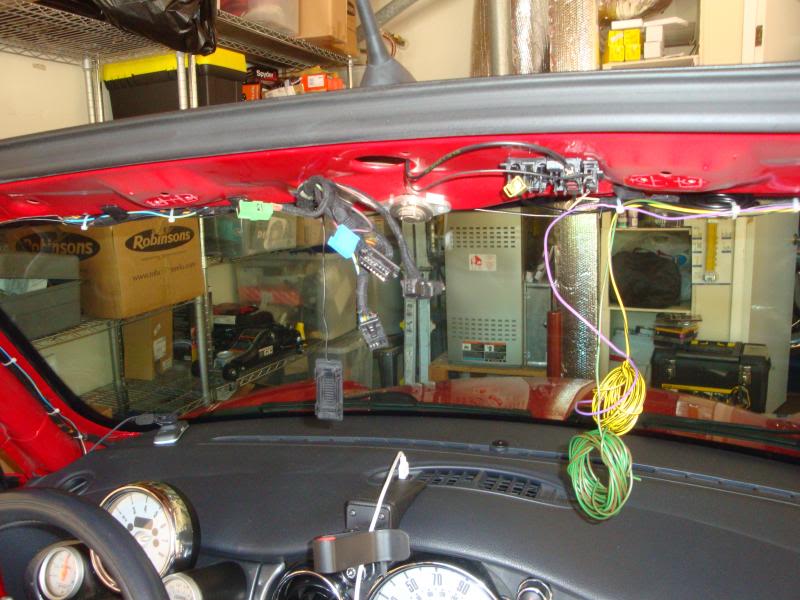
Next I used a laser and masking tape to find the middle of the screen.
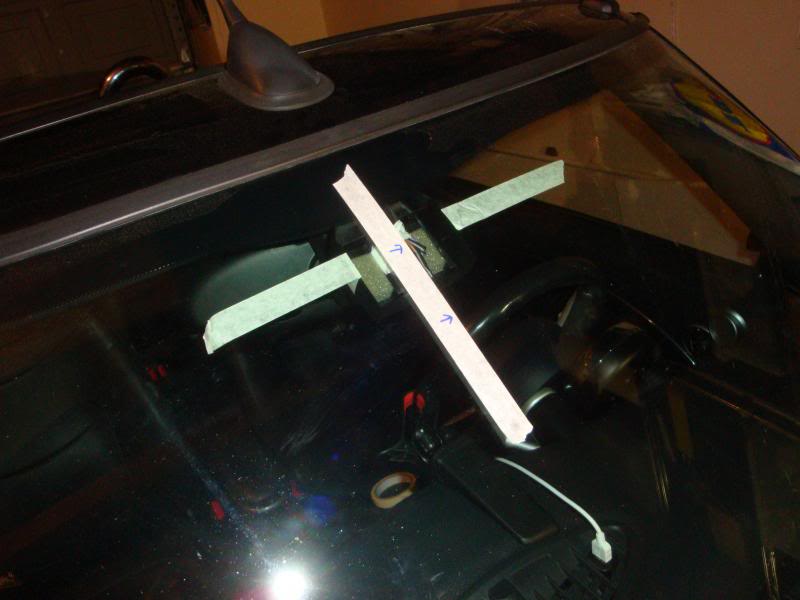
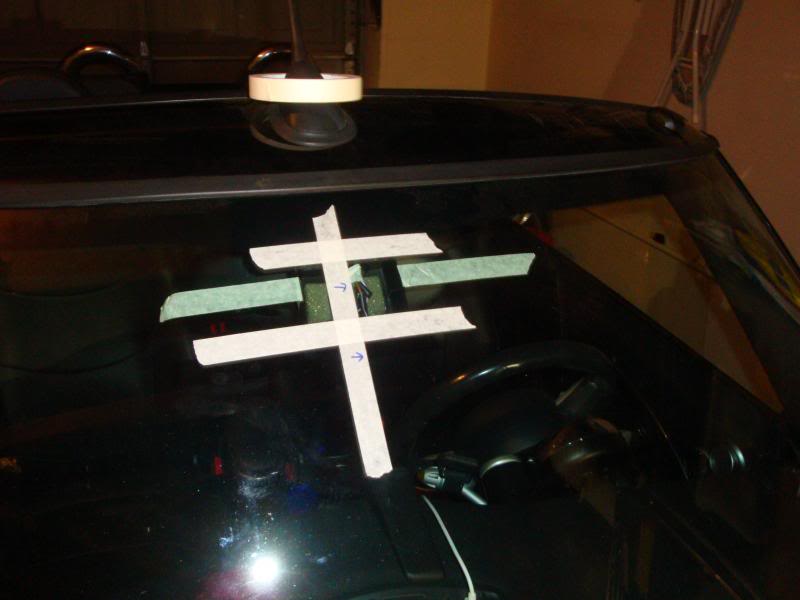
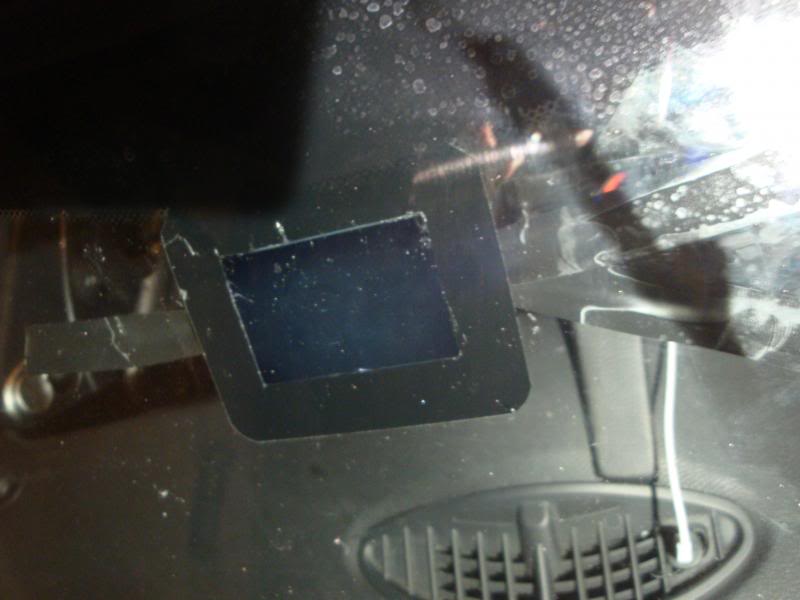
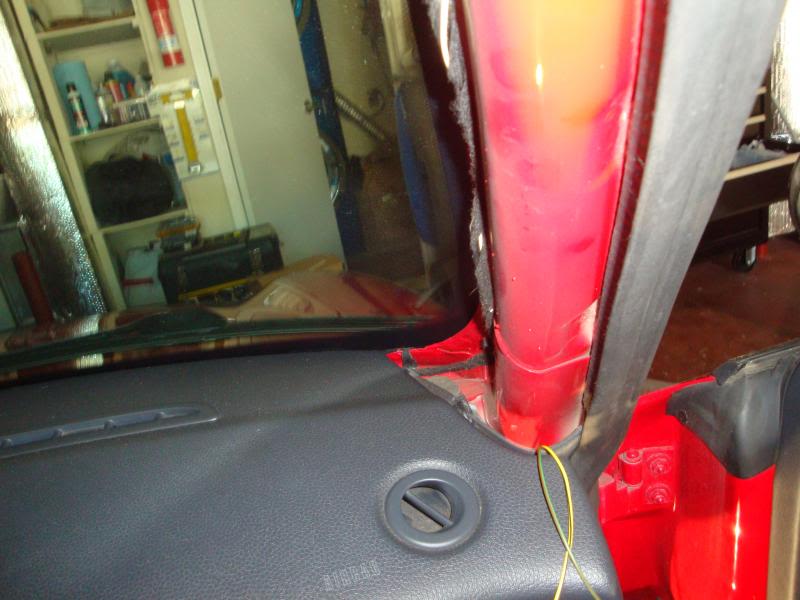
Next I made up a piece of matt vinyl to hide the wires and RLS cover. It got torn during install, you have to look for it from the outside to know it's there (or fire a flash gun at it).
Using a fine mist of water can help slip the vinyl into place.
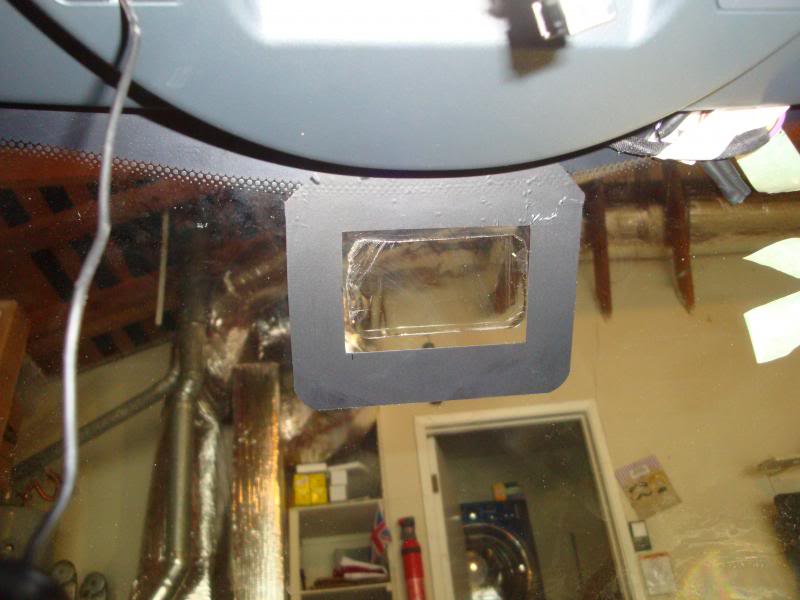
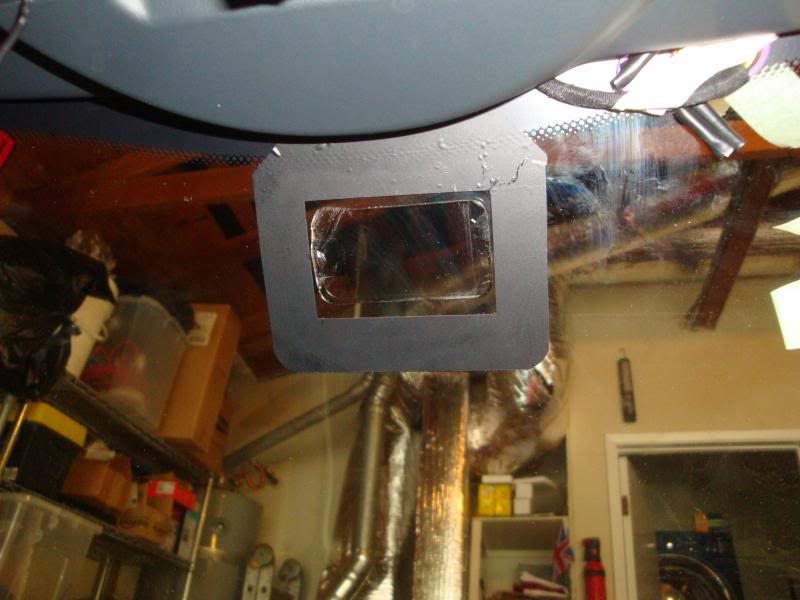
You can see that I got the sticky pad down OK without bubbles, however fitting the prism was a disaster. Bubble hell. This could be because my screen is not original and therefore not totally flat in the area needed.
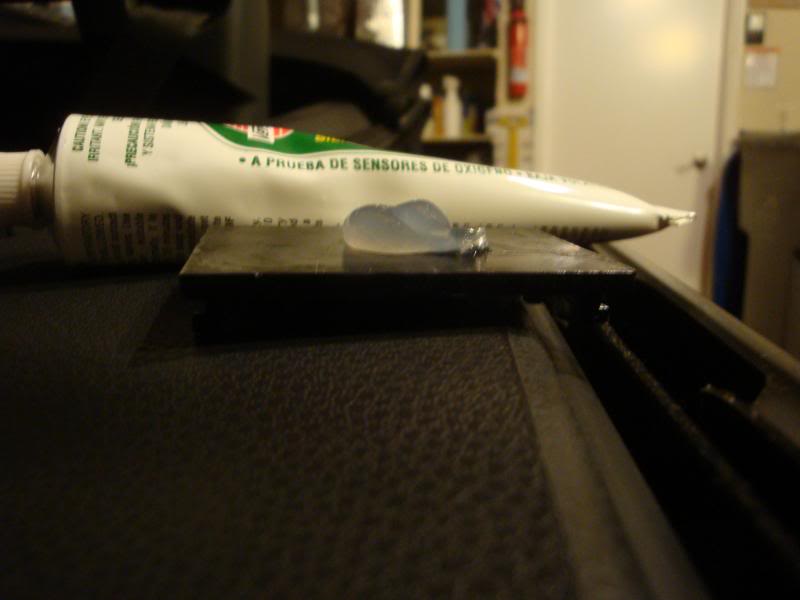
So I went out and bought some ultra clear silicon adhesive.
I made a small pile in the middle. In retrospect, a sausage running ~50% of the length would be better.
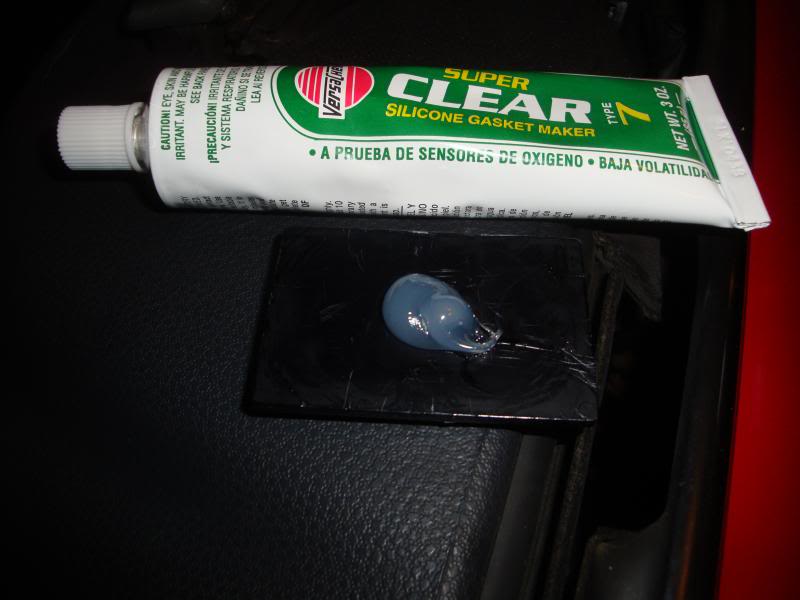
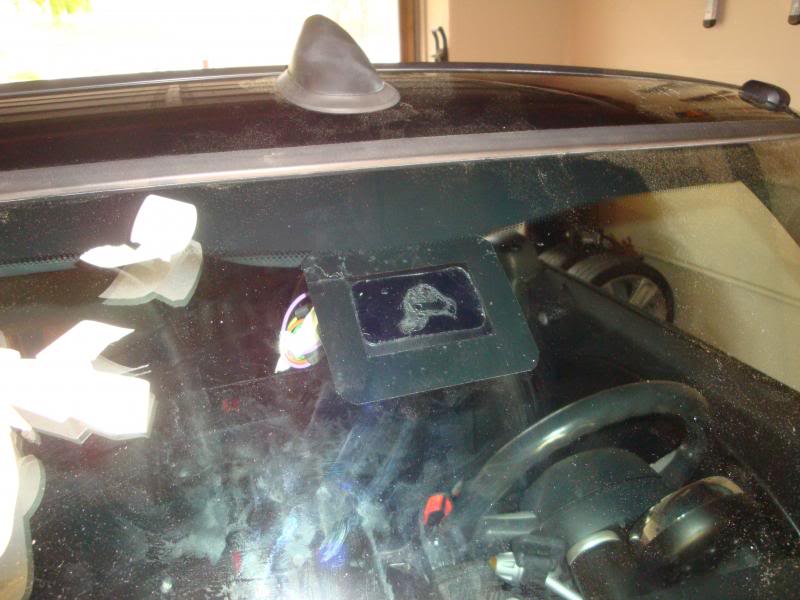
Place it on the screen. Make doubly sure the damn thing is the right way up.
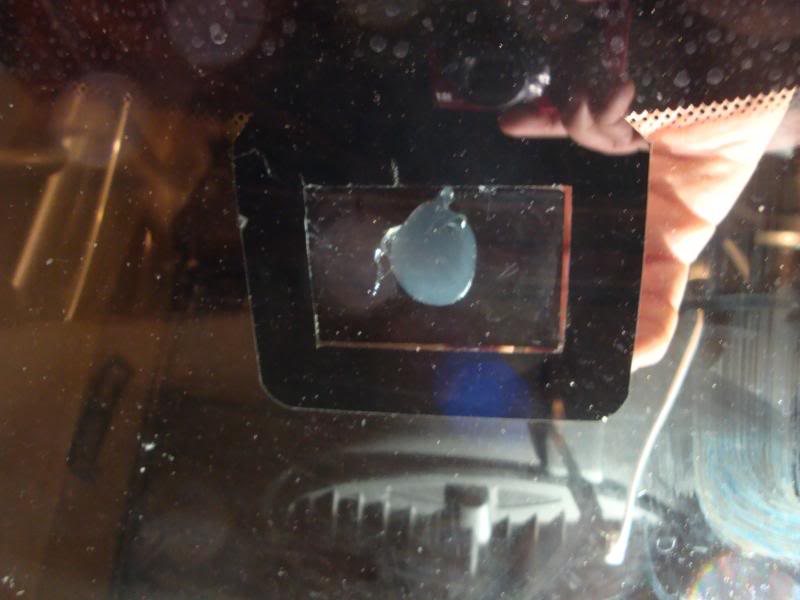
Start to add pressure
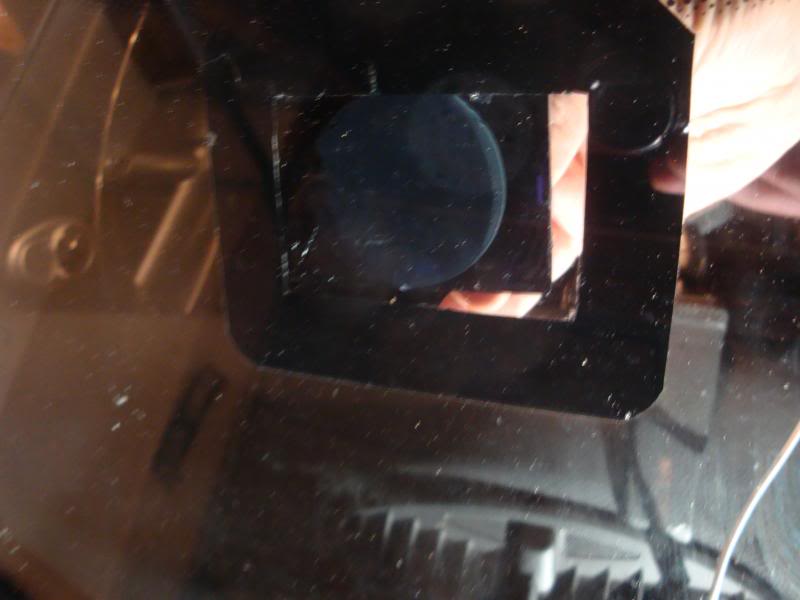
Work it - no bubbles!
Add tape to hold it during curing.
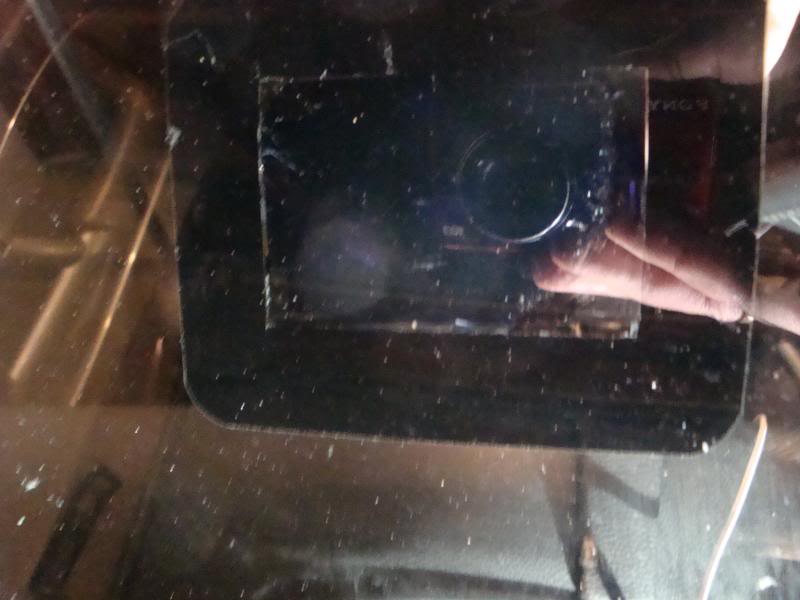
Scrape off any excess adhesive as best as possible before curing because it dries like concrete, especially that would prevent the sensor locking onto the prism. The vinyl hides any spooge you can't get at.
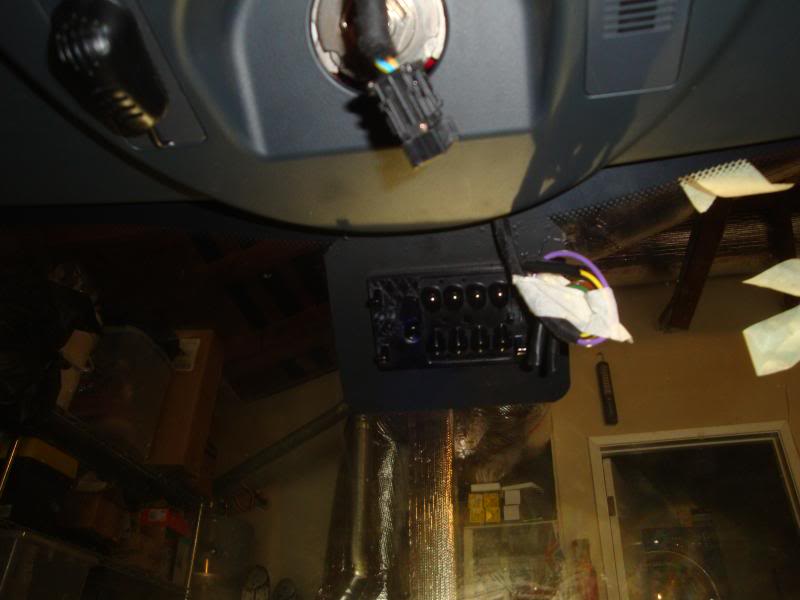
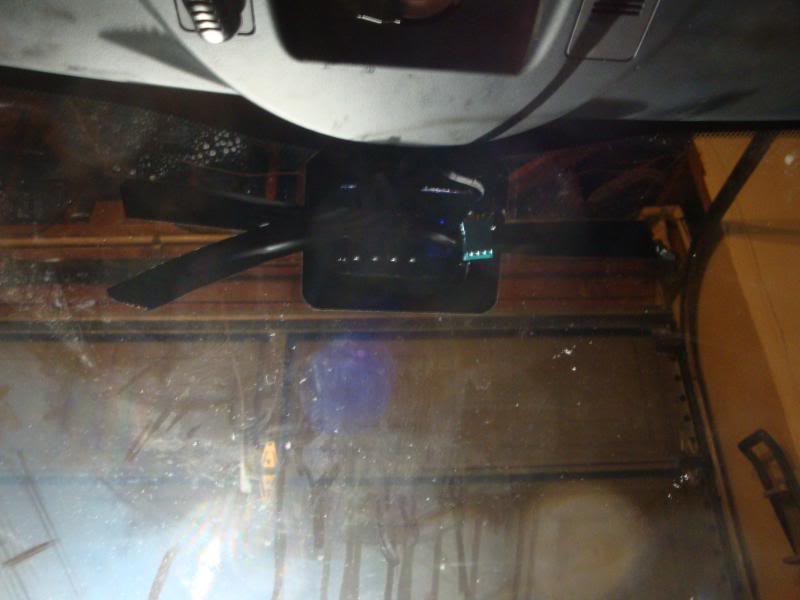
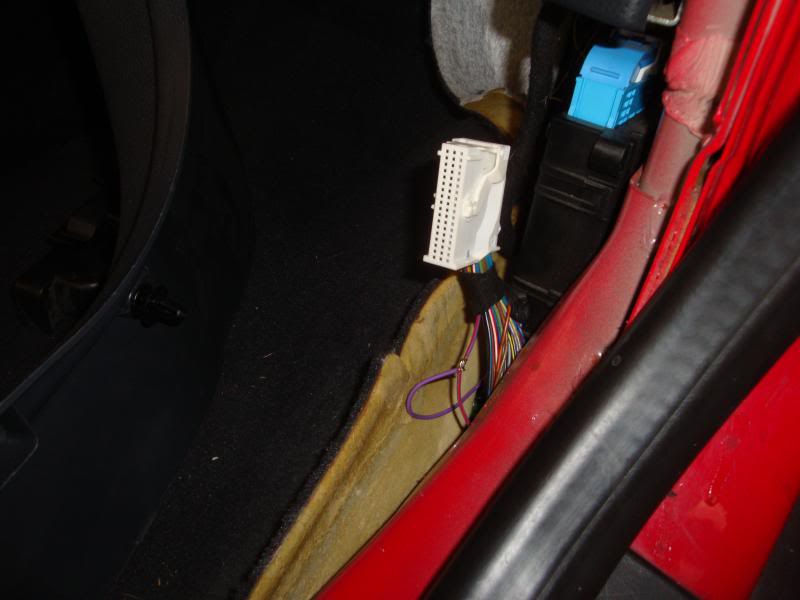
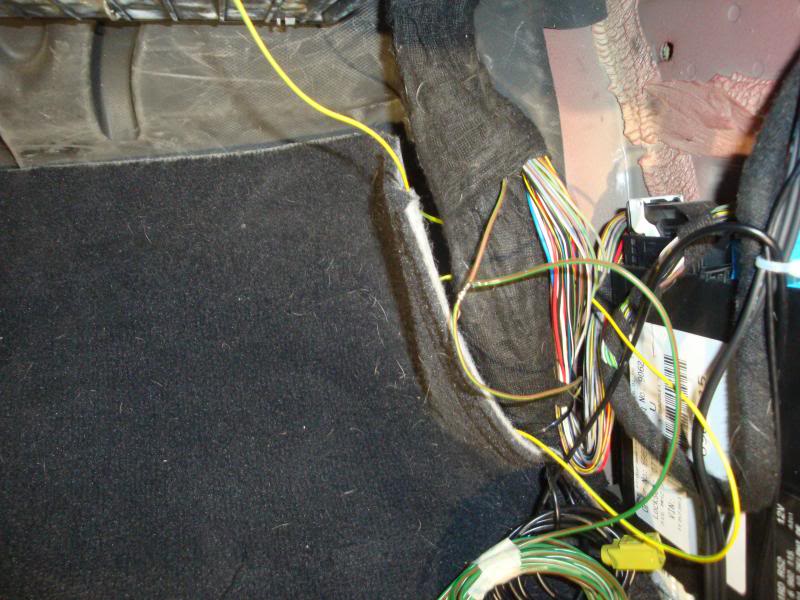
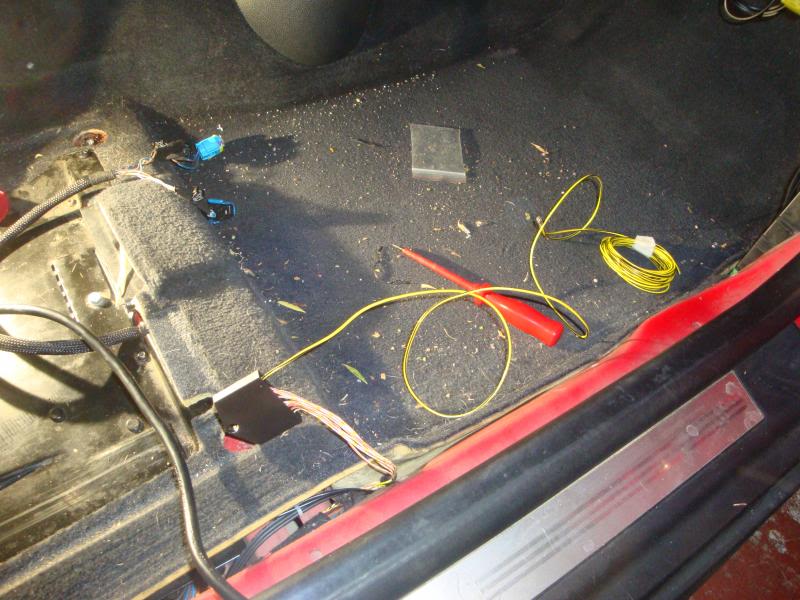
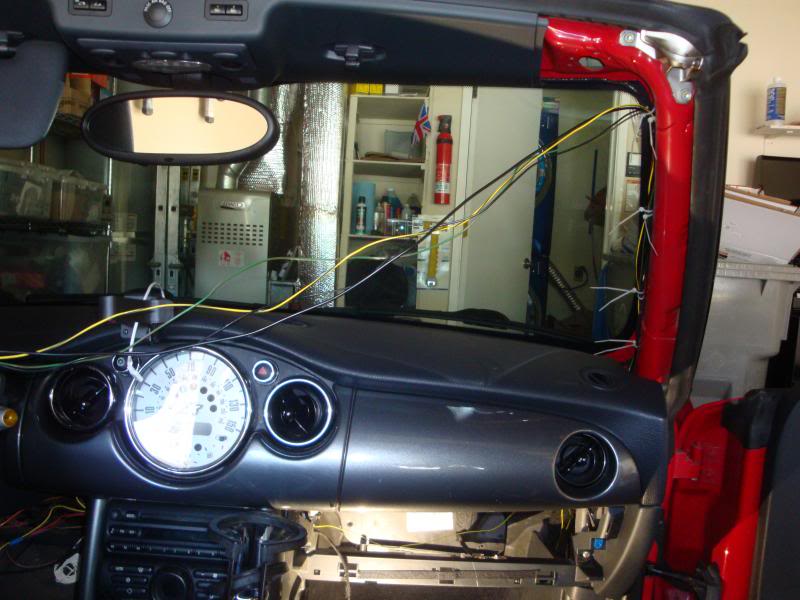
Next the wiring. Power, GND, iBus and wiper active signal are required.
Power
Wiper running
iBus
4 pin connector.
Next is coding. Use INPA to initilaise the sensor to the screen.

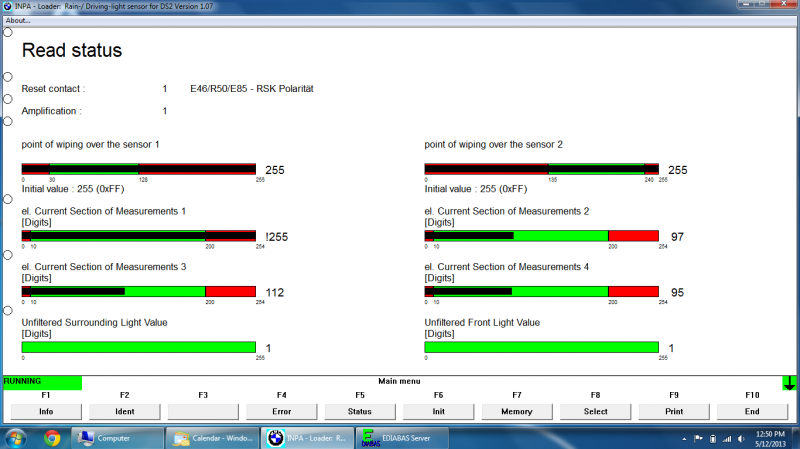
Then inspect the readings. Point of wiping over the sensor 1 and 2 must be out of the red zones or it won't detect rain. This tells you if your prism went down correctly.
Pass (factory fitted prism)
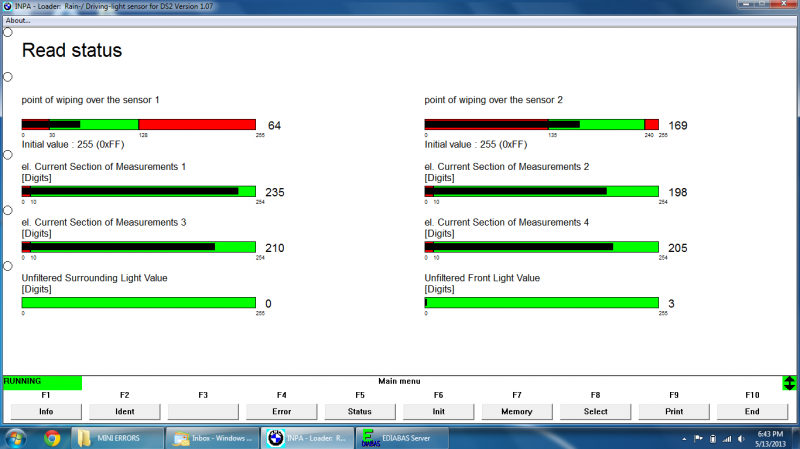
Fail (My Prism - I think I have a problem to locate - possibly the wrong color prism or adhesive)
Next you need to enable the RLS features in NCS Expert.
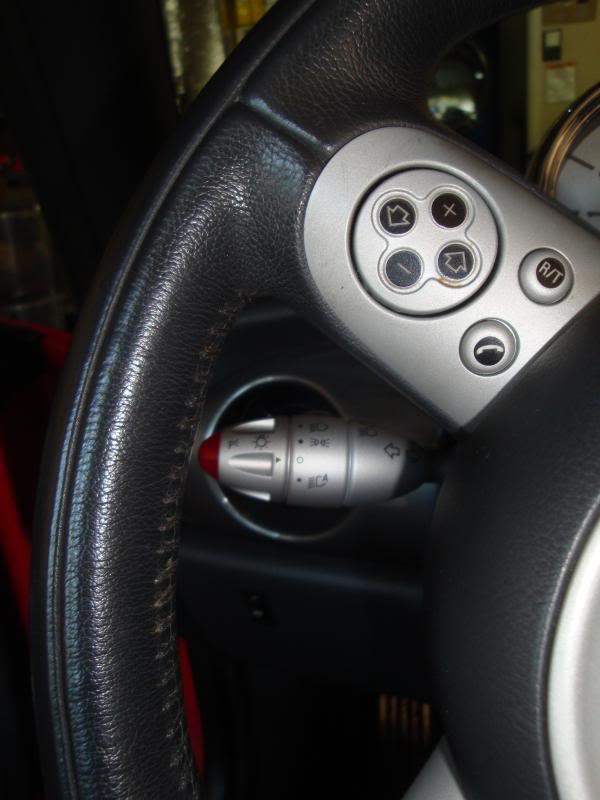
And add the auto light switch.
Thanks for reading!
ECS tuning
61356930280 RLS Cover
61316946961 Turn signal with alarm and RLS
61138380696 4 pin connector shell 43025-0400 Molex 4 pin housin
eBay
RLS sensor - eBay US used E46 sensor.
First I bought a prism.

Next I used a laser and masking tape to find the middle of the screen.


Next I made up a piece of matt vinyl to hide the wires and RLS cover. It got torn during install, you have to look for it from the outside to know it's there (or fire a flash gun at it).
Using a fine mist of water can help slip the vinyl into place.


You can see that I got the sticky pad down OK without bubbles, however fitting the prism was a disaster. Bubble hell. This could be because my screen is not original and therefore not totally flat in the area needed.

So I went out and bought some ultra clear silicon adhesive.
I made a small pile in the middle. In retrospect, a sausage running ~50% of the length would be better.


Place it on the screen. Make doubly sure the damn thing is the right way up.

Start to add pressure

Work it - no bubbles!

Add tape to hold it during curing.
Scrape off any excess adhesive as best as possible before curing because it dries like concrete, especially that would prevent the sensor locking onto the prism. The vinyl hides any spooge you can't get at.

Next the wiring. Power, GND, iBus and wiper active signal are required.
Power

Wiper running

iBus

4 pin connector.


Next is coding. Use INPA to initilaise the sensor to the screen.

Then inspect the readings. Point of wiping over the sensor 1 and 2 must be out of the red zones or it won't detect rain. This tells you if your prism went down correctly.
Pass (factory fitted prism)

Fail (My Prism - I think I have a problem to locate - possibly the wrong color prism or adhesive)

Next you need to enable the RLS features in NCS Expert.
And add the auto light switch.


Thanks for reading!
Last edited by joylove; Jun 11, 2013 at 05:19 PM.


"ECS tuning
61356930280 RLS Cover
61316946961 Turn signal with alarm and RLS
61138380696 4 pin connector shell 43025-0400 Molex 4 pin housin"
This is the sensor part # I have :
Rain And Light Sensor 61356923954
http://www.ecstuning.com/Search/SiteSearch/61356923954/
I hot linked them.
The sensor has a mate on the windshield Glass for senor that has a snap in part which hold it in place. So don't know if its the mate piece in the glass that has little glass ellipsoid reflectors for light ? I know it would work perfect , but you would have tp also change the glass out to the version with auto rain sensor like below.

https://www.northamericanmotoring.co...in-sensor.html
Thank and hopefully he found a solution.
61356930280 RLS Cover
61316946961 Turn signal with alarm and RLS
61138380696 4 pin connector shell 43025-0400 Molex 4 pin housin"
This is the sensor part # I have :
Rain And Light Sensor 61356923954
http://www.ecstuning.com/Search/SiteSearch/61356923954/
I hot linked them.
The sensor has a mate on the windshield Glass for senor that has a snap in part which hold it in place. So don't know if its the mate piece in the glass that has little glass ellipsoid reflectors for light ? I know it would work perfect , but you would have tp also change the glass out to the version with auto rain sensor like below.
https://www.northamericanmotoring.co...in-sensor.html
Thank and hopefully he found a solution.
__________________

MINI Guru/ MINI Owner Since 2004 | NEW Lifetime Part Replacement | Local Pickup
Milltek | Genuine MINI | Forge Motorsport | NM Engineering | ECS Performance | M7 Speed
Customer Service Hours: 8am-8pm EST|Sales Team Hours: 8am-11pm | SAT 10am-7pm 800.924.5172
MINI Guru/ MINI Owner Since 2004 | NEW Lifetime Part Replacement | Local Pickup
Milltek | Genuine MINI | Forge Motorsport | NM Engineering | ECS Performance | M7 Speed
Customer Service Hours: 8am-8pm EST|Sales Team Hours: 8am-11pm | SAT 10am-7pm 800.924.5172
Thread Starter
|
5th Gear
Joined: Sep 2012
Posts: 699
Likes: 7
No I didn't get it working, actually I haven't tried, but I also didn't use a BMW prism, so it may not be the right colour. Others on the E46 have used prisms from wrecked BMWs.i have a BMW prism in the garage which I got on eBay with a used sensor.

Thread
Thread Starter
Forum
Replies
Last Post
ECSTuning
Vendor Classifieds
0
Aug 7, 2015 05:55 AM
ECSTuning
Interior/Exterior Products
0
Aug 5, 2015 02:11 PM
ECSTuning
Vendor Classifieds
0
Aug 5, 2015 02:10 PM