When you click on links to various merchants on this site and make a purchase, this can result in this site earning a commission. Affiliate programs and affiliations include, but are not limited to, the eBay Partner Network.
CPS, yes, and it's a well-known oil leak issue. There's a really inexpensive O-ring inside. Just clean up around it, unbolt it and roll on the new O-ring. Now's the time...
Awesome! Thanks for that info! i am ordering one as we speak..
HAD A FEW THINGS GET DONE IN THE PAST WEEK... HAD TO BUY A FEW MORE TOOLS BUT OVER ALL EVERYTHING IS GOING SMOOTH BUT GOT STUCK ON THE CRANK PULLEY...
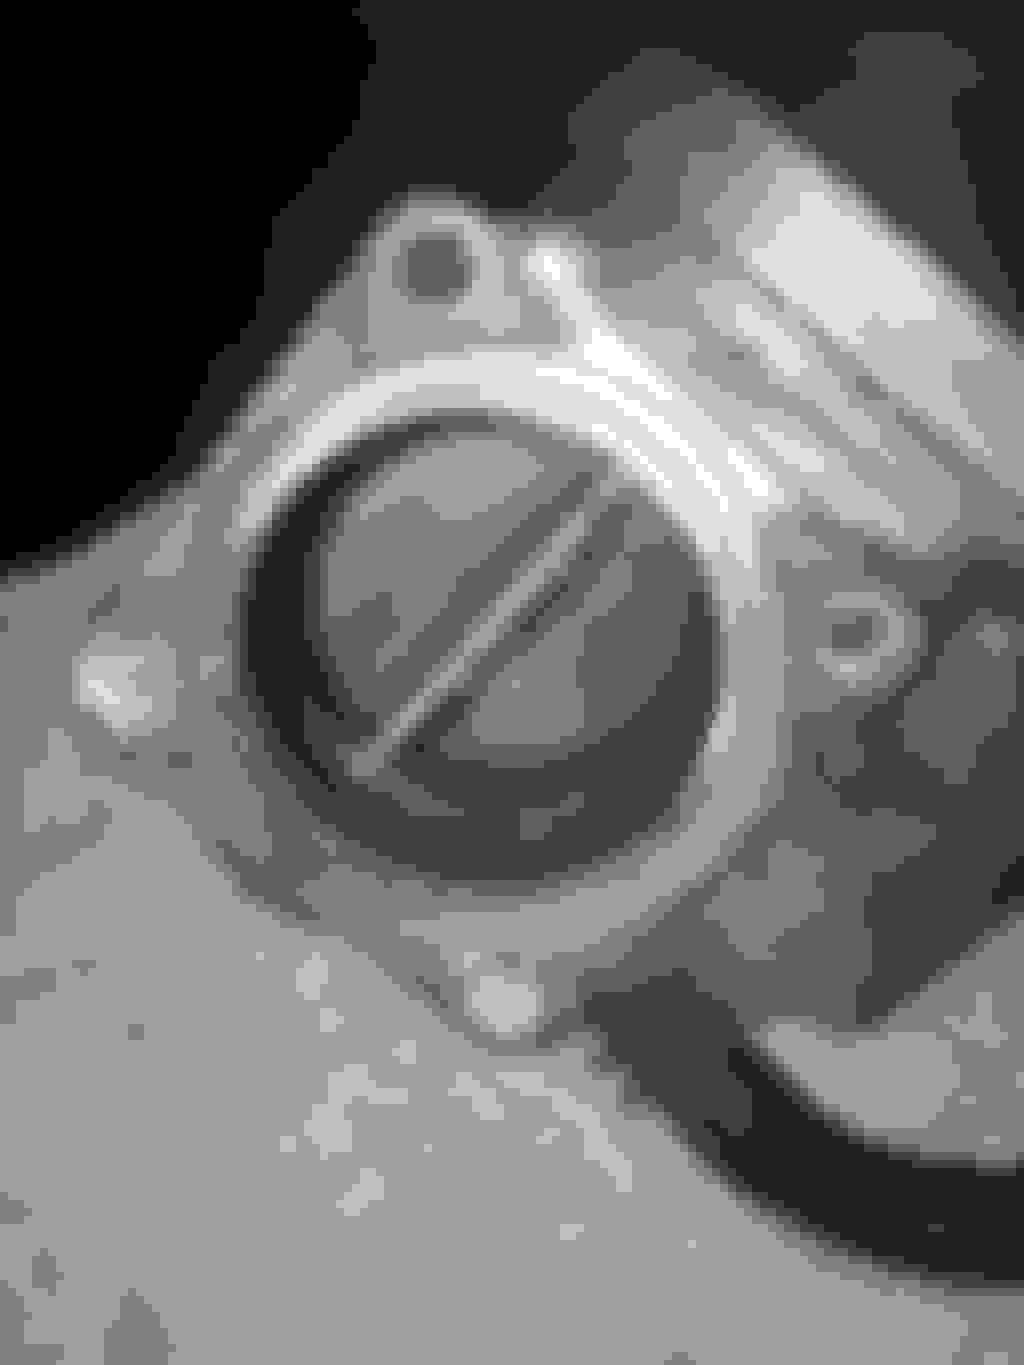
-DECIDED TO PUT THE MANIFOLD BACK TOGETHER BUT HAD TO CLEAN OUT THE THROTTLE BODY.. IT HAD SOME GRIME IN THERE BUT SPRAYED IT DOWN WITH THROTTLE BODY CLEANER AND CLEANED UP BOTH SIDES. i DID NOT MOVE THE FLAP BECAUSE I KNOW SOME CARS ARE FUNNY LIKE THAT AND NEED RE CALIBRATION IF YOU DO.
- NEW SEALS INSTALLED AND EVERYTHING IS READY TO GO! MANIFOLD DONE!
- NEXT ON THE LIST WAS TO TACKLE THAT LEAKING CRANK SENSOR. I CLEANED REMOVED THE SENSOR AND CLEANED IT UP. IM STILL WAITING ON THE O-RING TO COME IN.. I CLEANED UP THE AREA A BIT AND REINSTALLED IT UNTIL I GOT THE PARTS IN.
- I HAD A SQUEAKY TENSIONER AND IDLER PULLEY SO I DECIDED TO CHANGE IT OUT.. YOU CAN SEE THE OLD -VS- NEW..
- I HAD TO BUY A ELECTRIC IMPACT GUN TO REMOVE THE BOLT ON THE CRANK PULLEY BUT THATS ABOUT HOW FAR I GOT ON THAT..
I NEED TO GET A CORRECT PULLER TO GET IT OFF AND CHANGE THE LEAKY CRANK SEAL.. IM STUCK MOVING ON!
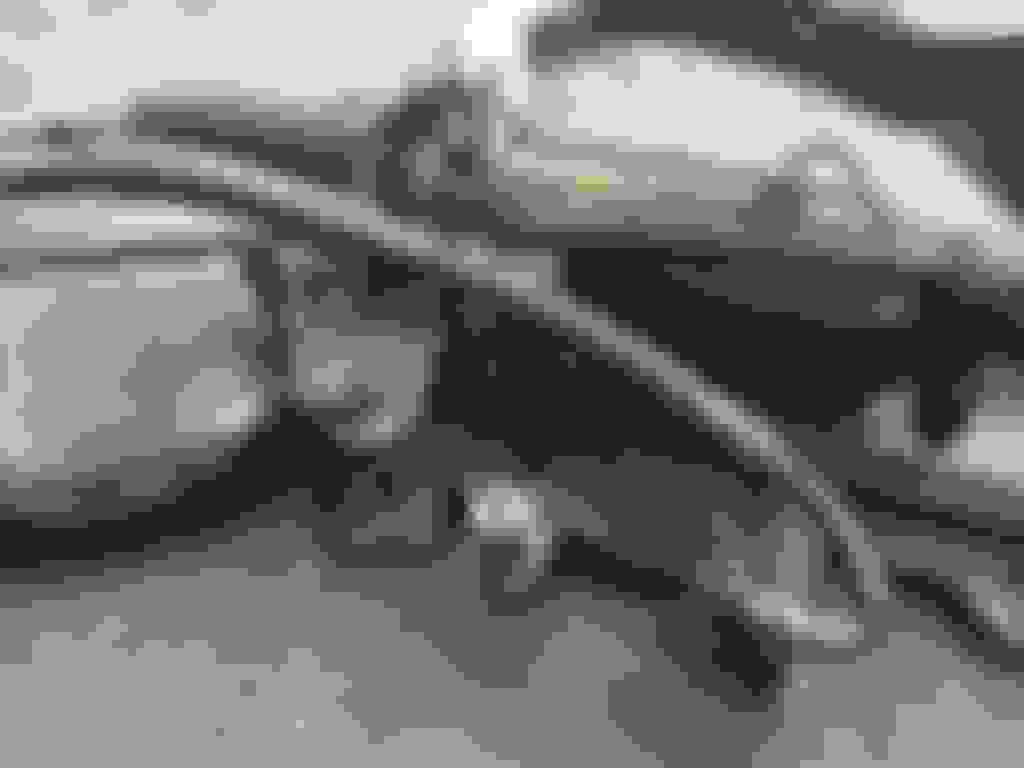
- AFTER LOOSING MY COOL ON THE CRANK PULLEY I DECIDED TO CHANGE THE OIL PAN GASKET. I WASNT COMPLETLY SURE IF IT WAS LEAKING BUT FOR 14.00 I'LL CHANGE IT FOR A PEACE OF MIND. I FOUND OUT THAT IT WAS A MESS UNDER THERE AND ALSO FOUND SOME DEBRIS IN THE HOUSING OF THE TRANSMISSION.. (WHICH IS NEXT ..DOING THE CLUTCH KIT AND CHANGING THE FLUID)
- HERE ARE MY QUESTIONS FROM THE PICS BELOW..
1. ARE THE MARKINGS ON THE CRANK NORMAL WEAR???
2. ALSO WHAT ARE THE TORQUE SPECS FOR THE BOLTS UNDER THERE? WOULD IT BE WISE TO RE-TORQUE THEM DOWN??
3. THOUGHTS ON WHAT YOU SEE??? RECOMMENDATIONS??
- DECIDED TO DO THE OIL PAN GASKET BUT FIRST CLEAN UP THE OIL PAN AND INSPECT FOR ANY CRACKS OR ANYTHING. AFTER LOOKING AT EVERYTHING I WAS IN GOOD SHAPE. I ALSO CLEANED UP THE SURFACE THE GASKET WAS GOING ON THEN INSTALLED THE GASKET.. PRETTY SIMPLE JOB!
- DECIDED TO TAKE ANOTHER SHOT AT THIS DAMN PULLEY AND GRINDED DOWN THE HEADS OF THE PULLED TO FIT BEHIND THE PULLEY. FOR SURE THIS HAD TO BE IT! I WAS GOING TO GET THE PULLEY OFF .. WELL.... IT DIDNT WORK.. I NEED TO GRIND ONE OF THE ARMS IN 1/2.. SO LETS SEE WHAT HAPPENS TOMORROW..
- STARTED TO DROP THE SUBFRAME TO FIND THIS LITTLE JEM BUT A WIRE BRUSH, SOME PB-BLAST AND SOME BRUTE FORCE GOT THE NUT OFF..
- STILL HAD A HARD TIME DROPPING THE SUB FRAME BECAUSE OF THE STEERING COLUMN RUSTING ONTO THE RACK AND PINION AFTER SOME HEAT, PB BLAST, THOR HAMMER AND BREAKER BAR.. I GOT IT LOOSE.. EVERYTHING ELSE WAS SIMPLE. I HAD TO USE MY BALL JOINT PULLER ON BOTH SIDES SO THAT MADE THINGS ALOT MORE SIMPLE.
- AFTER GETTING THE SUBFRAME OUT.. I WANTED TO FIND OUT WHAT CONDITION MY BALL JOINTS WERE IN AND COUPLE OTHER THINGS (SWAY BAR END LINKS, PS PUMP HOSES ETC..) FROM THE PICTURES YOU WILL SEE THAT THE INNER TIE RODS ARE IN GREAT CONDITION. THE OUTER WELL THATS A DIFFERENT STORY.. I HAVE ONE THATS BUSTED AND ANOTHER THATS NOT SO I AM ORDERING A NEW SET TO THROW IN THERE. AFTER TAKING A GOOD LOOK I HAVE TO GET AND OR DO THE FOLLOWING * NEW PS RESERVOIR HOSE
* NEW OUTER TIE ROD ENDS
* CLEAN THAT DAMN SUB FRAME UP
* NEED NEW AXEL BOOTS FOR BOTH AXELS
* LUBE THE SWAY BAR
* GET NEW LOWER CONTROL ARM BUSHINGS (POLYURETHANE)
IN OUR LAST EPISODE I PULLED THE SUB FRAME AND FOUND A BUNCH OF STUFF THAT WAS OLD AND BUSTED.. THIS IS THE CONTINUATION...
- AFTER DROPPING THE SUB FRAME I INSPECTED THE BALL JOINTS AND YES!!! AS I THOUGHT THEY WERE ALSO BUSTED.. NO WONDER WHY IT FELT LIKE I WAS DRIVING ON MARBLES.. LOL
- WHILE WAITING ON PARTS TO ARRIVE I WANTED TO CLEAN UP THE SUB FRAME. HAVING IT OILY AND DIRTY WAS NOT SOMETHING I WANTED TO DEAL WITH WHEN PUTTING IT BACK ON. MY DAD MENTIONED PAINTING IT WITH RUSTOLEUM/KRYLON OR SOMETHING THAT CAN WITHSTAND THE SALT FROM THE WINTERS AND STOP THE RUST THAT WAS ALREADY ON THE FRAME. SOOOO WITH THAT SAID THE FOLLOWING HAPPENED. I INSPECTED THE SUB FRAME FOR CRACKS BUT I COULDNT SEE A THING UNDER THAT GRIME AND GUNK SOO I DECIDED TO CLEAN IT UP..
- AWWWW NOW ITS ALL CLEAN BUT WHAT ABOUT THE CONTROL ARMS AND SWAY BAR..?? I NEEDED THOSE CLEANED UP AS WELL AND THAT DIRTY POWER STEERING PUMP THAT WAS COVERED IN OIL AS WELL.. SO THEY GOT A LITTLE LOVE WITH SOME ENGINE DE-GREASER AND SOAP AND WATER ...
- I NEEDED A BREAK SO I WANTED TO CLEAN UP THE HEADLINER BEFORE THE GUYS CAME OUT THE NEXT DAY AND THIS WAS THE END PRODUCT.
- NOW BACK TO PAINTING ... LETS RATTLE CAN THE HELL OUTTA THIS THING AND SEE WHERE WE WHAT I END UP WITH.. DIDNT TURN OUT TOO BAD... SEE FOR YOURSELF..
A LITTLE BEFORE AND AFTER...
- NOW OFF TO PULL OUT THIS TRANSMISSION AND SEE WHATS WAITING FOR ME IN THERE BUT BEFORE I HAD TO DRAIN THE TRANSMISSION OIL AND PULL THOSE AXLES OUT. BUSTED INNER BOOTS AND KINDA DIRTY OIL... I DID SEE SOME METAL CAUGHT ON THE PLUG.. DONT KNOW IF THATS NORMAL OR NOT..
- I ONLY HAD LIKE 4 BOLTS TO PULL THE TRANSMISSION SO I WANTED TO GET THAT DONE BEFORE THE HEADLINER GUYS SHOWED UP. WELL DROPPED THE TRANSMISSION AND FOUND THE FOLLOWING. IT LOOKS LIKE THE THROW OUT BEARING WAS ABOUT TO THROW ITSELF OUT. LOOKS LIKE I GOT SOME CLEANING TO DO..
WELL HEADLINER GUYS ARE HERE.. ILL SHOW YOU THAT IN THE NEXT POST!
THE HEADLINER GUYS SHOWED UP AND FINISHED UP THE HEADLINER. IT TURNED OUT PRETTY WELL.. ESPECIALLY FOR $140.00
- IMMEDIATELY I WANTED TO GET THE HEADLINER IN AND GET THE INTERIOR FINISHED UP.. I STARTED LATE IN THE NIGHT AND FINISHED UP THIS MORNING AND IT TURNED OUT PRETTY GOOD.
INTERIOR DONE!!!!!! ONE STEP CLOSER TO COMPLETION..
AFTER GETTING DOWN TO THE CLUTCH.. I NOTICED I NEEDED SOME EXTERNAL TORX SOCKETS.. SO I MADE A TRIP TO SEARS THIS MORNING!
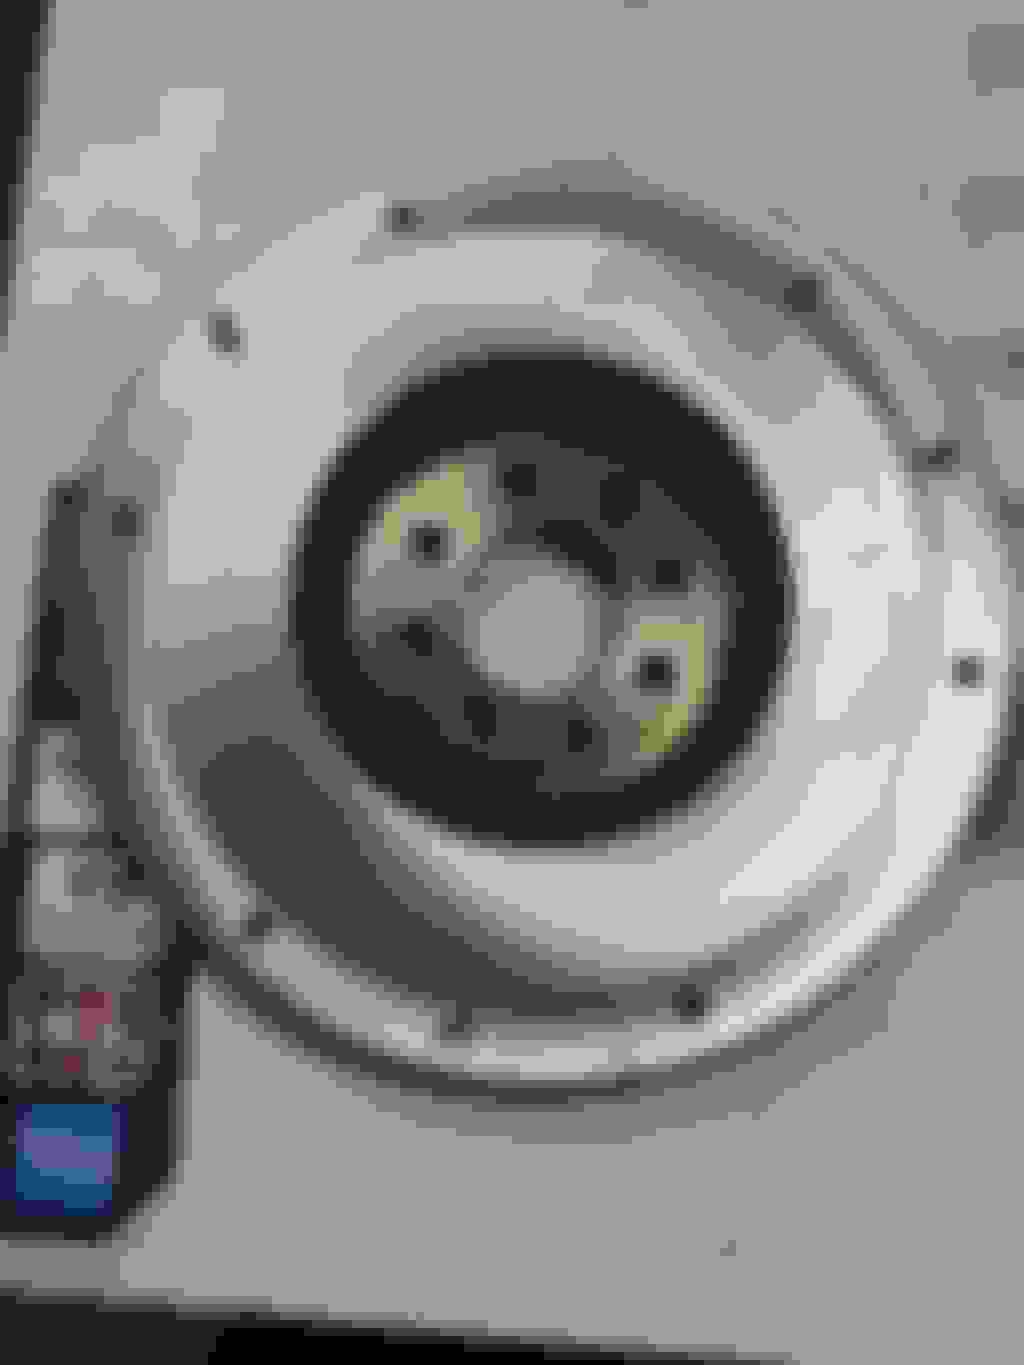
- I TOOK THE CLUTCH OFF OF THE FLYWHEEL AND FOUND THE FOLLOWING.. IM GLAD I STARTED TO DO THIS BECAUSE THIS FLY WHEEL LOOKS LIKE IT NEEDS A GOOD RESURFACING. THE CLUTCH HAS SOME GOOD WEAR ON IT...
- I WANTED TO CHANGE THE REAR MAIN SEAL BUT IT LOOK REALLY GOOD AND PRETTY NEW.. PLUS I HAVE NO IDEA HOW TO TAKE THE CURRENT ONE OUT ..
AFTER GETTING DOWN TO THE CLUTCH.. I NOTICED I NEEDED SOME EXTERNAL TORX SOCKETS.. SO I MADE A TRIP TO SEARS THIS MORNING!
- I TOOK THE CLUTCH OFF OF THE FLYWHEEL AND FOUND THE FOLLOWING.. IM GLAD I STARTED TO DO THIS BECAUSE THIS FLY WHEEL LOOKS LIKE IT NEEDS A GOOD RESURFACING. THE CLUTCH HAS SOME GOOD WEAR ON IT...
- I WANTED TO CHANGE THE REAR MAIN SEAL BUT IT LOOK REALLY GOOD AND PRETTY NEW.. PLUS I HAVE NO IDEA HOW TO TAKE THE CURRENT ONE OUT ..
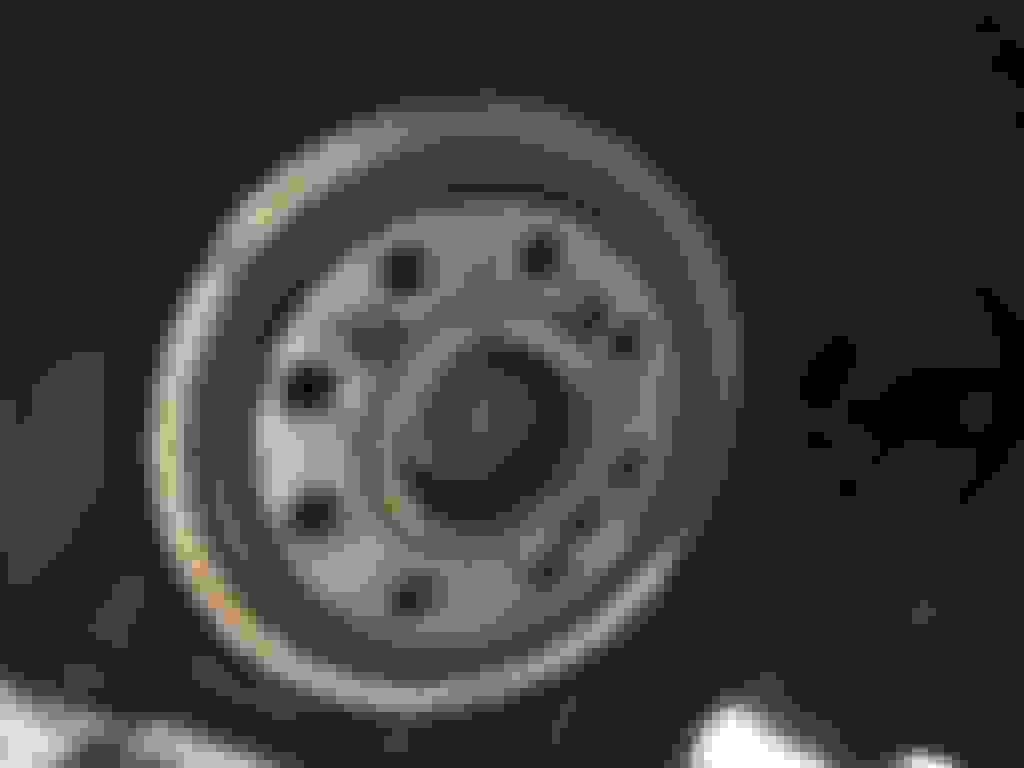
- GOT THE FLYWHEEL OUT TO THE MACHINE SHOP THIS AM AND HAD IT CLEANED UP AND RESURFACED. TURNED OUT AMAZING.. I LOVE THE PATTERN THE MACHINE SHOP DID IT IN. THIS WILL HELP WITH MATING THE CLUTCH WITH THE FLYWHEEL..
- WHILE WAITING ON THE FLYWHEEL I CLEANED UP THE TRANSMISSION HOUSING A BIT. TOOK A WHILE TO GET IT TO WHAT YOU SEE IN THE LAST PICTURE BUT IT TURNED OUT OK AS WELL.
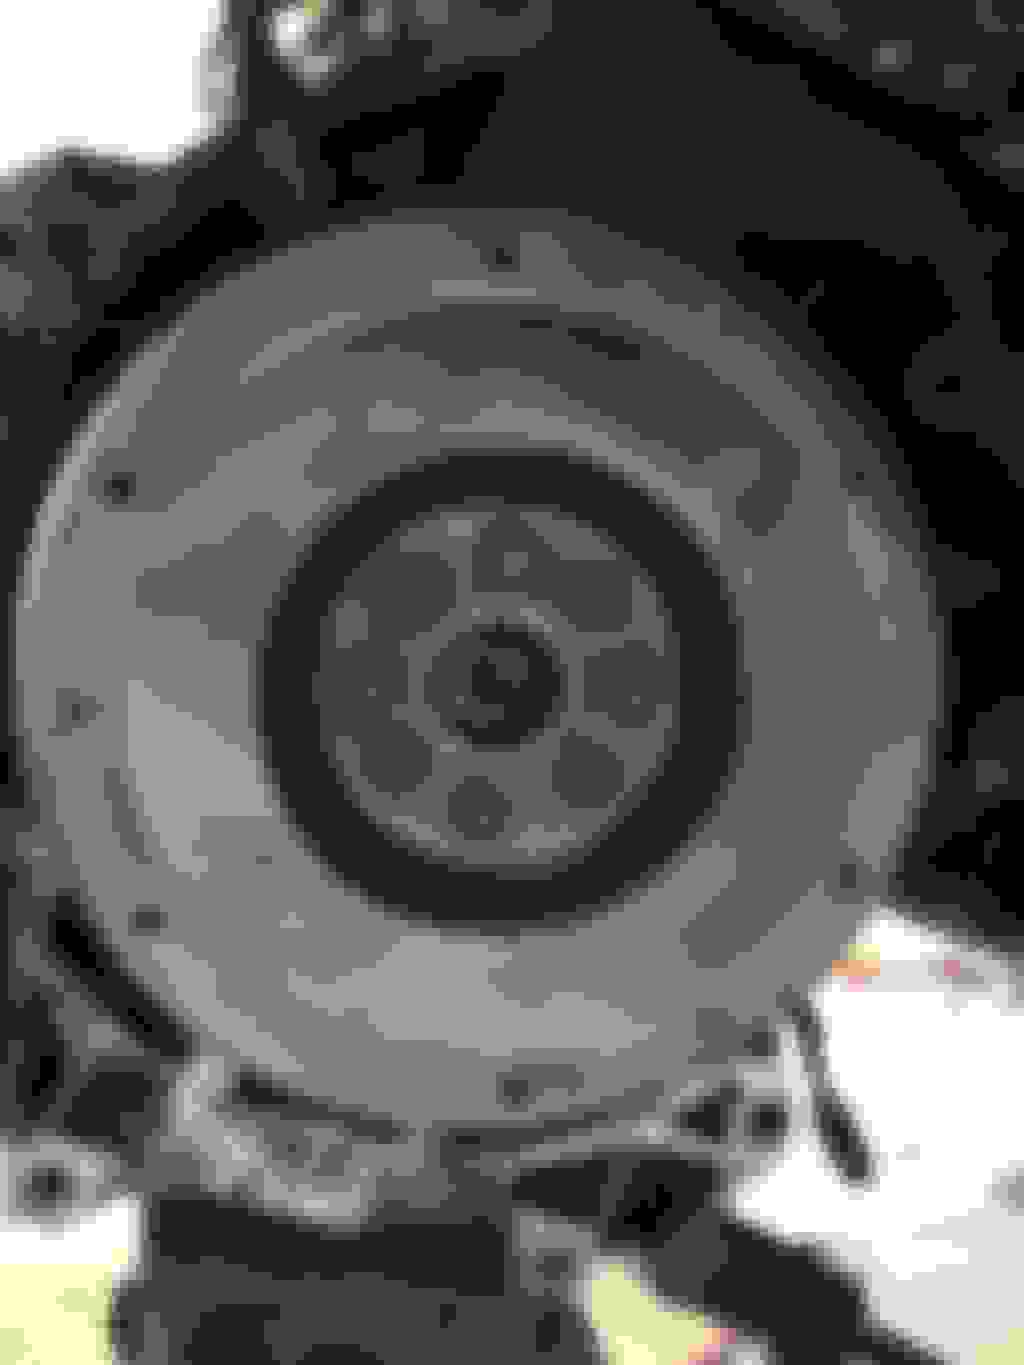
- FINALLY I REMOVED THE REAR MAIN SEAL AND INSTALLED THE NEW ONE BOLTED UP THE FLYWHEEL (IN A STAR PATTERN) AND ADDED SOME BLUE LOCK TIGHT TO THE BOLTS.
NOW ITS TIME TO CLEAN UP THE FLY WHEEL AND INSTALL THE CLUTCH!!! BUT THATS A TOMORROW OR WEDNESDAY POST! LOL
 11-28-2015, 10:20 PM


 Happy Belated Birthday! Hope it was a good one.