When you click on links to various merchants on this site and make a purchase, this can result in this site earning a commission. Affiliate programs and affiliations include, but are not limited to, the eBay Partner Network.
[Interior] HOW TO: Replace Lower Heated Seat Element
One day this fine winter I was driving around and suddenly thought to myself "Jesus, this seat is getting really hot. Like painfully hot." as I felt a burning sensation under my left thigh. I decided to ignore it. Then I got to where I was going, got out, and when I returned my driver's side heated seat no longer worked. "Great, it shorted out." I say to myself in not those exact words.
NOTE FROM THIS POINT ON: I have a 2011 Mini Cooper S, build date 06/2011 with Sport Seats. Please check RealOEM or a similar parts website to confirm your individual part numbers needed. Guide may not apply directly to your car depending on your configuration.
What you will need:
- A new heater element (mine was part no 52 10 2 752 606)
- 10mm socket or crescent wrench
- T20, T40, T45 Torx Socket Bits
- Applicable wrench for your sockets
- Socket extension, I used a 10" extension myself
- Flathead Screwdriver
- 2 sets of long, thin needle nose pliers
Step 0) Disconnect Battery
This should be a given. You will be disconnecting parts of the wiring that controls the airbag deployment, plus it's just good practice to do when performing any work on any car. Use your 10mm wrench to remove one of the terminals from the battery and keep the battery disconnected until the work is complete.
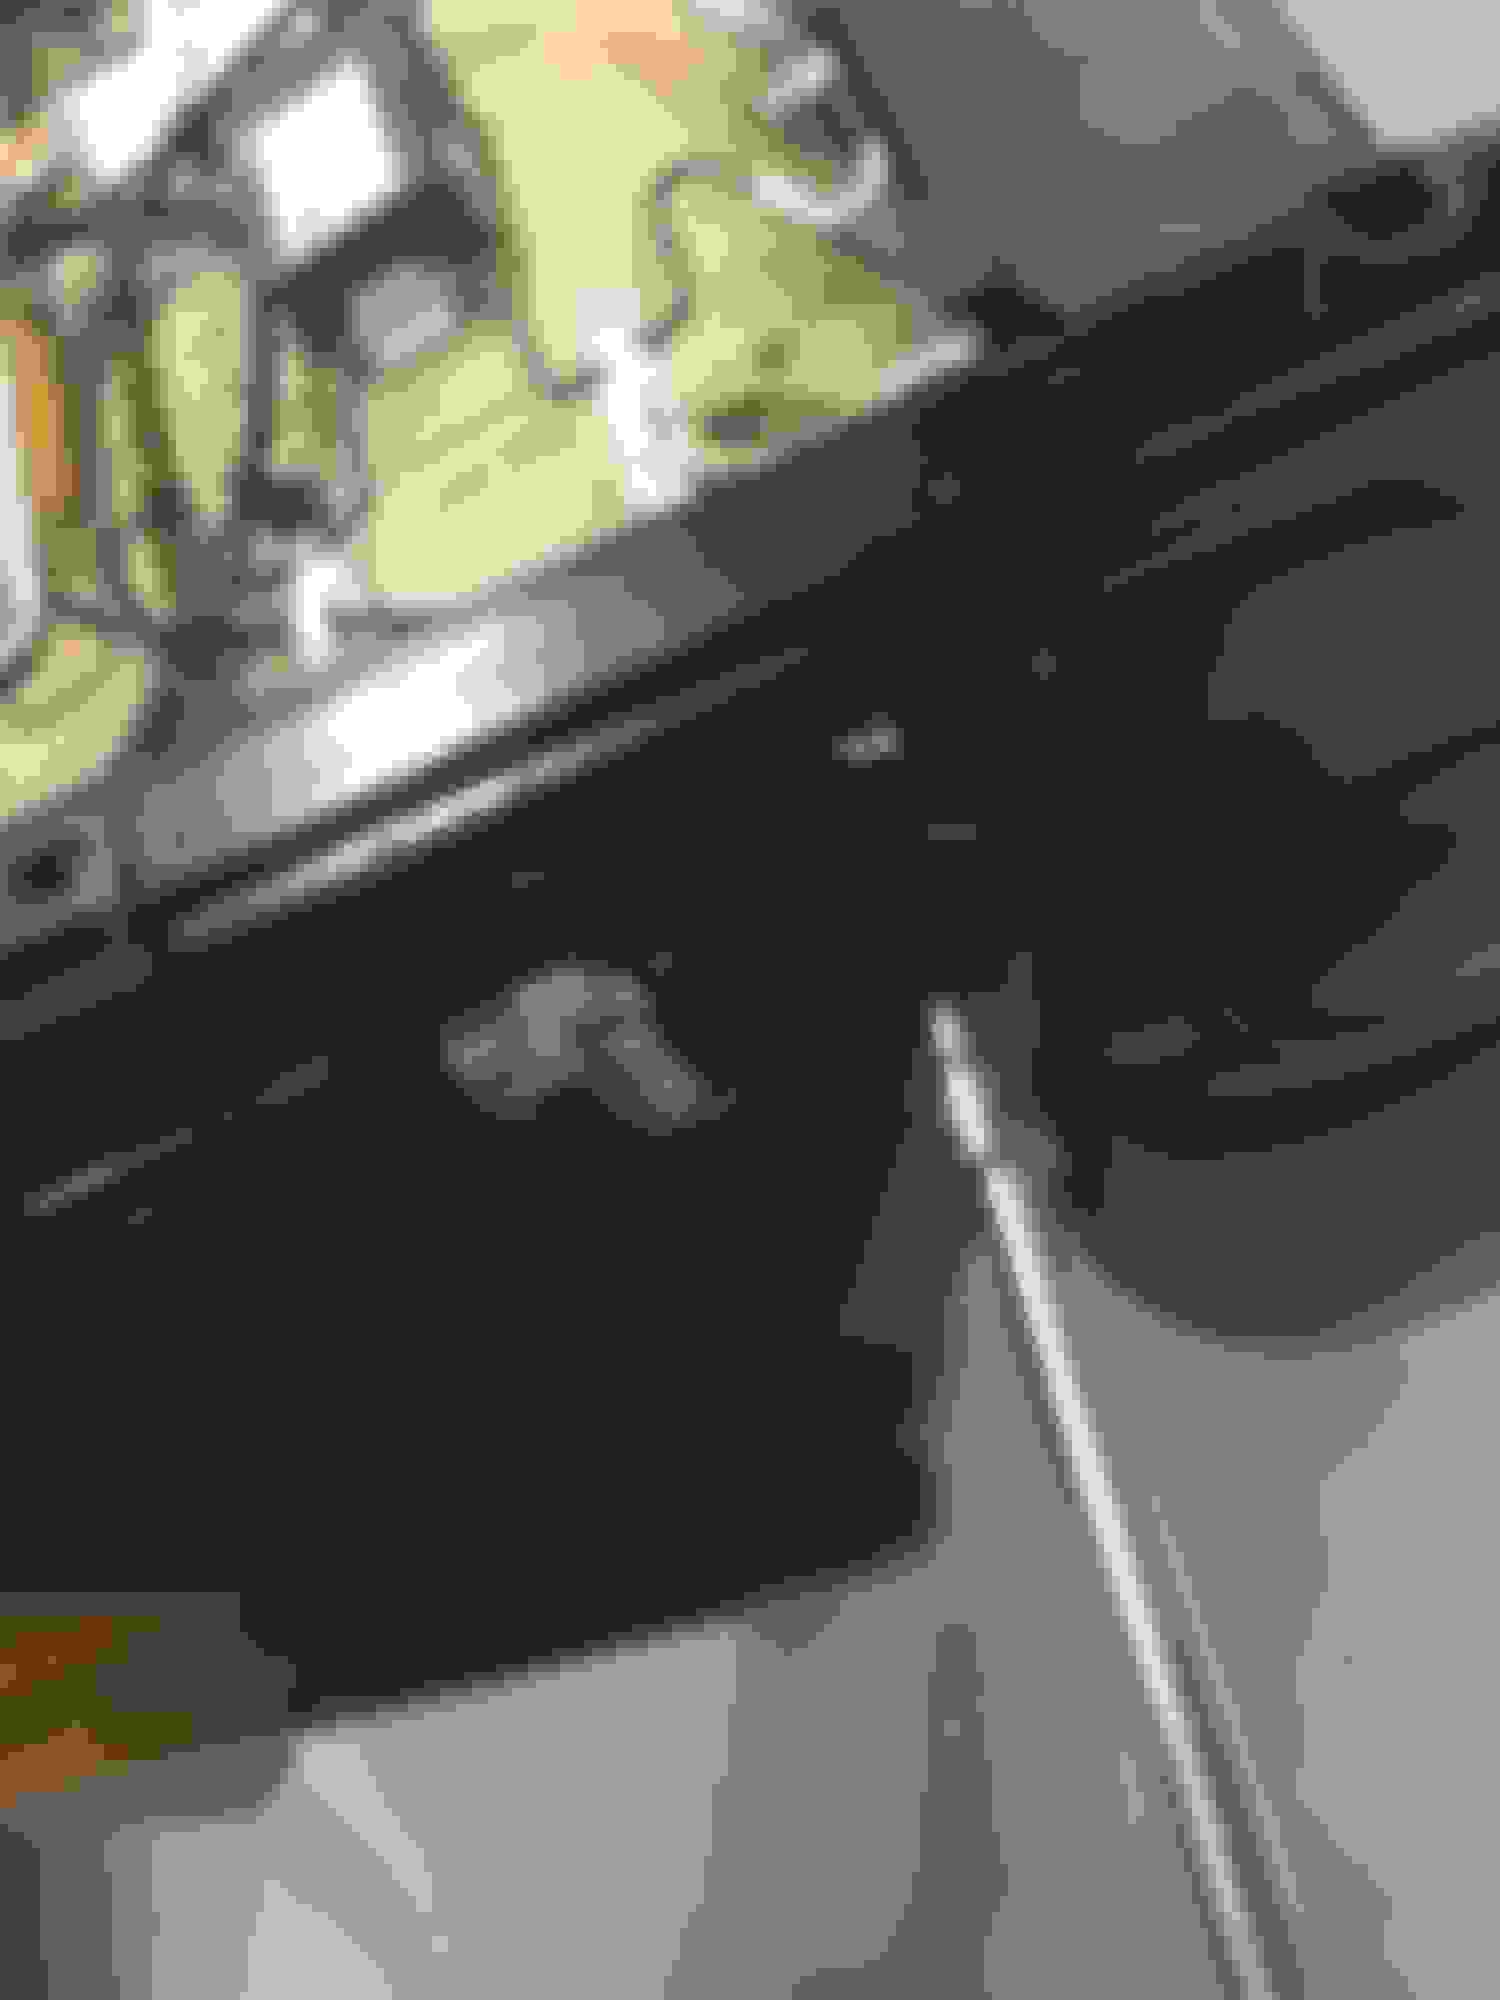
Step 1) Unbolting the Seat
Take your socket wrench with the extension and the T40 Torx bit and remove the 4 bolts holding the seat rail to the body of the car. They are at each corner of the seat. Pictured below.
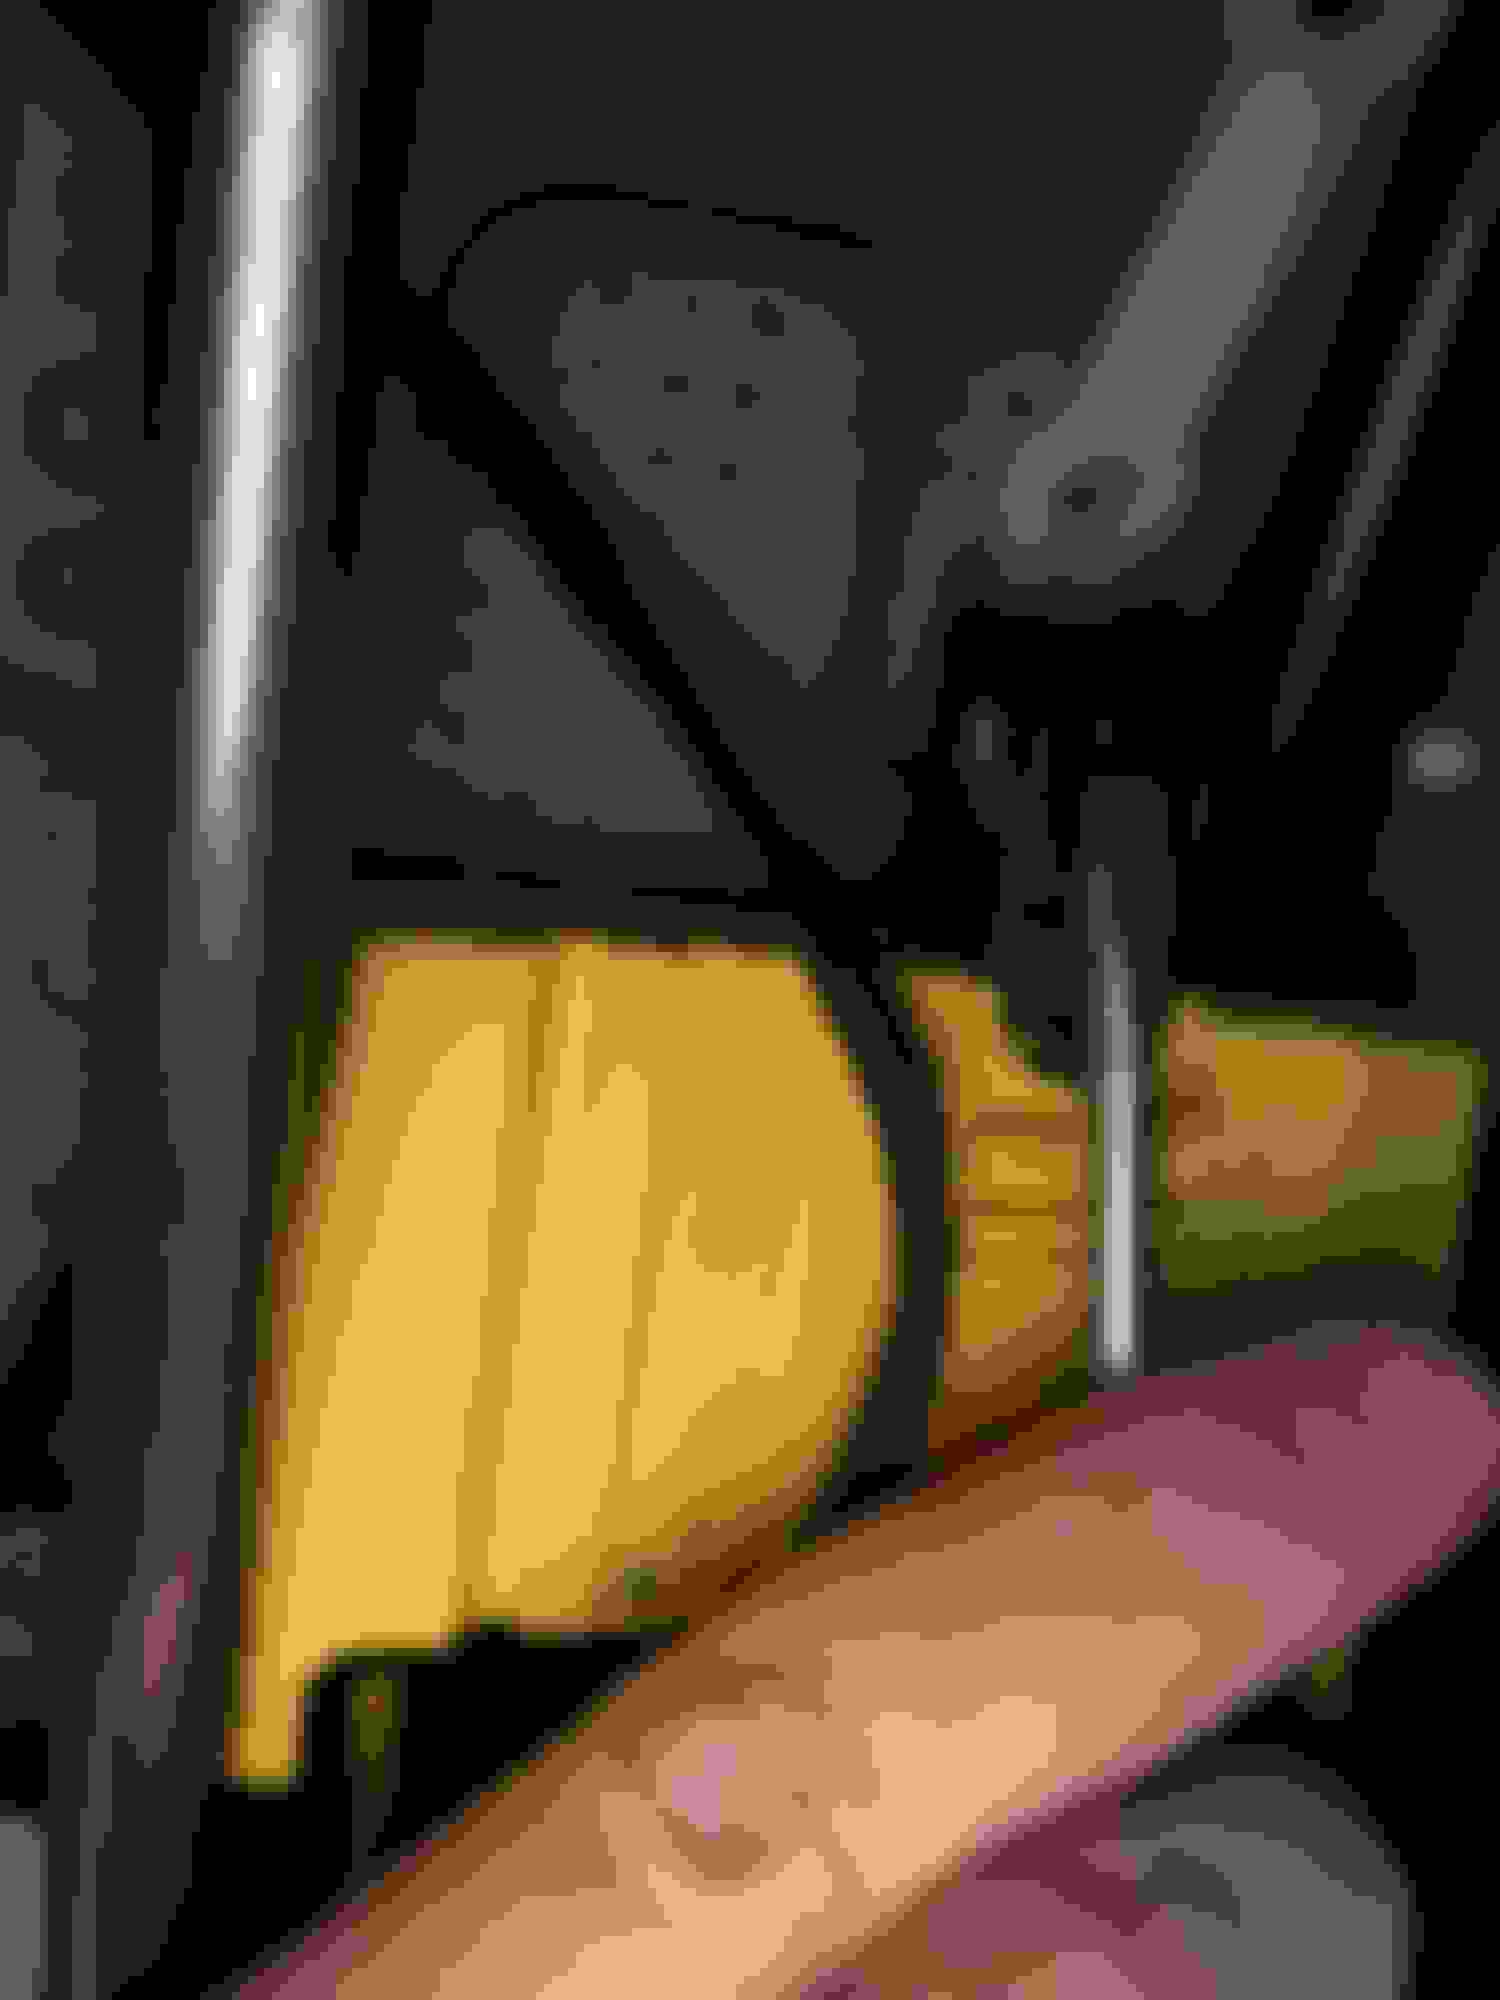
Step 2) Disconnecting Seat Wiring
At this point if you were to just try removing the seat you would rip the wiring harness from the bottom of the seat, potentially damaging something. This will make you angry and/or sad. So disconnect the wiring first by tilting the seat back a little and finding the big yellow block in the middle of the underside of the seat. You disconnect the two halves of the wiring harness by sliding the black locking piece out from the main body of the connector, then separating the two halves.
Step 3) Remove Seat from Car
The seat is kinda heavy. Get a friend to help if you can't lift it by yourself. Don't want to scratch your precious Mini.
Step 4) Remove Seat Belt Buckle Assembly, Seat Inclination Adjustment Arm, and Out Board Plastic Trim
The next few items are easiest to remove with the seat upside down. Firstly the seat belt buckle. It is attached with a single T45 Torx screw. Remove with appropriate bit.
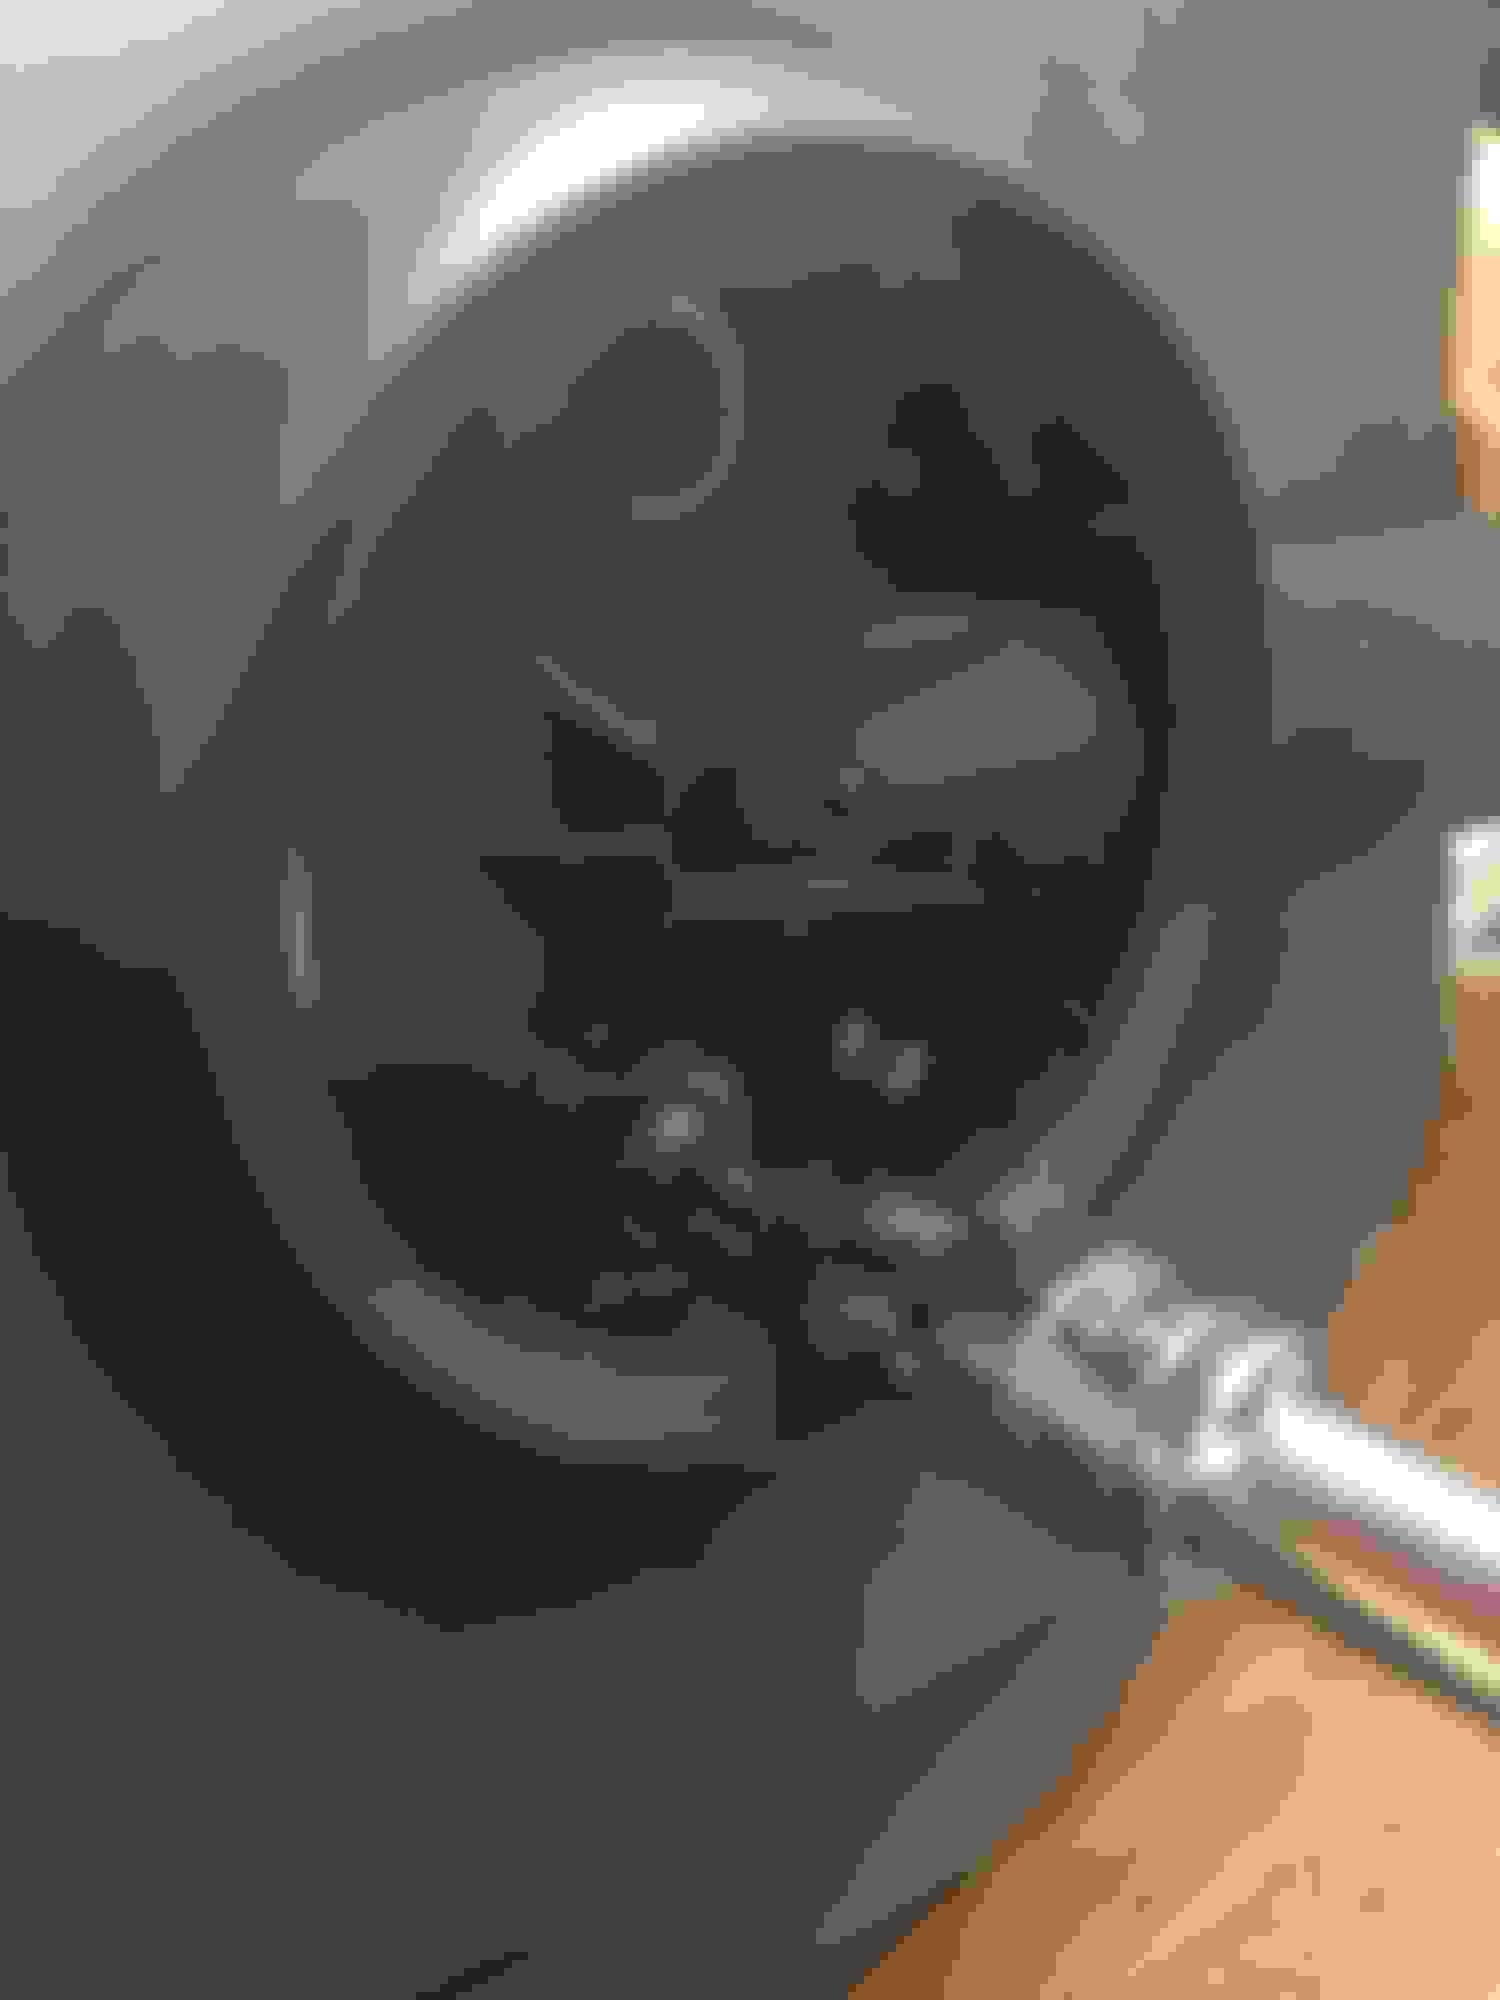
Next is the inclination arm. Pop off the circular cover at the pivot point with a flathead screwdriver to reveal two T20 screws and remove them, the arm pops off.
The last piece that needs to be removed is the outboard plastic trim. It's the plastic trim behind the adjustment arm we just removed. It's really difficult to describe how it comes off other than it's easiest to get off moving from the back of the seat to the front. Just take your time and don't over flex it and break it. Once it's off you'll be left with this.
Step 5) Unhooking the Upholstery from the Seat Frame
Tension is kept on the upholstery itself with plastic J-Hook style pieces hooked on to the metal seat frame. They are anywhere from one inch to just under a foot long. Unhook them from the front and either side of the seat. The back can be left alone.
Step 6) Removing Seat Upholstery
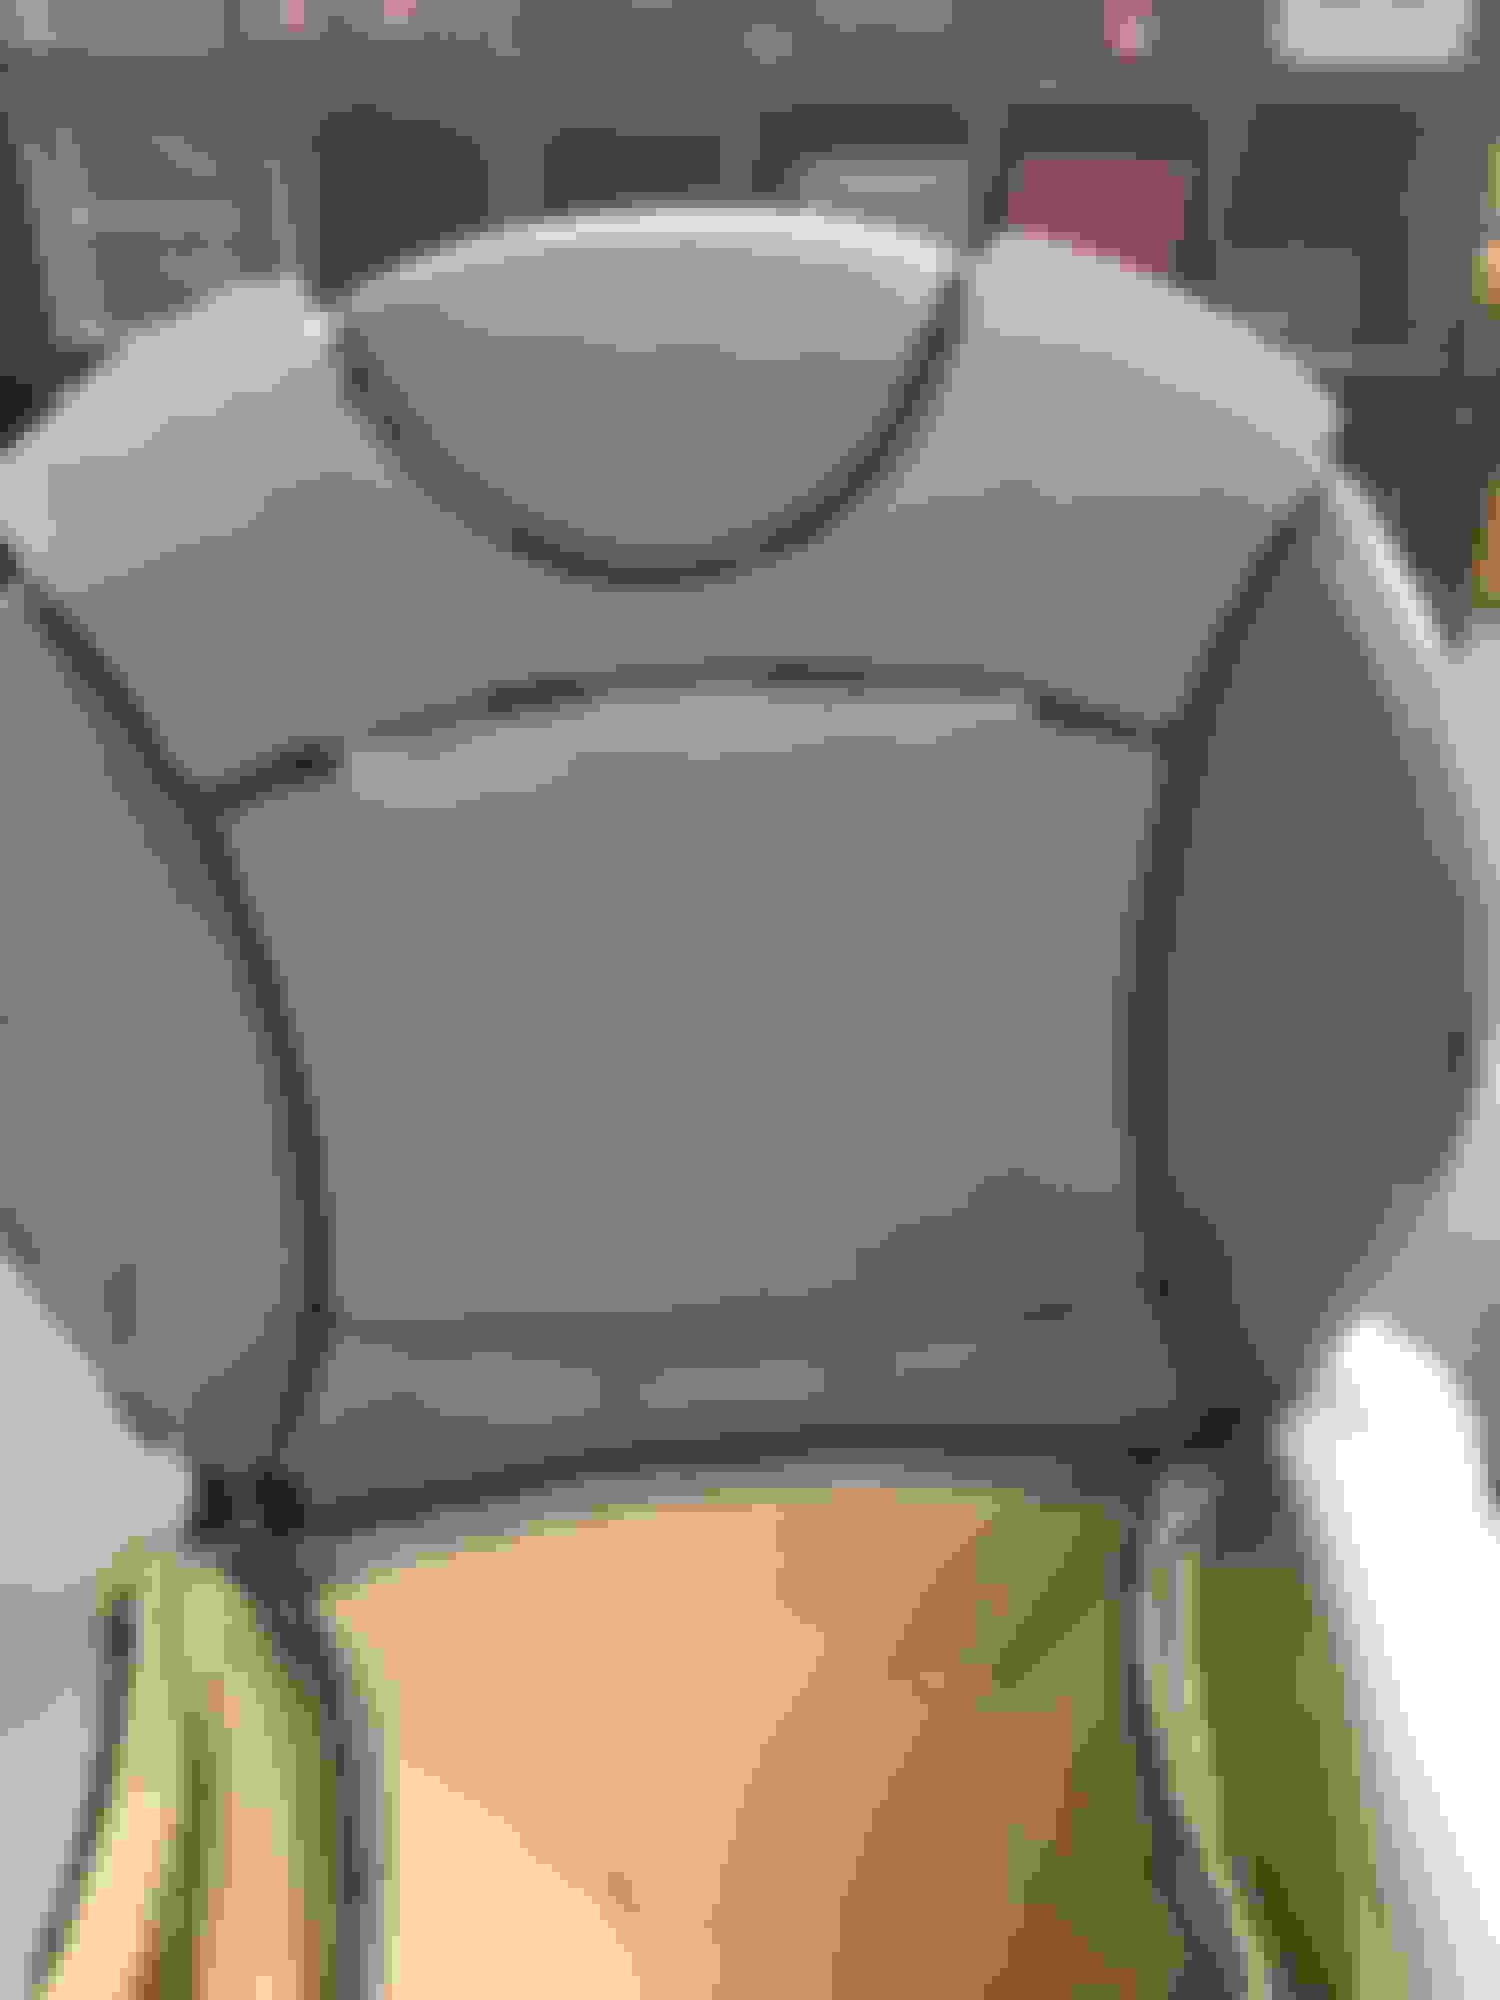
Turn the seat on its back. Carefully begin to peel back the upholstery from the seat padding. Once you get over the sides and to the top of the seat you will start to see plastic piping on the inside of the upholstery. This plastic piping is attached to a wire frame on the seat pad itself using about two dozen of these small metal loops. You will need to use the thinnest needle nose pliers you can find to pry these loops open and unhook them from the seat padding. This is by far the most difficult and most time consuming part of the job. Again, take your time and try not to break/rip anything. Work from the front to the back and stop once your reach the point where the seat bottom meets the seat back.
Step 7) Remove the Faulty Heat Element
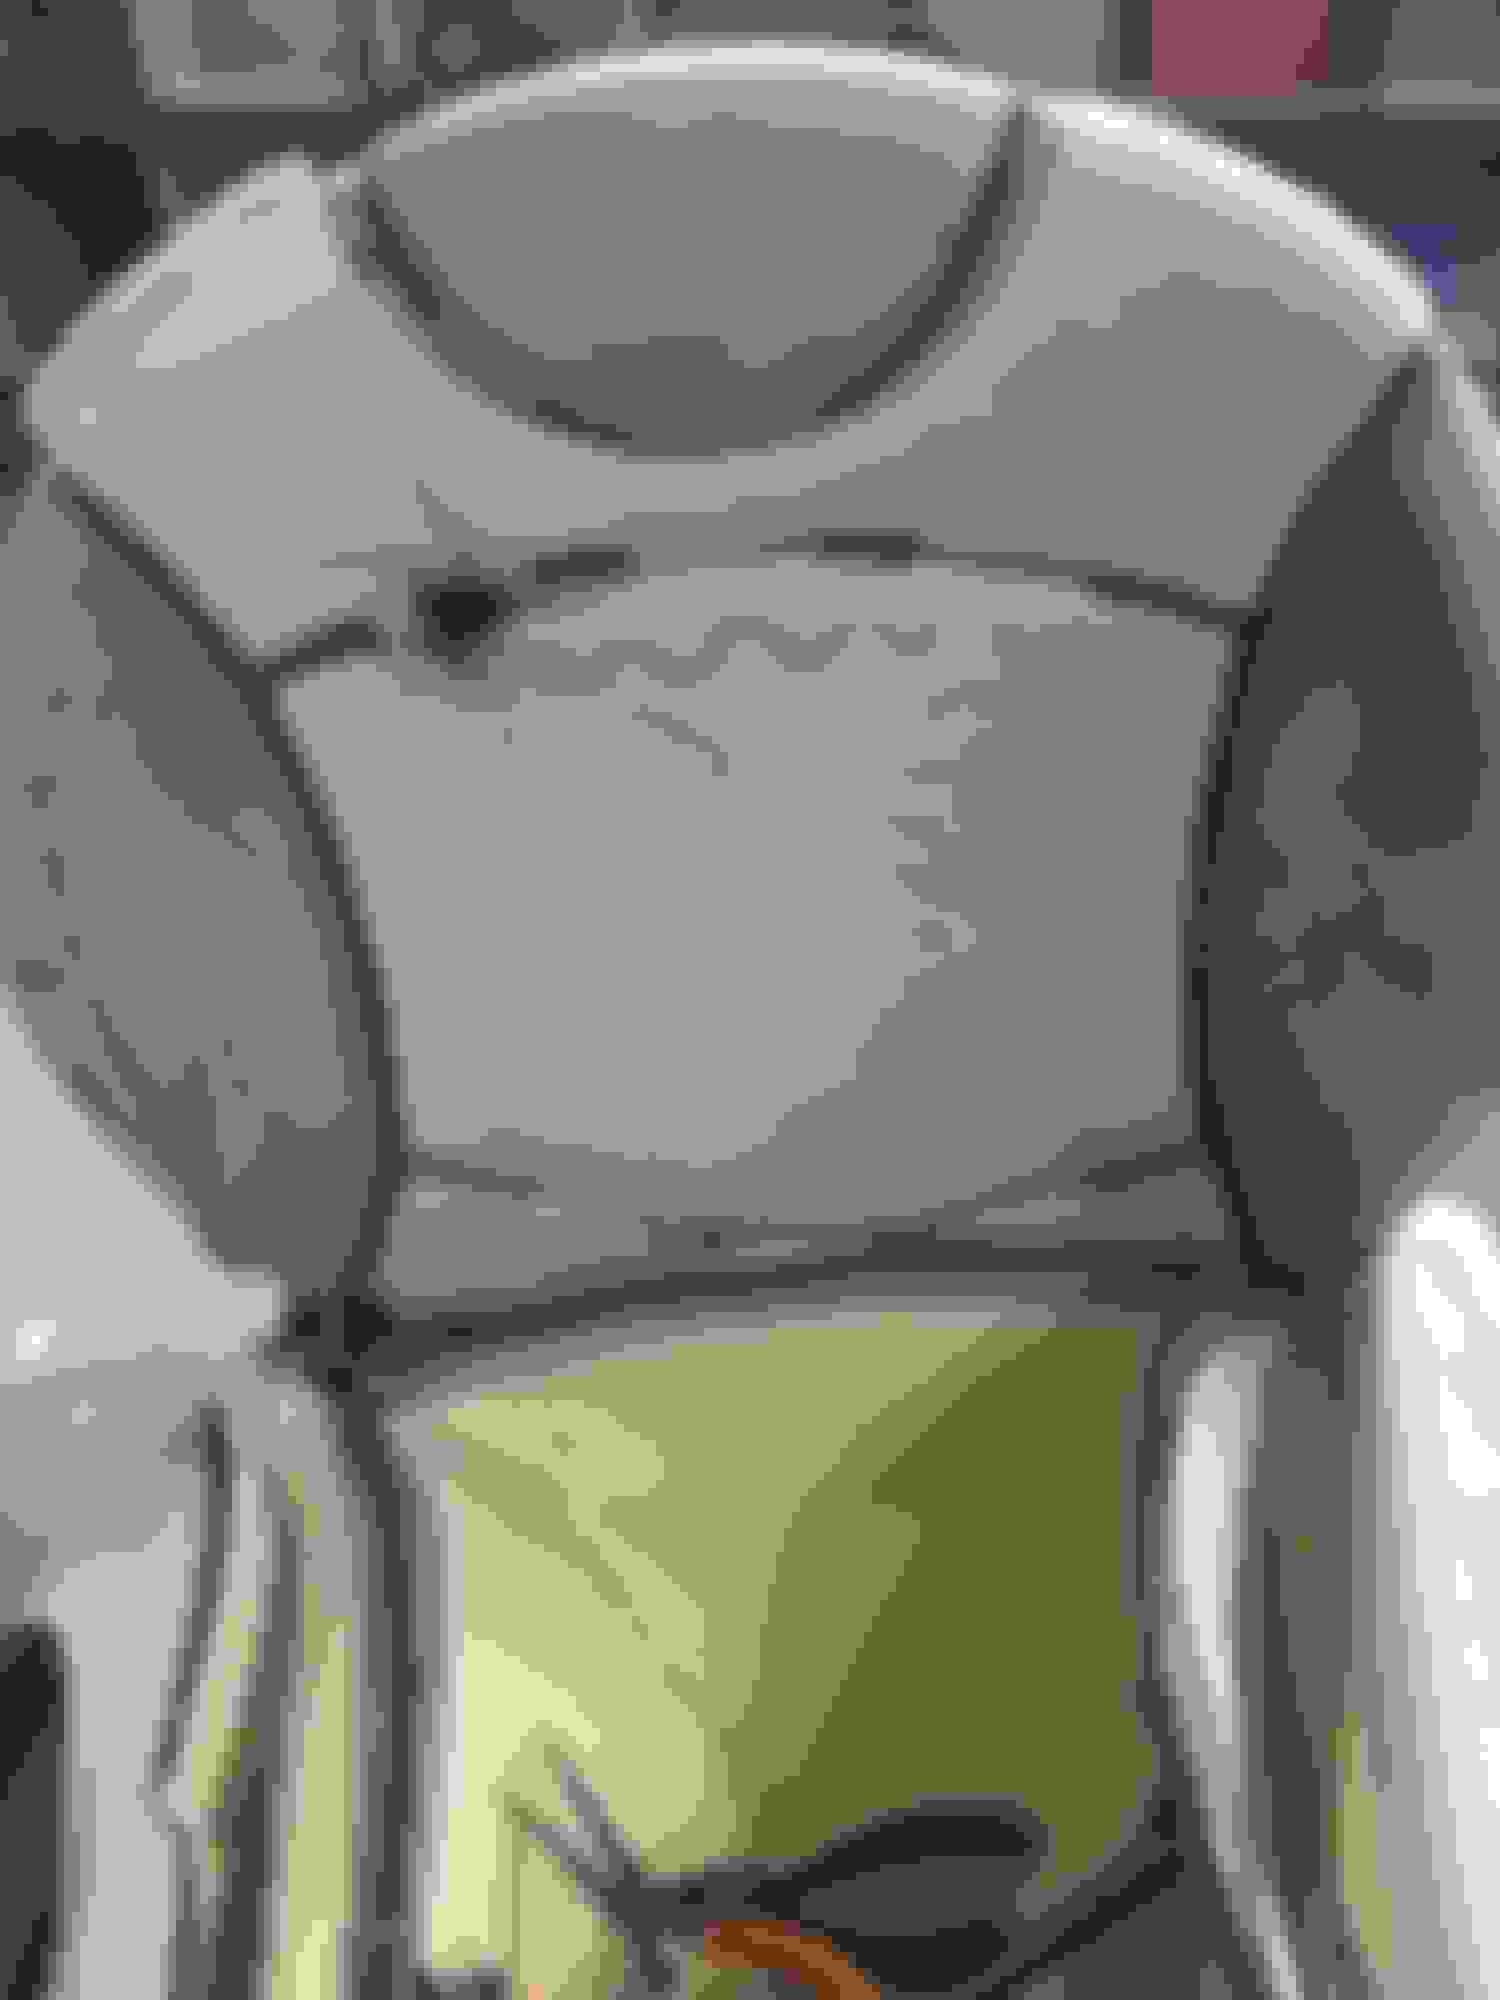
Disconnect the wire for the pad from the wiring block on the bottom of the seat (I'm pointing to which of the 3 connectors it should be), then snake the connector through to the top side of the foam. The heat element pad peels right off the seat foam without much effort. Try not to take off too much foam in the process. Now you have a piece of formerly heatable fabric with a hole burned in it. Maybe make a nice placemat or poncho for your small dog out of it.
Step 8: Install New Heat Element
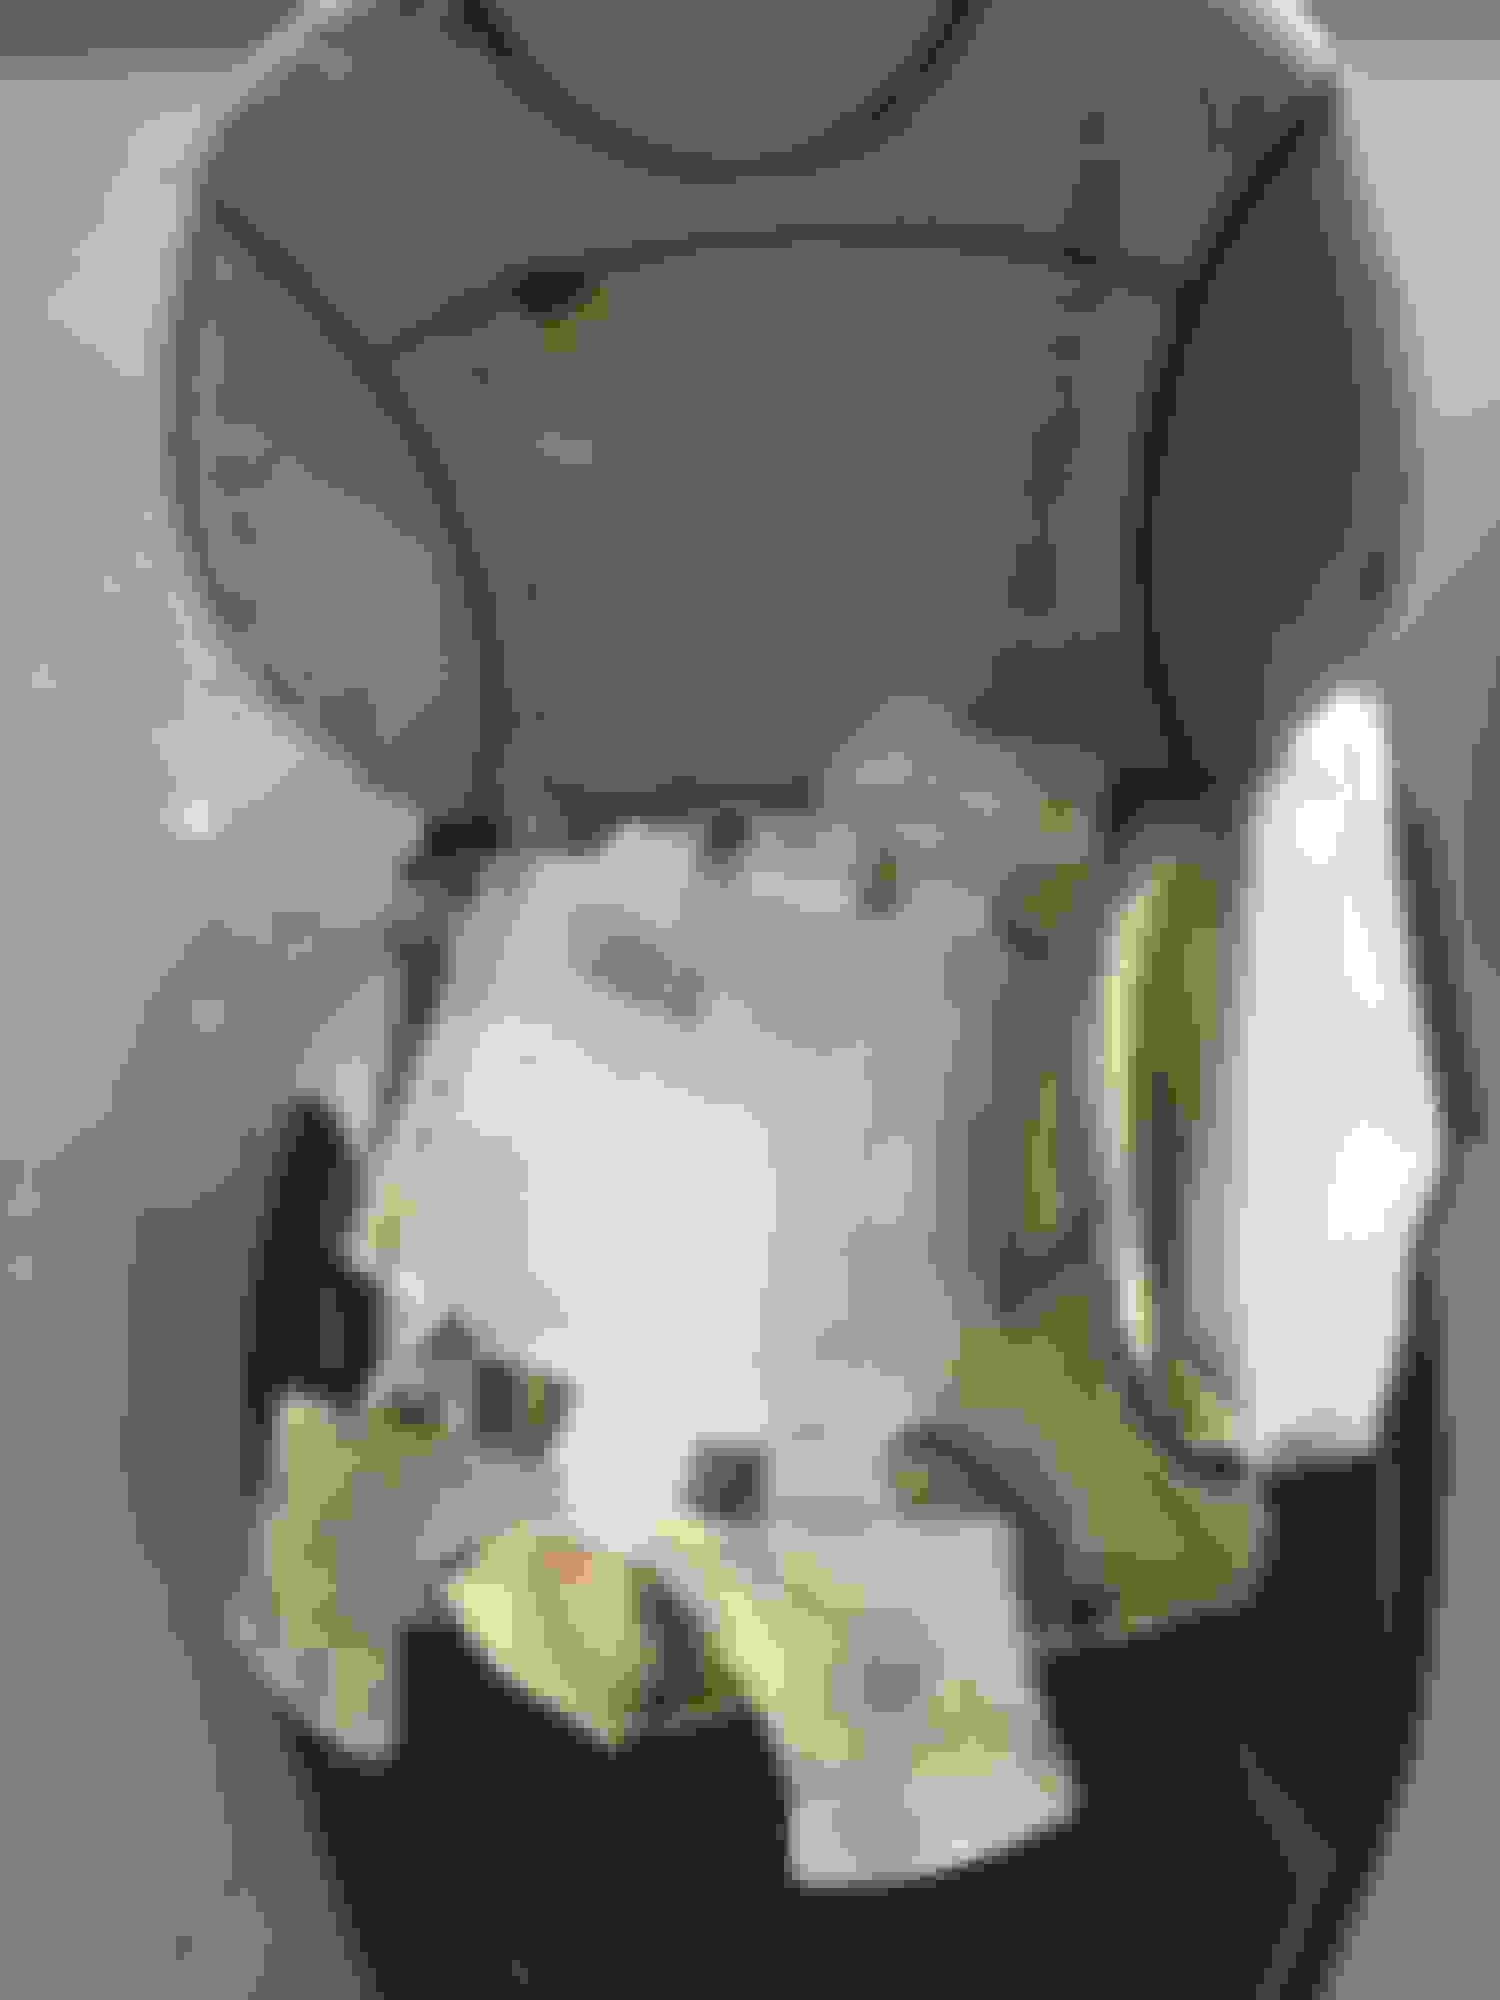
The new pad should come pre-glued, so peel the protective paper off and stick it to the foam where the old pad went. Some of it gets tucked in the the creases of the foam. Final installation in shown. Snake the new wire through the foam and connect it back into the wiring block.
The rest of the re-install is pretty much the reversal of the above steps. For re-attaching the upholstery to the seat I found it was easiest to have the metal hooks attached to the upholstery first, then hook it to the wire frame in the foam and close the loop with the pliers.
 01-22-2018, 11:14 AM