Mini Cooper 2007-2013: How to Replace Side Mirror
Installing a new side view mirror is not as hard as you may think. Here is how you do it in just a few minutes.
This article applies to the Mini Cooper (2007-2013).
Whether you are dealing with a cracked glass, a broken mirror housing, or just looking to update the overall look of your car with new caps, the mirrors on the Mini are very easy to work with. Mirrors get clipped in parking lots, or broken in garages, and sometimes it's just an errant rock breaking the glass, but there is no reason to put off fixing it. Fortunately, replacing the entire assembly is very simple to do.

Materials Needed
- Flat head screwdriver
- 5mm Allen wrench
- Masking tape
- Trim tool
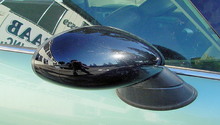
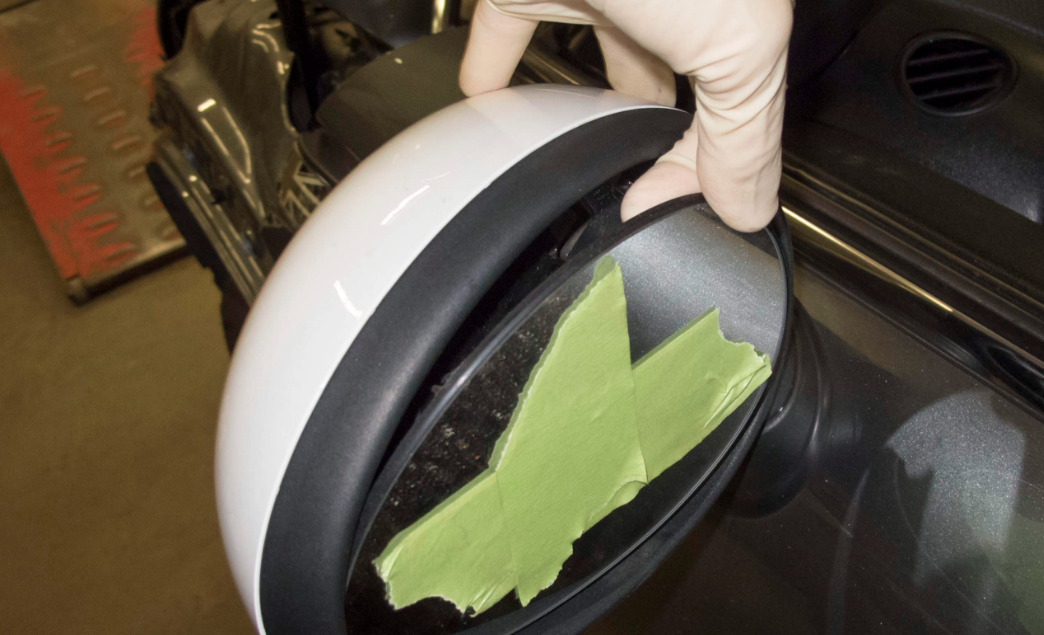
Step 1 – Prep the mirror
This rule applies mostly to damaged mirrors: If you have cracked shards of glass that seems to be held in place by only hope, apply some masking tape on top in order to avoid making a mess.
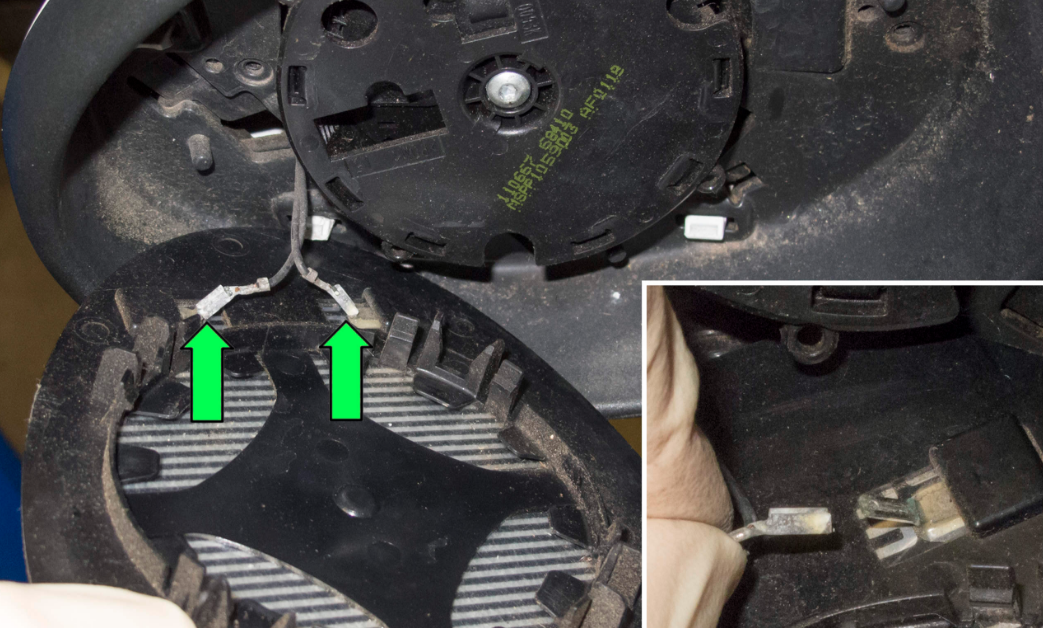
Step 2 – Remove the mirror glass
- Take the trim pry tool and slide it behind the mirror.
- Gently pry and pop the clips off.
- Pull the mirror out of the housing.
- Disconnect the heating wires for the mirrors.
- Safely dispose of the glass.
- If all you are replacing is the mirror glass, just connect the wire plugs and snap the new mirror into place.
Step 3 – Replacing the housing
- Twist the mirror housing downwards to reveal the two 5mm Allen bolts holding it to the door.
- Grab a 5mm Allen key, and remove each of these bolts from the mirror assembly.
- Once it's off, disconnect the power plug.
- Installation of the new mirror is just as easy, Take the replacement mirror, connect the power plug and mount the 5mm Allen bolts.
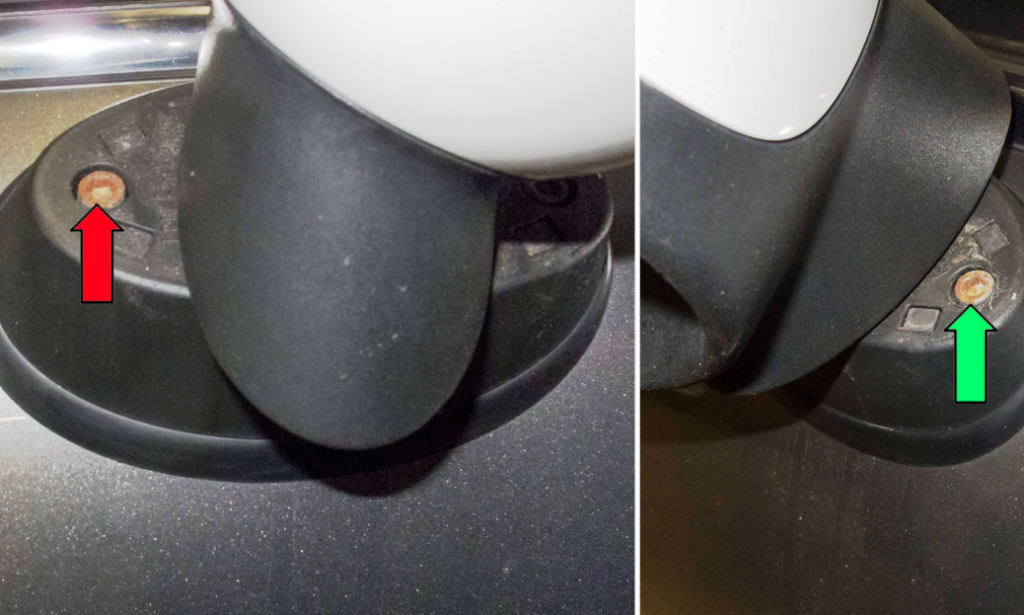
Figure 3. Remove the two 5mm Allen key bolts. 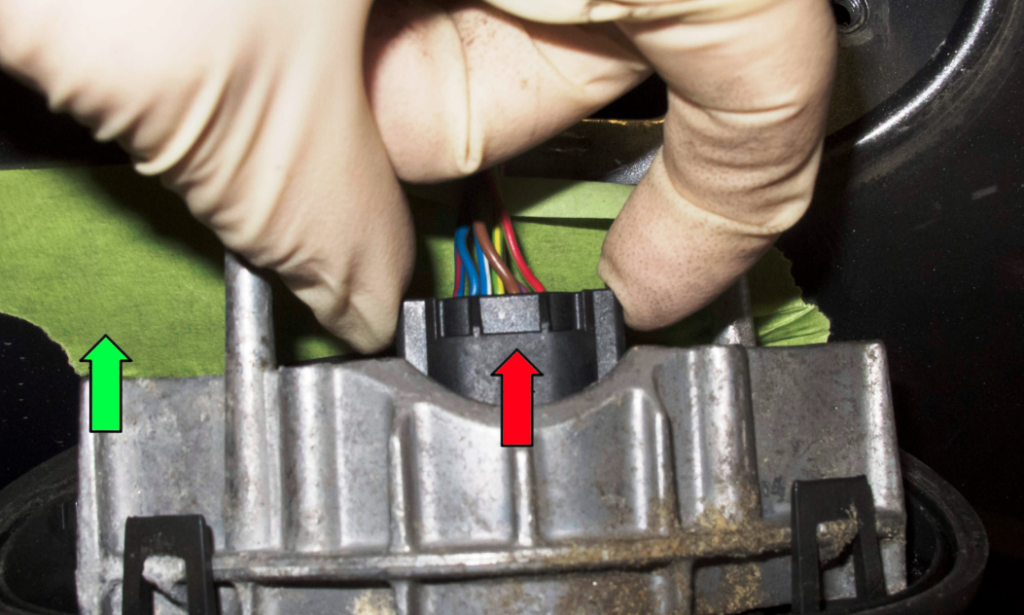
Figure 4. Disconnect the wire plug. 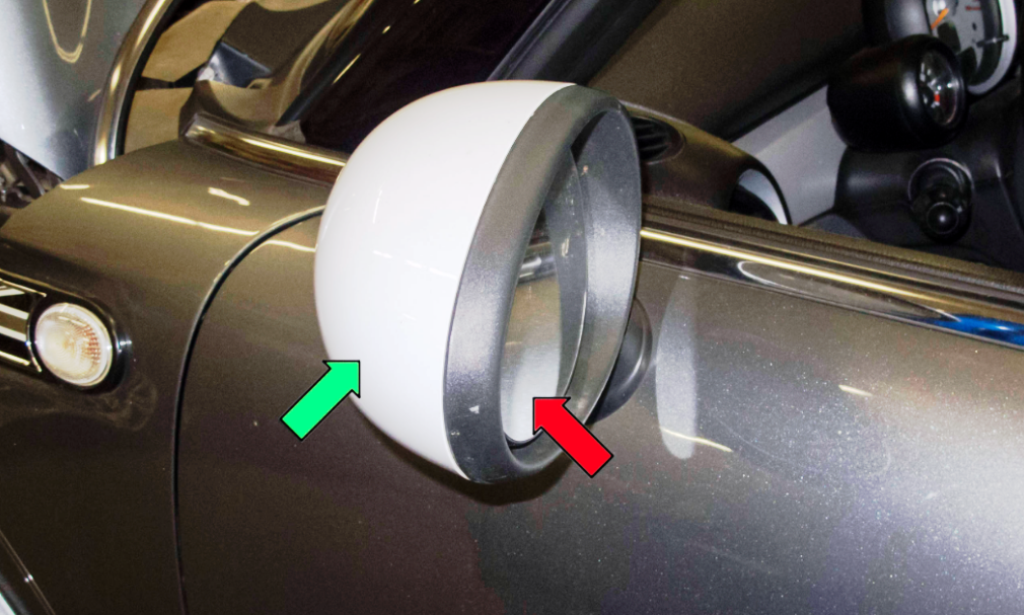
Figure 5. Install the new mirror.
Step 4 – Replacing the mirror cap
- There are five tabs that hold the cap to the mirror body.
- Gently pry up on each tab, then pull the cap from the body.
- New caps, in a wide variety of styles can now be snapped into place.
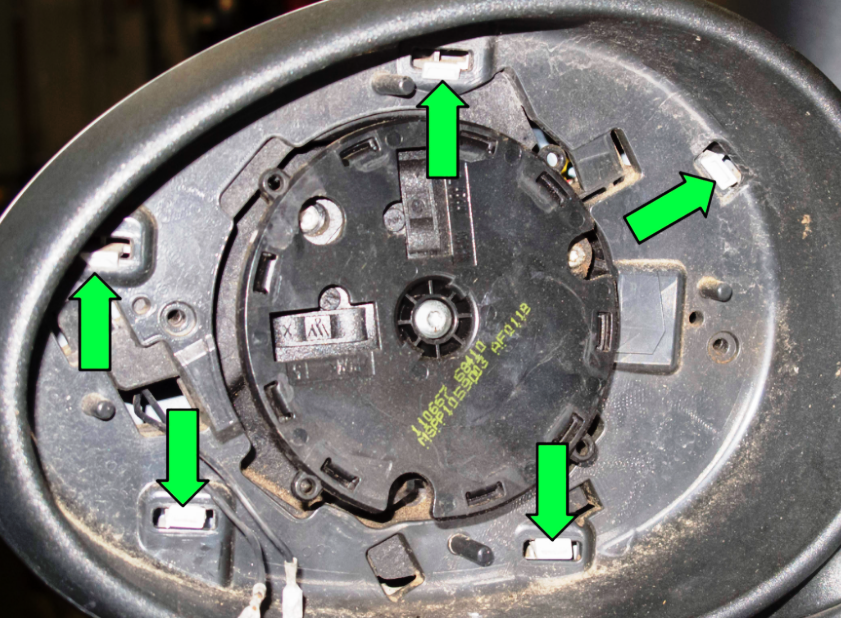
Figure 6. Removing the mirror cap. 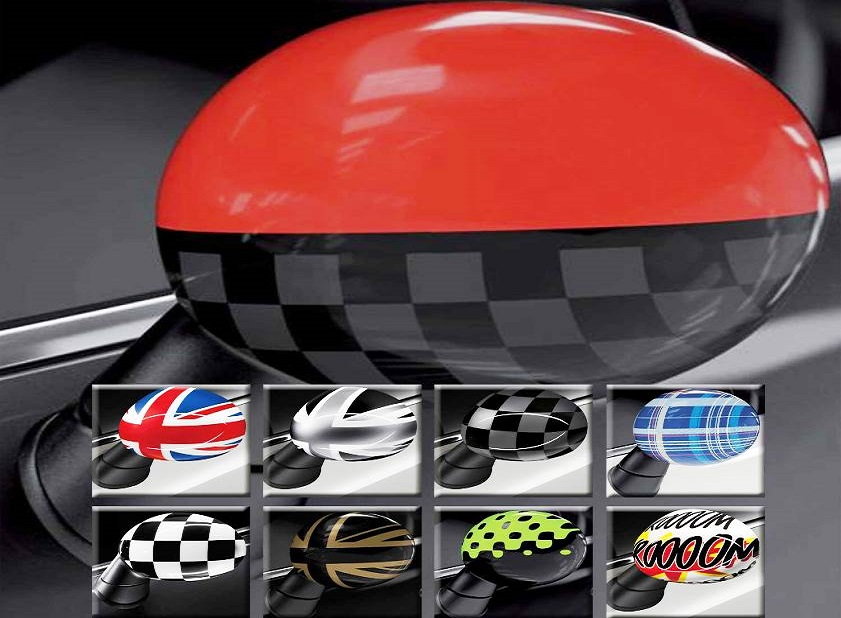
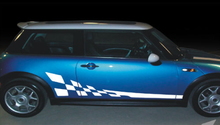
Figure 7. Various mirror cap options.
Featured Video: Wing Mirror Removal
Related Discussion and Site
- Replacing Wing MIrror Caps - NorthAmericanMotoring.com
- Exterior Mirror Replacement- PelicanParts.com