When you click on links to various merchants on this site and make a purchase, this can result in this site earning a commission. Affiliate programs and affiliations include, but are not limited to, the eBay Partner Network.
Nice idea in theory, but not reality. This is how I remove the pistons from my Wilwoods. I fit a piece of wood that is just slightly smaller than the rotor slot. I learned that the pistons come out unevenly the first I tried this, but I used a smaller piece of wood. One piston came out, pushed the block all the way over to one side, the piston came out past the seal, and blew brake fluid all over me. Even with the tight fitting piece of wood, it gets pushed to one side or the other. There is just a slight difference in friction between pistons that will keep it from “centering ” the rotor.
I am about to swap in the SS pistons on my Wilwood calipers. This is exactly something that I am not looking forward to. For AL piston that has a groove for the dust seal, Wilwood has a special tool to clip onto the groove to extract the piston. I suppose you can improvise something to ply it out evenly so not to skew the piston in the bore.
Once the SS pistons are installed it would be quite tricky to remove them to service the inner seal in the bore. The last thing you want to use is compressed air. A piston will shoot out and nick something you don't intend. Brake fluid is a bit better if you can pump in small increments.
Not talking about placing air into the caliper without them being on the car, pads in place and the rotor installed. With the 26 mm rotor in place talking approximately 1/16" of a inch for the pad to move before it contacts the rotor. Regardless of differential pressure within the caliper, after a certain amount of time the pistons should all have the same pressure thereby creating force that will equalize/average across the rotor. The rotor in this instance is not rotating and is static. Not trying to stop the car but rather get the caliper to move laterally, what I don't know is how much pressure would be required to make the caliper slide on the loosened bolts. The biggest issue is to have a dryer on the compressor so that you are not introducing water into the caliper.
The real question is has anybody ever done this before and if so what was the outcome?
And yes I do agree that having the caliper loaded with brake fluid would be the best way to accomplish this but I am also thinking about options. In this instance I may not have thought of something and still want the ability to return the calipers.
Relative to shims and getting the caliper centered on the rotor, I have thought about hooking up my compressor. With the bolts loosened and by applying some pressure, the pistons will push the pads. As there are pistons on both sides this action should force the caliper to slide in or out on the loosened bolts and center itself.
In an absolutely ideal world, only if all the pistons are identical, bore diameters are identical, seals are identical in micro composition, friction coefficients are identical, etc etc that the force imparted on the rotor is identical on both faces. This will never happen. Even if the two opposing force is identical, there will be no movement of the caliper WRT the rotor. This method will not center the caliper WRT the rotor, in ideal world or real world.
Fortunately because of this physics, the disc brake works in real world where these forces are never equal.
p.s. the coefficients of friction that I mention is that between the piston cylinder surface and that of the hydraulic seal.
I am about to swap in the SS pistons on my Wilwood calipers. This is exactly something that I am not looking forward to. For AL piston that has a groove for the dust seal, Wilwood has a special tool to clip onto the groove to extract the piston. I suppose you can improvise something to ply it out evenly so not to skew the piston in the bore.
Once the SS pistons are installed it would be quite tricky to remove them to service the inner seal in the bore. The last thing you want to use is compressed air. A piston will shoot out and nick something you don't intend. Brake fluid is a bit better if you can pump in small increments.
I have the SS pistons in mine. The block of wood allows compressed air to push all of the pistons out almost all of the way, but stopping stopping them before they lose their seal. From there I pull them the remaining of the way out using the plier-like tool that TCE sells (http://www.tceperformanceproducts.co...20Wrenches.jpg)
I use a rubber tipped blower on the inlet to the caliper. It creates a good enough seal to allow the compressed air to do the job. I also cover it with a rag to catch the back spray of any brake fluid. It is amazing to me how stiff the caliper seal are and how hard it is to remove th pistons.
I also use the lubricant that TCE sells to do the reassembly.
Not dealing in absolutes here. Shim washers only come in certain thicknesses and brake systems are manufactured with tolerances. IMO by attempting this one would have a better ability to determine what size washers or series of washers are needed.
I have the SS pistons in mine. The block of wood allows compressed air to push all of the pistons out almost all of the way, but stopping stopping them before they lose their seal. From there I pull them the remaining of the way out using the plier-like tool that TCE sells (http://www.tceperformanceproducts.co...20Wrenches.jpg)
I use a rubber tipped blower on the inlet to the caliper. It creates a good enough seal to allow the compressed air to do the job. I also cover it with a rag to catch the back spray of any brake fluid. It is amazing to me how stiff the caliper seal are and how hard it is to remove th pistons.
I also use the lubricant that TCE sells to do the reassembly.
I hate to keep referring back to the hi school daze, but that was the last time I extract caliper pistons. I was amazed the friction between the seal and the piston on an ATE 2-pot fixed caliper. I carefully ply the piston out mechanically with two small screw drivers using the groove of the dust boot and leverage against the cast iron cylinder rim. You can do that without damage when you have a cast iron caliper.
I concur a pice of wood sheet good of the right thickness can do the trick with compressed air, and if some pistons extend more readily some good old cedar shims can be handy.
Not dealing in absolutes here. Shim washers only come in certain thicknesses and brake systems are manufactured with tolerances. IMO by attempting this one would have a better ability to determine what size washers or series of washers are needed.
I know exactly what you want to achieve - to fix the caliper in space, perfectly center and plumbed WRT the rotor. This can only be achieved with mechanical means by trial and error, or careful measurements which can be very difficult when you don't have the needed measurement tools and fixtures.
I know exactly what you want to achieve - to fix the caliper in space, perfectly center and plumbed WRT the rotor. This can only be achieved with mechanical means by trial and error, or careful measurements which can be very difficult when you don't have the needed measurement tools and fixtures.
No, far from it. By getting the caliper close to center I can determine the washer spacing ahead of time. I would then glue the washers together and on the caliper so I would not have to fiddle around with trying the get the washers between the hub and the caliper along with over the bolt. I am working on my back in this instance and I am not some short person with small hands.
The good thing about NAM is not only are there some really sharp members here, they also make posts.
Nothing better than a good debate to get the mental juices flowing. So while brushing my teeth between posts I came up with a different approach. I will mount the rotor and install the caliper with loosened threads. Place the pads into the caliper and then use some soft wood shims to push between the rotor and the pads. Can use a pencil to mark the insertion amount. This will get the assembly centered to a good level and then I can determine the shim washers that I need.
No, far from it. By getting the caliper close to center I can determine the washer spacing ahead of time. I would then glue the washers together and on the caliper so I would not have to fiddle around with trying the get the washers between the hub and the caliper along with over the bolt. I am working on my back in this instance and I am not some short person with small hands.
There is normally a reason behind my insanity.
You don�t want to glue the shims together. You want a nice clean metal to metal contact between them.
Exercising logic and laws of physics in the head can lead one to overlook a practical solution. In retrospect because the strong frictional drag between the seal and the pistons, you might just be able to affix the caliper center in 3D space by manhandling the calipers with a bit of compressed air to push the pistons out until they clamp onto the rotor.
The caliper will not center itself, but you can center it by hand, and the friction will keep it in position.
You have almost new Cooper S discs, technical drawings of all discs. Install the caliper using one lug and measure all the dimensions. Then just calculate the thickness of washers.
I have dealt with physicists in the past. The two best things I learned from them was 1.) Protons have a propensity to float, and, 2.) When I told them concrete tolerances were in the tenths of inches not angstroms, they said they would use shims.
So in other words protons travel just a little slower than the speed of light and there are shims 0.1 nanometer in thickness. Both good things to know here.
No, far from it. By getting the caliper close to center I can determine the washer spacing ahead of time. I would then glue the washers together and on the caliper so I would not have to fiddle around with trying the get the washers between the hub and the caliper along with over the bolt. I am working on my back in this instance and I am not some short person with small hands.
There is normally a reason behind my insanity.
You might be able to put caliper bolts through their respective holes then slide the shim(s) on the end of each bolt. The hard part is lining up the bolt holes on caliper without loosing the shims. I see your problem here. This isn�t an issue with a radial mount caliper. The caliper bracket goes on before the rotor so you have access to put the shims in.
What about using some tacky grease to hold the shims in place? This way you don�t have something between the metal pieces that might disintegrate during use and cause the brakes to come loose.
I will work on a "parts" list with brand and model numbers. Currently what I can think of are: 1.) The Cobalt Calipers, 2.) A pin/spring kit, 3.) Pads, 4.) Caliper bolts, 5.) Caliper bolt shims, 6.) Banjo bolts and new crush washers, 7.) Depending on your wheel offset, wheel spacers and longer lug bolts, 8.) Brake fluid, 9.) High temp copper based anti-seize
Some other pertinent information on Brembos in general. The MINI and Cobalt units appear to be a Family E Type 2 that is just short of 10" in length. The Family E Type 1 unit is 4 pistons but longer coming in just over 11" long. I believe the 350Z and the 04-07 CTS-V are in this group that have larger pistons, approximately 8.5 square inches compared to the MINI/Cobalt of 3.5. The newer model (2010-13) CTS-V/Camaro units are 6 piston but still at about 8.5 square inches.
There is another thread in the Gen1 area where a guy was able to buy a R53 Brembo GT kit that has a radial mount caliper and two piece 328 x28 rotor. He got the used kit on an Ebay auction for $270 but there was no bracket included and in the pictures it appears there are no pistons These kits can sell for well over $2,000 and appear to be similar in total size to the MINI/Cobalt units.
I did find one Brembo catalog from 2015 that had information on calipers, pads and rotors along with how to decipher the Brembo Code system. It appears the Family E Type 2 units can accept a caliper up to 330 mm.
The rest of my parts will arrive over the next week. The rotors are coming around Wednesday so I will do another mock up. From the drawings that cooper_a uploaded, it appears the GP2 rotor has a thicker hub face that will push the mounting surface out 1.5 mm. The spokes of my wheels were tight against the caliper and even with another 1.5 mm I will still probably get some 3 mm spacers.
Last edited by Whine not Walnuts; Jun 26, 2018 at 05:25 AM.
Reason: added anti seize
While waiting for parts I have digging into the Sentra Spec V Brembo caliper. Appears this is used as a retrofit for other Nissan models including the 350z. From the little I can find they are a 4 piston caliper but they are staggered in size with a 38 and 44 mm. This results in about 4.03 square inches vs the MINI/Cobalt of about 3.5. The pads appears to be just a little deeper than the MINI and works on a 22 mm rotor that matches up to the Gen2 JCW unit. I have not been able to find a connection lug center to center dimension. If you know any Nissan/Infiniti folks that have used this caliper perhaps you can get some more information to share.
So I pulled the stands out and the car is sitting in the garage. Will let some loctite set up better and will perhaps take it out later this evening for a shake down. So:
1.) The Gen2 GP rotors came in late yesterday afternoon.
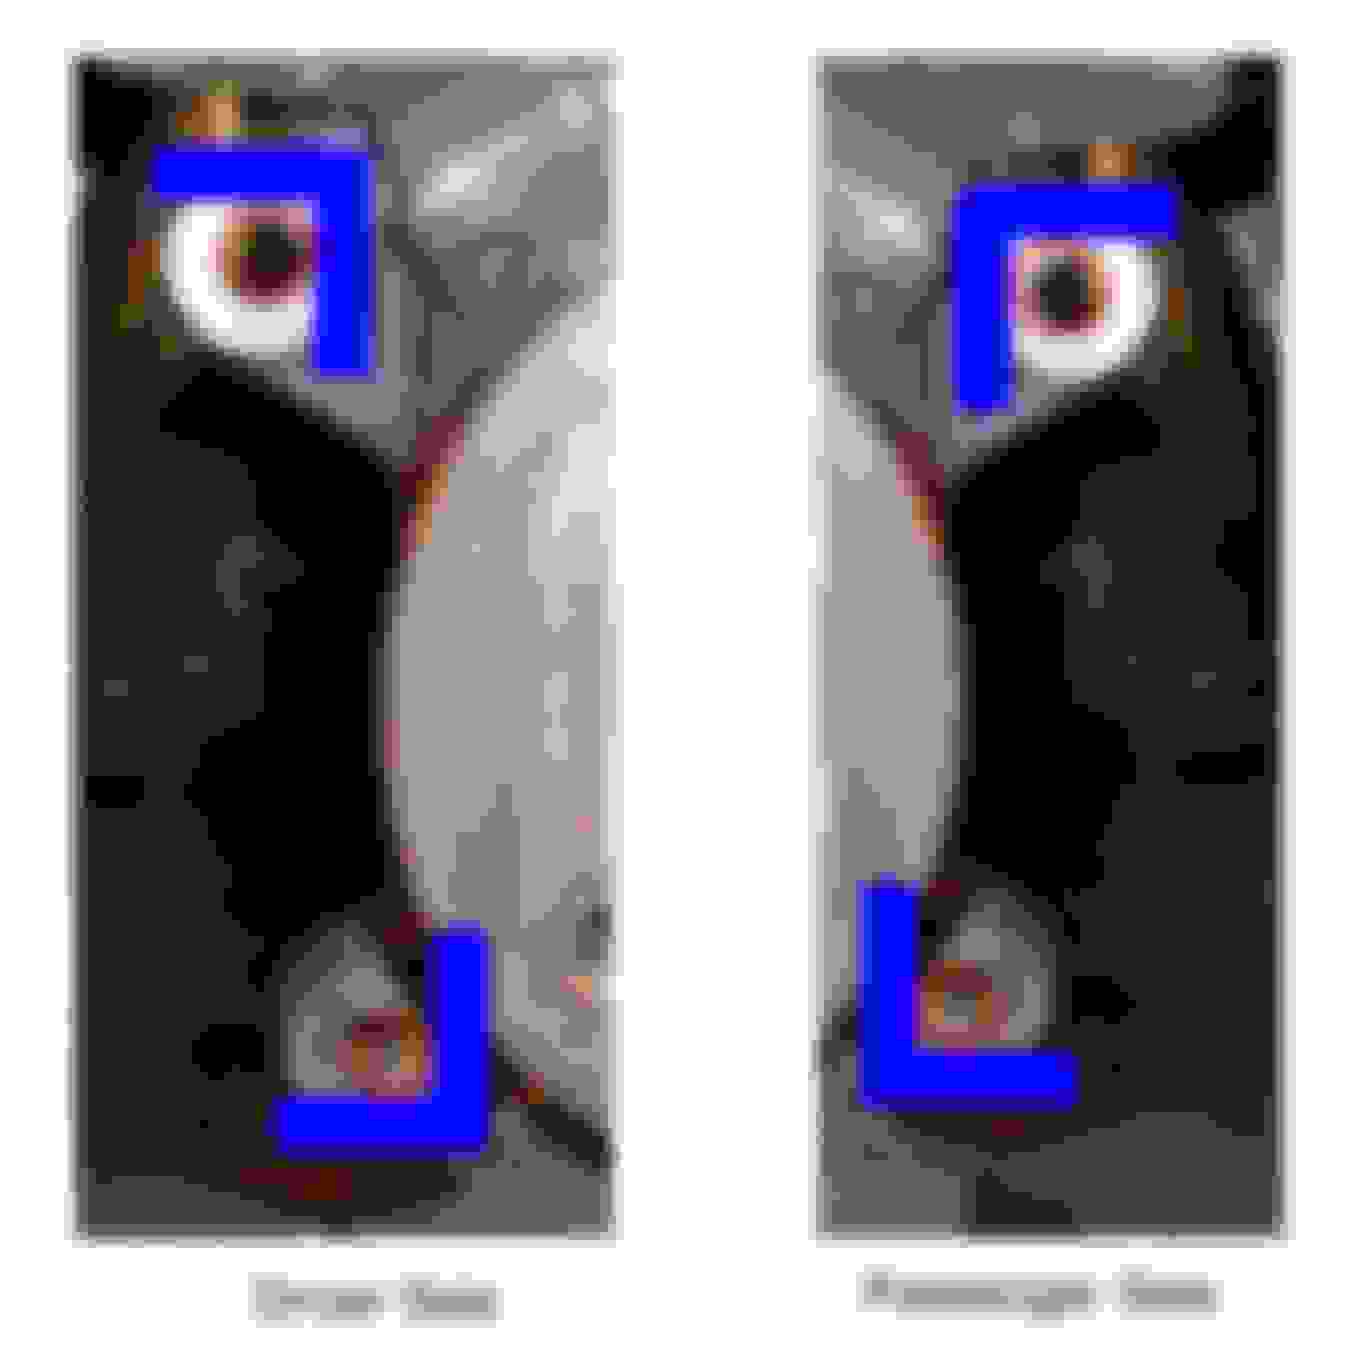
2.) I made up some washers, see pictures below, that I used to compensate for the metal I had to grind out so that the Cobalt's 4 7/8" centers would work. I marked the washer so that I would know where the tab was, rotating it as I tightened the lug to keep it in the correct place.
3.) I bought some rotary files that I put in my drill to grind the carriers out. I used some tape to reflect the 1/16” that I had to grind out. I did not grind vertically but rather diagonally so that the caliper would not set out as far and thereby get more pad surface on the rotor. I have a picture I modified below to reflect where I ground/filed. Yes if you were doing this on a lift you could be standing up and therefore be better able to judge how straight/level you are holding the drill. I would grind some material out and when I got close to my tape marks I would mount the caliper with only one bolt and then thread the other bolt in from the rotor face side so that I could tell if the hole lined up. If not, you just let the caliper rotate down and then file/grind a little more.
4.) Once the carrier holes were reworked, I installed the rotor and placed two lug bolts so that it was tight to the hub. I then mounted the caliper, had just a few threads of the bolt holding, installed the pads and then used some shims to get the caliper centered on the rotor. By doing this I was able to get a good idea of how many shim washers I needed. I bought a bag of 0.50 12mm shim washers. I used six on the Passenger side and seven on the Driver side. I could have used some 0.25 shims but did not have so one pad will be a little 0.25mm thinner than the other once they get seated.
5.) I used loctite on the caliper bolts and torqued them to 85 foot pounds from what I found on a Cobalt site.
6.) I placed some copper anti-seize on the back of the pads before I put them in. I also placed a small amount on the pad metal edge where the Brembo spring clip rides. From what I read, this helps reduce the squeaking that Brembos are famous for.
7.) The R56 banjo bolt is the same thread as the Cobalt but is it about 3/16" shorter so I used the Cobalt banjo on my existing metal brake lines.
8.) The caliper extends out 2 1/8" from the face of the 26 mm rotor and with the Enkei wheels I have, placed a 5 mm spacer and got 33 mm lug bolts to mount the tires.
Remember that the bleed screws go up and I will make a post on proper Brembo bleeding. The other item is that the GP rotor is big enough to accept a pad that could be 5/16" deeper. I will do some research to see if such a pad exists.
Last edited by Whine not Walnuts; Jun 29, 2018 at 05:32 AM.
Stoptech has two bleed screws per caliper and they say:
From StopTech manual:
Note: The calipers and lines will need to fill with fluid, quickly draining the master cylinder reservoir. Keep a close watch on the fluid level when initially bleeding the system. Do not allow the master cylinder reservoir to run dry, and to draw in air. Doing so may result in the brake system needing to be serviced by a certified brake technician.
Bleed the brake system, using an 11mm box wrench, to loosen the bleed screws. The sequence for bleeding the brakes should be:
1. Right outboard bleed screw
2. Right inboard bleed screw
3. Left outboard bleed screw
4. Left inboard bleed screw
Though a torque wrench is not typically used on bleed screws, as a reference, the torque for bleed screws should be approximately 100-140 lb-INCH.
After initially bleeding the system, gently tap the caliper body with a mallet to dislodge any small air bubbles, then re-bleed the brakes.
After bleeding, apply constant pressure to the brake pedal, and check all connections - including the bleed screws, and both ends of the brake line - for leaks.
Warning: Brake fluid will damage most painted surfaces. Immediately clean spilled brake fluid from any painted surface, including the caliper. Though caliper paint is designed to resist harsh chemicals, prolonged exposure will damage the finish.