Xenon headlight issue
#1
Xenon headlight issue
So I just got a 2006 R53. The previous owner was very unhappy with the brightness of the lights. I just drove it at night and the headlights r useless. I did a search here and found you can adjust them. I did turn the screw so they’d be as high as possible. I was out tonight and had them on against my garage door and they still seem low. The drivers side seems off to the left as well. Have them where there is no more adjustment to go higher also. Could something be broken? When started, they still go thru the motions. Has anyone else had this issue? I’ve been ridiculously disappointed with the dealer service but is this something only they can do? Any help is appreciated. The brights work fine and when off the fog lights r good also.
Dave
Dave
#2
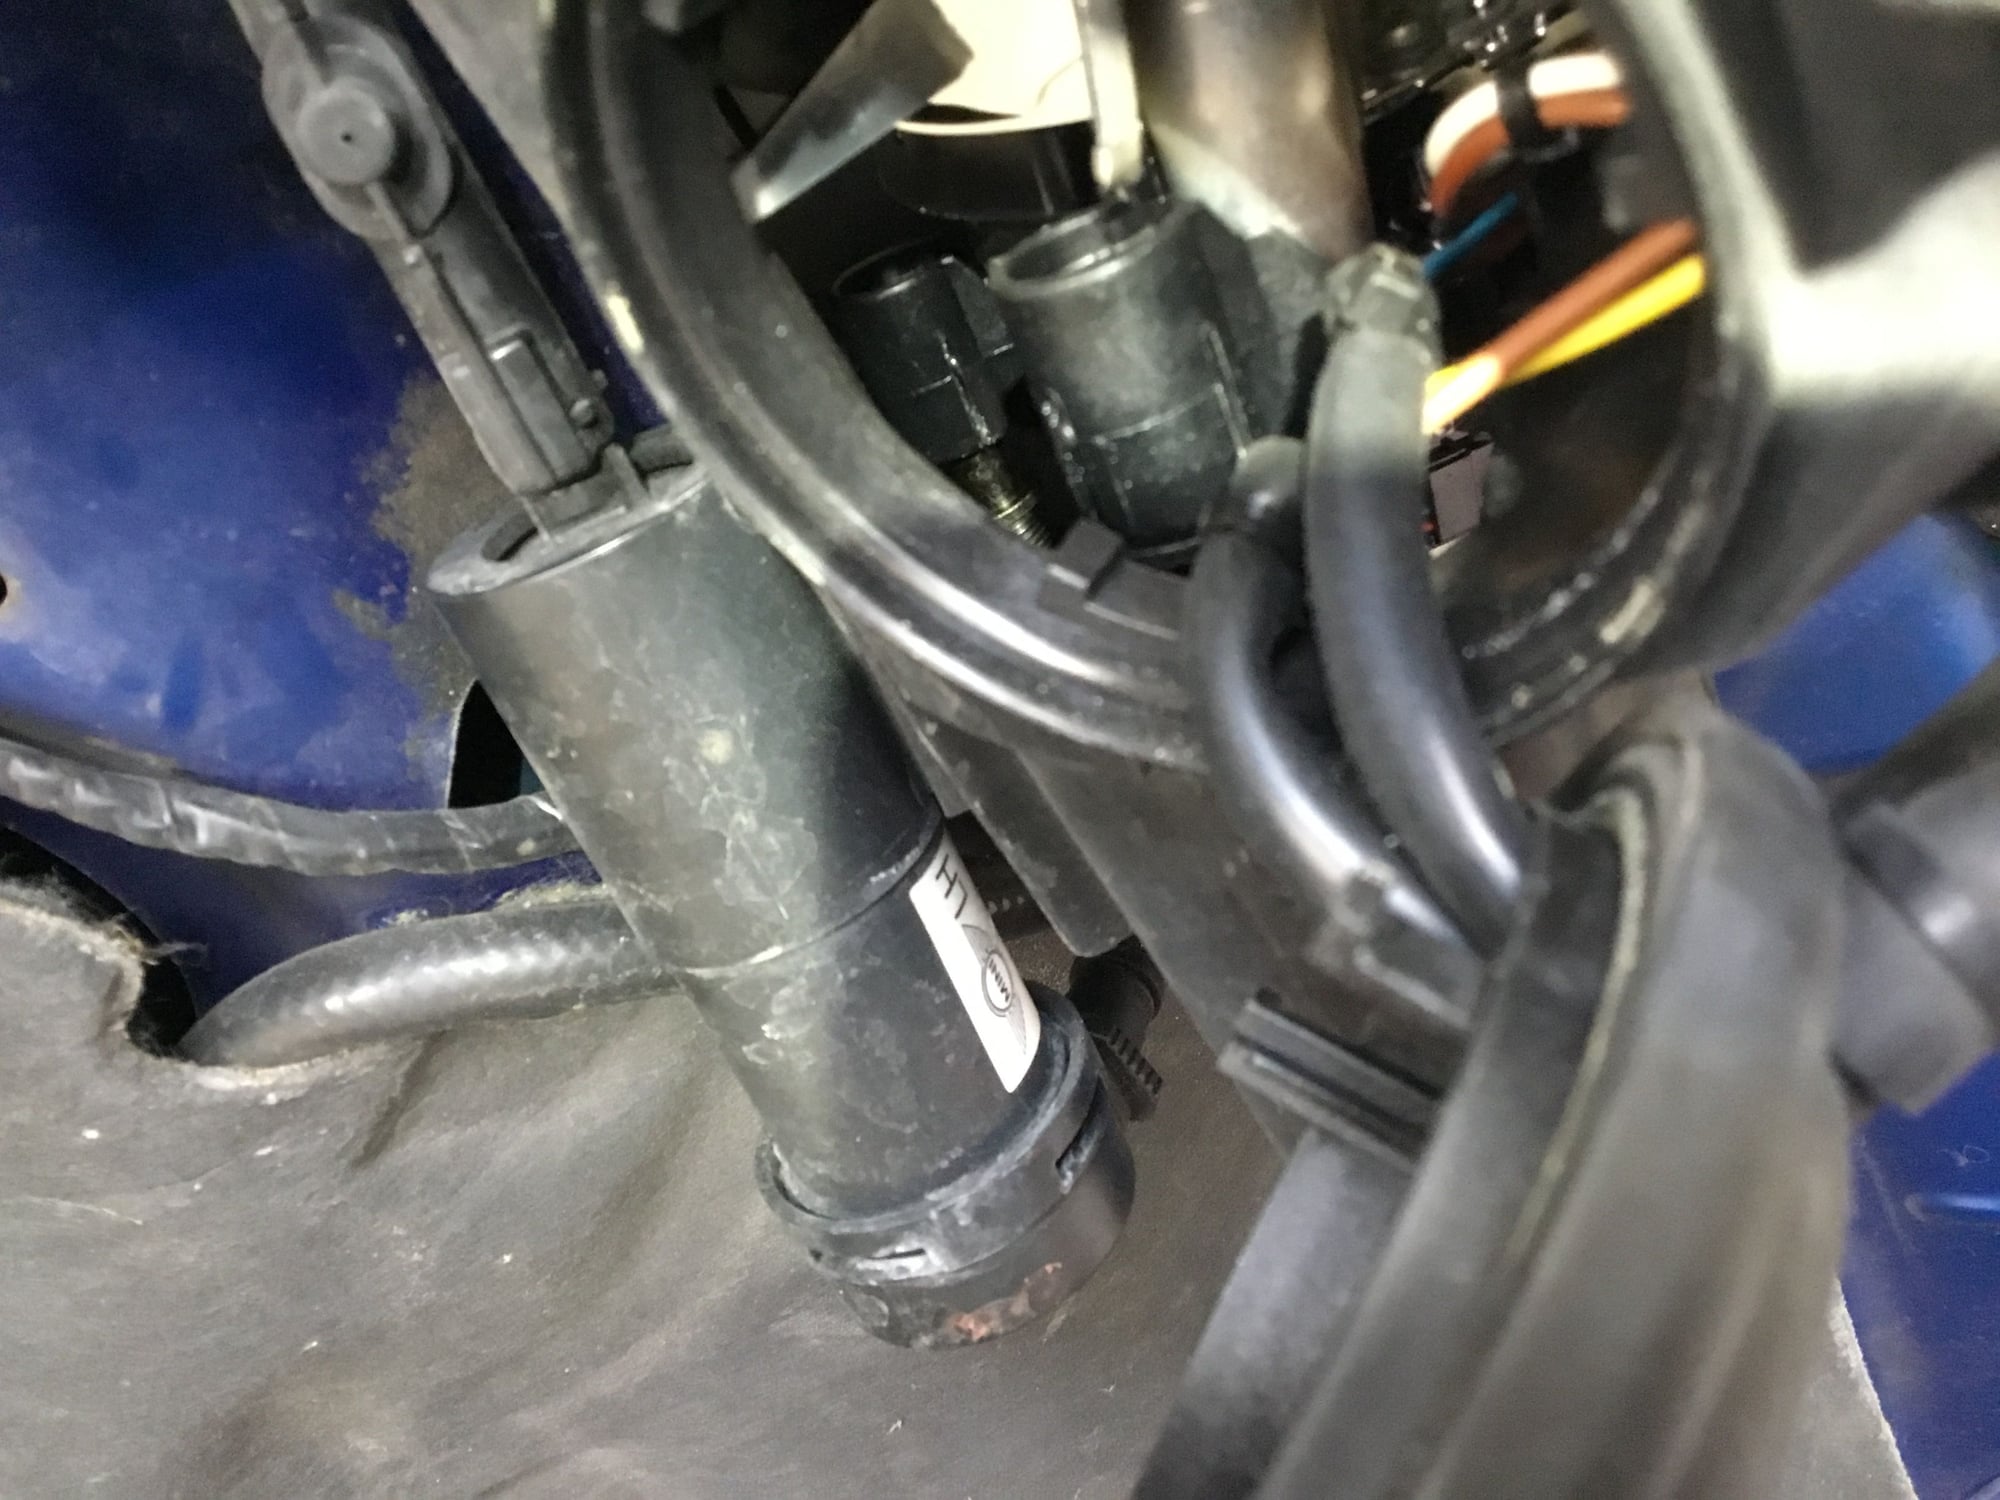
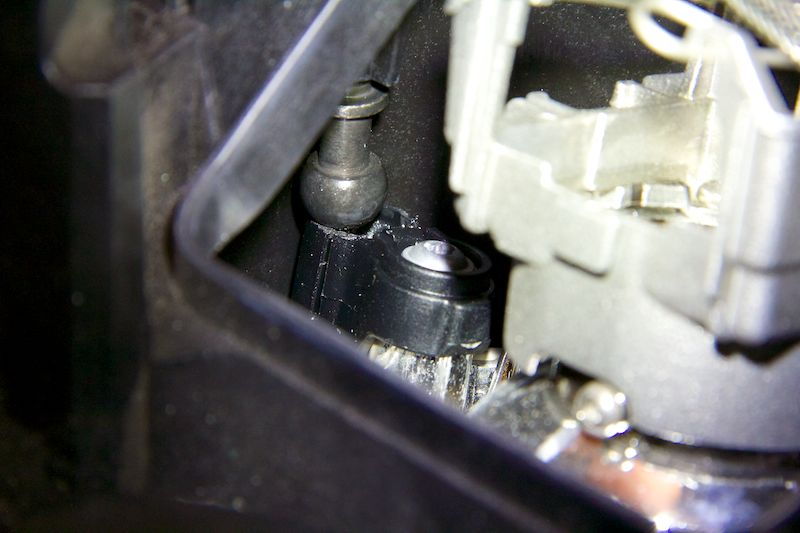
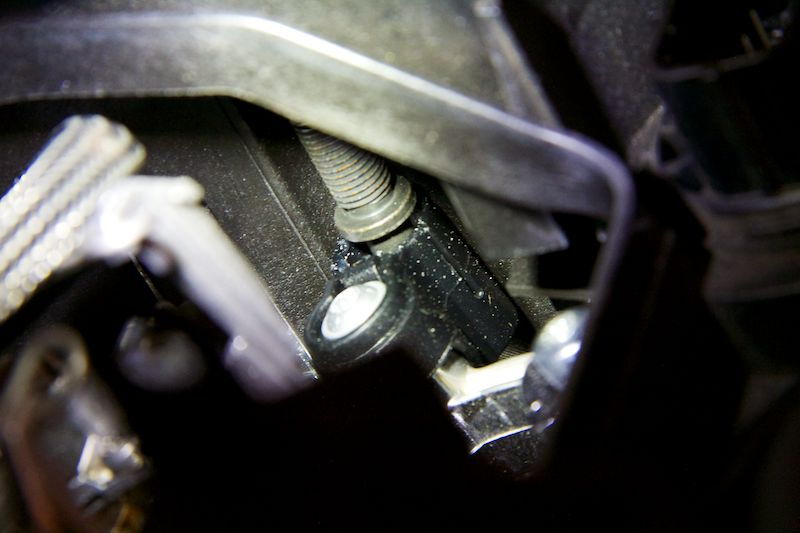
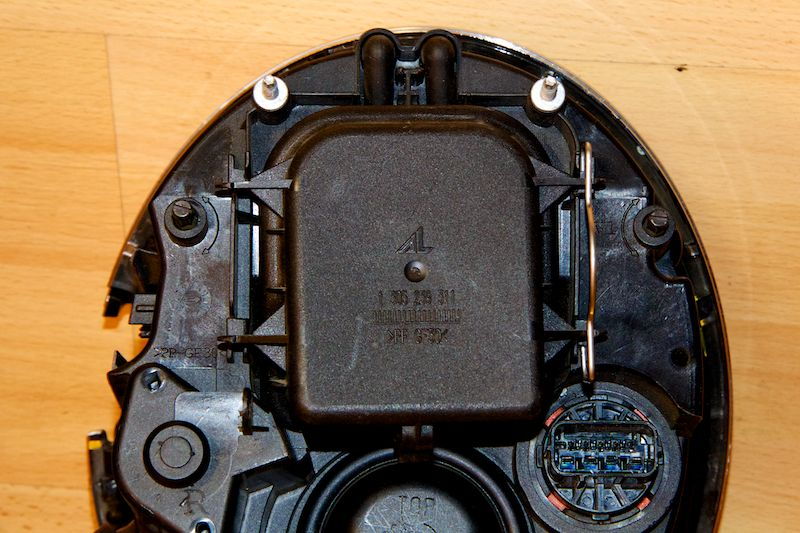
Inside the housing are a couple of ball and socket joints for the adjusters. One, or both, probably popped loose causing the lights to point down. The usually pop loose from large bumps, pot holes, or slamming the hood too hard. They can sometimes be put back together through the back cover without taking the lights apart. Pics to follow.
#4
Ok thx for the pics. I took that cover off and the filament/light came right down. Doesn’t seem to screw on really securely. I didn’t check other side yet. Maybe I’ll see if any vids r on YouTube on bulb replacement so I can see how it’s supposed to be. When I’m trying to screw the bulb in you can see the lens moving a bit also. Shouldn’t that be more secured in place? I’ll have to double check those ball and sockets.
#5
The adjustors support the projector housing so if it's not secure then the sockets probably came apart. Besides trying to avoid potholes, I close my hood by setting it down to the first latched position, then gently push the hood behind each headlight to finish latching the hood. If the sockets aren't completely broken, this should keep the headlights aimed where you set them.
#6

Ok so I put a few washers behind one of the lens/projector screws and now that’s secure. I’m still not satisfied with how the bulb secures into that tho. Seems it rattles itself loose. The other side bulb fell right out when I took the cover off. Doesn’t seem like anything is cracked off. This look ok?
#7
Trending Topics
#8
Not sure as I haven't had to remove or replace my bulbs yet. The ball and socket issue is normally the reason for the downward pointed headlight problem with the face-lift projection xenons. Another thing to check are the headlight leveling sensors on the front and rear control arms on the drivers side. If they're not working properly it could be the cause of the issue.
Pics of the front sensor are here and a diagram is in post #5. The rear sensor arm is attached to upper control arm. Check to see if the sensors are working, or if there's any damage to the wiring, brackets, or adjustment arms.
https://www.northamericanmotoring.co...ml#post4382933
Pics of the front sensor are here and a diagram is in post #5. The rear sensor arm is attached to upper control arm. Check to see if the sensors are working, or if there's any damage to the wiring, brackets, or adjustment arms.
https://www.northamericanmotoring.co...ml#post4382933
#9
It’s not the lights, it’s the auto leveling connections are not clean and making good contact. This causes the light to pion down even with the adjust to the highest setting.
One is on on the front drivers lower control arm and the other is on the rear upper control arm. Disconnect them and clean the connections, add a little dielectric gel and re-connect them. You need to look for the little black box with wires going to it on the driver control arm. Nothing else there (behind the brakes and rotors) has wires going to it. It should be easy to find.
You can easily test the out leveling to see if it is working by just opening your hood, with the keys in the ignition on, (Car not running) drivers window down.
Next reach inside the car and turn the stalk talk to turn the lights on. You should be able to see the Auto level move the lights up and down. You can do this in a garage, if you have one, and watch the lights move on the ceiling.
If they do not move go check the auto leveling sensors connections like I listed above.
Check ( remove clean and reconnect) the drivers one first as it is the most common one to get dirty and loose connection.
Good luck as this should be an easy fix.
#11
If you want to talk about this shoot me a PM and I will send you my number. I have had many HID units open and I know what you are talking about with the bulb being loose.
#12
Ok so i bought all LED lights for the interior and some exterior thru Way Motor Works and put them in. Pulled the cig lighter(I’m a quitter) and put in a dual USB port with volt meter on it. Secured my emergency brake console that had been loose. Removed the rear hatch shade as I’d like to pull my rear seats eventually.
Main point tho is I spoke with Dave. O for a bit about my lights and got them secured in like I think they should be and confident I can get them adjusted when I have time and it’s dark obviously. The motors do work but I cleaned out the connection behind the drivers side tire anyway. Thx for the help!
Main point tho is I spoke with Dave. O for a bit about my lights and got them secured in like I think they should be and confident I can get them adjusted when I have time and it’s dark obviously. The motors do work but I cleaned out the connection behind the drivers side tire anyway. Thx for the help!
The following users liked this post:
Dave.O (08-05-2018)
#14
It was getting them apart and putting them in the correct way. Tbh it’s pretty ridiculous how hard it was to get them apart. I knew the igniter and the build and the ring were 3 separate pieces yet I couldn’t get them apart. Crazy but once I had them separated. Put them in one by one time make sure they were secure, all was good and tight. It seems all is good now. When I have time and it’s dark out I’ll attempt to adjust them so I can see and don’t blind everyone coming at me.
#15
Adjusting rod

Crack in adjusting rod holder
Thread
Thread Starter
Forum
Replies
Last Post


