When you click on links to various merchants on this site and make a purchase, this can result in this site earning a commission. Affiliate programs and affiliations include, but are not limited to, the eBay Partner Network.
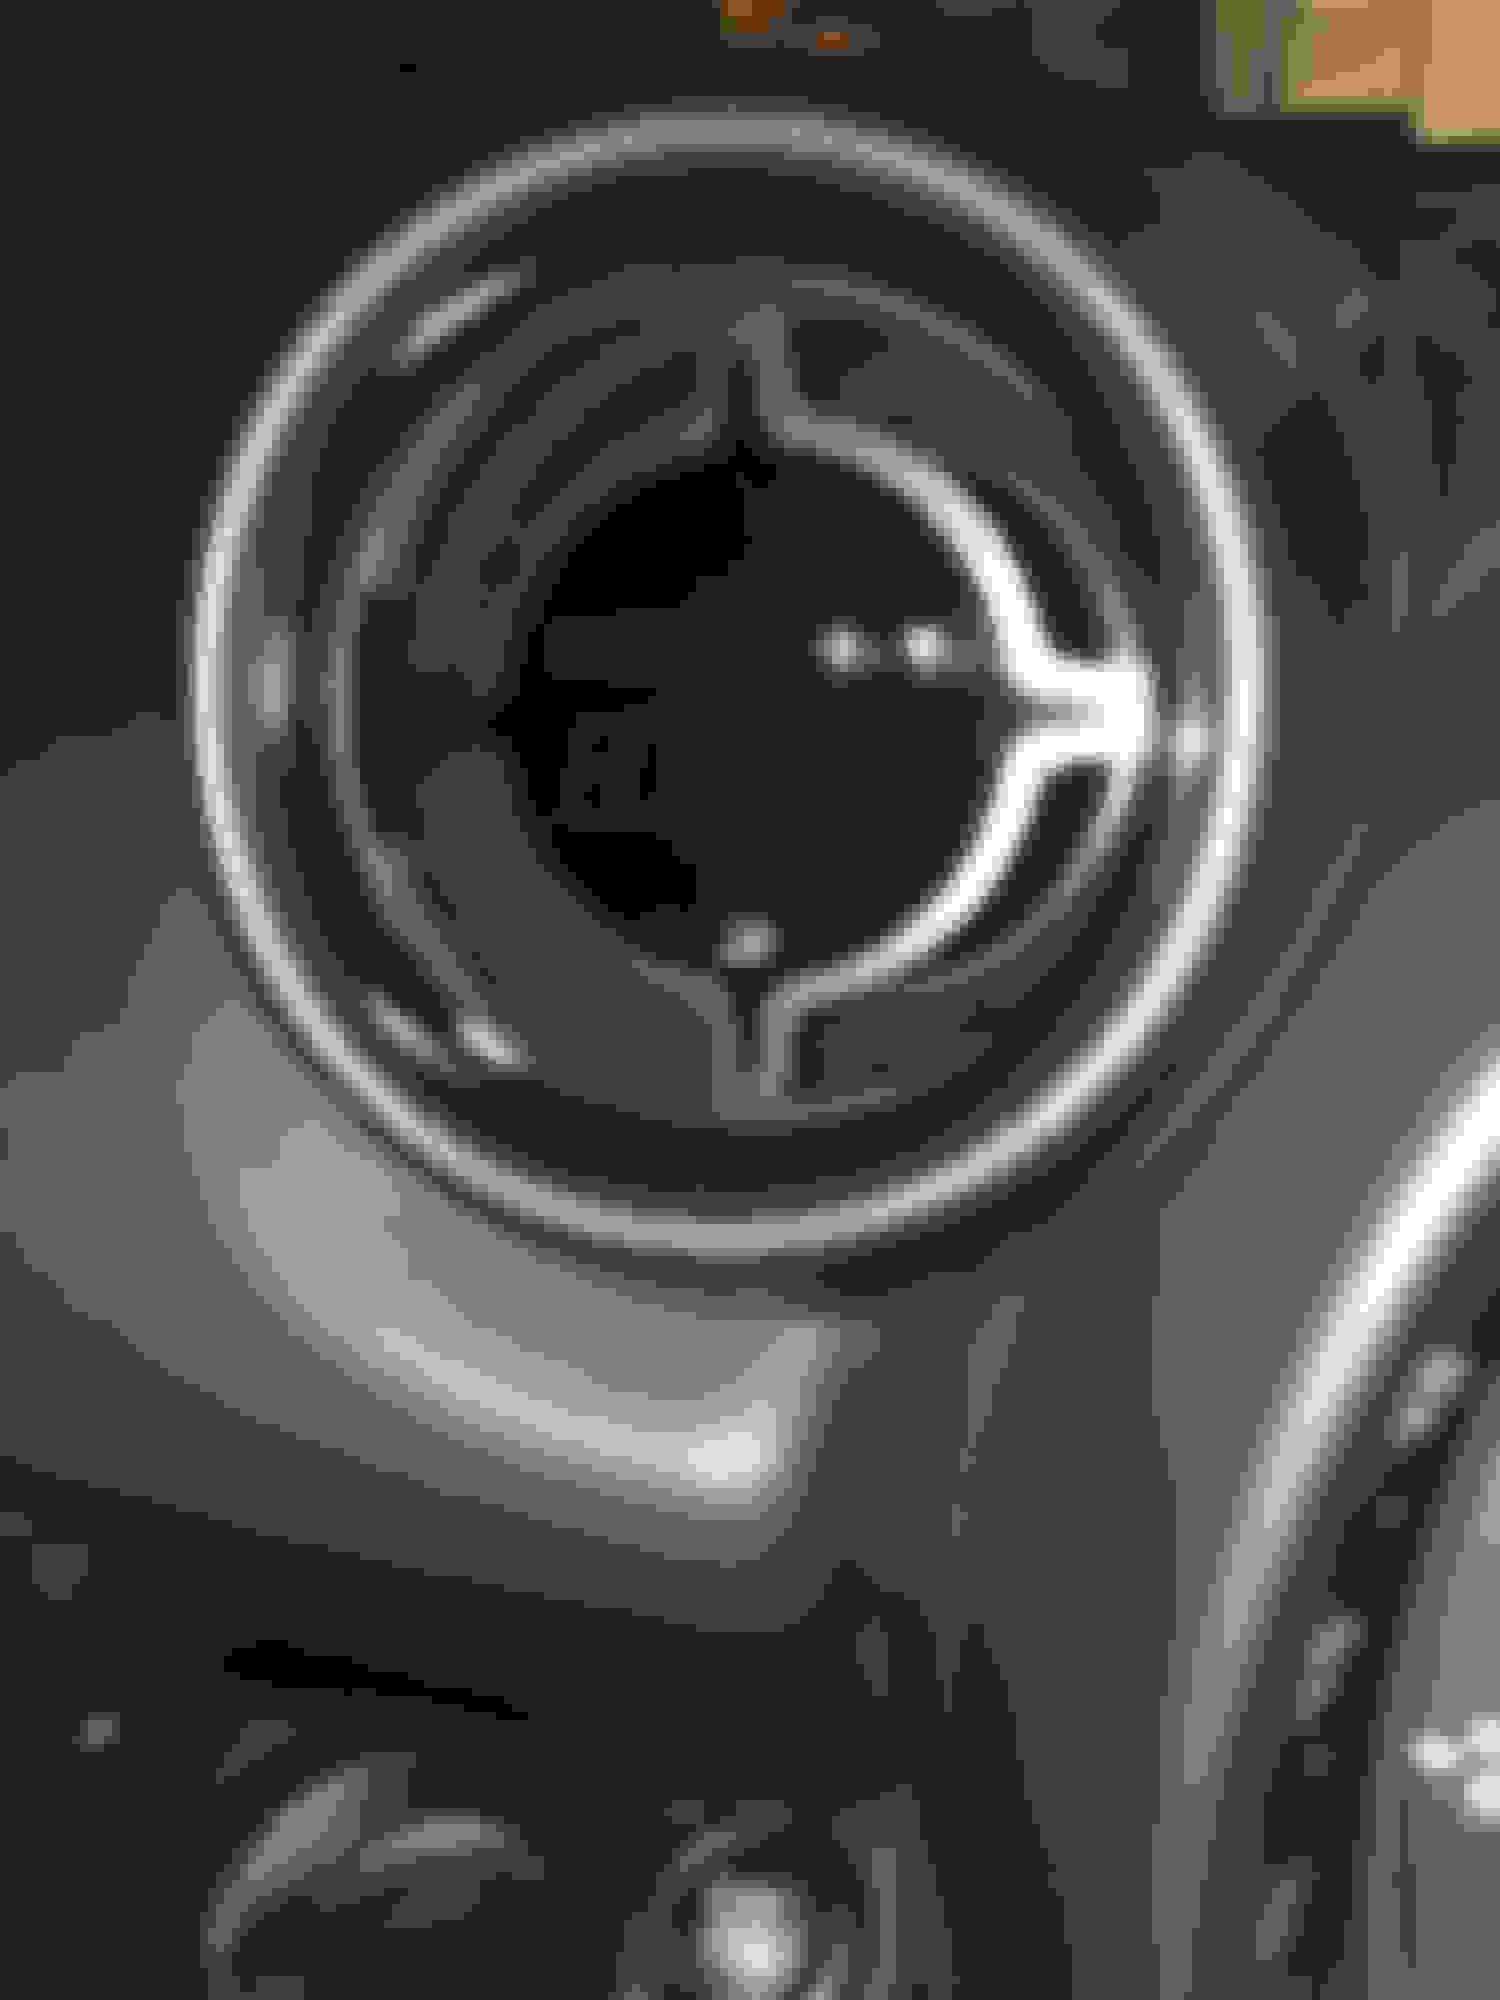
Here are some pictures of it right now. Dont think the front should be too much of a problem after lowering only think the back might.
WOW! LOL! That thing is up there!! I don't think you will have any rubbing issues! Can you please post some pictures of it after you do the springs? I am also planing 19x8.5, so I would like to see the end product. What tires are you running?
If you run into any snags, I posted some install instructions earlier in this thread. Good Luck!
Here is the finished product Im pretty happy with the end result; )
Has been a while since I've uploaded anything. Although not MINI Related, I'm thinking some of you will appreciate this! I bought a 2JZ-GTE Turn-key, stripped it down to the block: Doing forged internals, titanium valve train, big single turbo, etc... Looking to put out anywhere between 750-1000 HP. I'm probably going to mate the engine to an ATI Powerglide or a TH400 tranny and some sort of bulletproof 9-Inch held together by a 4-Link in the rear, supported by bags. Coilovers in the front. Concave forged wheels: 22X12 in the rear. 19X10 in the front. Stoptech BBK front&rear.
Once the engine is ready, I'm dropping it into a custom-fabbed aluminum Rat-Truck!! Checkout CUTWORM SPECIALTIES in North Carolina, he will be doing the build for me.
The project is going to take a few years, but will surely be pretty epic. The vehicle will have HVAC, power windows, full cage, Sparco seats, sound system, etc... I'm still deciding whether I will go with a paint job or just keep the raw aluminum. If I go paint, I was thinking Matte Pearl White, with a black-chrome powder-coated frame and suspension.
As you can see in the photo, I'm in the middle of grinding off the casting flash and will be fully polishing the cast iron. I have never seen any fully polished 2JZ blocks, thus, I think this will really pop, especially since the engine will be exposed! The rest of the engine parts will either be: powdercoated black-chrome, chrome, polished, or bare metal. No color, including any AN fittings, etc...
Let me know what you guys think of the project!
I never uploaded the video of my CMS, I just took some footage and have begun editing. I will try to upload sooner than later.
Drive Safe & Drive Often. Rubber Side Down. Over & Out.
Sounds awesome @JuanTheHuman! If you're going to be in the NC/SC area to do that, you'll have to come to Rock Hill, SC and grab a beer with me!
Hey DYELUCKY!
I'll take you up on that offer! It wont be for a long, long time as I have to get the engine to turn-key status, before I even go up to Cutworm to begin the chassis! But hell yeah, I'll never turn down a cold one!
I recently installed the "SuperBrightLEDs" Rock Light Kit into the CMS. It took me about 9 Hours, since I really took my time, routing all the wires into OEM loom locations and up and out of the way of heat, weather, debris, vibration, etc.
First started by removing all 4 wheels and wheel-well liner assemblies. I drilled out 2 small holes in the TDC of each wheel well liner, nearest the metal fender, where there is already a pre-made "slit" in the liner. I used the slit to route in the cable for each individual LED fixture. The fixtures come with all stainless hardware, which I used to secure it on the inside/convex portion of the liners. Then it was just a LONG matter of time (and zipties) in routing all 8 cables towards the front of the vehicle. I mounted 1 in each fender liner, 1 in the center-crossbar of the rear sub-frame, 1 on each tail-end of each frame rail(L&R), and 1 in the front, where the JCW lip ends and the plastic radiator shroud begins.
Then, once I had all the cables lead up to the R/R of the engine bay, I cut off the excess cable and re-soldered the connections. I drilled a 1/4" hold in the wiper gutter, right next to the Brake Fluid Resevoir, which is where the wiring harness would connect to the 8 pigtails. The pain the @$$ part was running the wiring harness from the L/R of the rain gutter, where it connects to the battery, to the other side, R/R, where the wire loom grommet and brake system are.
It is an extremely tight space inside the gutter. I taped the harness to a long "Claw Pick-up tool" and snaked it as far as I could. I could then reach and clamp onto the tool with some very long nose pliers, and pull the harness all the way through.
I did not want to start drilling holes into the frame rails, so I actually came up with a pretty cool idea. At the tail end of the frame rails are holes/slits in the corners. I attached the LED fixture via zipties routed through these "corners". This method also required me to drill the mounting holes in the fixture as they were too small to run zipties through them. So, I like that it is "non-permanent" and the LED fixtures can be easily swapped out if they ever fail.
Here are 2 photos of the Fender Liner installs. I will add more of the Frame Rail, subframe, and radiator installs. I will also add a good night photo of the setup, I tried with the iPhone and the pictures sucked.
Drive Safe & Drive Often. Rubber Side Down. Over & Out.
cool. I put a multiple color kit on my CM. can control with phone and set patterns and current mood
I keep forgetting to put a video up of it. Soon Instagram #myminimojojojo
So i finished installing the P3CARS V.I.D.I Gauge last night. I'm just gonna say that working in the driver's footwell sucks B@!!$.... I'm 6'1'' and 235 lbs, and would not wish the contorting into that space on my worst enemy! I only took one picture of the gauge because I was tired, but I will add some more of the gauge lit up. Eventually, I will also add YT videos of the car.
So in terms of installation procedure....
-Remove "Mickey Trim Piece".
-Fashion 4 Rectangular Wedges out of a paint can cap in order to remove the circular vent cap that holds in the directional vent.
-Remove Directional Vent from Vent Hole.
-Remove the 2 U-Shaped Shims that held the Directional Vent.
-Before you start drilling! Close all AC Ducts except for the Gauge Duct and turn AC on full blast. This will prevent plastic shavings from going down plastic duct and becoming forever relegated to a life of noise in your AC System! Plus, its a nice breeze while you work!
-Use an Right Angle Drill Adapter(like the one in the picture below) to reach as far back and down into the plastic AC Duct and start with a 1/4'' hole and move up to 3/8''. The "Ethernet" Modular Plug is slightly larger than 3/8", so you must use the 3/8" bit to slightly enlarge the hole for the plug to pass through.
-Use a metal file to clean up the edges of the hole.
-Use a Sharpie to "paint" up the edges of the hole in order to make it as inconspicuous as possible. However, the hole was far back and angled enough that I could not see it anyways.
-Run Gauge Cable through the hole and pull the slack out gently from the driver's footwell.
-Install Gauge by lining up the L&R Horizontal Spikes on either side of the gauge with the tiny holes in the face of the AC Duct Hole.
-Perform Sexy Cable Management of excess cable and module underneath driver's footwell, and ziptie out of the way.
-Plug in to OBII Port.
-Drive it like you stole it.....
Drive Safe and Drive Often. Rubber Side Down. Over and Out.
Thank you for this writeup it helped alot when installing my p3 vidi Gauge. I just want to note I took a bit of a different route that may save some time and you wont need to use a drill.
Once i removed the actual ac vent that conical in shape i just cut a notch about 1/2 inch deep shaped like |__| where the back of the vent would normally make contact and seal the A/C duct and placed the cable in the notch and then created a false circular wall by applying electrical tape. Unfortunately my pictures came out pretty crappy but i think you can get the idea. I was then able to just drop the cable down close to the dead pedal and run it across closer to the OBDII location.
I got around to installing some more items. I installed the JMTC "ICI" Pipe and NM OCC.
The ICI Pipe required quite a bit of "blood,sweat, and tears" as it is a very tight fit, but Arric from JMTC was extremely helpful and walked me through the process over the phone when I would hit a roadblock.
...
I already have the NM Engineering charge pipe. How much of that would be replaced by the JMTC ICI pipe?
 04-10-2016, 10:11 AM


 Im pretty happy with the end result; )


 Instagram #myminimojojojo