When you click on links to various merchants on this site and make a purchase, this can result in this site earning a commission. Affiliate programs and affiliations include, but are not limited to, the eBay Partner Network.
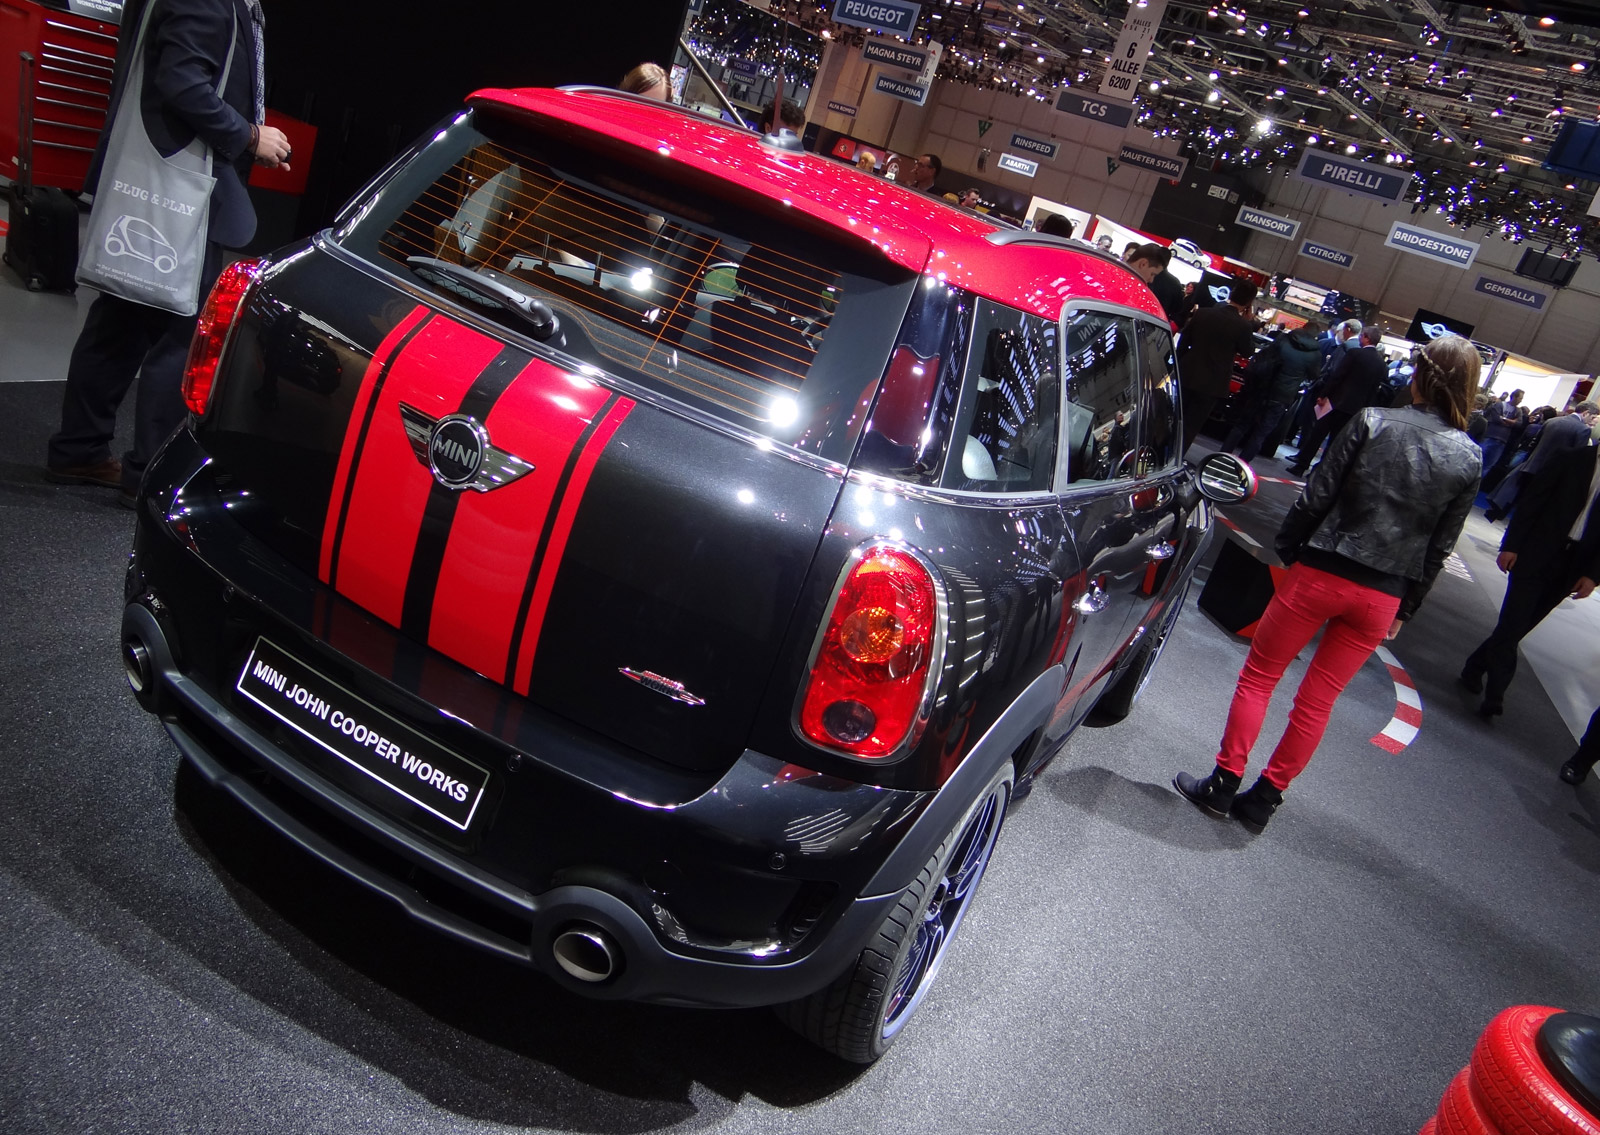
Hello, I just purchased this beautiful new Countryman in nearly perfect condition. The body is immaculate after 35k miles, however, it looks like the previous owner tried to clean the exhaust tips with a chisel!. I can see that they get quite a bit of soot on them. The tips are not directly connected to the exhaust pipes they are attached to the rear lower bumper. Does anyone know the part number for the replacement tips and also can they be replaced without dropping the bumper?
Pick up some Never-dull. My wifes tips looked worse soot wise and they cleaned up pretty dang well. It won't do anything for little nicks but will get the soot off
0000 steel wool, some gloves and a can of Mother�s Polish and save yourself hundreds. It can easily be cleaned up within a few minutes.
It's tough to tell from the pictures but the previous owner had scratched them with something like a screwdriver, no amount of polishing is bringing them back unfortunately. (I tried with the steel wool, polishes etc..)
Alright, have the new ones on, can tell you that getting the bumper cover off was more of a hassle than I was expecting. Took 2 trips to MINI dealer to get more plastic rivets to get it back together.
The side wheelwell gray pieces that have to be pryed away to expose screws for the bumper, 2 of the white clips broke on each side.(Only a 2016 but they were fairly brittle) Got every screw I could find off but the bumper still wouldn't come free. Way down on the bottom there are 2 more screws on each side by the rear splitter (Near the back side of the Muffler). However, they are very difficult to get to without taking an additional piece off first that has 5 Torx screws and 10 pop rivets then yo can get to it. The stupid Rivnuts were all spinning in place so you pretty much have to put a vice grips on them. Once those 4 screws were out of the way the bumper cover comes right off. (Don't forget to take off the 2 license plate and 4 rear parking assist connectors if you have them)
Draw some marks around the 3 existing flanges for your exhaust tips so the new ones will be centered in the openings.
You have to pop out the Rivnuts from the old exhaust tips to be reused on the new tips. On the bottom piece that had to be removed to reveal the 4 screws by the splitter, Mini says they actually don't have the part number for the replacement Plastic Rivets, I ended up using the same ones as used up at the top of the bumper cover under the wheel arches. They had a bit smaller flange but worked fine. Lastly, had alot of difficulty on the small push pin plastic rivets in the wheel wells, 3 of the 5 went in easily, the other 2, the push pins weren't going in no matter what. Ended up replacing them with plastic pop rivets and they went in perfectly.
Sorry it's so dirty, been raining here the last few days. Updated Exhaust tips with the JCW slant cut tips This is from right in front of the muffler, the 2 down facing bolts on each side need to be taken out in order to remove the bumper cover to get to the exhaust tips. The rivnuts were spinning in place and needed to be gripped with a vice grips This additional piece of plastic has to come off in order to get to the additional screws to get the bumper cover off
Last edited by MReiland; 07-01-2020 at 06:35 AM.
Reason: Added pictures
Very nice addition. Where are you in Wisconsin. Here on the west side of the state there aren't a lot of Minis.
Hey! I am on the north side of Milwaukee (Mequon) and there are a surprising number of Mini's driving around here. Its my wife's car and she has customized it sufficiently to not see another just like it on the road. Her previous one was a 5 Door Hardtop in dark blue with white stripes and roof and a white interior package (It all worked but you could tell it was not for everyone). Interestingly enough there was an exact match just about 2 miles away.
 03-25-2019, 04:25 PM