
R60 What did you do to your Countryman TODAY?
#901
 04-30-2013, 12:51 AM


1st Gear
Join Date: Mar 2013
Location: Southern California
Posts: 19
Likes: 0
Received 0 Likes
on
0 Posts


#902
04-30-2013, 07:07 AM
1st Gear
Join Date: Mar 2013
Location: Southern California
Posts: 19
Likes: 0
Received 0 Likes
on
0 Posts
#904
04-30-2013, 07:56 AM

#905
04-30-2013, 08:21 AM
1st Gear
Join Date: Mar 2013
Location: Southern California
Posts: 19
Likes: 0
Received 0 Likes
on
0 Posts
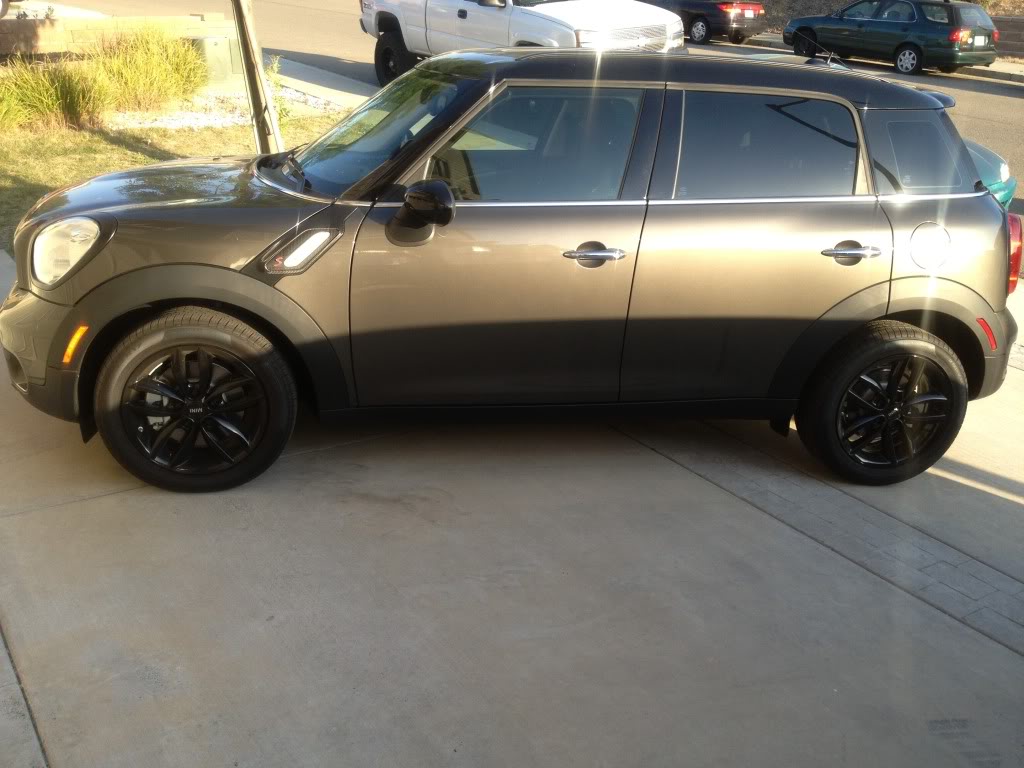
Yeah. I used white plasti dip for the the tail light and head lights. Black plasti dip for the belt line and emblems. I'm not sure I would do the door handles as you'll be touching them often. For my door handles, I used carbon fiber overlays from carbonmini.com.
#906
04-30-2013, 08:51 AM

1st Gear
Join Date: Aug 2012
Location: Las Vegas, NV
Posts: 28
Likes: 0
Received 0 Likes
on
0 Posts
#907
04-30-2013, 09:14 AM
1st Gear
Join Date: Mar 2013
Location: Southern California
Posts: 19
Likes: 0
Received 0 Likes
on
0 Posts


#909
05-01-2013, 07:55 AM

2nd Gear
Join Date: Mar 2013
Location: Columbia, MD
Posts: 52
Likes: 0
Received 0 Likes
on
0 Posts

#910
05-01-2013, 08:01 AM

1st Gear
Join Date: Aug 2011
Location: MI
Posts: 47
Likes: 0
Received 0 Likes
on
0 Posts
Yellow engine light appeared yesterday at lunch. They repaired it today, coolant temperature sensor replaced. Should be good to go now.
Loaner that I had was a 2013 Countryman S ALL4. I had to get used to the new location of windows switches and the three different buttons/toggles that can be used to lock the doors.
Loaner that I had was a 2013 Countryman S ALL4. I had to get used to the new location of windows switches and the three different buttons/toggles that can be used to lock the doors.
#912
05-02-2013, 09:43 PM

1st Gear
Join Date: Apr 2013
Location: Nor Cal
Posts: 31
Likes: 0
Received 0 Likes
on
0 Posts
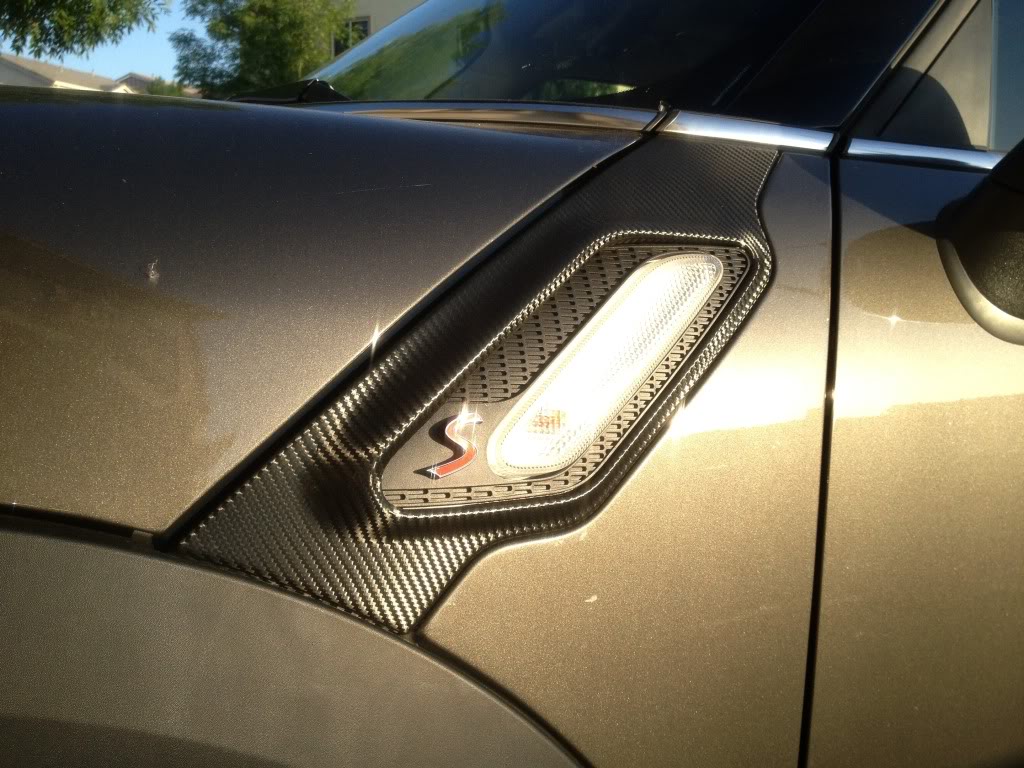
Did not do this today. Did the windows last Friday, and the vinyl on Monday. Did the headlight/tail light rings and upper grill in flat black. Did the scuttles in 1080P black carbon fiber. Still need to do the belt line in flat black as well as the mirror caps in the 1080P carbon fiber. Got the JCW lip on Monday and need to install it this weekend. Got the KSport coilovers today, just waiting for the SPC camber arms and the rear sway bar. Debating between the VIP and the NM rear sway bar. Waiting on the Advan wheels as well.

Jason


Jason
#913
05-03-2013, 09:35 AM
i've been contemplating doing the belt line and light rings on mine as well...
how difficult was the belt line? looking at it i imagined it would be challenging to get it right. secret tips?
did you remove the light rings or leave them in place?
#914
05-03-2013, 10:48 AM
1st Gear
Join Date: Mar 2013
Location: Southern California
Posts: 19
Likes: 0
Received 0 Likes
on
0 Posts
For the beltline, I used newspaper to mask off the areas I wanted unpainted. Try to spray evenly without applying too thick of a coat at once. Also make sure to apply a decent amount of coats so that the unwanted edges can peel away cleanly. There are tons of "how to" videos available on youtube which I found helpful.
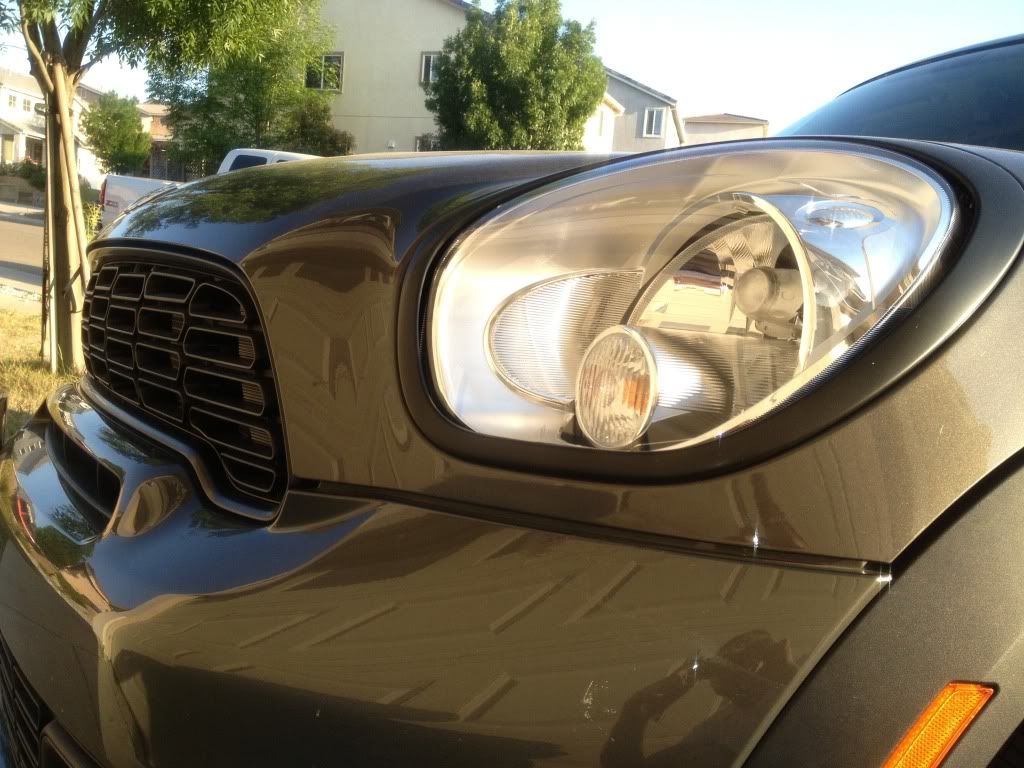
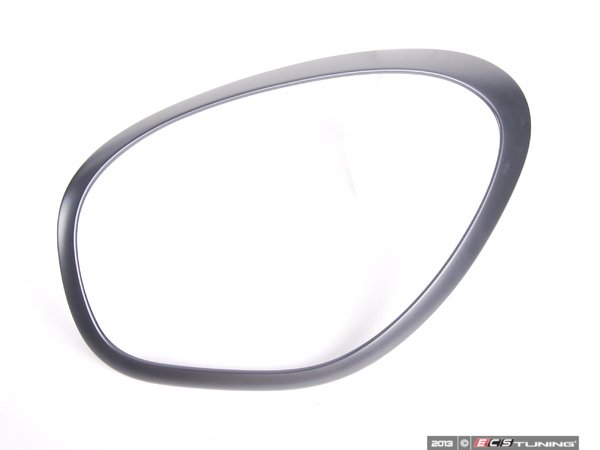
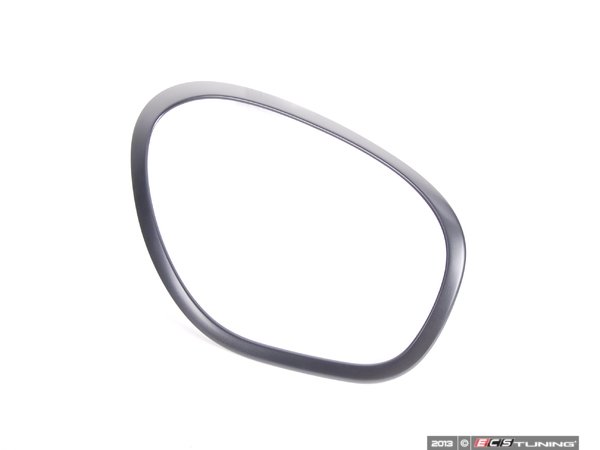
Originally, I plasti dipped the rings in black while leaving the TL and HD rings on the vehicle. I had great results and it was fairly simple. This time around, I wanted to remove the rings just to try a different process.
I think ultimately, I'll have the rings painted by a custom body shop so they're a perfect match to the body color.
I say go for it and if you don't like it or mess up, its completely reversible.


#916
05-03-2013, 10:58 AM
yeah i'm familiar with plasti-dip having done the front and rear badges and the All4 badges. the belt line seems like it could be challenging from the top portion especially on the hood, as there isn't a place to overspray and create the tearing cleanly.
on the light rings, the headlamp rings are easy enough to remove but i've heard the taillights are a pain to pop out and i don't really want to risk damaging the ring or losing the tiny bits holding it in place. i'll give it a go and see what happens.
on the light rings, the headlamp rings are easy enough to remove but i've heard the taillights are a pain to pop out and i don't really want to risk damaging the ring or losing the tiny bits holding it in place. i'll give it a go and see what happens.
#917
05-03-2013, 10:59 AM
How did you do the beltline with plasti dip? I tried to do my belt line with it and it didn't turn out so great--lines of chrome sticking through where the rubber top meets the chrome. Also, how much did you cover above and below the belt line before spraying?
#918
05-03-2013, 11:03 AM
Platinum Sponsor
JCW Design Package - Non Power Fold Mirror
http://www.ecstuning.com/Search/51192185769/
JCW Design Package - Power Fold Mirror
http://www.ecstuning.com/Search/51192185768/
Did not do this today. Did the windows last Friday, and the vinyl on Monday. Did the headlight/tail light rings and upper grill in flat black. Did the scuttles in 1080P black carbon fiber. Still need to do the belt line in flat black as well as the mirror caps in the 1080P carbon fiber. Got the JCW lip on Monday and need to install it this weekend. Got the KSport coilovers today, just waiting for the SPC camber arms and the rear sway bar. Debating between the VIP and the NM rear sway bar. Waiting on the Advan wheels as well.


Jason
Jason
http://www.ecstuning.com/Search/51132254023KT/
Side scuttle looks great in the 3M Di Noc.

__________________

MINI Guru/ MINI Owner Since 2004 | NEW Lifetime Part Replacement | Local Pickup
Milltek | Genuine MINI | Forge Motorsport | NM Engineering | ECS Performance | M7 Speed
Customer Service Hours: 8am-8pm EST|Sales Team Hours: 8am-11pm | SAT 10am-7pm 800.924.5172
MINI Guru/ MINI Owner Since 2004 | NEW Lifetime Part Replacement | Local Pickup
Milltek | Genuine MINI | Forge Motorsport | NM Engineering | ECS Performance | M7 Speed
Customer Service Hours: 8am-8pm EST|Sales Team Hours: 8am-11pm | SAT 10am-7pm 800.924.5172
#919
05-03-2013, 02:03 PM
1st Gear
Join Date: Apr 2013
Location: Nor Cal
Posts: 31
Likes: 0
Received 0 Likes
on
0 Posts
[QUOTE=Side scuttle looks great in the 3M Di Noc. [/QUOTE]
Thank you. It is actually this here:
http://solutions.3m.com/wps/portal/3...ts/Series1080/
Has the UV protection unlike the Di Noc stuff that was originally made for interior work that people started to use on the exterior. So the 1080 will not fade like the Di Noc will over time.
Jason
[/QUOTE]Thank you. It is actually this here:
http://solutions.3m.com/wps/portal/3...ts/Series1080/
Has the UV protection unlike the Di Noc stuff that was originally made for interior work that people started to use on the exterior. So the 1080 will not fade like the Di Noc will over time.
Jason
#920
05-03-2013, 02:11 PM
1st Gear
Join Date: Mar 2013
Location: Southern California
Posts: 19
Likes: 0
Received 0 Likes
on
0 Posts
yeah i'm familiar with plasti-dip having done the front and rear badges and the All4 badges. the belt line seems like it could be challenging from the top portion especially on the hood, as there isn't a place to overspray and create the tearing cleanly.
on the light rings, the headlamp rings are easy enough to remove but i've heard the taillights are a pain to pop out and i don't really want to risk damaging the ring or losing the tiny bits holding it in place. i'll give it a go and see what happens.
on the light rings, the headlamp rings are easy enough to remove but i've heard the taillights are a pain to pop out and i don't really want to risk damaging the ring or losing the tiny bits holding it in place. i'll give it a go and see what happens.
Looking forward to seeing how it turns out!
#921
05-03-2013, 02:22 PM
1st Gear
Join Date: Mar 2013
Location: Southern California
Posts: 19
Likes: 0
Received 0 Likes
on
0 Posts
To do the belt line, I masked off the area like any other plasti dip mod. I think I covered about 3" above and below the belt line but some areas were inconsistent. I honestly didn't give it much thought while masking off the areas. I may have had a tiny area where the chrome was peaking through after plasti dipping. To touch up the small area, I sprayed the tip of a toothpick and dabbed the area that needed to be covered. I also used this technique for touching up the trims and badges. It works great and beats having to mask everything off and spraying another coat.
#922
05-03-2013, 08:31 PM
5th Gear
Join Date: Nov 2011
Location: College Station, TX
Posts: 742
Likes: 0
Received 0 Likes
on
0 Posts
#923
05-04-2013, 07:10 AM
2nd Gear
New tires yesterday.
Finally got rid of the factory Pirrelli leak flats. I got tired of adding air to all 4 tires!
Put on a set of 225/50/17 Goodyear RS/A on stock rims.
A little softer on the potholes here in Boston and much better grip.
Pretty significant rim protector for our 4-8 inch high granite curbs.
Noticeably quieter than the run flats.
Have not had long enough to notice fuel mileage difference yet.
Slightly more lateral tire roll, but other benefits outweigh the amount of roll.


