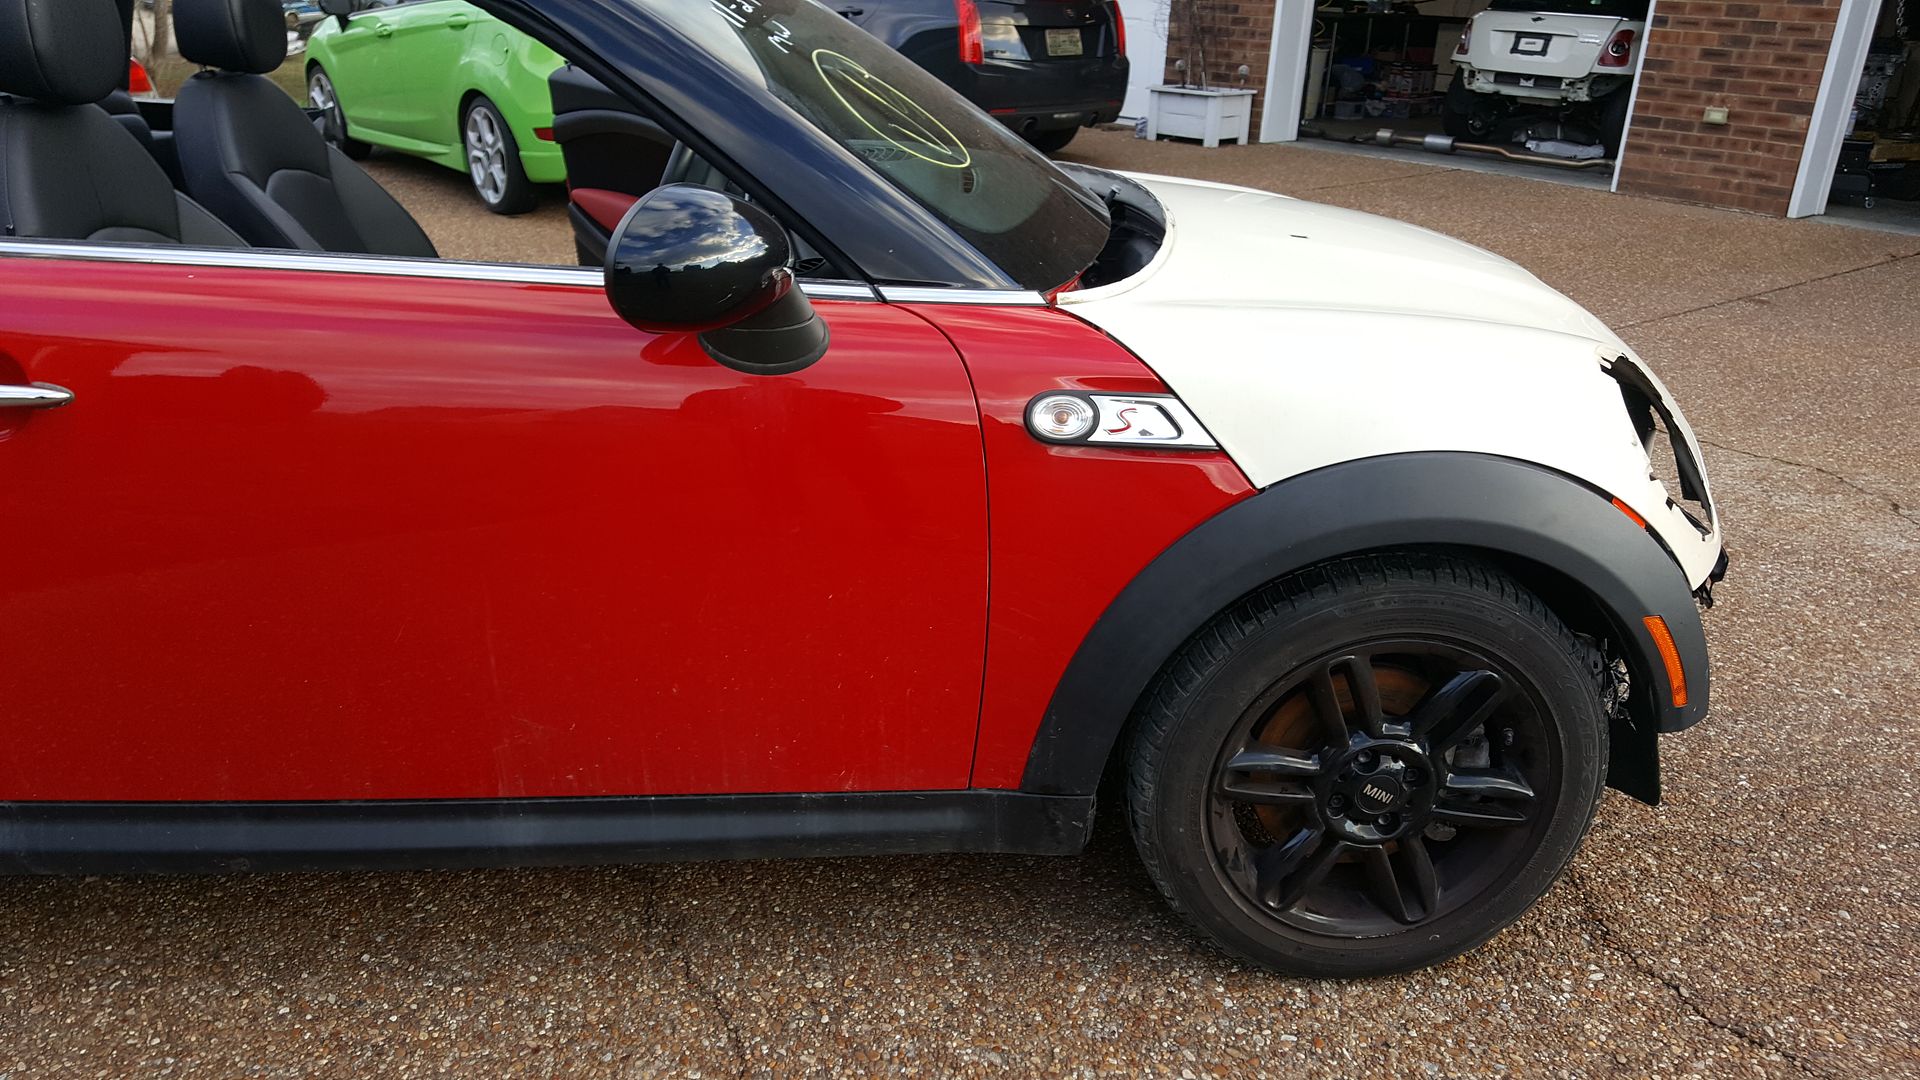
R58 Picked up a bruised '14 today, here goes the rebuild

#52
 02-20-2018, 09:45 AM


#53
02-20-2018, 09:47 AM
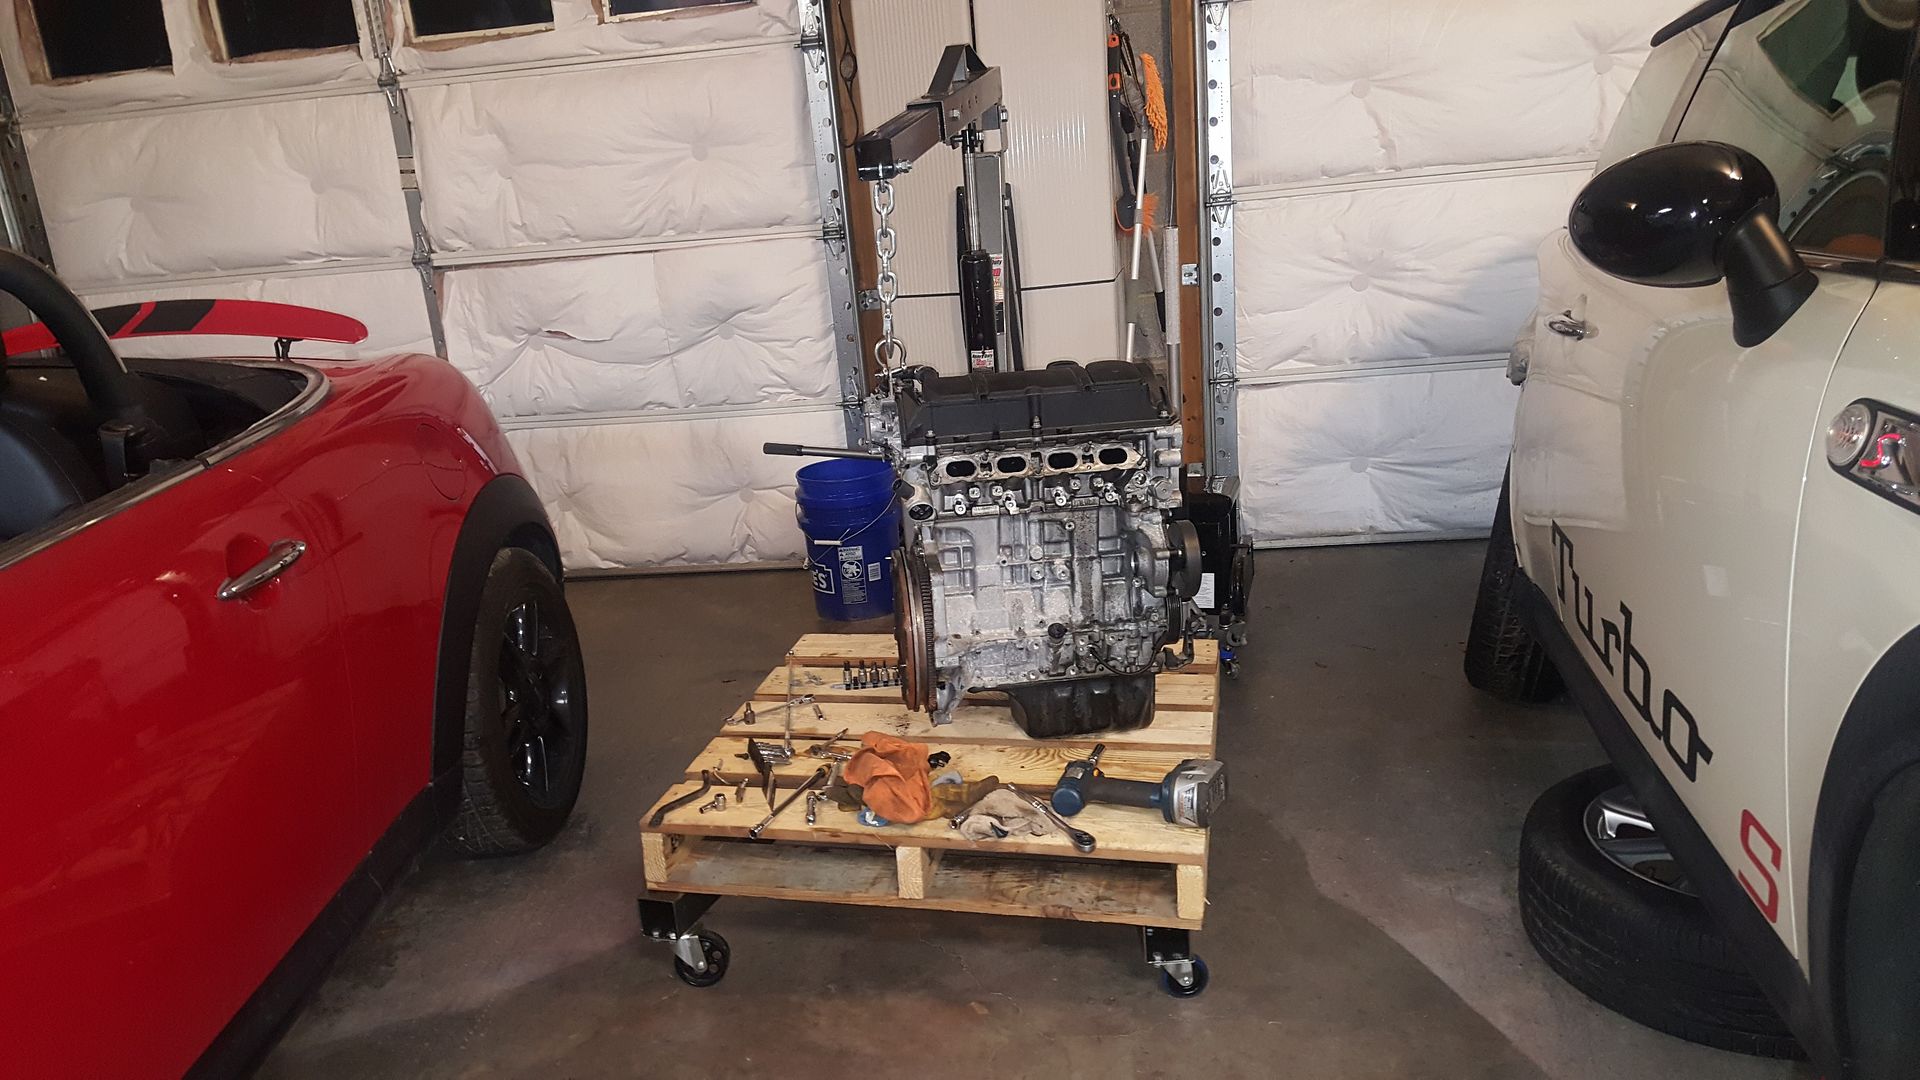
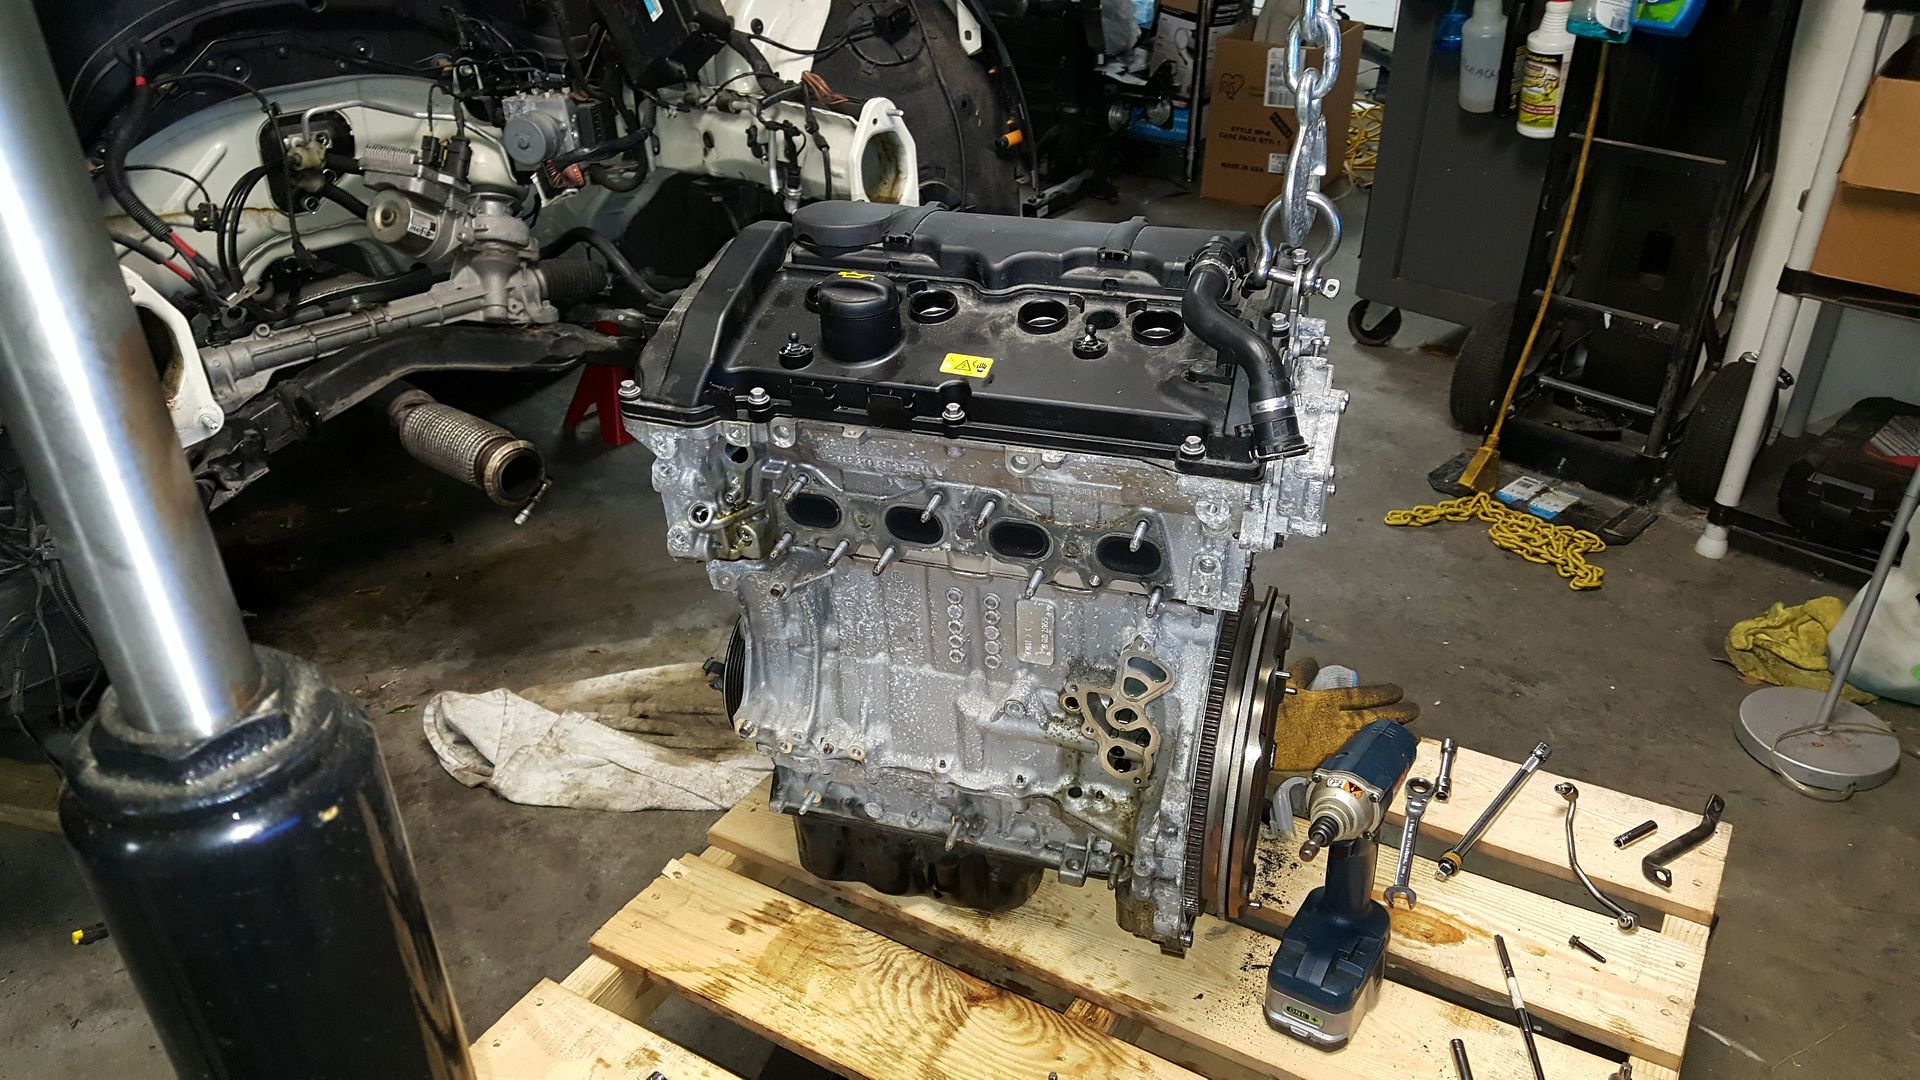
By the way, I got the motor stripped of accessories and separated from the tranny. I've removed the motor mounts and installed them. Tonight I plan to strip the black plastic cowl pieces, battery cable, passenger brake line and install them. The list is just so damn long it's daunting. Last night I ordered the upper cowl pieces that cover the battery and wiper motor, since they are different than the R56. Hopefully I'll see them this month.


#54
02-20-2018, 06:29 PM

But this is your hobby and you seem to have a lot of fun no matter how crushed they are.
#55
02-20-2018, 08:12 PM
Here's the work accomplished tonight:
- removed donor front passenger brake line - installed - bled the brakes
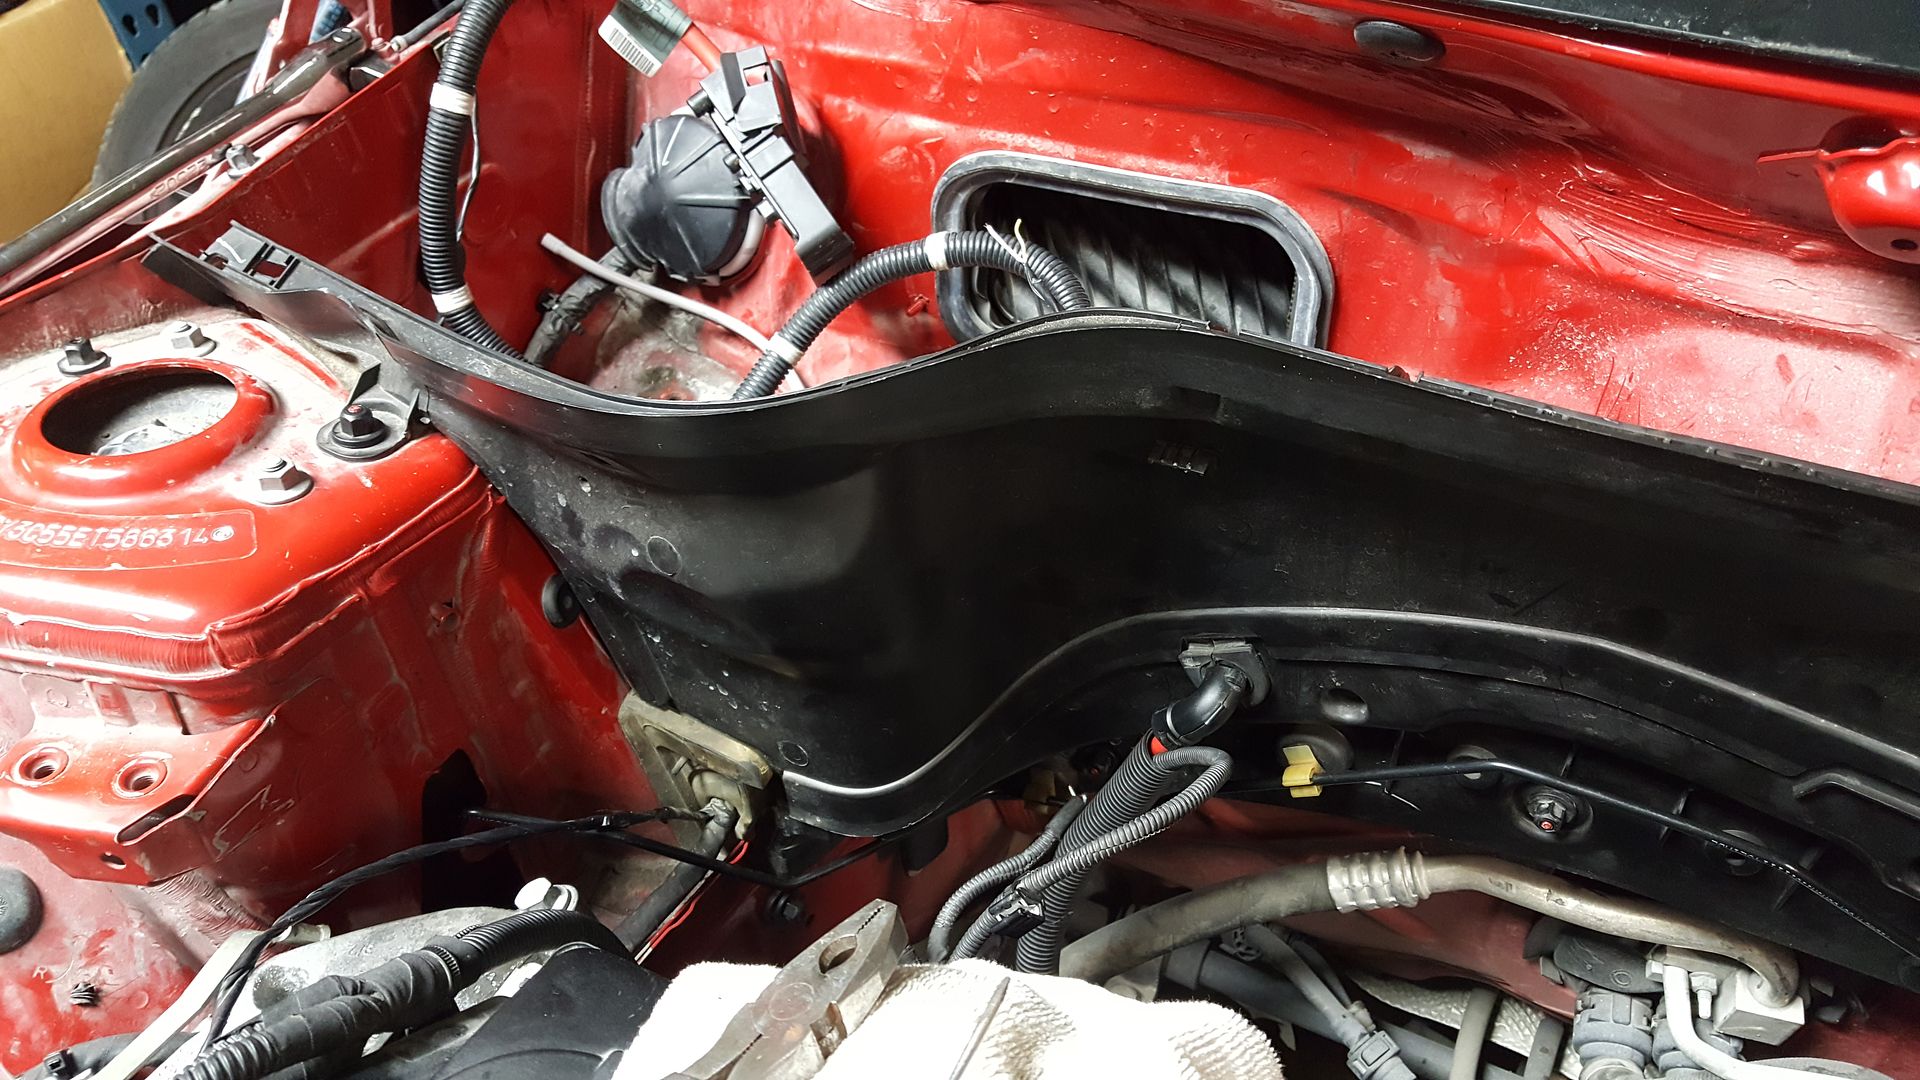
- removed donor firewall / cowl panels - installed
- removed donor battery cable - installed
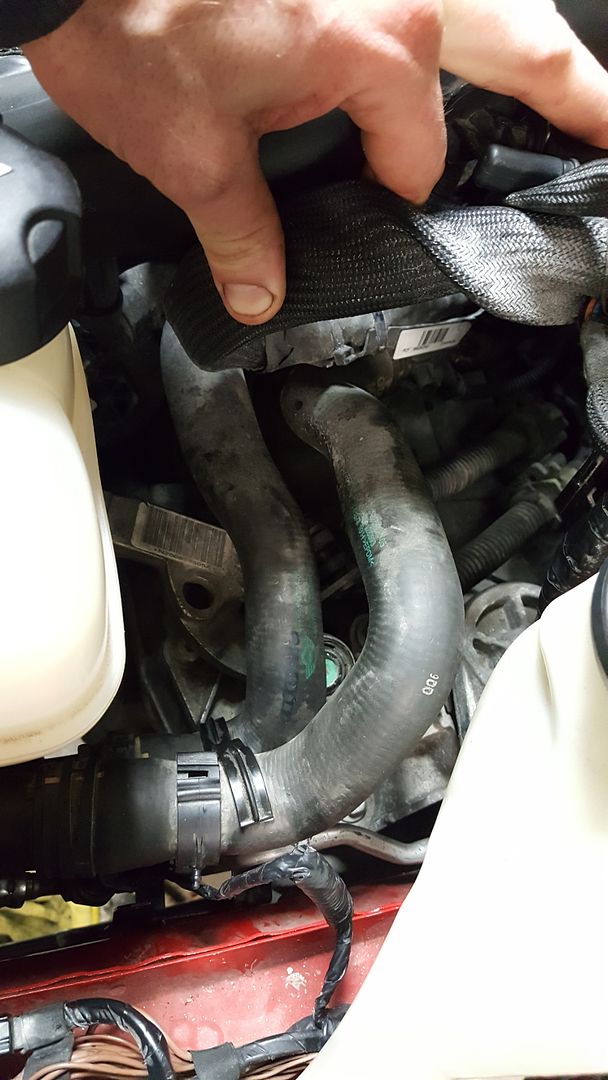
- replaced damaged hose with donor hose
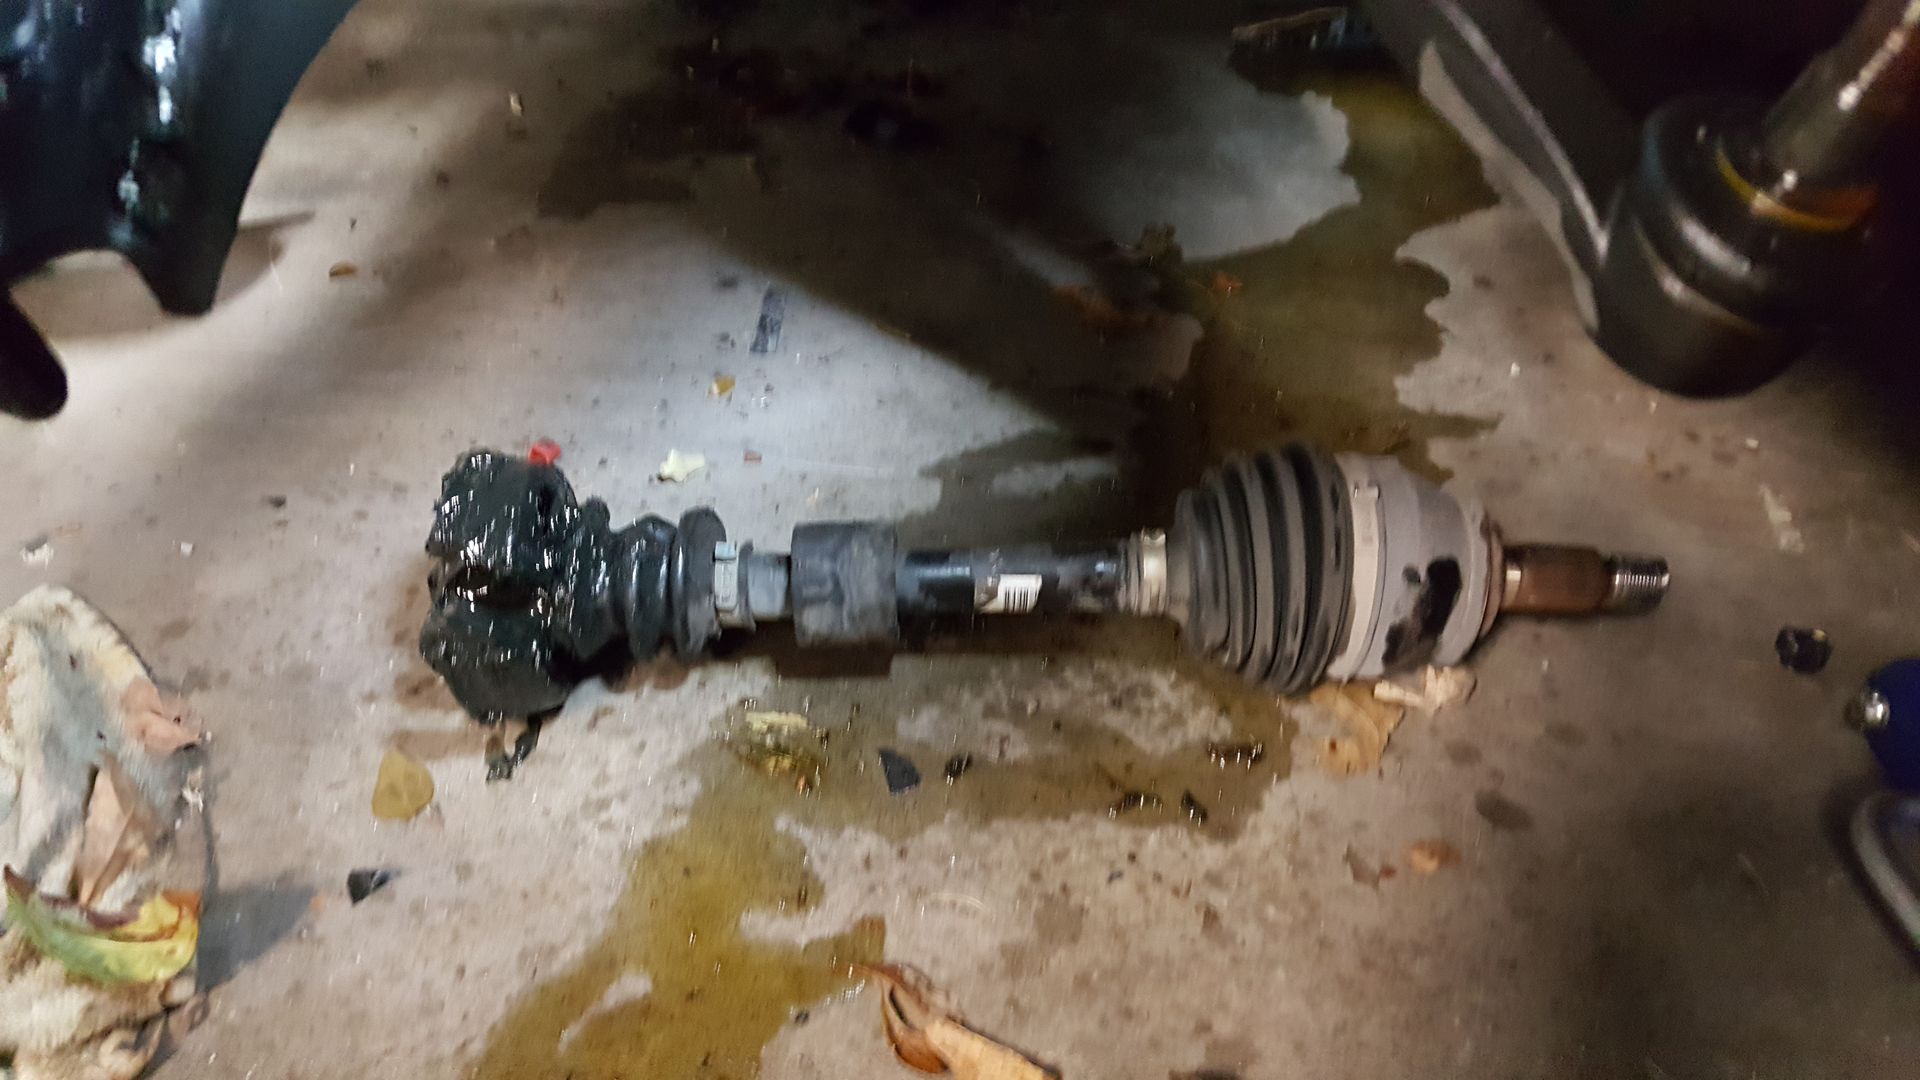
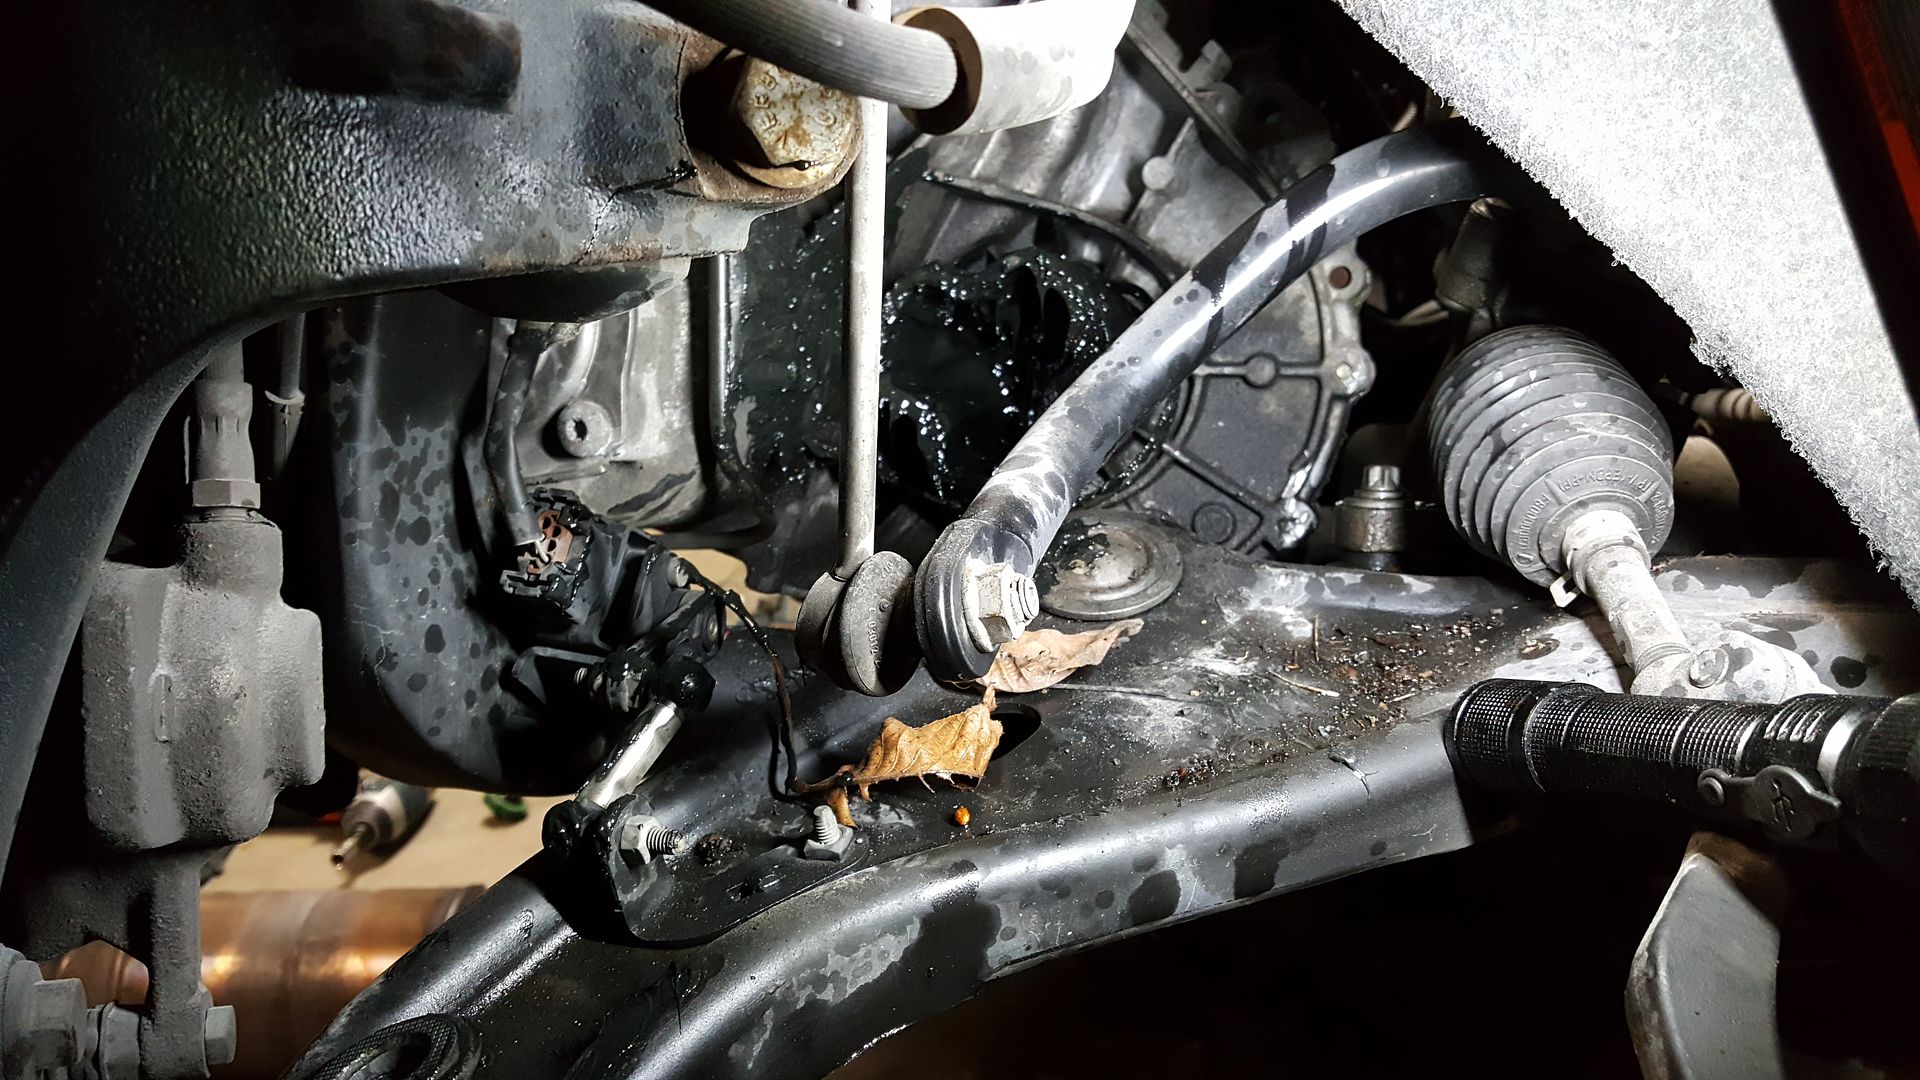
- partially removed damaged driver half shaft, and will fully remove and replace tomorrow. The damn thing is broken in two, but at least there's enough hanging from the tranny to grab.
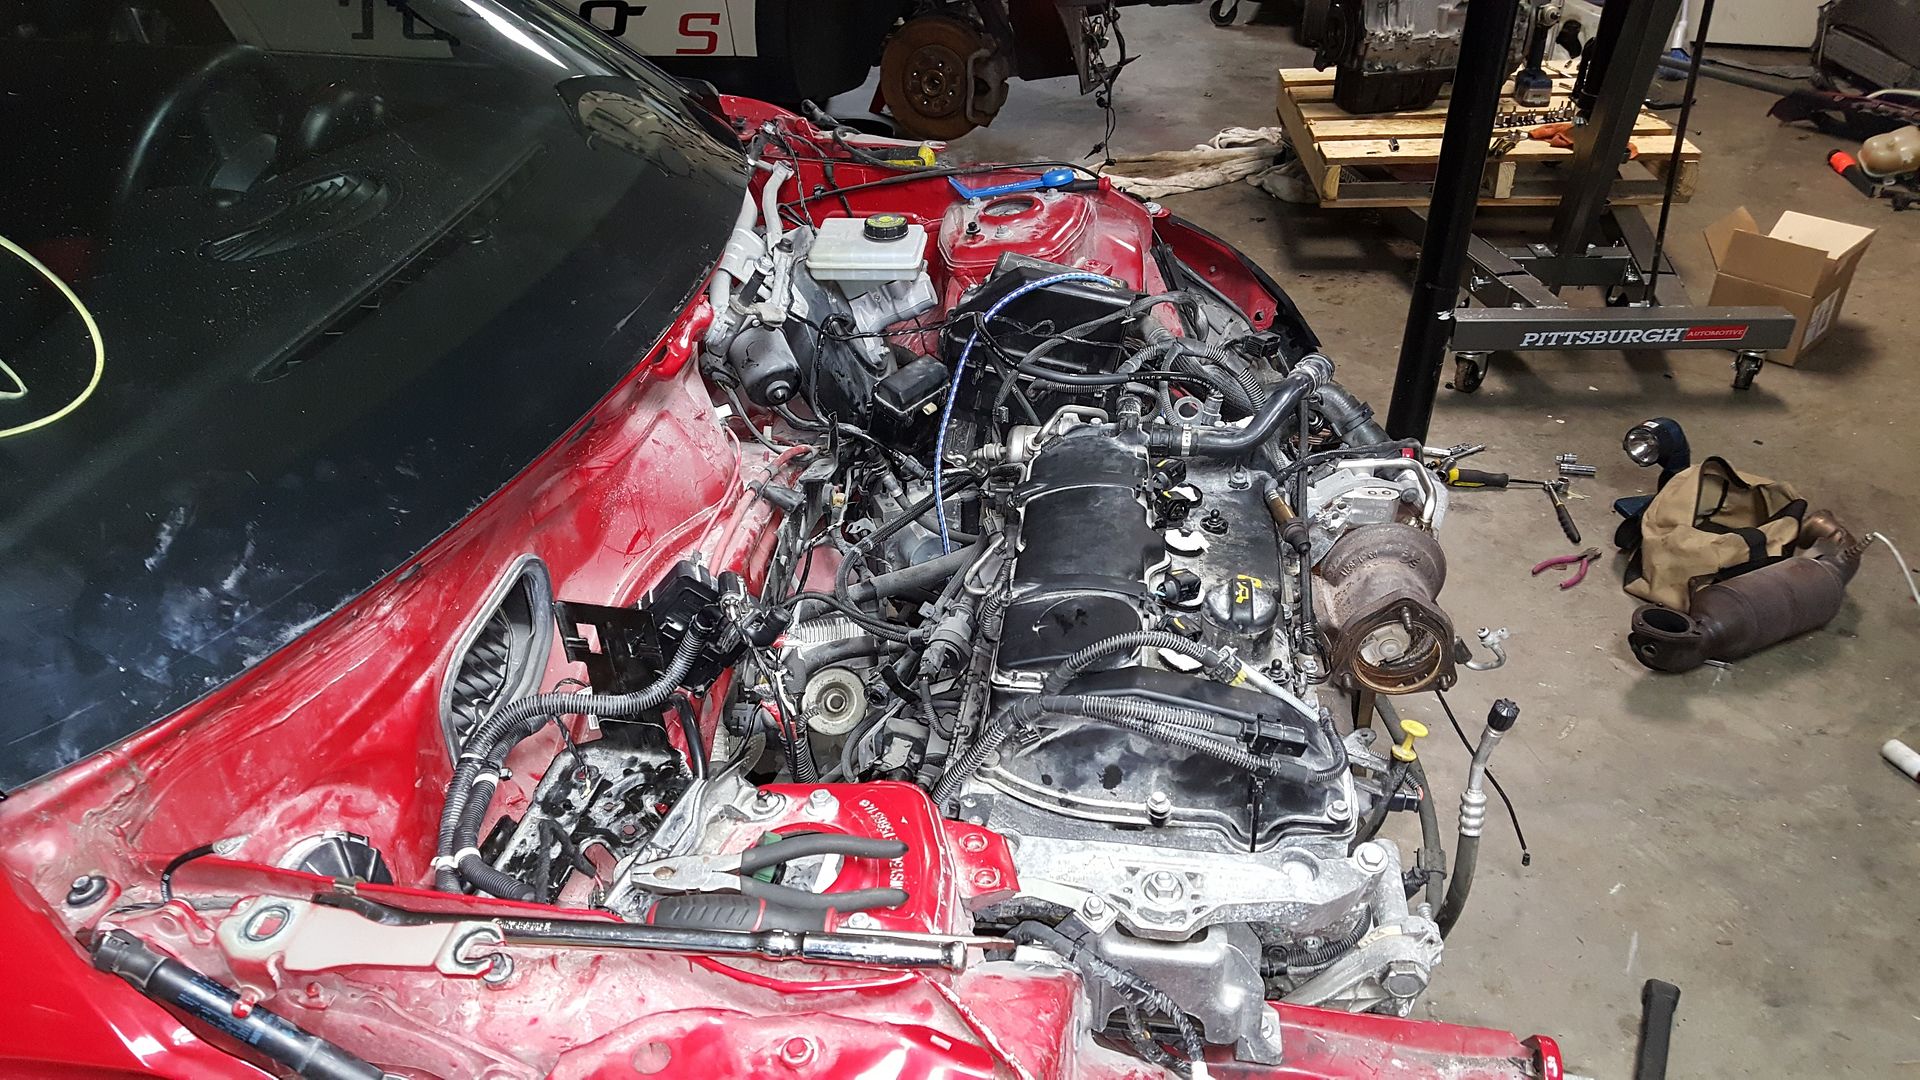
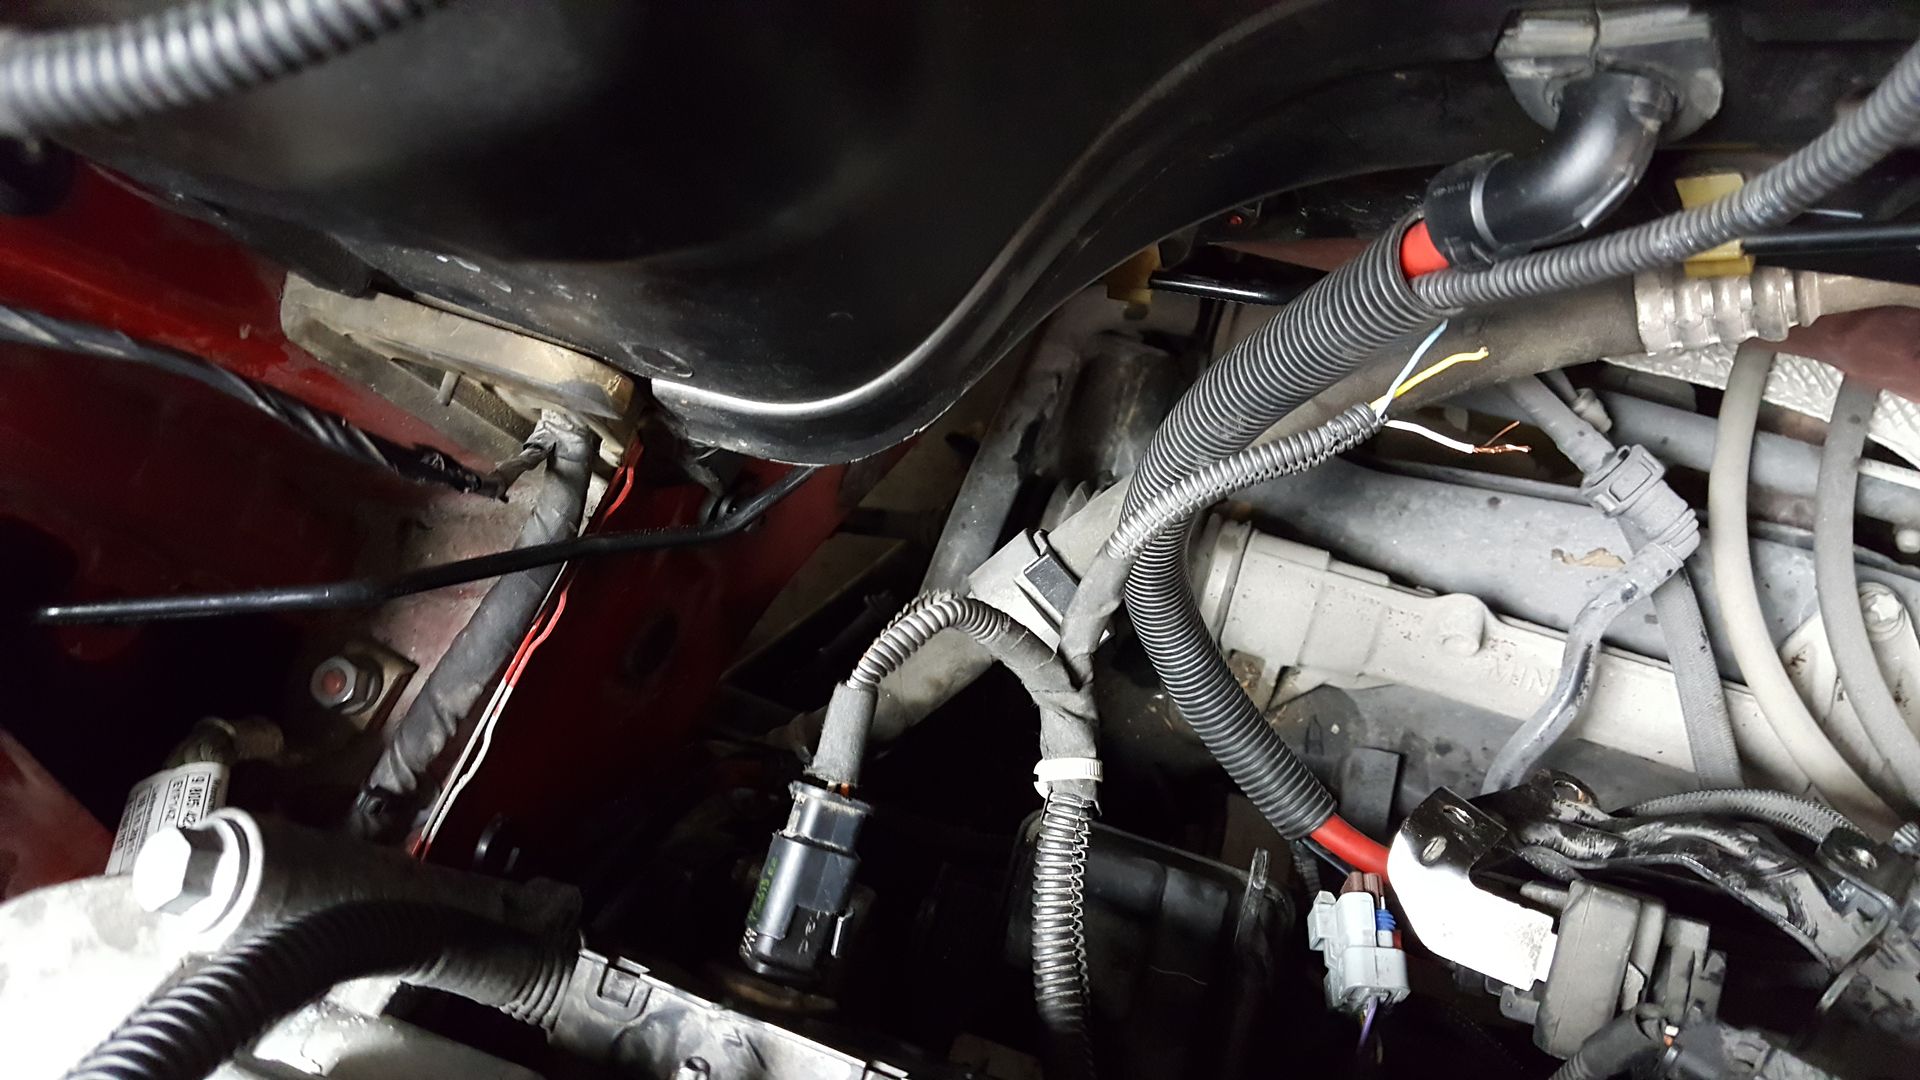
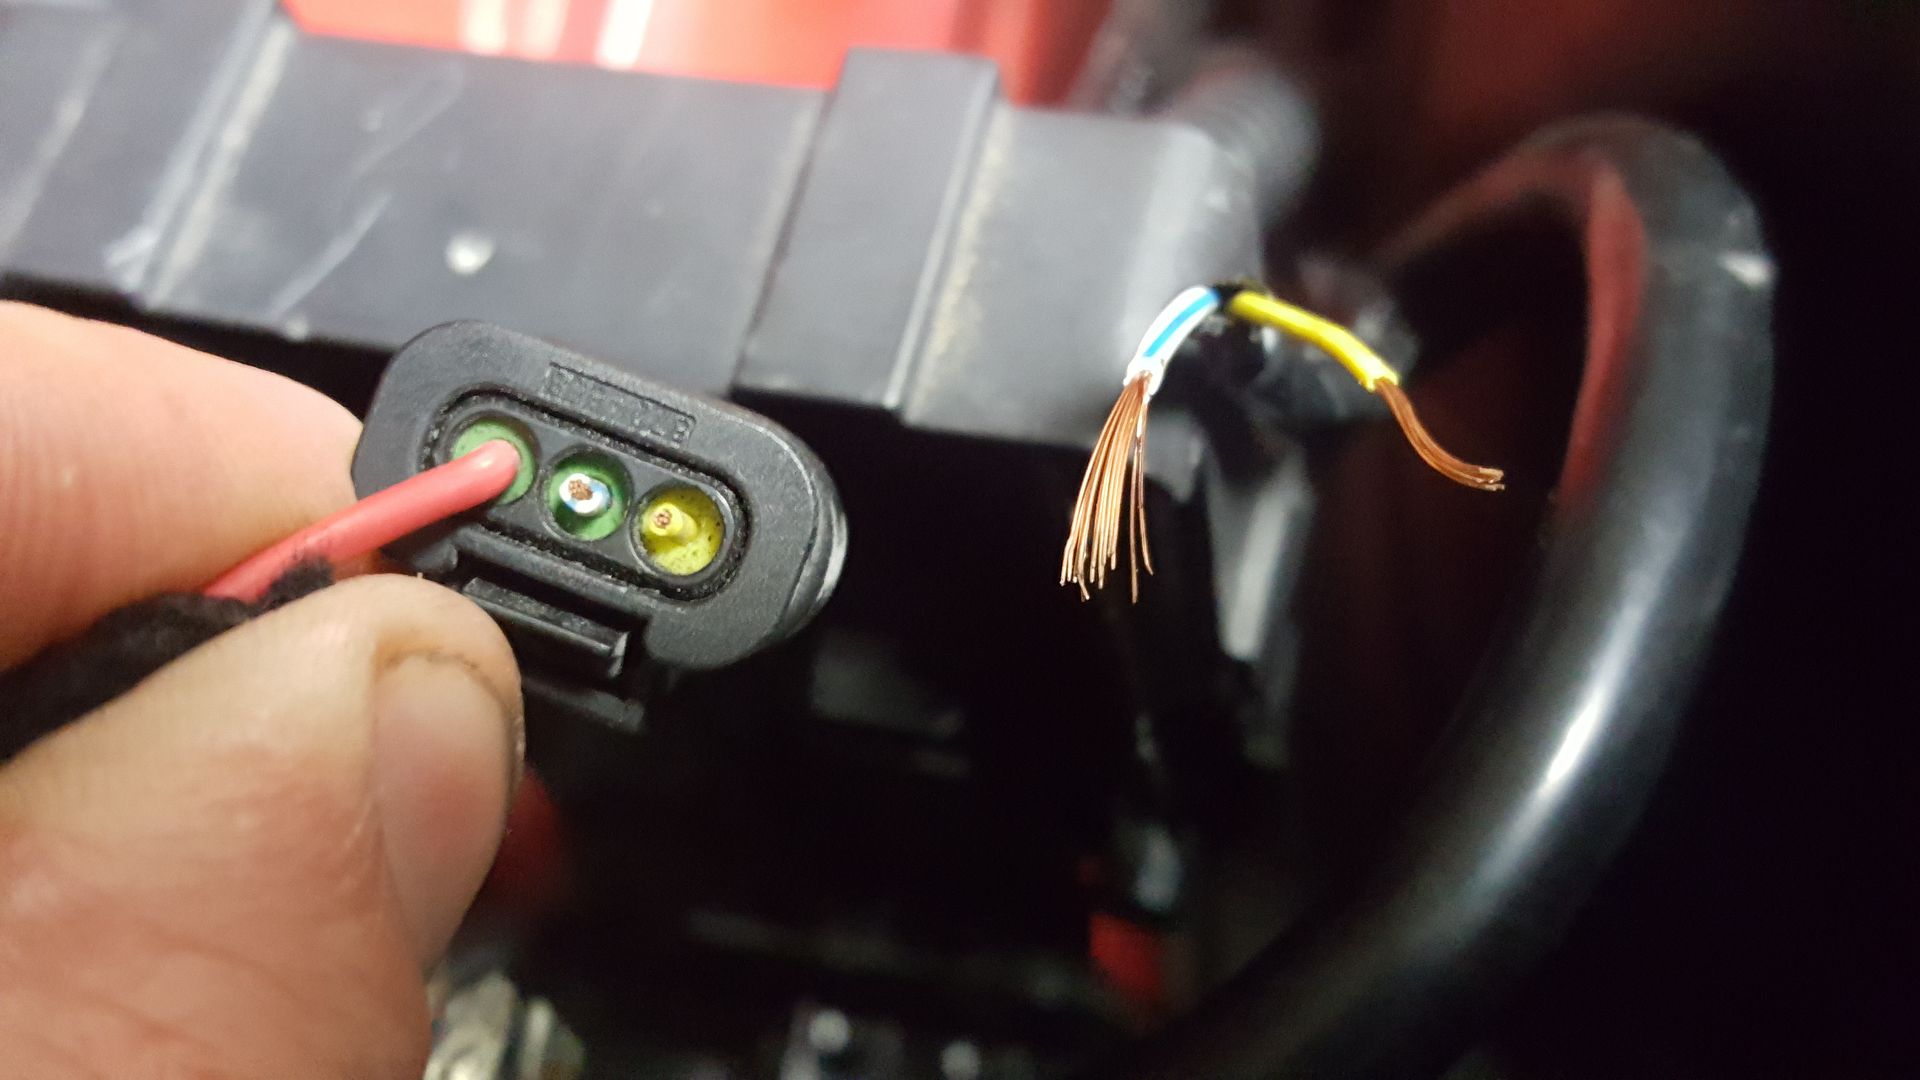
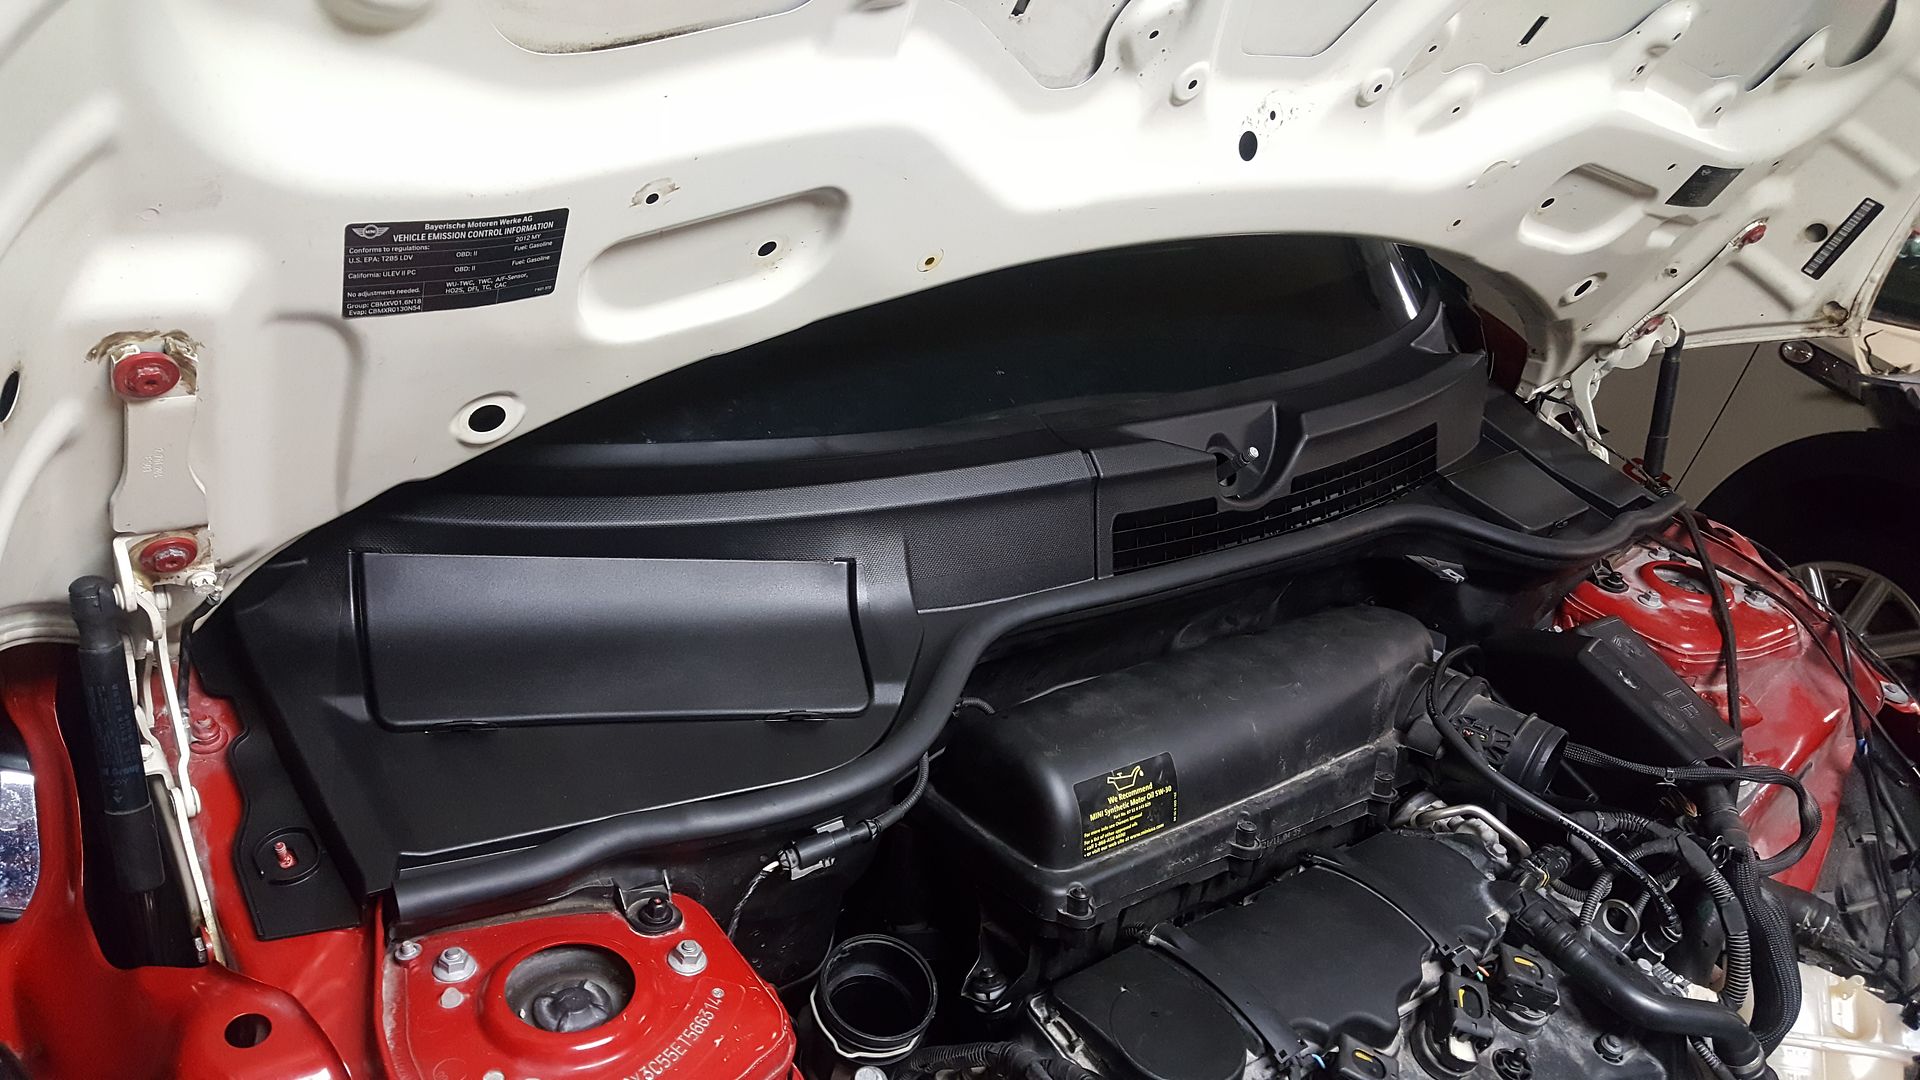
Please take a look at the last photo and let me know if any of you have any idea what sensor these wires go to? They are on the back on the engine near the TB.
The sensor beside them is the rear valve solenoid I believe.
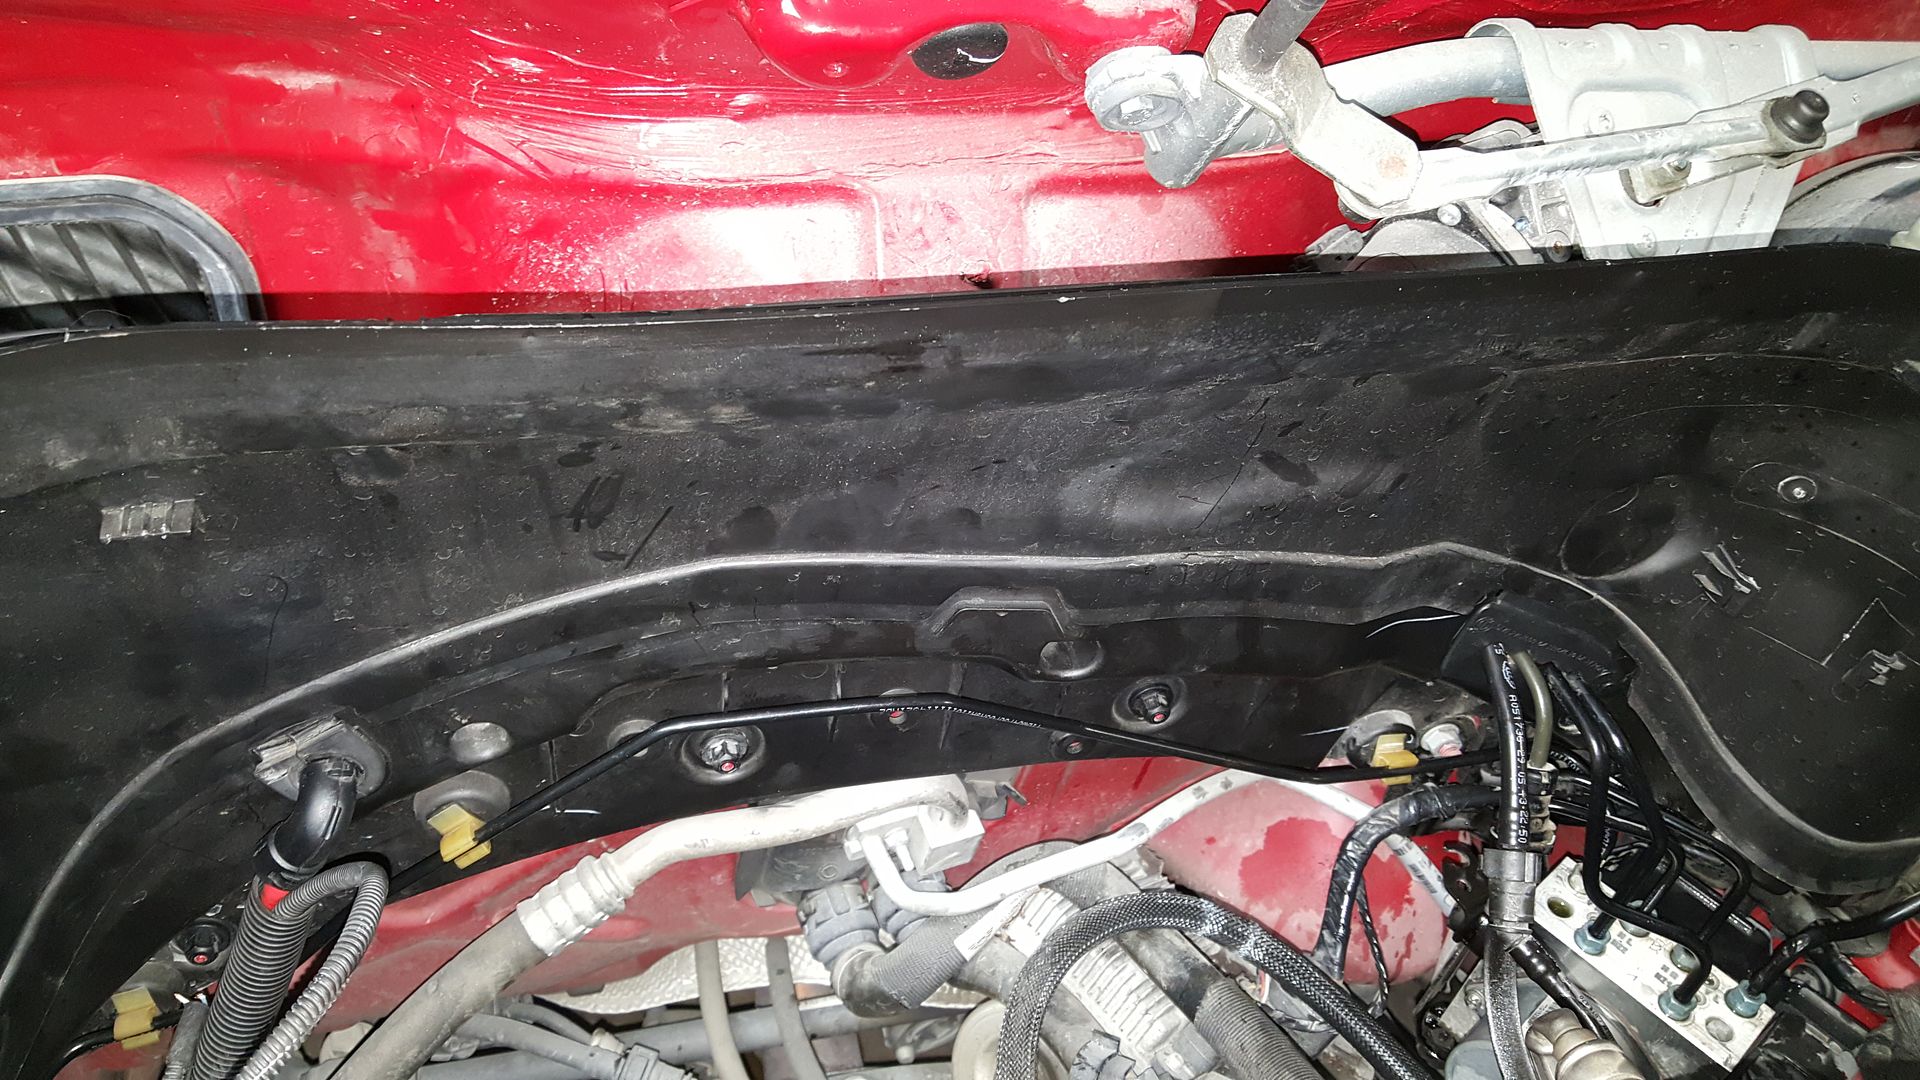
Does anyone have any idea what sensor these wires go to? They are on the back on the engine near the TB.
- removed donor front passenger brake line - installed - bled the brakes
- removed donor firewall / cowl panels - installed
- removed donor battery cable - installed
- replaced damaged hose with donor hose
- partially removed damaged driver half shaft, and will fully remove and replace tomorrow. The damn thing is broken in two, but at least there's enough hanging from the tranny to grab.
Please take a look at the last photo and let me know if any of you have any idea what sensor these wires go to? They are on the back on the engine near the TB.
The sensor beside them is the rear valve solenoid I believe.


Does anyone have any idea what sensor these wires go to? They are on the back on the engine near the TB.

Last edited by Grip Grip; 02-21-2018 at 05:20 AM.
#56
02-21-2018, 03:20 AM
The following users liked this post:
Grip Grip (02-21-2018)
#57
02-22-2018, 06:31 PM
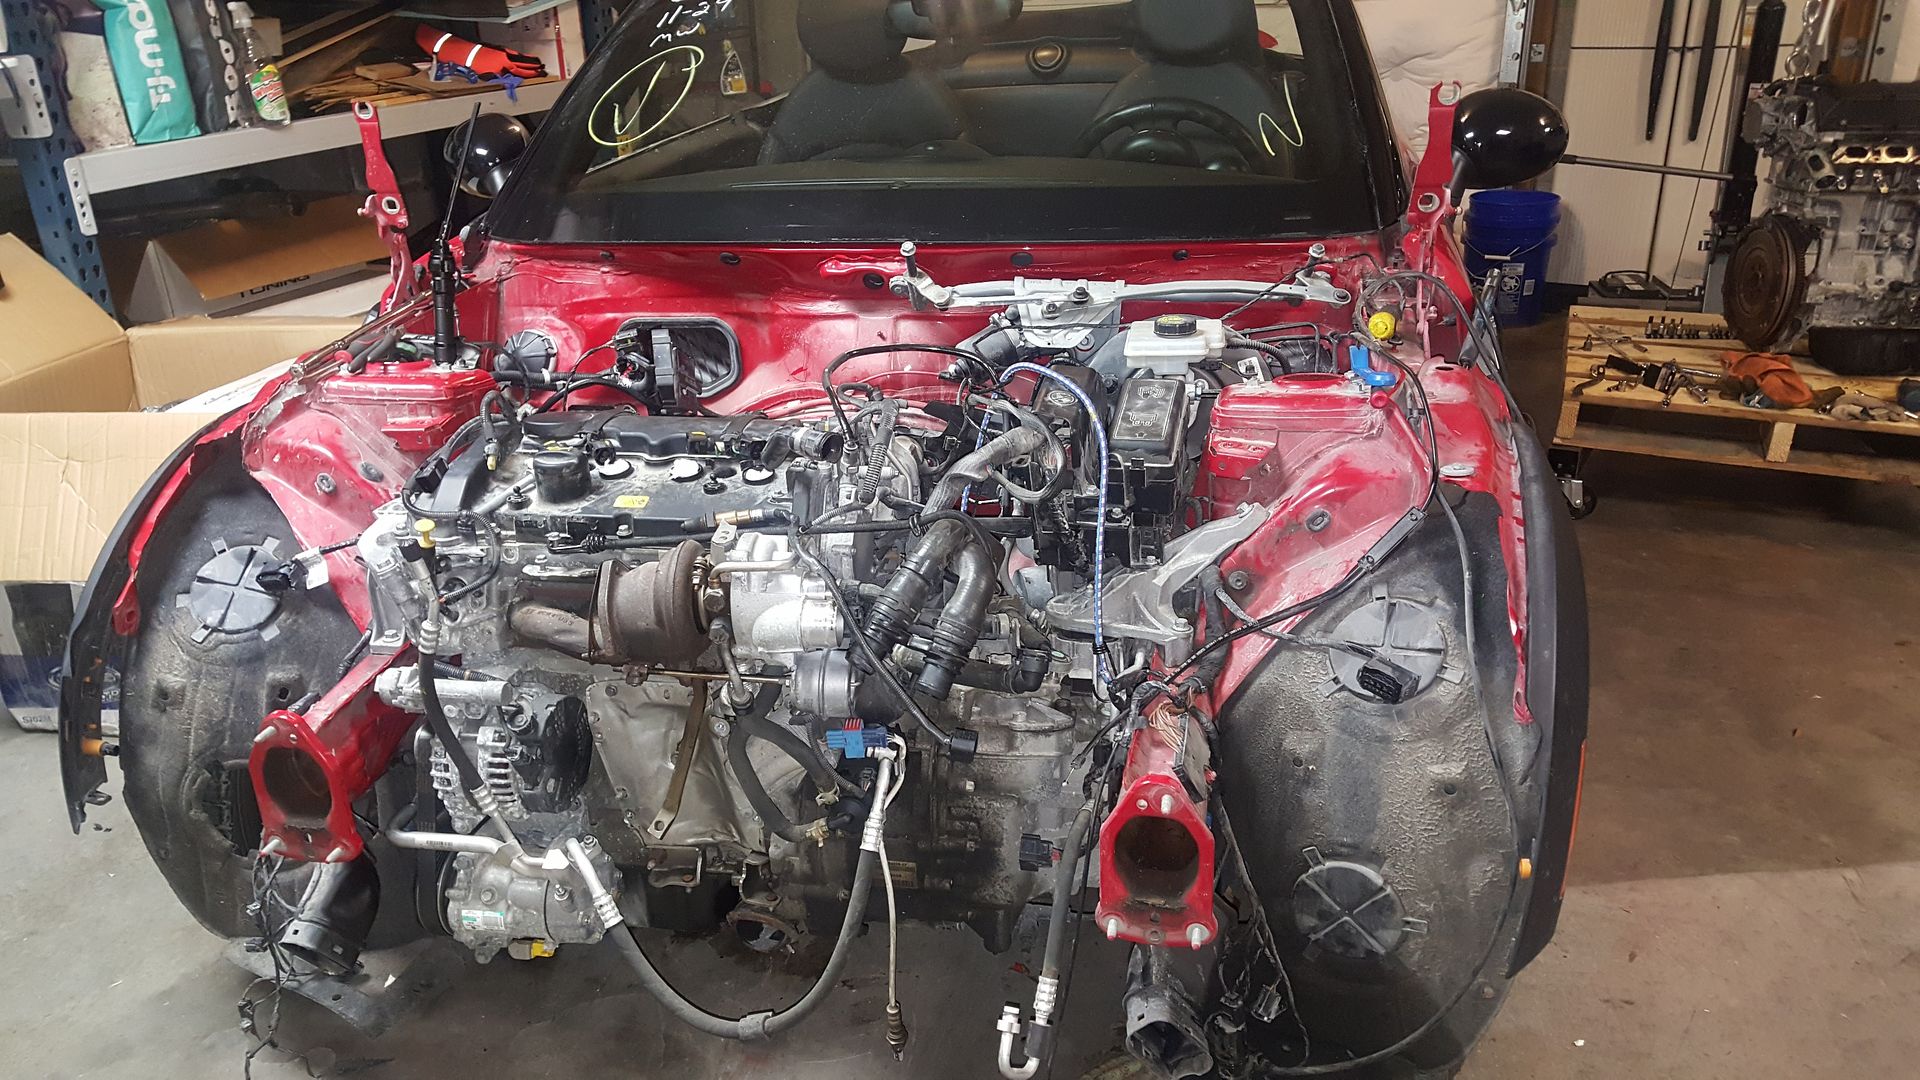
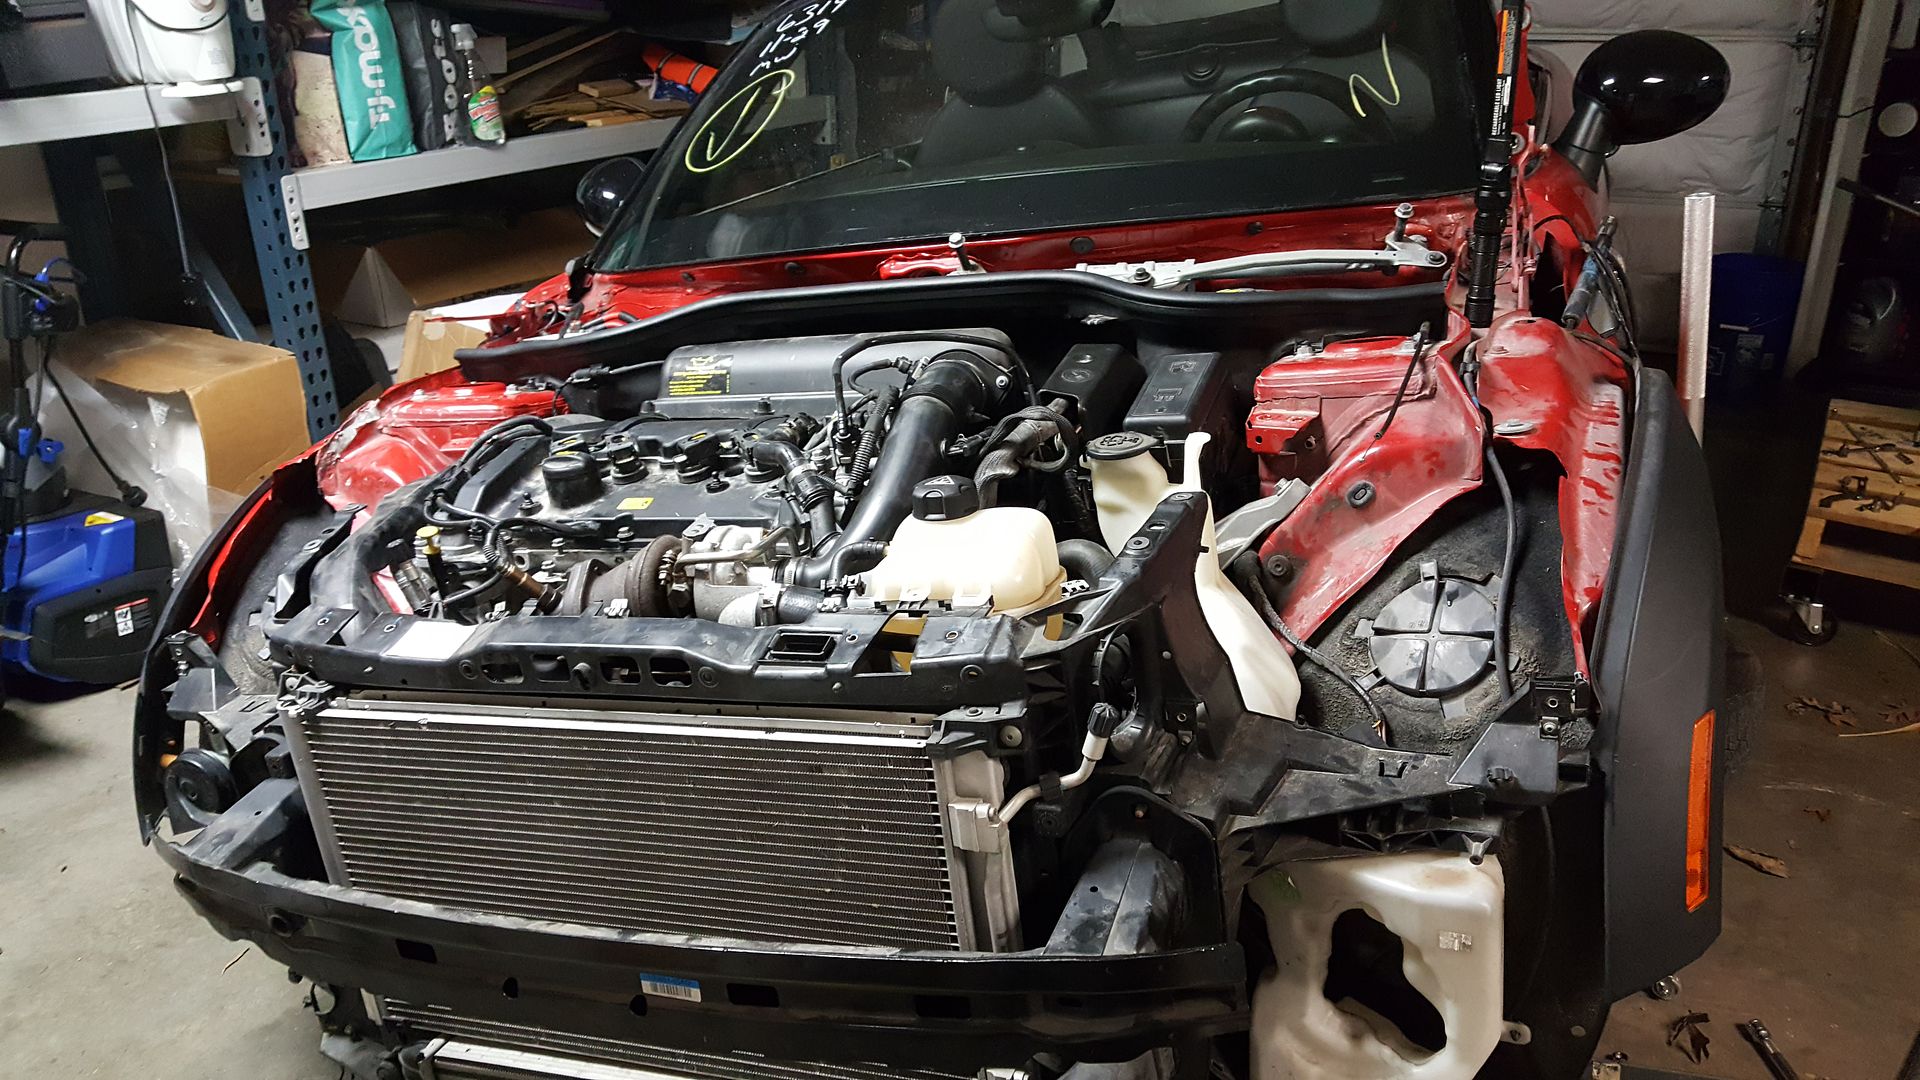
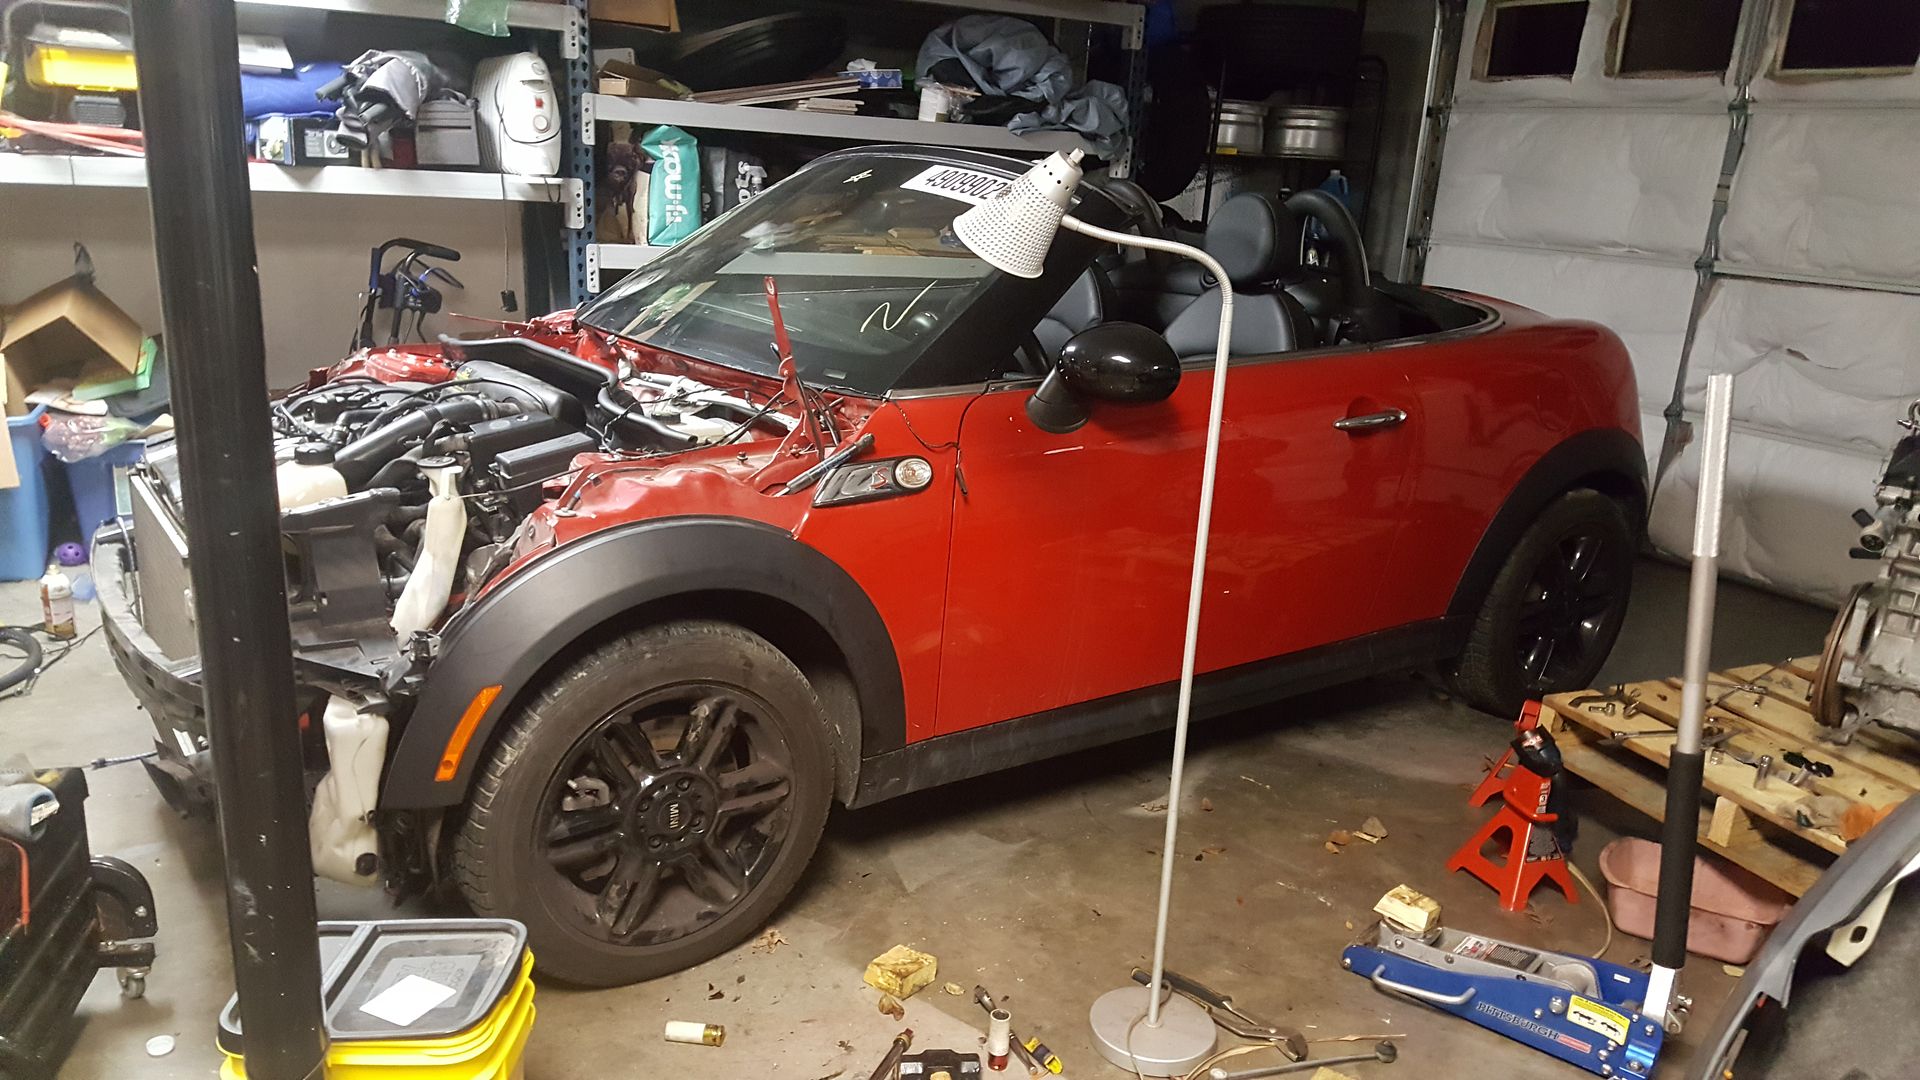
I attached the front clip from the donor last night, and connected everything necessary to test the engine. I'm very happy to say it idles great. I was expecting the worst due to the impact, yet it appears I might be out of the woods in regards to the engine. Does still have a few codes I need to get sorted out at some point though.
I do need a little assistance with two things real quick f you don't mind.
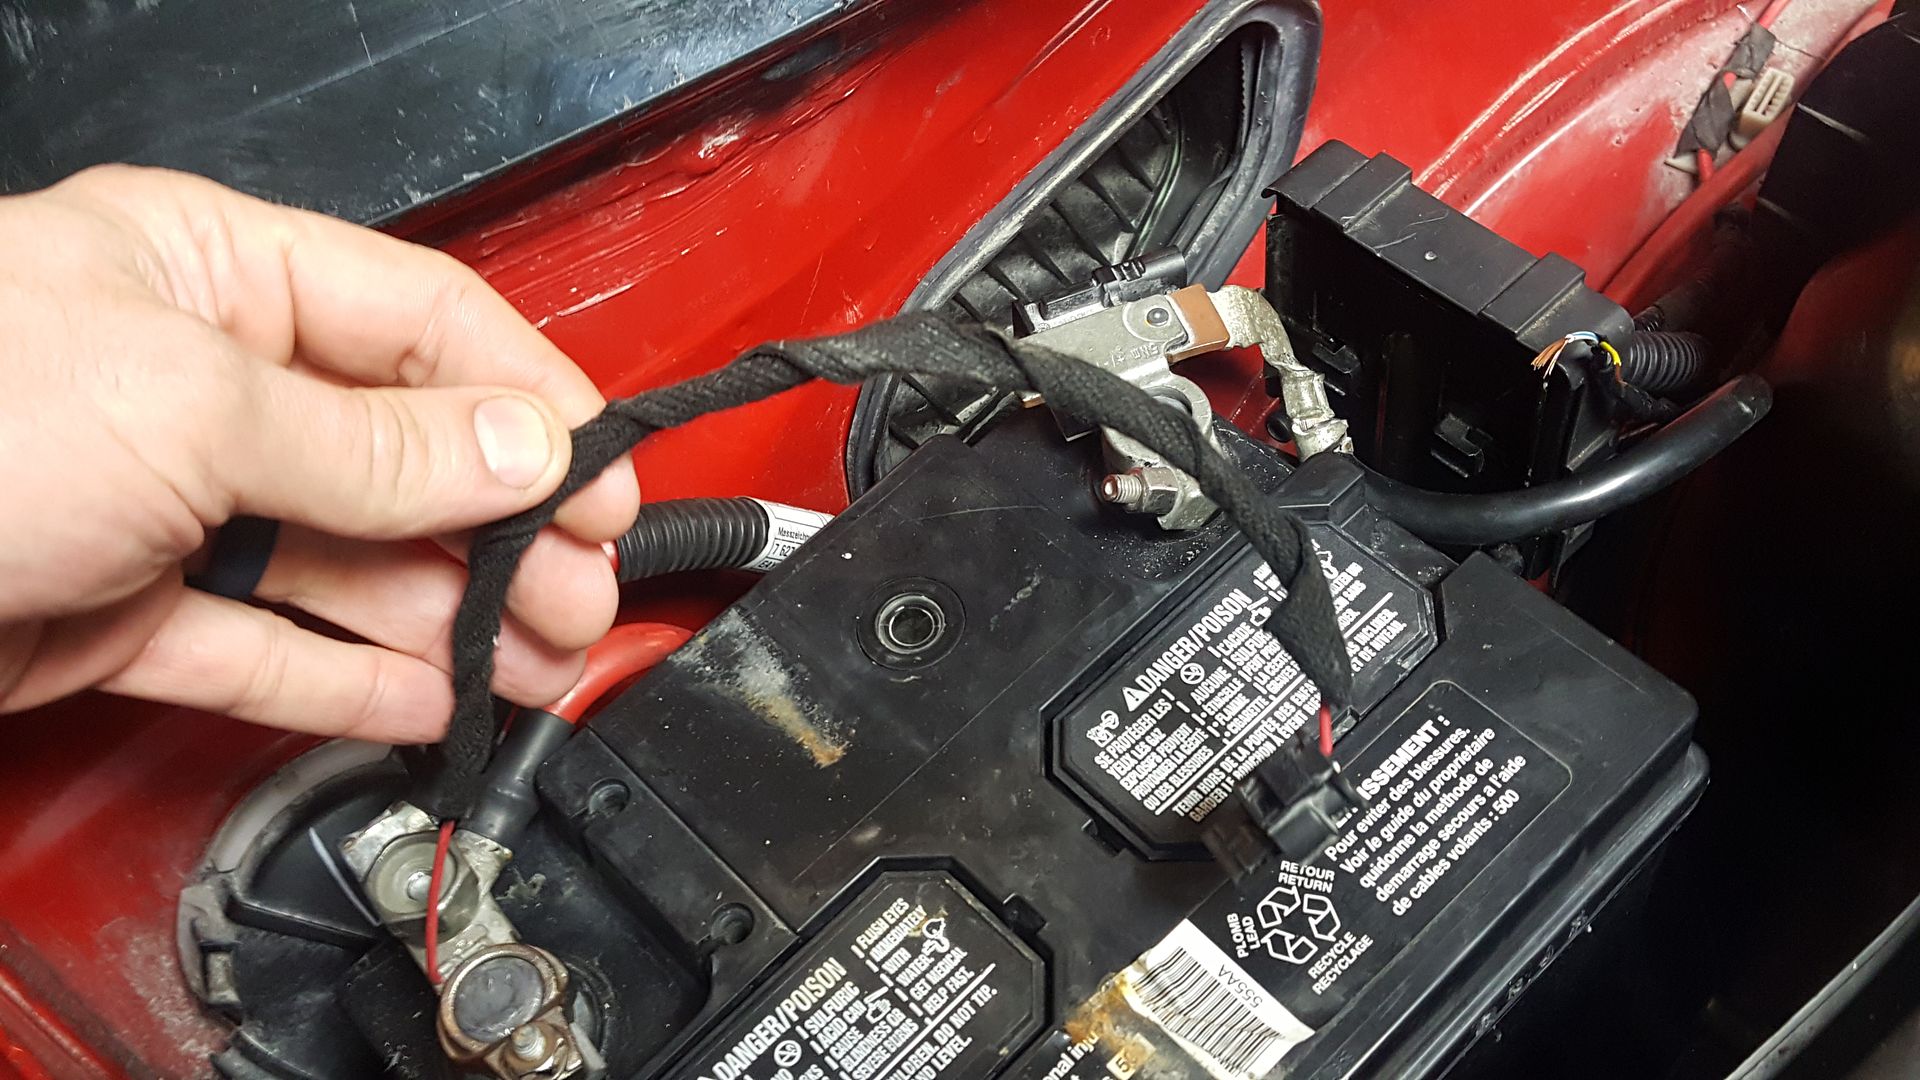
First, what's the purpose of these tiny wires running from the positive to negative terminal?
Also, does the orientation of the radiator hoses look correct to you? I feel like I might have them reversed.
Here's a video of the start-up.

I do need a little assistance with two things real quick f you don't mind.
First, what's the purpose of these tiny wires running from the positive to negative terminal?


Also, does the orientation of the radiator hoses look correct to you? I feel like I might have them reversed.

Here's a video of the start-up.
#58
02-22-2018, 07:17 PM
Looks niiiiiice...way to go brother...
The wires are for the IBS (Intelligent Battery Sensor) https://www.newtis.info/tisv2/a/en/r...a/search?q=ibs
The coolant pipes seem fine, but check these diagrams
http://www.realoem.com/bmw/enUS/show...diagId=64_1555
http://www.realoem.com/bmw/enUS/show...diagId=17_0393
The wires are for the IBS (Intelligent Battery Sensor) https://www.newtis.info/tisv2/a/en/r...a/search?q=ibs
The coolant pipes seem fine, but check these diagrams
http://www.realoem.com/bmw/enUS/show...diagId=64_1555
http://www.realoem.com/bmw/enUS/show...diagId=17_0393
The following users liked this post:
Grip Grip (02-22-2018)
#59
02-23-2018, 07:47 PM
I attached the front clip from the donor last night, and connected everything necessary to test the engine. I'm very happy to say it idles great. I was expecting the worst due to the impact, yet it appears I might be out of the woods in regards to the engine. Does still have a few codes I need to get sorted out at some point though.
I do need a little assistance with two things real quick f you don't mind.
First, what's the purpose of these tiny wires running from the positive to negative terminal?
Also, does the orientation of the radiator hoses look correct to you? I feel like I might have them reversed.
Here's a video of the start-up.
https://youtu.be/_9XK-HqOm5E
The real test will be how the body panels will fit together and how the car will handle on the road when done
#60
02-23-2018, 08:57 PM
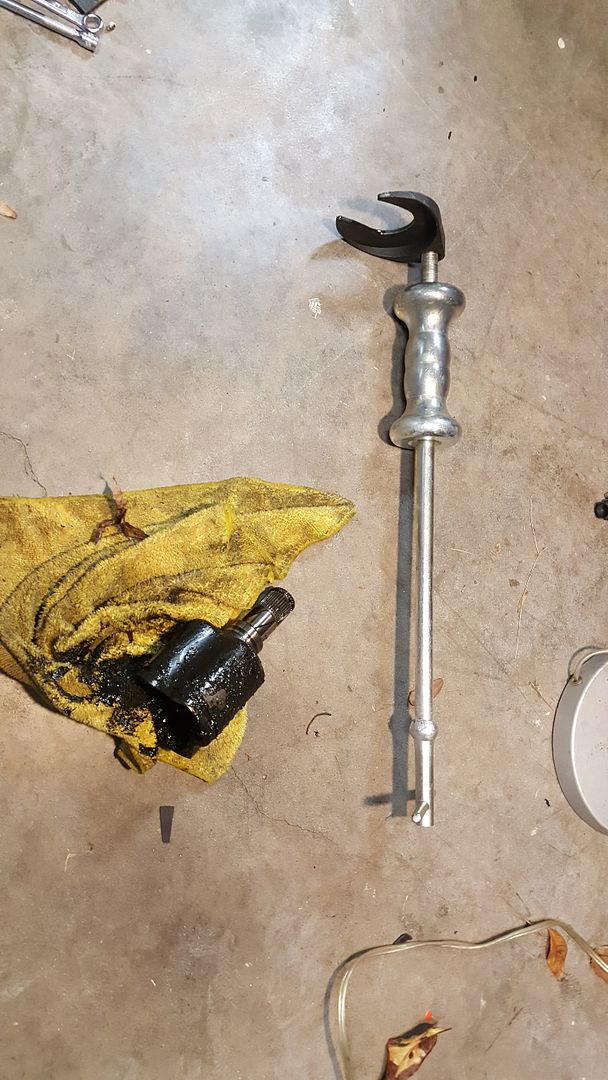
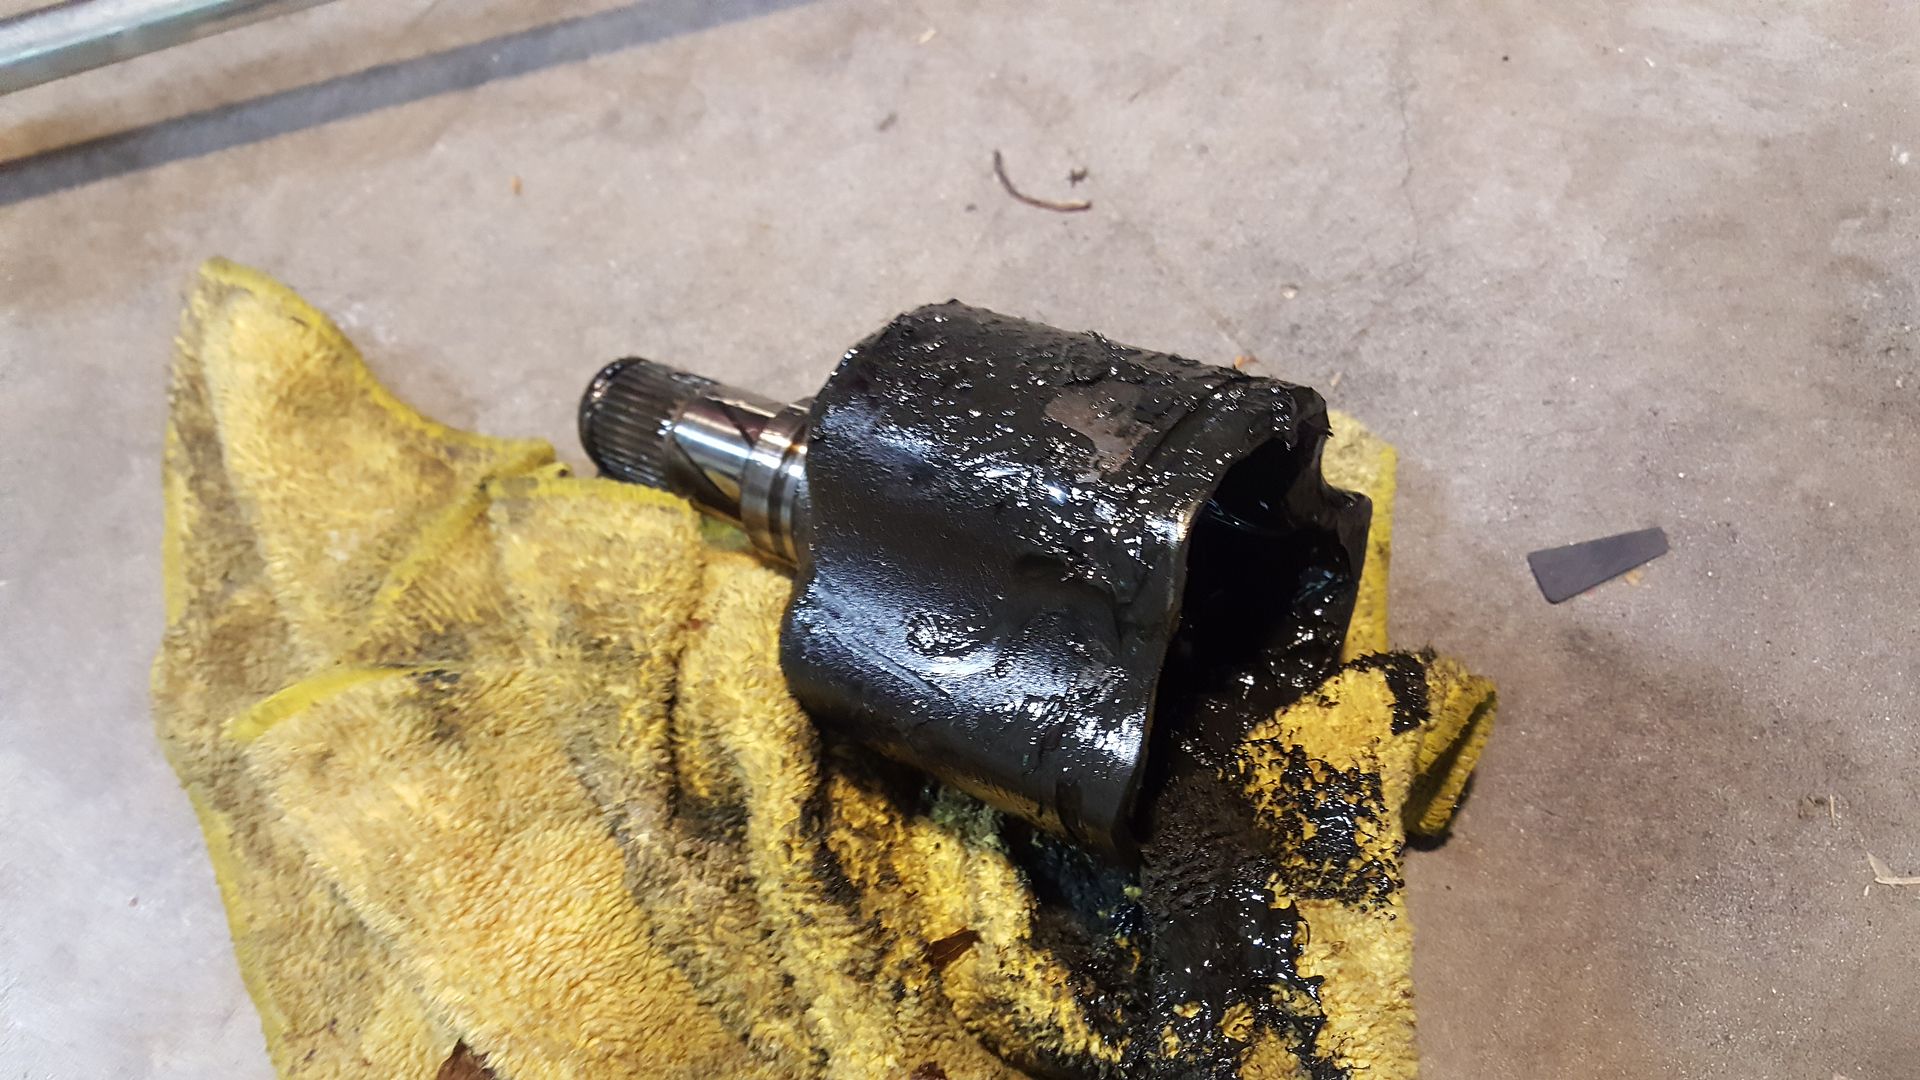
After off and on struggling to remove the damage driver's side half shaft for a week, I bought the correct tool today and literally had it out in less than 1 minute. After that I installed the donor half shaft and buttoned it up. Hopefully I'll find some transmission fluid locally that won't cost me a fortune.
I also removed the shifter and clutch cables from the donor car, which I'll install in the Roadster tomorrow.
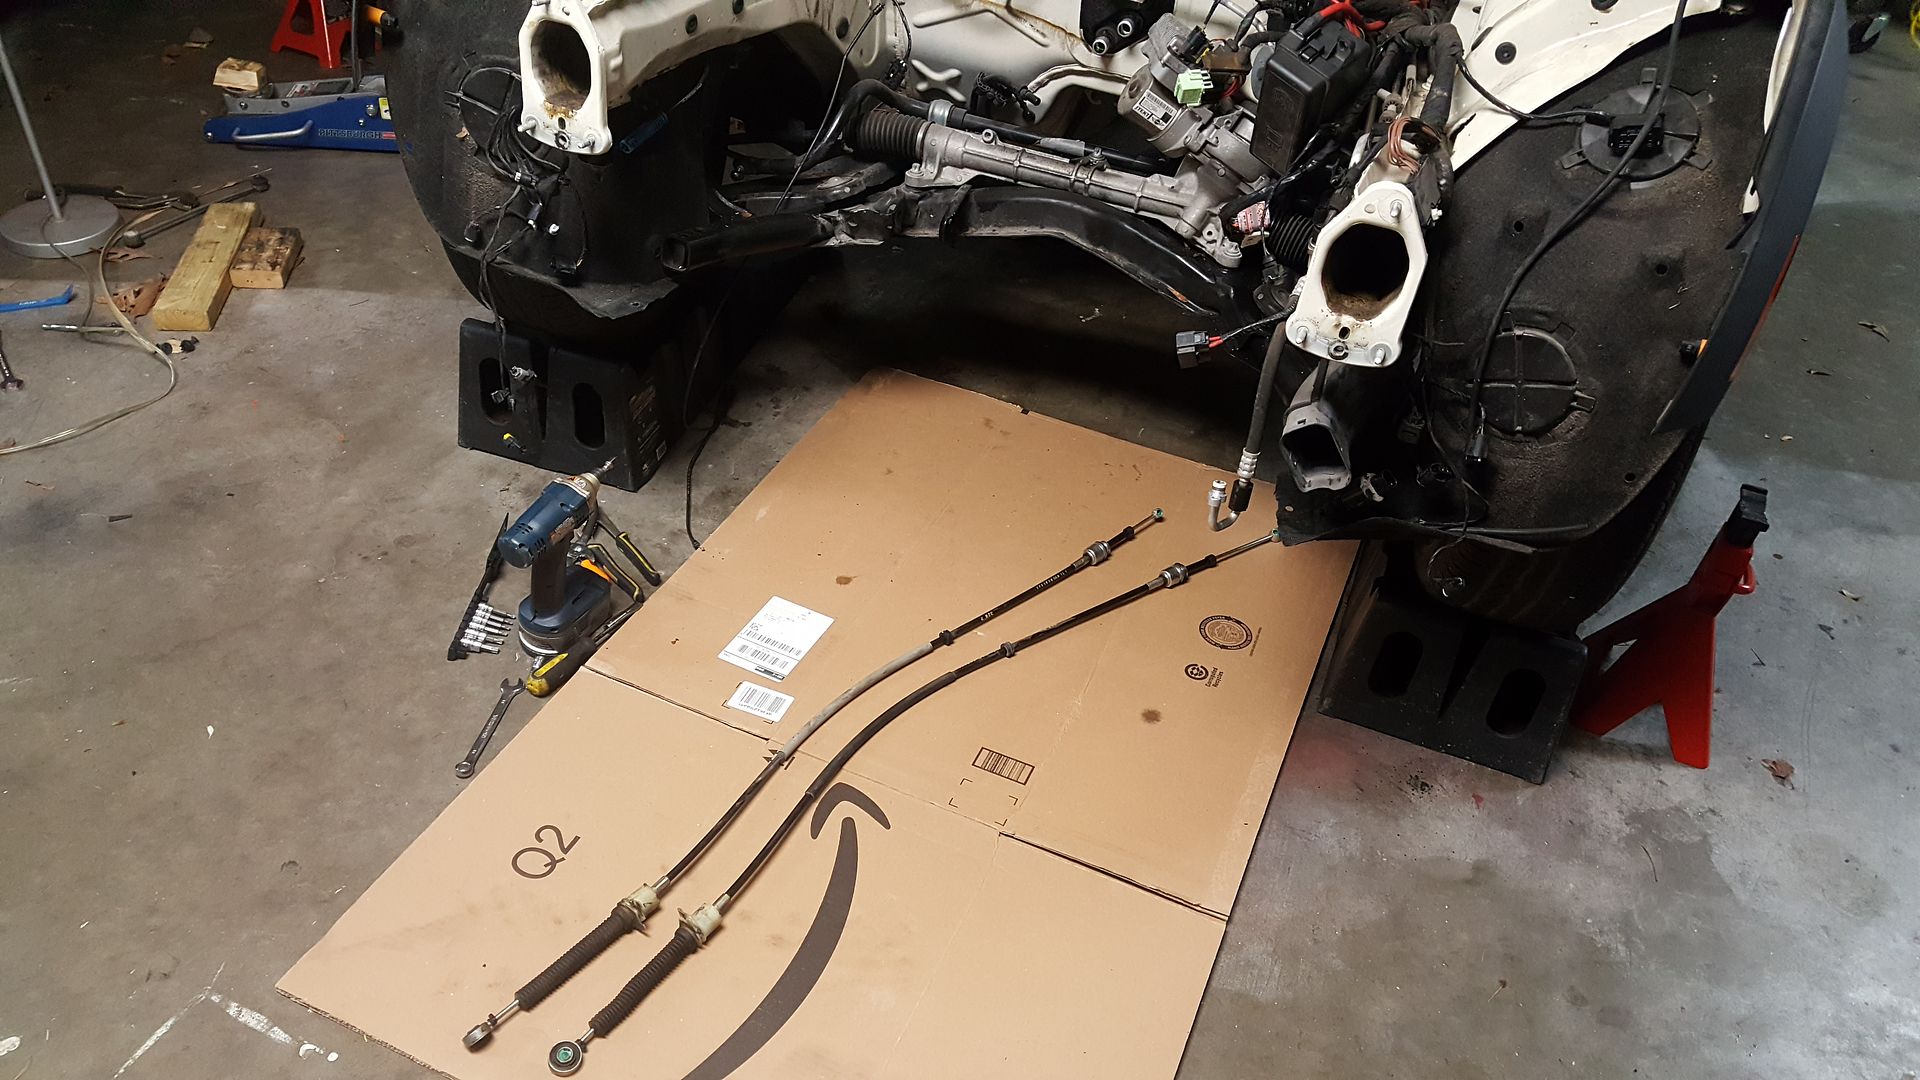
I also removed the shifter and clutch cables from the donor car, which I'll install in the Roadster tomorrow.


#62
02-24-2018, 07:26 AM
The following users liked this post:
Grip Grip (02-24-2018)
#63
03-01-2018, 04:54 PM
Okay, here's the progress this week:
- Installed the driver half shaft.
- Removed the damaged shifter cable and installed the donor cable.
- Reinstalled the shifter cover, heat shields, and exhaust.
- Installed the donor hood and brackets
- Drained and refilled the transmission fluid.
- Swapped the radiator hoses I installed backwards.
- Took it for a test drive.


#64
03-01-2018, 06:24 PM
#65
03-02-2018, 08:08 AM
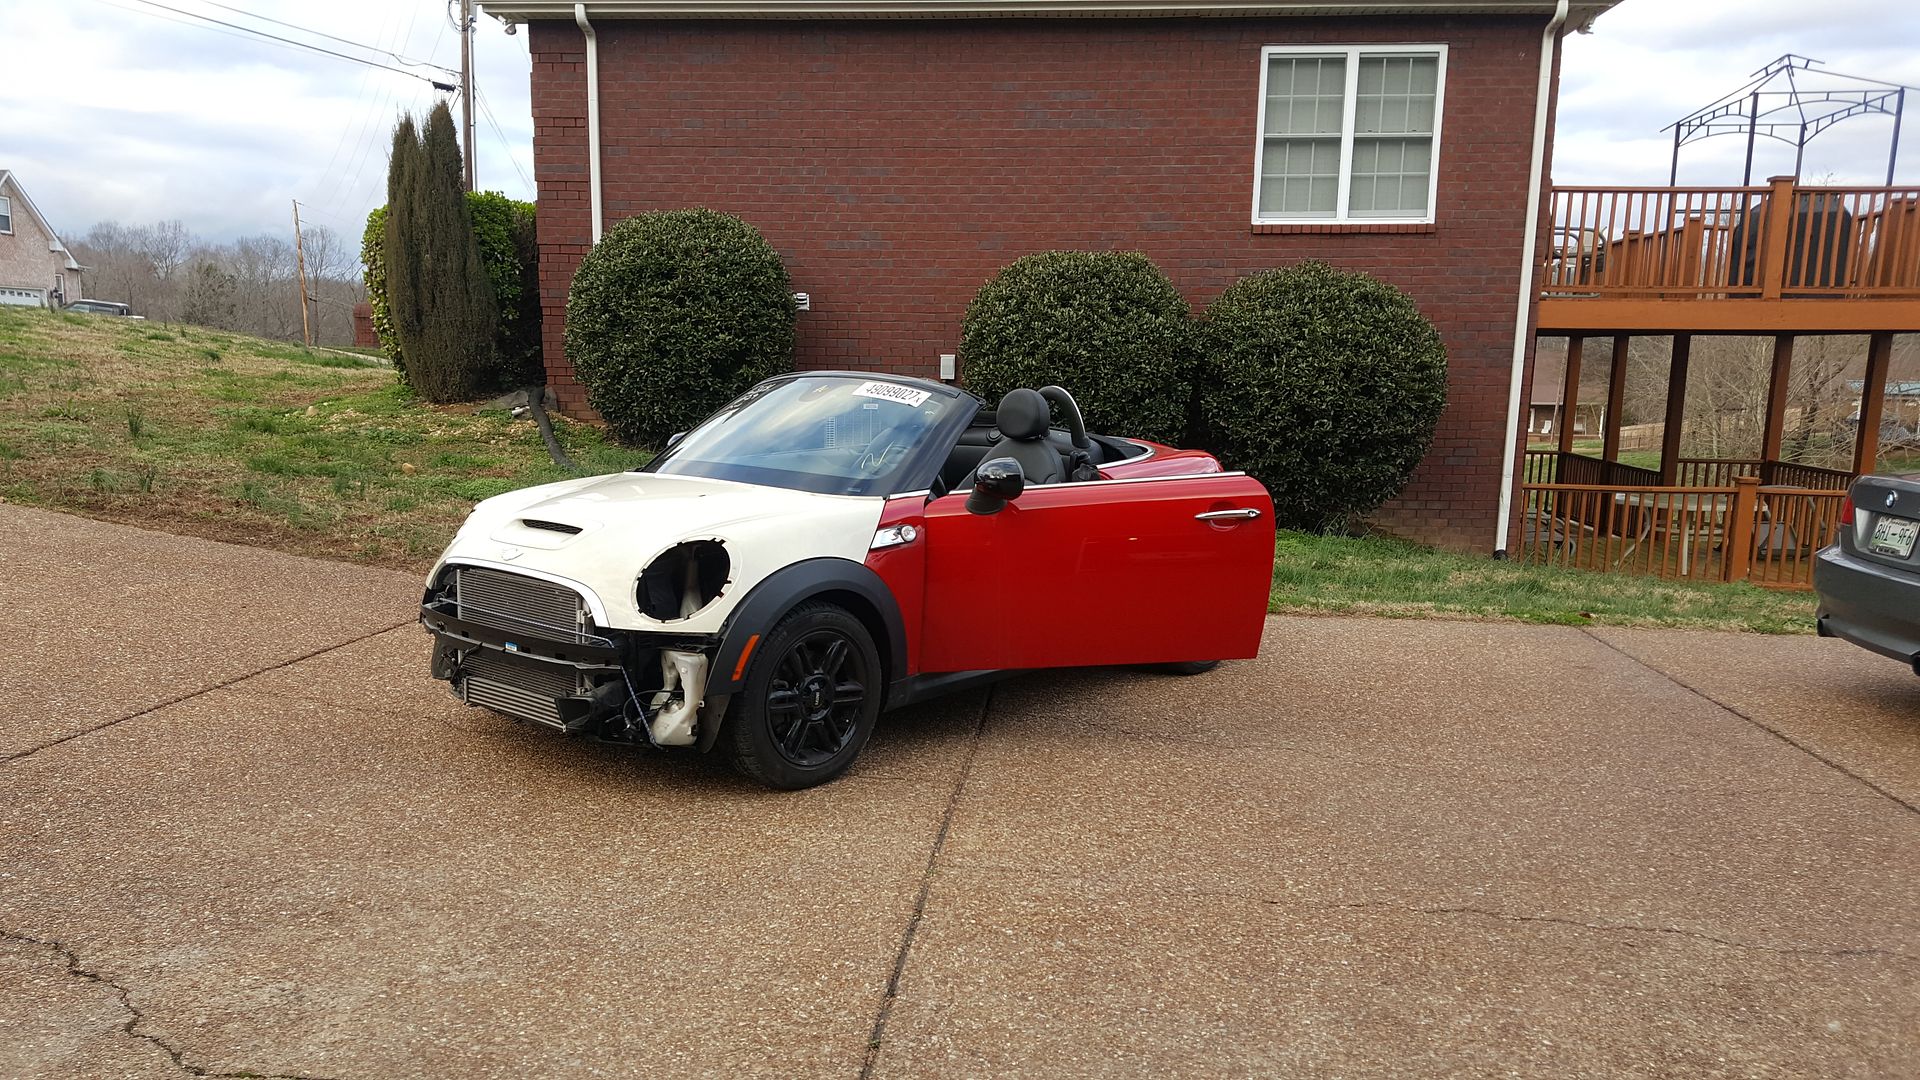
Now I just need to pull the rear bumper cover, hood, hood hinges, and take them and the front bumper cover to the body shop for repair and paint.
I also have a few codes to clear up that are going to take some time, but at least all the time-consuming work is done. Unfortunately the donor car came with halogens instead of the Xenon's that were OEM, so I'll need to install some resistors or have the car coded to make them work.
Every time I close in on the finish line it seems to move further away. haha

#67
03-02-2018, 06:10 PM
Thanks. I'm honestly not sure how many hours I've got in it. My guess is 50, with a majority of those on weekends. On the weekdays I've worked on it, I typically only wrench for a couple hours. If I hadn't hurt my shoulder last Saturday, I would have been able to take it for a spin on Sunday.
Now I just need to pull the rear bumper cover, hood, hood hinges, and take them and the front bumper cover to the body shop for repair and paint.
I also have a few codes to clear up that are going to take some time, but at least all the time-consuming work is done. Unfortunately the donor car came with halogens instead of the Xenon's that were OEM, so I'll need to install some resistors or have the car coded to make them work.
Every time I close in on the finish line it seems to move further away. haha
#68
03-02-2018, 06:51 PM
Fun was definitely had! 
Profit would be great, but based on how slowly my Fiesta ST is selling I suspect I'll be lucky to break even. Honestly I don't mind, as this was more about me taking on the challenge of rebuilding a salvage car than anything. I've been telling my wife for years I wanted to buy a Copart auction car, so its nice to have experienced this.
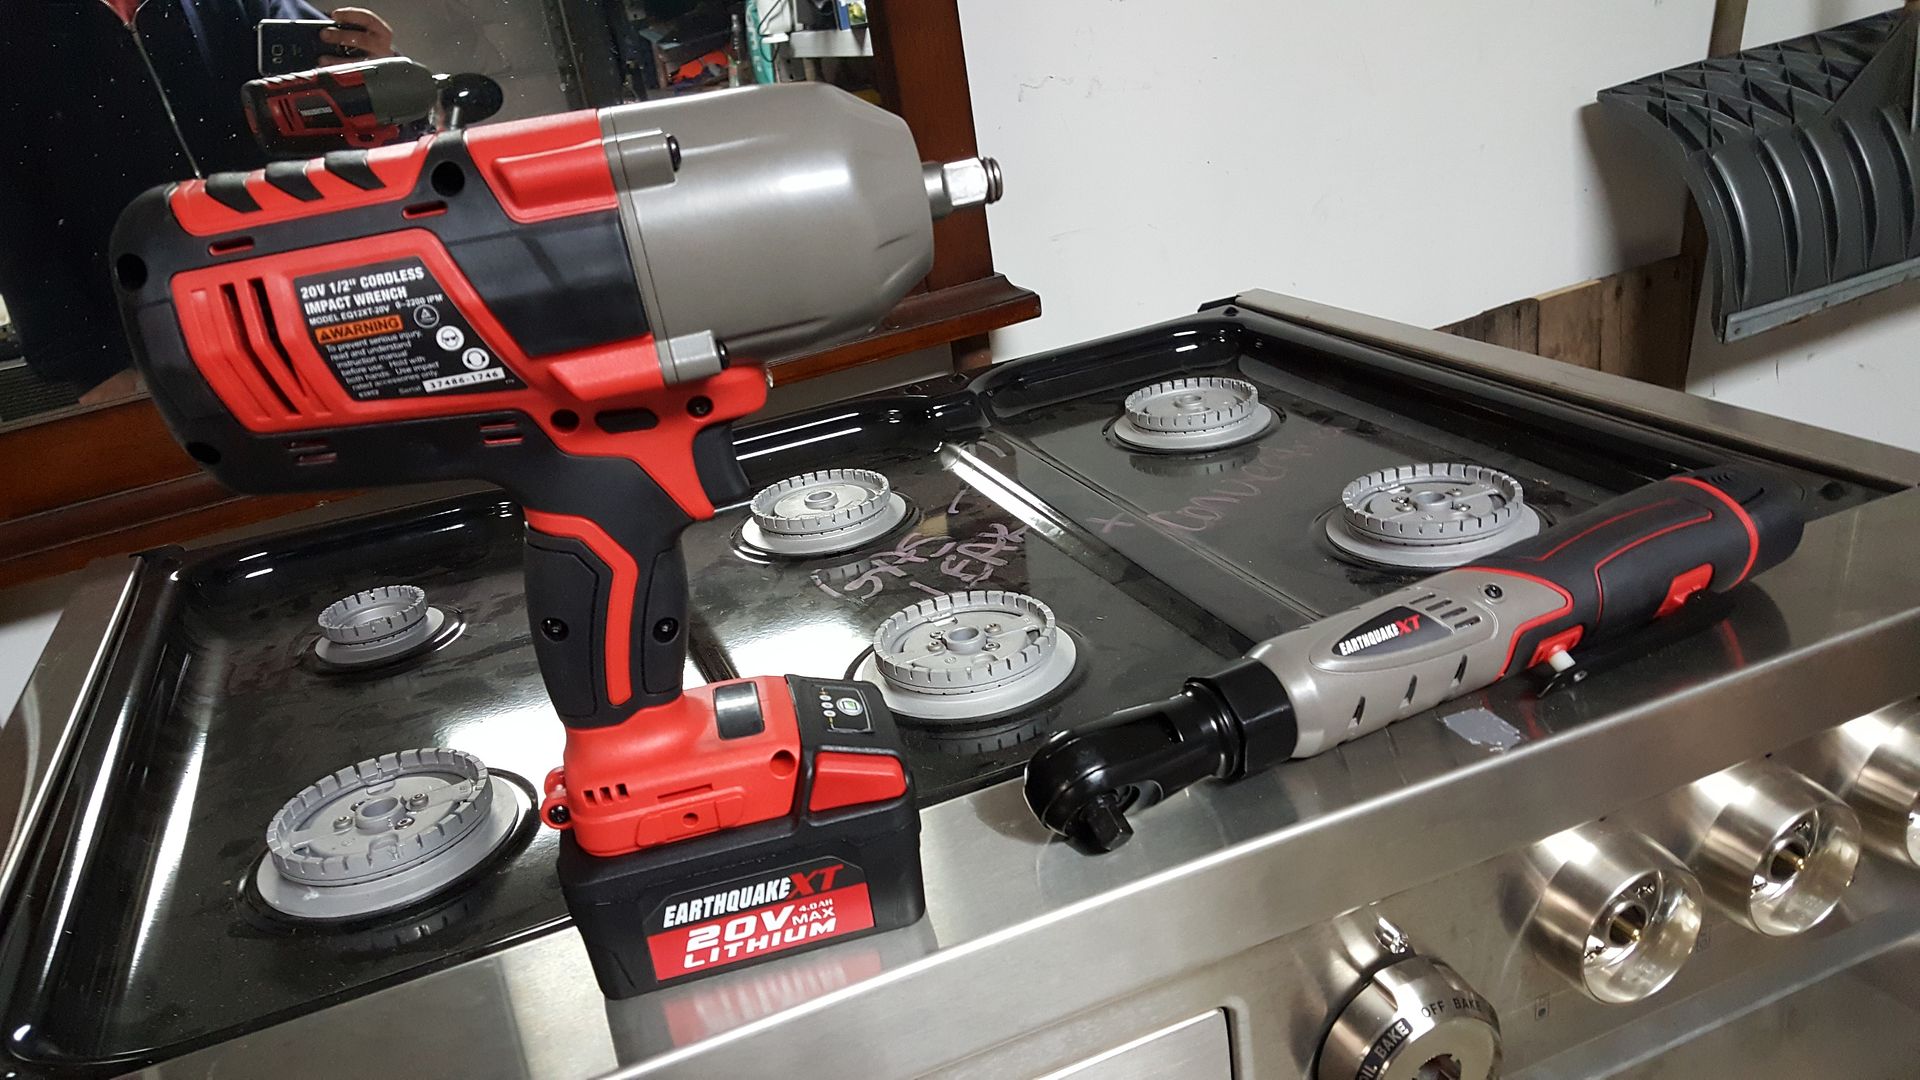
This has been a very positive experience excluding me injuring my shoulder removing the damn frame rail bolts. On a positive note, the shoulder injury netted me enough sympathy from my wife that I was able to get a nice tool upgrade to decrease the wear and tear on my old body. Whoop whoop!
Profit would be great, but based on how slowly my Fiesta ST is selling I suspect I'll be lucky to break even. Honestly I don't mind, as this was more about me taking on the challenge of rebuilding a salvage car than anything. I've been telling my wife for years I wanted to buy a Copart auction car, so its nice to have experienced this.
This has been a very positive experience excluding me injuring my shoulder removing the damn frame rail bolts. On a positive note, the shoulder injury netted me enough sympathy from my wife that I was able to get a nice tool upgrade to decrease the wear and tear on my old body. Whoop whoop!

#69
03-03-2018, 05:36 PM
#70
03-03-2018, 08:02 PM
#71
03-03-2018, 08:31 PM
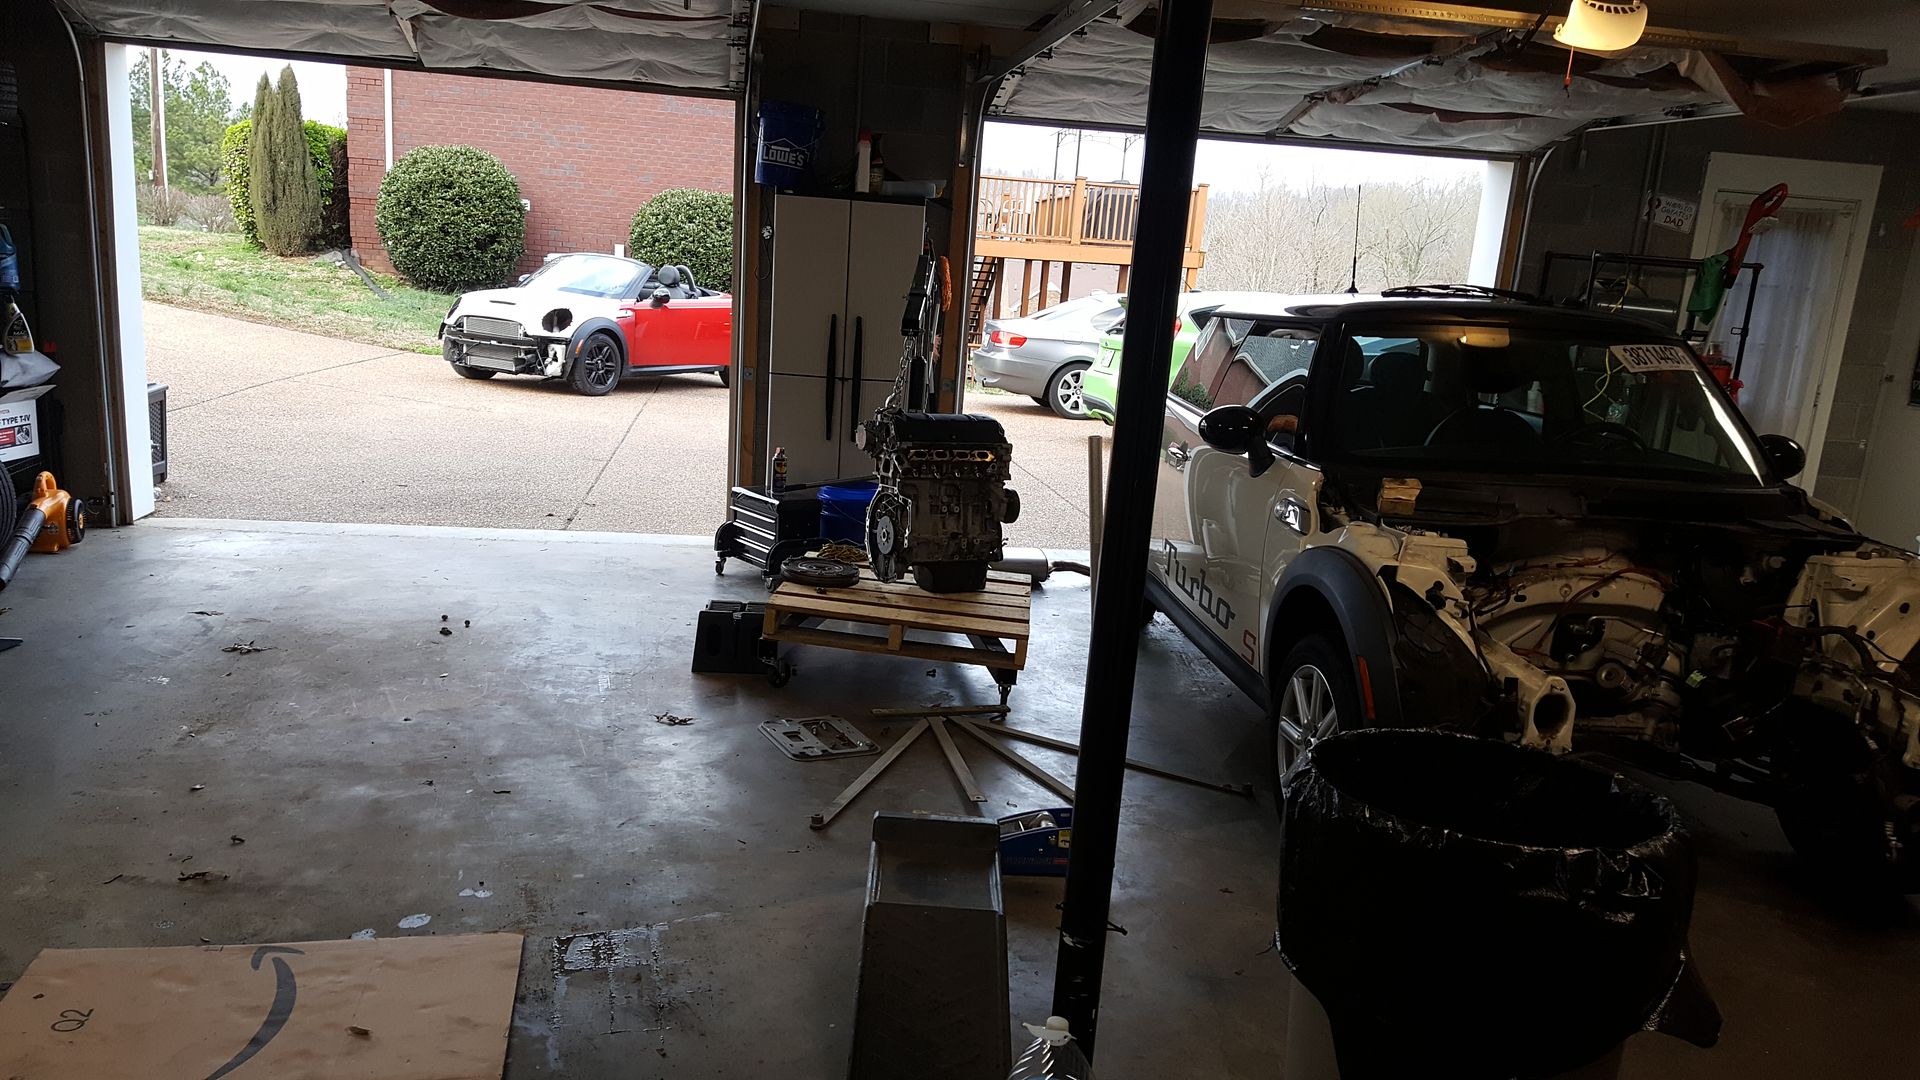
I was able to sneak away to the garage and do a little more work today on the Mini. First I helped a forum member load the donor tranny into his Mini.
After that I installed the underside bracing that's specific to the Roadster as well as some other rectangular piece using my new impact ratchet. The ratchet definitely saved my shoulders some wear and tear.
Next, I removed the rear bumper cover, and stripped down the front bumper cover and grille for paint work. Dube was right on point when he said $600 was a pipe dream for the paintwork. My body/paint guy stopped by today to appraise the job and quoted me $900-$1,000. I think that's pretty fair considering the rear cover needs to be repaired and repainted, and the hood needs paint on each side. Also, keep in mind the paint is red, which is much more expensive that neutral colors.
I'll just have to part out some more R56 parts to cover it.
I then proceeded to install the cowls and water deflector. Man did those make a huge difference in making the car look closer to completion. I also bought/installed a new battery today and adjusted the battery holder.
I then moved onto removing the front clip again and repaired the turbo housing. The wastegate housing that's bolted to the turbo casting was broken in the wreck and I elected to repair it with high temp JB Weld versus installing the donor turbo/manifold. If this doesn't hold I'll have a friend of mine weld the housing.
Total time was around 5 enjoyable hours.
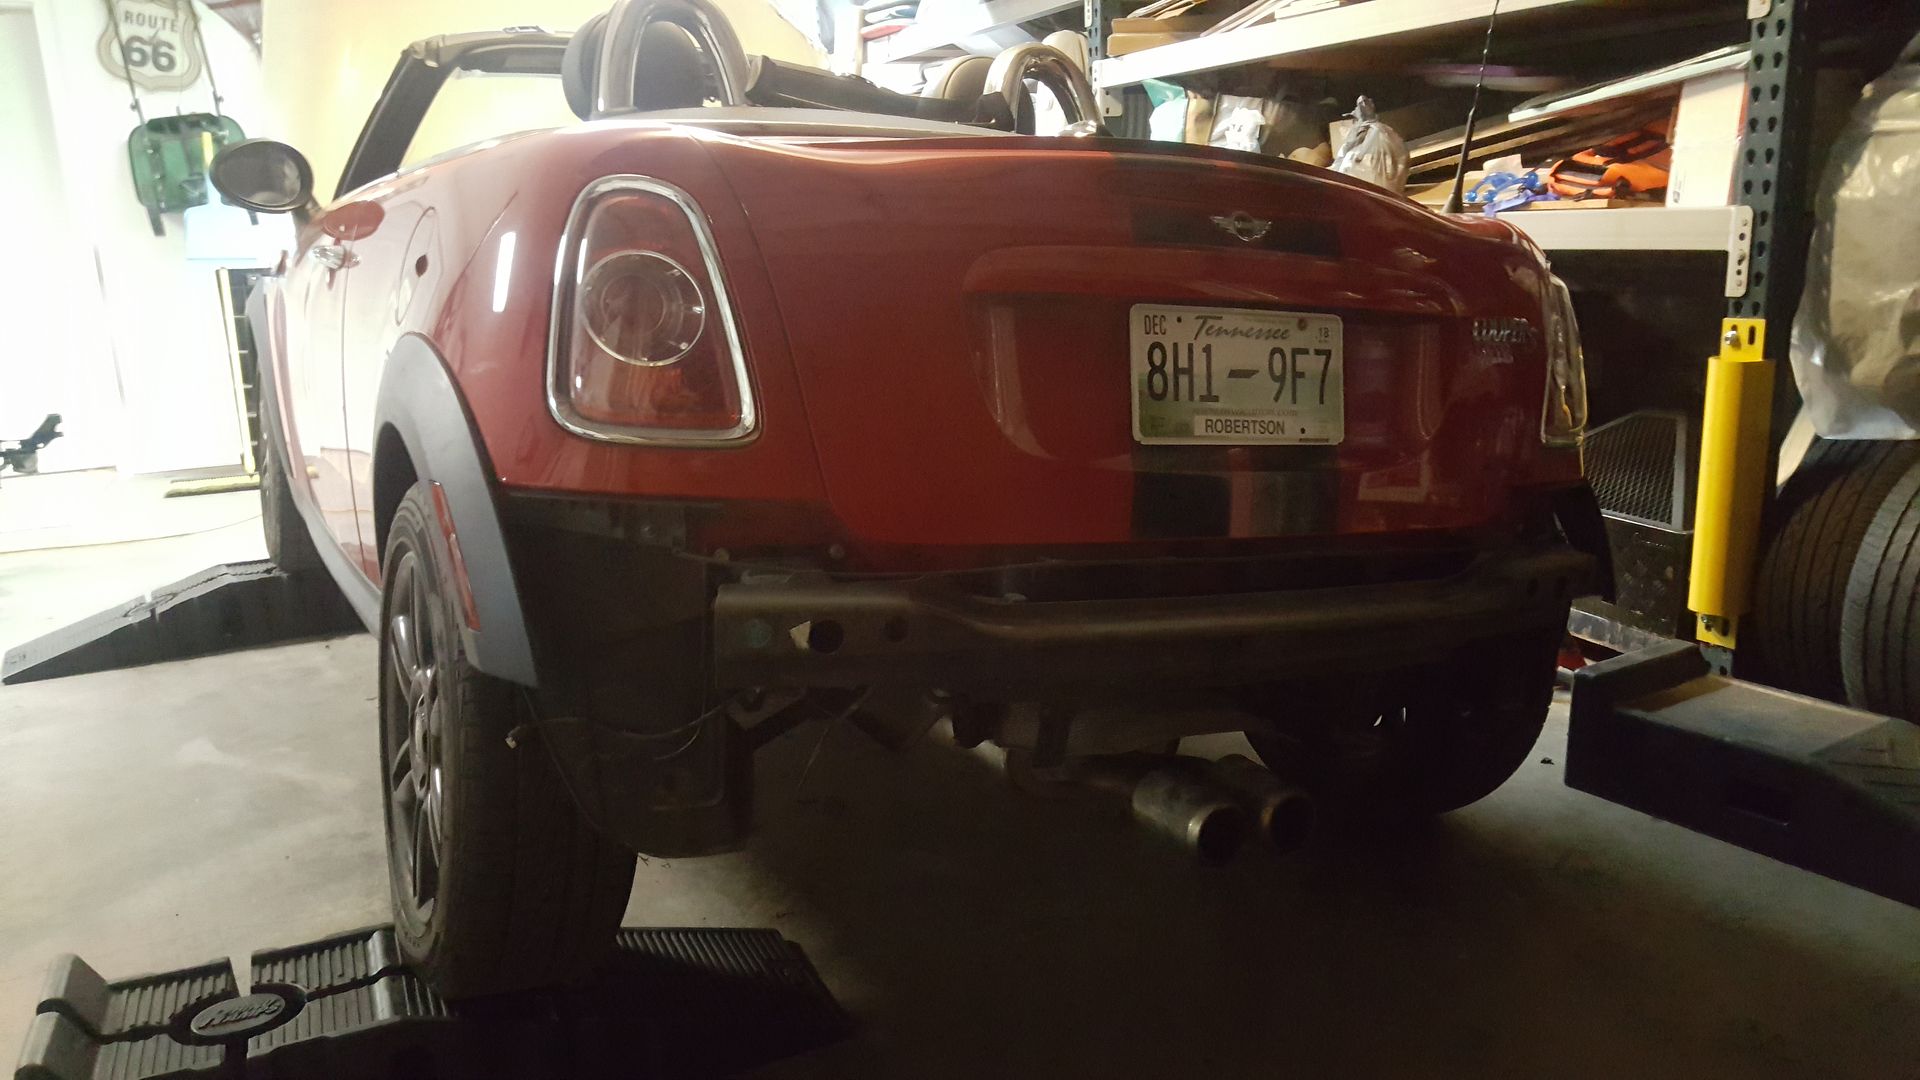
Pulled the rear bumper cover:
Installed the cowls.
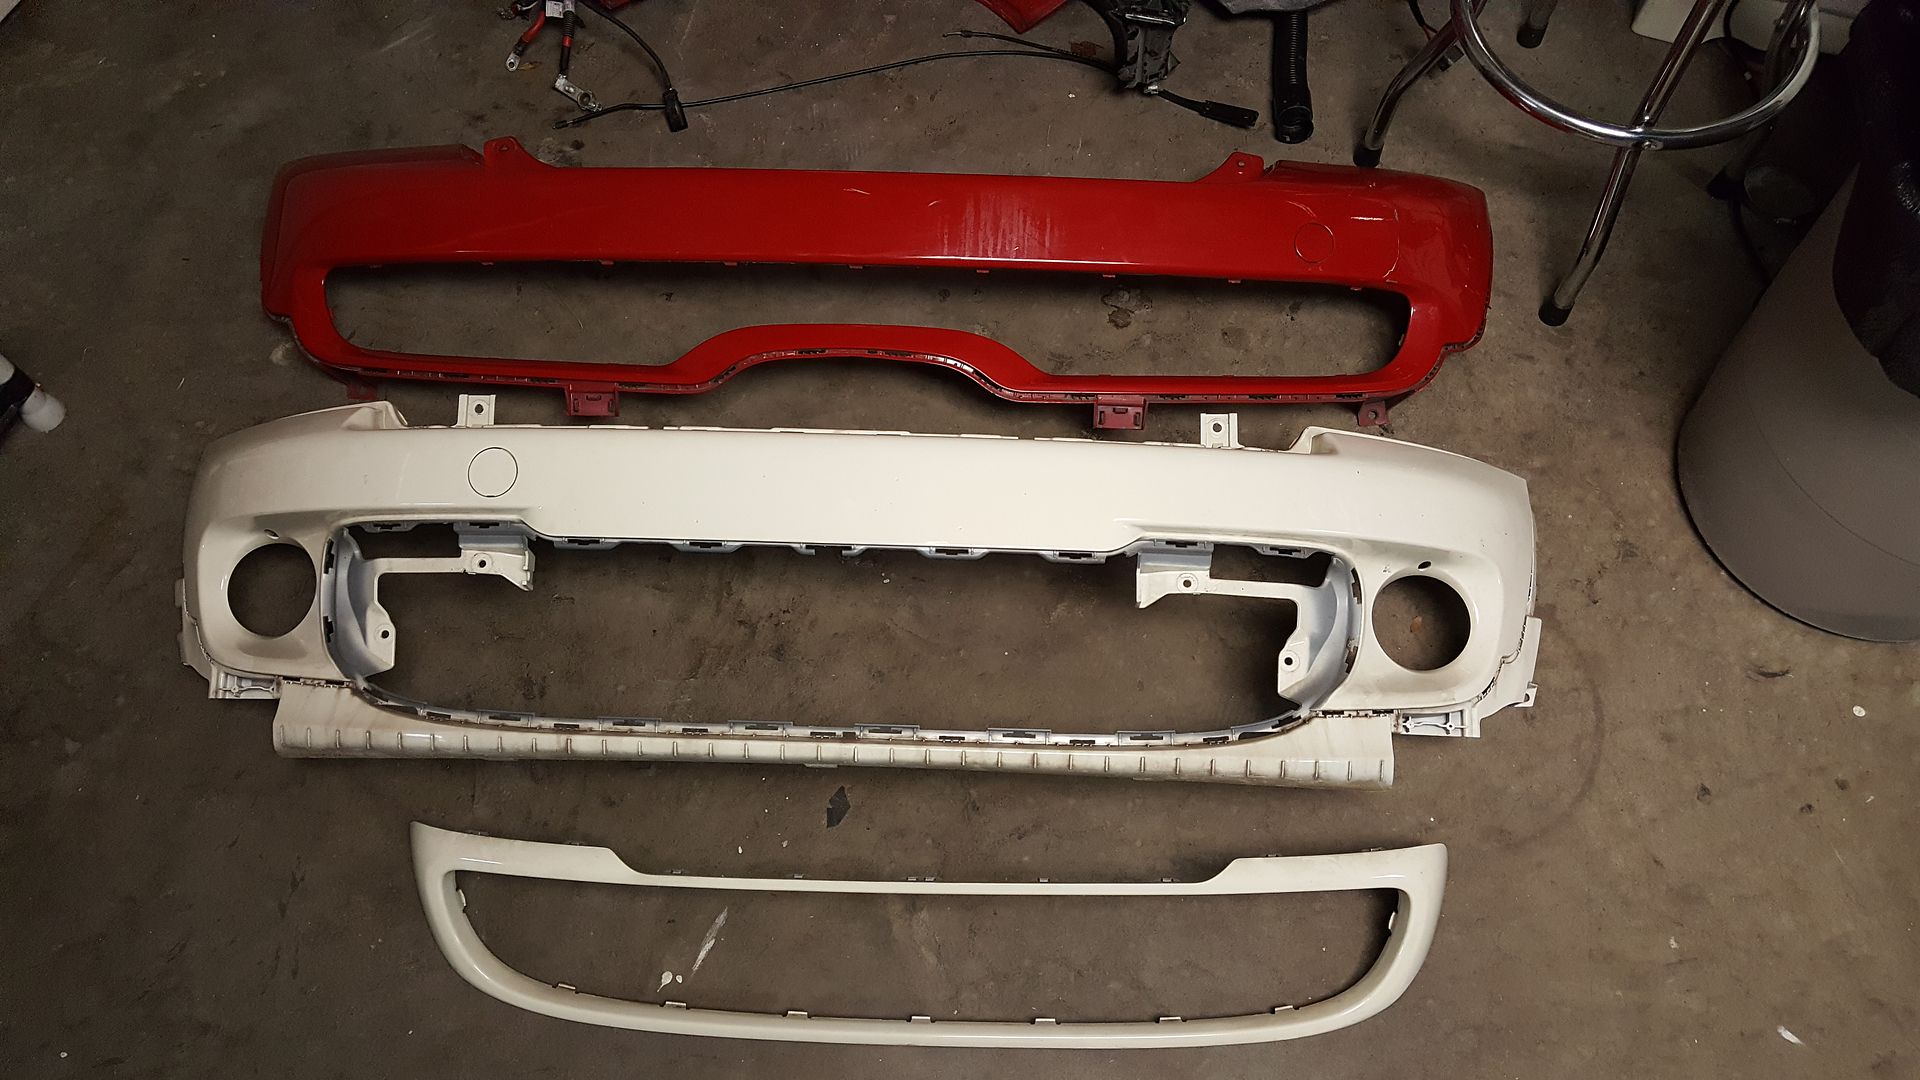
Here's the bumper covers and grille that need some paint work and repair for the rear cover.
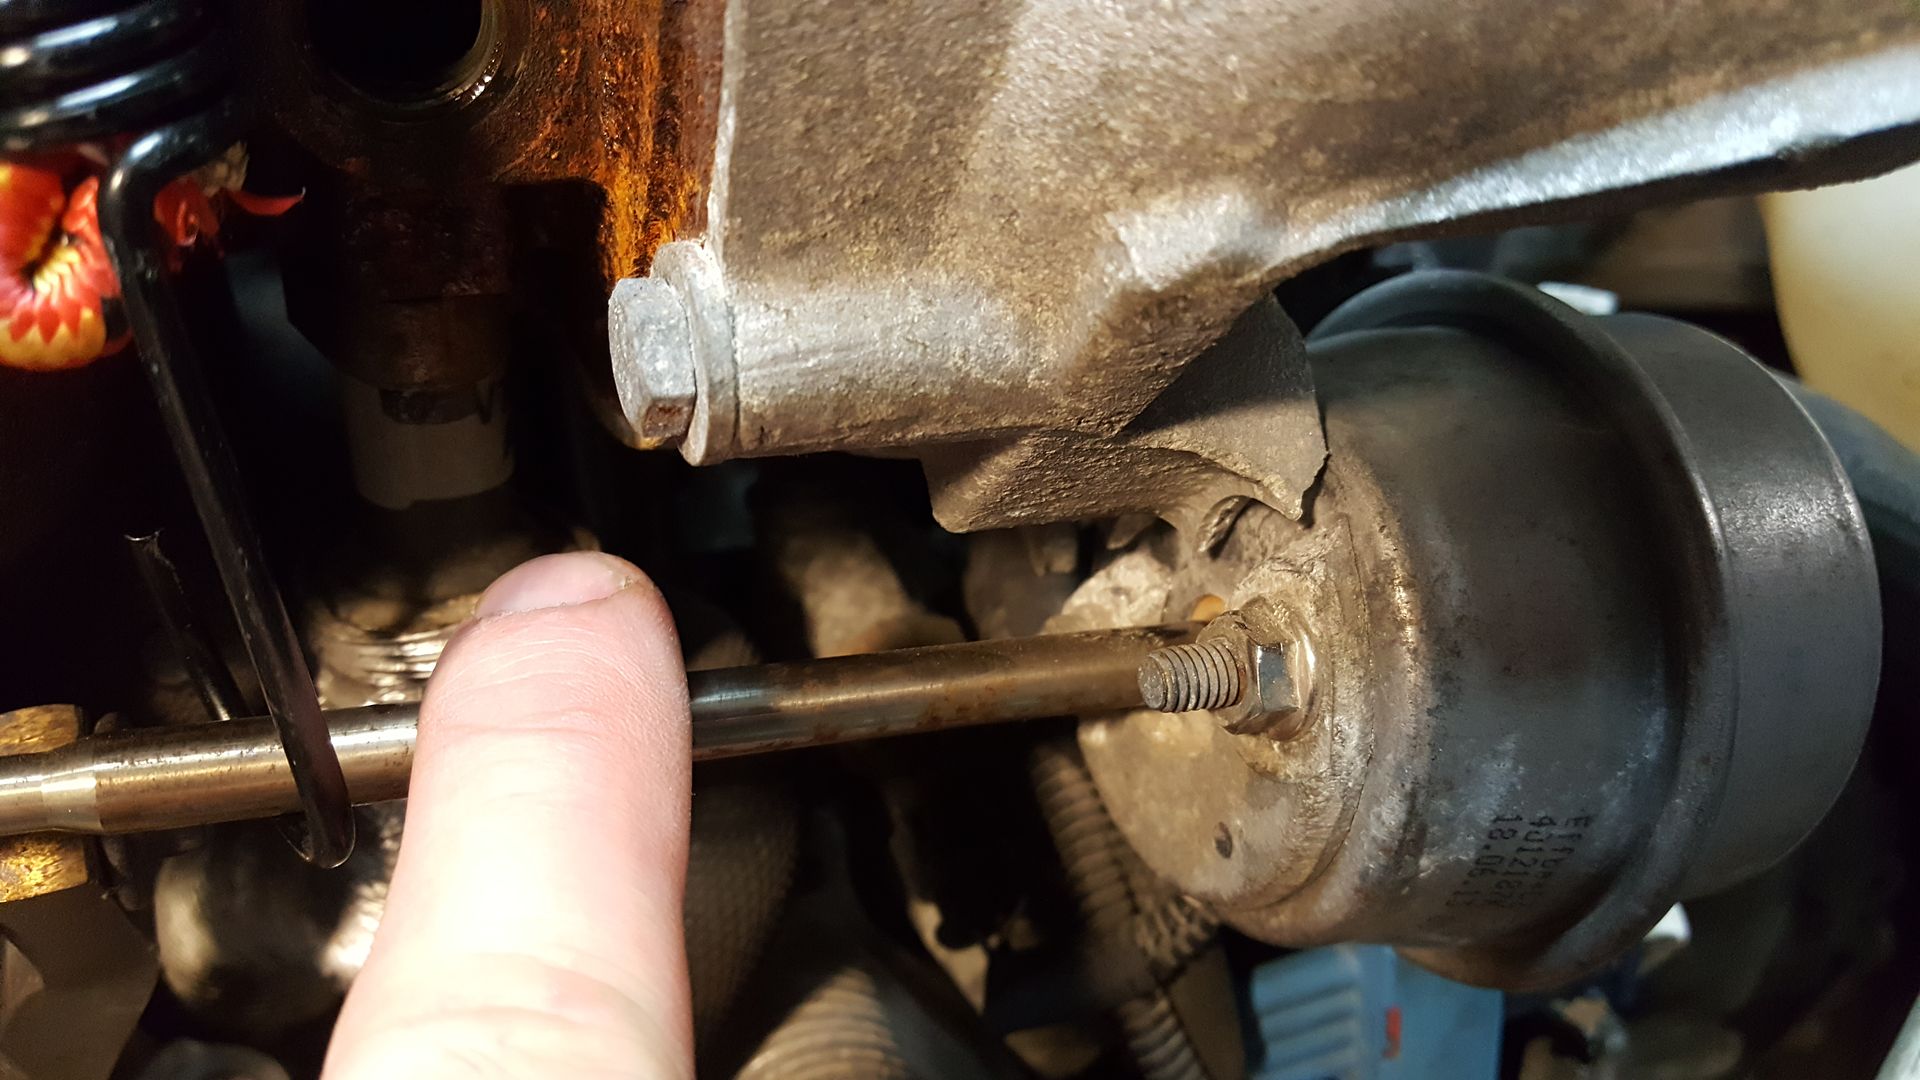
Here's the damaged wastegate housing I repaired:
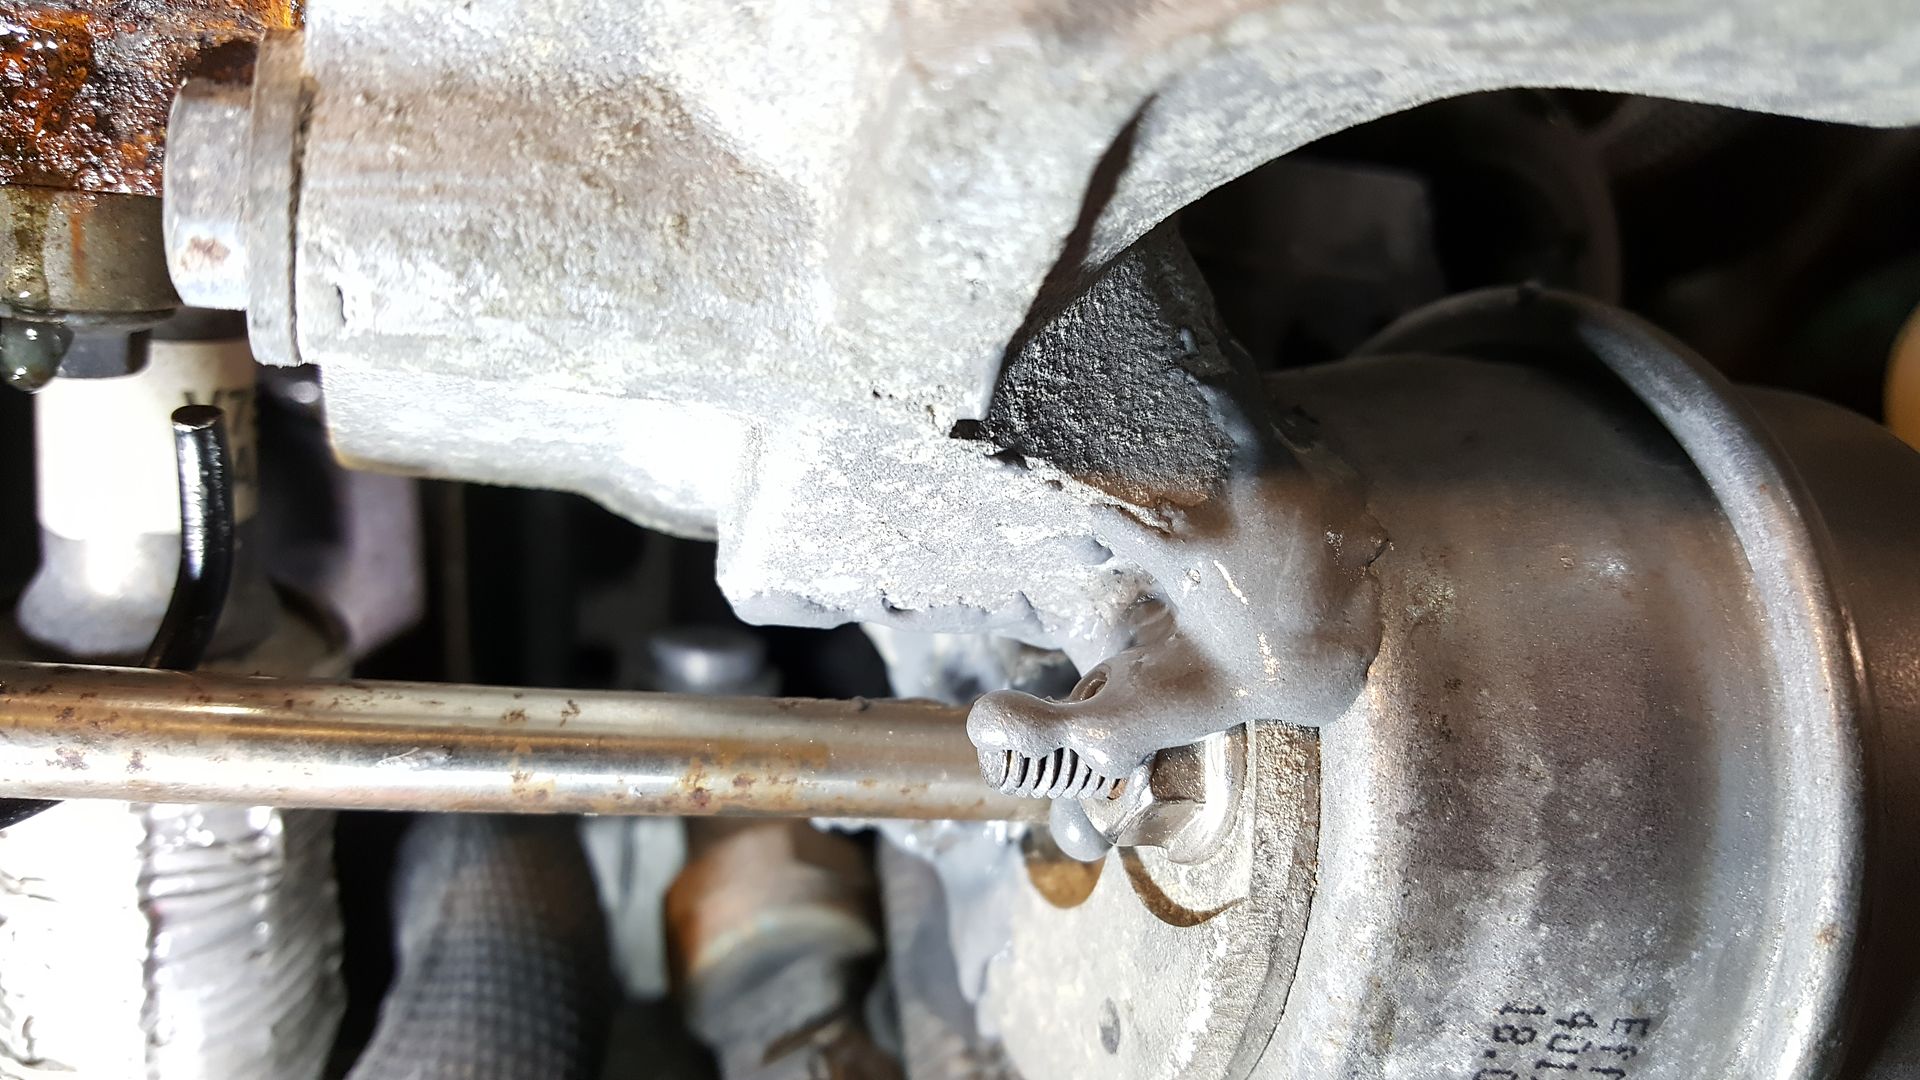
Here's the unprofessional looking repair. I globed it on as the directions instructed:
Everything torn apart again. :(

After that I installed the underside bracing that's specific to the Roadster as well as some other rectangular piece using my new impact ratchet. The ratchet definitely saved my shoulders some wear and tear.
Next, I removed the rear bumper cover, and stripped down the front bumper cover and grille for paint work. Dube was right on point when he said $600 was a pipe dream for the paintwork. My body/paint guy stopped by today to appraise the job and quoted me $900-$1,000. I think that's pretty fair considering the rear cover needs to be repaired and repainted, and the hood needs paint on each side. Also, keep in mind the paint is red, which is much more expensive that neutral colors.
I'll just have to part out some more R56 parts to cover it.
I then proceeded to install the cowls and water deflector. Man did those make a huge difference in making the car look closer to completion. I also bought/installed a new battery today and adjusted the battery holder.
I then moved onto removing the front clip again and repaired the turbo housing. The wastegate housing that's bolted to the turbo casting was broken in the wreck and I elected to repair it with high temp JB Weld versus installing the donor turbo/manifold. If this doesn't hold I'll have a friend of mine weld the housing.
Total time was around 5 enjoyable hours.
Pulled the rear bumper cover:

Installed the cowls.

Here's the bumper covers and grille that need some paint work and repair for the rear cover.

Here's the damaged wastegate housing I repaired:

Here's the unprofessional looking repair. I globed it on as the directions instructed:

Everything torn apart again. :(

#72
03-04-2018, 05:46 PM
......Repair with JB Weld ????????????
Be serious............ you know this is a damaged part from the crash and you already have a "free" replacement to make it right.
As for paranoia, most people buy salvaged projects like yours with hard earned money and not from disposable income. I don't blame them for being selective and worry at the same time.
#74
03-06-2018, 11:51 AM
......Repair with JB Weld ????????????
Be serious............ you know this is a damaged part from the crash and you already have a "free" replacement to make it right.
As for paranoia, most people buy salvaged projects like yours with hard earned money and not from disposable income. I don't blame them for being selective and worry at the same time.
Be serious............ you know this is a damaged part from the crash and you already have a "free" replacement to make it right.
As for paranoia, most people buy salvaged projects like yours with hard earned money and not from disposable income. I don't blame them for being selective and worry at the same time.
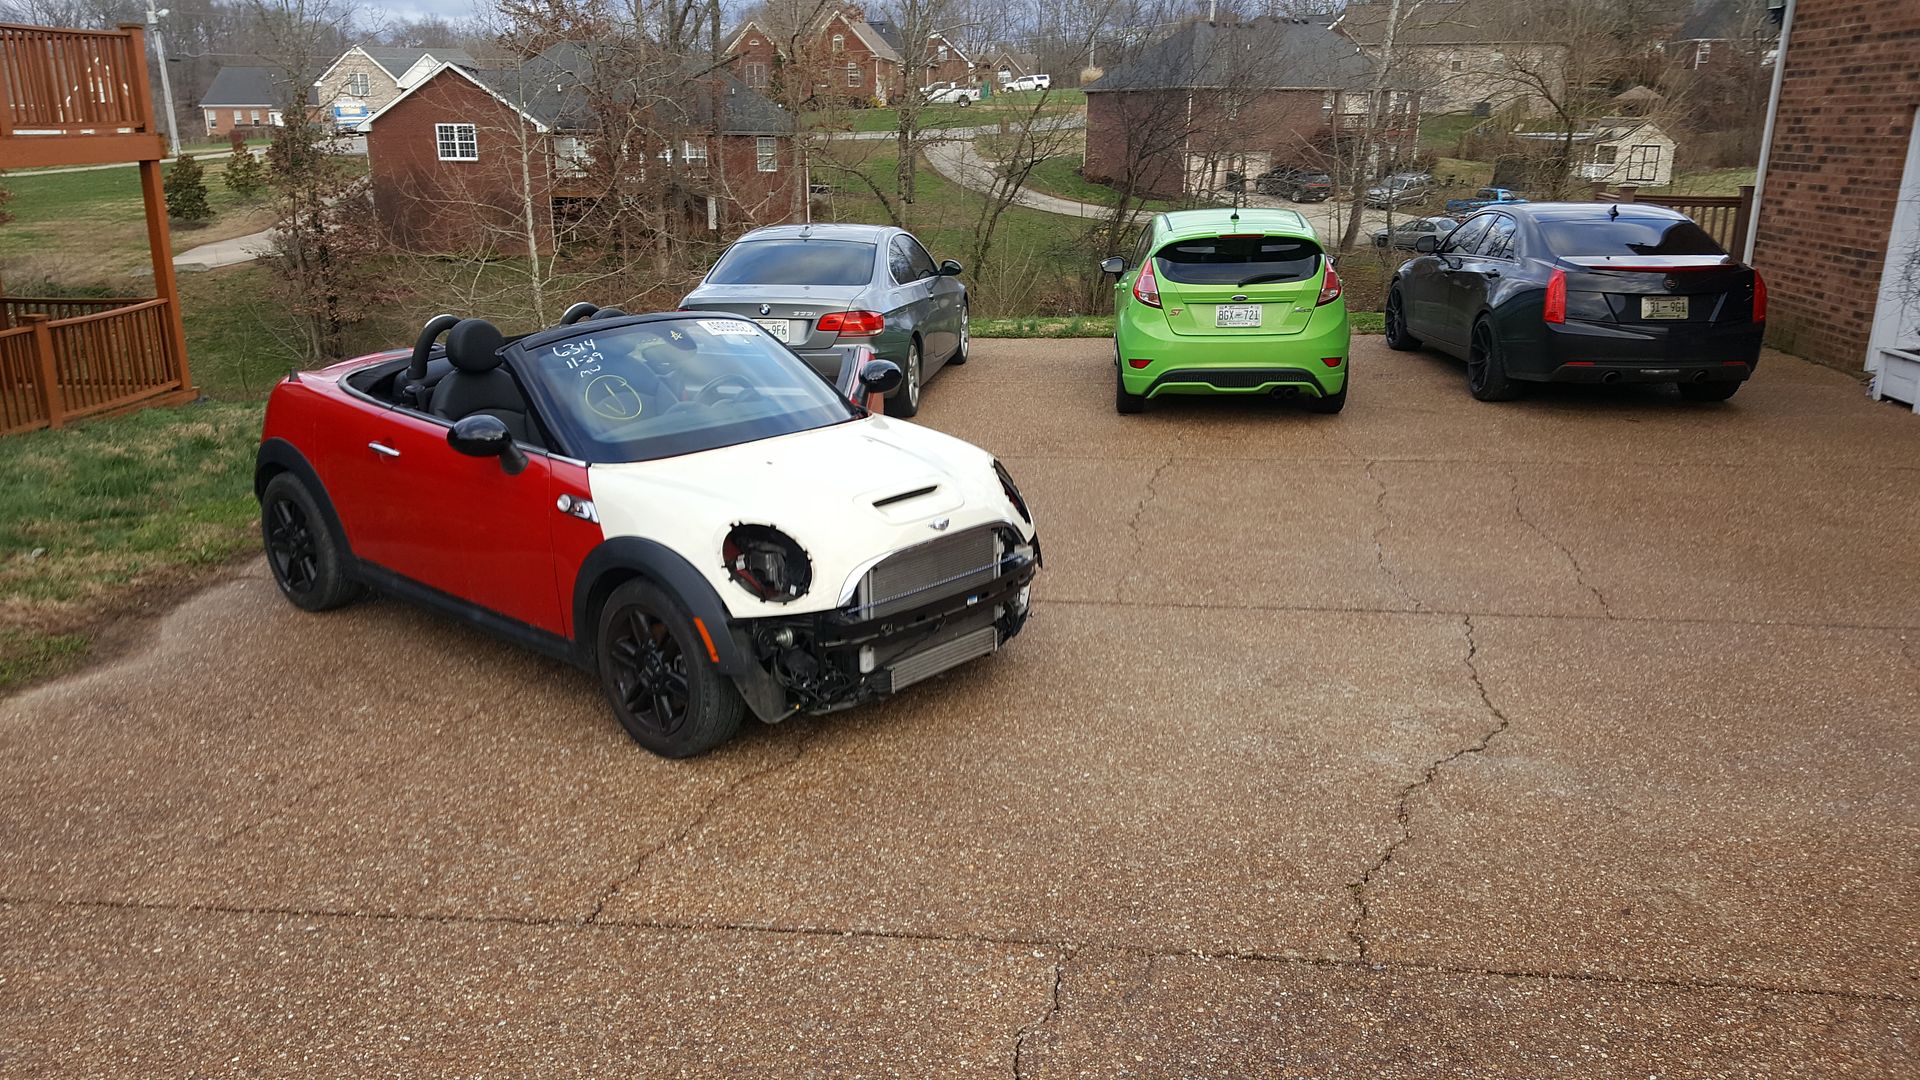
I can't wait for my parts to come back from paint so I can get this thing inspected and back on the road. It will be nice to drive it a few weeks before the miserable summer heat hits.
#75
03-06-2018, 05:54 PM