When you click on links to various merchants on this site and make a purchase, this can result in this site earning a commission. Affiliate programs and affiliations include, but are not limited to, the eBay Partner Network.
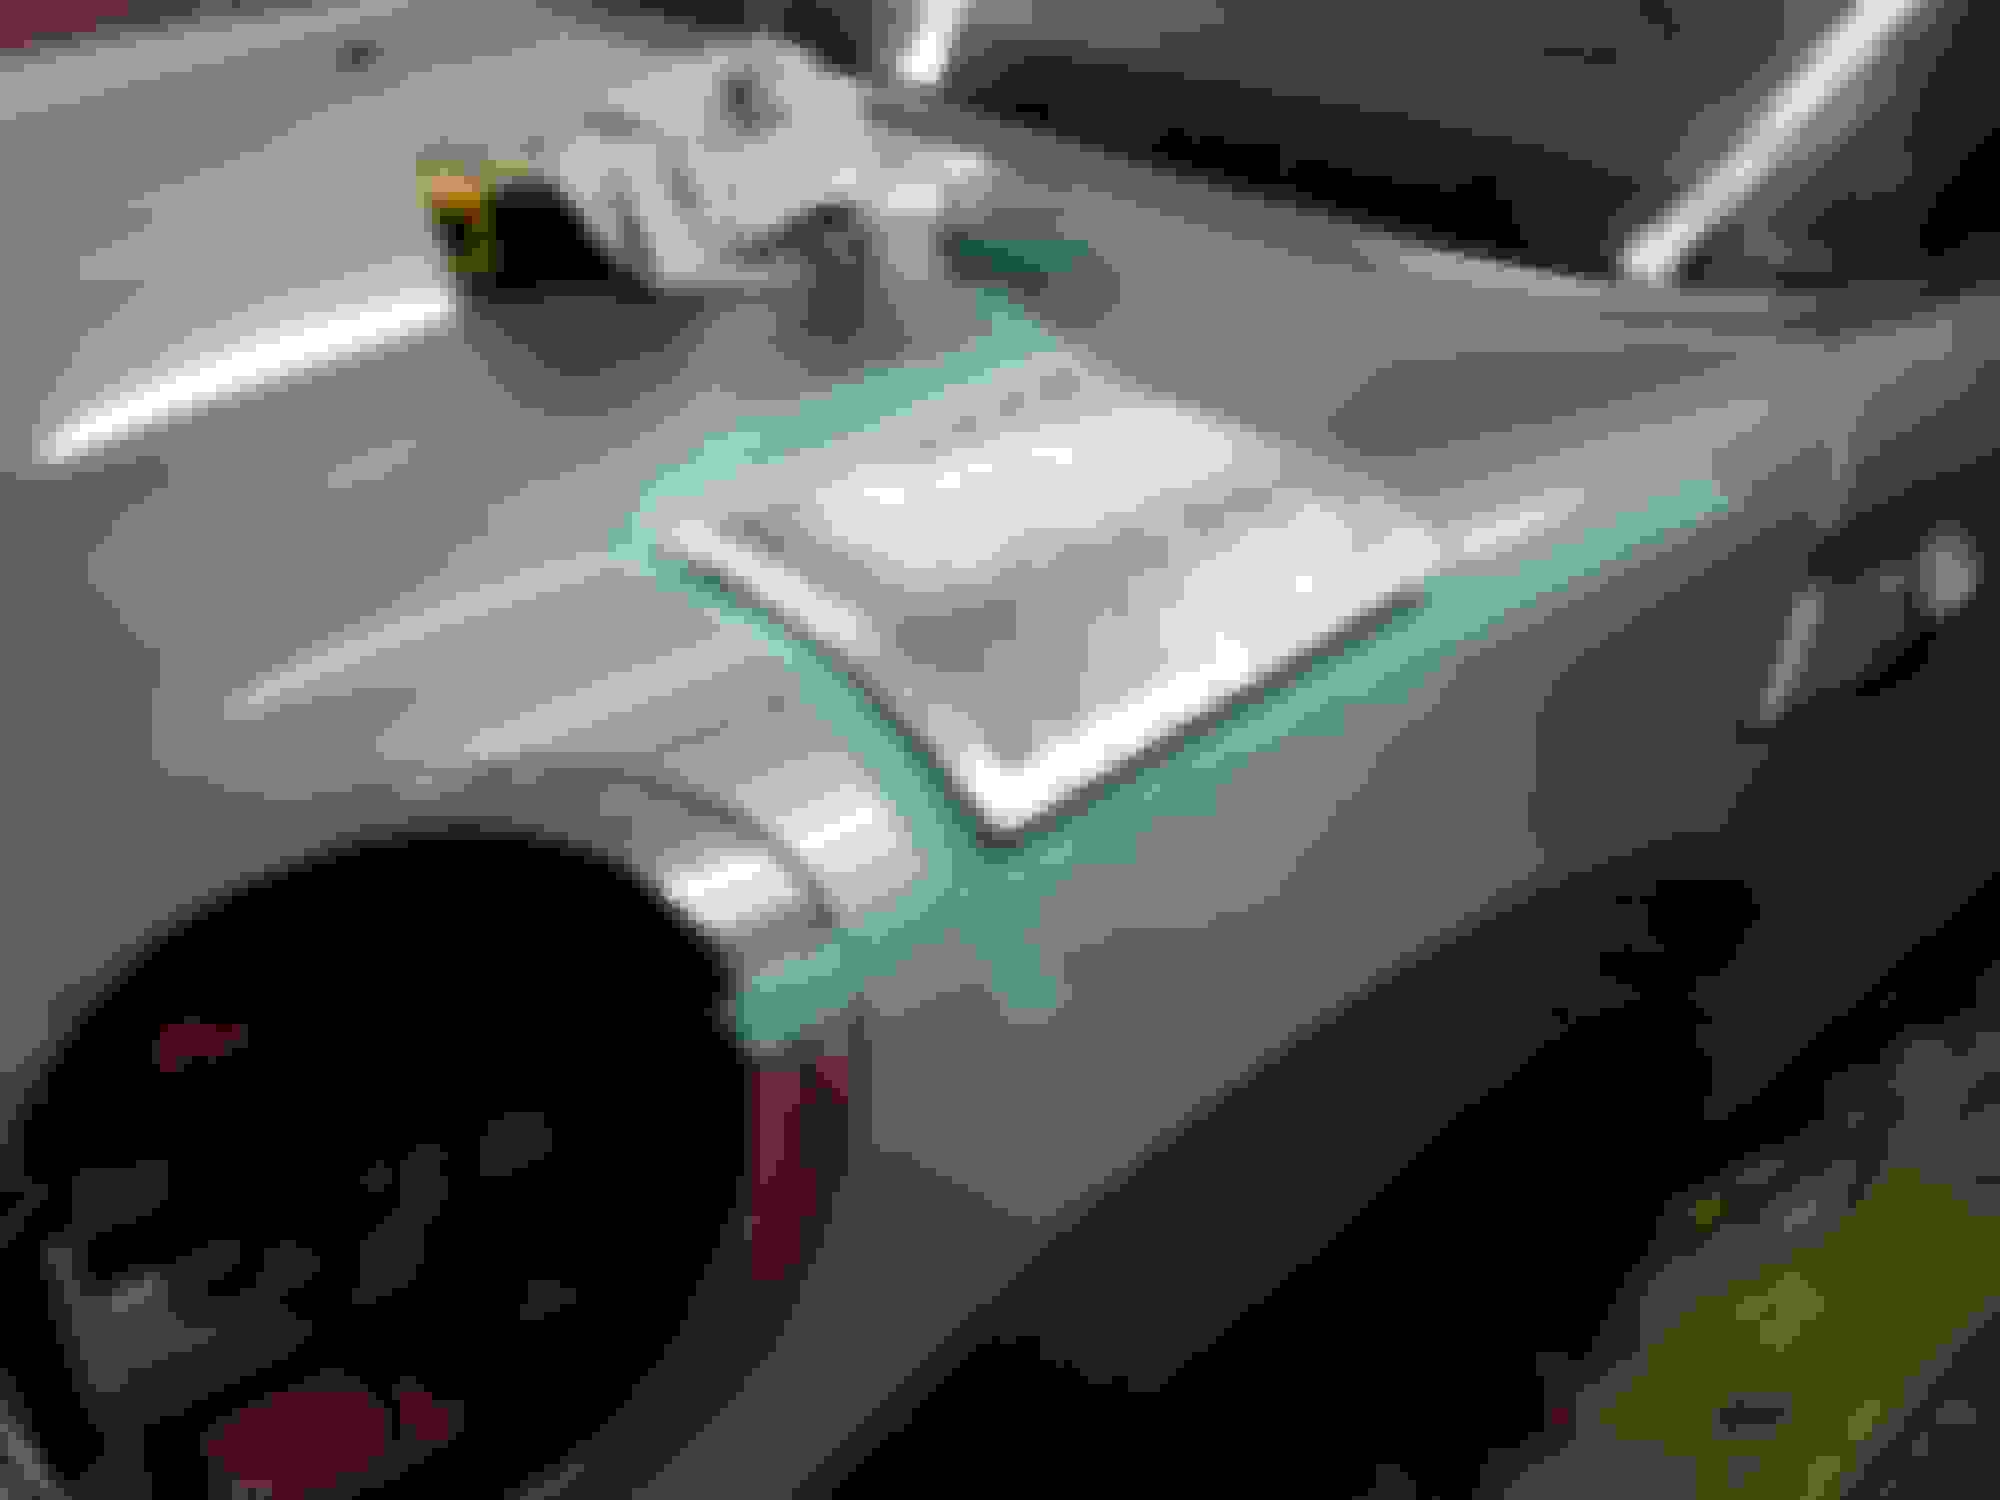
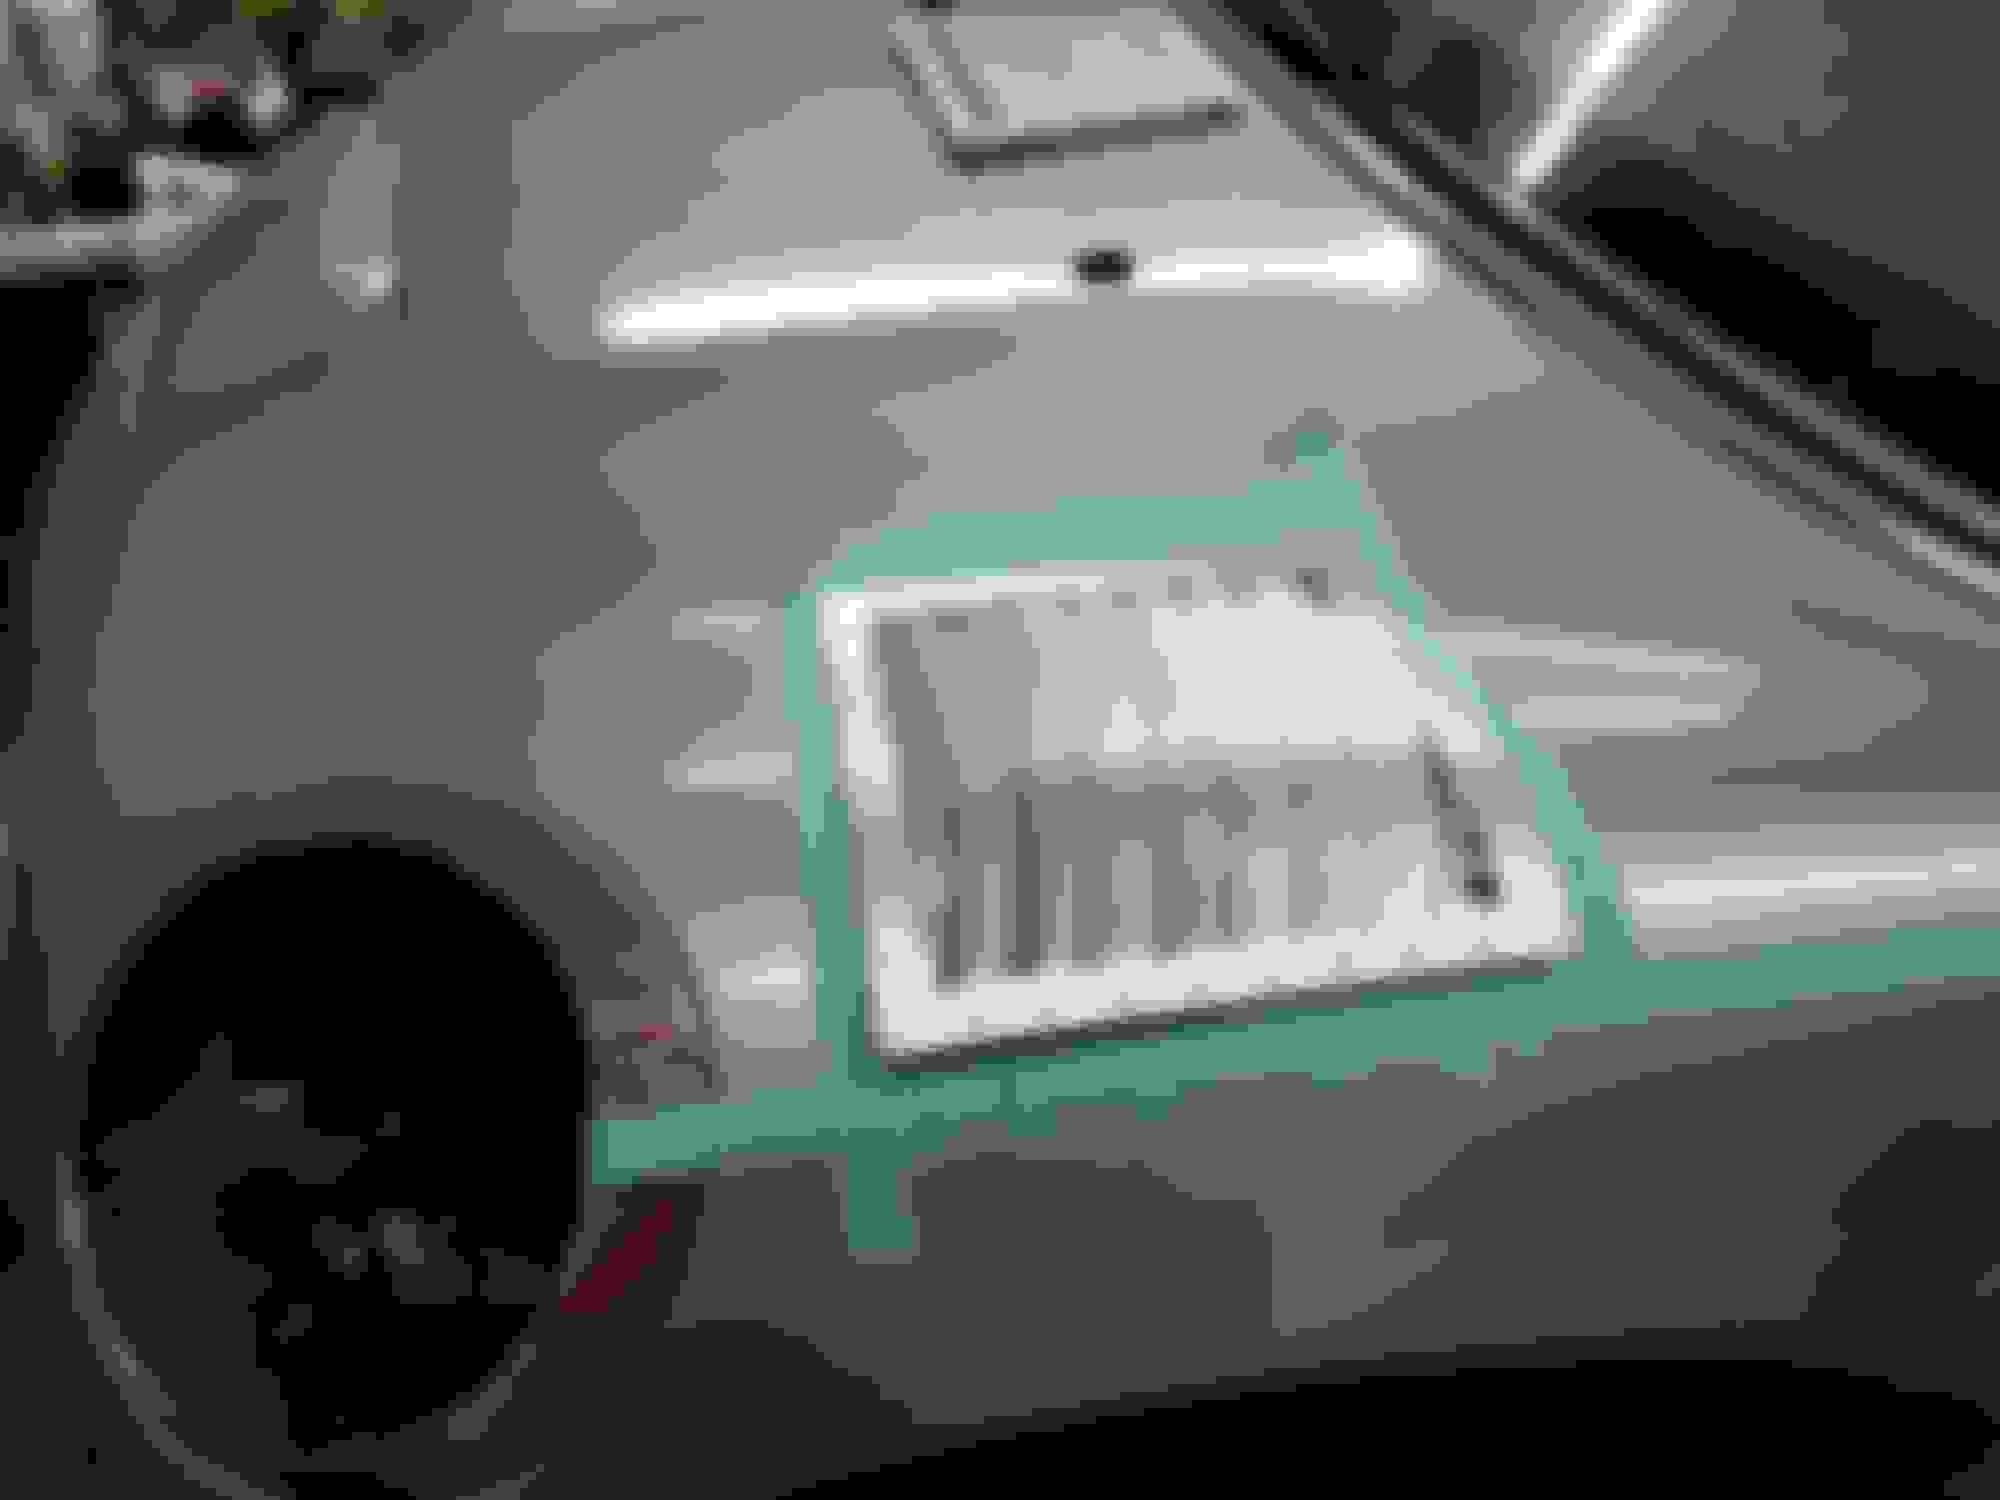
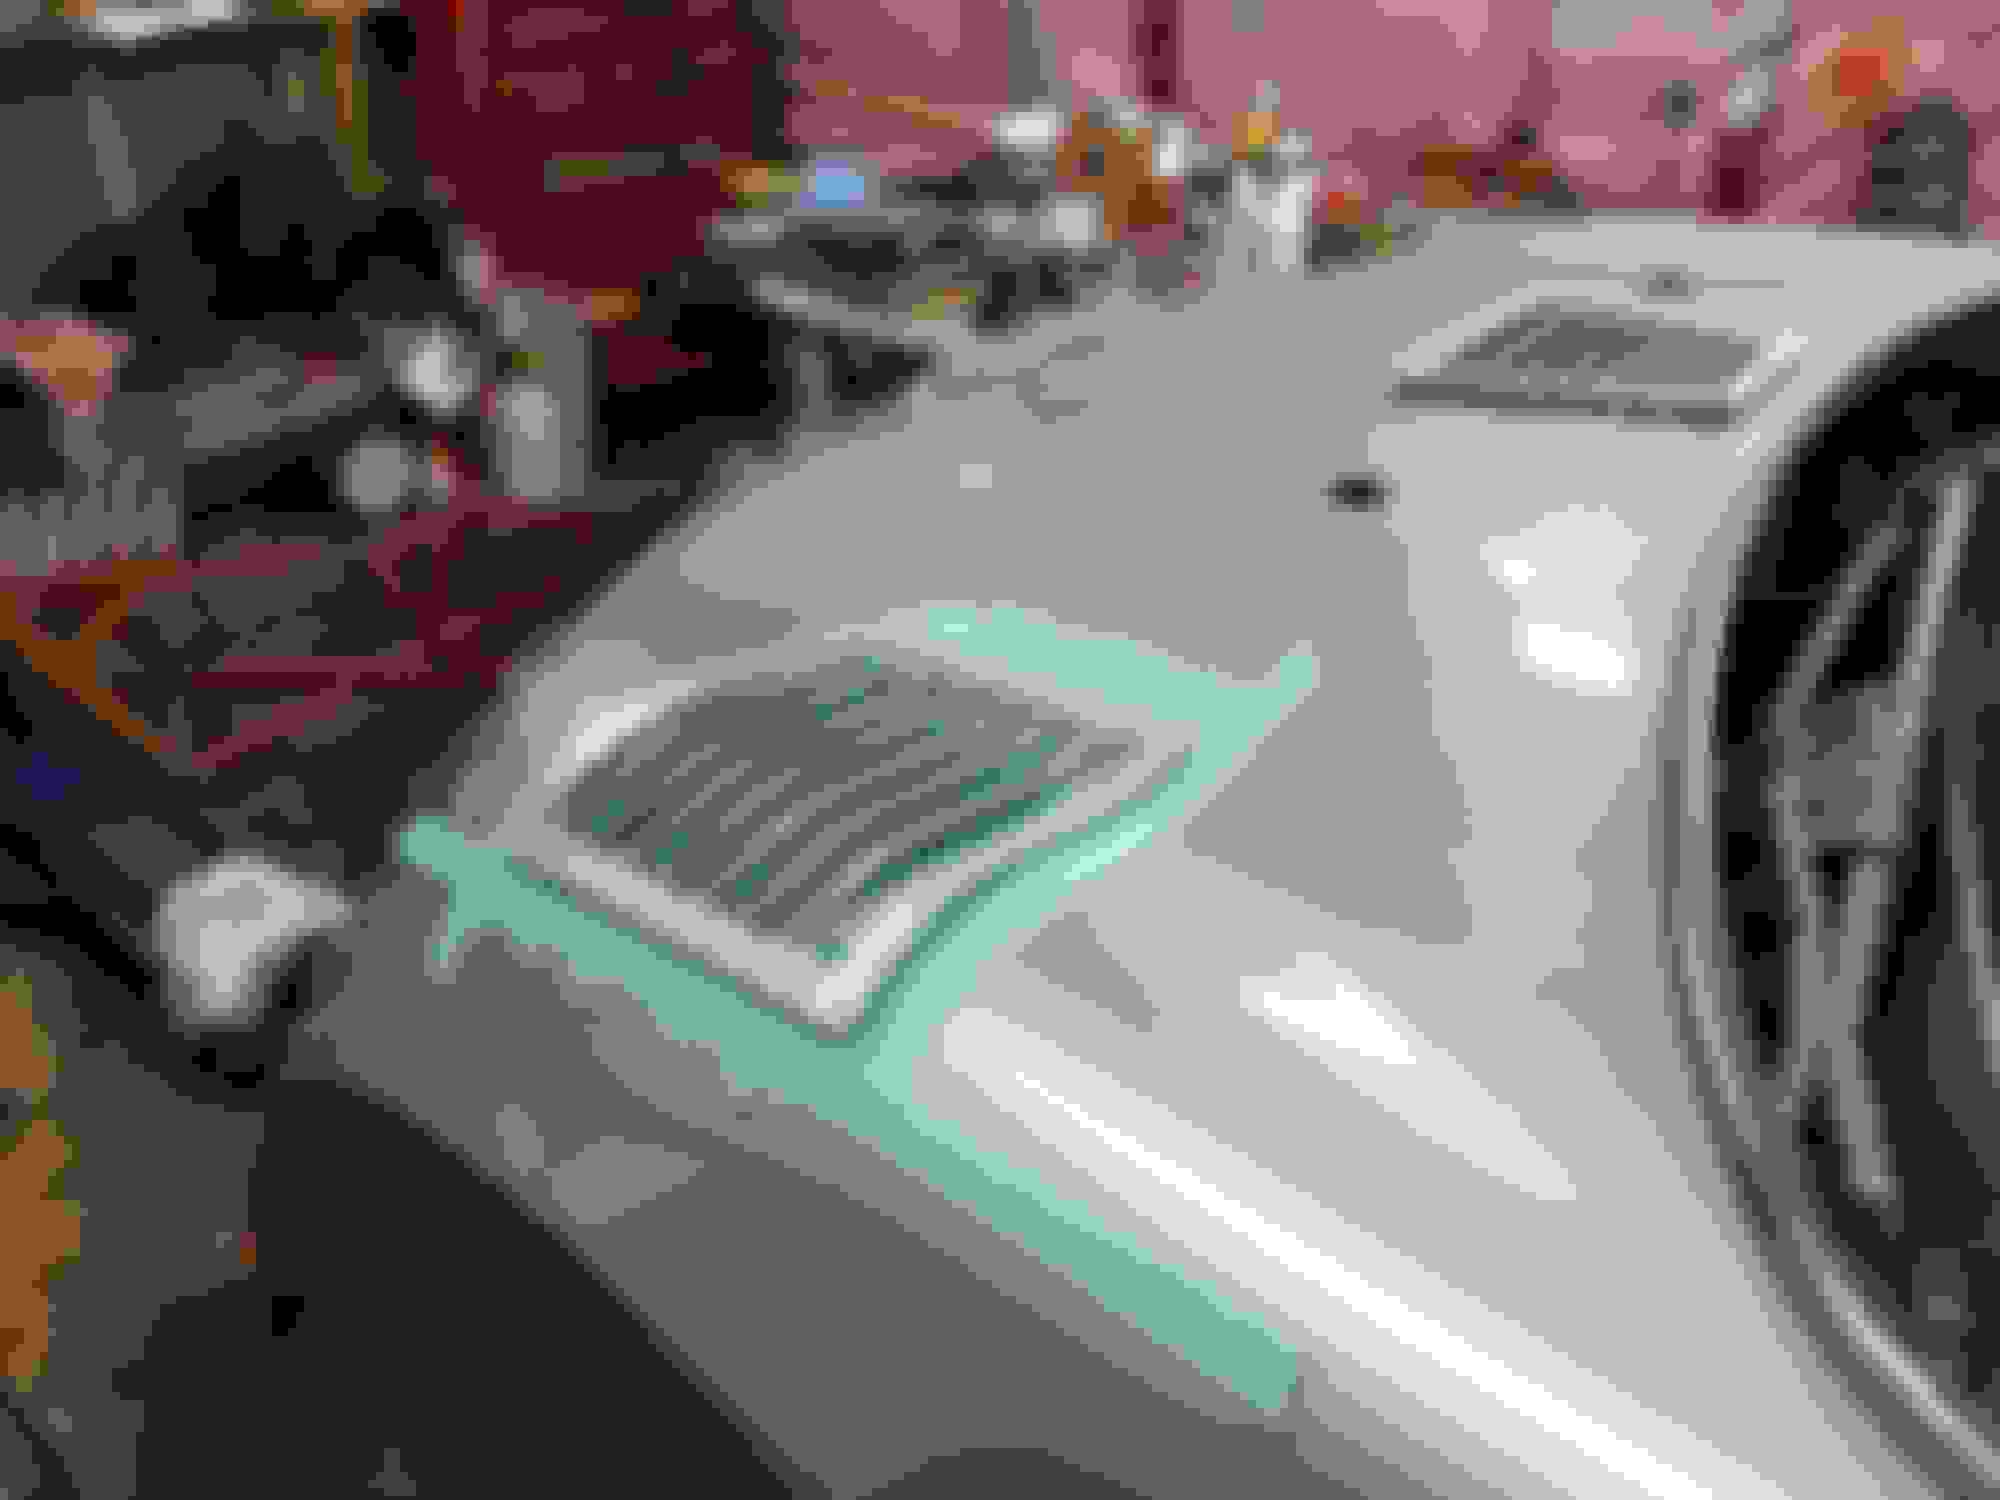
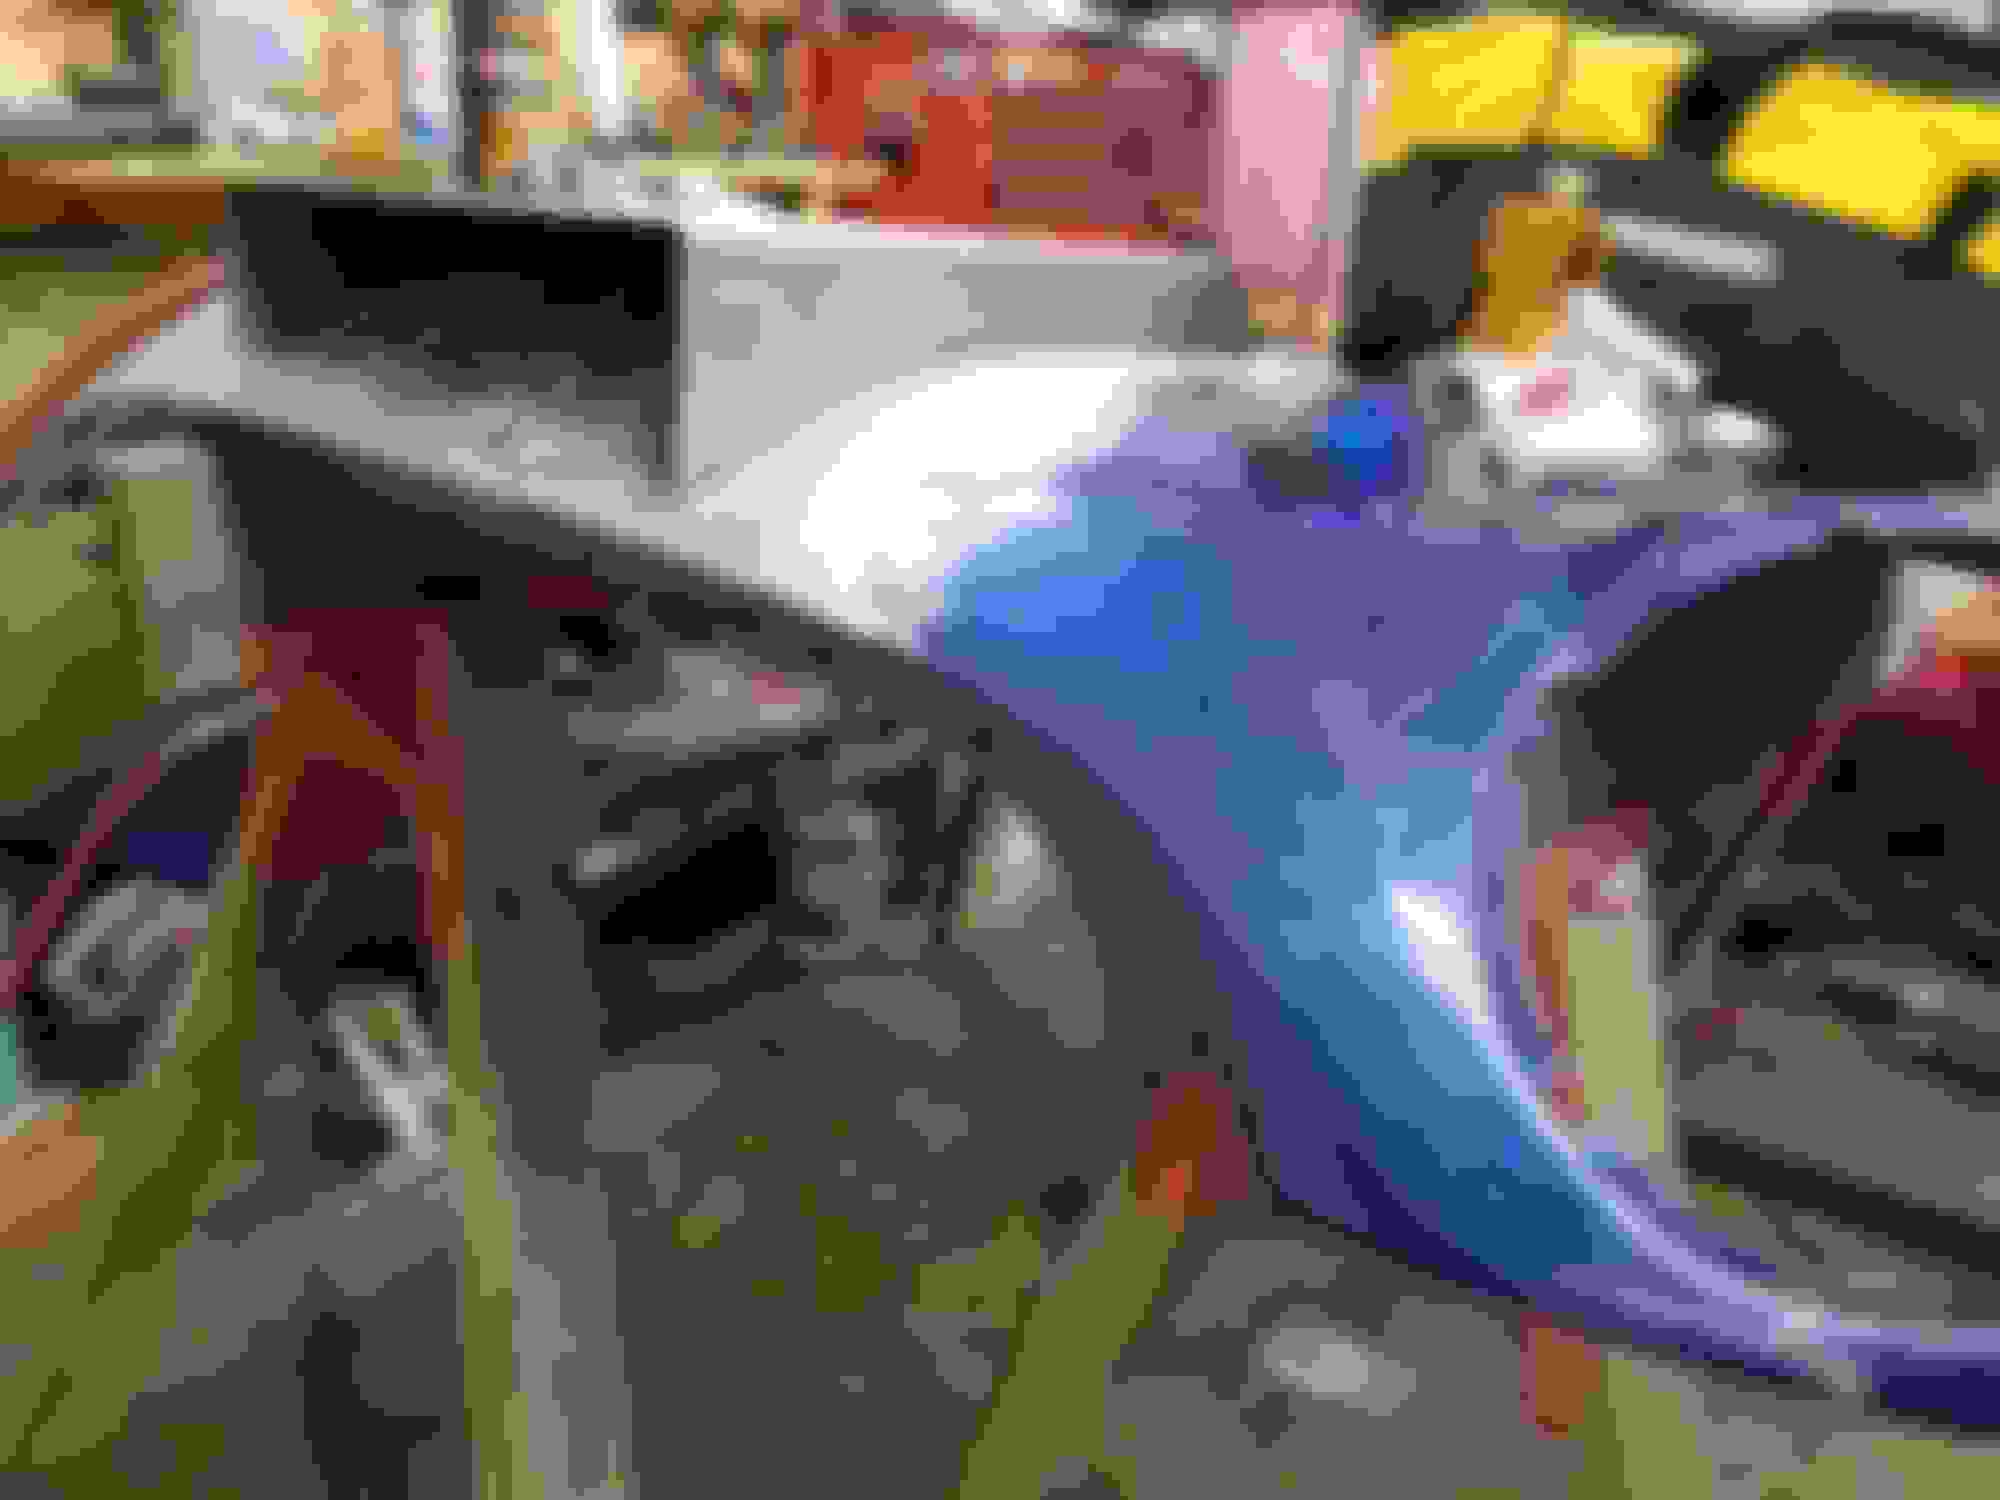
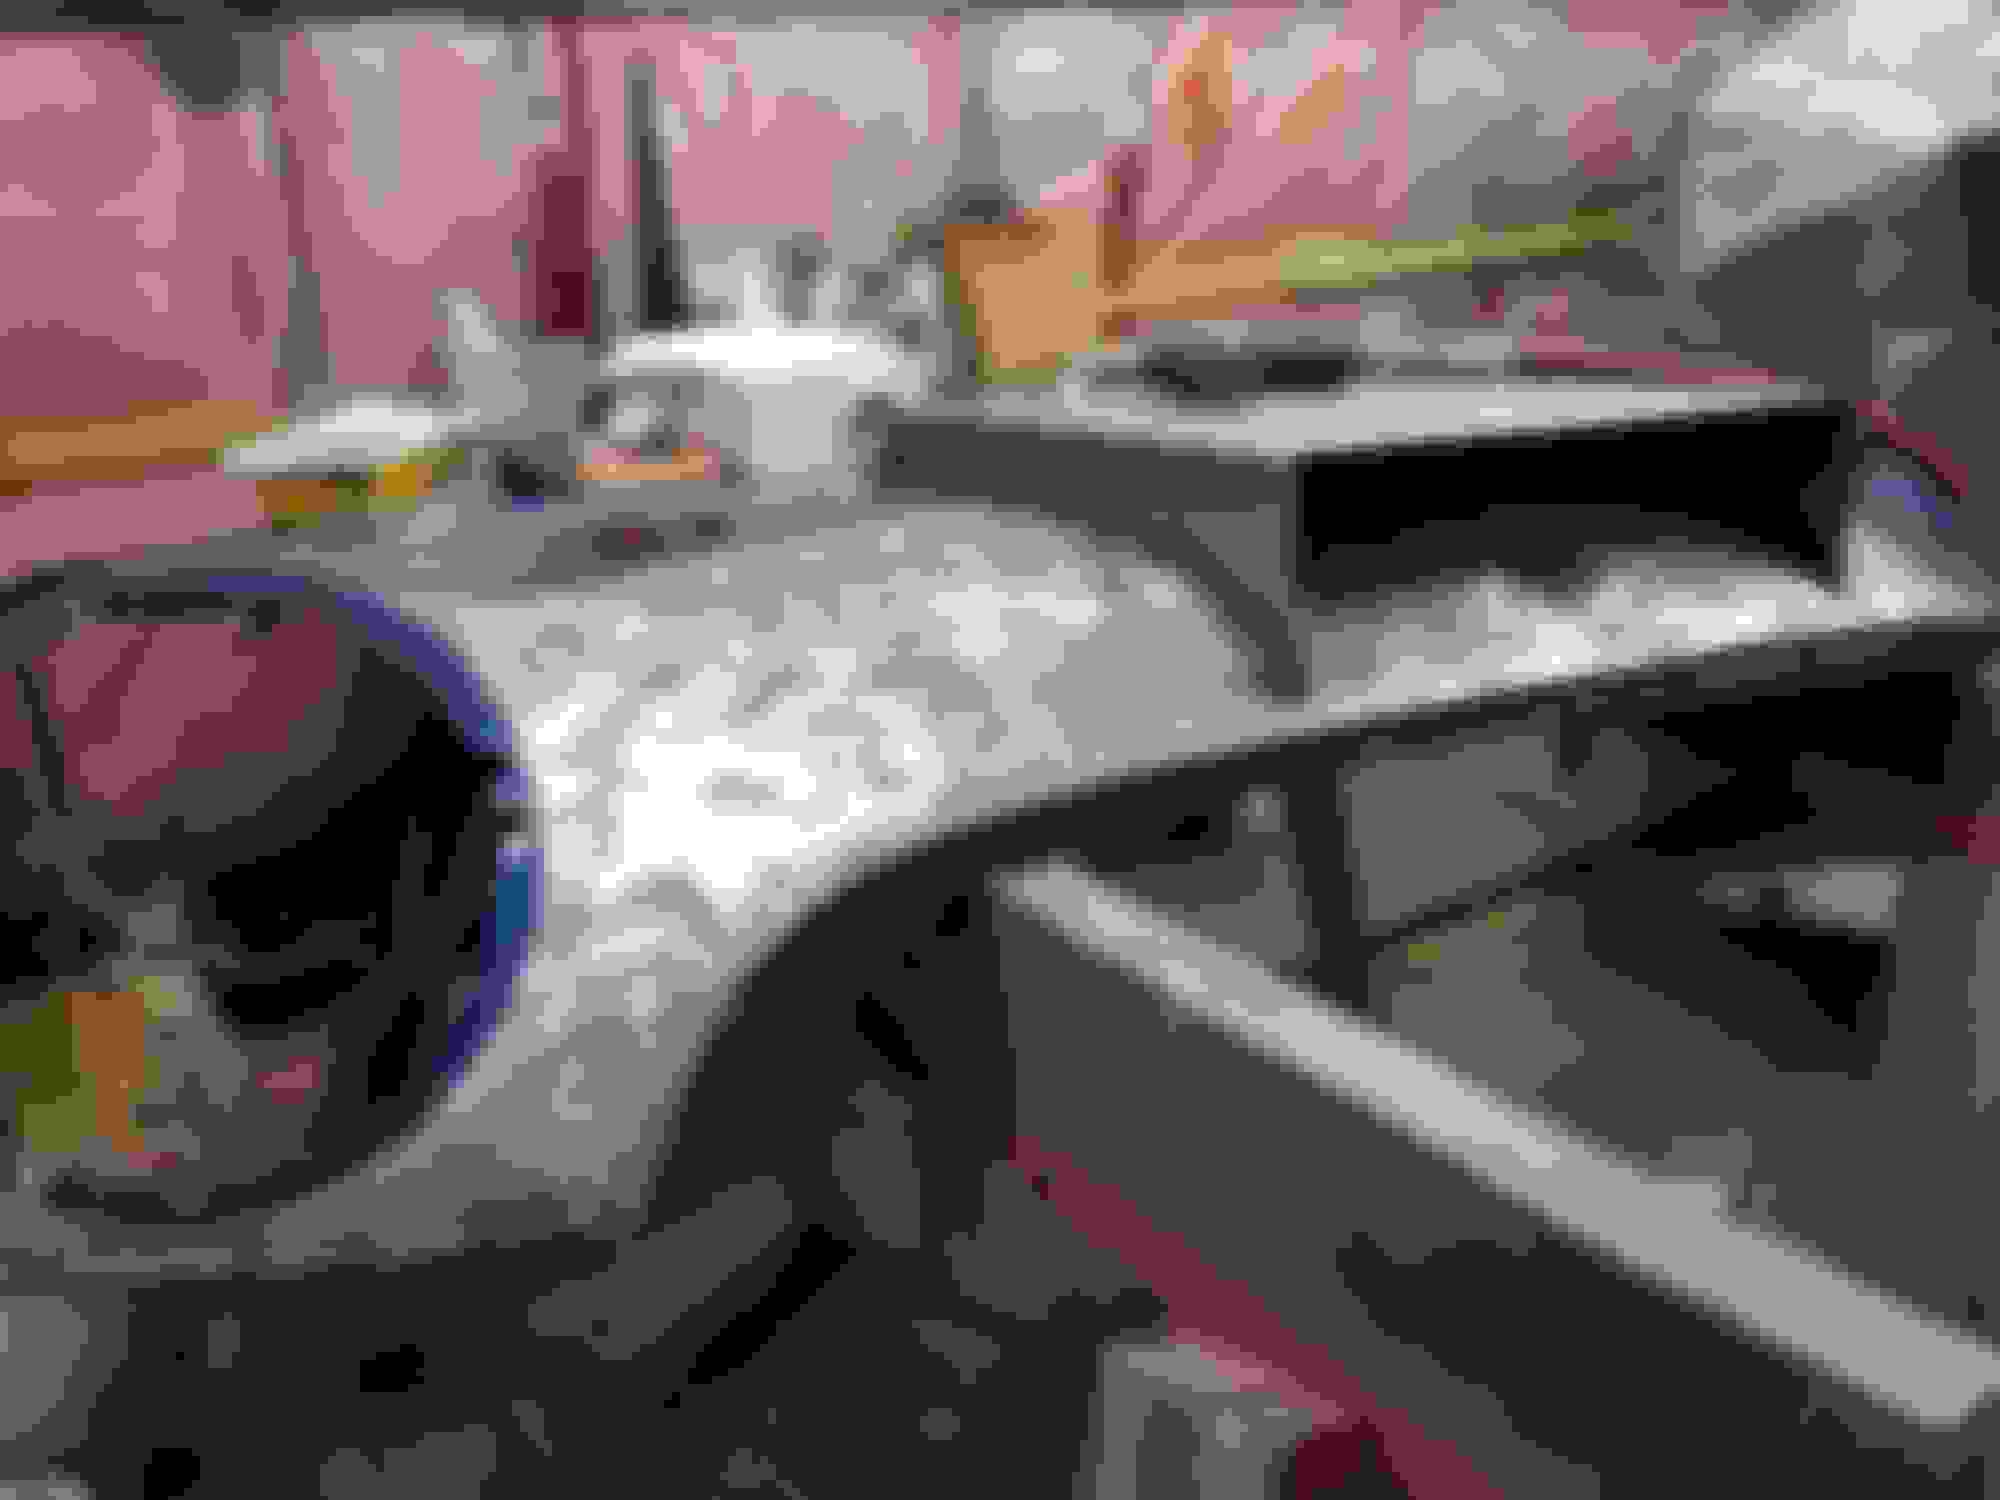
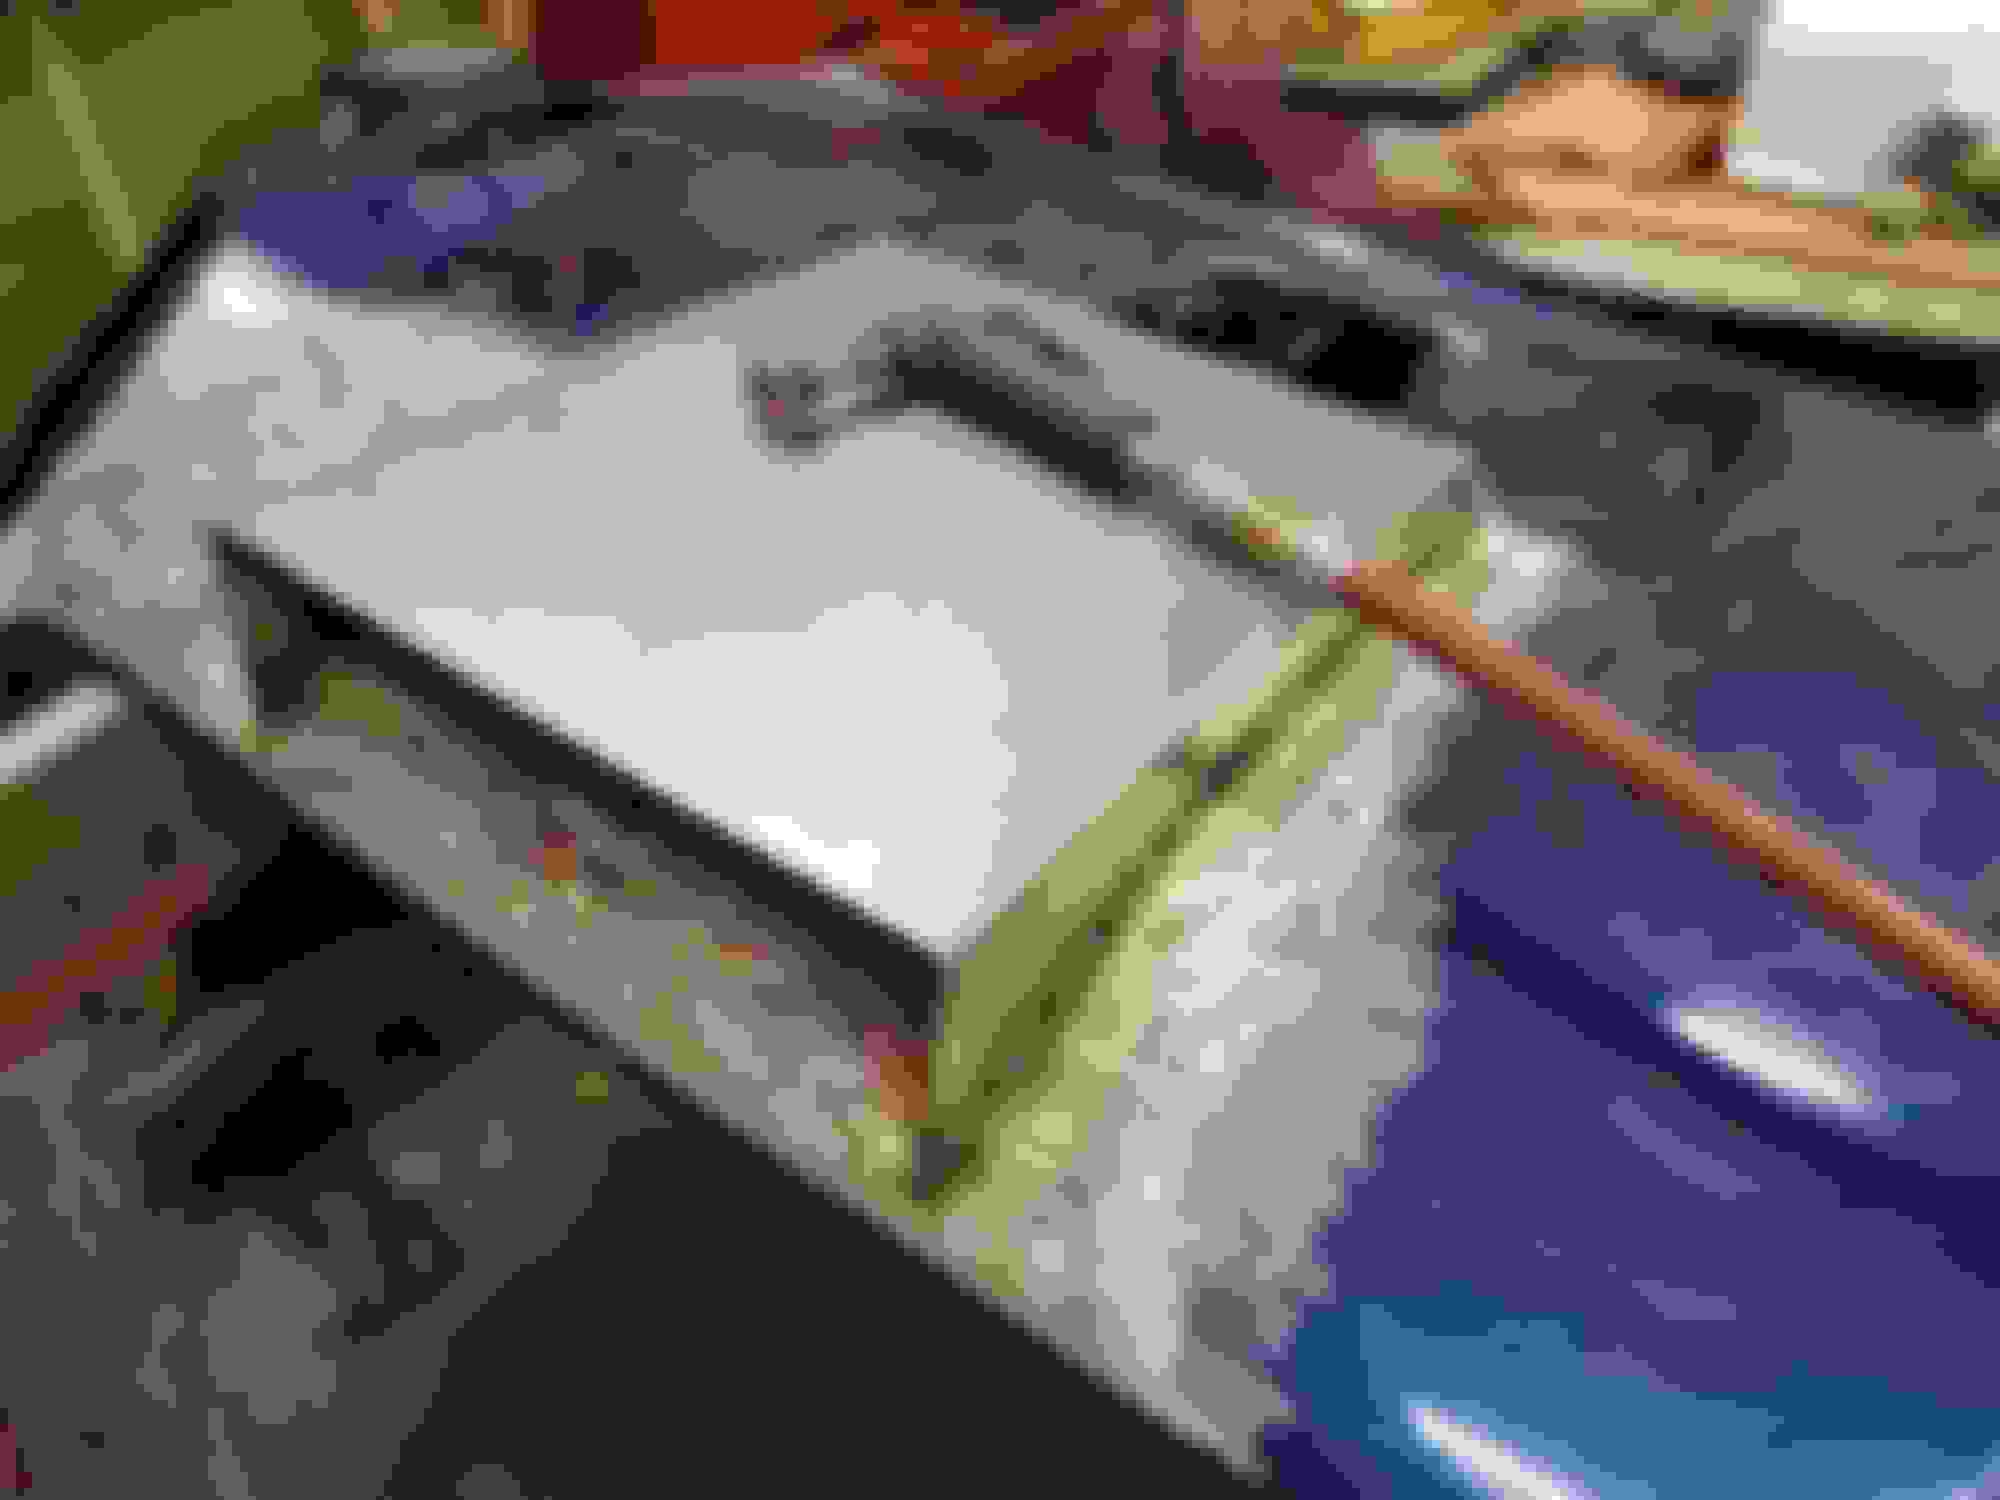
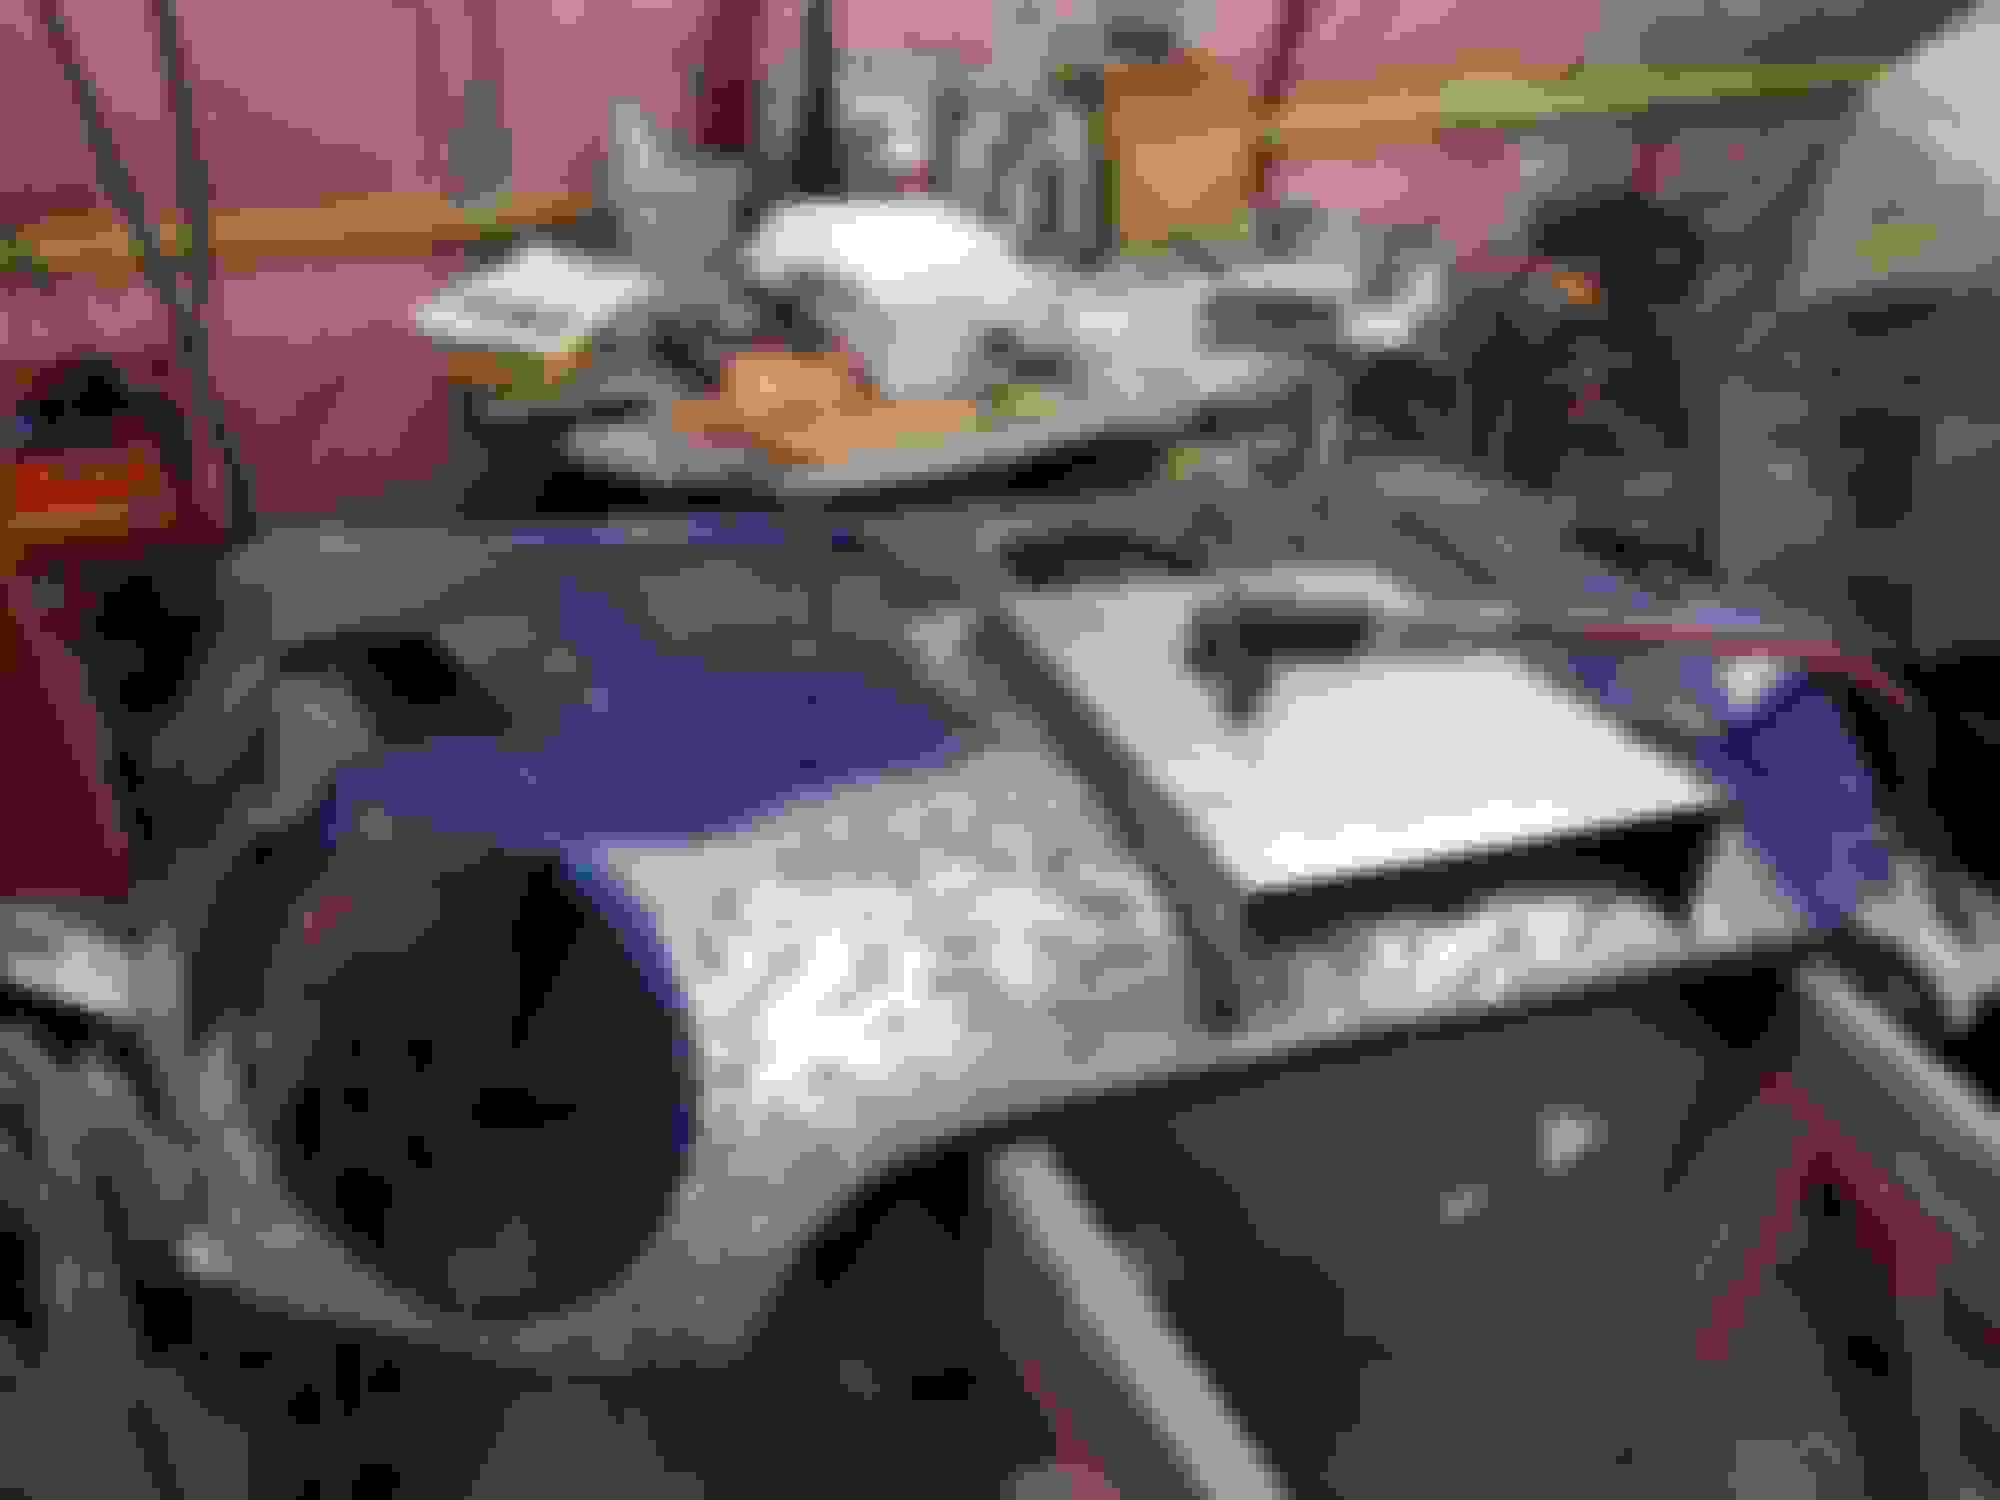
Did some work on the hood scoop and where I'm going to place the oil cooler. The cooler may end up getting located over the engine right behind the hood scoop. Just about zero room anywhere else under there. I may hook the fan for the oil cooler below the drivers side hood vent. It would power vent the engine compartment if it got over 210 degrees. Hmmm why do I do these things to myself? Cutting the scoop and heating with a heat gun getting it to basically the shape i want. Then it will be fiberglassed and resprayed. Here are the positions of the scoops. This will miss most structural members. Im not a fan of cutting out structure. There will be some trimming and i hope i will still have access to buck some blind rivets. It i cant access because of steel in the way then i will try rivnuts. Here is the center and side vents. This set is 40 thou thick pretty much that same as facory panels or a little more. If anyone is interested in purchasing a set of three vents send me a pm. Probably around 150 plus shipping for the three. Im still developing them an if its something i sell i want average Joe to able to install them. Here im forming it to the fender. I bent it on a small propane tank to get the curves about 95 percent there. It worked out really well and the fins follow the body lines nicely. I could find nothing to match online. This should really help to lower under hood pressures and give exceptional cooling.
these will work and look great on a flat surface also.
Some more test parts produced. I'm not real happy with how the curved fins are flowing into the ends of the part. I'm also thinking of making it an inch thinner to flow nicer on the hood. I think keeping the curve singular instead of compound will look nicer. I'm also thinking that I may try to find another non s hood and also build a hood scoop to match the heat extractors. Here is some more parts. My new godspeed mono maxes came in and i didn't want to put them in with dull strut towers. So a new coat of paint and clear coat went on.
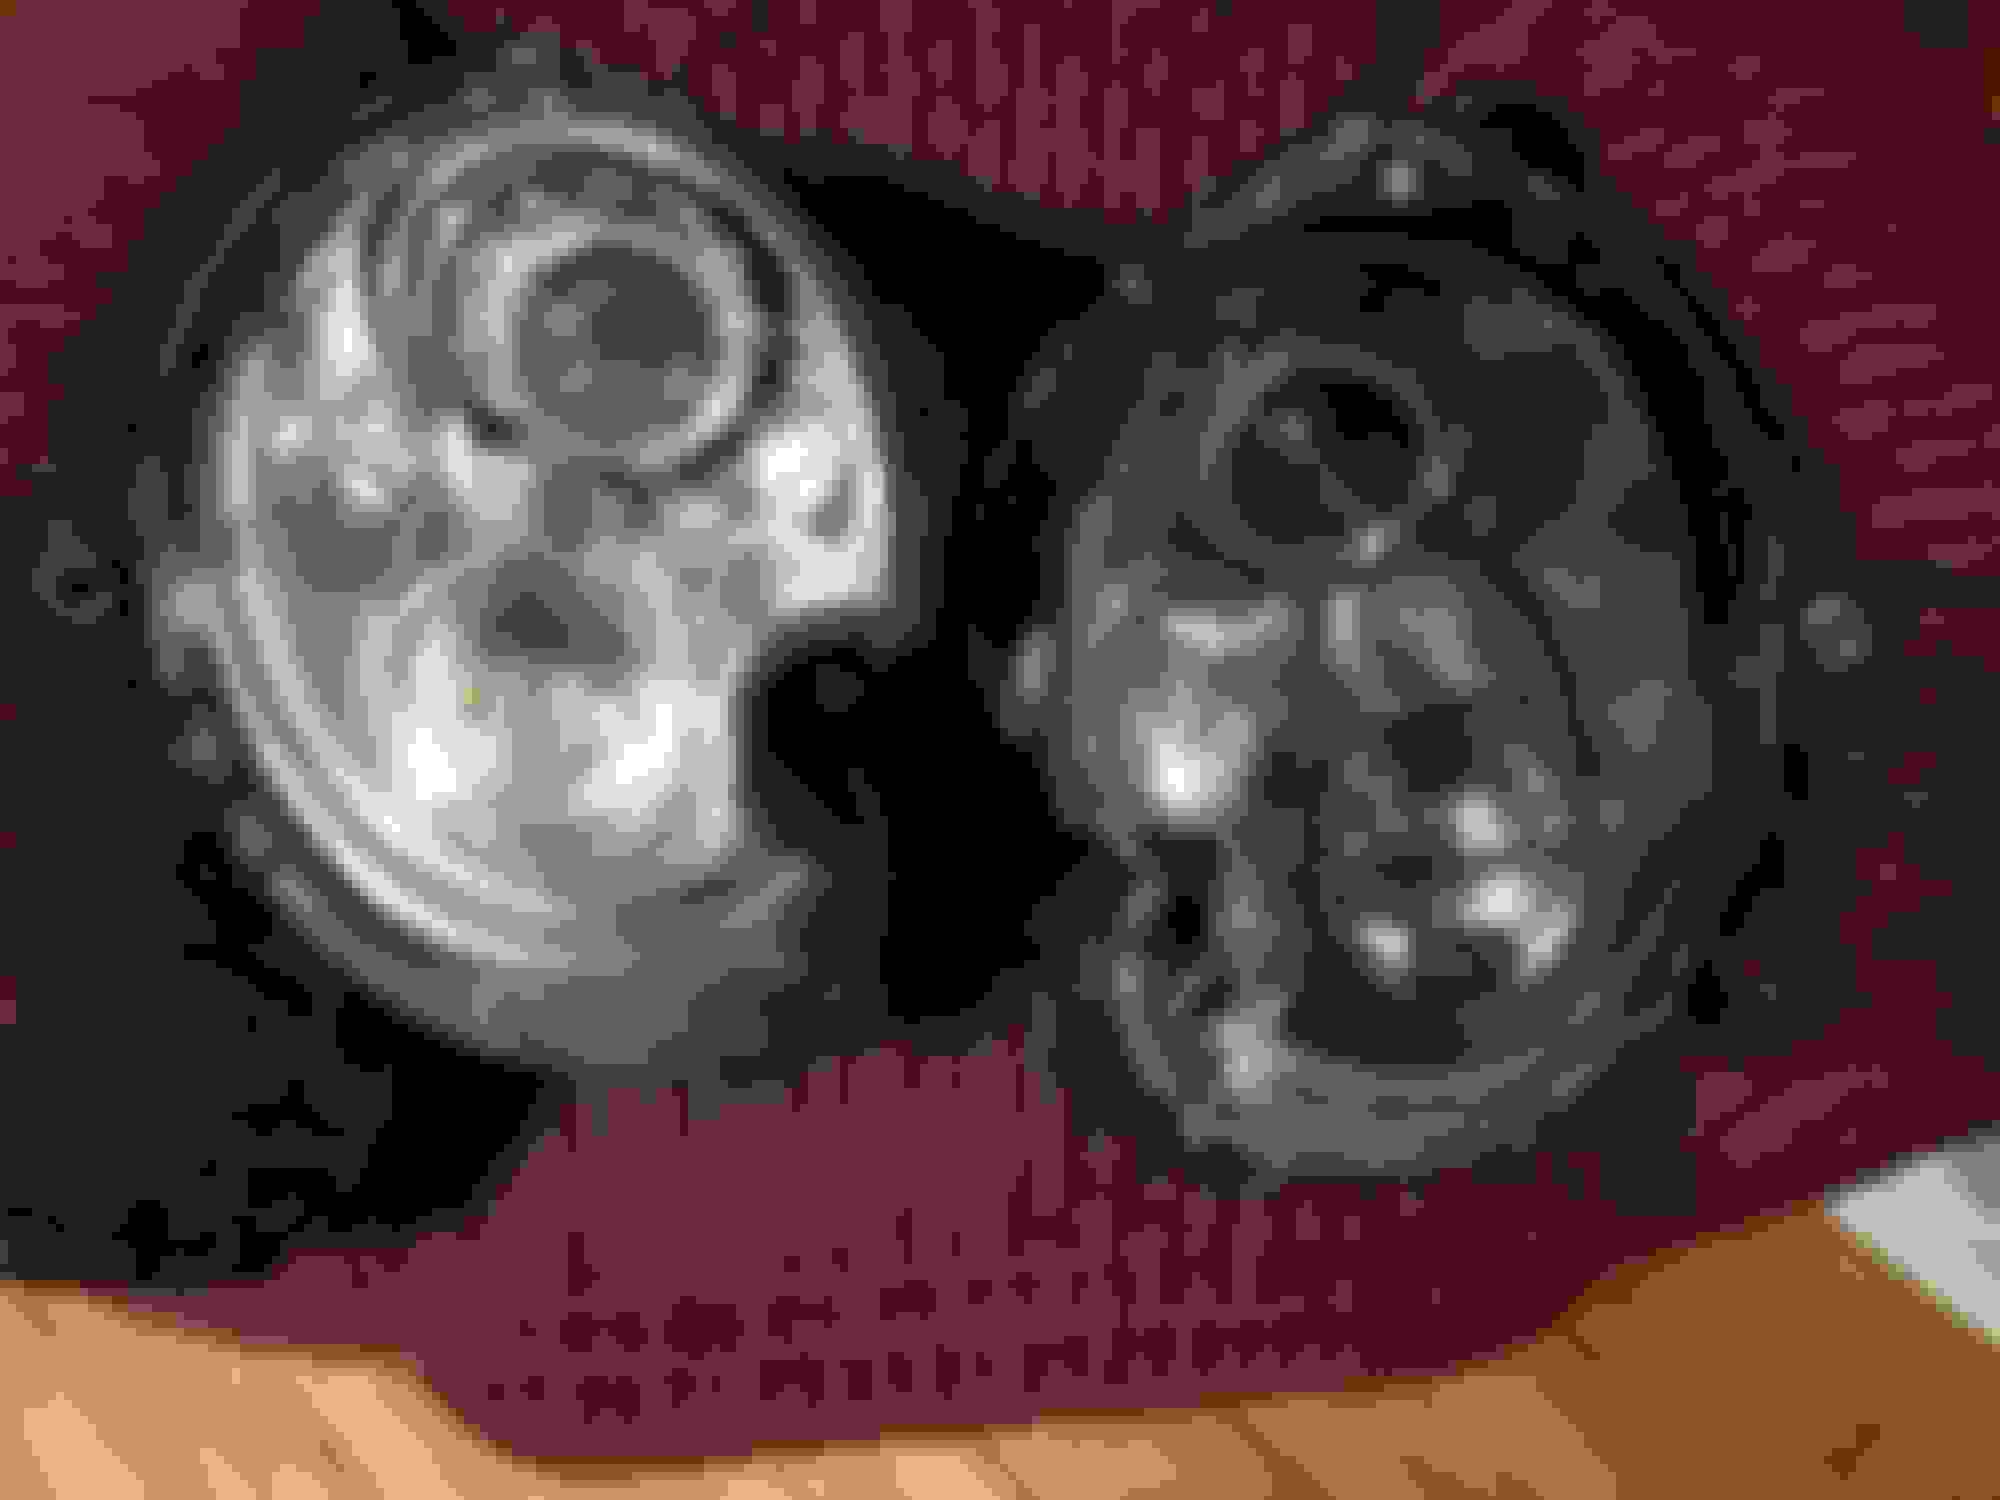
My oil pan has been modded and painted then baked in the oven for an hour and a half. This makes the paint rock hard. The ungs are for a new quick valve oil drain, oil temperature gauge and a fan temperature switch. Front brakes are all done and new godspeeds are installed. Picked up a used JM 42 turbo and AEM strut towwer bar yesterday. Back off comes the original turbo. Glad i didn't find this part after the car was totally reassembled. Rear suspension is all out and ive sent the subfarame to be sandblasted and powder coated and sand blasted.ill be spending rhe day cleaning nuts and bolts and various brakets.
All my rear suspension parts with three coats of rust paint and baked in the oven for 90 minutes. Ahhh the joys of being single. I sandblased everything befor the paint. Here are the brakets i made on cad and sent to get lasered and bent. These are for my hella black magics. I made them so that the light bar will be just above the tow mount. We have a front plate in Ontario so i will be using the tow mount for my plate. Looks better than new and wont rust out like the factory coating does. Ohhhh ahhhhhh the new JCW arro kit has arrived. Im not sure if im going to paint or wrap in gloss black. The car colour is sparkling silver metallic. What do you guys think? I also want to wrap the side skirts in black gloss.
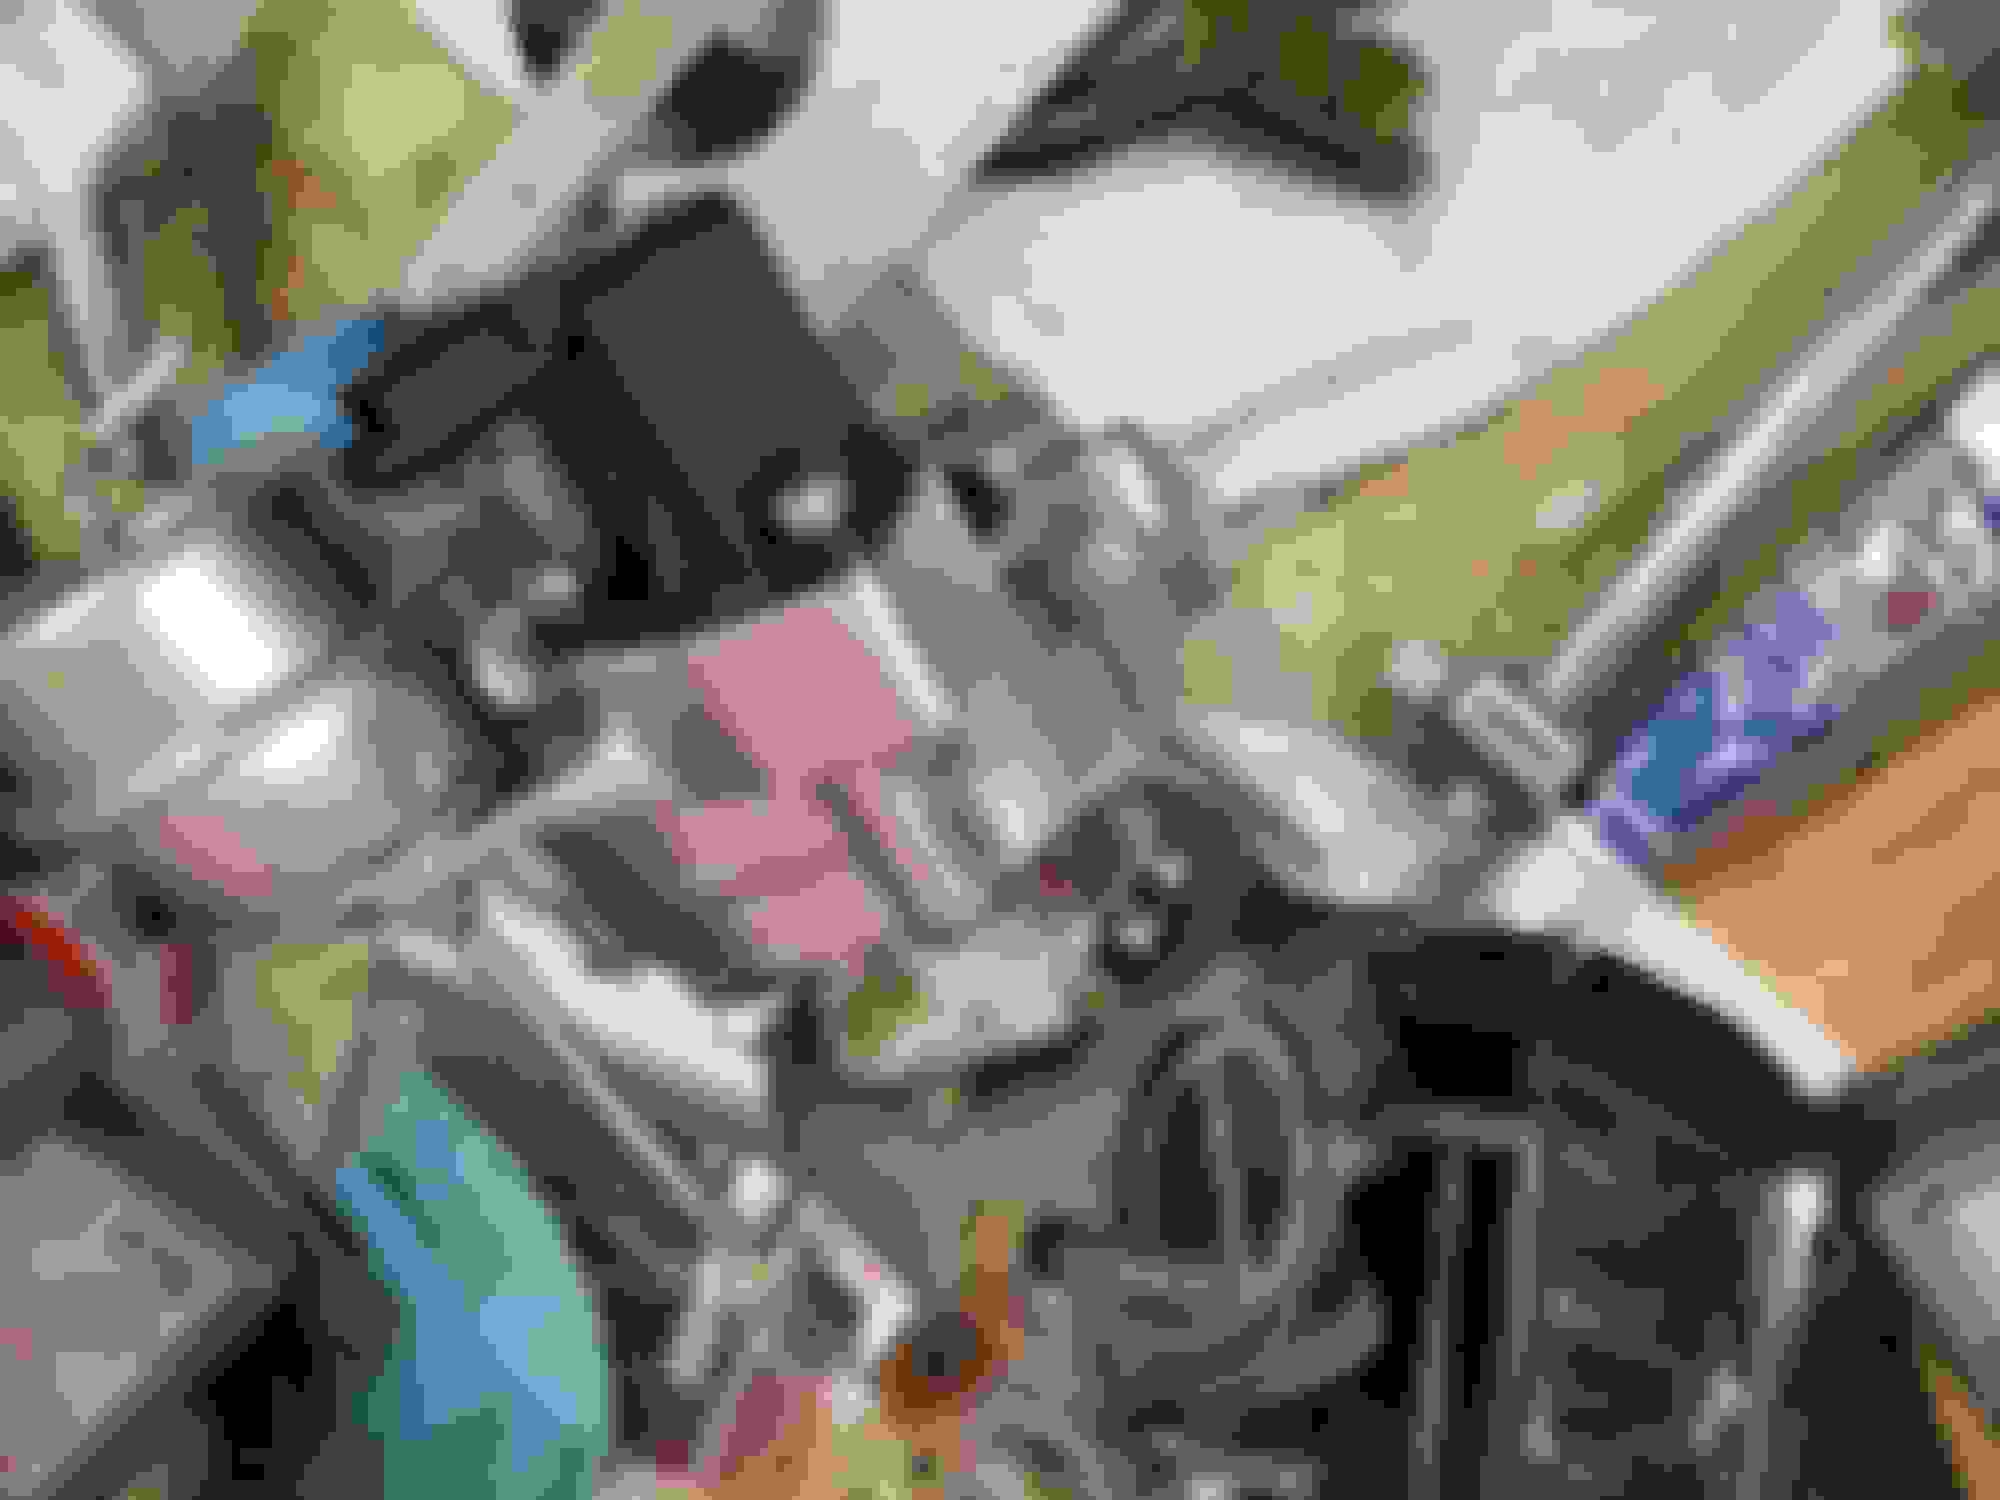
I was concerned about airflow with the original intake tube and new 42mm turbo. I hogged out the tube with a carbide bit in the die grinder and finished with a dremel and pad. I took a lot of rubber out of there but it's still firm so not to collapse during high vacuum
Last edited by I like mini clubman's; 02-02-2019 at 04:56 PM.
Not a whole lot of action. I'm waiting on my rear subframe and front crash bar to get done at the powdercoater. Fixed the two rear brake lines that had snapped at the hose. Try as I might I was unable to put the fitting on after the bubble flare was done 😑 I did some porting on the exhaust manifold both at the turbo and head.
Wow the engine bay/ engine is soo clean. That JCW aero kit is going to look great. If you wrap it to match the paint, i would get a bunch of wrap samples first, if you wrap the whole car then you can choose any color you want.
I've decided to paint the bumpers and side skirts A60, the colour of the car. I will be repainting the fenders while I'm at it and the 668 black rear bumper top peice. I will be wrapping the fenders in black and blacking out the rest of the chrome. I've decided to paint them myself. It's not my first rodeo and I've gotten pretty good at rattle can painting that you can not tell the difference from a gun. Building the paint booth in the basement now. I have a furnace exhaust fan set to medium speed. This should be enough air discharge with a window across the room open.
Last edited by I like mini clubman's; 02-11-2019 at 10:44 AM.
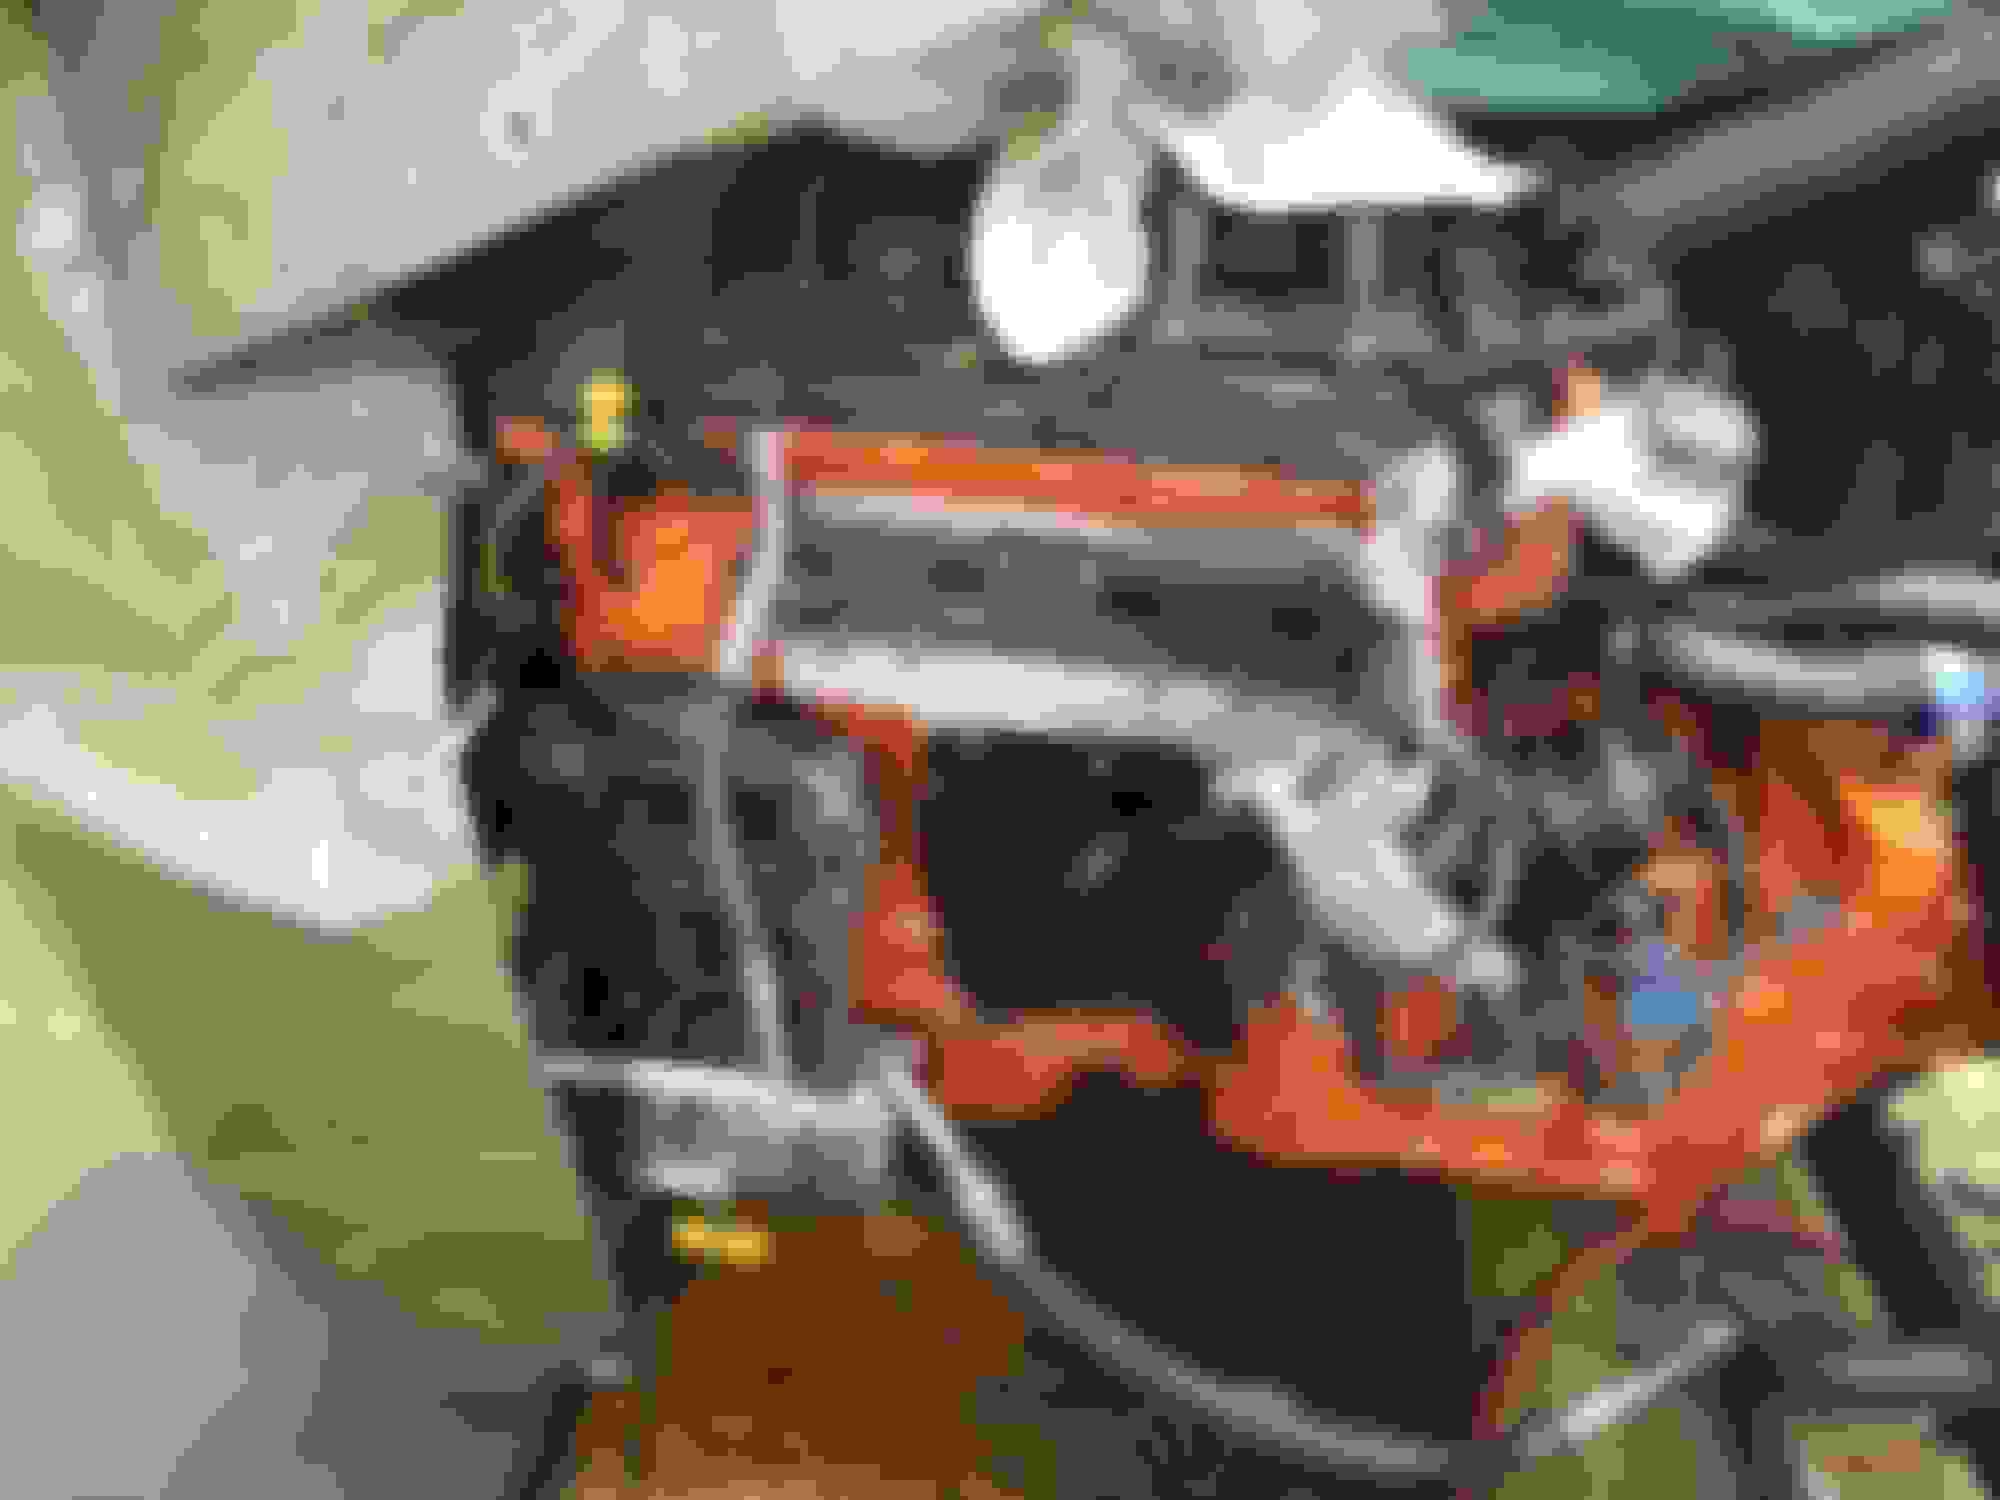
This is what the engine looked like when i first started to tear it apart. Canadian winter's are not very nice to vehicles. The aluminium looks especially bad after a few years of salt. The best that i found to restore the look of aluminium without going overboard is rust check in a rattke can. Clean it up as best you can and then two coats of this stuff. Its made for steel but does wonders for aluminium. Its gat a clear coat in it that seals the bare aluminium and turns it a nice shade.
Few more things done while waiting for the subframe. This was the first attempt at wrapping the scuttles. This was the third. Its now going to be painted lol. What a pita. The headlight washers. First ever wrap a success. The second one is even better Smaoke black Vivid head and taillight tint. Turned out good but i think i may redo it. Im going to try and wrap an inch over the sides.
got the rear subframe and front crash bar back from the powdercoater. Both rust proofed inside with my own concoction. Installed the rear subframe with the new Ebay alta 22mm sway bar and the Ebay Chinese lower controll arms. Tomorrow I will be working on the rest.
Moving along slowly but surely. The rear suspension is in and all tightened up. I did jack up the rear suspension before I tightened everything. Gas tank is in and what a PITA. I broke a small vent line when removing it and it was a pain to reinstall. Let's just say some JB weld and rubber hose came into play. I also made up some lines for the oil cooler and thermostat. This is the beginnings of my cold air intake. I still need cut the top to add a flat surface to fit under the hood. It will be solid though and not open to the engine compartment.
Looking real good, slow but sure progress. Why did you choose an oil cooler, was it just because or more for race applications? If the latter, why not fabricate yourself a baffle for the oil pan to prevent oil starvation in sustained high g turns?
Sorry, i'm getting lost in the pictures of your MINI thinking of what I could do to mine if I had even an ounce of your skill. Love the eye candy pictures
Reasons for oil cooler,
1, Let's face it, the oil gets frazzled in the n14 engine on a good day.
2, The valve cover pcv and valve seals are damaged very early in the engines life as a result of the heat.
3, This causes significant oil usage, burning and loss.
4, Part of the oil is vaporized are a result of the heat and this is part of what we get in catch cans.
5, I will be running a stage three tune which will be putting even more stress on the engines components.
I will not be running on a track or racing the car, I just dont want anything less then reliability. This is actually just a play car I have two more besides my two daily drivers.
the oil pan is pretty small and it already does have a kinda windage tray/baffle. The oil cooler and lines are going to probably add two quarts of oil to the system. What you need to be more concerned about is the fact that the oil pump hits the pan bottom when no gasket (just silicone) is used. There is very little room for the pickup hole to suck oil. I used a very large socket to dent out the pan bottom for more clearance and added a gasket when I reinstalled the pan. There is now 1/4" space below the pickup hole than before.
some of what I'm doing is overboard I'll admit, like installing a justa hood with a fabricated scoop. The oil cooler will be mounted in the scoop with the heat directed out a hood venting system. I didn't want to put a 200 degree radiator in fron of my a/c coil and coolant rad. See, I'm not right in the head LOL.
Working on the hood. Scoop and vents last couple days. I should have the hood scoop welded on tomorrow. Unfortunately I found a few hood dents when I started grinding. I ground out the filler and used my new paintless dent repair tools to pop out some dents. I figured this is a good way to learn to use the tools. I'm still going to fill the low spots, I just wont be using as much filler. This is the pdr kit i bought. Works great im impressed with it. The rectangle hole is for the oil cooler and the five found ones are are directer to the front of the engine. The hole behind the light is a side vent Birds eye view.....before the birdie is swollowed LOL. I painted the lft side fender, wet sanded and buffed it out to a nice shine. Then i covered it with gloss black wrap.
Scoop is welded onto the hood. Now the long process of grinding the welds and preparing it for paint. I'm going to paint it the same as the car sparkling silver. The under side I'm just going to paint it a fleet coat black.
the vents will be painted jet black the same as the roof and wheels.
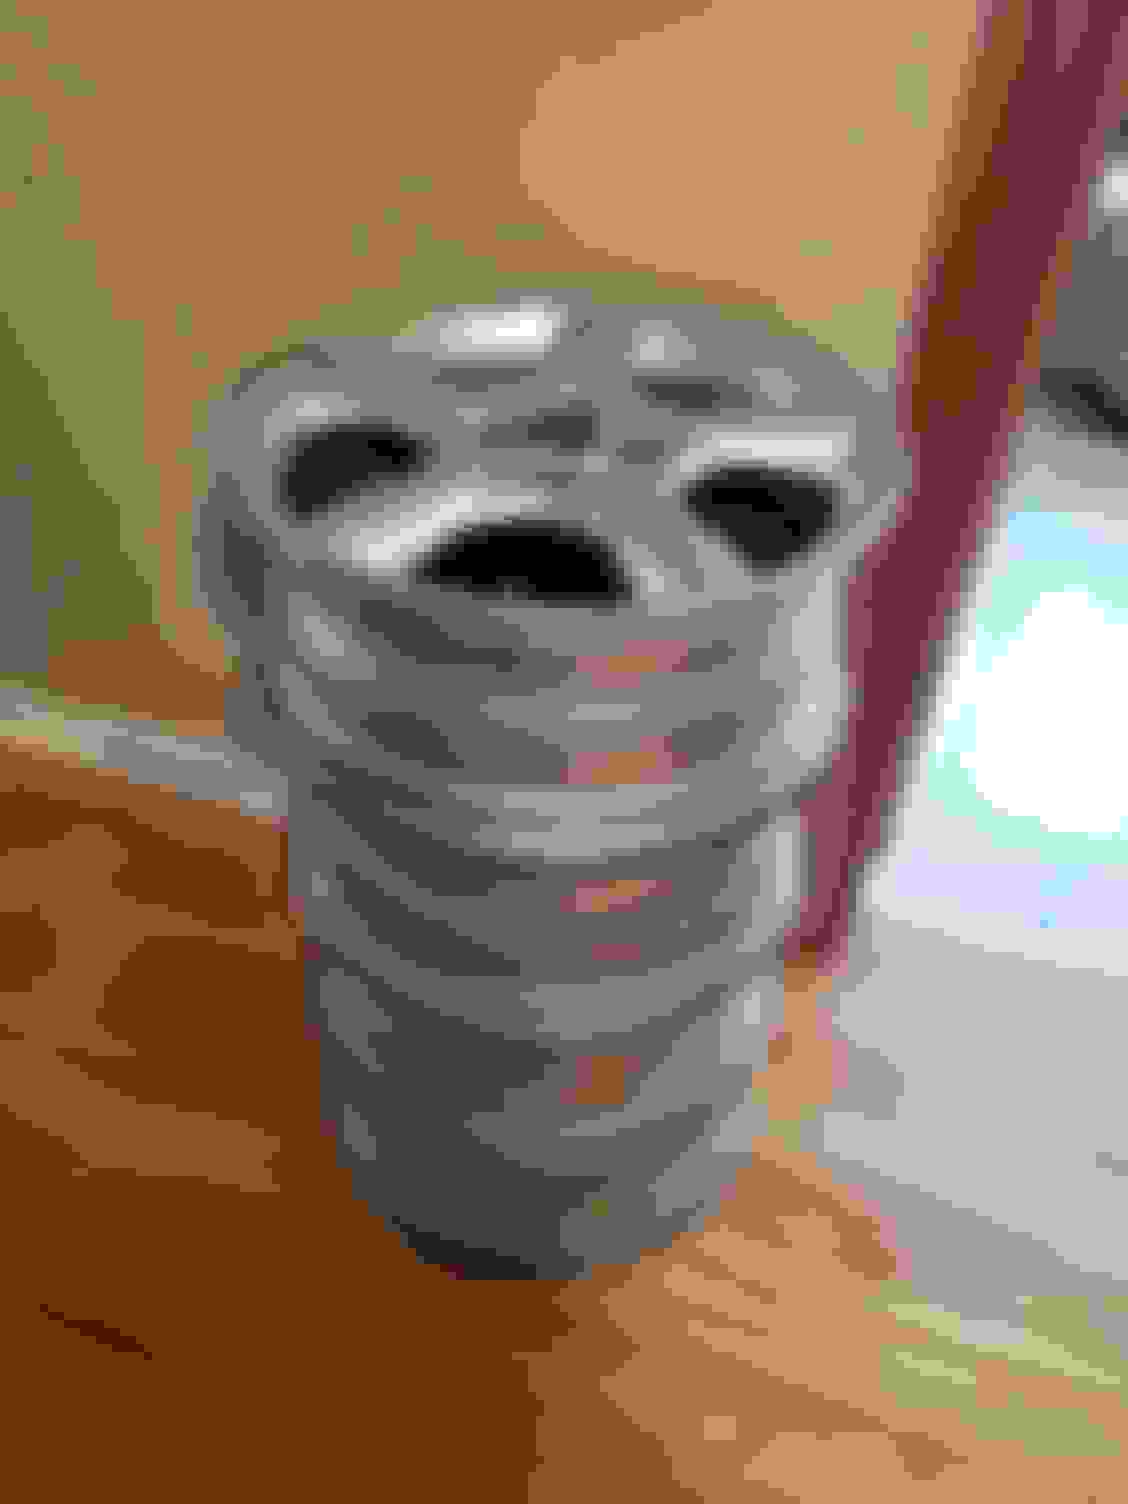
I've got eight rims and two sets of tires. Both tire sets are good for a safety certificate and a couple summers of use. One set has road rash on all four tires and two slightly bent ones. My good set has a cracked rim that will need to be welded. It wasnt leaking air so that's a good sign.
Started filling and blending the hood. This is not my favorite thing to do. At least the cars not black so my imperfections will hide a bit. Started on the exhaust also. My first ever Y pipe didnt turn out to bad. It definitely was a pain. I went from 2.5 to 2.25 pipe, it would have been easier to just go 2.5 all the way back.


 01-17-2019, 04:27 PM