When you click on links to various merchants on this site and make a purchase, this can result in this site earning a commission. Affiliate programs and affiliations include, but are not limited to, the eBay Partner Network.
Removing Cabrio armrest and installing Coupe center console trim
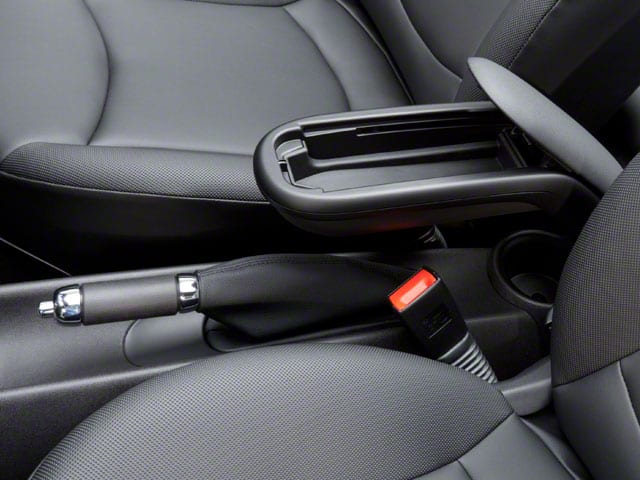
One of the items that was bugging my daughter and I was the center armrest on her cabrio. The lid didn't stay closed (broken or wore out under previous ownership), and it seemed to be more in the way, rather than helpful, in such a small interior and with the stick shift. We removed the armrest, but that left the junction at the back of the center console where it meets the rear seat area looking unfinished. I decided to try fitting the center console from a coupe, instead. I found color-matching parts in a local u-pull yard, and finally got around to making the necessary modifications to install it yesterday. The coupe's console is longer than the cabrio's, so I lined them up and marked the coupe console for trimming.
Here is a side-by-side of the consoles after the coupe console had been trimmed to match. The angle of the picture makes them look like they are different lengths, but they are the same.
I've included the details of the changes needed to the coupe center console: adding a hole for the trim screw that's at the front storage tray, cutting off the tabs at the front, and trimming off the extra length at the back.
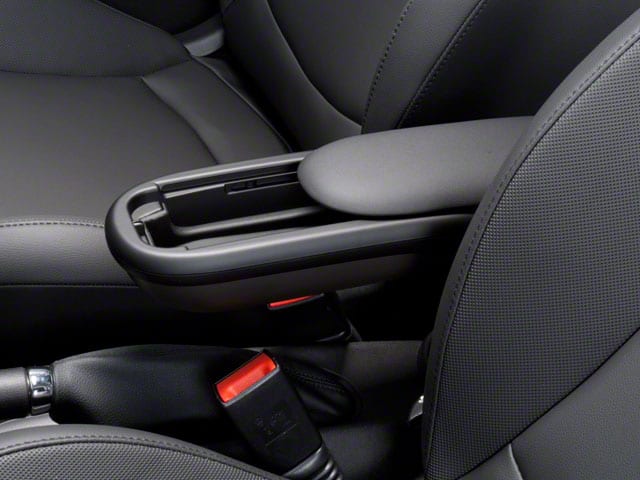
Here is the final result. Looks pretty slick!
And another angle of the final result.
Another item I tackled was reattaching the BSR felt on the side of the seatbelt latches (they had curled up at the edges). I have some very thin 3M VHB (Very High Bond) PSA (Pressure Sensitive Adhesive) that I applied to the felt and it will insure that they stay in place going forward.
One other thing I accomplished on the interior was to replace the console trim around the shifter, too. The piece in the car had a hole drilled into the front of it (I'm not sure what sort of accessory a previous owner had installed would have needed that hole). When I did that, I also replaced the gearshift boot with a better piece.
Another item with how we received the car was that the trim pieces to either side of the radio stack were loose - even with their trim screws installed. I came to learn that there are foam inserts that sit at each of those "pillars" that hold the bottom of the pillar in place with the gearshift console trim - and those were missing. I discovered them during a trip to a local u-pull yard and brought them home to eventually install - now those are in place and there is a lot less creaking and noise from the interior while driving, since those pillars no longer shift around.
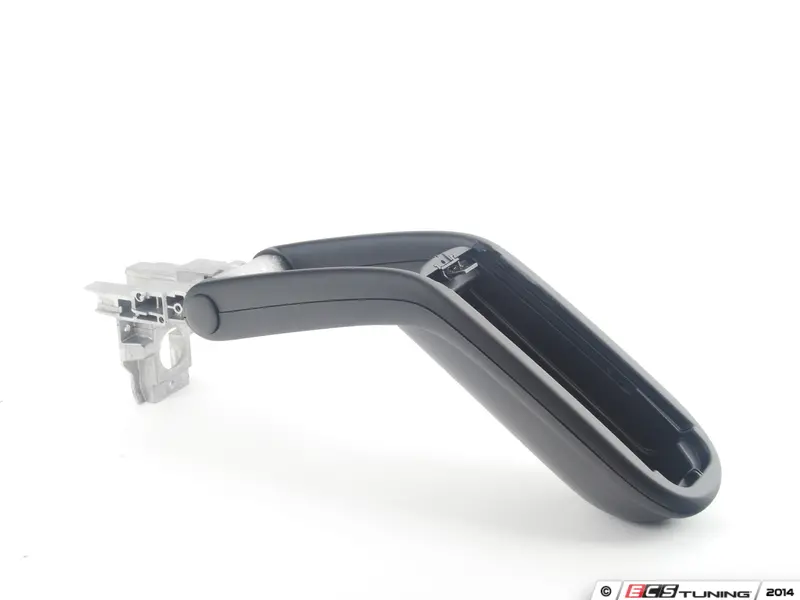
Now for about $200, you can get the bigger and better R56 center armrest that has much more storage than the first generation ones did. Simple mounting as well, just slides under the rear seat tracks and just bolt the seat back down. I have one on my R52, it's even higher which feels better to me
There are still new euro R53 armrests floating around, too, or at least there were the last time I checked. That “R56 armrest” is just a slightly modified R53 euro armrest.
Thanks for the tips! I'll keep that R56 option in mind, in case she wants to go that route. Right now, she likes not having the armrest in the way, and it makes it easier for anyone to get in/out who decides to torture themselves and sit in the back
There are still new euro R53 armrests floating around, too, or at least there were the last time I checked. That �R56 armrest� is just a slightly modified R53 euro armrest.
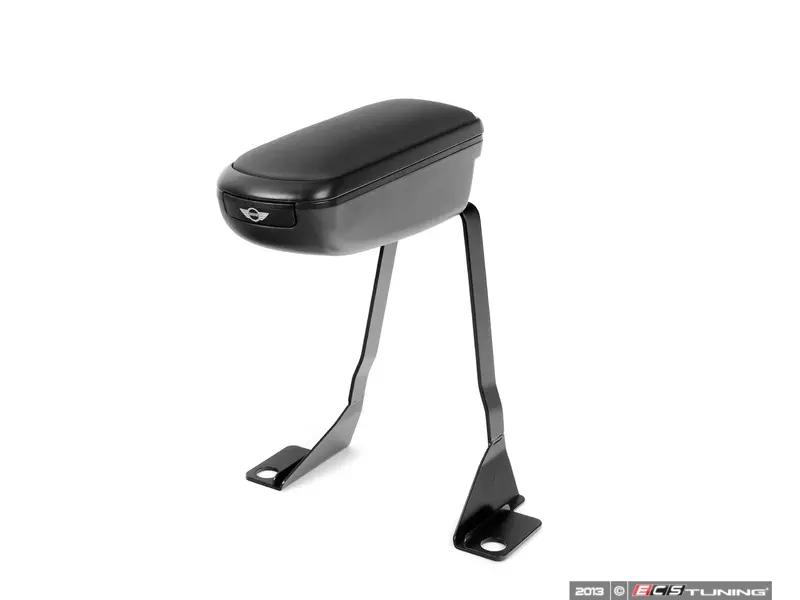
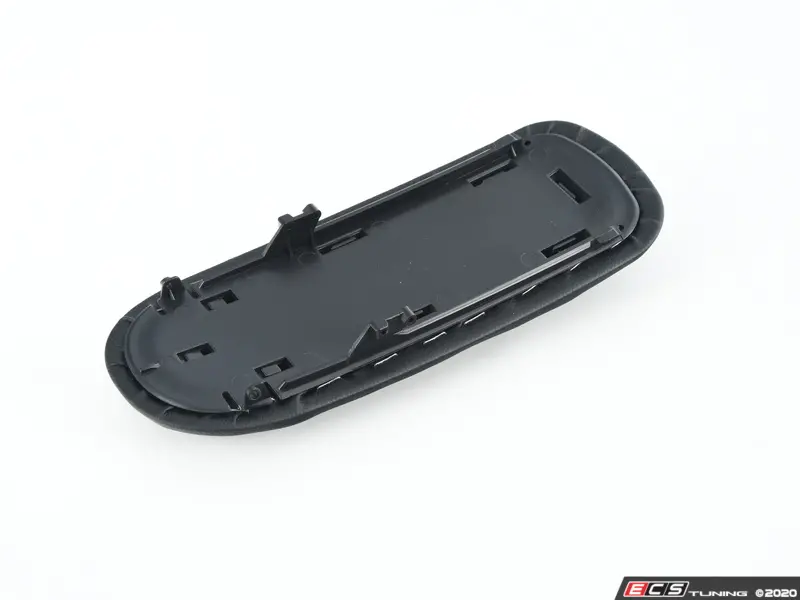
the R56 is completely different as per the picture below. The lid opens up with hinge on the rear of the lid....the first gen armrests have the top cushion slide to the rear of the car...and there's not much room inside for much of anything
Yeah, that's just a modified version of the old Euro armrest. I should know; I own one. IIRC, for a while it was the only OEM option available for the first gens before the integrated one with the sliding lid came out.
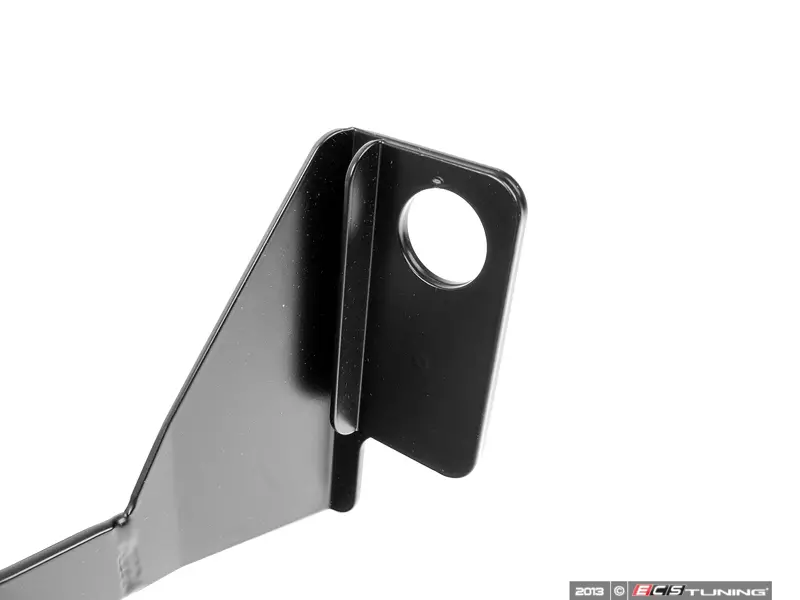
See the difference in the feet from the R56 version?
Supposedly you have to modify the R56 armrest to get the seat rails to sit right, but I've never checked since I have the R53 one.
Edit: After looking at mine, I don't immediately see what would require modification. Maybe I'm misremembering what I read years ago.
Last edited by deepgrey; 01-12-2022 at 02:24 PM.
Reason: took at look at my armrest
I see no difference between the one you posted a picture of and the one I posted a picture of.....and I never had to modify anything for installing this into a pre-facelift '04 R53 and my '06 R52 cars....just unbolt the inner rear seat track and slide the feet of the arm rest under the tracks and bolt them back down
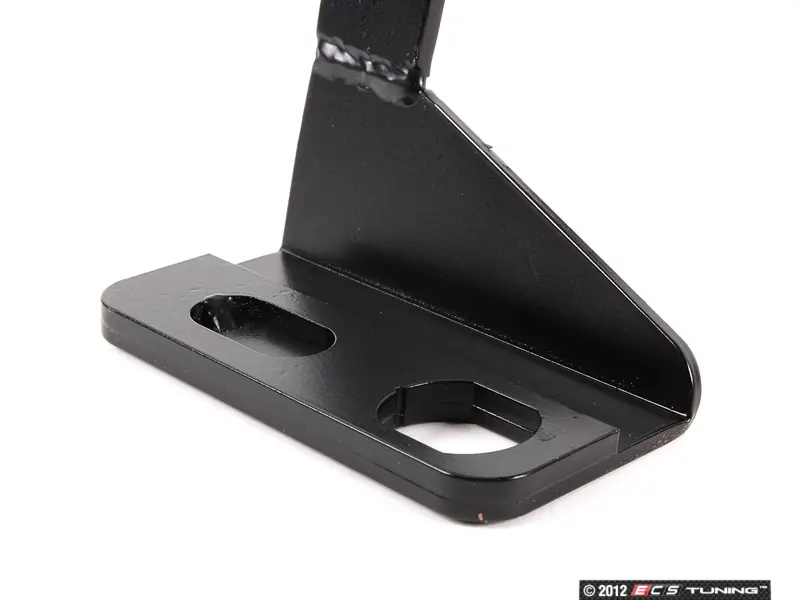
Here's a close up of the R56 part. Now I see what people were talking about with the seat rails. The feet for the R56 armrest are thicker.
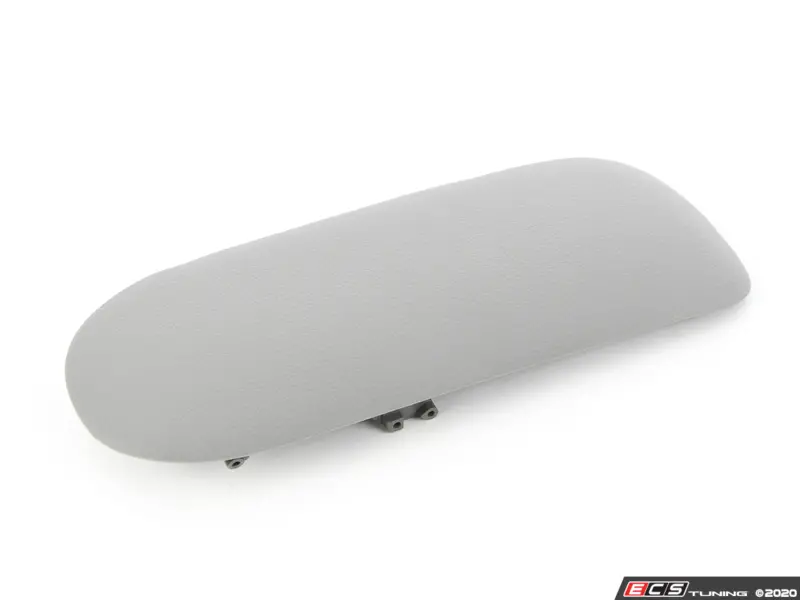
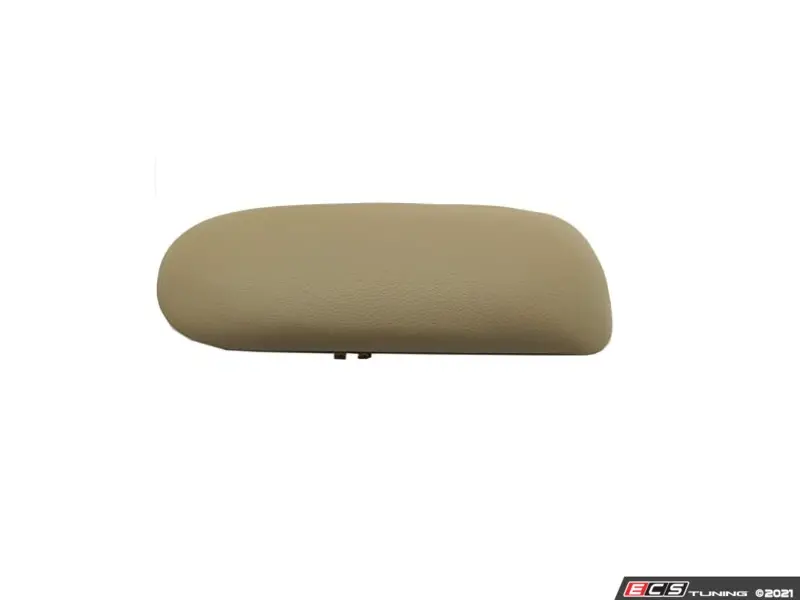
And the photo below is the one for the R53, which was introduced some time in 2004, IIRC.
So, I see how those versions are functional (and the flip lid would be better than the sliding lid), but I just can't get past the...umm..."unique" styling of the mounting legs. I don't think she will want that in her Mini, but it's good to know that it's an option if she decides on something later on.
I may just pick one up on a junkyard run if I come across one while scrounging for other parts.
You'll never really notice the legs once it's installed.
Agreed... and good luck with finding one of the larger armrests in a wrecking yard...those are one of the first items to be gone.
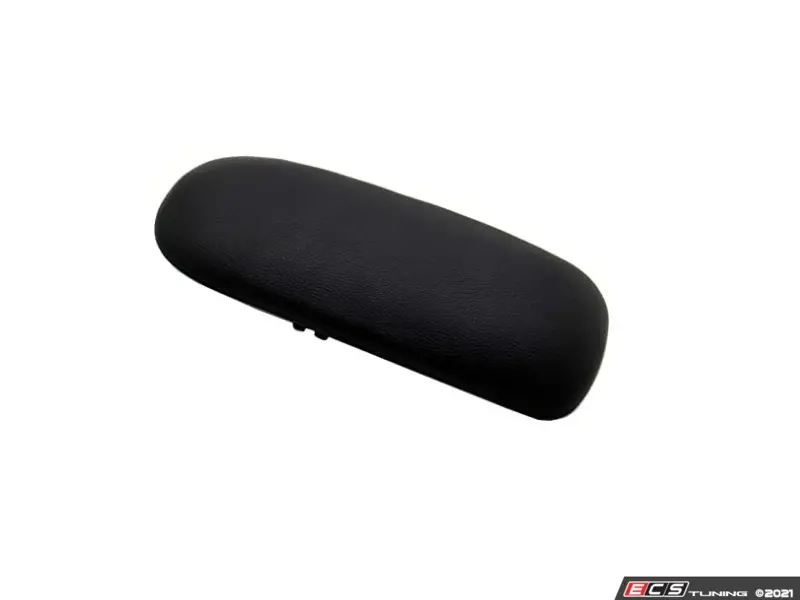
After having the stock little armrest that has the sliding top, which the top cushion is available aftermarket by the way, and then putting the larger armrest in the same car....just solidifies the fact that the little one for the first generation Mini is a complete worthless pile of junk.
If you decide to put the later style in the car, you will understand what I am saying.
And again, the legs are not in the way of anything, they are close to the seat backs and do not hinder at all for getting in and out of the rear seat. I can take pictures of mine if you want to see it installed
Bumping this thread. The sliding top on my original armrest is broken, and looking at replacing it. Any opinions about the "Ultimate Armrest" that I've seen on a Mini site versus the (expensive) OEM replacement? I don't need the armrest for storage...just to rest my arm on the highway.
We have the pads replacements and they are padded more then the factory ones that tend to be hard, i put one in my R58 JCW and its much more comfortable and sets a tad higher as its more padded. Great for those long drives.
Yup! As the guy in that thread said, installing it makes the same sounds it makes when you break the tabs on the original cover! I couldn't figure out how to insert it.
Interesting...that hack would be a lot of work for someone to do!
It seems like a crafty solution for someone trying to keep the armrest and lid after the catch broke. Looks like it is some cabinet catch hardware. After seeing that, then maybe some sort of magnetic cabinet door catch could be adapted, too (again, for someone trying to add some life to a lid with a broken catch).
 11-01-2021, 06:43 AM