When you click on links to various merchants on this site and make a purchase, this can result in this site earning a commission. Affiliate programs and affiliations include, but are not limited to, the eBay Partner Network.
It's been a couple months and I have had some time in the driver's seat both country roads and my first ever day at PIR here in Portland. My friend and I signed up for the novice intro class put on by Cascade Sports Car Club Driving which consists of one evening in the class room and the next day out on the track. It's a lot to take in on one day, but the experience was amazing: well run program with knowledgable and well matched instructors. I will be going back to the track for sure.
And a bonus....I was able to meet and chat with pnwR53S who was a wealth of information. THANK YOU. Your car "Desire" gives me something to aim for.
First day at PIR with Cascade Sports Car Club.
So now with some experience in the car, my priorities have changed and the list of projects may have re-shuffled. Brakes and Drivetrain have moved up the list...stripes have moved down. Now I just need some time to work on the car.
It was great to see more local Miniacs came out to the track. Good for you that you started tracking right away. R53s have been the most active Mini's at PIR and there are a great bunch and many works for free for events so we can have affordable fun!
I almost gave Desire away to my family when I bought my Porsche, but fortunately for Mini none of my family are car people. I had no idea how much fun Mini can be until I decided to make it more fun but not over the ragged edge.
My next project will be the 15% Pulley. I'm doing my homework and making a parts/tool list, any input would be greatly appreciated.
Craven Speed 15% pulley
SC Pulley puller tool
Belt tensioner - Gates 38404
Serpentine belt bar
New belt K060535 (Gates)
Colder Plugs - NGK 4285 BKR7EQUP
Vice grip with chain
I checked the coil pack an the contacts are all in good shape. Wires seem to be in good shape too. Any reason to get different ones?
Planning on following MOD MINI's video...If it wasn't for him, I would never be trying this on my own!!!!
Anything else I should be doing while I'm at it?
The stock wires and coil are supposed to be good up to at least 250whp builds so no reason to replace it they're still good.
Have you checked your crank pulley to see if it's starting to separate. It's common and can cause some big problems when it fails. If original, it can be an issue after 12 years and 65K miles. Most replace it with an ATI, or an PRW fluidgel pulley instead of OEM.
My next project will be the 15% Pulley. I'm doing my homework and making a parts/tool list, any input would be greatly appreciated.
Craven Speed 15% pulley
SC Pulley puller tool
Belt tensioner - Gates 38404
Serpentine belt bar
New belt K060535 (Gates)
Colder Plugs - NGK 4285 BKR7EQUP
Vice grip with chain
I checked the coil pack an the contacts are all in good shape. Wires seem to be in good shape too. Any reason to get different ones?
Planning on following MOD MINI's video...If it wasn't for him, I would never be trying this on my own!!!!
Anything else I should be doing while I'm at it?
Don't waste the money on QUP multi-ground plugs. Just get BKR7E for $1.85 apiece. Coil packs are not rated for horses so the stock one will just be fine. If mine ever dies, I will get NGK which is a bit hard to find here in the land of abundance.
Do save the pennies for an ATI Superdamper.
You don't need to buy a vice grip with chain either for the pulley puller, unless you are really itch for that fancy chained vice grip.
Oh. Yes. Since you have to put the Mini in front end service mode. Change the o-ring for the crank position sensor. Get the Victor Reinz that is most reasonably priced while you order all the other stuff.
Oh. Yes. Since you have to put the Mini in front end service mode. Change the o-ring for the crank position sensor. Get the Victor Reinz that is most reasonably priced while you order all the other stuff.
Thanks for the helpful insight. I ordered a few things last night so the plugs and vice grips are already on there way... chain vice grips are a little insurance the pulley comes off AND they will look cool hanging on the peg board.
I'm going to go check the crank pulley tonight.... I wana get the ATI dampener.... hmmmmmm $$$$
Crank position sensor was done in 2012 by the previous owner... Found a receipt for Mini of Portland. I should be good right?
I would just spend a few bucks and change the CPS o-ring again if it was my car. You don't want it to start leaking at year 7 when you just were in there at 6.5.
I would just spend a few bucks and change the CPS o-ring again if it was my car. You don't want it to start leaking at year 7 when you just were in there at 6.5.
Agree. If you can get the o-ring in time. But then if you keep tracking your Mini, you will have plenty of opportunities.
I really like the wheels all black, I went the other way took them all apart sanded primed and painted just the center
That looks great.. I applaud you for doing it the right way. More work than I wanted at this point. I was in the "test to see" if I want black wheels with the PlastiDip.
Got a hold of some pictures from my day at PIR with Cascade Sports Car Club. First time on a track and the entire experience was a blast. This is coming around turn 2 after the long front straight. Great memories and I'm hopeful to go do it again soon.
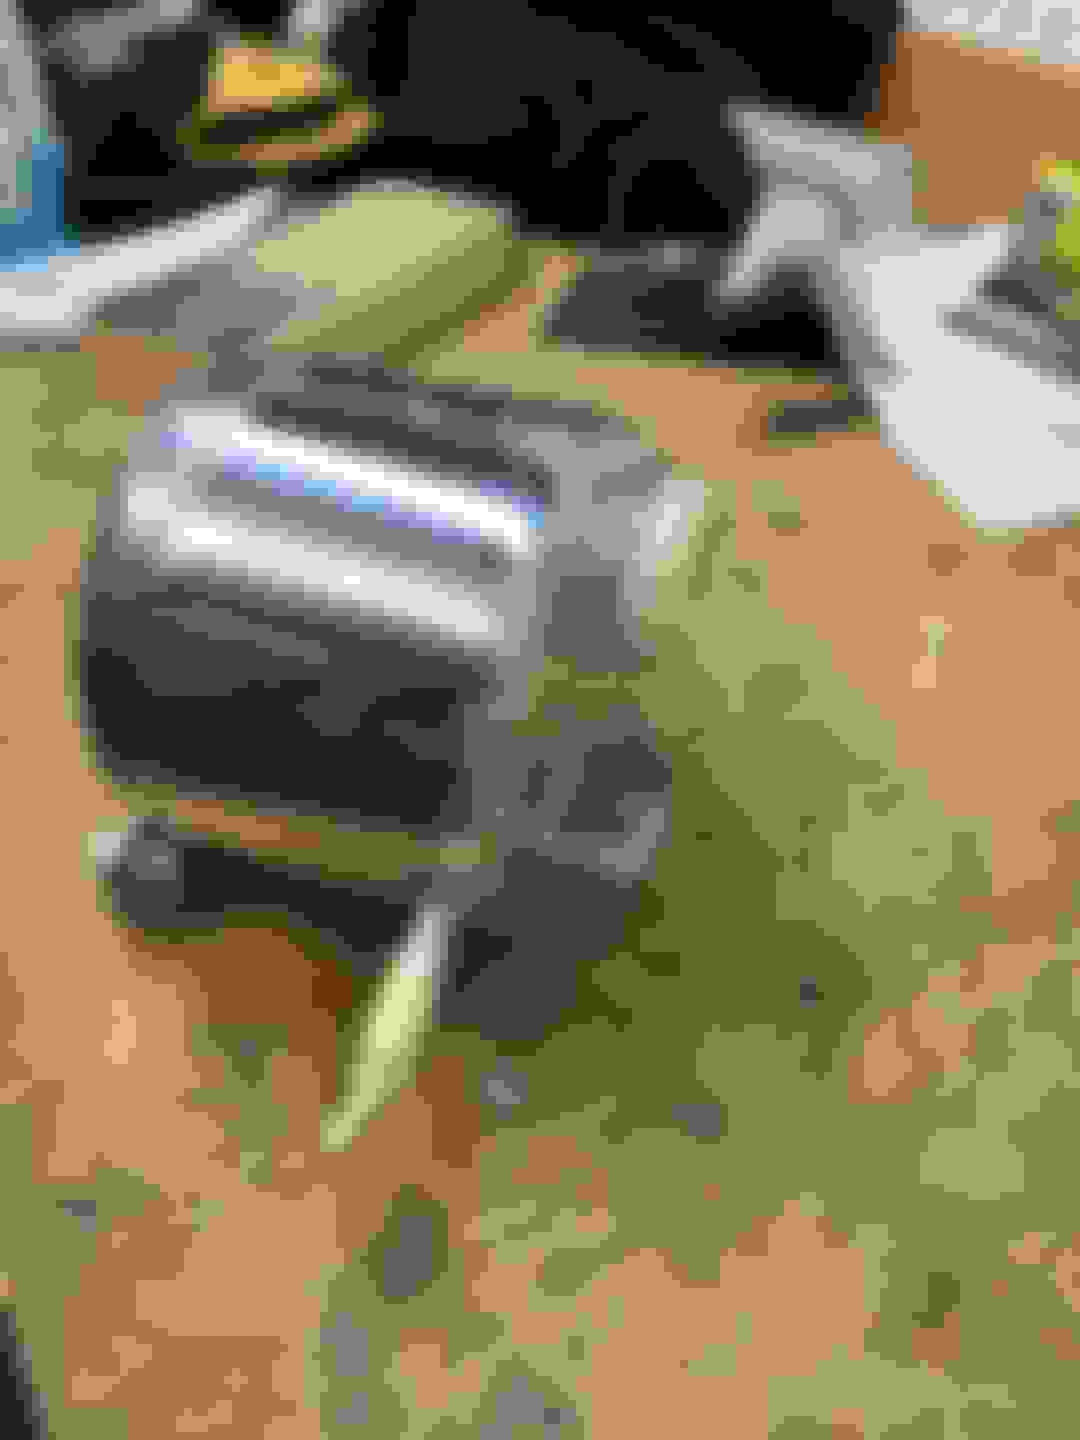
This is the point in the project where one lays out all the recently delivered parts on the garage floor and then takes a picture straight down to display them all before one dives in. Check.
For those of you who know what your doing.... this won’t be of any help to you.
For those of you, like me, who don’t know squat about mini coopers but have some basic skills and a few tools… here’s my thoughts on this project.
Without these guys and the information they have generously contributed… I could and would not be attempting this… so thanks.
Mod Mini - Super Charger Pulley
Front main seal (behind Damper) MAHLE Original 67721
I was told this is worth changing out if your there… and I agree. I don’t want to pull the ATI Super Damper off now that it on.
15% Pulley - Craven Speed
They are just down the street here in Portland and they loaned me a supercharger puller. YEAH.
Gates K060535 belt, Gates 38404 Belt tensioner, & NKG colder plugs 4285 BKR7EQUP
Mod MINI has all these listed on his YOUTUBE page.
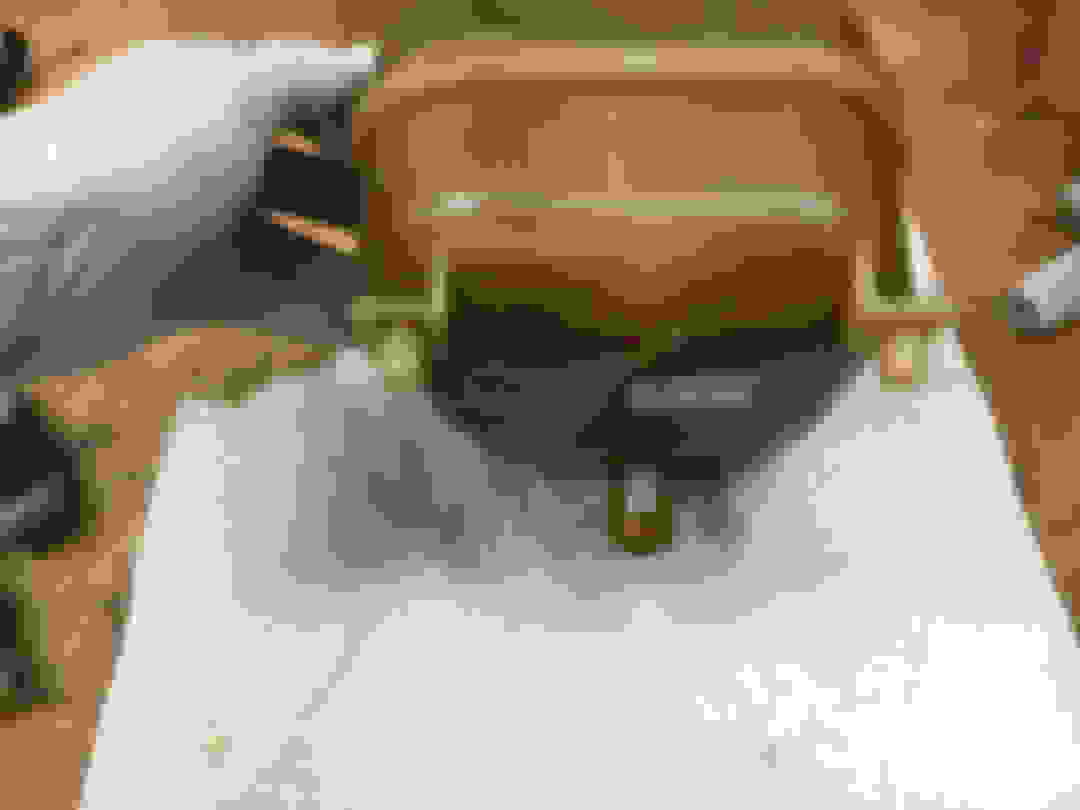
There's a point where Mod Mini uses the bolt from the ground strap, He screws it into the supercharger pulley to press against. Well, I couldn't make the puller fit over the head of the nut, so I almost skipped this step. But then I found a spare bolt and ended up grinding the head off the bolt and making the puller fit over it. In hind sight, this was a good idea. There was a ton of pressure when pressing the pulley off and I think the bolt head took a lot of the force.
Also... you can do it without air tools. Just need a big breaker bar and patience.
The pulley goes on with no issues. Straight forward. But one note the guys at Craven Speed told me is that 2 of the 4 extra holes in the pulley have threads in them. So if you ever need to get the Craven pulley off, you can thread 2 bolts in to these threaded holes and press the pulley back apart to remove it. Green circles have the threads.
The main press bolt (sorry I don't know the correct terminology here) was to big to go through the center of the Crank Shaft Damper Pulley. So I had to use a cut off bolt to press it off... In hind sight I think I should have ordered the puller from Way Motor Works with the ATI damper. But it worked and the three M6 bolts worked great... even thought the washers bent a little.
Can't remember where I read this but to help get the ATI damper pulley on the crank shaft it helps to heat it up and have a cold engine. I used a heat gun on low for a few minutes to get the flange portion warm. I also ordered the extra long bolt from Way Motor Works to press the ATI on to the crankshaft. Once it's seated, you pull the long bolt out and insert the new OEM bolt that comes with it. This method worked well for me.
I was also pretty stressed about putting the belt on wrong. I could just see the belt getting torn to shreds when I started the engine for the first time. But I got it right. wheewww. Follow Mod Mini's order for the belt pulleys and have this picture while your arms are contorted in there.
So there's my 2 cents. Hope it helps someone else.
In the end, I went with the 15% pulley and I feel like I got enough. I was seeing 10-11 pounds with the stock pulley and with the Craven 15% I’m seeing 15-16 pounds. In the mid range RPMs I was seeing 7-8 pounds now in that same range I’m seeing 11-12…. so it’s significant. I’ve only had the car out once and I was impressed.
I use his videos whenever I am doing something I hadn�t done before
Originally Posted by bump32
This is the point in the project where one lays out all the recently delivered parts on the garage floor and then takes a picture straight down to display them all before one dives in. Check.
For those of you who know what your doing.... this won�t be of any help to you.
For those of you, like me, who don�t know squat about mini coopers but have some basic skills and a few tools� here�s my thoughts on this project.
Without these guys and the information they have generously contributed� I could and would not be attempting this� so thanks.
Mod Mini - Super Charger Pulley https://www.youtube.com/watch?v=KpQuHeJLFHk
Front main seal (behind Damper) MAHLE Original 67721
I was told this is worth changing out if your there� and I agree. I don�t want to pull the ATI Super Damper off now that it on.
15% Pulley - Craven Speed
They are just down the street here in Portland and they loaned me a supercharger puller. YEAH.
Gates K060535 belt, Gates 38404 Belt tensioner, & NKG colder plugs 4285 BKR7EQUP
Mod MINI has all these listed on his YOUTUBE page.
Can't remember where I read this but to help get the ATI damper pulley on the crank shaft it helps to heat it up and have a cold engine. I used a heat gun on low for a few minutes to get the flange portion warm. I also ordered the extra long bolt from Way Motor Works to press the ATI on to the crankshaft. Once it's seated, you pull the long bolt out and insert the new OEM bolt that comes with it. This method worked well for me.
That's strange. My ATI came with the extra long bolt which is for used to get the pulley started. Mine didn't come with the bolt that retains the damper to the crank. I just reused the original one.
I think Craven Speed's SC pulley design and quality is the best. On the 15% I have read someone complained he was underwhelmed and could not tell any increase in performance. 3 PSI increase is nothing to sneeze at.
Your engine looks very clean.
That's strange. My ATI came with the extra long bolt which is for used to get the pulley started. Mine didn't come with the bolt that retains the damper to the crank. I just reused the original one.
I think Craven Speed's SC pulley design and quality is the best. On the 15% I have read someone complained he was underwhelmed and could not tell any increase in performance. 3 PSI increase is nothing to sneeze at.
I bought my ATI from Way Motor Works as a kit with the bolts.
I agree.... 3-4 PSI at the lower RMPs make a noticeable difference.
Next is the Madness 22mm sway bar and the Whiteline adj. links that I picked up used last weekend. Going to start with the softest and see how it feels.
After driving the car for 6 months, I felt that the H&R 19mm sway bar that the previous owner had installed was not enough. The car felt like it pushed through the corners to much. The 19mm had two adj. points, I tried both and honestly, I had a hard time feeling the difference.
So I found a used Madness 22mm sway bar, got a great deal and went for it.
*** One thing I learned from this project is that a lot of the mini's use the same 17mm stock sway bar. The used 22mm bar came out of a 2010 ClubmanS (R55)
More info on all that here: https://www.northamericanmotoring.co...-question.html
Here's my research: Madness 22mm sway bar:
Rate increase over stock,
Hole position 1: +228%, Hole position 2: +297% Hole position 3: +384%
ALTA numbers:
OEM Stock Bar (17mm ) Baseline For Rate / Effective Rate =117 LBS/IN
ALTA 19mm Bar Setting #1 115% Higher Rate / Effective Rate =135 LBS/IN
ALTA 19mm Bar Setting #2 140% Higher Rate / Effective Rate =165 LBS/IN
ALTA 19mm Bar Setting #3 177% Higher Rate / Effective Rate =208 LBS/IN
ALTA 22mm Bar Setting #1 213% Higher Rate / Effective Rate =250 LBS/IN
ALTA 22mm Bar Setting #2 260% Higher Rate / Effective Rate =305 LBS/IN
ALTA 22mm Bar Setting #3 329% Higher Rate / Effective Rate =386 LBS/IN
Way Motor Works numbers for 22mm
Rate increase over stock.
Rear: +226%, +294% & +383%
INSTALL
I'm a video guy for my installs. I have the iPad on the workbench and I just watch my way through the install.
George has a pretty in-depth video that covers most everything, except how tricky it is to get the bar in and out. I would highly recommend using two people to get the bar in and out...and pry bars.
Other than wrestling the bars in and out... install was pretty straight forward. I am starting on the softest setting and after taking the car out for the first couple test drives I think I made a the right decision. Car seems to "sit" better going through the corners and the understeer is less. Going to leave it here for a while and see, but I might be selling a used H&R 19mm rear sway bar soon.
Good choice of getting the 22mm. I almost went soft of going with a 20mm Whiteline worrying 22mm at the softest setting would be too tail-waggy in increment weather on the road. I am very glad I held my course and went with a 22mm, even for the roads in first rain that is the most treacherous. There is still enough understeer to bail me out when situation warrants.
The 22mm sway bar was definitely the right choice for the summer surf trips to the coast. If you live in the Portland area and have not driven highway 53 off of 26 out on the Oregon coast, you should... it's a good little suspension tester. Car sits in the corners better and I didn't feel like I was wrestling the steering...I am happy with my setup right now.
Stock springs, Koni FSD shocks, stock front sway bar and 22mm Madness rear sway bar (softest setting).
Maybe some control arm bushings next???
The original coolant tank was starting to show signs of it's age so I got a aluminum tank off amazon. I was skeptical of buying an "unknown" tank but after installing it, my first impressions are solid.
You will scratch the tank when instilling it... so just plan on it. I wanted mine black... so I primed and painted it.
The OEM tank has 2 tabs on the bottom that sit in the bracket. The new tank uses bolts to secure the tank.
It comes with 5mm bolts that are a little awkward to get tight. I used some loc-tight to make sure they don't back themselves out.
I changed out my coolant a few months ago, so I used a turkey baster to suck out the coolant in the old tank. There was some sentiment in the bottom of the old tank that got sucked up so I poured the coolant through a coffee filter when refilling the new tank.
The OEM cap fits snug, installation was not bad. OEM hoses go right on and the brackets match up with the tank brakes great. I will report back after it's been on a few road trips.
UPDATE after one month:
The aluminum overflow tank is holding up well... I have no complaints. Here's the link on Amazon if you are interested:
Im building my next Project list and here's my thoughts and questions:
Front End Service mode and drop the sub frame:
1- Change the o-ring for the crank positions sensor.
2- Control arm bushings
3- Front Sway bar bushings
4- Steering rack bushing
5- Lower engine mount bushings (both the small and large)
6- Inspect the CV boots
Should I replace the other engine mount and transmission mount bushings at the same time? (The stock upper engine mount on the passenger side is not leaking and looks to be in good shape)
Is there a way to check the ball joints to see if they are at the end of their life? Visually? I'm thinking maybe I don't "need" to replace the ball joints?
Anything else I should be doing while I have the sub frame dropped?
It's super easy to change out the ball joints both inner and outer with the subframe down, just do it.
How's the sway bar end links in the front? Original? If so, another easy thing to do while you're in there.
Good time to inspect oil filter housing to block for seepage, but I don't think it was any easier to replace unless axle is removed. You could just detach from transmission and swing away to make more room for inspection/replacement.
Also, your power steering lines will be easy to inspect and replace once the subframe is on the ground.


 06-11-2018, 06:39 AM


 I had no idea how much fun Mini can be until I decided to make it more fun but not over the ragged edge.