When you click on links to various merchants on this site and make a purchase, this can result in this site earning a commission. Affiliate programs and affiliations include, but are not limited to, the eBay Partner Network.
As far as your mileage goes, I suggest simply starting with plugs and your o2 sensor. When I bought mine, I was averaging about 17. Plugs helped slightly, but putting in a new o2 sensor was where I found the difference. I'm told that 26-27 highway is about normal so beyond that I'm hoping a custom tune will help.
Plugs were replaced with 1 step colder due to the 15% pulley. Never really thought about o2 sensors...I'll have to keep that in mind. Is the $100+ NTK the only reliable option? Seems silly to spend more on a factory 02 sensor than I would on a wideband replacement.
I realized on my first fillup that I never even opened the airbox to check the condition of the air filter. I'm sure that's not helping either. I got a consistent 28mpg (more in the summer) on my 2005 MCS which has been shaping my expectations for this car.
I realized on my first fillup that I never even opened the airbox to check the condition of the air filter.
I'm sure that's not helping either.
You might want to do that...
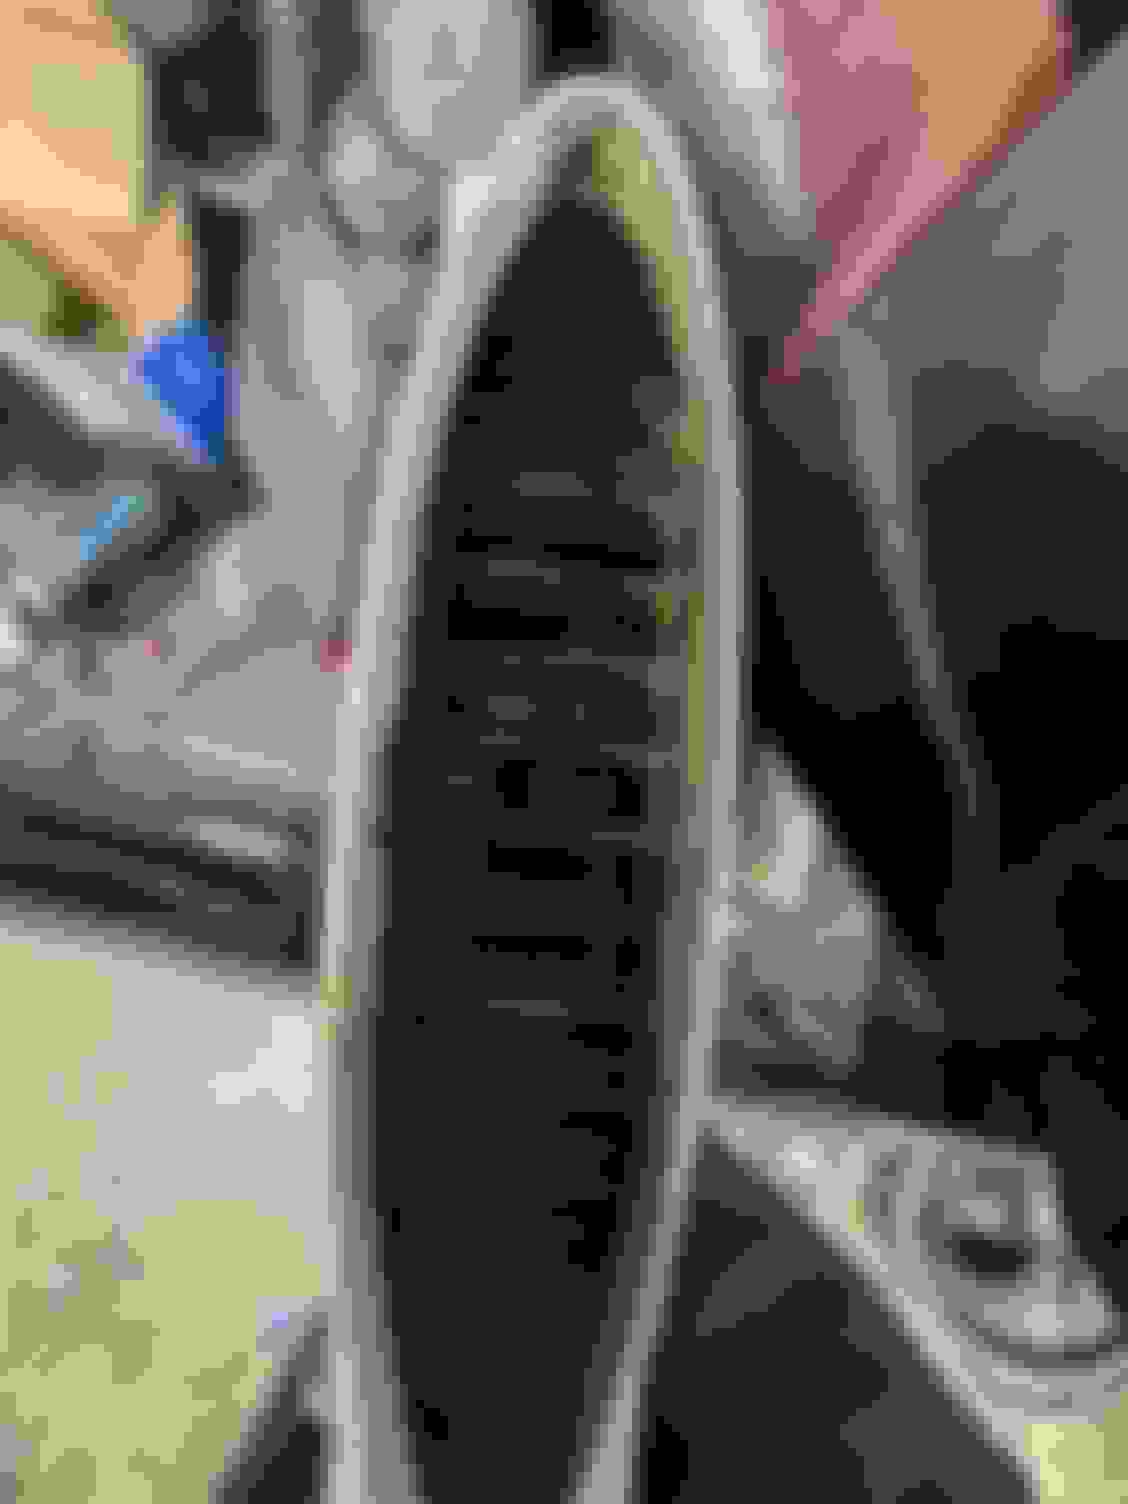
This is what mine looked like (compared to a new filter) when I first acquired my MINI. It was the very first thing I checked. I have no idea how air was able to get past this mess... You can see that it's marked "U.K." on the lower corner of the old filter. It was probably original to the car...
Plugs were replaced with 1 step colder due to the 15% pulley. Never really thought about o2 sensors...I'll have to keep that in mind. Is the $100+ NTK the only reliable option? Seems silly to spend more on a factory 02 sensor than I would on a wideband replacement.
I realized on my first fillup that I never even opened the airbox to check the condition of the air filter. I'm sure that's not helping either. I got a consistent 28mpg (more in the summer) on my 2005 MCS which has been shaping my expectations for this car.
I bought the NTK. Didn't want to mess around with wideband. Just wanted to plug n play. If you can get the wideband to work, by all rights rock on.
Sucks about the DSLR and I went with a non-OEM o2 sensor and my difference was 1mpg more lol. So, I thought the sensor was bad and went ahead and bought an oem o2 sensor and it gave me the same reading, just 1mpg more
Sucks about the DSLR and I went with a non-OEM o2 sensor and my difference was 1mpg more lol. So, I thought the sensor was bad and went ahead and bought an oem o2 sensor and it gave me the same reading, just 1mpg more
Luckily we had travel insurance (habit from my wife's family trips) and it made us whole. But we lost all our photos from a stop in Iceland and Barcelona.
I'll probably hold off on the O2 sensor short term. Ordered an air filter, I'll swap that this weekend. Interested to see what mine looks like.
I plan on using this as a year round vehicle. I'm doing some brainstorming trying to figure out how to get a zerostart circulation heater installed. I have one in my TDI and it makes winters so much more comfortable. Step one is to understand the cooling circuit and flow direction but not having much luck. Does anyone know where I can find a cooling diagram?
Made some progress this weekend. Had a friend bring another mini up that needs a release bearing. He also dropped off his steamer and quickjack.
The weather was finally mild (above freezing) so I used a bucket of warm water and Chemical Guys Rinse Free Wash to get the car clean. The product worked surprisingly well and seems to be great for washing a car in a pinch. I also used it diluted to 16:1 for claybar lube and it worked well for that too. Claybar and polish took no time at all. So little surface area! Plus, the paint was in surprisingly good shape given how neglected this car was in the past. Having the car up on the quickjack while detailing made the work so much easier and involved much less bending over. I need a set of my own...
I played around with the steamer too. I was primarily hoping it would help remove the tape around the sunroof, but unfortunately it was unsuccessful at that. It worked miracles for other areas though. It took all the smokers crud out of the carpet, stains off plastic bits, and all years of grime off the metal in the engine bay. This thing is gonna look brand new when I'm done.
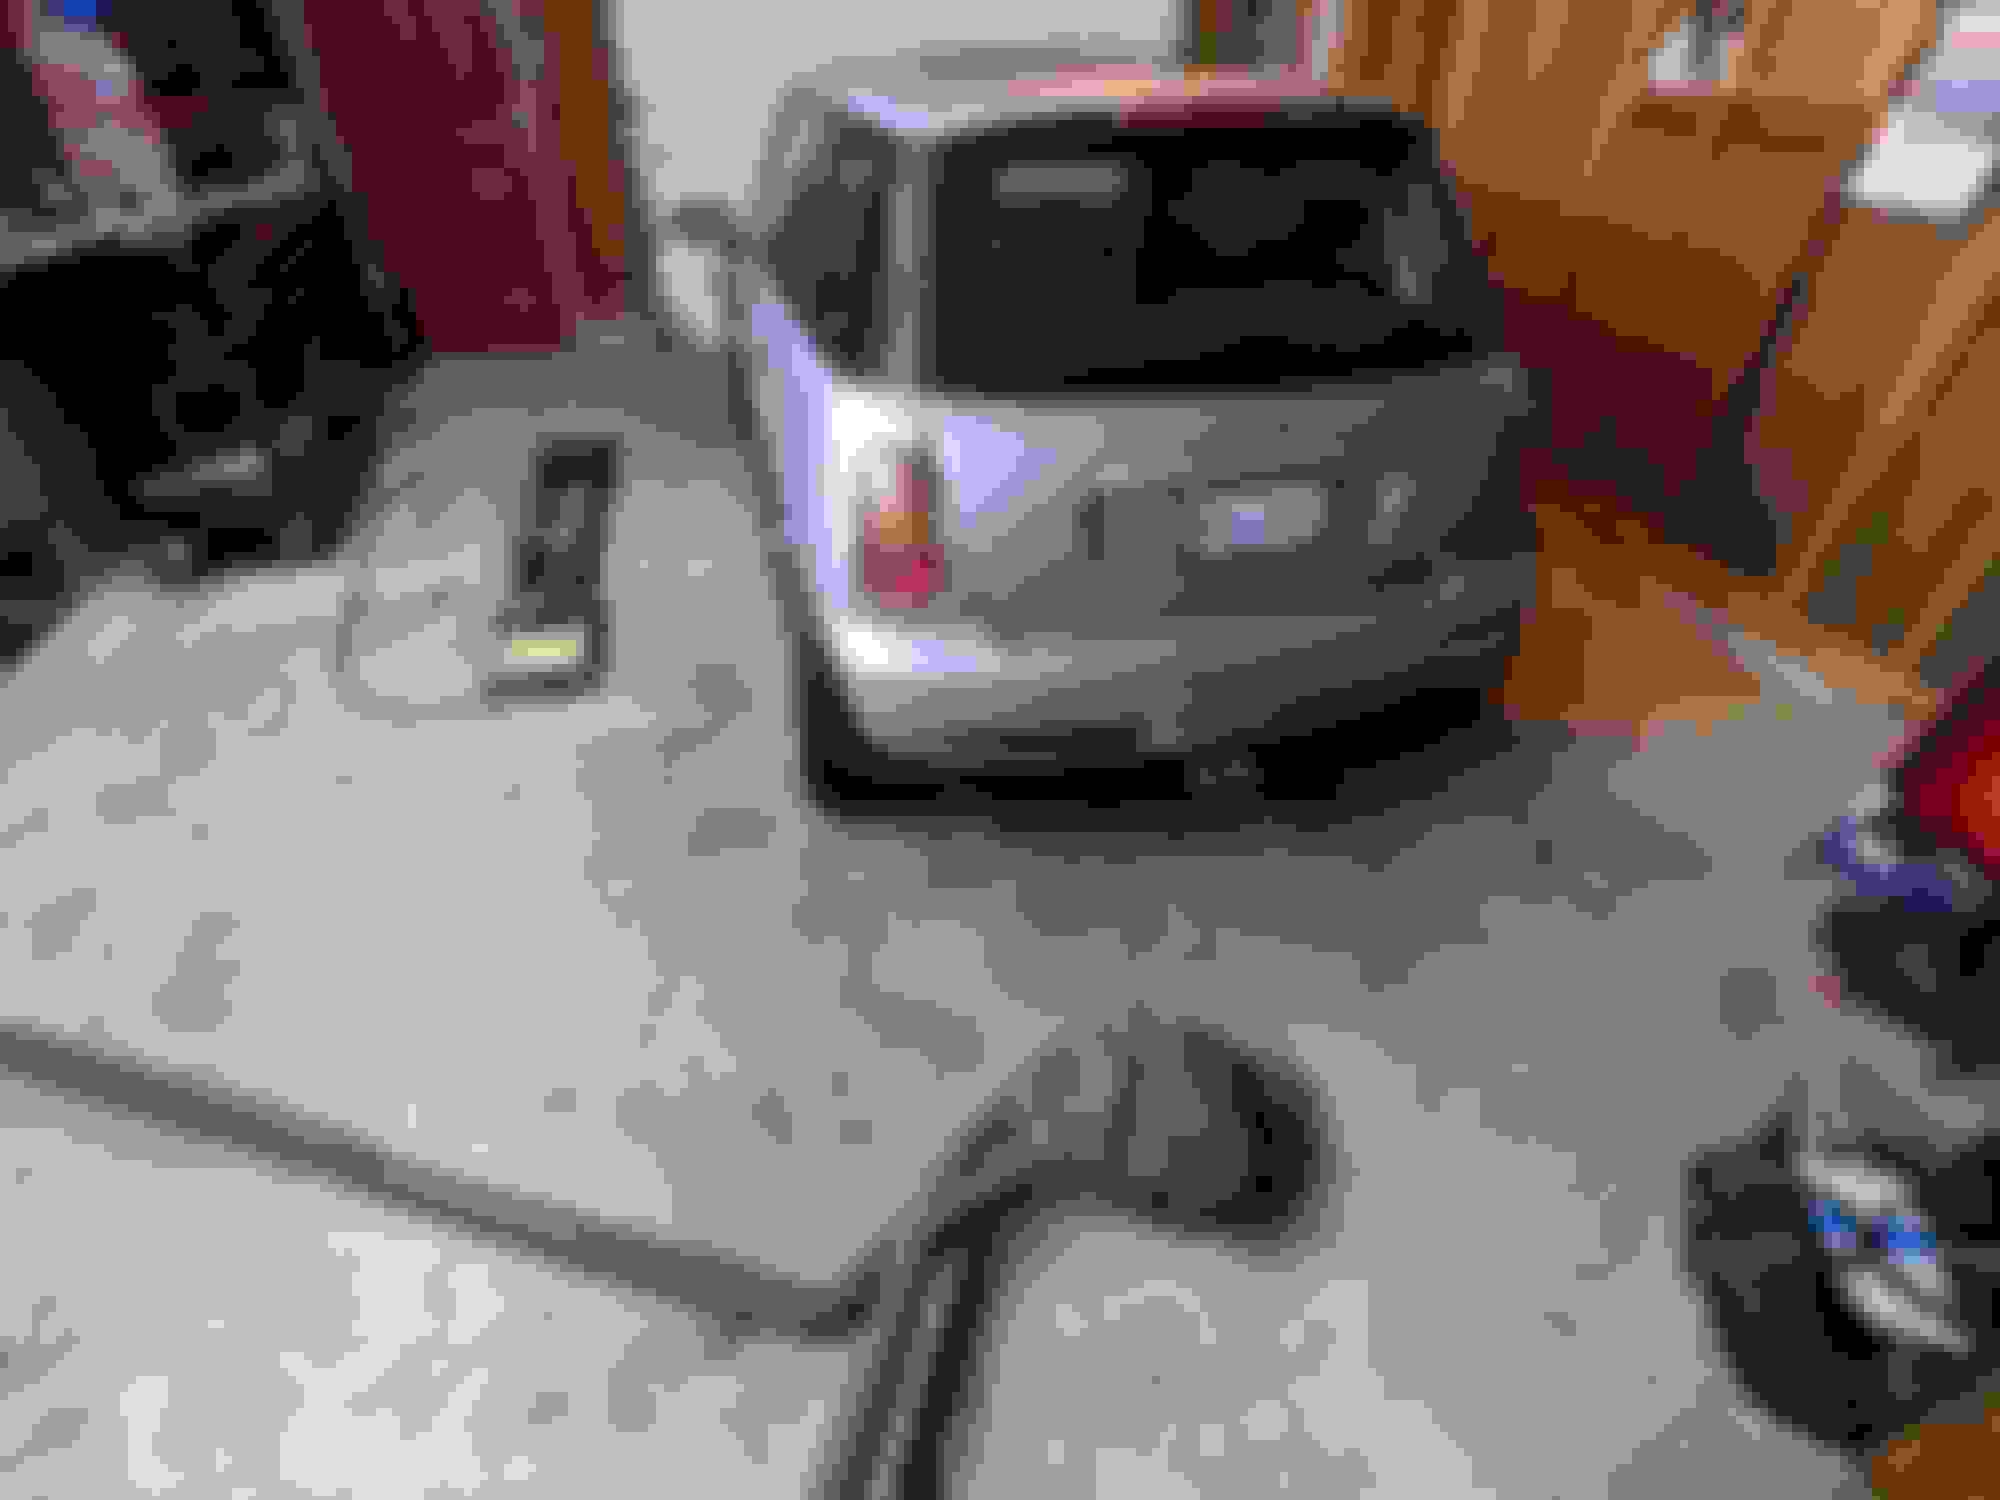
His stepbrother has arrived!
After detail, looks good!!!! Excuse the poor camera AND lighting.
After detail. With quickjack!
I've done some more research, and while there isn't GREAT info on the web regarding removing aged tape from automotive paint, I've got a few things to try. Common consensus appears to be mineral spirits or rubbing alcohol first, and if that doesn't work go more advanced with a adhesive remover. I'm sure we've got rubbing alcohol at home, so I'll try that tonight.
After we got the car detailed last night, we put the wheel liners back in and the underbody tray on. I was concerned there would be difficulty reinstalling after all the problems I had with the fasteners during removal, but no such problems. They went on really quickly. I also checked the air filter and it looked quite clean :( I have to find another source for my mpg issues.
I think the next step will be testing for boost leaks. I have a rig for my 300ZX, but its made for a 3" intake, the mini seems to be considerably smaller. I'm due for a fill-up this afternoon, so we'll see what the first full tank of 'normal' driving yields.
Dude talk about a diamond in the rough. This has to be one of the best home garage rebuild/restoration I’ve read. You should submit this to one of those automotive shows and maybe they’ll interview you. Show off some hidden talent just don’t do any Magic Mike moments
Dude talk about a diamond in the rough. This has to be one of the best home garage rebuild/restoration I�ve read. You should submit this to one of those automotive shows and maybe they�ll interview you. Show off some hidden talent just don�t do any Magic Mike moments
Thank you, I really do appreciate the compliment; though I'm not sure I compare with some of the epic build threads out there. I do wish I did a better job of documenting some of the more difficult portions of the work, but that's exactly when I'm on a roll and am less likely to grab my camera.
I have a similar build thread for my 300ZX if you're interested, which covers ~8 years of ownership.
Work on this mini will pause for a while and I'll just be driving it. I have a couple days off for Christmas and New Year's so we're going to try and get the red mini into the garage and disassembled tomorrow, so we can order parts and put it back together by next Friday. I'm really excited to see how much the quickjack helps with work like this. It's already so much easier to get the car off the ground, and we had plenty of room to work under my buddy's CLK500 last night.
Car is doing great. The day I posted my last message we pulled the red 2003 MCS into the garage and got to work. I've been driving the 2004 on and off all winter with great results. The only issue so far (aside from less than stellar MPG) is a broken rear sway bar endlink. This was replaced by the manufacturer and everything is good as new over the last 2k miles.
We finished the 2003 MCS last weekend. It came in with a shot release bearing. We were able to move it under its own power (BARELY) on and off the trailer, but when it was time to move it into the garage the slave finally had enough and quit on us. We had to push it uphill into the garage. Yuck. This one got a new clutch kit, slave cylinder, oil filter housing gasket, CPS o-ring, SC oil change, SC intake gasket, DS tie rod, Ebrake cables, front pads, release bearing guide tube, serpentine belt, PS motor mount, brake flush, trans flush, CV boot, air filter, oil filter, and oil change. Phew.
For the test drive we put some PZero's on it. This car has factory suspension and factory SC pulley. It's so nice to be able to drive a modded/stock back to back. It REALLY makes me appreciate what I've done to the 2004. My god do those PZeros stick, even when they're down on treadlife. I've been shopping for summer tires for the 2004, and I'll probably be going with Hankook Ventus V12 Evo2 K120. I ran the K110 with my last mini and loved them. I figured I'd give them a shot again. I just realized that my factory wheels are 17's. Was really hoping to stick with 16" tires, but I'm not about to spend money on wheels. Anyone wanna trade?
I've got another mini lined up which should be here in a few weeks. Stay tuned, this could be a fun one.
Wash ruined!
Waiting for first test drive. Gotta clean my windshield.
New tires ordered! The car came with a set of Pirelli PZero runflats which have maybe a season or two left on on one pair, and a few seasons on another pair. These will be set aside, hopefully I can send them off when the 2003 gets sold. The tires grip great, but I want to start fresh, and don't want to take any chances with this fall's trip to the mountains in NC.
I picked up a set of Hankook Ventus V12 evo2 K120. I ran the K110's back when I had my 2005 and loved them. The treadwear is a little better (or worse for grip) on these, 320 from 280, but the reviews are still stellar. Plus, Hankook is offering a $100 MIR, so total cost should be around $220 for a set of 4. Not bad!!
I should have these mounted later this week. I ordered the tires yesterday, thinking it was time since we haven't seen snow for 7+ days, and nothing that has stuck for even longer. We got a snowstorm last night. Poop.
Also, I got some miles on the Mini this weekend, but still having issues with a sticky rear caliper. I ended up replacing a rear with a re-manufactured caliper from Rockauto, since I couldn't find a used one to save my life. It's definitely not the bearing, with no caliper at all the wheel spins freely. When the caliper is set onto the rotor, it still spins freely. When I bolt the caliper on, that's when I get some resistance. More than I'd like, but not enough to make me worry. Until this weekend, I could feel it sticking and that corner was noticeably warmer when I parked the car. I've dealt with sticky calipers before, but never on a 'new' one. Not sure what to do....I'm going to take it apart again tonight and re-grease everything, but I don't expect it to help much.
Oh man, these new Hankooks are fantastic! I took a road trip this weekend to visit a buddy and hike Devil's Lake. I swapped rear calipers and took care of the sticky caliper issue (for now. still need to rebuild the one I removed). MPG skyrocketed immediately. Who knew.
Over the past few weeks we've been polishing up the 2003 MCS with a busted clutch that we picked up last fall.
Holy crap did it turn out nice.
WoW!
Listed it Thursday, and got very little interest surprisingly. But the one nibble I did get ended up being enough, we sold it last night.
Not before lining up all 3 for a quick photo.
Short lived family.
Did I say 3? Yeah....We picked up an MC40 that needs some love from a forum member. This one is going to get the same level of TLC. It's super clean and tastefully modded, but without a sunroof or heated seats. I'm really looking forward to tearing into it, but first some much needed maintenance and summer prep needs to be performed on my neglected vehicles.
The 300ZX went on the lift Sunday night for a myriad of issues ahead of this years driving season. Power steering leak, transmission mount, and a potential timing issue. Should be ready to go in a week or two. Still waiting on a big rain to clear all the salt and grit off the roads.
We've basically finished work on the MC40, and now that the R90 wheels have been color matched the car really pops. There are one or two minor issues to be resolved, and the car will be 100% ready to go. This is way too clean and really shouldn't spend any more time in Wisconsin. I've never had anything I would consider a 'show' car before, but this is as close as I'll probably get and I'm already nervous.
During the juggling that was required to get the MC40 on the road, I discovered the silver R53 (the subject of this thread) had a blown left front shock, so I ordered a set of Bilstein B4's for front and back. I thought of going the coilover route, but that would defeat this being a budget build and the handling is/was stellar even with a worn factory suspension. The reason I didn't replace them during the 'restoration' is a) they weren't blown at the time b) based on the condition of the fasteners all over the car I was terrified of stripped/seized critical suspension components.
I started with the rears. Before doing any work I put a little vinegar on the exposed threads and brushed them with a toothbrush to remove any loose corrosion that may chew up any internal threads during removal. Then I used a butane torch to heat the welded on threaded bung that holds the M14x1.5 strut attachment bolt. With my trusty HF electric impact I removed the strut attachment bolt with ease. Both struts were replaced within 30 minutes (total). YAY! The upper mount attachment bolts looked a little nasty but came out with ease. I feel silly for being so nervous, this was about as easy as could be. Heat is definitely the key. Within the next week or two I'll tackle the fronts.
I finished my Bilstein B4 install last night. Rear struts went on a week or two ago, and I had been holding off on the fronts anticipating a fight to the death with the pinch bolts.
I chose B4s (and reusing stock springs) mostly due to cost. This is my budget toy, so it didn't make sense and I couldn't justify spending $600+ on a set of higher end shocks. I had read plenty of good reviews regarding the B4, and ride quality wasn't a huge concern. I'm mostly concerned with spirited driving enjoyment.
I started the front PS strut Tuesday night and even with heat and oil promptly sheared the head off the pinch bolt with my brushless Makita impact on the low setting. Oops. I was under the impression I could swap out the strut with the knuckle still installed, so I drilled out both sides of the bolt with it in the car. It wasn't until I went to remove the strut that I realized it wasn't possible. I pulled the entire assembly which wasn't too much work as it was apart a few months ago during my rebuild and stuck the knuckle in a vise. A few taps of a hammer resulted in the strut sliding right out. I used a wedge shaped chisel to pry open the clevis in the knuckle and slid the strut halfway in. With the knuckle reinstalled in the car, I put a jack under the lower control arm and gave the knuckle a few taps with my trusty 3lb sledge and it seated right into place. I used a through bolt with a nut to close the pinch bolt.
It sounds straightforward, but I was working solo, so getting the strut mount in and out was a HUGE pain. Getting everything lined up for re-install was a nightmare, and drilling out the bolt back inside the car was less than ideal. In total, it took a little over 3 hours.
Strut removal setup.
Last night I did the drivers side and immediately removed the entire strut assembly from the car and stuck it on my workbench. I tried heat and oil again, but the bolt didn't survive this time either. Having the assembly on a workbench made drilling much easier, and I had an assistant to apply oil so I didn't need to stop drilling. This also resulted in me cooking my cordless drill. I guess pausing for oil was a necessary evil. This side was done in under two hours. Knowing what I know now, I could probably do both sides with frozen pinch bolts in under 3 hours with an assistant and a sharp set of bits. This would be a 60 minute job for a non Midwestern vehicle.
Test drive results: Stellar. Many reviews indicate that the B4s provide a sporty ride, but an uncomfortable driving experience due to jarring qualities on uneven roads. Wisconsin isn't exactly known for smooth roads, but I had no qualms whatsoever with ride quality, even on some of the poorest quality pavement we have. I thought the mini was a hoot before with sporty handling, its way better now. The car is almost perfectly flat in corners, regardless of speed and the ride feels quite a bit more comfortable than the 2005 I had with 40k on a factory suspension. I HIGHLY recommend B4s as a quality option, regardless of budget.
$800 mini budget update:
Total spent on everything but gas: $3090.
Current mileage: 113500
Average MPG: 27.6 last 3 months
T-minus 2 months until North Carolina trip. Planned work as of a week ago involved parking brake cables, new hard lines, and fixing whatever the heck the hissing noise is up front.
I got the car up in the air for an oil change and parking brake cables on Saturday, and in doing so realized that I'm probably not THAT due for new hard lines. This can wait a few years, I'll definitely be pushing the car in the mountains, but I think I was a bit too paranoid when I first surveyed the car. Parking brake cables are done now, which could be considered important for driving/parking in, on, and around the hills. Oil change is done, and should be fine until the trip.
With the help of a friend on Sunday I diagnosed the hissing noise with a bottle of water and determined that the supercharger inlet gasket was bad. Upon removal I discovered it was actually split at one end. Once this is replaced I think the car will be good to go!
The ONE change I'm considering making yet is moving my H&R rear sway bar to stiff (2 position adjustable). It doesn't rotate all that much now at soft, and I'd have 2 months to test it out.
The brake cables were already purchased, so the only added cost was $25 for oil and filter. $3115 isn't bad for a mid-mileage mini with all the right modifications.
I fixed the leaking supercharger gasket. it literally split down the middle. Seems strange for a gasket with only 8k miles on it. With the front end in the service position it wasn't too bad to take care of, and the car sounds like it should once again.
I hit something on the shoulder last week, and immediately felt like steering was off. Not significantly, but enough to be a concern. I got under the car and didn't see anything bent or damaged, so checked the alignment and I was 1/8" toe out. Still no visible damage, tie rods look fine. I dialed everything back in and I appear to be no worse for wear. A bit scary to have that happen just over a month before the NC trip. We leave for Iceland next week and I won't have much time to address mini issues before the road trip. Time to start planning emergency supplies and get it all cleaned up with what little free time I have.
Total cost of this update: $20 for a replacement gasket and a spare to keep on hand.
The Iceland trip was a massive success. We drove our camper van ~1500km in 8 days. Plot of the trip is below. What an unbelieveable experience!
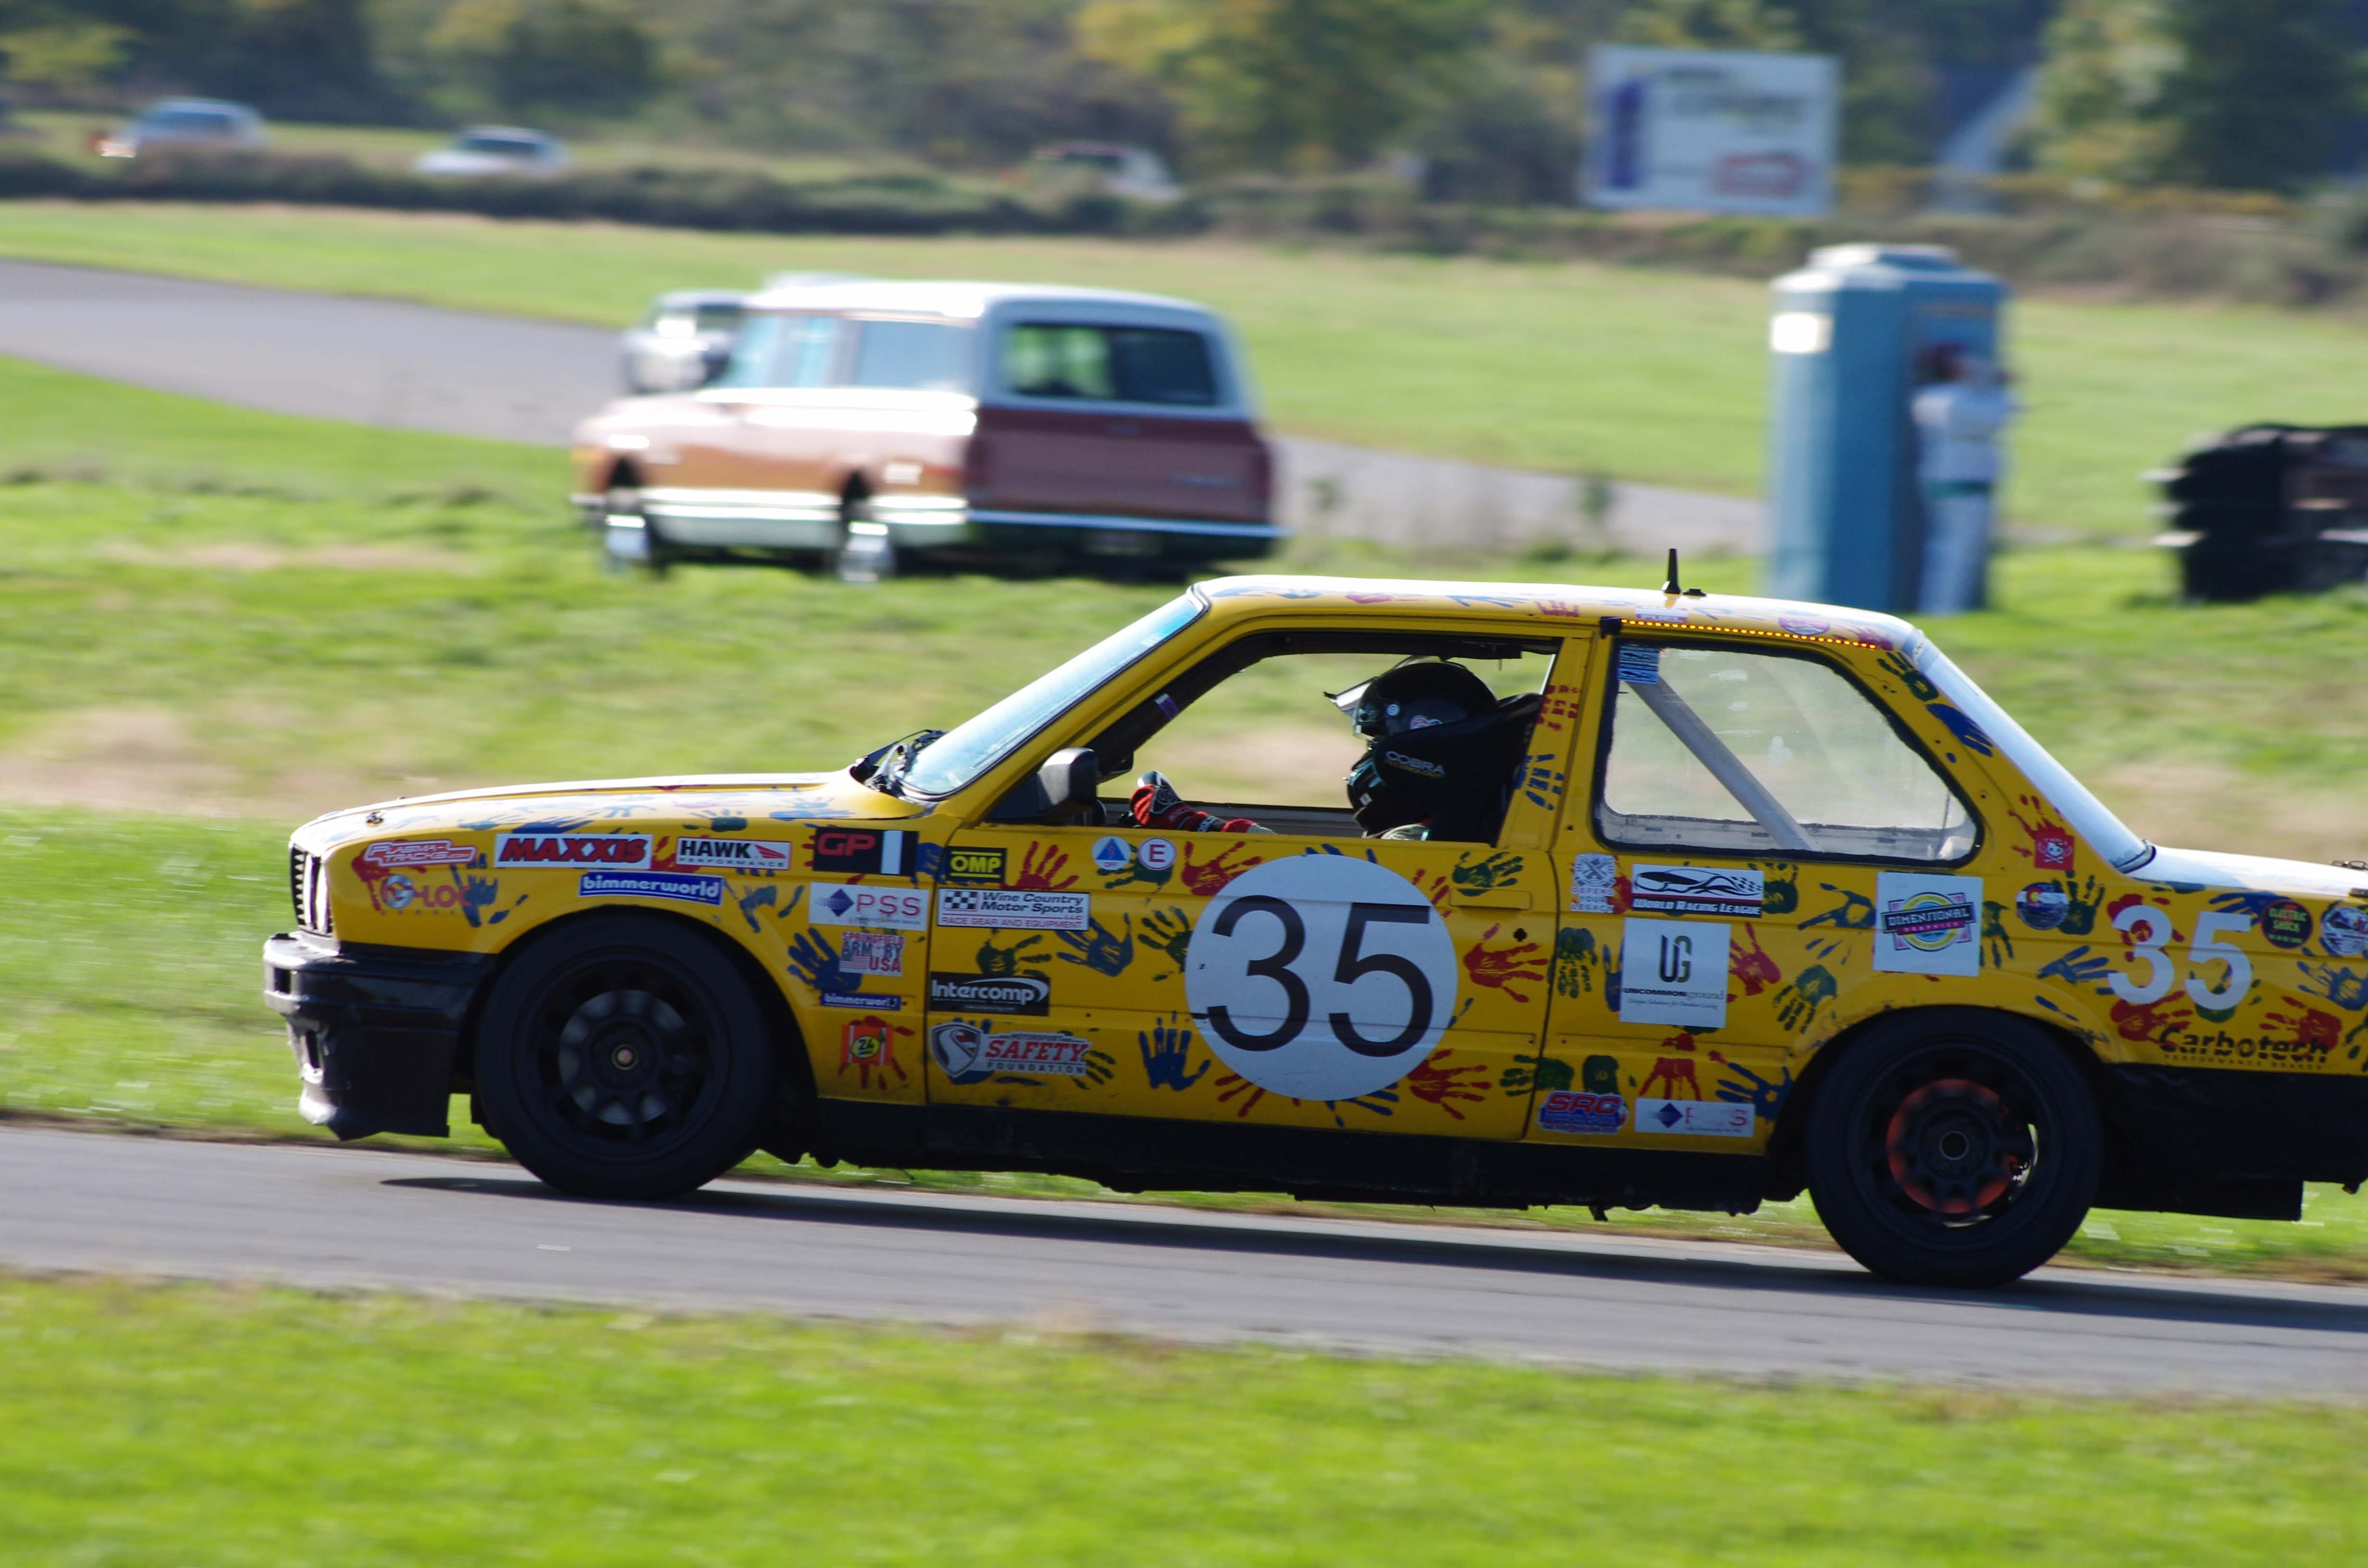
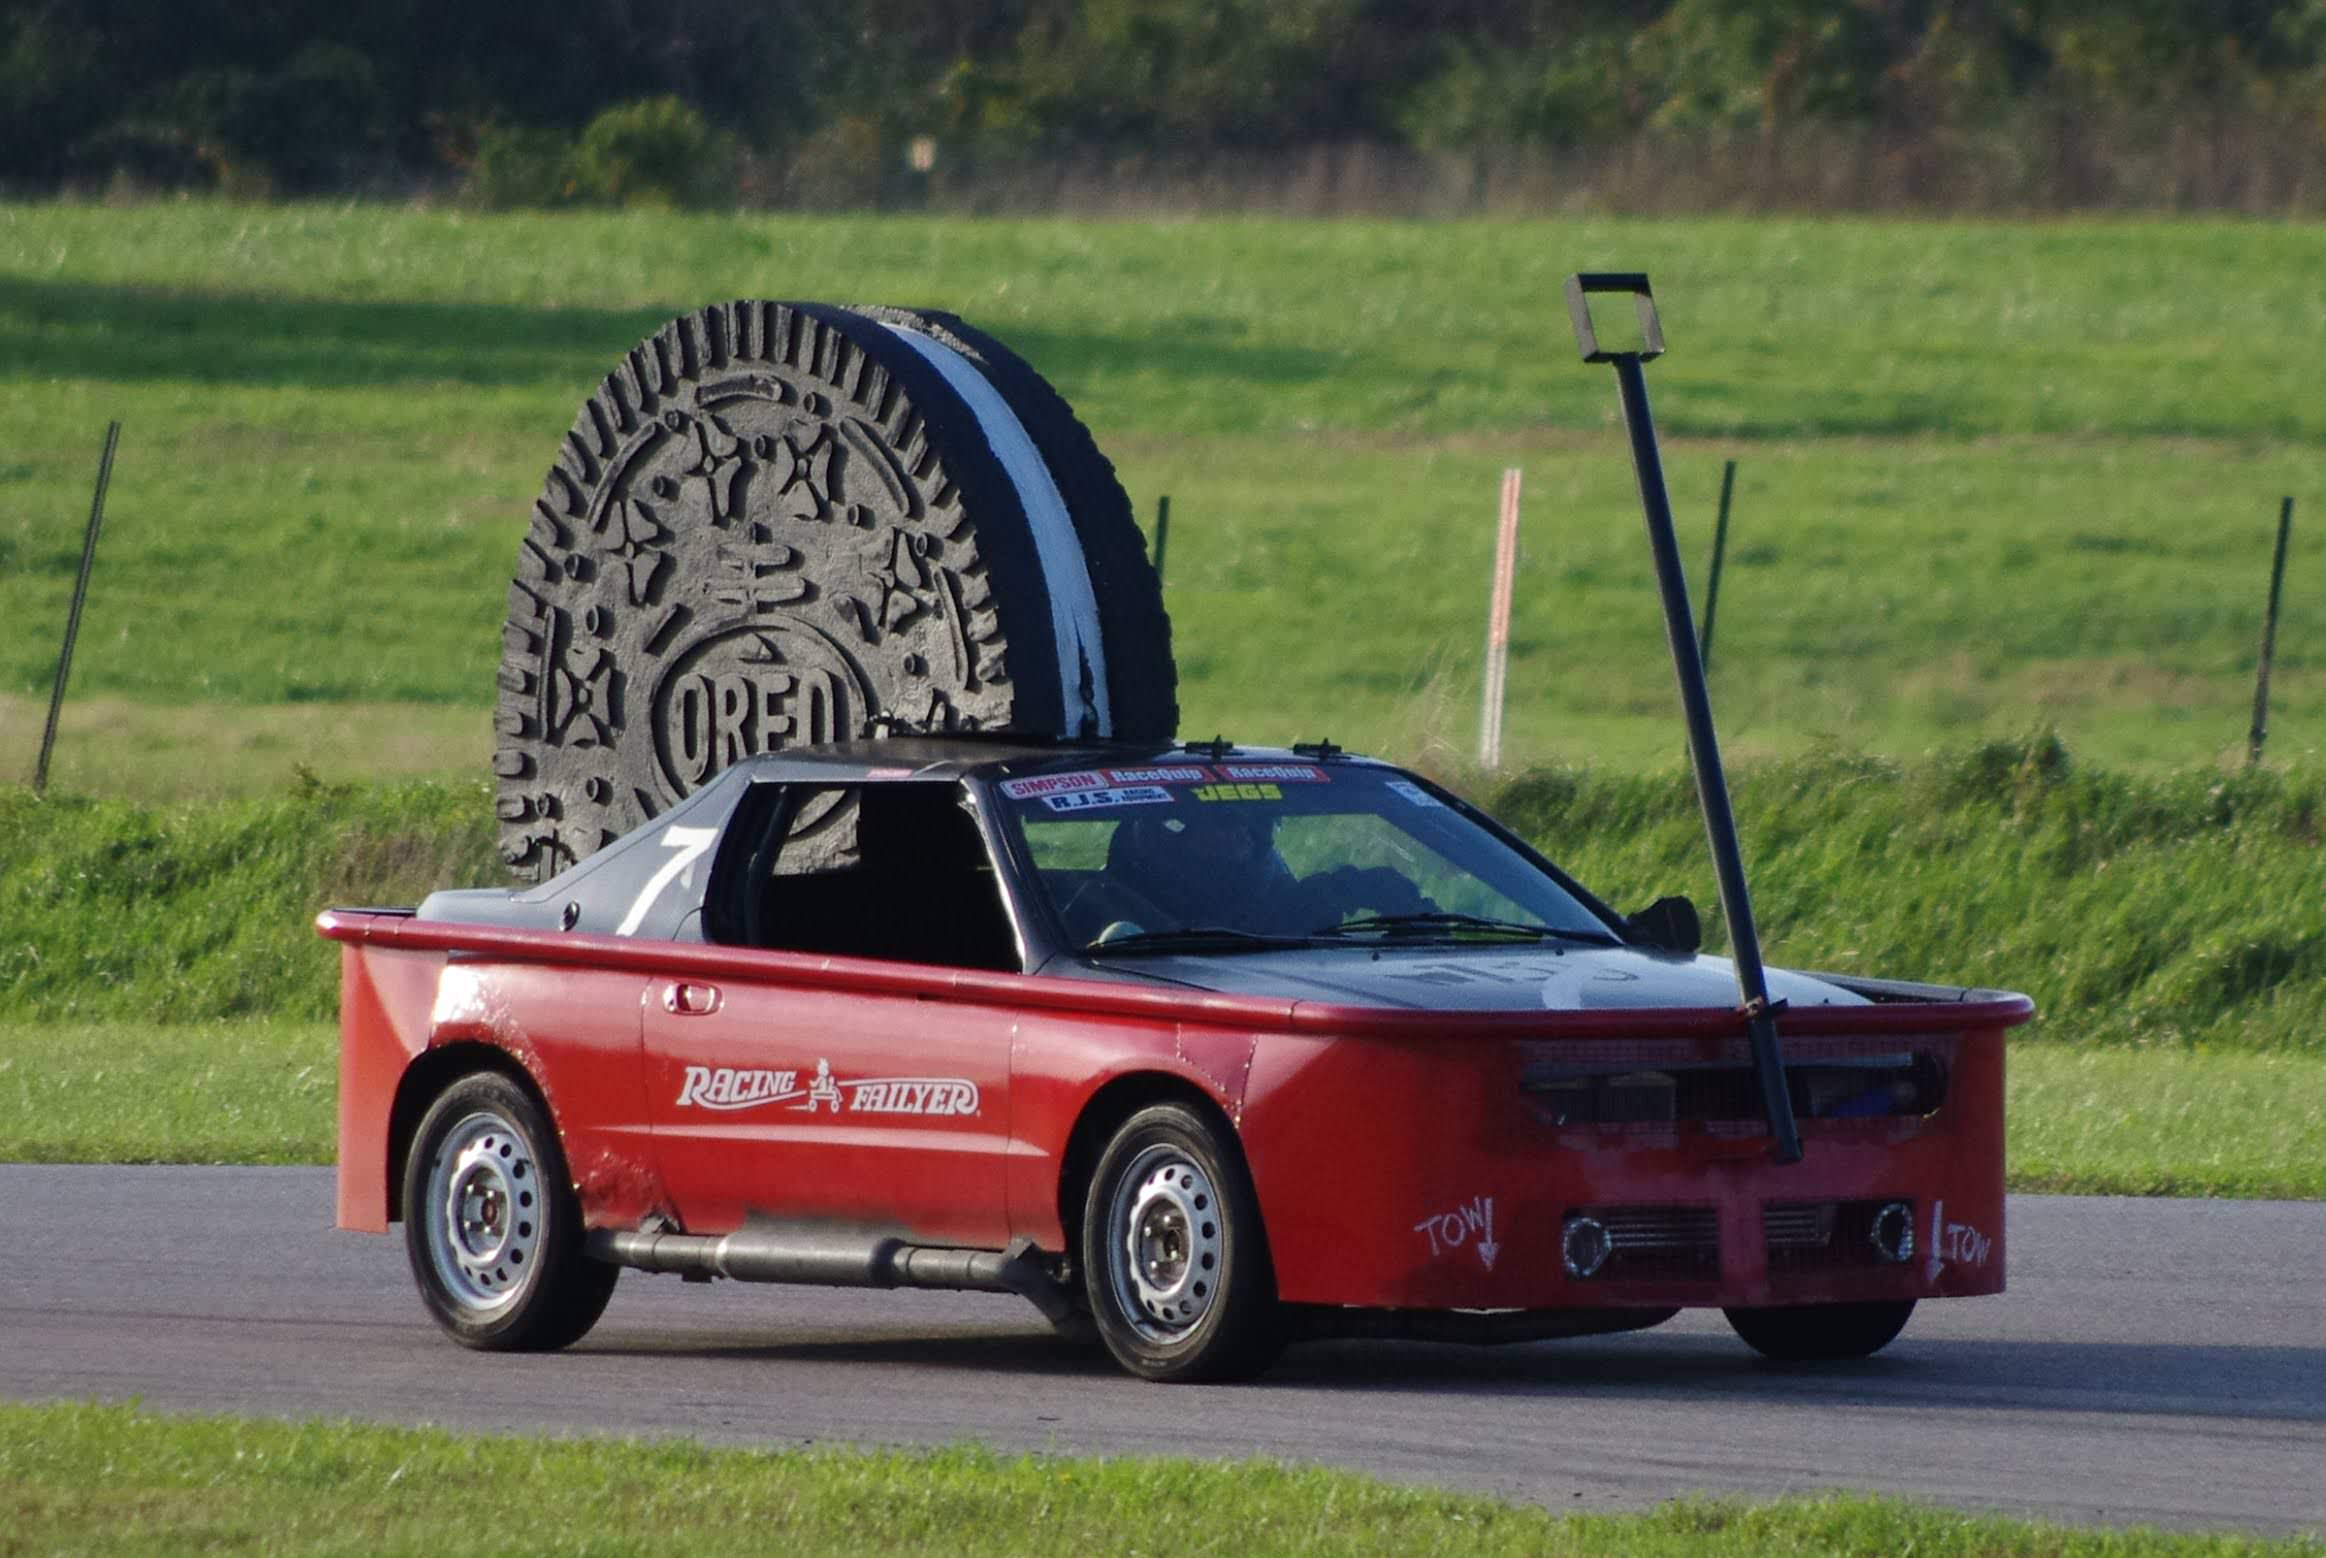
A week after Iceland was the Lakefront Marathon, and a week after that we took the 24 Hours of Lemons Class B win at Gingerman!
Victory lap!
Oops
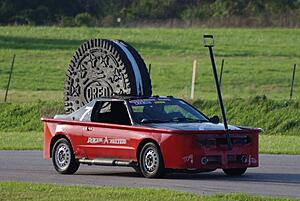
OREO SPEEDWAGON! HAHA! I didn't get it.
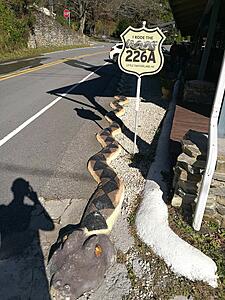
Three days after the Lemons race a group of friends and I left for North Carolina on a 6 day 2000 mile road trip. My wife's parents have a place in the mountains north of Asheville, less than 10 minutes from the blue ridge parkway and the diamondback (226A).
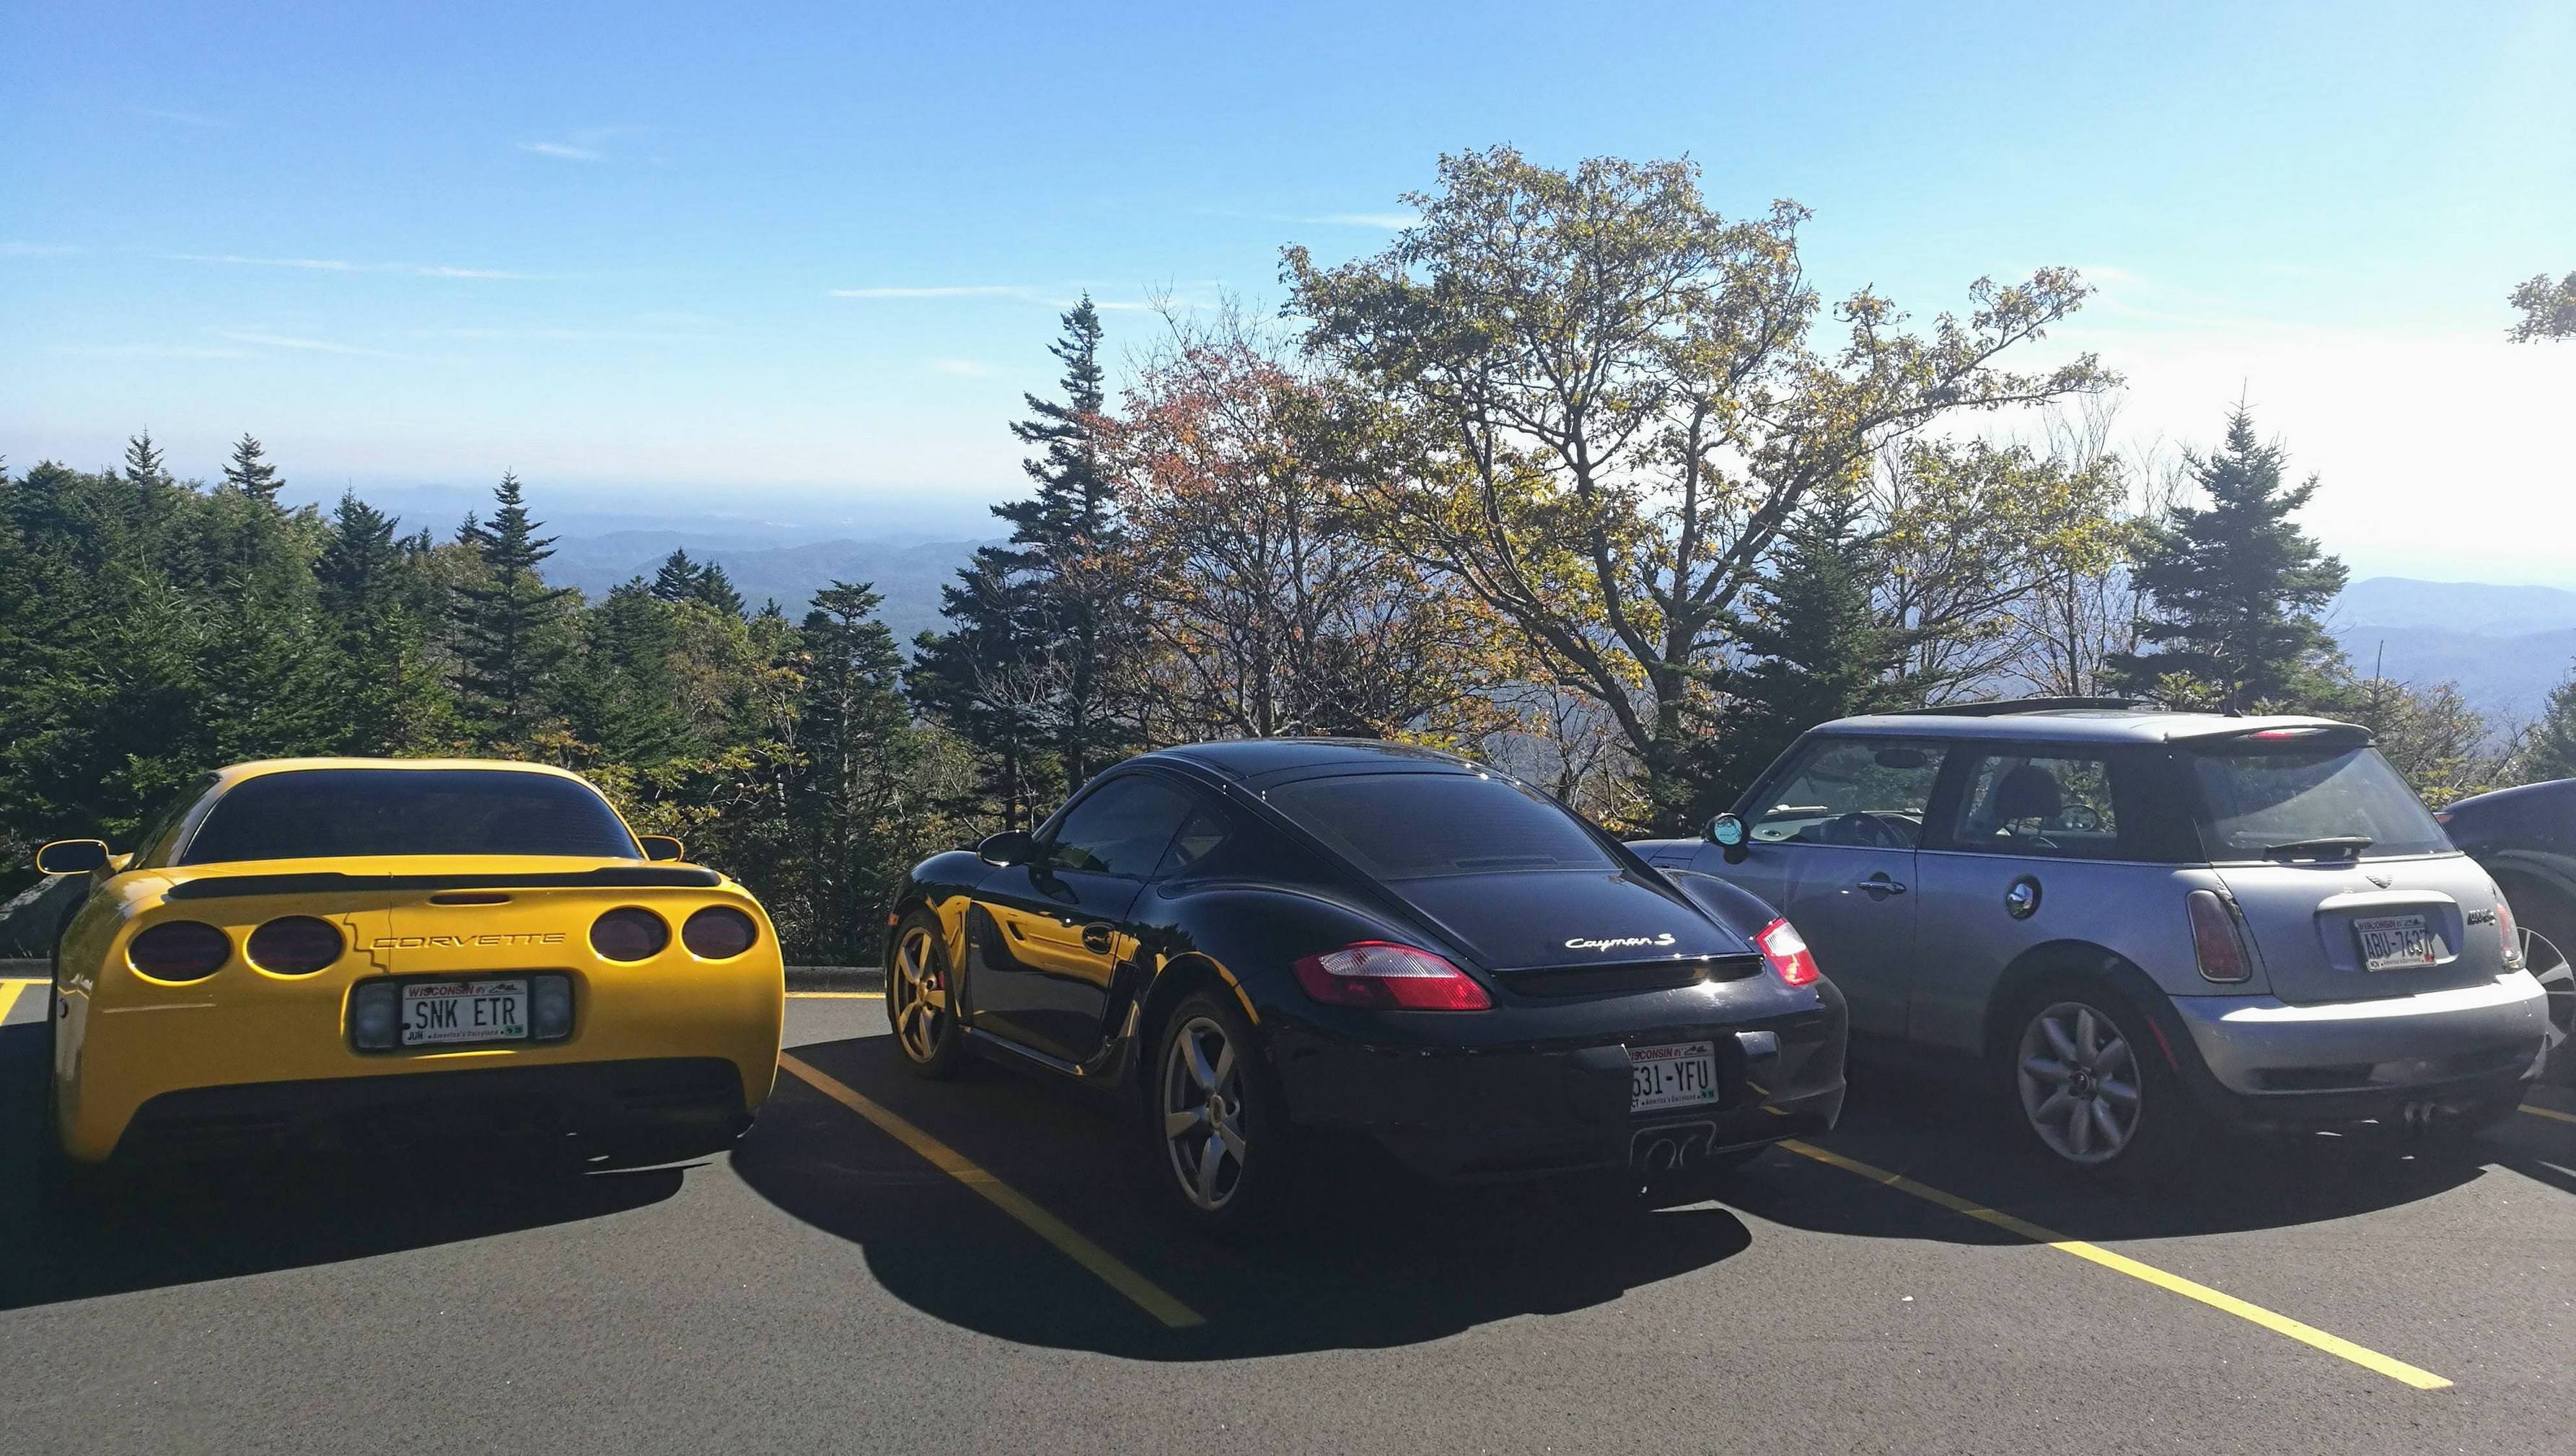
The plan was originally to take 5 cars; my R53 mini, a Cayman S, a CLK550, a Gen 1 Viper, and a C5 Z06; however due to attrition and coilover issues the trip was reduced to the mini, the porsche, and the vette. The first leg of the trip took us from Milwaukee to the south side of Louisville on Wednesday night. Smooth sailing through Chicago was an unexpected surprise. After a brief sleep we made our way to the Corvette Museum in Bowling Green, KY. For someone who isn't a Corvette nerd, I still appreciated what they had on display and I was really impressed with the sinkhole exhibit. If you're into cars, its worth a stop. When you get off the freeway here you pass the manufacturing plant; I plan to investigate tours there, I think that would be something special.
Our next stop was US-129 (TotD) as it was pretty much on the way to our final destination. I would be lying if I said I was excited about this. I know everyone raves about it; but I expected it to be too traffic filled to enjoy and not as spectacular as everyone made it out to be. I was wrong. Even with a passenger and a car filled with tools, clothes, and a wooden bear; it was a riot. All the suspension work, new brake hardware, and Hankook tires paid off and I was able to very comfortably push the car. I can't wait to go back! I thought that I had the perfect car for this trip in terms of comfort and fun to be had; and I was right. However I was very impressed wtih how the Cayman S was able to keep up. The vette....not quite as much.
After TotD run
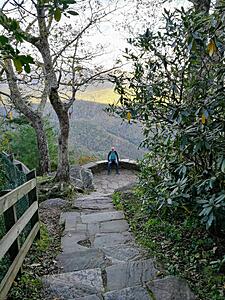
We eventually made it to our destination in the mountains of NW NC and spent the next couple days driving short segments of the blue ridge parkway and visiting Ashville. We elected to make Sunday one of our fun driving days and my buddy and I woke up early (7am) to drive the Diamondback with the hopes of avoiding all traffic. We were successful and got a totally clean run without encountering a single car. The Diamondback (226A) was not quite the same as the Dragon, but it was still a spectacular road to drive.
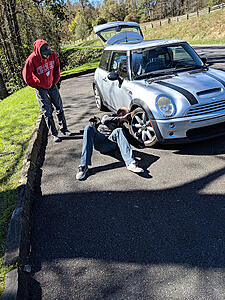
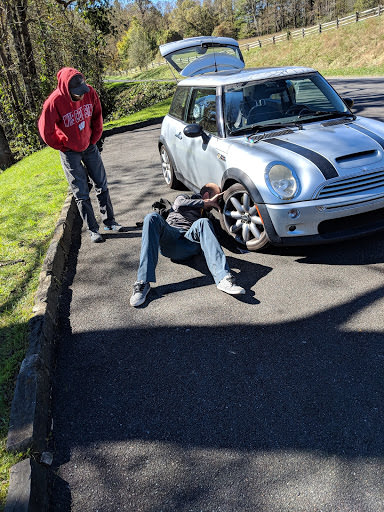
We came back to get the rest of our gang who like to sleep in and we did the route again; but this time with traffic. Much less enjoyable. We headed north on the Blue Ridge Parkway when I started to notice some vagueness in my steering that felt very similar to when I had a ball joint come loose a few months ago. Turns out it happened again. I managed to get it tightened down (guess I was pushing it a bit TOO hard) on a beautiful scenic overlook off the parkway and I wasn't too upset that I had to work on the car in such a fantastic spot.
We continued on with our drive towards table rock; but that was about as far as we would get. While coasting down one of the many many many long hills; the mini let out a bang and got quite loud. My first though was I cracked my manifold/downpipe; but my co-pilot correctly and immediately identified a blown out spark plug. NOOOOOOOOOOOoooooooooooooooo.
I pulled over as quickly as possible and surveyed the damage. 1 plug missing, 1 boot destroyed, and I was 40 miles from where we were staying. We eventually found the missing plug sitting in the drivers side engine mount. The plug was in surprisingly decent shape, but the gap had been closed from the impact. When the plug blew out, it took the end of the boot with it, and bent the internal connector into an "L" shape. At this point I figured I'd be pulling an injector harness and driving home on 3. We rebuilt the boot as best we could, applied some electrical tape, and reshaped the spark plug contact point. I pulled the boot from cylinder 1 to make sure we had done an adequate job....and the wire seperated from the boot. Now I had TWO bad cylinders. I couldn't do anythign aside from shove the wire back into the boot and put the boot back on the plug and hope it would work. I cleaned the aluminum from the threads of the blown out plug and regapped the plug with a screwdriver. As best I could tell threads still existed in the head so I gave it a try and reinstalled it. It went back in (with mild resistance) but it accepted proper torque. I fired it up and it ran on 4! I was terrified of another blowout the whole way back so I took it verryyyyyy easy. Thankfully there was an Advanced Auto Parts in town when we made it back; I ordered two plugs and a set of spark plug wires that would be in the next day. I surveyed my options regarding spark plug thread repair and was encouraged that they had the tools needed (if I ran into issues just replacing the plug).
After breakfast at the Switzerland Cafe I headed to the auto parts store to pick up my tools and parts. I was dismayed to realize that the spark plug thread inserts were aluminum, and the tap looked kinda iffy; but I didn't think I had another option in rural NC. Upon getting back to the house I removed all the spark plug wires and removed the bad plug. Unfortunately the plug took all of the threads with it; so I was in for a nervous thread repair session. I attempted to use the Advance Auto tool, but it was complete junk. All it did was remove what little bit of thread was left in the head while spinning in place. At this point I was getting pretty worried and frustrated. I asked my wife to look into flights and Uhaul options. This was Monday at 4pm and we were set to drive 770 miles home the next morning at 8AM. I started calling every shop in town; but either no-one could help me or none could help me this week. Despite the warning of the slow pace of life in the south; it still caught me by surprise as to just how slow it actually is. Despite expalaining my predicament to each tech on the phone; I never got the hint that anyone could/would provide assistance. Crap. While searching for repair places, I saw a NAPA on the other side of town. This was pretty much my last option so we hopped in the car and got there as quick as possbile. They had the exact same tool in the exact same packaging as Advance Auto, except it was immediately apparent that this wasn't chinese garbage. This tool looked sharp and purpose made; and the inserts were steel! With a tiny bit of confidence I brought the tool home and got to work. Using chainsaw bar lube as my chip catching medium; I had new threads CAREFULLY cut in 30 minutes. I used Loctite Red on the insert and held my breath as I put it over the spark plug and inserted it into the head. I knew I only had one chance at this.....
...
...
8 or so turns later it was installed! We all went inside for a beer and waited for the loctite to set-up before the first test fire. The beer was delicious and the car fired right up on all 4. We took it for a test drive on the Parkway and stopped to take in the sights at a few overlooks. I also checked the spark plug torque at each stop; thankfully nothing budged. Success!
The next day we left at 8AM and drove 770 miles home. Despite 1 stop for gas, and another stop for gas and Steak & Shake, we made it in under 12 hours total. Not bad! Overall the trip was a blast, but I was disappointed by the time wasted fixing the car for a freak thing and the lack of exploring we got to do on mountain roads. I guess I'll have to go back next year. I love this car!
It's been a pretty quiet year with the Mini. I haven't driven it nearly as much as I would have liked (but I did an 800 mile road trip in the Z). The hatch rust is getting worse, and the door rust got MUCH worse. I'm currently trying to find a replacement drivers door.
Partially due to my quest to make terrible mini-related decisions, and partially in my quest to just pass emissions; I learned a whole lot about the mini electrical system.
I may have mentioned this in the past, my OBD port has never worked, but I've also been using an iffy bluetooth adapter. When I took it in for the emissions test they said the system was non-responsive. I borrowed a friends fancy Mercedes hard-wired tool and was able to determine that the port has power, but no data. I spent an hour with the Bentley and the forums trying to trace the wires but they sure don't make it easy. During a bout of furious searching, I found a link to a resource that turned out to be a life-saver. Hopefully none of you need it, but keep this in your back pocket.
It provides interactive wiring diagrams. If you click on a component or connector, it will provide you with its location on the vehicle, the connector pinout, and the wiring diagram for the attach component. If you try to do this in the Bentley it will take days as they don't provide an index whatsoever. Want to find connector X15? Have fun looking through 300 pages.
Long story short, the X15 connector controls most of the dash and is located in the driver's side footwell. My car had sunroof issues so this was likely submerged in water for a while. When I got to the connector I could see it had already been 'repaired' and was badly corroded. I traced the wires related to the OBDII port and bypassed the connector and was able to get the port functioning again but by removing and reinstalling the connector I think other pins became damaged. I plan on bypassing the connector completely for all 40 some pins.
My electrical escapades outlined in my previous post proved to be successful as I was able to get my OBDII port to communicate and ultimately pass emissions. Woohoo! Thanks to some water logging most of the wires were badly corroded and a PITA to solder. However I learned some new techniques and found that applying a healthy amount of flux before applying solder did wonders to clean the wire and allow the solder to adhere. I've always used rosin-core solder; I've never had to use flux separately.
With the legality of my mini renewed, I wanted to dig deeper into my camber issue. My passenger side front wheel had visibly excessive camber. Measured with my trusty "Bubble level" app I was seeing 3+ degrees of negative camber. Nothing was loose, and as far as I could tell, nothing was bent or broken. The only thing left to inspect was the knuckle and hub, so I removed the assembly to get a better look. I pulled the strut out of the knuckle which was a huge pain in the *** and discovered that the strut had actually deformed. I've never seen anything like this but I'm certain it accounted for the increase in camber as the bend was on the appropriate side of the strut to allow this to happen.
What the heck.
I ordered and installed a replacement strut and everything looks great now. All I need to do is repair the rust at the taillights and replace the door and I think I'm ready to let this mini slumber in NC while it waits a thrashing every few months in the mountains. We're T-minus two months until the baby arrives so the rust repair may never happen now. We'll see....
Surprise surprise rust repair never happened. Baby arrived early. She's fantastic. As much as COVID sucks, I can think of worse things than being locked inside spending time with my baby girl.
I spent most of the summer commuting to work via bike, getting AC working in my 300ZX...and not driving anywhere. Hah. The headgasket let go in the Z in August and I spent most of the fall on the rebuild and cosmetic 'corrections' in the engine bay:
What it looked like the day I brought it home 12 years ago.
Before rebuild.
All buttoned up! As it sits now.
I'm super pleased with the results. Did lots of painting, re-wrap of the harness, rerouting of hoses/cabling, and replaced some cosmetic items. It took a lot longer than expected, mostly due to waiting for replacement headgaskets. I think I maintained pretty good progress for having an infant at home.
Anyway back to the mini stuff. Around the time the headgasket went in the Z I thought I heard marble noises from the Mini and was too afraid to drive it until I had a chance to open it up and do some diagnostic work. I finally got that chance around new years 2021. It turns out my idler pulley was toast and was the majority of the noise. I pulled the supercharger just to check the oil levels and was pleased to see that after about 16k miles the PTO side was still 100% full and the snout end was only down about 15%. I did a SC oil change while I was in there and will check it again in 15k miles or so. The biggest surprise was that the intercooler was about 40% obstructed internally thanks to the coating on the rotors flaking off.
Ew
I cleaned that up and reassembled and we got about 16" of snow so I haven't had the chance to take it out aside from the initial test drive. The power felt great and it activated traction control in third gear...but it was also 0F out. I'm looking forward to putting more miles on the mini this year. It sat for the majority of 2020. 6 fillups all year. Yikes.
I've been doing my best to keep this a budget build, and my exhaust is starting to disintegrate more rapidly. My muffler straps have rusted through and have been supplemented with stainless steel zip ties, my midpipe bolts have rusted away and have been replaced with bar clamps and silicone wrap. I'm hoping to find an OEM exhaust locally; I'm a little nervous about going with aftermarket and ending up with a drone.
If anyone has any budget exhaust ideas, please let me know. I've got a set of ebay headers/flex pipe sitting around that remain uninstalled for the same reason.
Been driving the mini a ton. It's been relatively pain-free, but I just got a CEL for P0456 (Tank venting system leak, Very Minor) which I'll have to troubleshoot. Oh yeah and my mufflers rusted open and both muffler tips fell out. Wisconsin salt is no joke; although these seem to be abnormally susceptible to corrosion. Trying to figure out a cost conscious solution, but without any functioning exhaust hardware my options are limited. Anyone have an OEM axle-back exhaust in the upper Midwest that's partially functioning?
On the more exciting side, I had to make another stop at our "Hey I got another mini" custard joint: 4 years, 3 days, and 3 mini salvages since the last time we were here!
I am very, very, VERY excited about this. One owner, dealer serviced, rust free, 140k miles. Not sure if a separate build thread is merited unless there is interest in the journey; we've already been through this once. Can any eagle-eyed members identify what makes this special?
Two minis and Z don't make sense for family vehicles; so I need to figure out what's going to happen with the subject of this thread, my $800 mini that's rusting to pieces. Take advantage of the used car market and get maximum value for it locally? Save it for parts to keep the new one going as a "forever" vehicle? Using the $800 mini as a winter vehicle just doesn't make sense with the handles and lock mechanisms freezing as often as they do.
Last edited by megaDan; 06-28-2021 at 10:11 AM.
Reason: stable concerns
Two minis and Z don't make sense for family vehicles; so I need to figure out what's going to happen with the subject of this thread, my $800 mini that's rusting to pieces. Take advantage of the used car market and get maximum value for it locally? Save it for parts to keep the new one going as a "forever" vehicle? Using the $800 mini as a winter vehicle just doesn't make sense with the handles and lock mechanisms freezing as often as they do.
Ultimately the wife wants/needs a minivan to 'replace' her Volvo wagon. With the market the way it is now; finding one has been a major struggle. I'm going to drive the TDI for one more winter then junk it, and probably take over the Volvo from her when she gets her van. Both minis will stay for the time being; with the silver one being a running parts bin for the JCW. My love for Minis and the desire to hold on to one for as long as I can means the JCW has to stay (and be protected from the harsh Wisconsin winters). I promised I wouldn't drive the JCW or put any money into it until she gets her van. It's been tough.
Anyway, more on the JCW!
As it was when I brought it home. Clean outside, gross inside.
After some TLC.
As shown at the British Car Field Day
I gave it the normal thorough rundown: enter service mode and evaluate as much as possible. I did all of the "while you're in there" activities: SC oil, water pump, oil cooler o-rings, oil change, coolant reservoir, checked gear oil, etc. It needs brakes, a new radiator shroud, new suspension, etc; but those are big ticket items and will have to wait. Overall the car is in excellent condition and unmodified aside from some of the atrocities committed by the servicing dealer. It was fitted with a new SC last year; so the biggest failure mode has already been addressed. I don't know that it needs a build thread, but I'll add interesting content here when it seems necessary.
In much more exciting news, I convinced the wife to fly to NC for thanksgiving, so I can drive the mini down. Generally we drive down as a family in the Volvo and make it a two day trip each way. She's going to make the two hour direct flight with the kid, and I'll make the 12 hour drive with the dogs and luggage in the mini. I had so much fun back in 2018 with the mini that almost any length road trip is worth it. I began the prep-work by installing a like-new R53 exhaust that was temporarily donated by lurker wmcoons. After dealing with a pretty loud exhaust all summer; I knew I wouldn't survive the trip without a change. Not wanting to sink too much money in a rust-bucket, this seemed the best option. In about 2 hours total I had the old exhaust removed and the new fitted and test drive complete.
Can you tell which is which? Also can you tell what is missing from the removed exhaust? Rust is the worst
All done!
Next up is to do a dry-run packing to make sure all luggage, tools, and animals will fit. It's gonna be tight.
I realized it might be wise to replace my brake lines. Going all in 8 days before we leave. Wish me luck. 25ft of ni-cop line, a few dozen fittings, and new rubber lines going to each caliper.
Oil is changed. All windows are rain-xed. Fluids topped up. I'm optimistic.
I could probably fit 4 mini's in my one car garage stall.
Great build! And good luck on the trip! I had to redo the brake lines on my '03 and it was laborious, but not hard if you have the right tool. Hardest part was correctly flaring the ends to fit with my cheaper flaring tool.
Great build! And good luck on the trip! I had to redo the brake lines on my '03 and it was laborious, but not hard if you have the right tool. Hardest part was correctly flaring the ends to fit with my cheaper flaring tool.
Thanks! I've had a lot of fun with this car and its been rock solid this year. I hope that continues!
I've already got the rough shape of 2 of the 3 lines I need pre-bent. I did the entirety of our Lemons car with Ni-Cop years ago and a cheap flaring tool. It's a little bit of a PITA, but once the technique is learned it's pretty easy. My biggest fear is running the ABS/Master Cylinder dry and having to bleed that. I've got a cable on the way and hopefully I can finaggle my way through the software to bleed the ABS. I'm not too worried about installing the actual lines themselves (aside from being able to remove the existing lines from the calipers). I hate rust.
 12-14-2017, 06:10 AM