When you click on links to various merchants on this site and make a purchase, this can result in this site earning a commission. Affiliate programs and affiliations include, but are not limited to, the eBay Partner Network.
This is shaping up to be a proper build thread! Cool that you've done a lot of the work yourself. I am also wanting to put Powerflex LCA bushings on my car, but I'm afraid of the install. I like to do everything myself as well.
Thank you for the compliment! I promise it is much easier than it seems. Dropping the sub frame and doing the LCA bushings was less of a head ache than you would think. Pelican has a great tech article on it to help anywhere that you might get held up along the way.
If I can assist with anything I've done along the way don't hesitate to ask.
P.S. - If I had to do it again I would just get the pre-pressed brackets/bushings. It ends up being cheaper after the refund and it saves you the time of having to take them to get pressed out/in.
So if I get them pre-pressed, all I'll need are hand tools and jacks? How long did it take you? My MINI is my DD, so it can't be out of commission for more than a weekend.
Would you recommend the sway bar end link bushings as well?
It would be much easier with at least a good impact for the heftier bolts but with a good breaker bar I don't see why you couldn't do it with hand tools. Like you I drive mine daily so it can't go down on me. I start jobs I've never done before on Friday night if possible to give me as much time as possible if something does come up. Just an idea.
If I had the pre-pressed bushings and not had to tend to our newborn quite a bit then I would guess it would've taken 4-6 hours maybe but that's just a guess since I couldn't go straight through.
As for the end links they come as a whole new end link, so no need for bushings. That's on my list since mine are shot as well.
There are a few different companies that make a couple different styles of tools to press the bushings in and out of the mount while it's still bolted to the car. I do highly recommend if it's not already been to replace ball joints while you have control arm off. If the bushings are shot then joints are prolly not far off.
I would definitely agree with replacing the ball joints while you're at it. Having the sub frame out gives you access to a lot of areas that are otherwise extremely annoying to get to.
I replaced bushings and ball joints on both sides on jack stands, it's not impossible other nearly as hard as people say without dropping the subframe. I've been told the sway bar bushings can be done without dropping it also but I'm not so sure about that one.
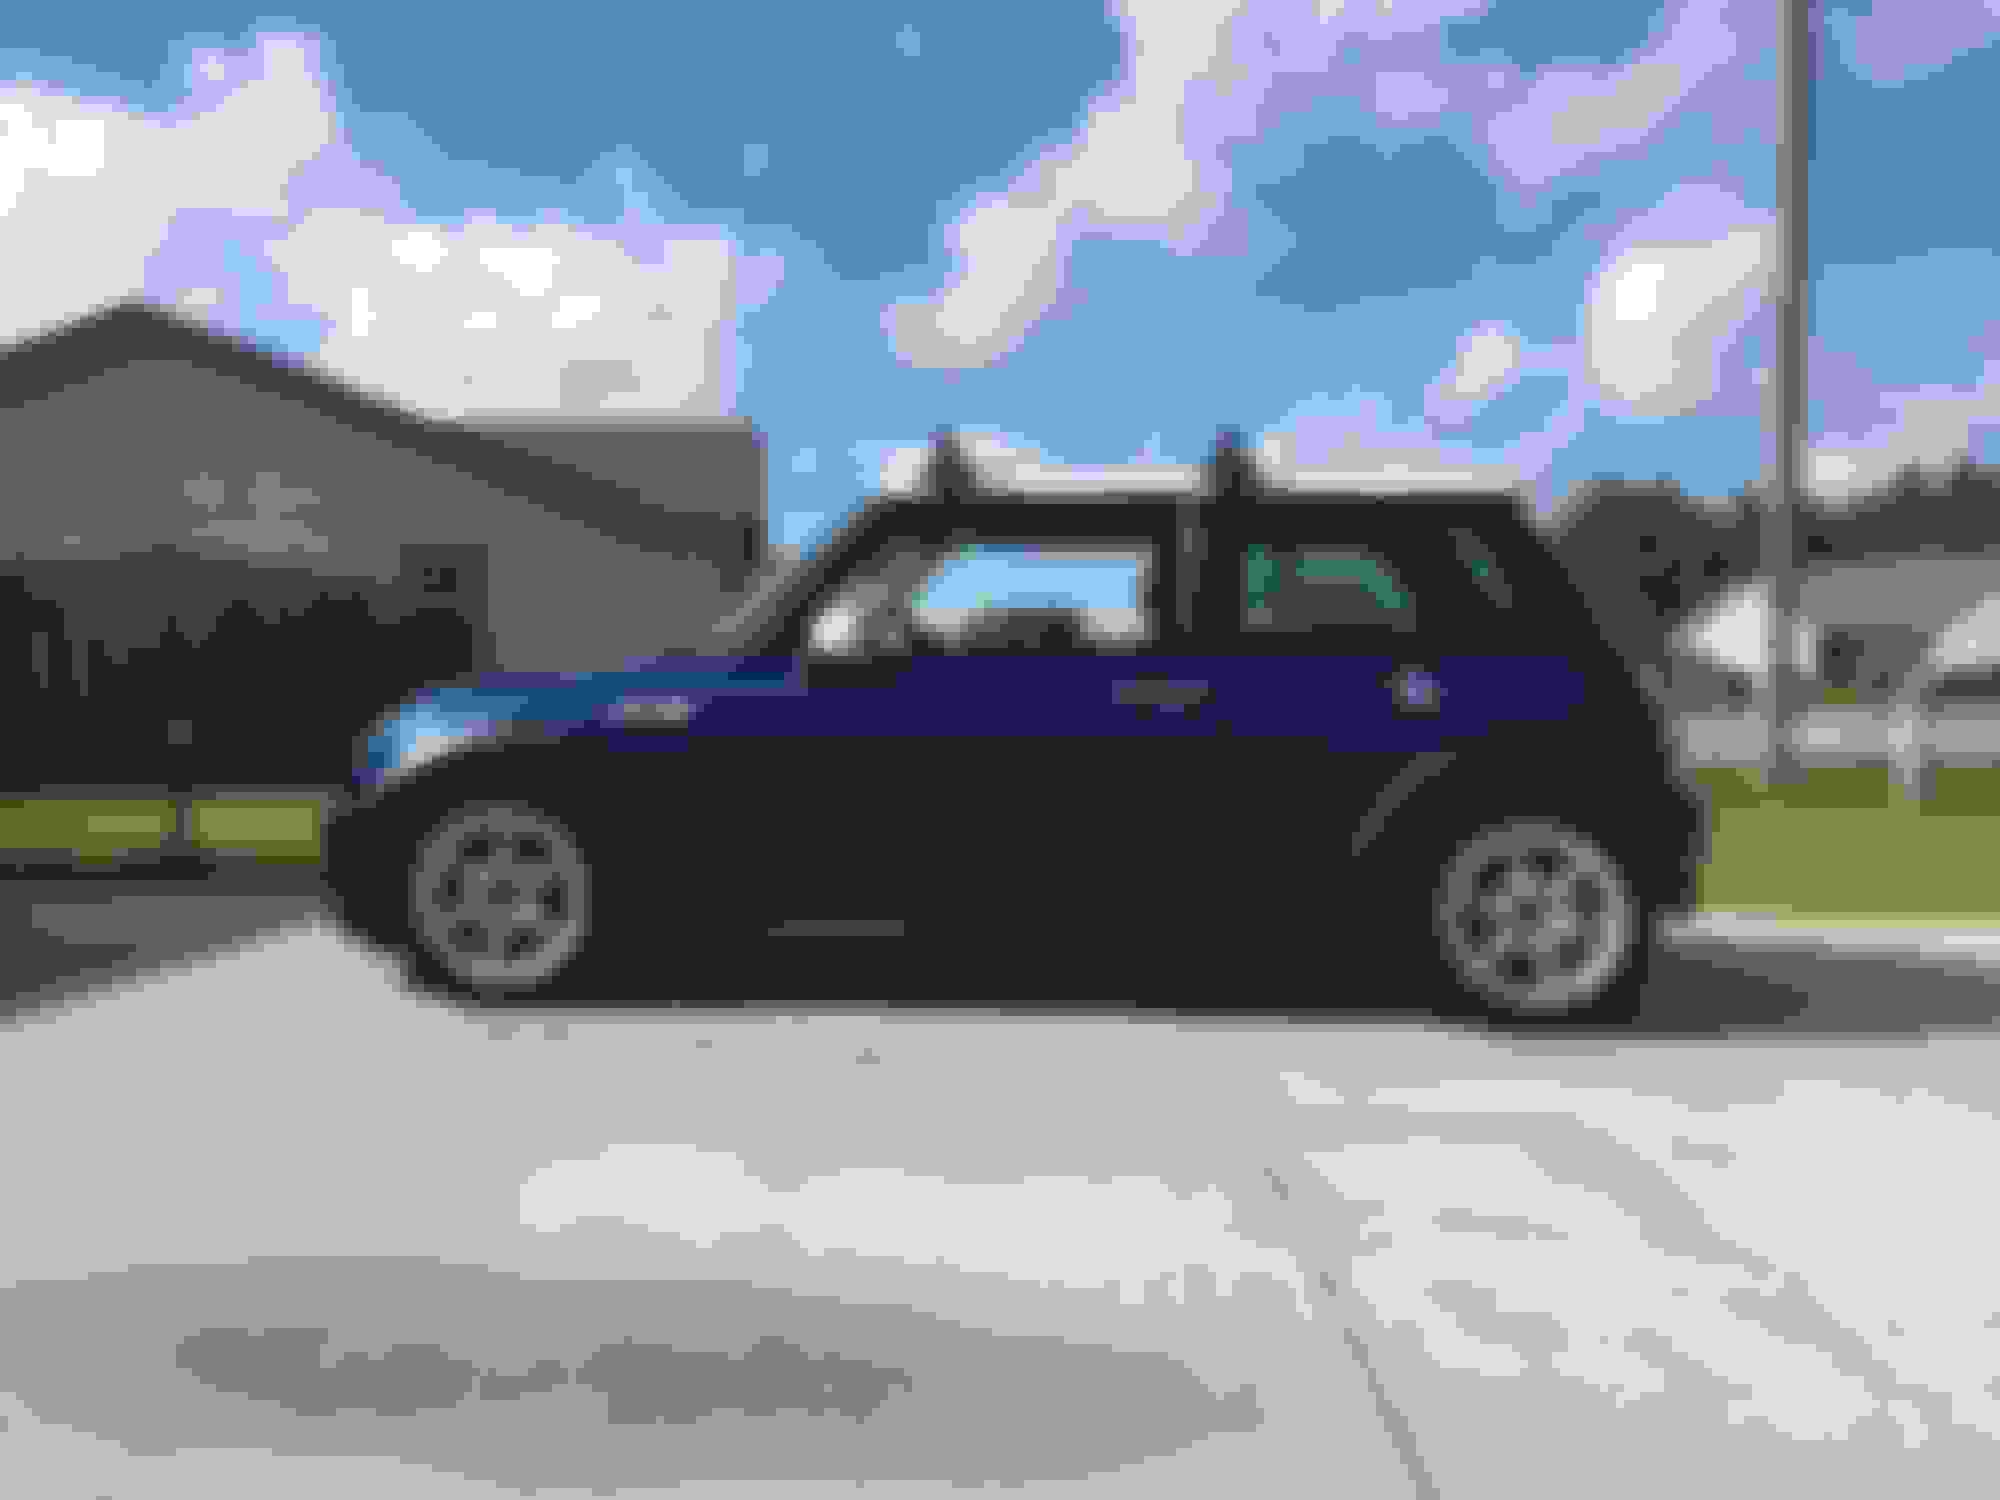
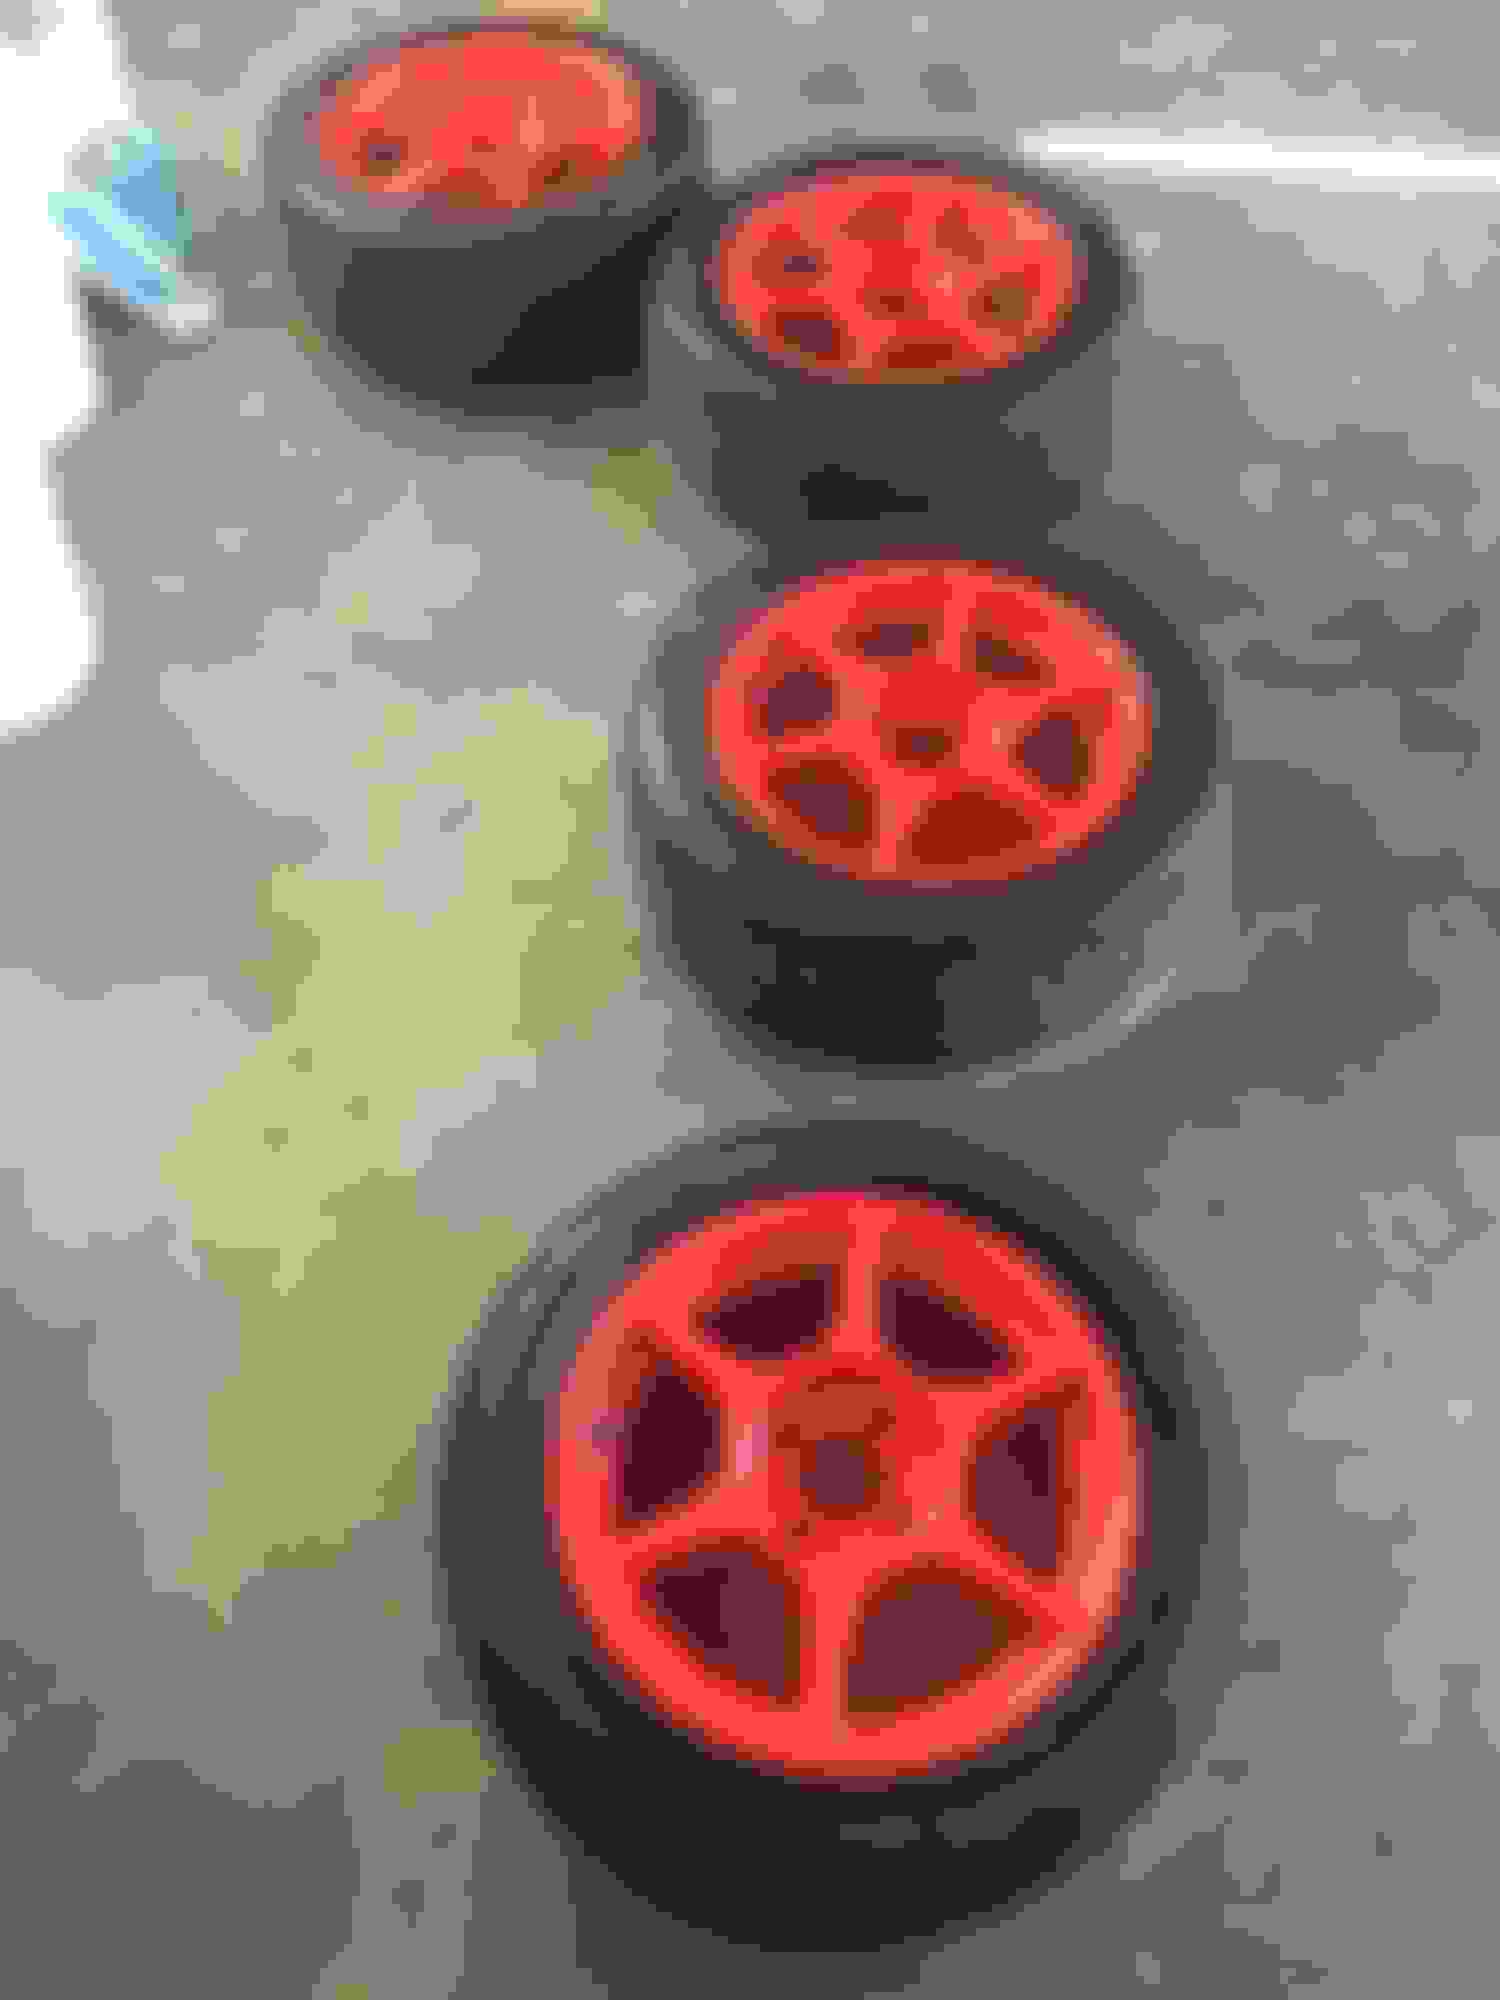
Been a while since I've updated so I suppose it's due. Got a set of Kosei k1 Racing 15x7's for autocross wrapped with Falken Azenis RT615K in 205/50/15 from a local NAMer right as I was about to buy a set brand new so definitely a win. I also decided that the silver might be a bit boring so I went with a red/white/blue theme.
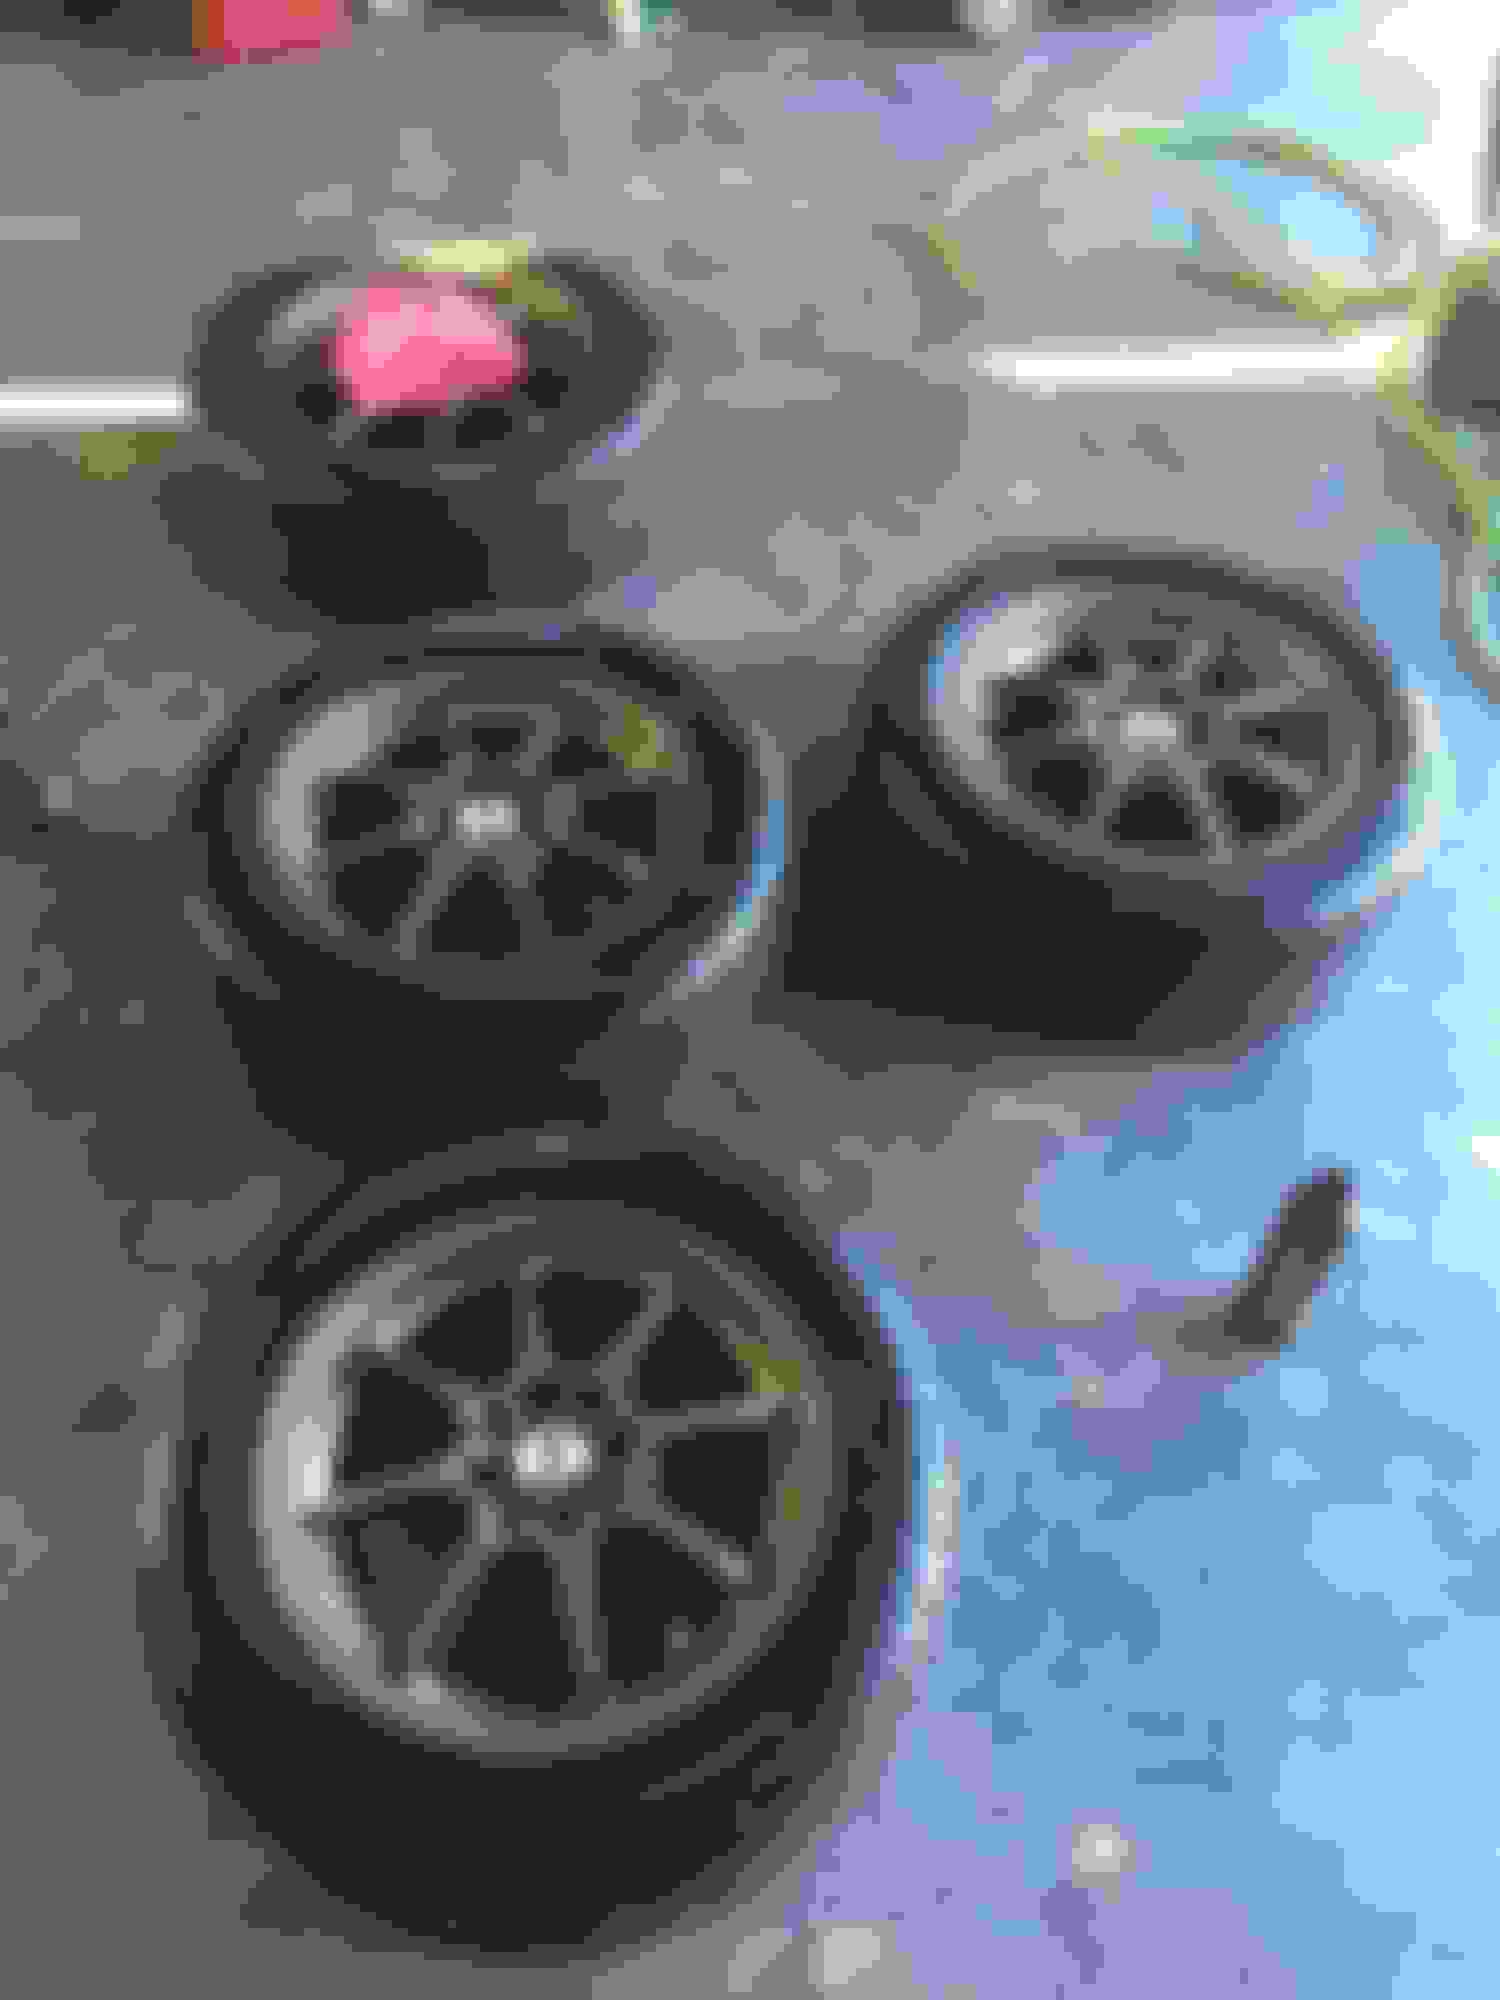
I also got some bronze Konig Helium 15x6.5's with 195/55/15 Dunlop Direzza DZ102's. Rather than stick with the stock lugs I also grabbed some extended studs from Helix. Quality stuff from them as always.
Got a WMW strut tower brace too but I forgot to take a pic. I think everyone has seen a strut tower brace before but if someone wants to see it I'll snap a pic of it. Anyways on to the pics.
Kosei K1 Racing
Had to go for the red/white/blue.
Tiny bit of tripod action.
Helix wheel stud kit. Quality stuff and wayyyyyyyyy better than the stock system.
Sealed up the wheels first.
I a bit worried about wheel gap and overall fitment going with 15's and 55 series tires but after putting them on I couldn't be happier with how it turned out.
Not too much done as far as progress goes but I figured I would post a little update on the few things I have done.
First up is the issue with the lip on the front bumper cover being about 2 inches lower than the rest of the car which was really annoying since there's a spot on my drive to work that it would scrape every morning. Anyways here it is going in to surgery.
And afterwards. Just that little bit off has solved about 95% of scraping that I was running in to.
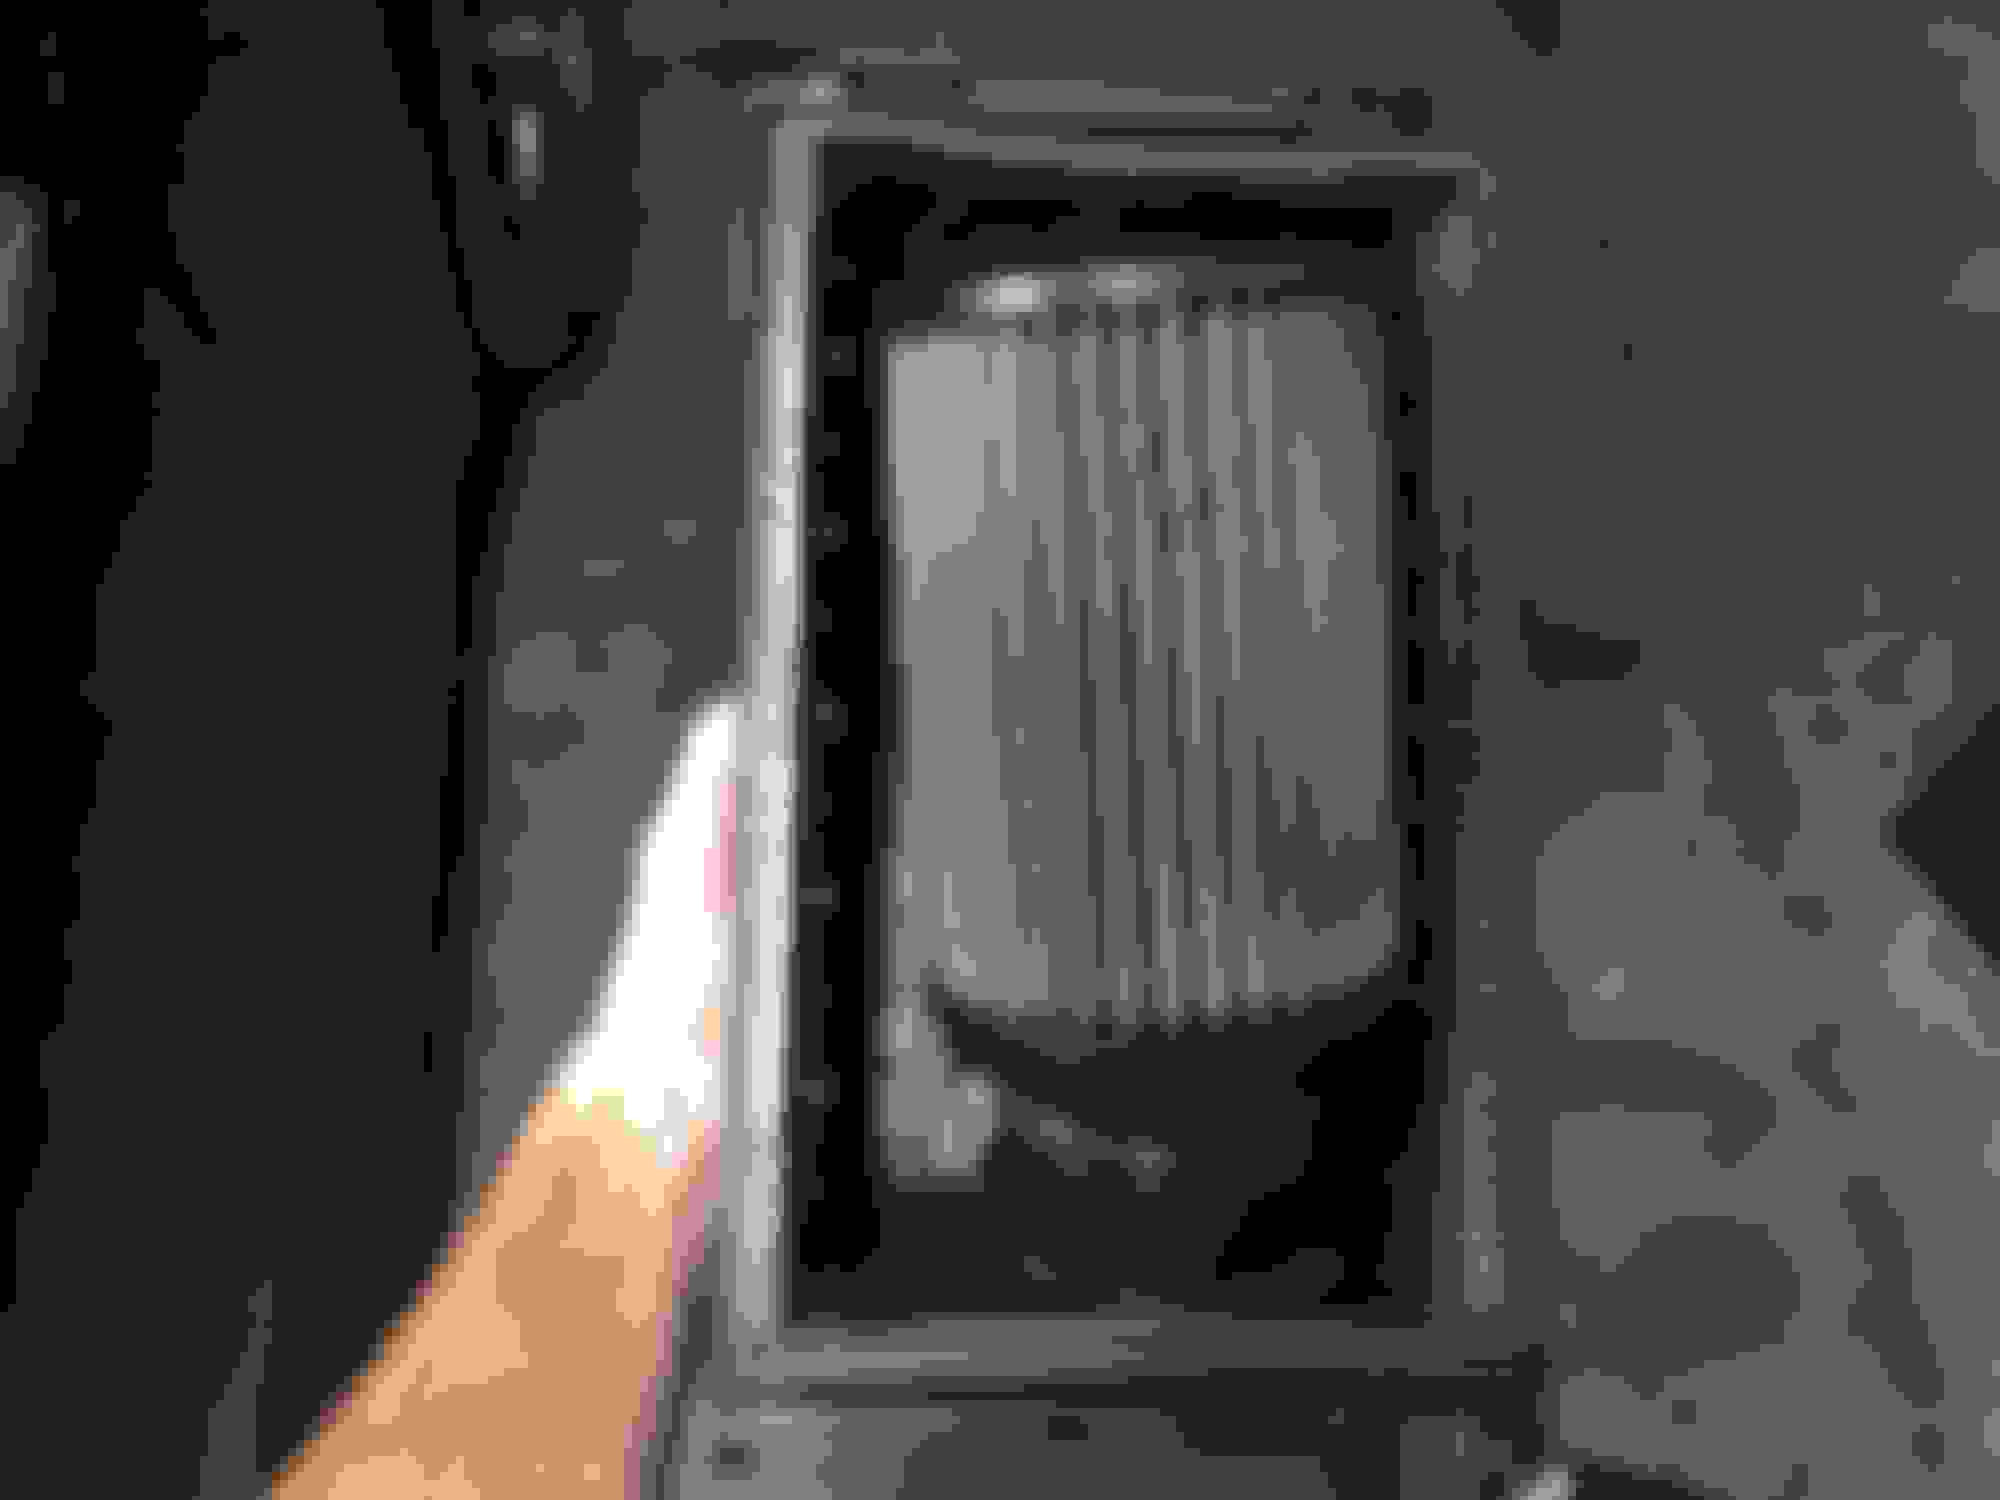
Next up, I wasn't getting any heat at all so after some research I figured it might be that the heater core was clogged. After a bit of a mad scientist setup to flush just the core I did so and ended up with what you see below. Problem fixed and all is well now.
The last thing is a modification for the OEM air box that I've been kicking around for a while now and finally gave it a go. For reference I had already done the modification that another member had up in the how to forums to convert the OEM intake over to using a pod filter and opening up the air flow a bit. I just expanded on this idea and opened up the flow even more. I can go more into detail if anyone is interested but it's definitely not for the feint of heart when it comes to hacking into your stock equipment, which I had already done anyways.
All of the modification is done on the cover as you can see. It's basically a box that goes to the firewall to grab some of the "cool" air from below the driver side vent, but I aimed to stay above the brake lines that are running there to give as much flow as possible.
For sealing it up since I don't have the panel filter anymore I gutted out the K&N panel filter that I had for the rubber gasket on the outside of it. I'm sure there are cheaper alternatives but it came with the car and was useless otherwise. If I didn't have it I would just use what I used for the box-to-car gasket probably.
When it's installed it's not that noticeable which I like. No one even knows anything is done unless I tell them usually, at least with the older version. This one may be a bit easier to spot to a more experienced eye.
A quick look at how it fits up to the firewall.
The gasket from the box to the firewall is a working prototype. It's only double sided taped on since I didn't really know how it would work out. I think I'm going to change it to one solid piece and glue one side at a time to give it a better seal all around.
That's all for now. Got an LSD off of Bahman here on the forums so I'm hoping to get that in before he next auto-x season if I don't get moved before then. He's very professional to deal with so don't be to shy to grab stuff from him if you get the chance.
Second version of the gasket. I adjusted the angle on one side to account for the angle in the firewall so now it seals up to the firewall all the way around to hopefully keep as much of the engine bay heat out and from interfering with the cool air coming in from the outside.
I still want to clean it up further by possibly cutting slits in the back of the gasket so it fits around the inside and outside and can meet up evenly. Going to see how this holds up for now though.
Thank you, they're +38 if I'm not mistaken. You need hub rings but no spacers unless you want them to poke out some. Definitely a huge difference driving with these being that they're 13.5lb's a piece and the stocks are 20+.
Around the same as stock if I remember correctly. They're my auto-x wheels so I only have them on every once in a while. But as far as the speedo it's off by about 1-2mph at 25 and about 4-5mph at 55.
If anything it made the supercharger whine a bit louder so I can't really hear the intake all that much. I'll have to actually pay attention next time I drive and see. I keep meaning to get some clips together for my exhaust and one vantage will be in the cabin so maybe you can get a good idea of the whine/intake/exhaust noise are like.
Finally got everything together for my clutch/lsd job, just gotta make time to do it eventually. I have been tinkering around with little projects though so I figured I would share a bit.
I've been toying around with making my own air intercooler air diverter for a while now and have just finished the my first version of it. Obviously took some cues from the popular designs, just wanted to make my own since it seemed to be more fun. I tried to upload the process but apparently have reached my upload limit on my albums. Oh well though, got a couple of pictures of the final product.
Definitely need to use some thicker metal next time. Definitely learned a lot about making things out of metal, even with such a small project.