When you click on links to various merchants on this site and make a purchase, this can result in this site earning a commission. Affiliate programs and affiliations include, but are not limited to, the eBay Partner Network.
The MINI is being retired from daily duty. I have been encouraged to get a motorcycle by a coworker for the past few months, and I found a good deal on a great bike last week.
It's a 2008 Suzuki SV650A with ~5100 miles. Owned by an older lady whose husband owned several bikes. I assume they didn't ride this one very much. It's in great shape, but the tires are original. New Michelin's and an oil change will be the first items on the ticket.
I love my MINI and I'm hoping I can use the bike to keep miles off it and give me more opportunity to work on it. I think the bike will also help me appreciate the MINI more, and worry less about trying to make it go faster.
I love road bikes, but I cannot let myself to get on one on public road. On the track is much safer. I had my shares of risk taking in my youth and I would say I survived. In this era riding bike on the road is riskier. Most car driver simply do not see your bike while they appear to look in your direction. If in doubt slow down.
Today I took Mini out for a drive and came upon this Moto Guzzi shop that just sprung up. In there are lots of Aprillias. I always like MV Agusta.
Little update. Did an oil change with Liqui Moly 5w30, the "Longtime High Tech" variety. Also wanted to try some oil additives so I used Liqui Moly's engine flush before draining the oil and their anti-friction coating when I refilled it. I was not expecting much of a difference, but I really feel that the motor is smoother, especially at high RPMs. I can casually accelerate to 6500 RPMs in second gear and there is no vibration from the engine. Just sat at 6500-6600 RPMs for a few seconds in second gear and it was pretty amazing how smooth it was. I do think the additives made a difference.
Also installed ECS's strut tower plates. Took longer than I anticipated because I made the mistake of allowing the strut mount studs to fall underneath the tower. Had to jack the control arm up at the outer ball joint and finesse the strut/mount with my hands to get it lined back up again. It seemed like I had quite a bit of mushrooming as well. Spent 10-15 minutes per side hammering the towers with a wood block and dead blow. Didn't turn out perfect, but the plates are fairly flat. They look good in silver. I'll take some pics later.
Couple of minor things to report. I got the OEM anthracite down tube cup holder for Christmas, so I installed that last month. My aftermarket radio doesn't have threads for the top screws of the down tubes (which the cup holder uses) so it's not held super tightly to the down tube, but it's good enough. It really clamps down on drinks, I'm impressed.
Also replaced my driver's side mirror gasket because the old one had fallen apart at the bottom. Really easy to replace those. Just twist the mirror left and right to access the torx bolts that hold the mirror to the body and pop it off. New gasket just needs to be worked around the perimeter of the bottom of the mirror and it's good to go.
Last of the minor updates is that I replaced my interior mirror as well. The old one had some kind of hard spots that felt like they were interior to the mirror. Got another manual dimming mirror from Allmag. Another easy job; just twist the old mirror off and twist the new one on.
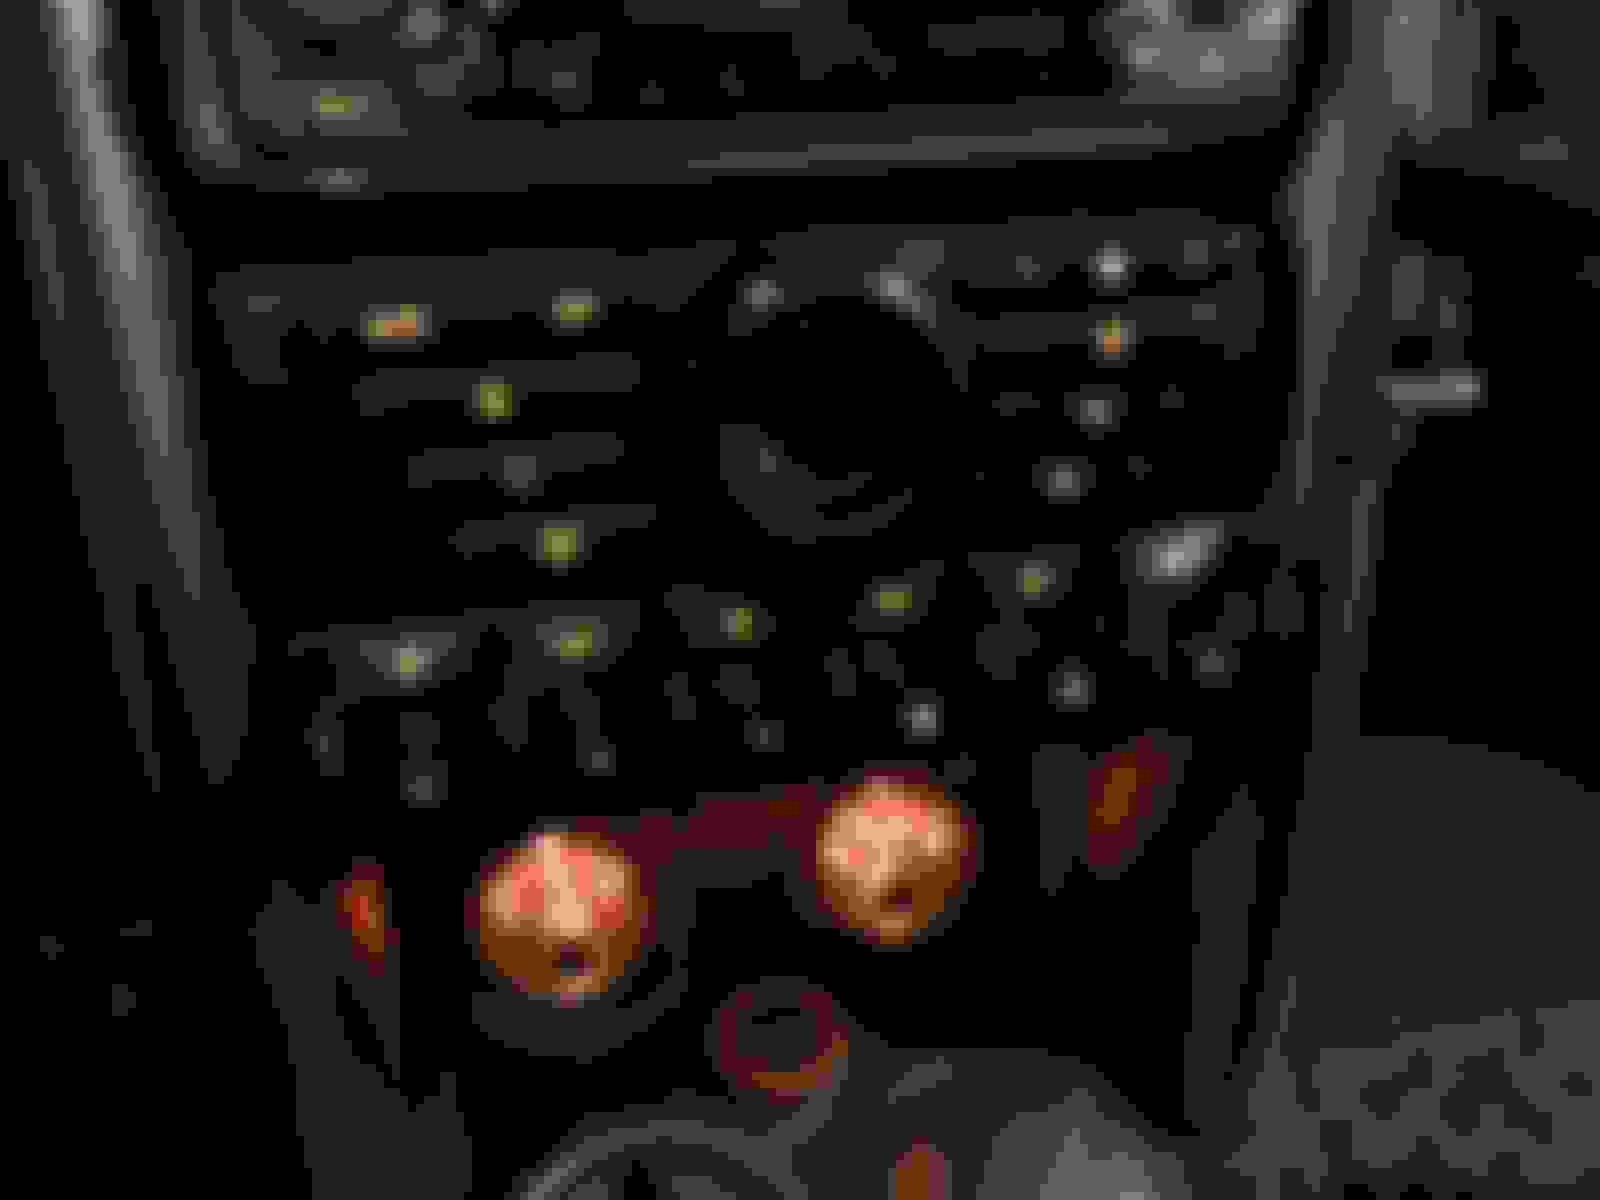
A little bit more exciting is that I got a new toggle bank. My car has DSC and front fogs, but like many other U.S. spec cars, no rear fog toggle. I've been wanting to fill that gap for awhile. Some research I did awhile back indicated that almost all R5x cars were pre-wired for rear fogs - even including the bulb in the housing from the factory - but most did not have the option and retrofitting the toggle bank may require some coding. So I was making my rounds on Allmag last week and noticed they had recently acquired the very same toggle bank I needed. DSC w/ front and rear fogs; the full toggle bank. Got the toggle bank in today and did need to use NCSExpert to enable the rear fogs through my BC1. Works just fine and has a nice little amber LED to contrast the green of the front fog toggle. Looks nice.
And for those curious, here's how my bike is looking now after a few mods of its own:
Everything, Mini and bike, are looking pretty darned spec! Would love to do the full toggle set on our Mini... really dislike that missing rear fog toggle look.
Pretty amazing to be bringing the bike out like that. Up here in Maine, we're still fighting the snow and ice. Actually getting some lovely freezing rain right now. It's only the 5thrain event since January 1st of this year. Not supposed to happen like that, ruins the quality of snow skiing and makes driving a headache. Not my favorite type of weather this time of year!
Keep up the good work... plus making this New Englander jealous.
Thank you! It certainly is nice to fill up that spot and the rear fogs do look good themselves. Nice and bright.
Yeah, it has still been pretty cold here as well, but I'll ride as long as it's 25 degrees and up (and not raining or snowing). I hope your weather improves soon!
Another facelift set of items arrived the other day from Allmag! Xenon headlights! I also realized that the LEDs I bought many months ago to replace my high beams do actually fit. The heatsink wouldn't clear the retaining clip. When I was putting in the new headlights, I re-checked those LEDs and discovered that the base is actually removable; you are meant to install the base separately and then lock the bulb into it. Installed those along with re-enabling my DRLs and disabling the North American spec for the fog lights, meaning that the fog lights will now stay on even with the high beams. The car throws a lot of light now with all the LEDs in the front and the high beams are especially excellent.
A labour of love. Nice to see your other vehicle too. My last motorbike was a Suzuki also. Bikes are so easy to work on. The small LED on the fog light toggle switches are classy.
A labour of love. Nice to see your other vehicle too. My last motorbike was a Suzuki also. Bikes are so easy to work on. The small LED on the fog light toggle switches are classy.
I'm so pleased with the bike. The LEDs on the toggle switches are indeed classy, I like looking at them.
Also forgot to mention that I finally fixed my A/C. It did turn out to be the compressor clutch coil. The job actually went as planned for once. I could take the compressor off the car to make it easier since I had already evacuated the system a few months ago when I initially diagnosed it. Just had to ratchet the motor rearward a bit with the dogbone disconnected and then I could get at the compressor bolts easily enough. Disonnected the wiring and A/C lines coming from the compressor and took it out. Just a torx bolt and two snap rings later and I had the coil off and replaced. Recharged the refrigerant and the A/C blows down to about 46 degrees.
I'm curious if anyone else has checked their temperatures at max cold with the blower set to 1. I feel like modern A/C systems using R134a like the MINI should blow in the 30s. 46 seems pretty high to me, but I think its always been that way.
II'm curious if anyone else has checked their temperatures at max cold. I feel like modern A/C systems using R134a like the MINI should blow in the 30s. 46 seems pretty high to me, but I think its always been that way.
I get down to between 40-42F. Car feels plenty cold.
I'm curious if anyone else has checked their temperatures at max cold with the blower set to 1. I feel like modern A/C systems using R134a like the MINI should blow in the 30s. 46 seems pretty high to me, but I think its always been that way.
Clearly you have auto AC. I would not test the AC in winter as the processor would likely don't want to turn on the AC full blast at low ambient temperature. Even with manual AC, some cars simply disable the compressor clutch.
Another facelift set of items arrived the other day from Allmag! Xenon headlights! I also realized that the LEDs I bought many months ago to replace my high beams do actually fit. The heatsink wouldn't clear the retaining clip. When I was putting in the new headlights, I re-checked those LEDs and discovered that the base is actually removable; you are meant to install the base separately and then lock the bulb into it. Installed those along with re-enabling my DRLs and disabling the North American spec for the fog lights, meaning that the fog lights will now stay on even with the high beams. The car throws a lot of light now with all the LEDs in the front and the high beams are especially excellent.
Time for another little update. In the last few months I've replaced the belt trim pieces at the rear hatch glass and driver's side rear glass. I think the seals were disintegrating on them because every time I washed the car, black dirt would wash out from underneath them and would never stop. Pretty easy to replace them; you can just pop them out from the body with your hands by pulling the edges away from the car. They're held in with little ratcheting clips.
I also wired in a D1 Spec throttle controller yesterday. It's basically a Sprint Booster. Allows me to set the sensitivity of the throttle so there isn't so much delay when hitting the gas. I was actually a little surprised that it didn't feel like a huge difference at first and I have it turned all the way up to SP9, the maximum sport setting. However, with some more driving I think I will notice it more. I can certainly tell it makes rev match downshifting easier. As for install, I had a little bit of a tough time with it but that's my own fault. The D1 comes with the throttle position sensor harness adapter that you plug in-line at the accelerator pedal and two loose power and ground wires that need to be spliced in somewhere. Also had an extra connector with 3 more wires, but a thread on NAM said they didn't do anything, so I removed those. The power/ground took me a little while to splice in because I didn't have good taps and they wouldn't cut the wires. Ended up using some PosiTaps I had at work (which are great) and now it works fine. I used the OBD power pin and a ground from the driver's footwell light. Tucked the modules up behind the radio next to the knee bolster. Didn't zip-tie anything but I did tape the wiring from the accelerator pedal to the footrest to keep it out of the way of my feet.
Still dreading the clutch job, and its been over a year since I've bought parts for it. The clutch kit is literally rusting in my garage along with the LSD. I've bought a couple more parts to do with it as well. Here's the full list:
- Valeo SMF clutch kit (sprung clutch disc, pressure plate, single mass flywheel, flywheel/pressure plate bolts, throwout bearing)
- Quaife LSD
- OEM guide tube w/ bolts
- FTE clutch slave cylinder
- Clutch release fork bushings
- Clutch release fork bolt
- Corteco input shaft seal
- Corteco axle seals
- Fel-Pro rear main seal
- Victor Reinz S/C profile gasket
- Fel-Pro throttle body gasket
- OEM oil filter housing gasket
- OEM oil cooler line gaskets
- OEM power steering return line
- OEM water pump w/ o-rings
- OEM thermostat w/ gasket
- OEM updated bypass valve
- Helix short shift kit
- Ireland Engineering fixed camber plates
- GM S/C oil for supercharger service
- Redline MTL transmission fluid
- OEM coolant (needs dilution)
- Pentosin CHF11S power steering fluid (OEM)
This has been my favorite read of the day! I quite admire your wrenching skills and MINI passion (maybe not in that order). How I wish that you were my MINI mechanic.
This has been my favorite read of the day! I quite admire your wrenching skills and MINI passion (maybe not in that order). How I wish that you were my MINI mechanic.
Yup,
Monkeyjuice
ps. that bike looks wicked...
Haha, I wish I had a mechanic to do this stuff. That's why I'm still dreading doing the clutch; because I know I have to do it myself and it scares me. Thank you for the kind words!
Replaced the supercharger bypass valve and throttle body gasket yesterday and today. Haven't noticed a yo-yo, but the car has had a fluttering/whistling noise that I've probably always had. Would have been pretty simple if not for the intercooler horn binding on its bottom stud and a vacuum leak I realized I had when I reassembled and started the car. The way Mod Mini and Detroit Tuned tell you to take the horn off is by pushing down on the supercharger duct while wiggling the horn off the studs. This is absolutely the wrong way to do it, at least for me. I tried that for like 30 minutes and just got really frustrated. The horn kept binding on the bottom stud because I couldn't pull it off straight by hand. It wants to lean down since its connected to the supercharger duct. Not only that, but pushing on the duct is what probably caused the MAP sensor vacuum line to pull out of the duct, which was the source of my vacuum leak I had when I put everything back together. The right way to do it IMO would be to support the duct with one hand and stick a sturdy screwdriver through the top of the horn and prying on the bottom with it so it comes off straighter. Came off in seconds when I took it back apart.
Replaced the supercharger bypass valve and throttle body gasket yesterday and today. Haven't noticed a yo-yo, but the car has had a fluttering/whistling noise that I've probably always had. Would have been pretty simple if not for the intercooler horn binding on its bottom stud and a vacuum leak I realized I had when I reassembled and started the car. The way Mod Mini and Detroit Tuned tell you to take the horn off is by pushing down on the supercharger duct while wiggling the horn off the studs. This is absolutely the wrong way to do it, at least for me. I tried that for like 30 minutes and just got really frustrated. The horn kept binding on the bottom stud because I couldn't pull it off straight by hand. It wants to lean down since its connected to the supercharger duct. Not only that, but pushing on the duct is what probably caused the MAP sensor vacuum line to pull out of the duct, which was the source of my vacuum leak I had when I put everything back together. The right way to do it IMO would be to support the duct with one hand and stick a sturdy screwdriver through the top of the horn and prying on the bottom with it so it comes off straighter. Came off in seconds when I took it back apart.
Interesting... That does not sound like much fun. Frustrating when you spend a bit of time on something that ultimately does not work out. Only to find another way that accomplishes that goal in seconds/minutes.
Interesting... That does not sound like much fun. Frustrating when you spend a bit of time on something that ultimately does not work out. Only to find another way that accomplishes that goal in seconds/minutes.
That�s pretty typical of my work with this car. It�s actually perfectly fine to work on, especially given the compact packaging, but I always manage to break something or run into a frustration. I was just happy to not have to replace anything when I took it back apart.
That�s pretty typical of my work with this car. It�s actually perfectly fine to work on, especially given the compact packaging, but I always manage to break something or run into a frustration. I was just happy to not have to replace anything when I took it back apart.
Very true! it drove me nuts when I had mine all a part in Aug-2016. So many plastic coolant parts/connectors, that when you are moving around or putting back together, something dies (at 12-14yrs old) so now you have to stop. Pray that the local stealership has the part in stock, go down, get it, come back and continue on... Only to wonder if there is another gem/bomb waiting for you before you are complete.
There are times that the wife mentions the idea of maybe selling out Cooper but, like you said, I know my way around it now and its fairly easy to work on once you understand it and the process.
Also very nice to have access to OEM parts diagrams at realoem.com and plenty of good vendors around.
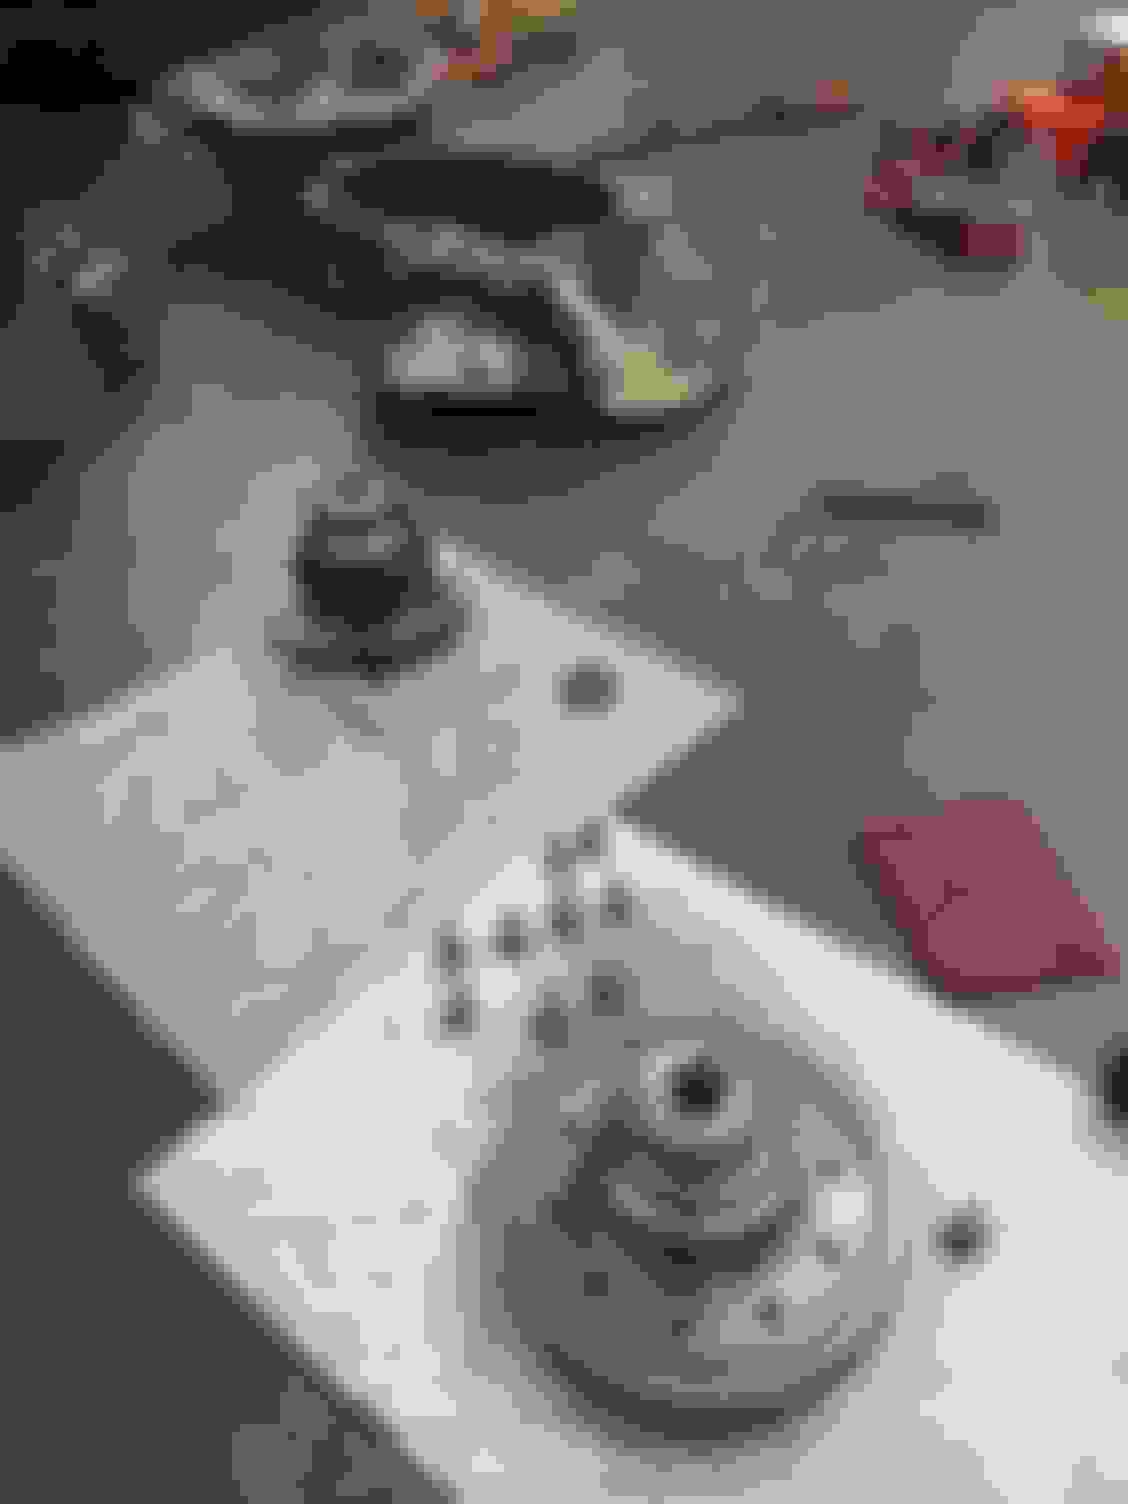
Well, the clutch job has finally begun. Spent 9 hours after work on Saturday getting the transmission out and the LSD installed. I had some help from a coworker for the first couple hours. Watching the parts pile up makes me very anxious and I'm not looking forward to putting it all back together. However, I don't believe I've broken anything yet and that it is honestly pretty surprising given my past record. Prying the ball joint ends of the shift cables off their mounts on the shift linkage was really tricky and I did tear through about half of one of the ball joints. I just hope enough is hanging on to keep working. Besides that, all the wiring on top of the transmission gave me a lot of trouble. Despite all of it being disconnected from the transmission, something was really resisting me when I went to pull it off the engine. What's worse is that I never found out what it was. I had the case a full 2 inches away from the engine and was still having to wrestle it around and raise and lower the jack to get it off. Just a huge hassle that I'm sure will be much worse going back on.
The LSD was the fun part of the job. It's very straightforward on the Getrag transmission the R53 uses. Once you have the transmission out, you just need to remove the load of T40 bolts keeping the case halves together and on the plastic shift cable bracket. The case pries apart pretty easily, but I think I had a stuck dowel that made one side hard to get split. It's not a good idea to pry on the machined surfaces of the case, but I ended up needing to do that next to the dowel so I could get them apart. I don't think I damaged anything. Once the case is split, the differential just lifts out. You only need to unbolt the ring gear from the old diff and bolt it up to the new diff. Pressing the new bearings on the Quaife I'm installing was also very easy and then all I have to do is drop it back into the transmission, clean the transmission magnet, put some Permatex Ultra Grey on one of the case halves and bolt it back together.
Today I spent another 4 hours getting the transmission ready to go back on and replacing the thermostat. Also got the old clutch assembly off and the new one on. Had to scotchbrite the friction surfaces of the flywheel and pressure plate to remove the rust that had built up while they sat in my garage for the last ~18 months. Replacing the rear main seal was another chore. Prying it off wasn't so bad, although I did scratch the end of the crankshaft snout a bit in the process. Going back on could have taken 5 minutes, but I kept trying to get one side in and then tap the other side with a mallet to install it and it took me 45 minutes to realize that was not the best way of doing it. Ended up coating the outer edge in oil and just used my fingers to get the lip of the seal to go around the crankshaft snout. Once all the sides had gotten the lip started, I could then tap it in the rest of the way. Got the flywheel torqued down by using one of the chains from my engine support brace, a bellhousing bolt, and a pressure plate bolt. Installed a bellhousing bolt at the bottom of the motor and a pressure plate bolt in the flywheel and looped the chain links on it before torquing. Did a great job at keeping the flywheel from rotating while I torqued those bolts to 66 ft/lbs. I also want to make a note of the clutch alignment; I know it's probably common knowledge, but while the clutch alignment tool included with the clutch kit doesn't actually center the clutch since there is no pilot bearing on the end of the R53's crankshaft, it can be used to move the clutch around behind the pressure plate so you can still center it easily. You can visually check its alignment by peeking up around the circumference of the pressure plate to see where the edge of the clutch disk is in relation to the friction surface of the pressure plate. I think I got mine perfectly centered doing this, but we'll see when I go to put the transmission back in.
On the transmission I replaced both axle seals and the input shaft seal. Replaced the guide tube and the throwout bearing as well as the guide tube bolts and release fork bolt. Also wanted to replace the release fork bushings, but I couldn�t get the release fork off the shaft so I ended up just replacing the top bushing and lubing both with Sil-Glyde. Speaking of which, what greases have you guys used for this job? I wanted to lube the bushings, guide tube, release fork, and input shaft but I didn�t have any lithium grease. I guess that�s what you�re supposed to use. I hope the Sil-Glyde is okay, I didn�t use much.
I've still got to do the supercharger service, replace the water pump, replace the power steering return line, and replace the oil filter housing and oil cooler gaskets. Add that to putting the transmission back in and I've probably got a good 10 hours to go.
Glad to hear it is going well. Jealous you will have the LSD in and working! lol When I placed the order for my MCS back in August-2004 there was no LSD option. Once he went into production, the LSD option came out (extra $300), I hunted down my sales man and inquired about adding the LSD. He checked and returned with a "no, its too late". DA** it! Just missed... so frustrating.
Curious to see what you think of it when everything is back together and you are rolling again. Lots of hours in... but you are saving a ton of money... (almost literally)
Now that I think of it... today is the day he was dropped off in Phoenix and I drove him home 14 years ago. eek.
 12-03-2017, 04:21 PM