When you click on links to various merchants on this site and make a purchase, this can result in this site earning a commission. Affiliate programs and affiliations include, but are not limited to, the eBay Partner Network.
Installation of Precision Power i450.1 PPI Ion Series 450 Watts Class D Mono Block Amplifier
& Pioneer 10" Loaded Shallow-Mount Car Subwoofer Enclosure in Trunk Area for a 2016 JCW 2DR HB
Tools Needed:
Panel Removal Tools
A Fish (a real one, not a coat hanger)
Socket & Ratchet, wrench key (to disconnect power from Battery)
Large flat screw driver �”-1” wide (to remove cowl panel, held in place by plastic plugs) 3/8” – 1/2" thick drill bit (whose shaft is at least 9 - 12 inches long, in order to reach in a tight place, where the drill head will not fit)
Battery operated Drill
Sharp Xacto Knife, wire strippers, wire cutters, soldering gun, solder, flux, electrical tape, black cotton hockey tape, tie wraps, wire end terminals, Philips Screw Driver (some of the stuff will fall into the logical and common sense, and other stuff you will understand once you get into it. I.E. tie wrap to secure 8 gauge power cable – logical. Black Cotton Hockey tape because that is what the Harman Kardon wiring harness uses – once you get into it you will see why)
Parts Required:
8 gauge Power cable (12’-18’ long). You may want 4 gauge, but use common sense (do you really need it)
8 gauge Grounding cable (12” to 18” long)
10 gauge Speaker cable (36” – 48” long)
Split loom 3/8” - 1/2” size
4-8 Gauge Fuse Holder
60 amp glass style fuse
Pioneer 10" Loaded Shallow-Mount Car Subwoofer Enclosure
High Speaker Level converter to RCA output
Precision Power i450.1 PPI Ion Series 450 Watts Class D Mono Block Amplifier
Step ONE Planning: Level of Difficulty Average.
The deciding factor is getting hardware that adapts well to the JCW F56 in terms of ergonomics, size, and spacing. Common sense should dictate over cost. If you are trying to integrate something big, powerful and perhaps unpractical, you will have more difficulty in integrating into the Space. I purchased a compact yet powerful subwoofer amplifier, and found room on the back side of the protruding wheel well opening (it was secured in place with a nut to an existing bolt shaft).
I decided to run the 8 gauge power cable along the same side as where the car battery is located.
The amplifier came with (I wanted this flexibility) a bass volume control **** that can be adjusted from the driver’s seat (music is variable due to recording qualities and type of music, hence so should the bass levels).
I chose to run the cable from the rear driver’s side panel out to the rear seat drivers side panel. From there, I tucked it under the rear carpeting underneath where the rear seat bench secures in place. Along the rear seat carpeting area, and the center console, driver’s side (tucking under the console trim that runs along the driver’s side seat) from front to back.
Step TWO Disassembly: Level of Difficulty Easy.
Disconnect Car Battery (Ground Terminal). Disassembly of the panels to access the battery is pretty straight forward. You will require ratchet and sockets of various dimensions, Large flat screw driver 1” to remove the flush plugs, and even a wrench (to access the ground nut in order to remove the ground from the battery terminal) to loosen the recessed negative battery terminal nut.
The various Panel Removal Tools come in handy to remove trim and trim plugs. I used the tools to remove the three trim plugs that hold the rear trunk side panel where the Harman Kardon amplifier is located. As well as the driver’s side rocker panel trim piece (if the plugs slide off the rocker panel trim, they are difficult to remove from the rocker panel without the trim removal tool).
I used my hands to remove the door sill panel on the driver’s side door (basically lift up, and most, if not all of the plugs that hold the sill to the frame should come right out. If they don’t (2 in my case) use the Panel Removal Tool to help pry them free (they slide back on to the door sill panel before reinstalling into place).
Use your hands as well to remove the rear seat in the rear passenger area (basically pulls right off by pulling up).
Step THREE fishing the power cable: Level of Difficulty Average.
It is so important having the right tool or parts for the job. A real fish makes a difficult task, possible. Having marginal tools makes difficult tasks time consuming and frustrating. I say this because fishing an 8 gauge power cable through the firewall area, where I passed it thru, a real pita if you are attempting to do this with something other than a fish. I chose an area (approximately 2 o’clock from dead center) slightly to the right and above the center area to pass through the Large Black Plug (found on driver’s side, and located to the right of the car battery).
Be careful, I drilled very slowly and just enough to puncture the hard rubber grommet so as to pass a 3/8” thick screw driver thru and check the internal perimeter. I then used my fish, and after 3 attempts I managed to get the fish to pass through and come out on its own into the driver’s foot area within easy reach. SUCCESS!!! The nature of most power cable shielding is flexible and tacky; you will mostly likely end up pulling the fish thru and having the power cable let go. *After taping your 8 gauge power cable to the fish, rub a bit of dish washing soap over the taped area of the fish and power cable. This acts as a lubricant.
Step FOUR passing cables: Level of Difficulty Easy.
I ran the power cable alongside the driver’s side and kept the power cable down low in the rocker panel area (between insulation material padding and rocker panel body).
I then proceeded to run the bass volume control (it uses a telephone cable male – male end plugs) cable, but before I did, I taped down the male connector so that the locking telephone jack would not be broken off while fishing throughout the vehicle. I started from the driver’s center console area, where my shifter is located, and tucked the cable underneath the center console from front to rear. When I got to the rear where the rear center cup holder is located, I decided to punch a hole underneath the center cup holder carpeting and pass the cable underneath that portion of the carpet. So as to fully conceal the cable as it passes underneath the carpeting and body panel that is hidden beneath the lower one piece rear bench seat.
Step FIVE Tapping High Level Speaker Inputs: Level of Difficulty Moderate – Average.
It was the part that I had the hardest time with, because of the nature of adapting MY hardware for my specific needs, to my F56 JCW. If you simply want to ADD a Mono Block Subwoofer Amplifier with RCA line inputs to a NON powered Subwoofer, then this is what worked for me. Tap into the BLACK / Brown, BLACK / Red twisted pair wiring. Even though the High Level Speaker Input converter uses a Left channel and a right Channel, you can use just one. I merged the two (Positive Left and Positive Right inputs and the Ground Left and Ground Right inputs into a single pair). This will be used to drive the amplifier while at the same time (my model amplifier does this) it also senses the line inputs to turn on the amplifier (doing away with the need to access a 12V accessory or trigger). If you do need a 12 Volt trigger (with a delay), use the single wire in the Harman Kardon amplifier harness that is solid Black (yeah, black is positive 12 volts).
Step SIX Checking and Adjusting: Level of Difficulty Easy
Check, check and double check before applying power to your amplifier. Once applying power to the amplifier (my model has a self checking and confirmation LED) confirm your voltages, and feel your amp (should remain cool). Turn on your Radio / Multimedia music and see if your subwoofer plays (my amplifier uses soft turn on) sound. Once you have sound, I turned the Music settings to flat (Bass and Treble) and proceeded to adjust the Speaker level to RCA Convertor levels. You want to try to have a nice even level of bass, bass feel and sound levels with the rest of your Highs, Mids and factory Low settings. Once that was done, I then went ahead and plugged in my Bass Volume Control Module (this over rides the settings that are found on the Amplifier adjustments) and now have a working reference to play with.
The sound is AMAZING. You now have that Feel and Sound of the Lower Frequencies that the Factory H&K Sound system simply cannot reproduce. You can go from the pounding bass, to the a milder rich filler bass. I listen to FLAC, Tidal, Pandora, Spotify, and the the adjustable bass volume control from the driver’s seat allows me to tune the bass at a touch of the ****. Very satisfying. Amplifier ran me about $140CDN, Misc. (power cable, fuse, connectors, Speaker level convertor to RCA) approximately $50CDN, and Subwoofer $150CDN. Most of the equipment was shopped around online or price matched.
Interesting. I guess it all is up to what you are used to. The bass is pretty much non existent in my R55 Clubman, but since I am selling it, I'm not going to do anything about it. With the 2 underseat subs in our 2016 F54, I find the bass extremely sufficient. But that might be because none of my cars have any real deep bass, and compared to the sound in the others, this is by far the best sounding of them. I wonder if they are different than your unseat subs?
Interesting. I guess it all is up to what you are used to. The bass is pretty much non existent in my R55 Clubman, but since I am selling it, I'm not going to do anything about it. With the 2 underseat subs in our 2016 F54, I find the bass extremely sufficient. But that might be because none of my cars have any real deep bass, and compared to the sound in the others, this is by far the best sounding of them. I wonder if they are different than your unseat subs?
I have the two underseat subs as well in my F56 JCW 2DR HB, and they seem to be there for either the ride or for the ASD, no bass sound nor feel. I finally installed the software on a spare windows xp laptop (purchased an E-sys programming cable online) and am trying to find the time to learn how to code out the ASD feature (as well as the other gazillion things you can do with the E-sys programming cable and software).
After installing my amp and sub for the past week or so, I have noticed two things...
1) The subwoofer has "broken in" and sounds even more punchier and much louder and bassier.
2) I am not a hard core music nut, but I must say, of all the modifications to date... THIS one I find to be the most enjoyable and quantifiably the most satisfying to date.
I now really enjoy listening to my music in the car, windows and sunroof open, and listening to the pounding bass filling inside the car. My rear licence plate does not vibrate (I added dampers to ensure no buzzing) but my front rear view mirror does resonate extremely nicely (whether flac, spotify, pandora, tidal)
What is ASD? I will eventually get the coding software as well. Though I Was hoping the BMW/MINI specific BT and phone app (forget the name at the moment) would worknon the F5X cars, but so far, everyone says it doesn't?
What is ASD? I will eventually get the coding software as well. Though I Was hoping the BMW/MINI specific BT and phone app (forget the name at the moment) would worknon the F5X cars, but so far, everyone says it doesn't?
Active
Sound
Design
In a nutshell, it is an engineered engine sound that is played through certain (or maybe all for all I know) speakers in the car to enhance the Aureal sound experience.
It can't be good for listening to music while the ASD pollutes in the backround.
I had issues getting my laptop to recognize my JCW ECU thru the OBD II port. Would not connect (spent an hour yesterday trying to do so.)
I basically, did a restore point to an earlier date (dedicated HP Laptop with windows x86 XP), and reinstalled all the E-SYS software step by step and now works (had to erase all traces of software from previous install as well).
WTF? Seriously? I sure hope the Clubman doesn't have that crap. Doesn't SEEM to. It's a very quite car.
I think it also uses the module to enhance the quietness as well. But, it is the enhancing fake engine sound that makes me quiver. WHY in the name of god would you want that.
It does not enhance the quietness. Yes you do have one. With this installed you can't hear the real engine. Code it out or buy a bypass harness. I made one and posted how to do it. http://www.realoem.com/bmw/enUS/part...r_S_ALL4&mg=65
I checked with another forum that's strickly for the F series and then asked the dealership. The 1.5l doesn't come with this installed. I would love to pull the panel and check but my car is in for warranty work on the passenger seat. I may have stumbled across a defect in the passenger seat lumbar that could become a TSB later.
I asked the MA and SA, both whom I know pretty well, and have been right on everything so far, and they said only on the S cars. I did not actually remove the panel and check. My wife would kill me if I marred anything on her new car.....
I know I thought that was he case but as posted above the RealOEM shows the ASD.
You don't need to remove the panel to see it. Just the back part of the door gasket and then if I remember correctly you can pull the panel out enough to see with a flashlight.
It makes sense to me that you would not have it.
So the amp fit fine under the trim panels?
Would the speaker box fit with a storage package shelf? (that would be up most of the time but down when carrying items).
So the amp fit fine under the trim panels?
Would the speaker box fit with a storage package shelf? (that would be up most of the time but down when carrying items).
You need to go with the generation of compact amps, that are well designed, powerfull for what they promise and meet realistic expectations.
Example of amplifier that will fit with no issues (IMHO)... NVX MVPA1, MTX Audio PowerSports (MUD100.2) etc... I went with Precision Power i450.1 PPI Ion Series 450 Watts because of the PPI included driver bass control. It is pretty much the biggest you can go, that will fit. I chose it also for nostalgic reasons, as I have had PPI in the past.
The speaker (subwoofer with the designed enclosure) fits pretty flush, as you can see. The only wire coming from the side panel to the speaker is a quad 12 gauge (I doubled up the a pair from the quad, making it a single pair) speaker wire that connects to the subwoofer by spring loaded speaker connectors. It is plug and play, and easily removed if need be (yeah right, I am going to haul stuff in my JCW LOL).
So the shelf will close on top of the sub? I
t looks like there is enough room for it to shut, or did you remove it? I'm going to try this.. Thanks for the write up.
My JCW does not come with a shelf, or lid. If it did, when I purchased it new, it wasn't there. So, I don't think it is standard equipment. To be honest, I wedge something horizontally in the trunk bay to keep the sub from moving.
ASD Bypass and Aftermarket AMP 2017 MINI Cooper Clubman S
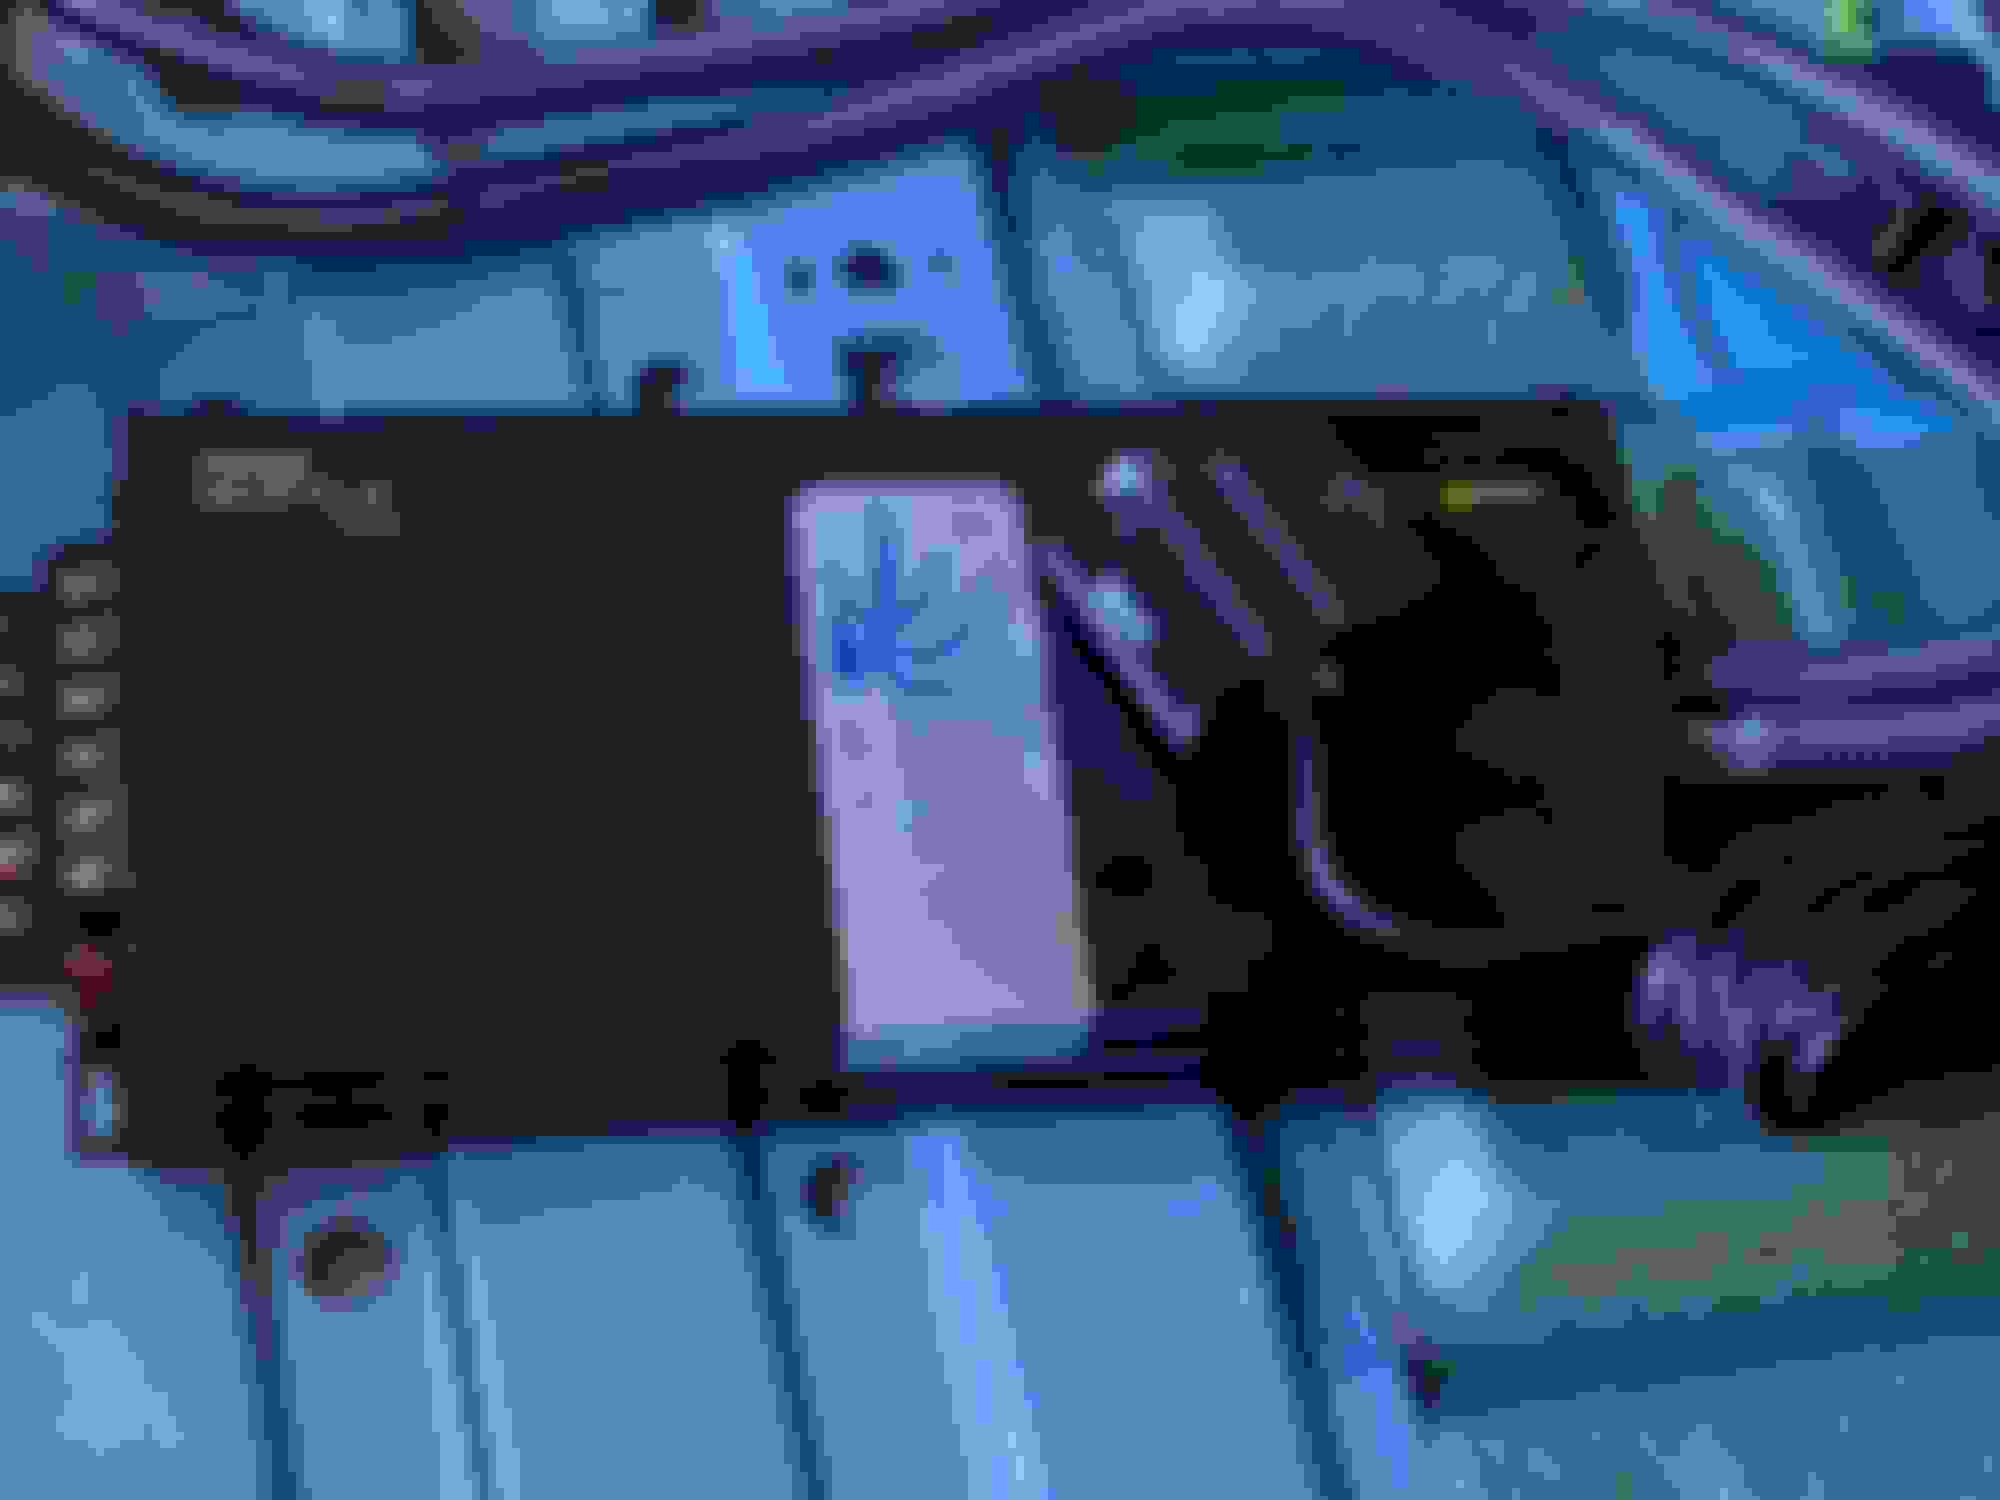
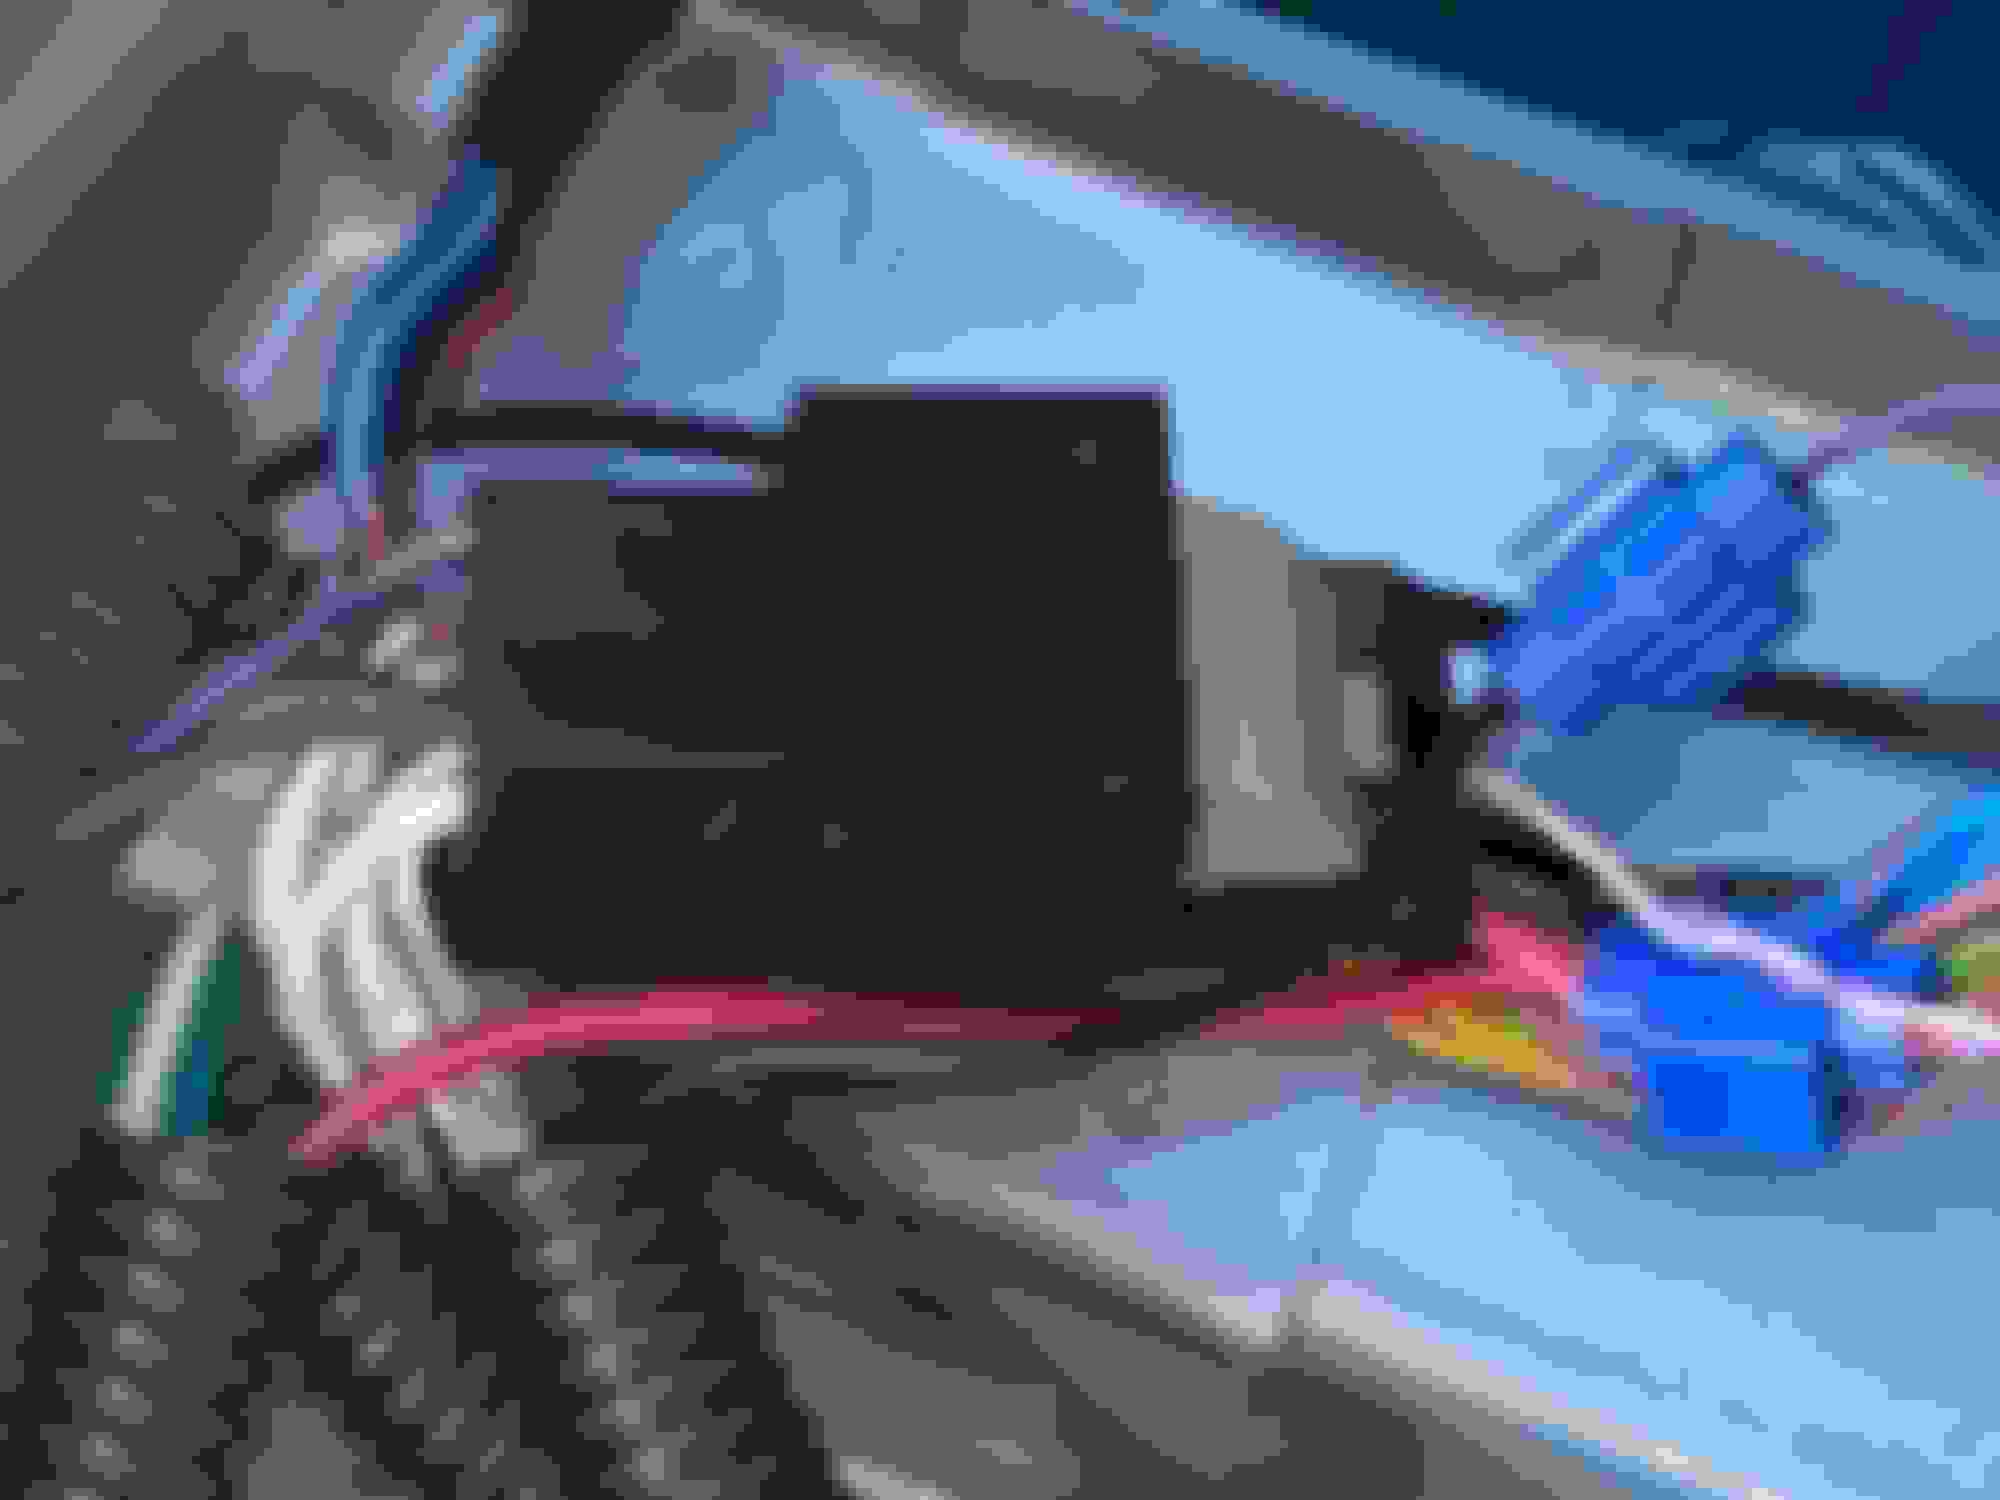
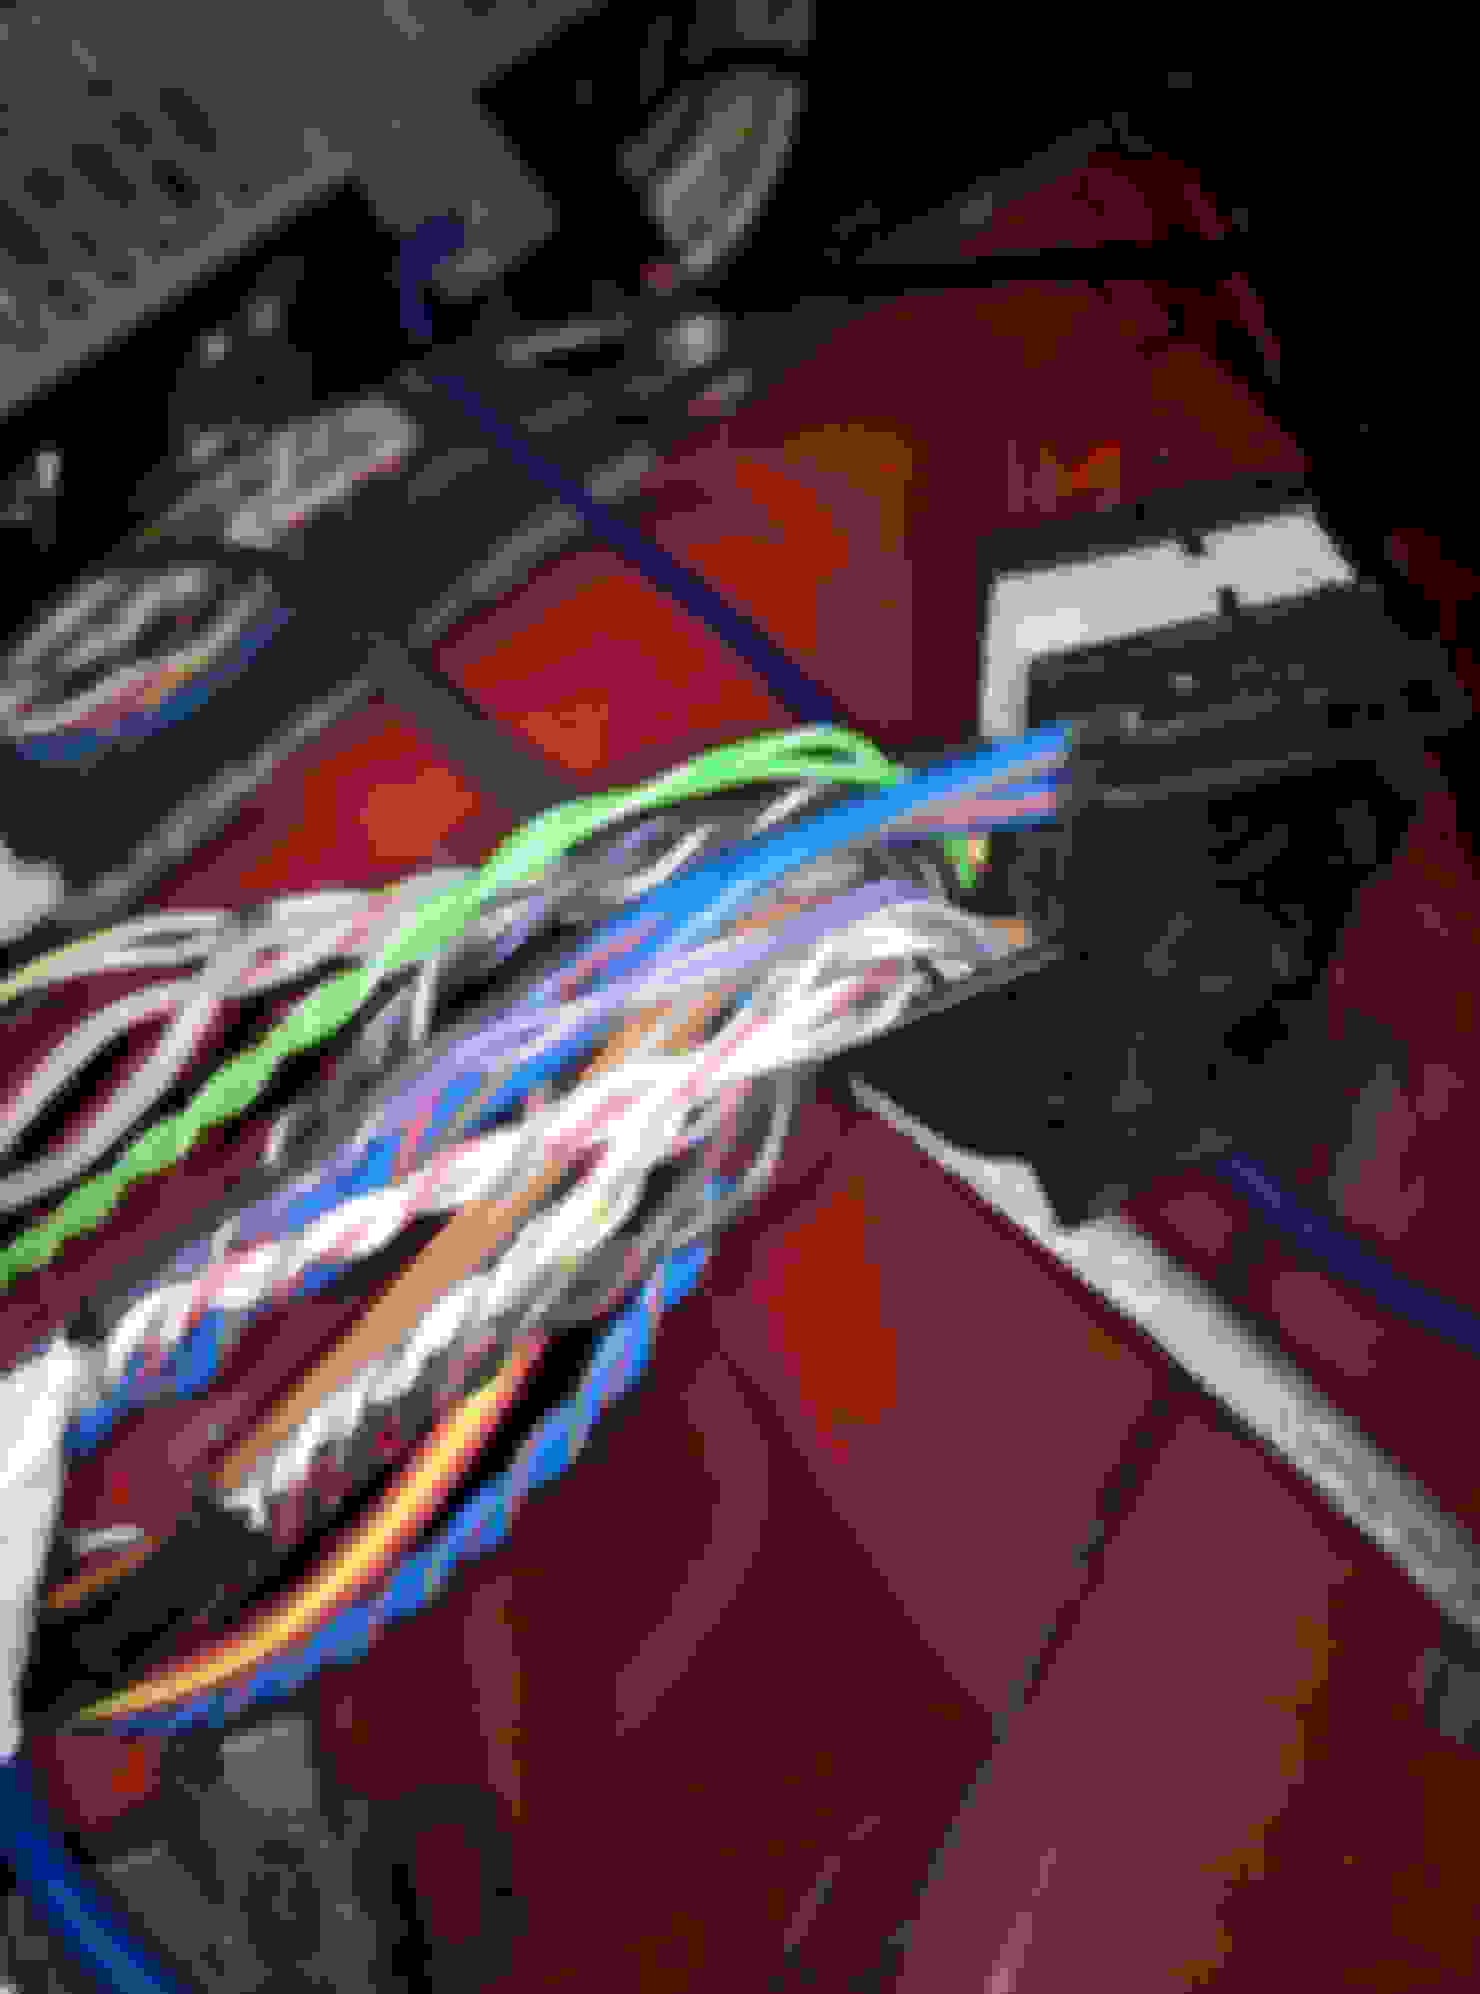
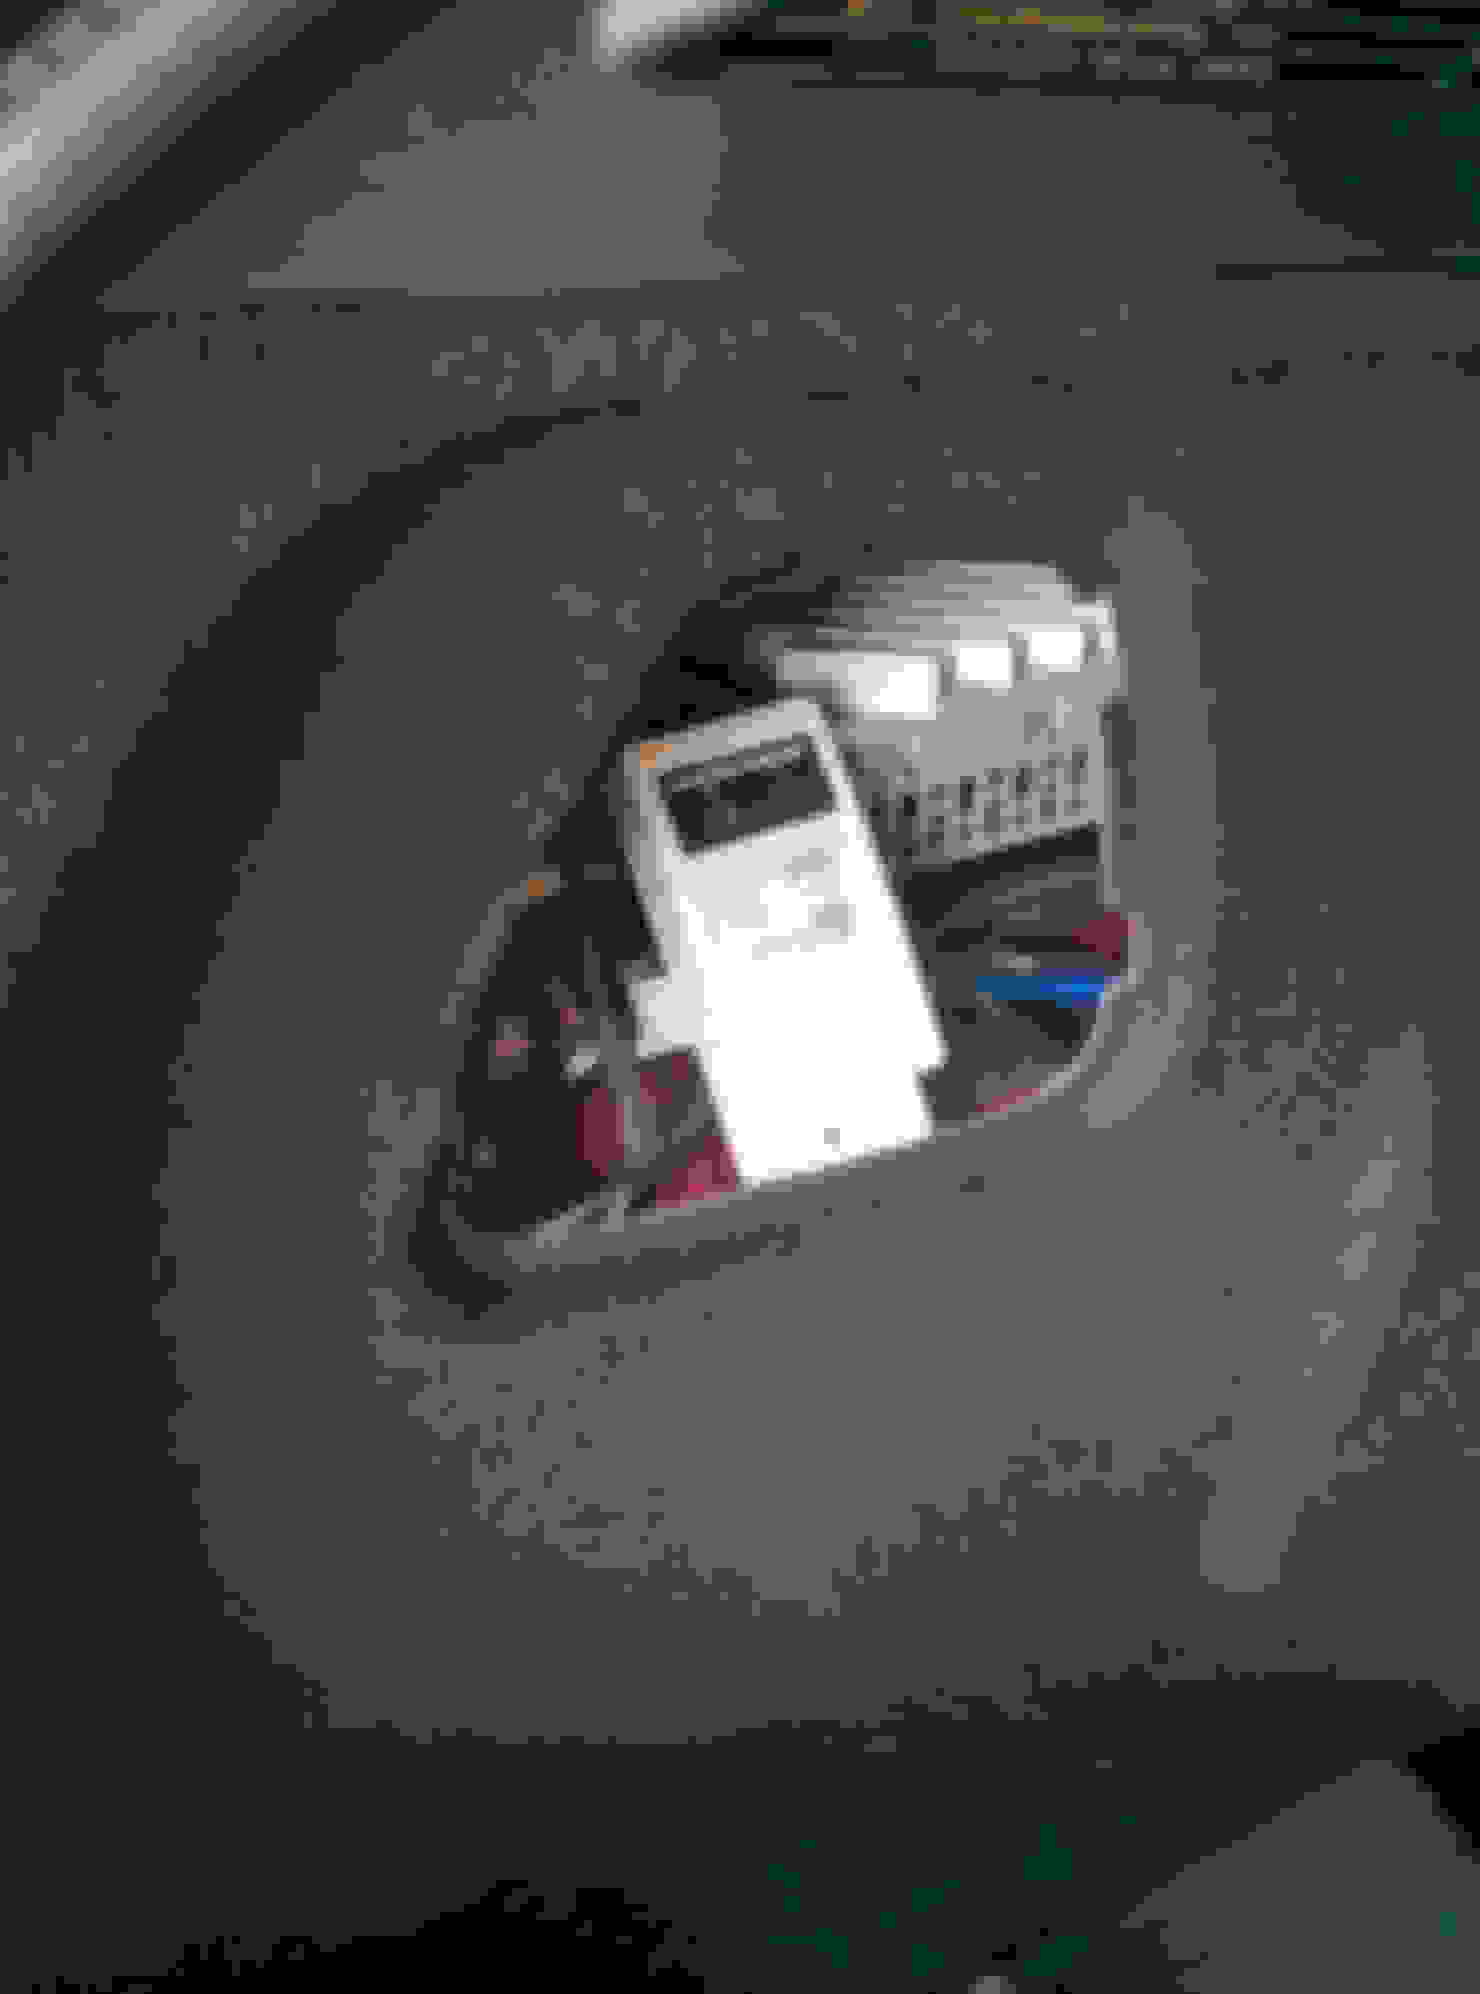
So, I just finished replacing all the door speakers, under the seat sub-woofers and installed an aftermarket AMP to power it all. It took me about three weeks to get everything hooked up because I couldn't find a complete or a completely accurate wiring diagram. I tried multiple MINI and BMW forums without any luck. Here is the results of my hard work and research so that it may help someone else in the future. I've included some photos, and an excel file containing the wiring diagram. I used a Technic PNP harness for the install so that I didn't have to cut wires and it was a cleaner installation. If I ever want to take the AMP off, I just take the Technic wiring harness off and plug the ASD back up. You can cut the wire if you choose to and install directly into and amp.
The Wiring Diagram contains the corresponding wires on the Technic PNP Wiring Harness. If you decide not to use the Technic Harness, do not cut the wires indicated in my diagram. Simply just splice the Fuse/Power, Ground, and Radio ON/Remote from the harness to the amp as necessary. In this case, wires labelled as "from Headunit into ASD" will become your inputs into the AMP, and the ones labelled as "Speakers" will become your outputs from the AMP. If you have any questions or issues, please post them here and I'll try to guide you through it. Enjoy!! Completed Install Aftermarket Amp Technic PNP ASD Standard Wiring Harness ASD Unit Finished Install
Last edited by LuisRivera1681; 05-08-2020 at 04:15 PM.
Reason: Adding Diagram and Pictures
 08-12-2016, 07:06 AM


 extremely nicely (whether flac, spotify, pandora, tidal)