When you click on links to various merchants on this site and make a purchase, this can result in this site earning a commission. Affiliate programs and affiliations include, but are not limited to, the eBay Partner Network.
[left]I've been meaning to post some pictures of my rebuild, but work has been getting in the way. I picked up this car in Texas about 1.5 years ago and finally got in a position to start working on it. The owner told me the tip of a spark plug broke loose and took a chunk out of a piston. I bore scope later confirmed it. The body and interior is in excellent shape and the car has about 70k on the clock.
Early January 2019
February 2019
Bore scope image and you can see a chunk missing. I haven't removed the head, but I'll assume the wall is messed up too.
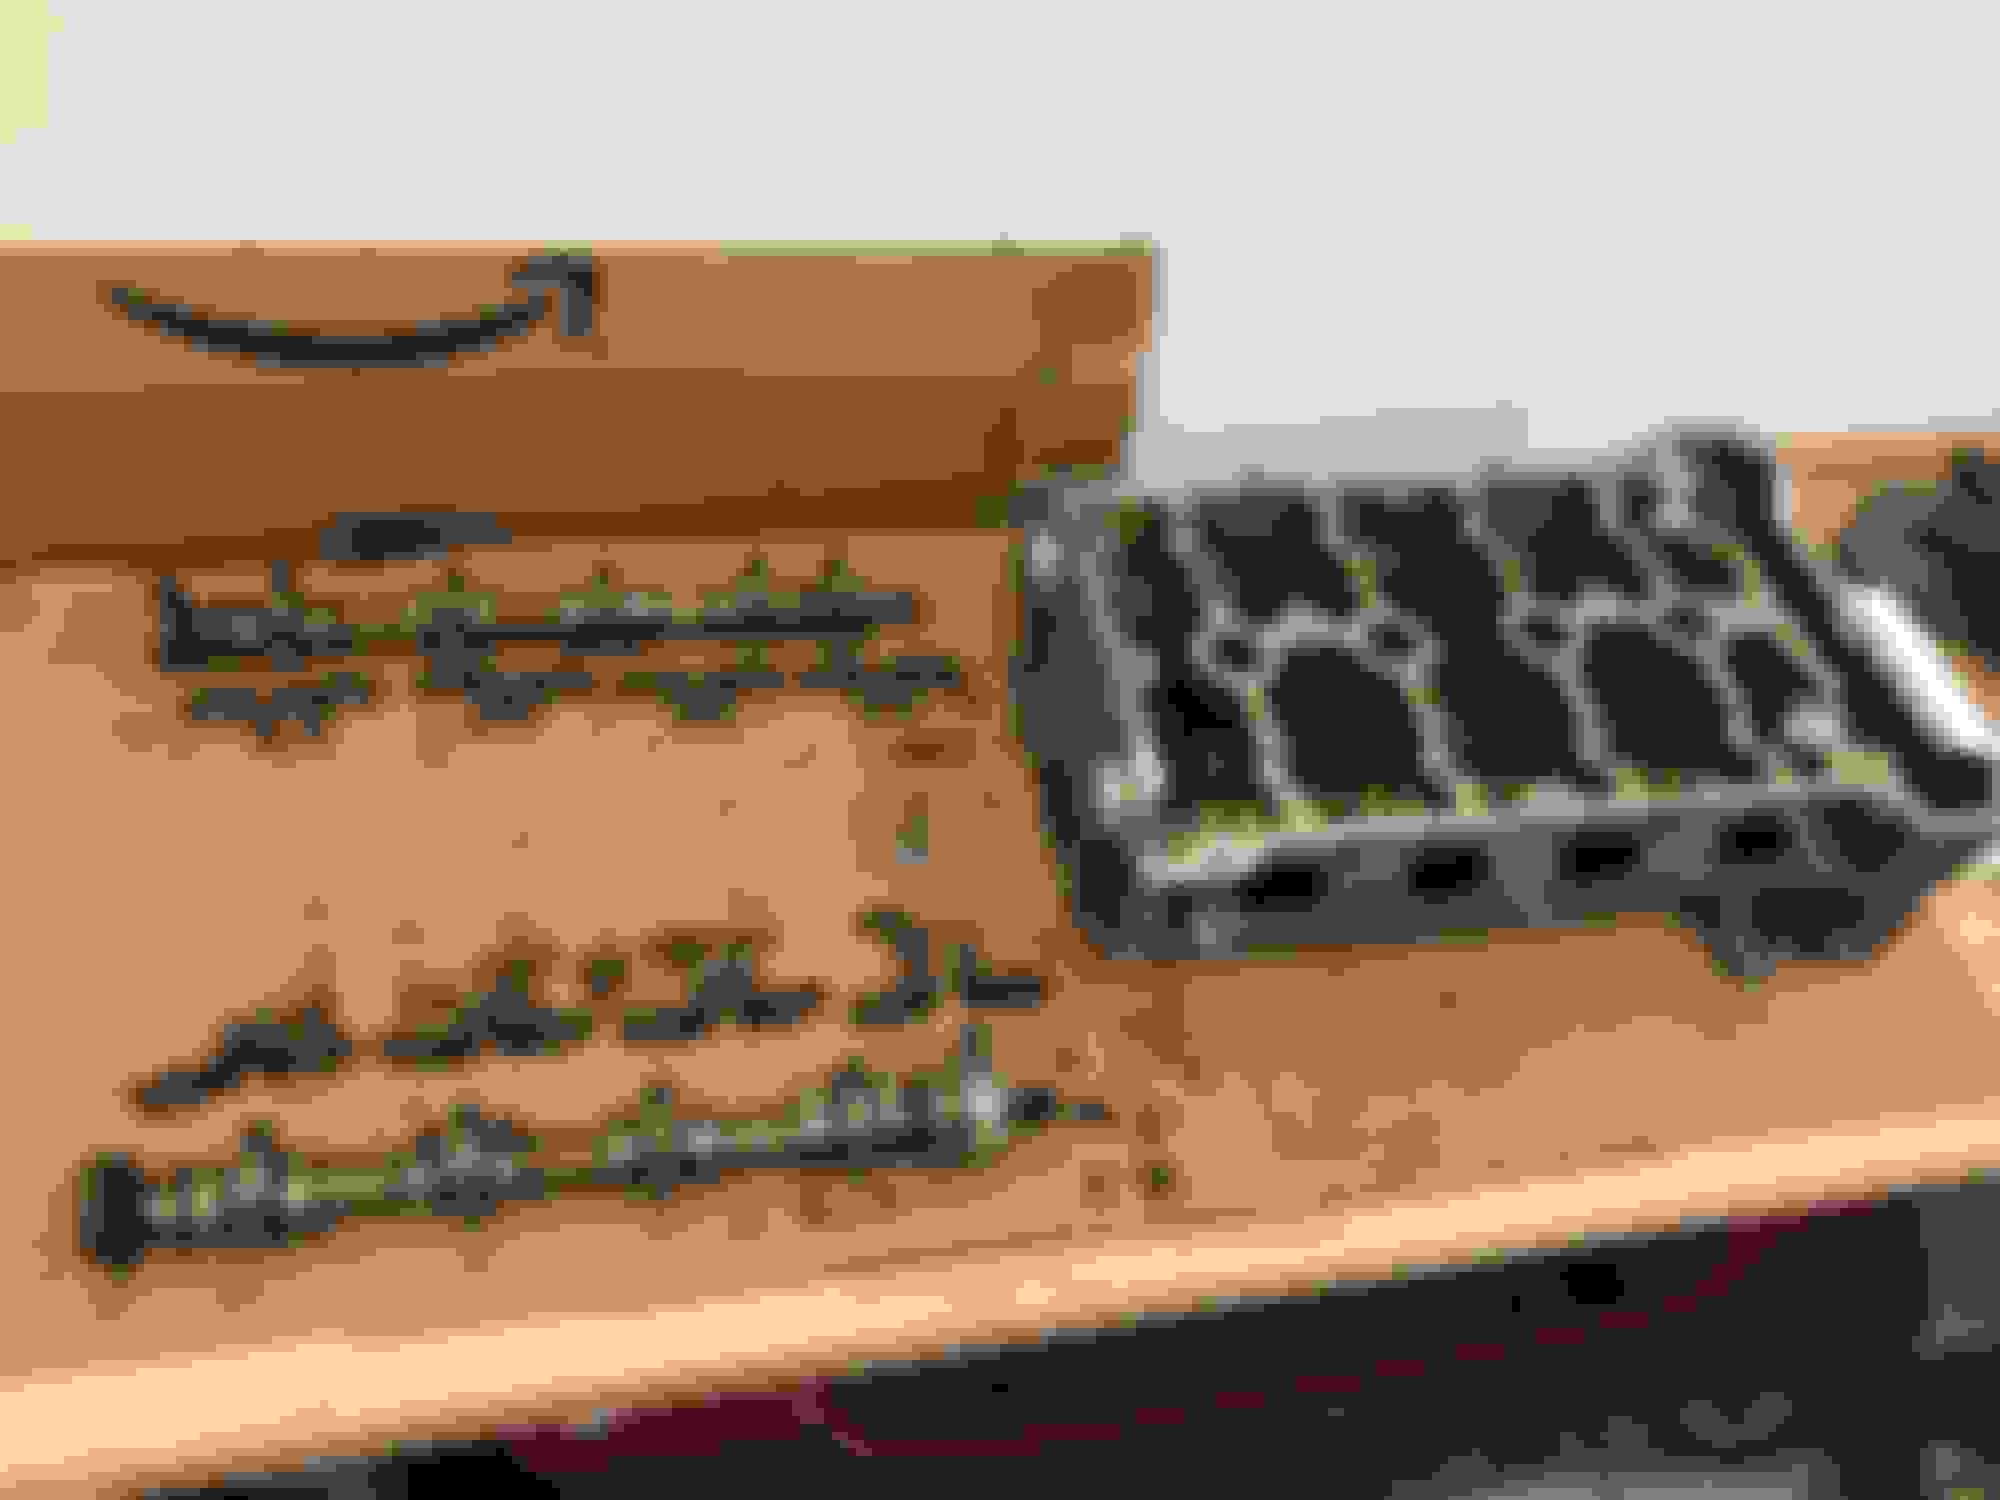
All the parts organized and on the shelves. Bolts and screws bagged and tagged.
Picked up a block and head locally in Denver, so I have a good base for rebuilding the engine.
February 22
Found a local machine shop in Denver that works on Mini motors. Took the head over to be cleaned, inspected, and tested. I'll know in a week if additional work is needed.
March 7
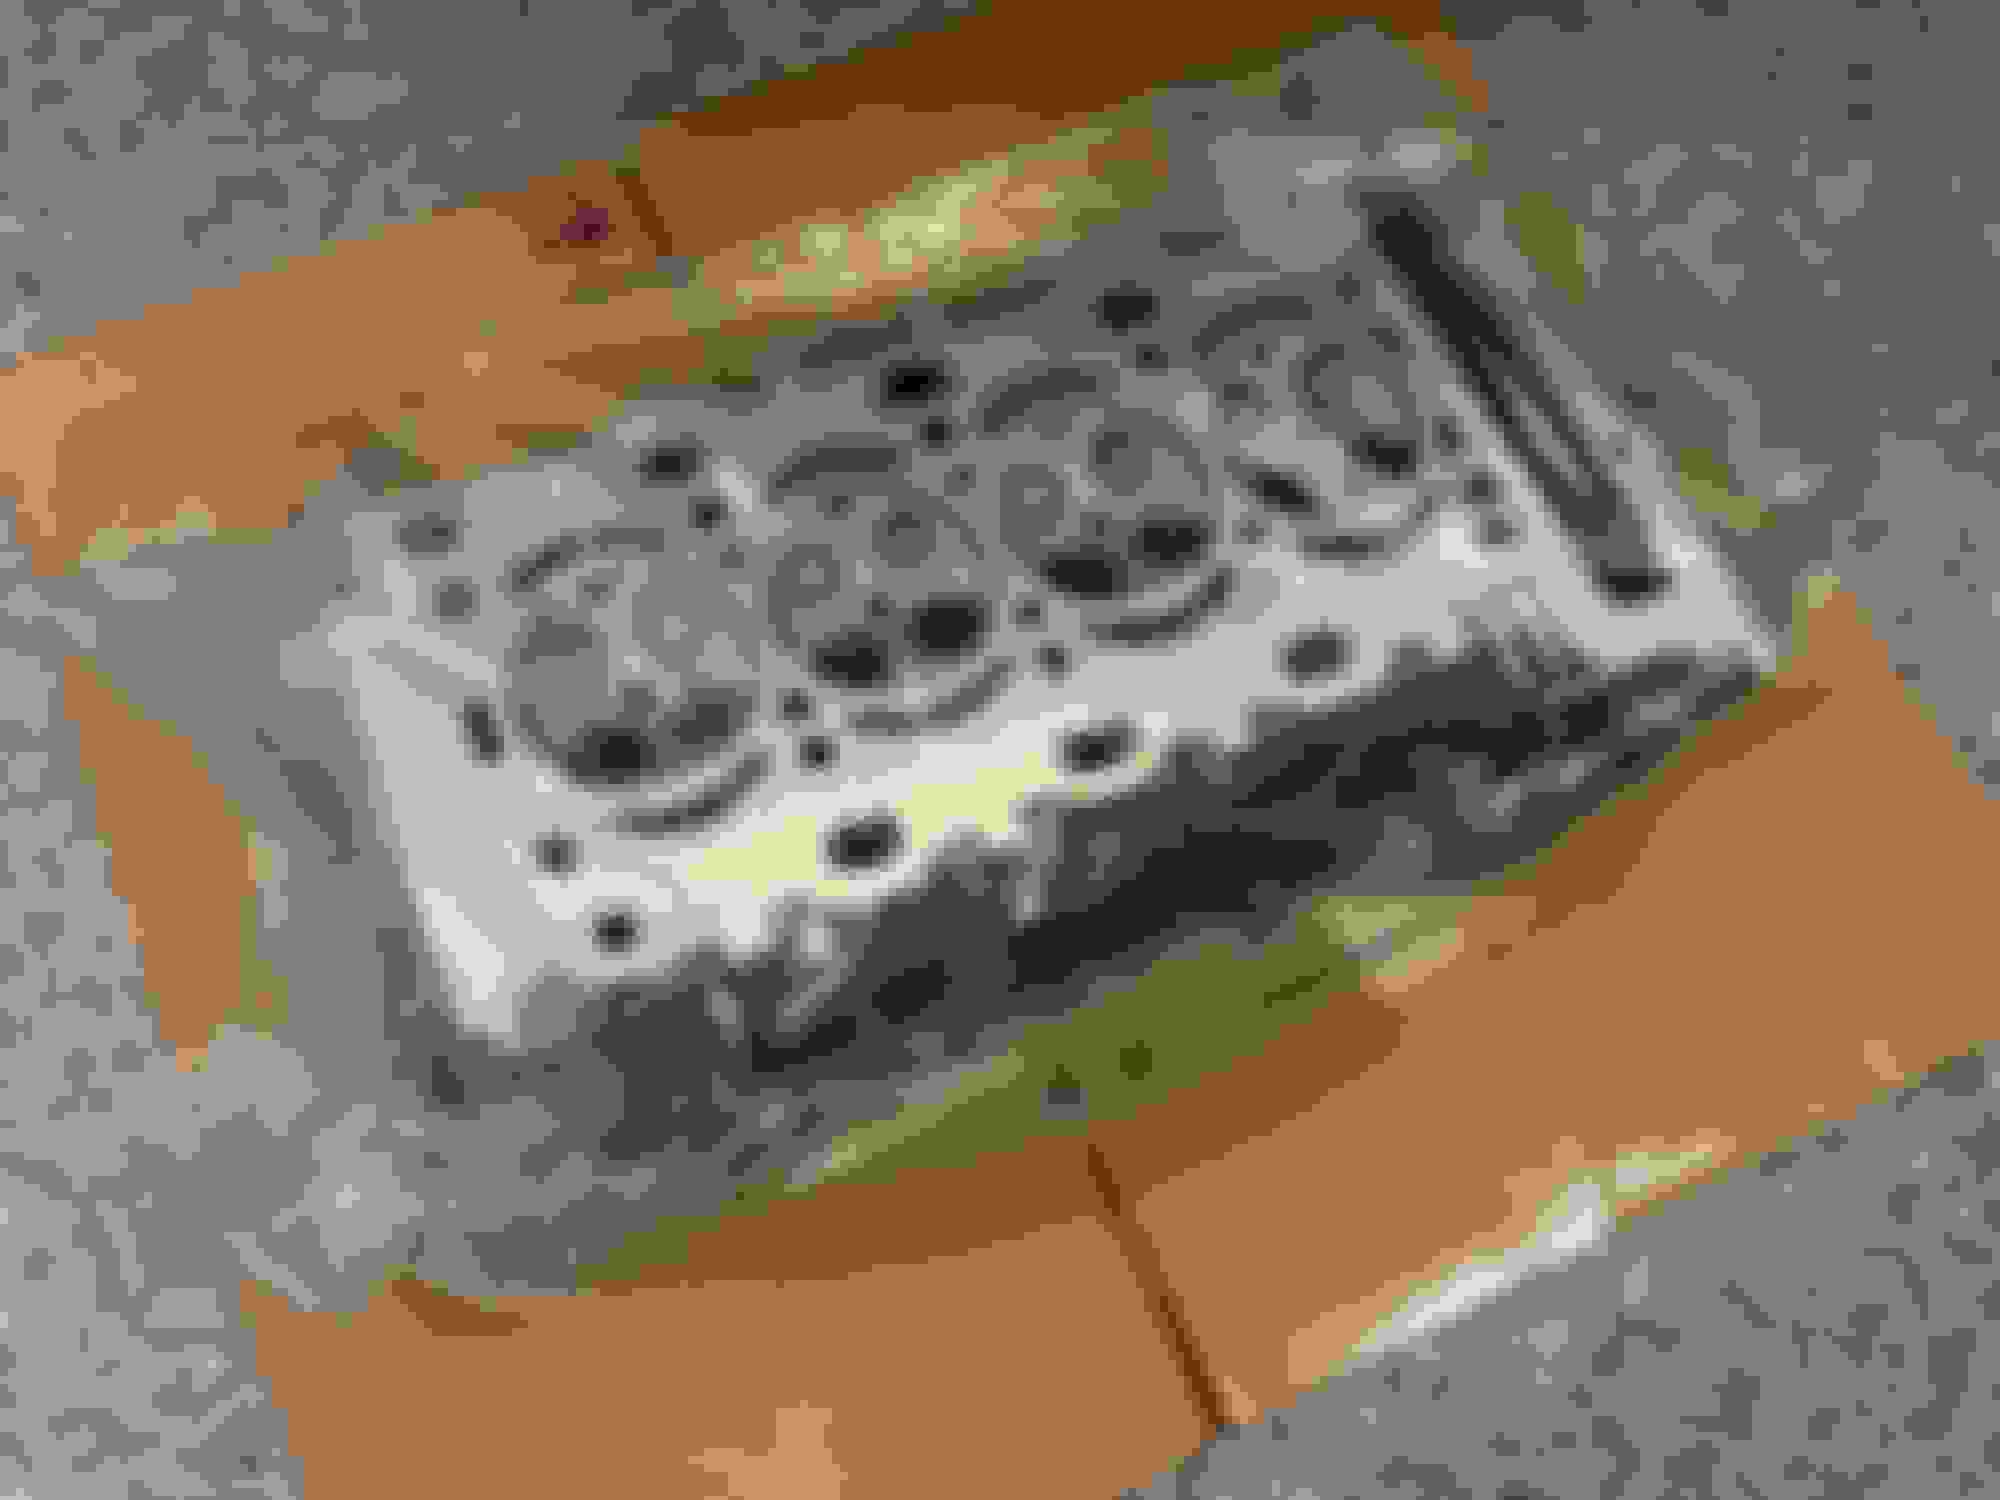
Got the head back from the machine shop. The shop said the carbon build up was so bad that it was not only fully coating the valves, but also covered most of the intake port. Didn’t get a before pic, but the after is amazingly clean. Cleaned, resurface the face, buffed up the valves due to slight pitting and new seals. $270.
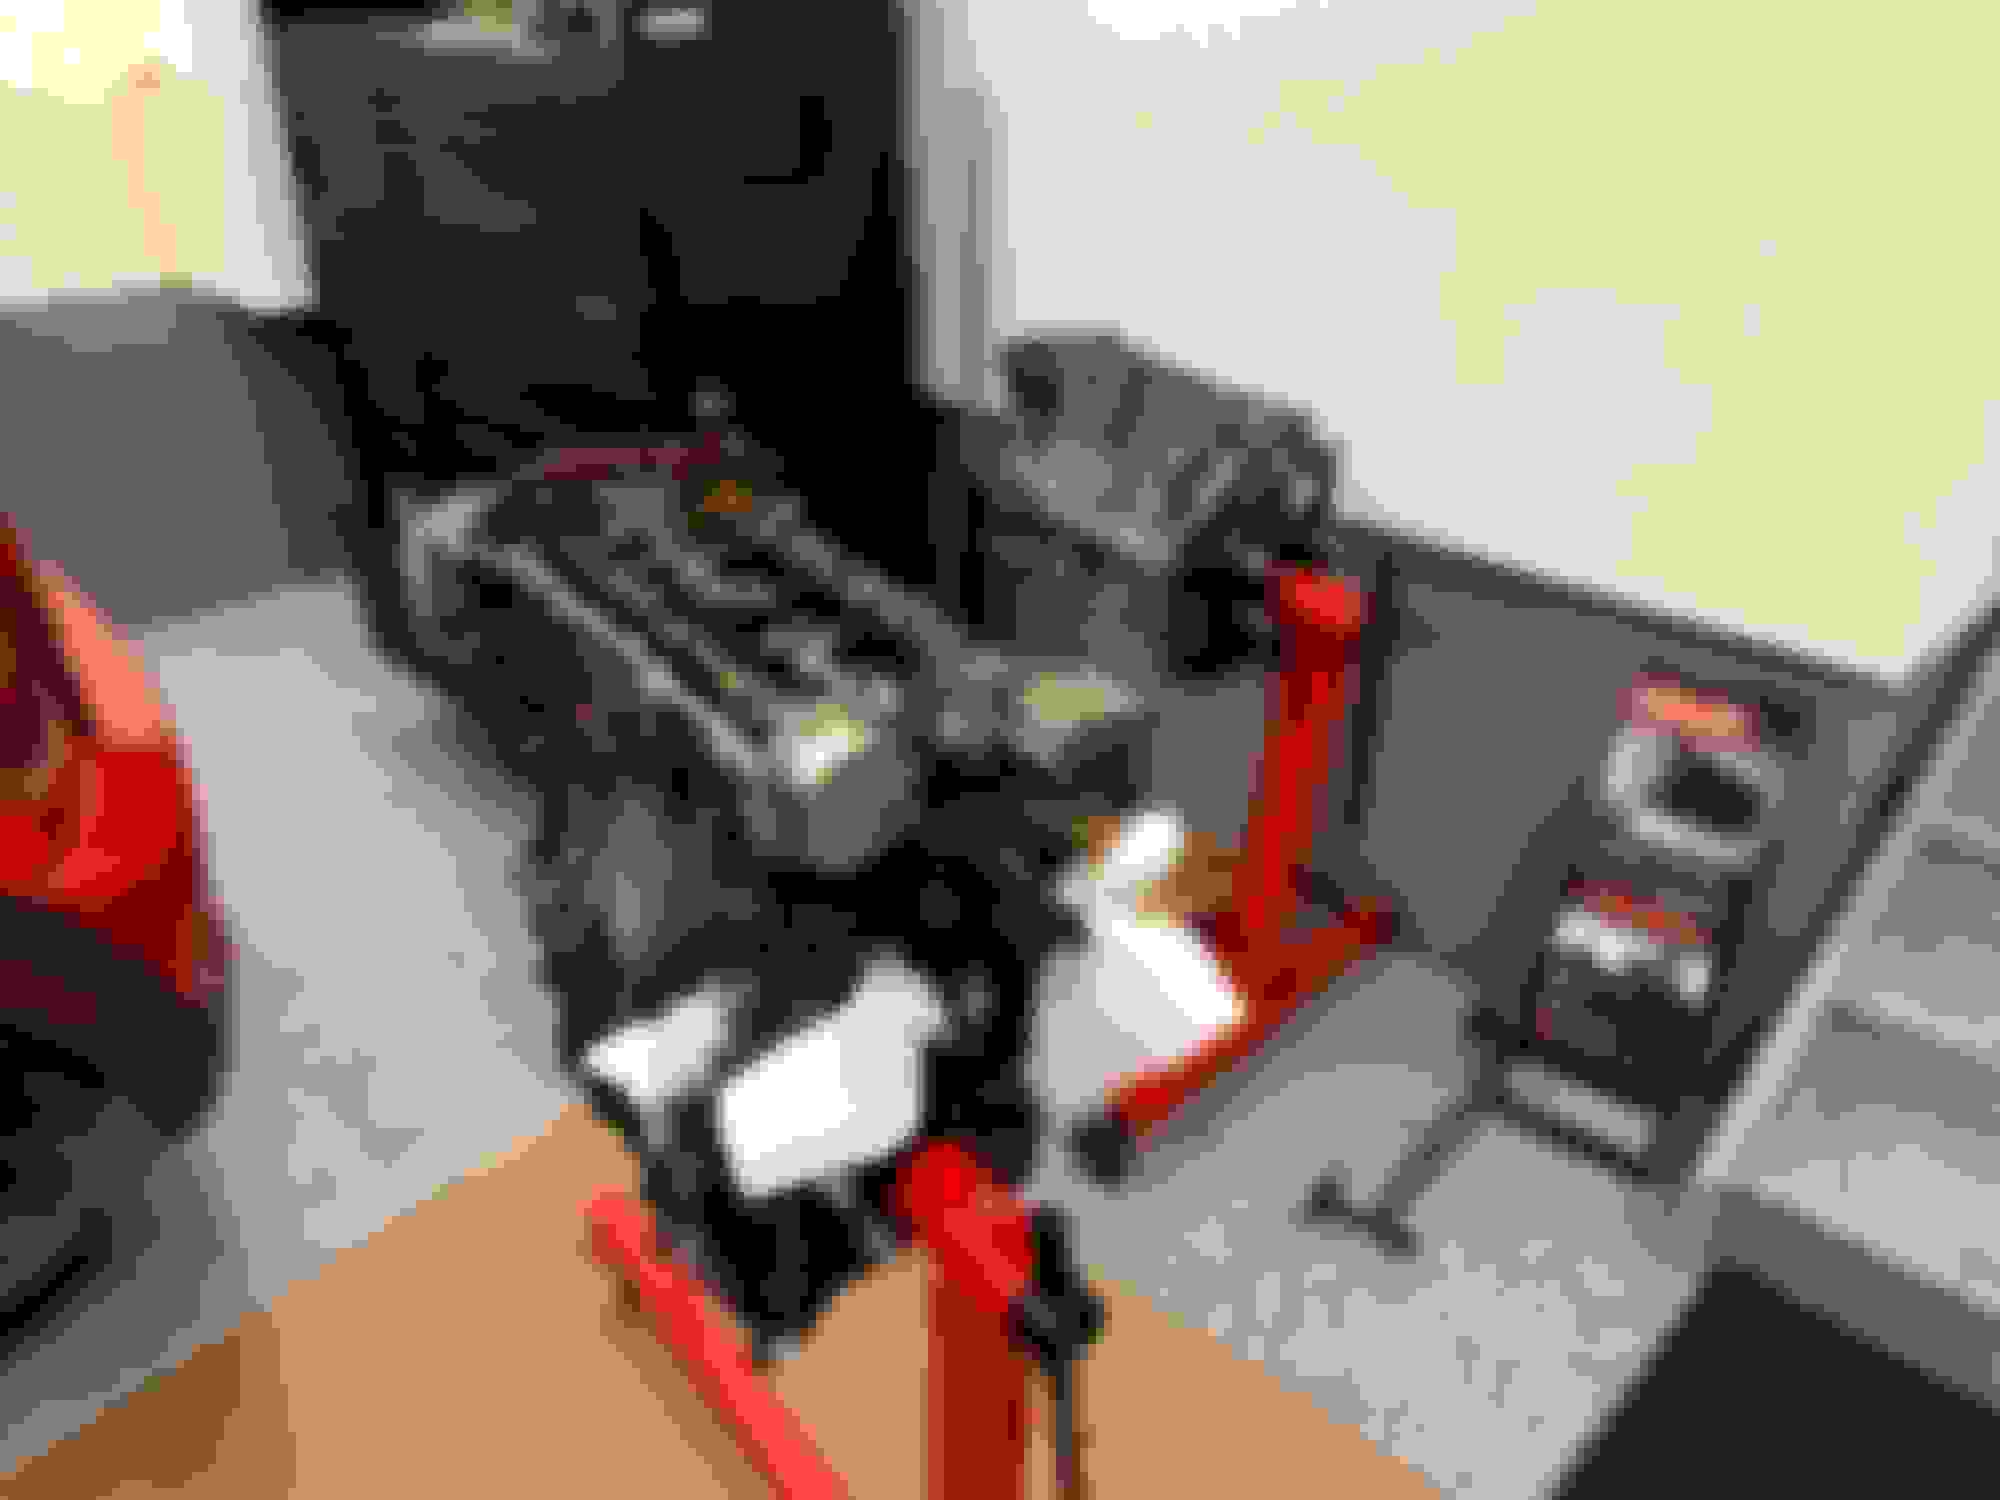
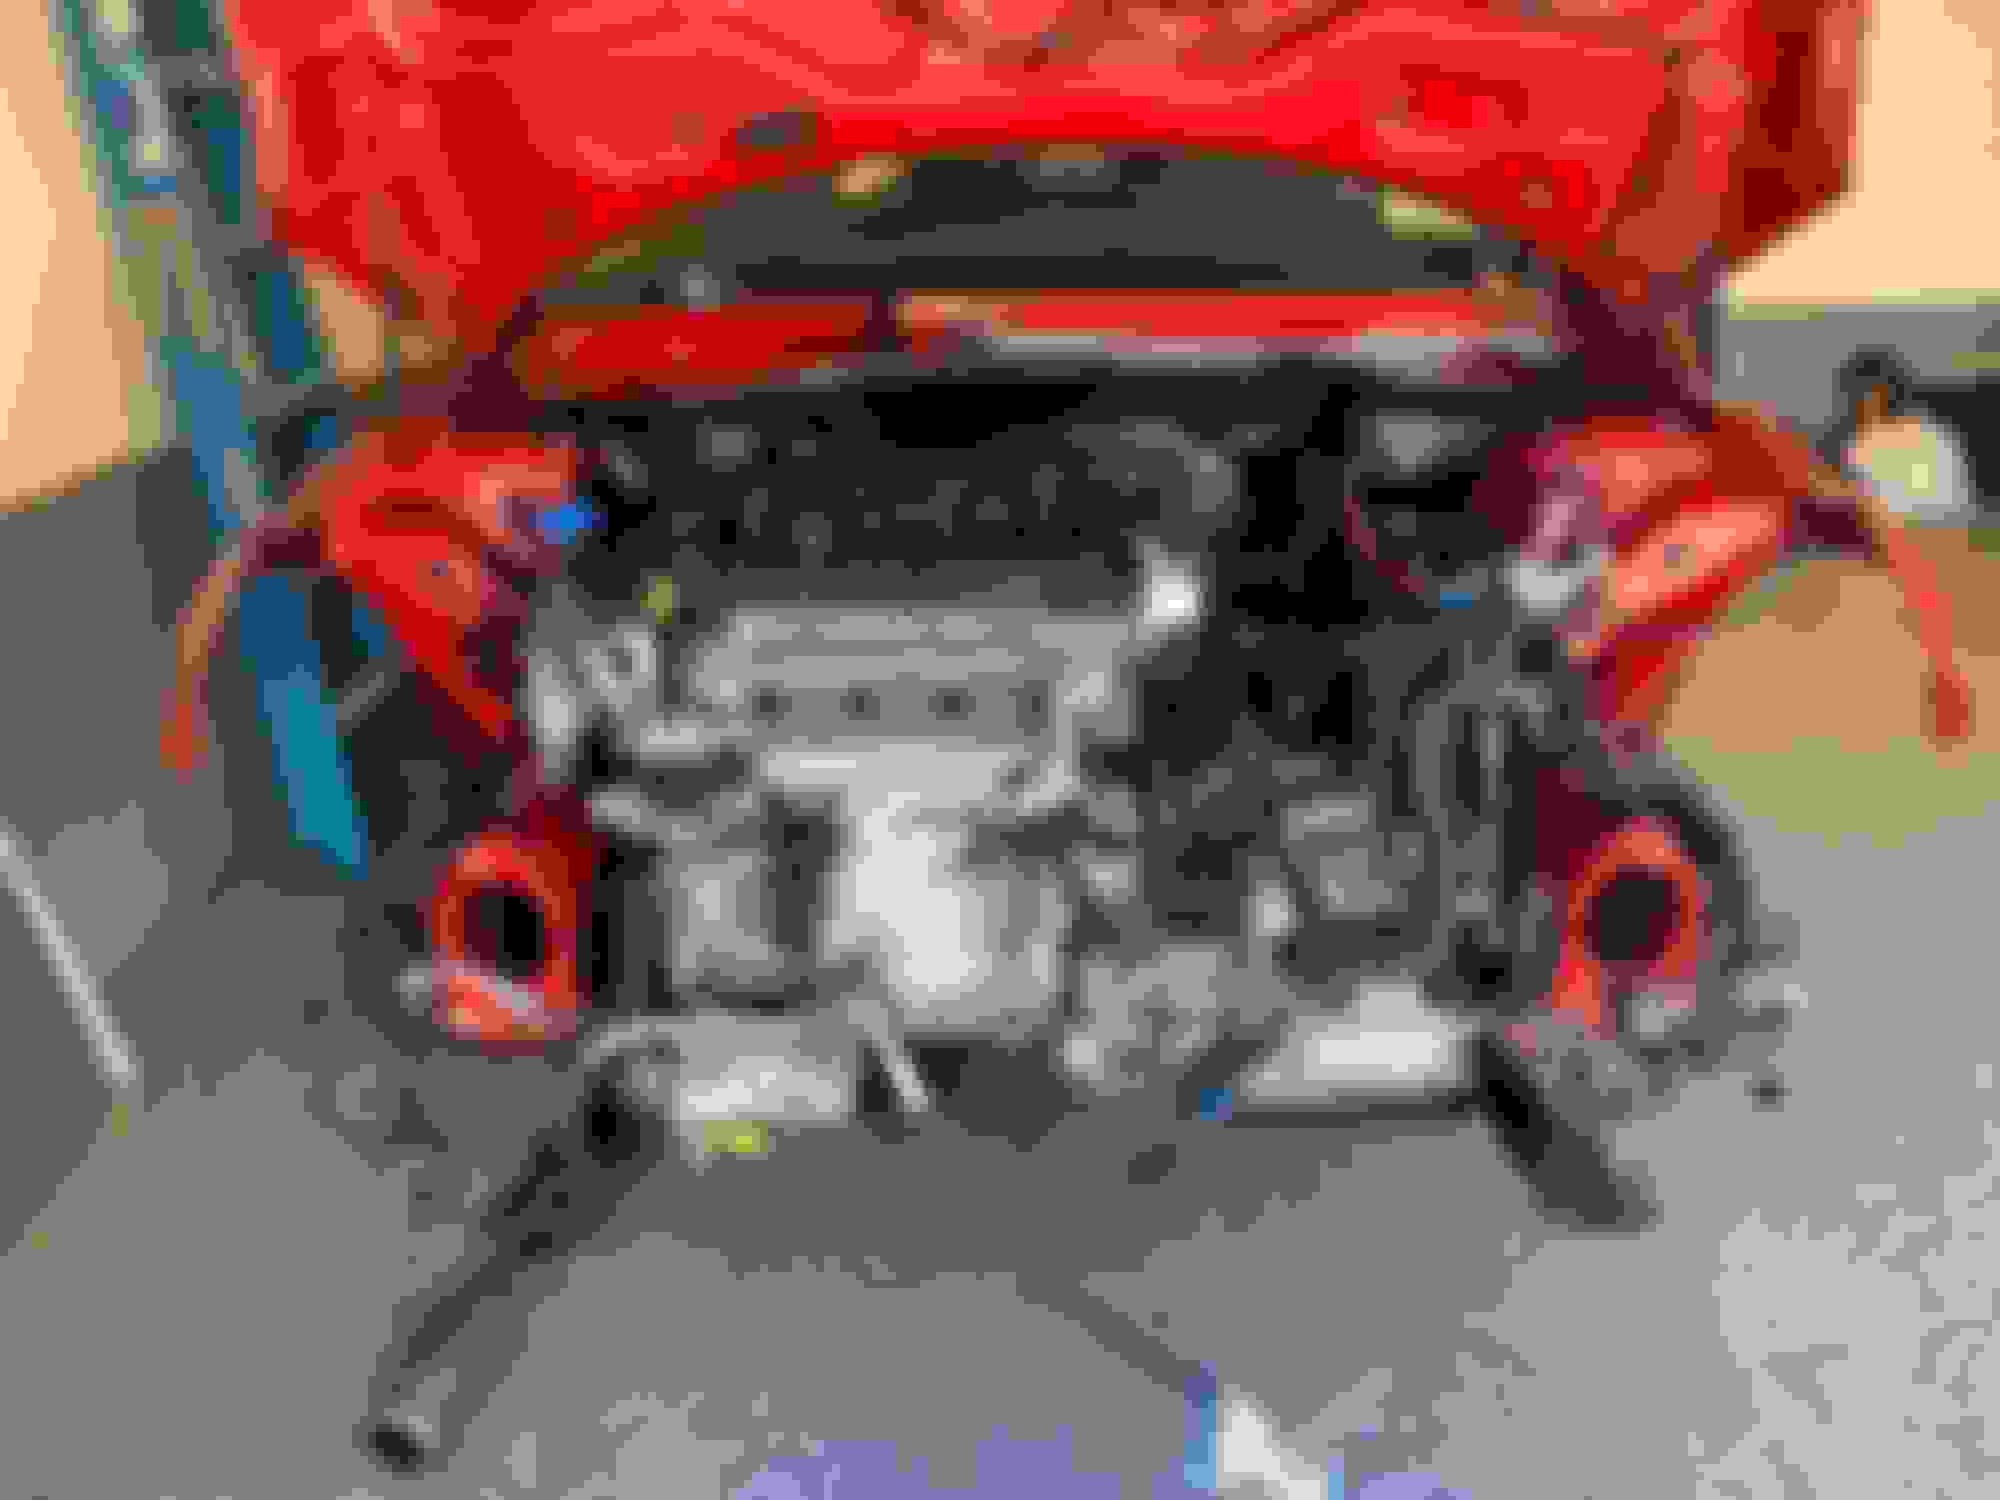
Finally pulled the original engine out.
Mounted the original and the replacement. Let the cleaning begin. You’ll see the tire rack. Need to clear up some floor space and picked it up from Amazon super cheap.
April 6, 2019
I’ve been spending a lot of time cleaning all components and parts. The years of grease, dirt and aging parts have added up but everything is looking really good. Installed flywheel, mounted the head to the block and installed the timing chain. Installed front/rear main seals and crank bolt. When I cranked the addition 180 degrees on the main bolt, I had flash backs of all the years of breaking bolts due to too much torque. I was pretty nervous but the bolt holds. I can see why this is a one-time use bolt.
April 26.
My work schedule has been delaying the Mini project, but I’m determined to make good progress this weekend. I got the engine assembled and the trans cleaned, then mated together. The trans was coated with oil residue and desperately needed a cleaning. Removed the Noise maker and used a PVC cap from the hardware store to cover the end. Got a little heavy on the gloss black paint, but it’ll be behind the engine and no one will see. Cleaned the bay really well and removed years and miles of dirt, grease and build up.
Tomorrow I'm hoping to mount the engine back in the car.
Engine back in the car. Not ready to start it, but it’s getting close. I’ve spent a lot of time cleaning and inspecting everything.
Got all the trim back from paint. Can’t wait to see it all together.
I took the advise from Oldbrokenwind and got a little insurance for the crank bolt. Care of LeSueur Car Company in AZ. After all this work, I don’t need one bolt ruining everything.
Forgot to mention something about cleaning bolts. A cheap wire brush wheel makes quick work to clean up any aging hardware. Clean threads help on reassembly.
Late May 2019
I apologize for the delayed updates on the project. Things have been moving slowly forward. My work has been taking a large part of my time and as the build continues, I find I am missing a few parts or there are a few parts I would like to replace (to be thorough), so there's been waiting on parts to arrive mixed in as well.
If you don't recognize this part, this is the Auto Trans Shifter release. I knew this was a problem back when I purchased the vehicle and luckily they sell this part individually. You have to drop the exhaust, then remove the heatshield from the tunnel, then drop the shifter assembly from the bottom. It's an easy fix once everything is off. You DON'T have to completely remove the shifter assembly. Just remove the 4 bolts from the under side and it will drop down to allow you to fix it under the vehicle.
Since I've gone this far, I had to do something with the brakes. I go back and forth with my feelings about people painting the stock brakes, but I had to do something. They looked 100 years old and I was either going to paint them completely black or mix in some red. As you can see, I went with red calipers. Yes, I got paint on the disc, but that will wear off within a few miles of braking, so I'm not concerned.
MWMWMWM has been teasing me with links to parts, so when he sent me a link to these, I figured I had to do them.
I also replaced the f uel f ilter and I'm really glad I did. After going this far with rebuilding everything, I didn't want a filter to be the destruction of all my work. It was kind of a hassle and I had to empty the 7 gallons out of the tank. Needless to say I and the garage smelled like gas. More delays with waiting on the filter to arrive. If you're car has 80K+, it's definitely worth doing.
I've had the engine back in the car for a few weeks now, but was waiting to start it until I've performed all the tests. After hearing MWMWMWM's blow out at McDonald's drive-thru, I resisted the urge to start it until I was 100% sure everything was tight, pressure tested, and no loose ends left open. The picture above is with the Oil Catch Can installed, but I started it before I added the OCC. I wanted everything in stock form for the initial start, so in the event of a problem, it would make searching for the problem a little easier. Sooooo, everything was tested (couple of weeks going over everything multiple times), battery was charged, 2 gallons of fuel added, and I was fully confident in my work. SHE FIRED UP AND PURRED LIKE A KITTEN. I was really happy with how smooth it runs and every happy I spent the extra time testing and rechecking everything.
Unfortunately all work will stop for the month of June due to my day job, but when I pick it back up in July, that's when the road testing will begin. I'll update more then.
Last edited by texasmontego; 05-29-2019 at 10:07 PM.
Who you happen to find out there in Denver that works Mini Motors?
Im out in Grand Junction and just drove through Denver yesterday ( before the snow hit )
Colorado Automotive Machine off Union Avenue in Englewood. Little shop and the guy has experience with Mini�s. MWMWMWM is in Arvada and he is working with another shop. We are going to compare results between the two shops.
Pena Cylinder Heads is 200$ for tear down and rebuild of a mini head including clean, pressure test and block plane if necessary. They have a 2-3 day turnaround. It's only more if the head needs parts.
I brought them two heads. One from a running Mini. It still need 3 valves they supplied so it was 230$ I supplied valve seals from my kit.
Second head had all 8 exhaust valves bent and a busted number 4 exhaust camshaft cap. I found a replacement cap set on E-bay 40$ as well as a valve set for 44$. The valve seals were with the second seal kit. It was 200$ because I supplied all parts.
And my dog got a treat. Pretty tough to beat the service at Pena.
More into added to the original post. It�s been a lot of fun and learning process. I definitely see the value of a larger work table, so I�ll be building one soon.
Second head had all 8 exhaust valves bent and a busted number 4 exhaust camshaft cap. I found a replacement cap set on E-bay 40$ as well as a valve set for 44$. The valve seals were with the second seal kit. It was 200$ because I supplied all parts.
Good luck with your replacement cam caps! I'm told by Mini mechs that for my N14, they are NOT interchangeable. Also note that on RealOEM, there is no separate part number for cam caps. Cam journals are line-bored with the caps installed, therefore the caps are unique for each block. There's a slight possibility your new caps will line up enough to get them installed and bolted down, but not likely. Try bolting the caps down WITHOUT the cam, then examine each cap / block journal to see how well they match --- you might get lucky.
Aside from all the Mini goodness, I was like damn - wished my garage floor looked like that
Thanks. I love the floor. It�s bullet proof and really easy to clean. I just had it done a couple months ago and it�s one of my favorite improvements to the house.
Pena Cylinder Heads is 200$ for tear down and rebuild of a mini head including clean, pressure test and block plane if necessary. They have a 2-3 day turnaround. It's only more if the head needs parts.
I brought them two heads. One from a running Mini. It still need 3 valves they supplied so it was 230$ I supplied valve seals from my kit.
Second head had all 8 exhaust valves bent and a busted number 4 exhaust camshaft cap. I found a replacement cap set on E-bay 40$ as well as a valve set for 44$. The valve seals were with the second seal kit. It was 200$ because I supplied all parts.
And my dog got a treat. Pretty tough to beat the service at Pena.
Originally Posted by oldbrokenwind
Good luck with your replacement cam caps! I'm told by Mini mechs that for my N14, they are NOT interchangeable. Also note that on RealOEM, there is no separate part number for cam caps. Cam journals are line-bored with the caps installed, therefore the caps are unique for each block. There's a slight possibility your new caps will line up enough to get them installed and bolted down, but not likely. Try bolting the caps down WITHOUT the cam, then examine each cap / block journal to see how well they match --- you might get lucky.
Originally Posted by allenm324
Any updates?
At the risk of hijacking this thread, I'm also interested in how MWMWMWM is solving his problem with the cam caps. Updates from both of you?
OP and I are currently competing to corner the greater front range mini market......
I have been meaning to start a build build build thread as I somehow ended up with three MCS n14s. More to follow.
As for #2, aka Sapphire , She was the first mini I got running. She is not going back to service without a fight though. I believe she has a fuel filter or pump issue and will not make boost. I put 40- 50 miles on her before I blew out the O ring on the heat exchanger.... I did not change it out as I should have. I lost all her water in a McDonalds drive through, after order and before paying. I think she was trying to tell me something. A complete rookie mistake on my part. This car had been sitting since 3/17. This, by the way, is after She spit out her new belt and melted the tensioner because the reverse water pump pulley froze. She is currently sitting in my driveway with her nose in the air waiting for me to loosen her front end yet again.
As for the timing and cam caps, I assume Pena checked it for tolerances but I can't confirm. I measured them with my caliper but am certainly no expert. I couldn't find a difference from #4 to #4 I recall seeing the tolerances on TIS. I don't recall what they were but the caps get a good amount of it. Motor sounds like a mini. That is to say, I think these things sound odd but I didn't notice anything out of the ordinary mini. lol
I plan to get on it this week. I also said that last week though.
Since then I have gotten Mini #1 aka Peppers on her feet. Well, sort of. Mini #1 needed a HPFP, a starter and still needs a turbo rebuild. Parts on order
Rumor is Texsasmontego's Pepper purrs. His work certainly looks thurough. I'm looking forward to seeing all the trim installed, wheels etc.
Got an update on the project. The update is I'm a *******. Got the engine back in, was purring like a kitten back in early July, so decided to do a road test. Just took a few low speed passes right by the house (no front bumper or seatbelts) and took the RPM's up around 4K and heard a pop with immediate power loss. Sort of like a turbo tube popped off. Stop and gave it a second, went back to normal, no CEL's. Took another pass and took it above 4K and heard a louder pop and the engine immediately started struggling. Quickly made it back to the garage and saw oil smoke coming from the tailgate and from under the hood. Not a lot, but enough to see.
I had some work travel and other things, plus I was racking my brain with the potential cause, so I let it sit for a couple weeks. During that time I checked everything, plugs, connections, hoses, etc., everything looked good. Did a leak down test and that's when the issue showed itself. I was getting leaks around the pistons in 2 cylinders. One was really bad.
Here's where I'm a *******.
Here is the two engines I have, to keep the story straight.
Block/head #1 - Original block from the car with the broken piston.
Block/head #2 - Found locally as a replacement.
The only part I didn't rebuild was the block #2. I had the motor torn down, new components, reworked head and I trusted my used block #2 was good. I inspected it prior to assembly and the cylinder walls gave no indication that there could be problem. Being that I went that far with the rest of the motor and decided to be lazy and not do the block defines I'm a *******.
Found an engine shop locally in Denver (after visiting numerous. I was surprised so many shops didn't want to touch it) that has worked on Mini blocks before, so I've got the original block #1 and the crank at the shop now for evaluation. They are checking to see if it can be bored out to remove the damage from the broken piston and clean up the crank. Hopefully have an answer next week.
If the block #1 can be saved, I'll have it bored, new pistons, bearings, etc, then reassemble. I'll swap everything from the current in-car engine block #2 to block #1, then drop it back in the car. Then take block #2 over to the shop for evaluation and repair.
Once #2 is complete, reassemble with reworked head and get it ready for the next Mini project. That way, it will be a quick swap, new seals/gaskets, and can have the next car complete within a few weeks. Once it's done, do the same thing to the next car. Don't forget, I have 3 Mini's I'm rebuilding.
The great part is my recent experience with removing the original engine made it super quick to get the motor ready to be removed again. By the time I get to the 3rd car, I'll be able to remove the engine within an hour or two.
That is busy...you're an Indy shop all your own LOL. Looking forward to more updates as you get them all buttoned down.
Good Point. Someone asked/reminded me recently about my Mini projects. �Are you still having fun?� I had to remind myself that this is a hobby, so make it fun. I talked to the Engine Shop yesterday and they haven�t got to the block yet. I�m hoping for a good answer.
New updates are coming. Finally getting the block back from the machine shop. They were busy and I think I was at the end of the line. Going with a new sleeve, bored out for bigger pistons. Itching to get the car done. My friend is ready to pick it up for it’s new home. Decided on some different stripes too.
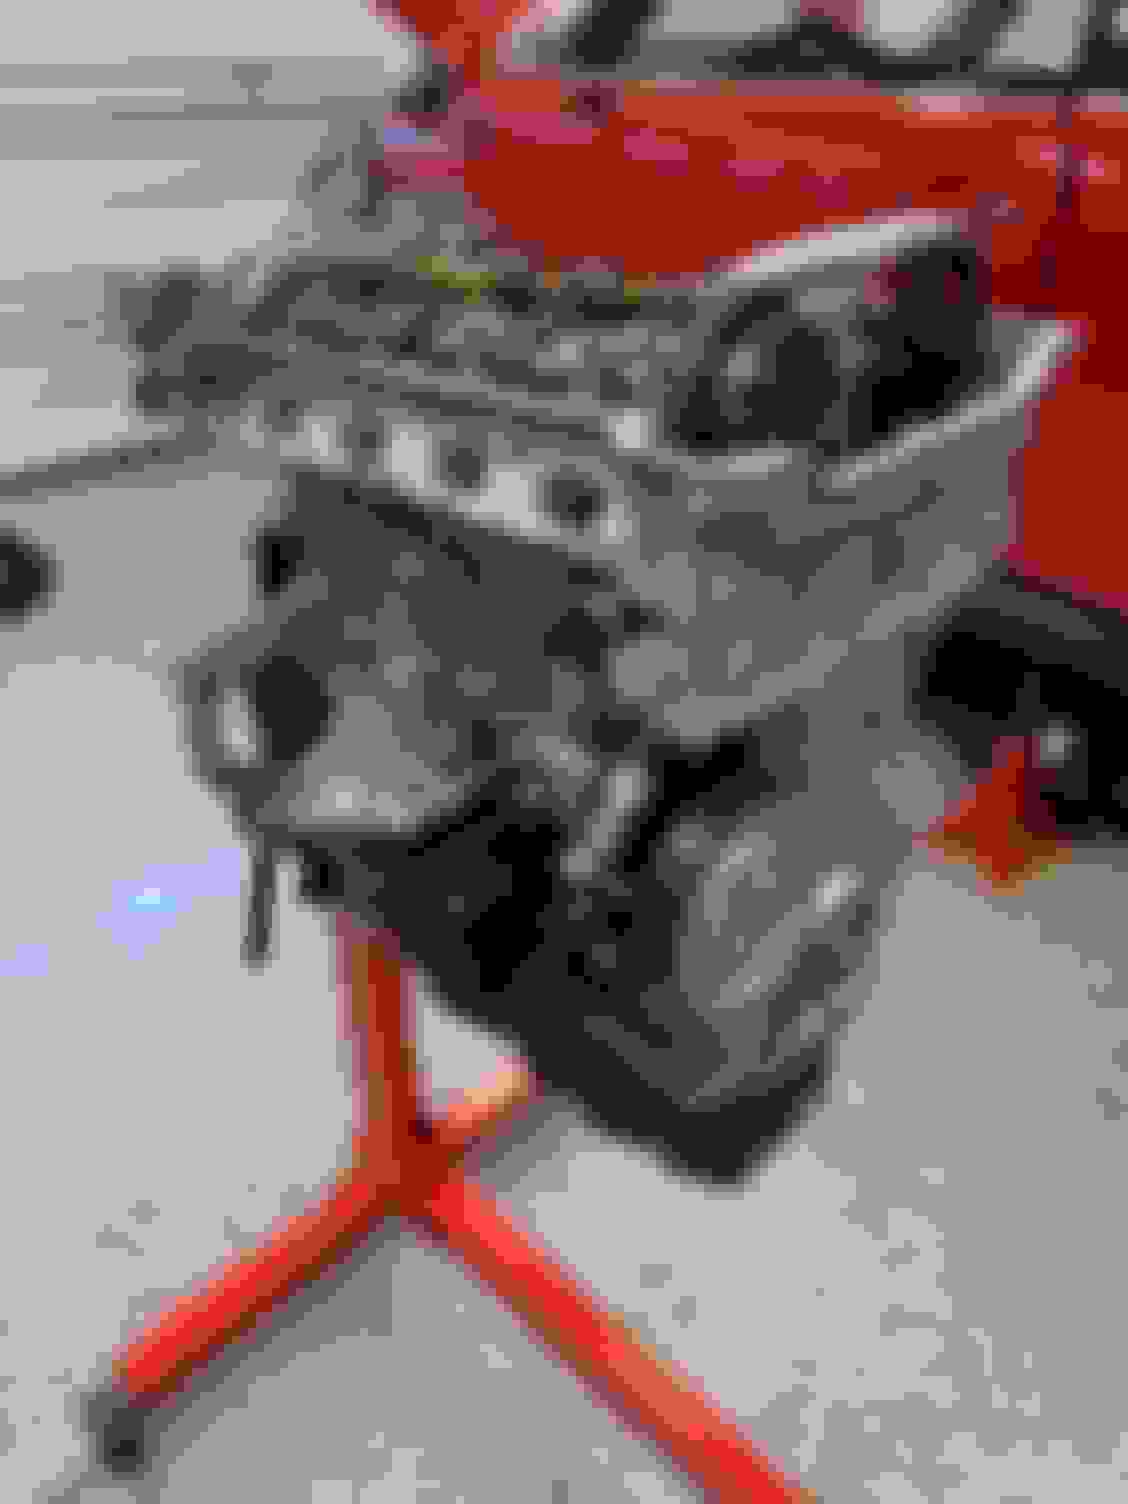
Got the blocks back from the shop. I was a little annoyed at the length of time it took, but whatever, I got them back.
Motor on the left will be going back in the car. Polished the crank, cleaned up & removed the glaze from the cylinder walls, and new rings and hardware for the pistons ($475 total). It’ll also get one of the cleaned/rebuilt heads (in the lower shelf) ($200). The root cause of this block was stuck piston rings due to oil residue build up. My thought is the previous owner(s) probably went by the maintenance schedule of ~14K mile oil change intervals and added oil only when the car gave the low oil warning. Regular oil changes (3K-5K miles) & level check once a month would have eliminated or reduced the chance of sticky piston rings.
Motor on the right was the original engine that had the broken piston. It really messed up the cylinder sleeve and required a new sleeve. I had to visit a couple of shops before I found someone that was willing and had experience with these motors. One shop told me to junk it and get a used block. Another said the only way to fix it would be to machine out all 4 cylinders, then reinstall new cylinders & sleeves. Both answers seemed like extremely wasteful and costly ways to correct the core problem, which was a chip & crack in the sleeve. Normally the solution would have been to bore it out and drop in larger pistons, but due to the extent of the damage, the sleeve had to be replaced. So, the shop replaced the sleeve, then bored it out for the larger Carrillo pistons. This one will be going in the car I decide to keep. (Total cost with the new pistons, $1450).
This has been a very fun project and a great learning experience. I’ve learned a ton about these motors and I have been surprised at how simple the core of the motor is assembled. There really isn’t that many parts and when I read posts about issues and problems others experience, and the solutions given by shops & dealers, it makes me shake my head in sadness from the amount of money and unnecessary parts replaced due to the “throw parts at it” repair mentality.
I’m looking forward to finishing this car in the next week or two and sending it off to its new home.
I apologize that my updates went quiet for a while, but I'm happy to announce the project is complete. What I've been doing over the last few months was a mix of hunting down gremlins, working through the issues and learning more about the R56. There has been numerous frustrating days and nights, but in the end, I'm very happy with the results and so is the new owner.
I ended up pulling the motor out 3 times and at this point, I can pull a motor pretty damn quick. I'll admit I made a few mistakes, like installing the front/rear main seals backwards. My friend and fellow forum member MWMWMWM has been a huge help and having 2 sets of eyes this far into a project definitely helps.
Here is a list of some of the things that went wrong, broke, and otherwise didn't work.
- Bad Fuel Injector. Apparently due to the length of time the vehicle was sitting (3 years), moisture was trapped in one injector and corroded it out and dumping fuel in the cylinder, flooding it out. If you're going to replace one, may as well do the rest because they will eventually go from the same issue.
- Front/Rear Main seals in backwards. I'll blame this on a time I was handling numerous issues at once and overlooked it. Great catch by my friend MWMWMWM.
- Oil pump went bad. Had the car totally back together and conducting test drives when the low oil light came on at idle. Changed the filter, swapped the sensor, then swapped the pump. Luckily I had a backup pump or it would have been a very costly solution. Disassembled the pump and identified something unusual with the low pressure spring. The rotating turbines in the pump were also extremely difficult to turn by hand. When compared to the backup pump, there was obviously something not right.
- Forgot to secure a couple of hose clamps, dumping coolant all over the street and garage. This I blame on not paying attention and not going over all clamps one last time. Won't happen again.
- Dead batteries. Just my luck with this car, I got 2 batteries that ended up both being bad. Something about this car was attracting completely unusual issues. I can only remember having 1 bad battery (from the start) over my life, but somehow this car found 2 back to back.
- Leaking tire. Discount Tire in their infinite wisdom decided to chunk the tire and just tell me, "it was a bad tire", without calling and talking to me first or trying to rotate the tire and see if it seals. $200 later, I had a new tire.
- Leaking Turbo. The seals inside the turbo allowed oil to cross over. The intercooler had a lot of oil in it. New Turbo.
- Due to both the block and the head being shaved to achieve flat, a thick gasket was needed. Chunk the oil (which was still new), then install the thicker version.
- The front windows were locked in pinch protection mode, meaning, they would only raise to a certain height, then trip the pinch protection and go all the way back down, and pop the door latch. After numerous software attempts with INPA (it took a couple of weeks to get INPA working correctly), I determined it was my mistake that was causing it. I had to disassemble the doors and remove the windows to replace the door handles with the painted black. When I reassembled, I forgot to route the lock cable behind the window tracks on both doors. So when the window would raise, it would catch on the cable, limiting the windows path, and think something or someone was caught in the window.
The fun/frustrating part was each of these issues came to light individually and therefore required a lot of assembly/disassembly. The up side is that I am VERY GOOD and comfortable with almost everything on the R56.
I would consider the car completely rebuilt. From the pistons, suspension, interior, exterior, wheels and brakes, everything has been given attention in some fashion.
I let the new owner select the stripes style. I really like the theme and it turned out better than I anticipated.
Over this year, I picked up 2 other Mini's, so I'll be starting the next one today. I'll start a new thread on the build, but it won't take near as long as this one.
 02-20-2019, 05:11 PM