Interior/Exterior Carbon Creations CF Hood
#1
Carbon Creations CF Hood
Hey all,
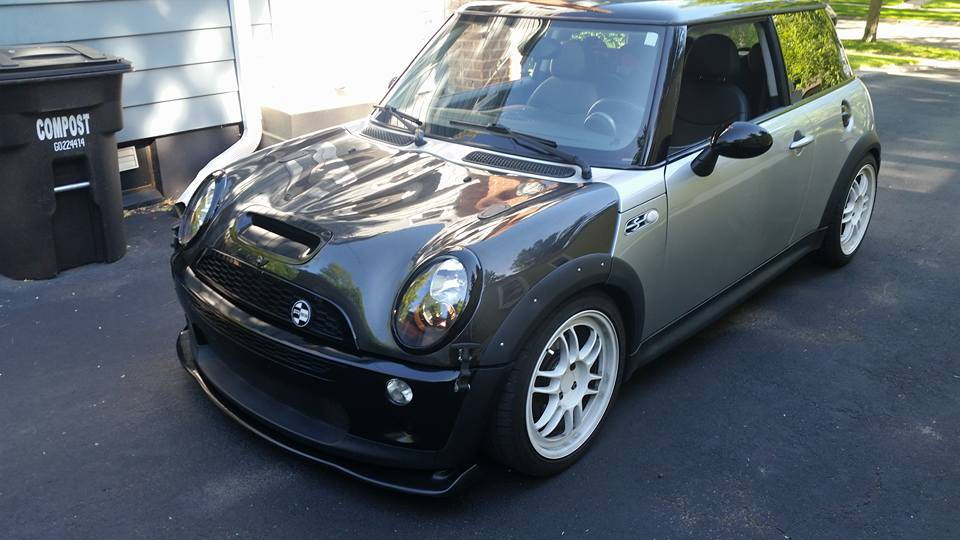
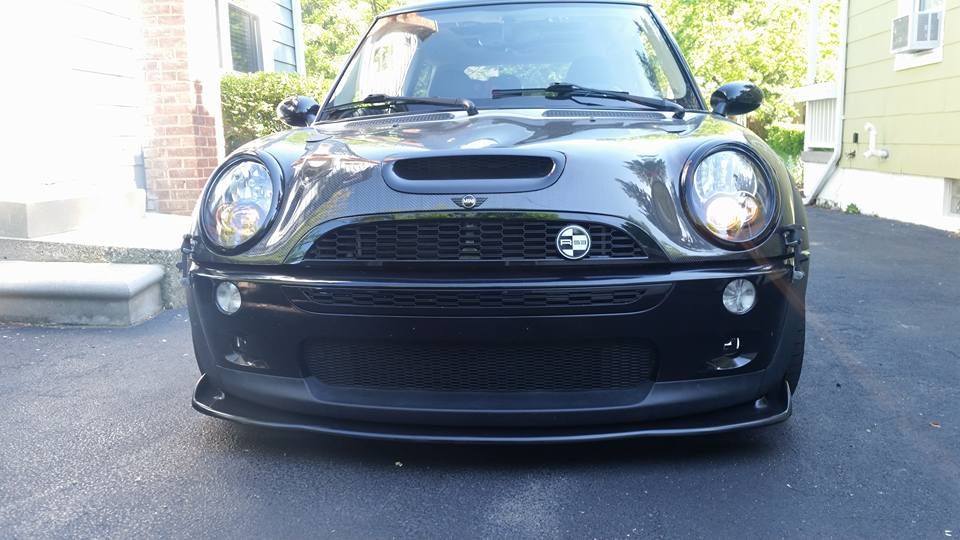
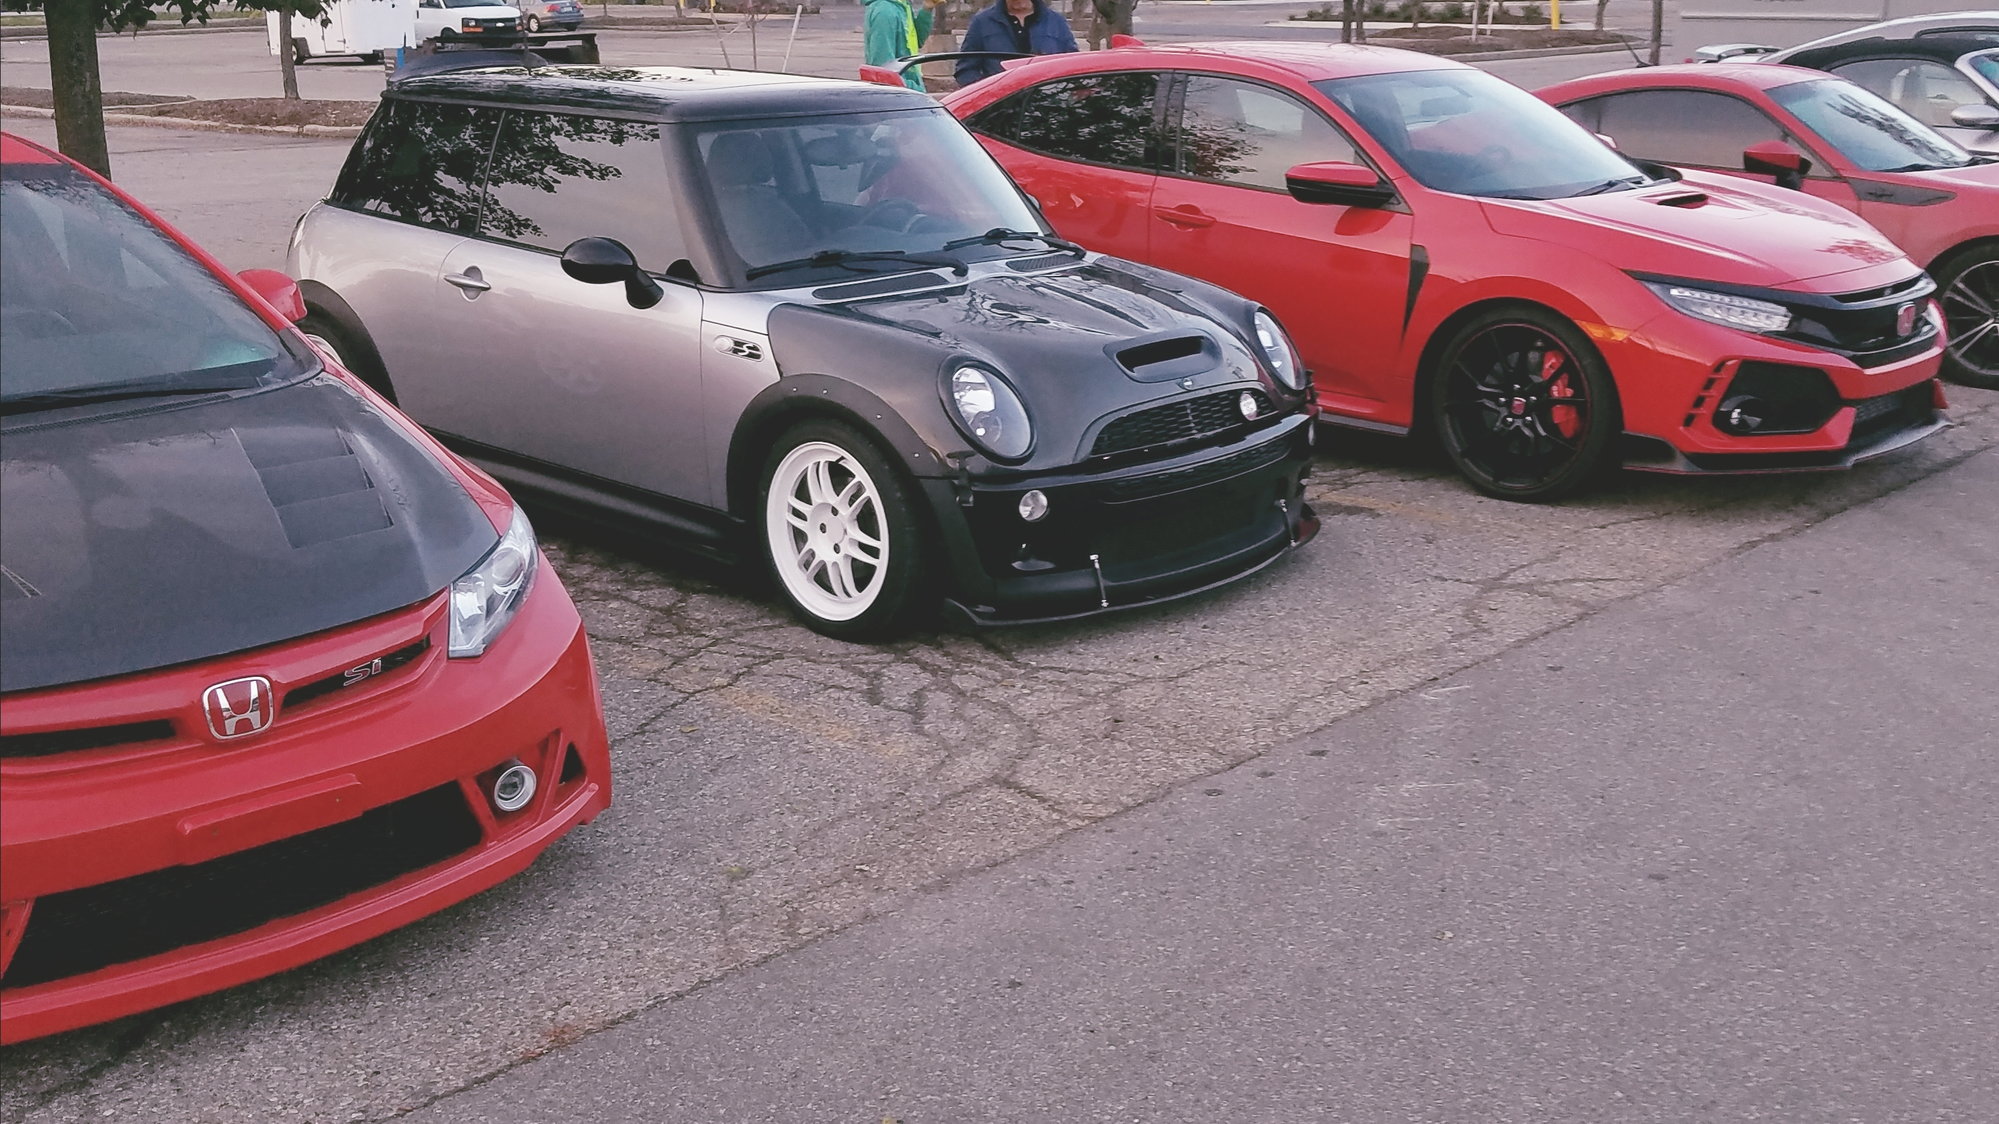
I'm not normally much for posting, but I wanted to share pics of my R53 with the Carbon Creations CF hood, now that it's FINALLY done.
For those of you thinking of doing this one your own, as I did, let me just state - NOT FOR THE FAINT OF HEART. This was a total of about 30 hours of labor to mount and get it all operating as it should. Even now, there are things I will probably go back and tweak.
Summary:
I bought this used R53 from Maryland last year - hood was REALLY dinged up, so I thought - why not a CF hood? it's cheaper than a hood repaint, and I don't care for vinyl or plasti-dip. I have done CF hoods with other cars I've owned in the past with success. Little did I know....
I ended up on the Carbon Creations one. CC is an Extreme Dimensions Company out of CA. It took 2 months for the hood to come, but it finally arrived. Be ready to follow up with CC if you order one, their communication regimen is not stellar.
I ordered it because it was an "OE" replacement. As someone who works in the industry on the design side, calling this hood "OE" is the most generous of terms. It's more stylistically like the OE and not as dimensionally OE as an original.
For starters, only 3 holes were pre-set: the two air cylinder mount points, and the ground strap mount (still confuses me). ALL of the other mounts, including the hinges openings and holes, had to be cut/drilled.
This included the mount for the hood scoop (no hole was cut in the inner to allow air to go through the IC - it was a fake intake), the washer nozzles, the headlight mounts, all the wire harness mounts and the wheel arch mounts (which can't use the OE clips, since the fiberglass is so much thicker than the OE steel hood).
If you ever have to do it, make sure you have tracing paper, a pencil, painter's tape, a fiberglass bit, a dremel, and A LOT of patience.
As well, due to dimensions being non-OE, I wasn't able to use the OE hinge mounts. Therefore, I'm running two sets of hood pins (one set of Aerocatch, one set of external hood latch pegs).
Even now, I will probably put on a THIRD set of push button pins near the front scoop, as I still get hood fluttering at high speeds in that area.
Is it worth it? I'm not sure - but it's done now and certainly grabs a lot of attention, even if the weight savings is very low.
So, there's my share. I'm not on a lot, but if you have questions, let me know, I'll be happy to answer.
...and yes, those are BRIGHT WHITE 17x7 RPF1's - I had them powder coated that way!
Last edited by TT5; 03-26-2018 at 08:16 AM.
The following users liked this post:
MiniTigger (03-27-2018)
#3
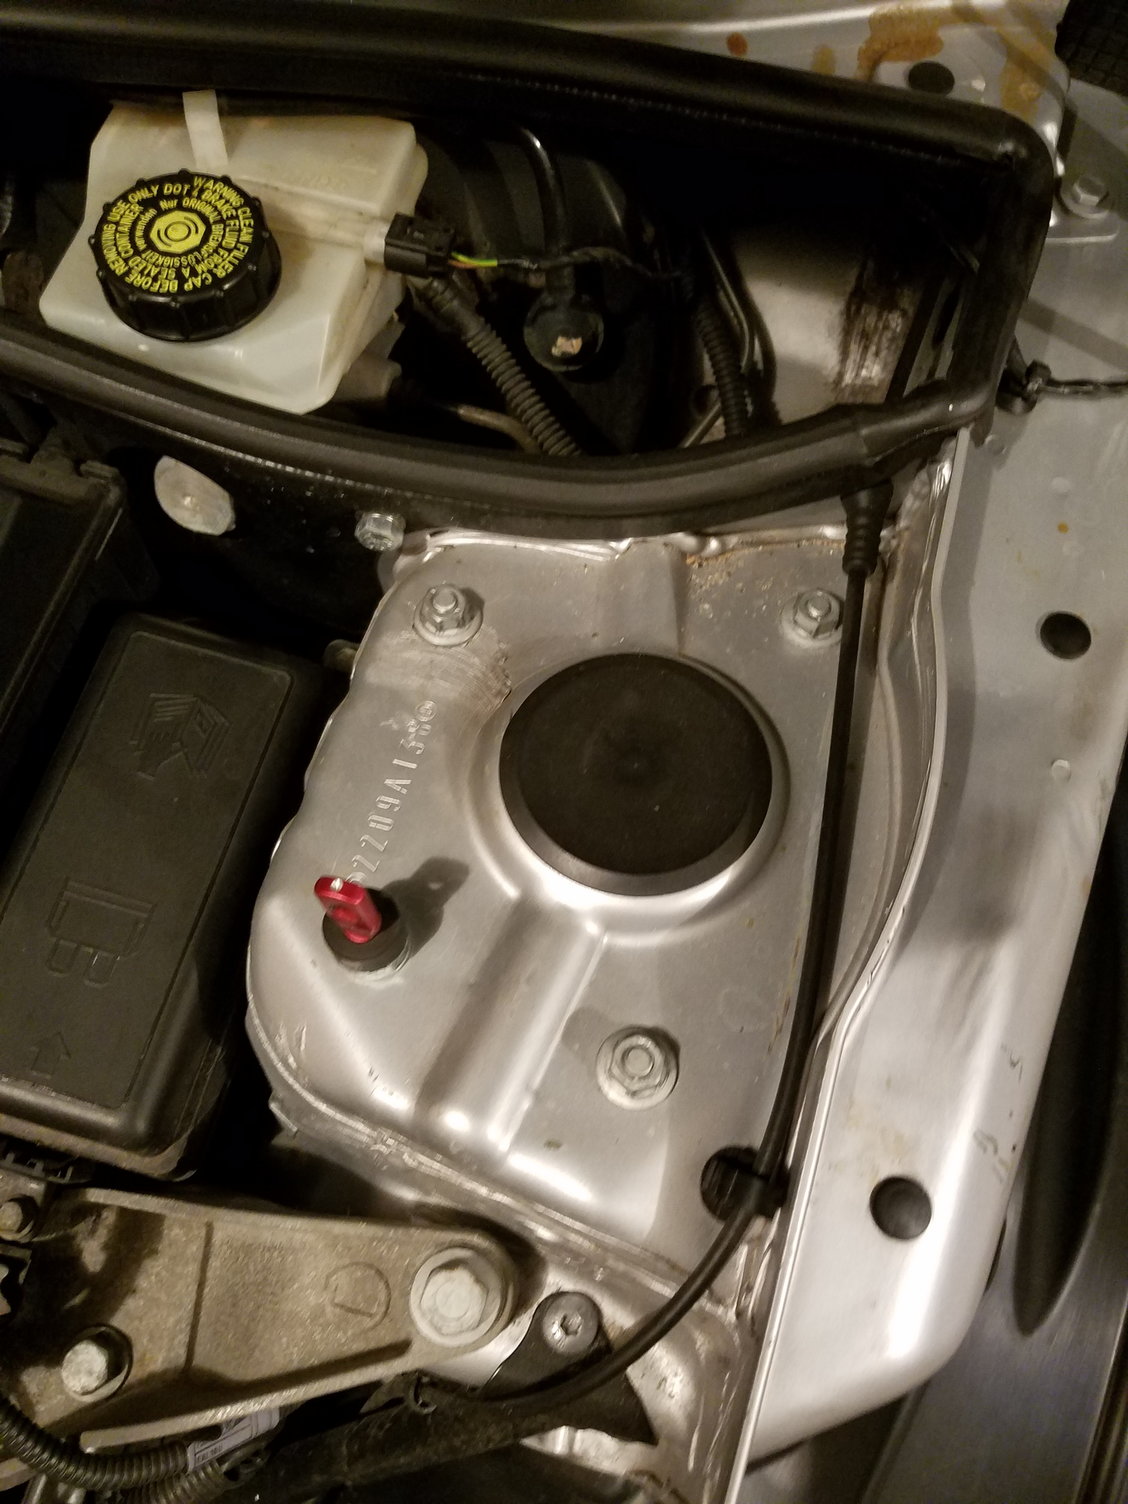
Let me take a couple of pictures, but basically I had to mount them on the shock perches. they're drilled in one corner. It worked out OK, the issue is that they're so far back you need a separate set of pins for the front part of the hood.
#6
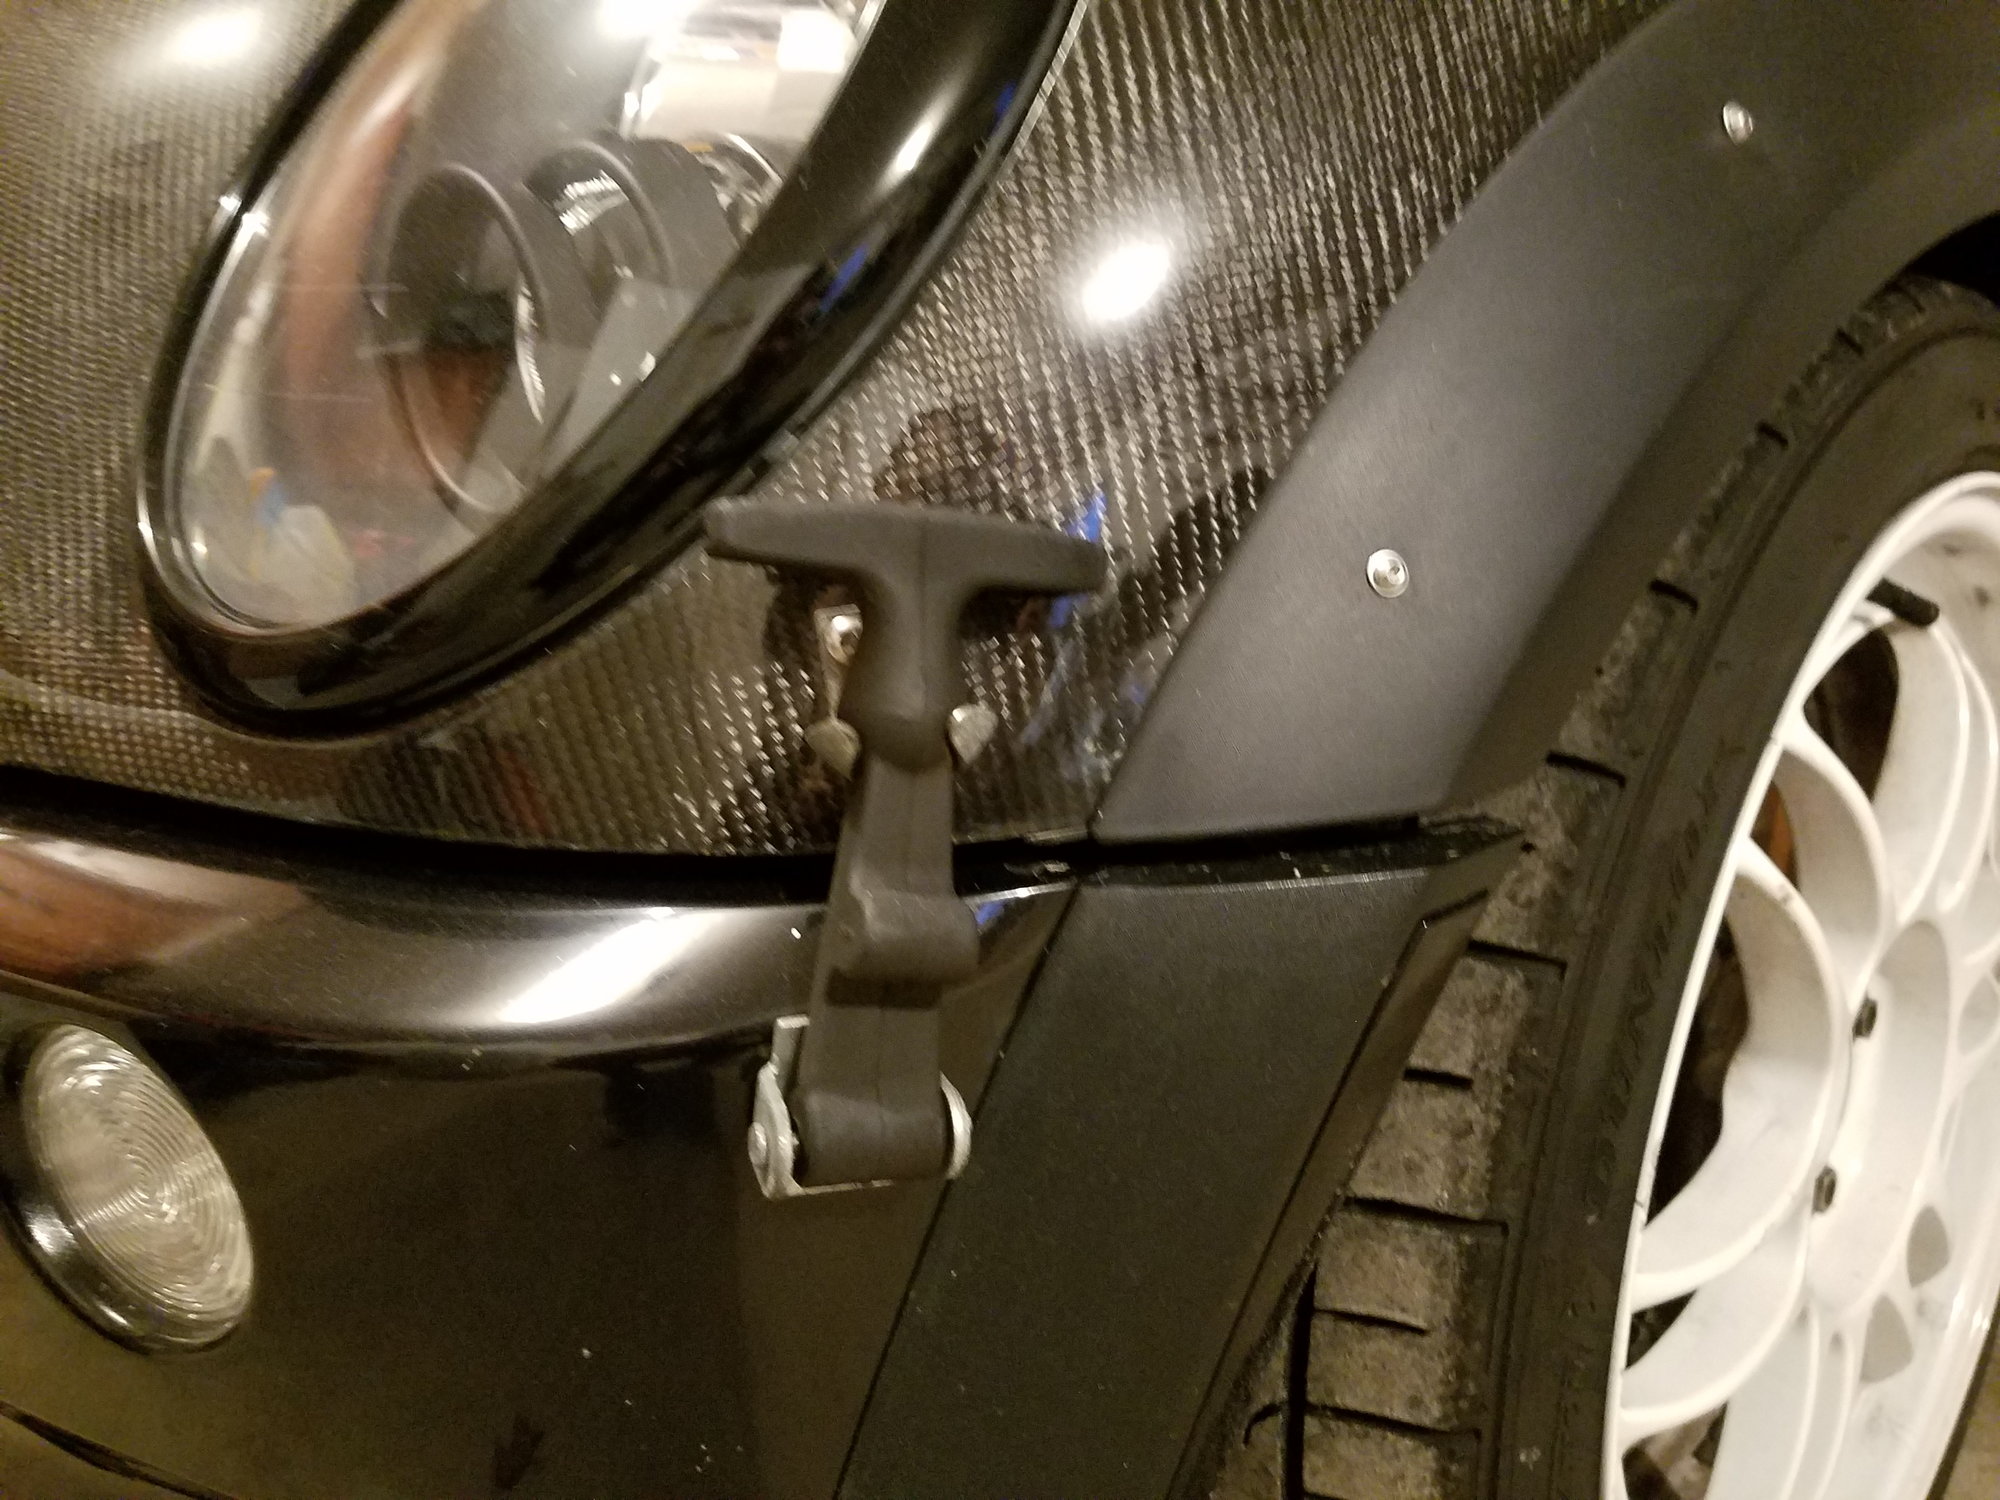
A close up of the front external latch I installed. very inexpensive and they work great. Plus it is reminiscent of 60's classic Euro cars.
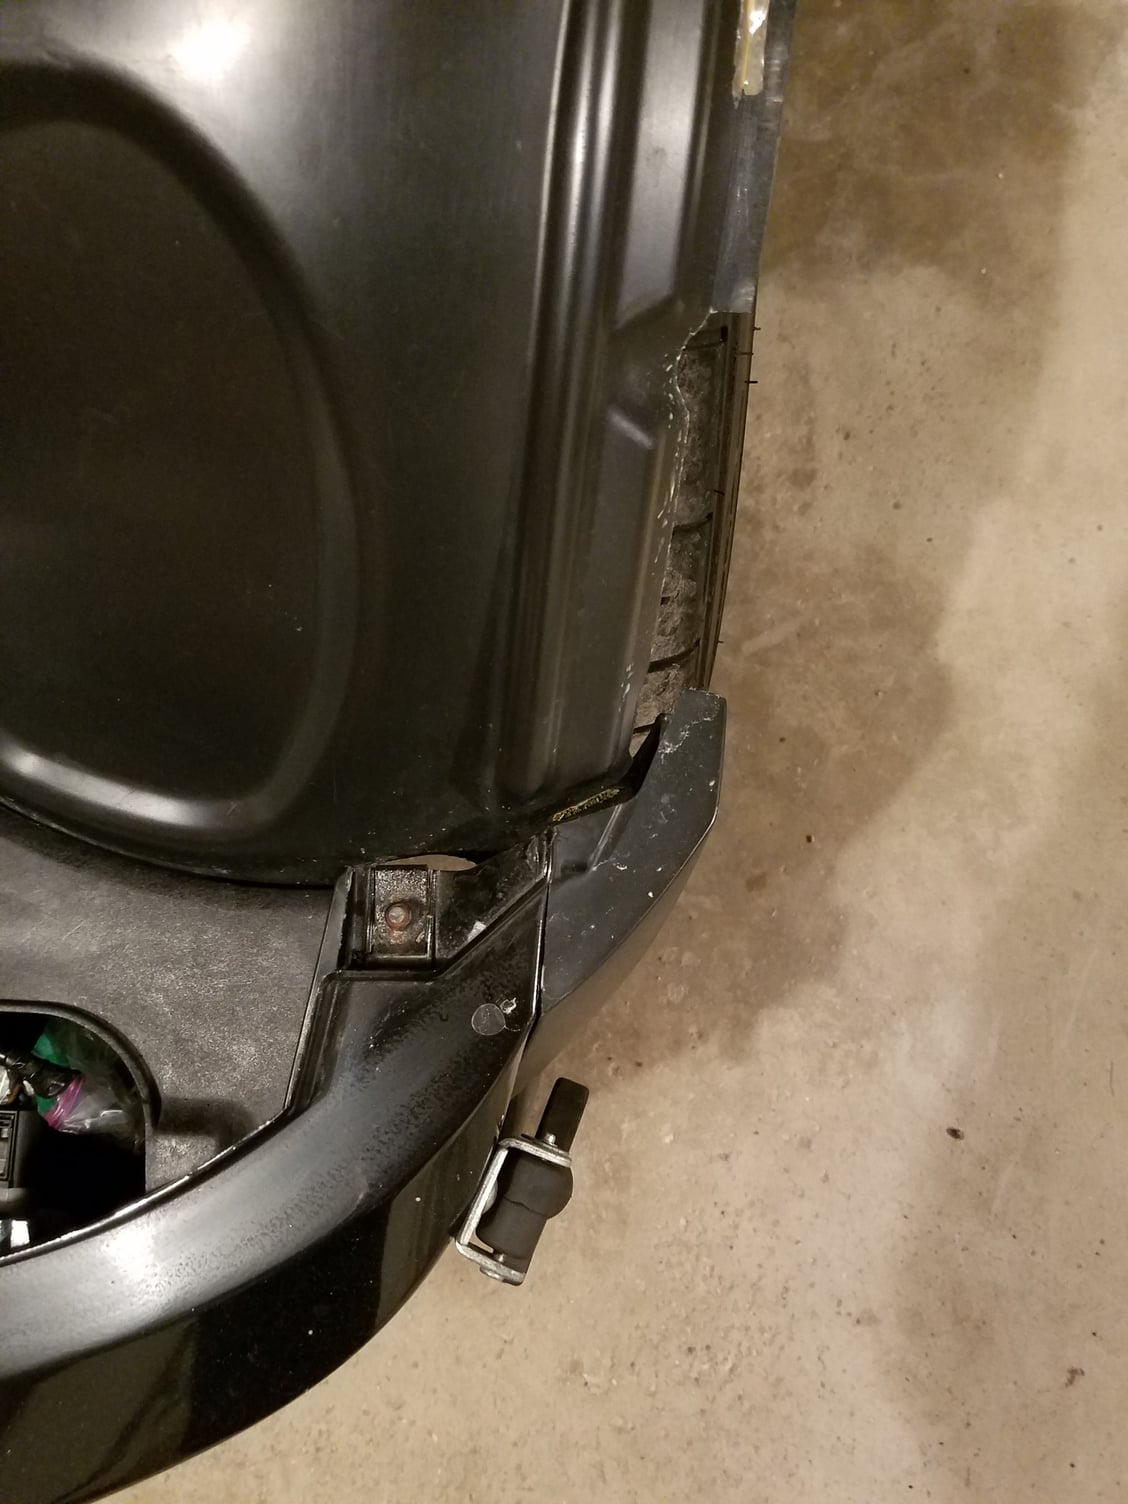
top down pic of how I mounted the external hood latch. basically it's easy to pull off the top of the bumper for mounting it without removing the entire bumper.
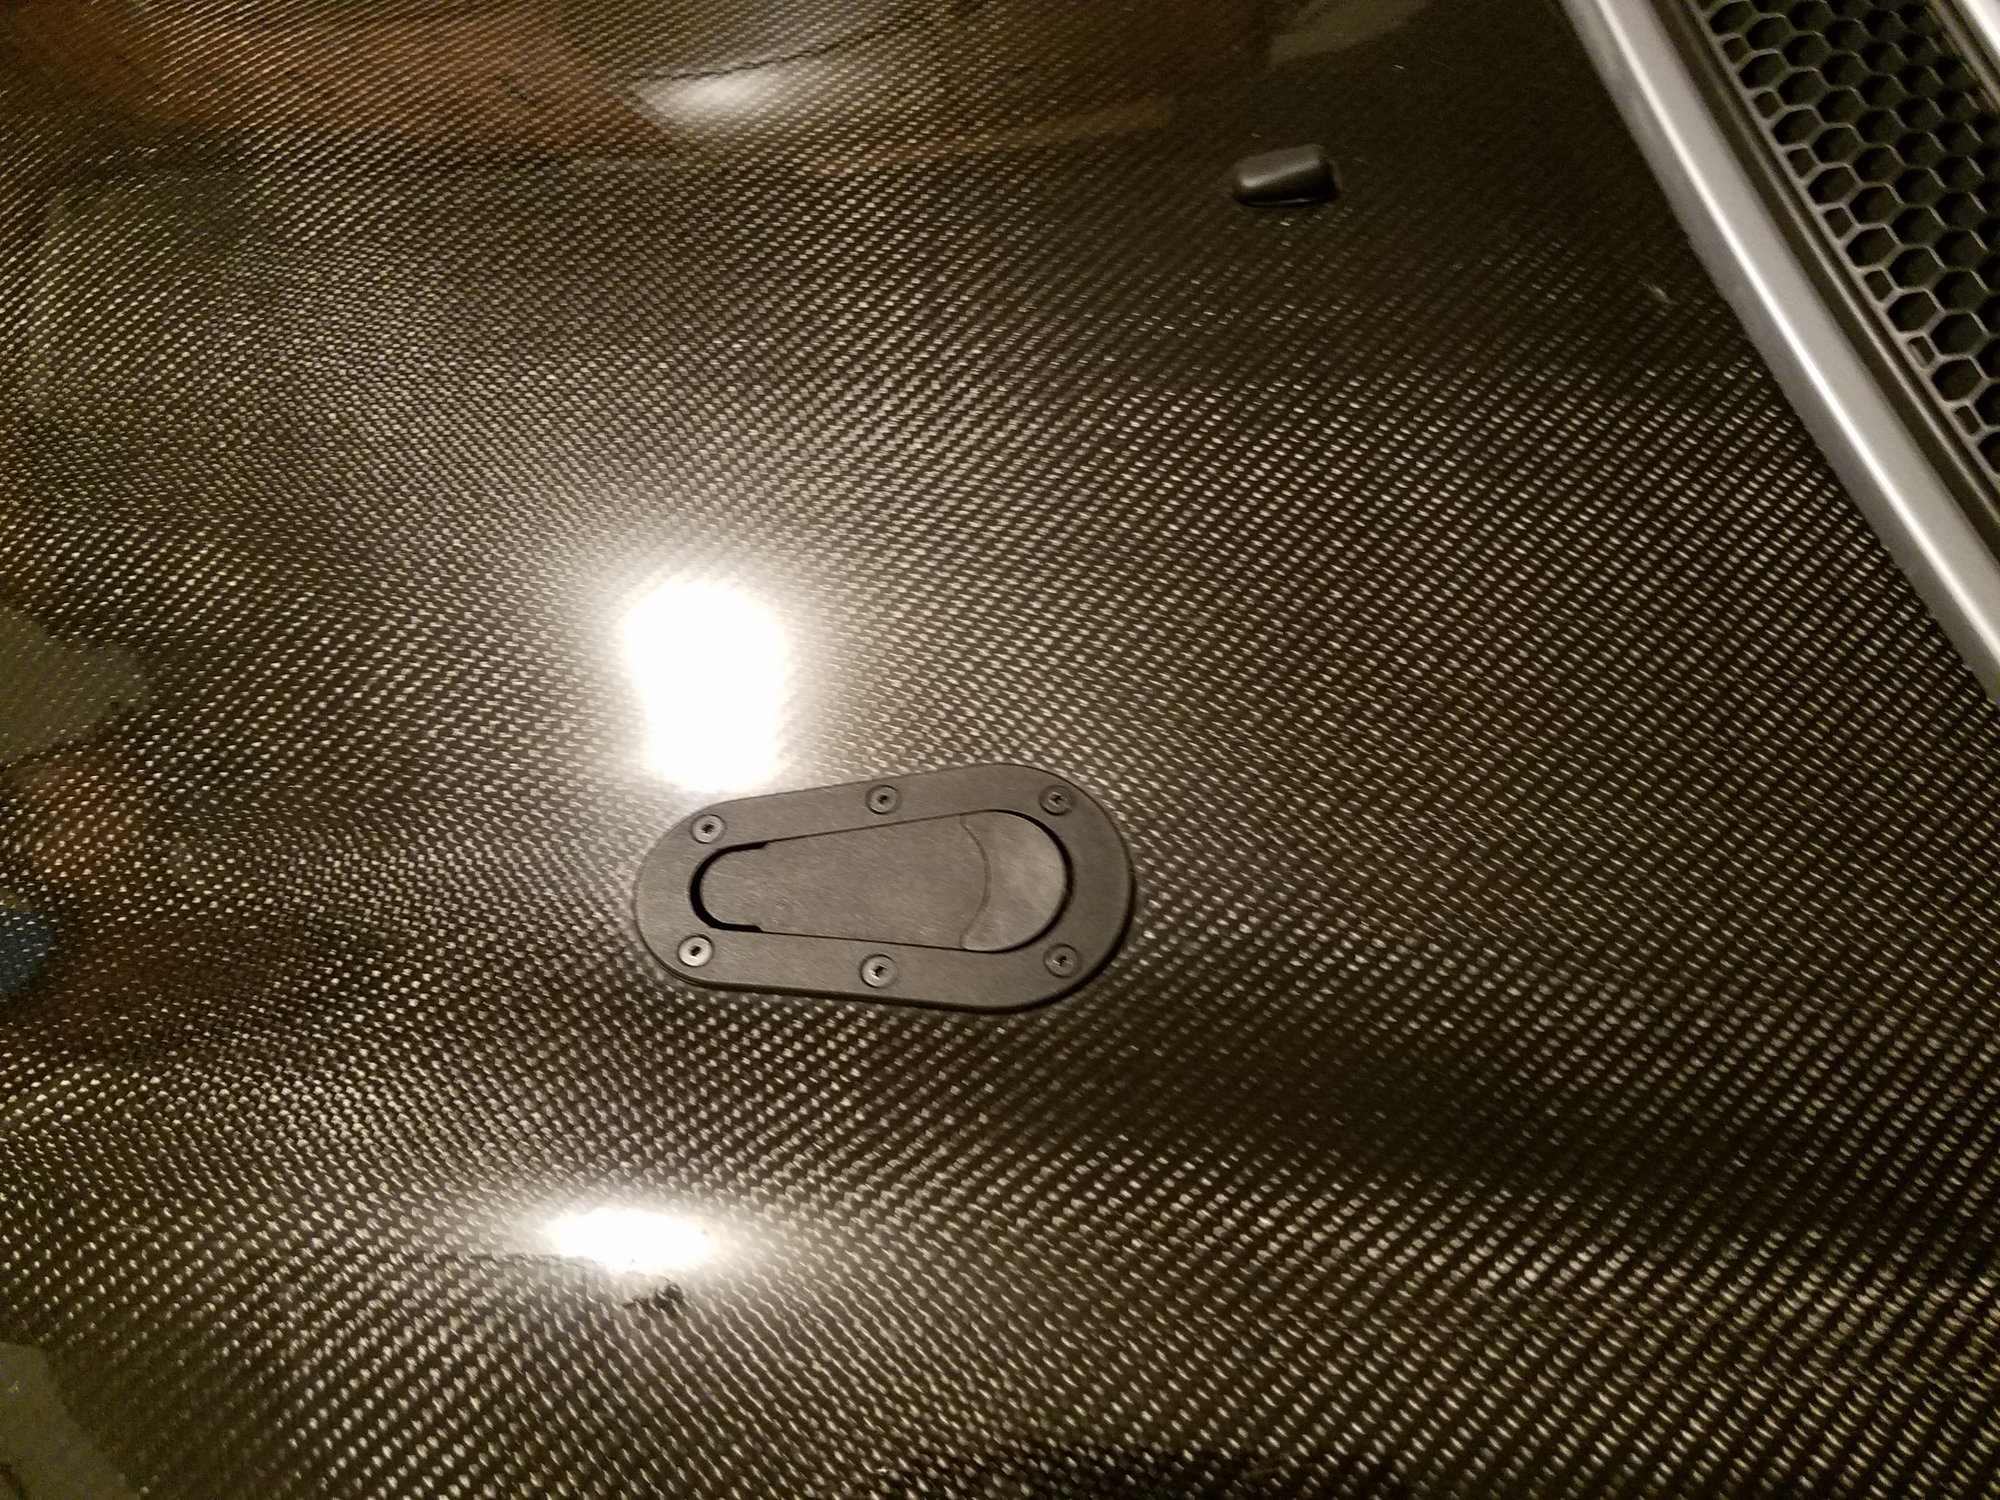
up close of the Aero latch in the hood.

This is where I mounted the hood pin in the engine bay. it's as far forward as I could get easily in the bay, and it's accessible from the bottom through the wheel well. So, mounting wasn't too hard. Just measured, marked it, pulled it out, cut off the excess in the well, and reinserted it.

the hood thickness is different than the OE, so I needed to find a way to mount the plastic fenders. I just went with a deliberate external look. I like it.
#8
#9
I didn't weigh the hood, but the OEM hood is fully steel, and it is quite heavy. Overall I would say that it saved about 10-12lb. No more than that.
#10
#11
Wow, great looking R56! I like the blacked out fenders, either way it looks great.
I'm glad to hear that the VIS wasn't so bad to put on. Honestly, the CC Hood I bought was a real nightmare.
Were you able to maintain the OEM hood latches? I wasn't, which is why I had to go to the aftermarket solutions I put on.
I'm glad I work in the automotive industry and am not afraid of tools, because otherwise it would just be sitting in my garage collecting dust.
#13
Trouble with carbon fiber parts is they look cool but, the clear-coat/ gel coat will quickly oxidize or have white spot issues, that will drive you nuts. Vette (ZO6) , Lambo & Ferrari all apply base coat/clearcoat to prevent this problem ;CF uses clear-coat on their parts and it does not hold up to weather well.Carbon fiber is slightly stronger than fiberglass and can replace metals in certain applications. Fiberglass, on the other hand might not have a have a higher tensile strength but has a dramatically lower tensile modulus. This allows it bend and take more strain without breaking. Though each material has an overall measurement of strength and modulus, this can vary with the ratio and material each composite material is made of.
Last edited by Tombstone; 03-31-2018 at 01:44 PM.
#15
#16
Let me get this straight.. from my understanding you had to make holes and mountings for everything? Even to install the headlights?? ( a quick reply would be appreciated )as Iím in the process of ordering a CF hood and saw that the CC product is cheaper then VIS and Seibon but i donít mind paying for something thatís much more easier to install and better quality
#17
Let me get this straight.. from my understanding you had to make holes and mountings for everything? Even to install the headlights?? ( a quick reply would be appreciated )as Iím in the process of ordering a CF hood and saw that the CC product is cheaper then VIS and Seibon but i donít mind paying for something thatís much more easier to install and better quality
The cavities for the headlights were molded into the form of the hood, and they did fit well; wasn't too loose or tight to install the headlights.
What WASN'T drilled for the headlights were the holes for the bolts to mount them. There was a small mounting bracket molded into the hood, but no holes for securing the headlight bolts at the back.
As well, because the form of the hood was not to OE spec, I have had to readjust the headlight aiming, as it was all over the place. It still needs some tweaking, even today.
And as for drilling everything else - it's a completely true statement, ALL of it got cut and/or drilled. I would honestly NOT do it again, it was a real learning project.
Even 2+ years later though, the hood still fits great and has held up remarkably well. I actually just put an EXPEL clear bra on the hood and front bumper this summer for extra protection.
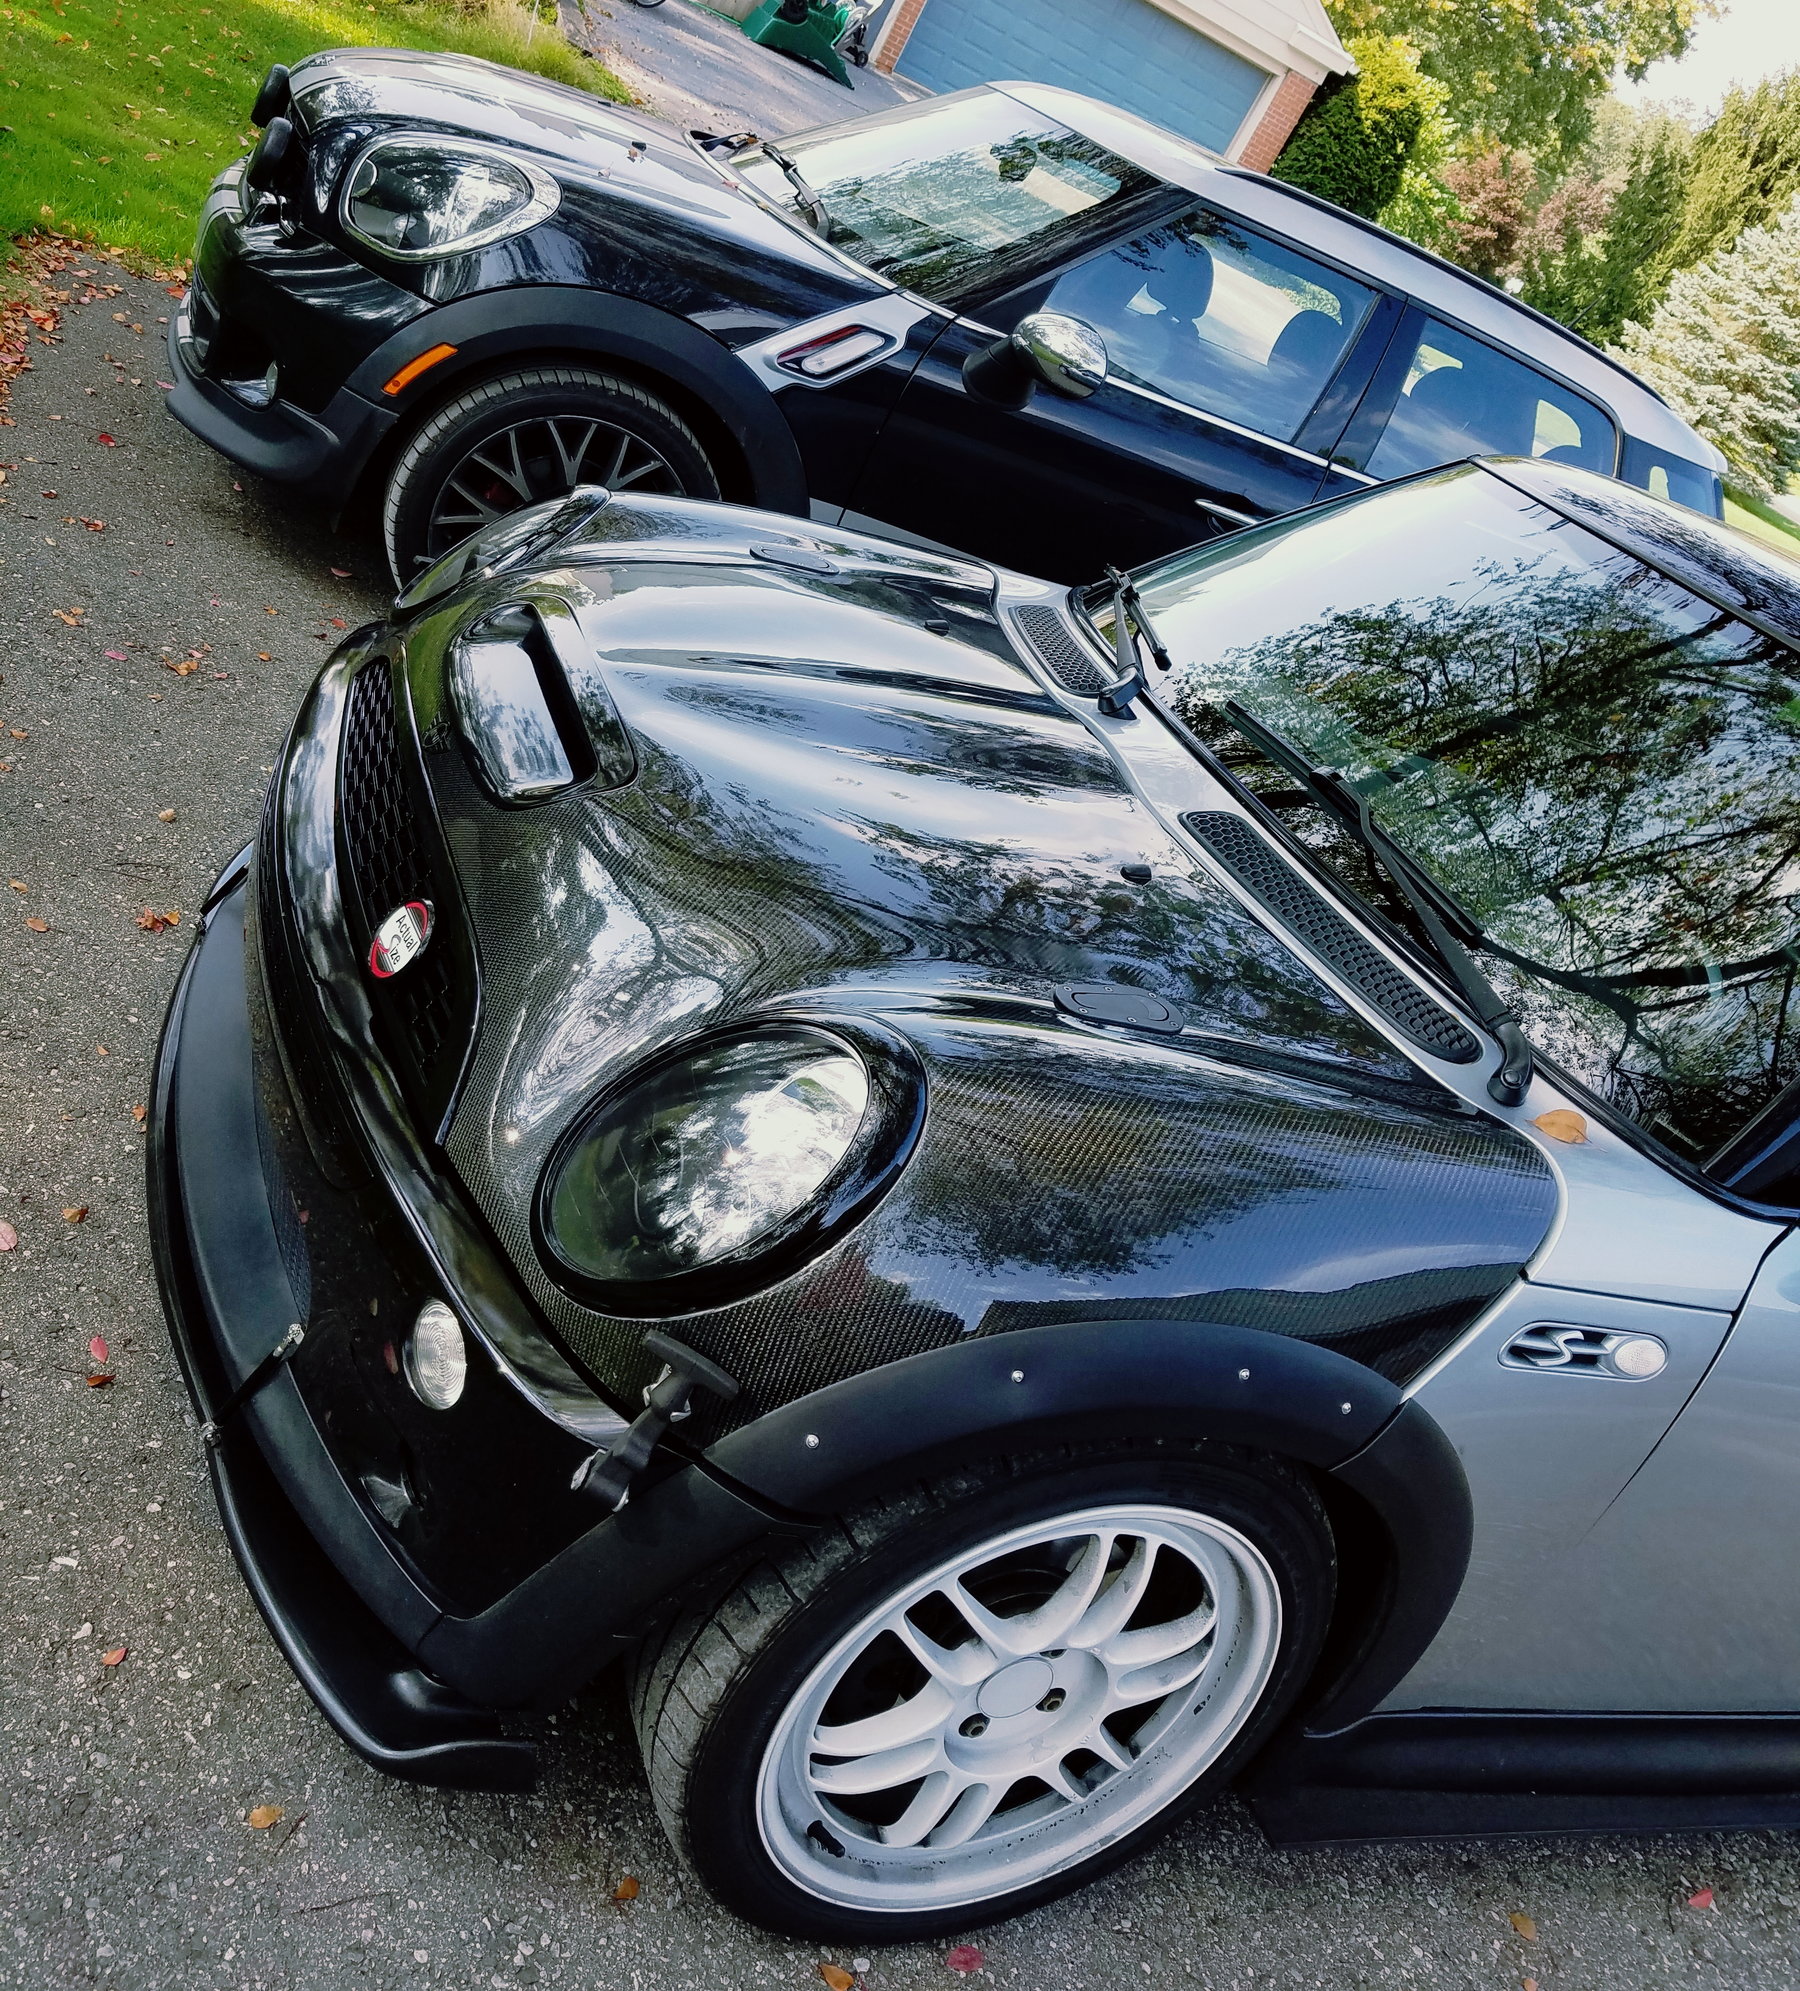
here's a few pics from this Fall.

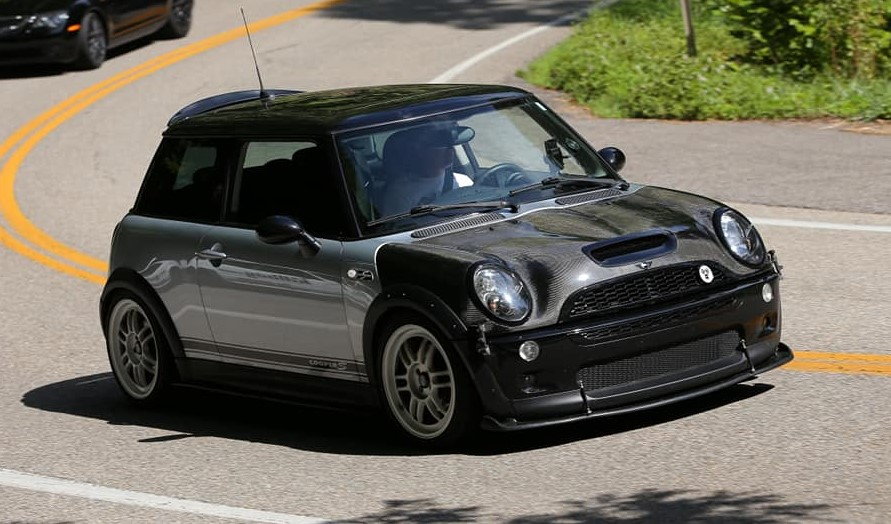
And then here's a few more detailed pics of how I secured it:
Mounting point for the Aerolatches.

My solution for securing the plastic fenders to the CF hood. I tried other "hidden" ways, and they just didn't hold. Finally went for more of a "rivet" look.
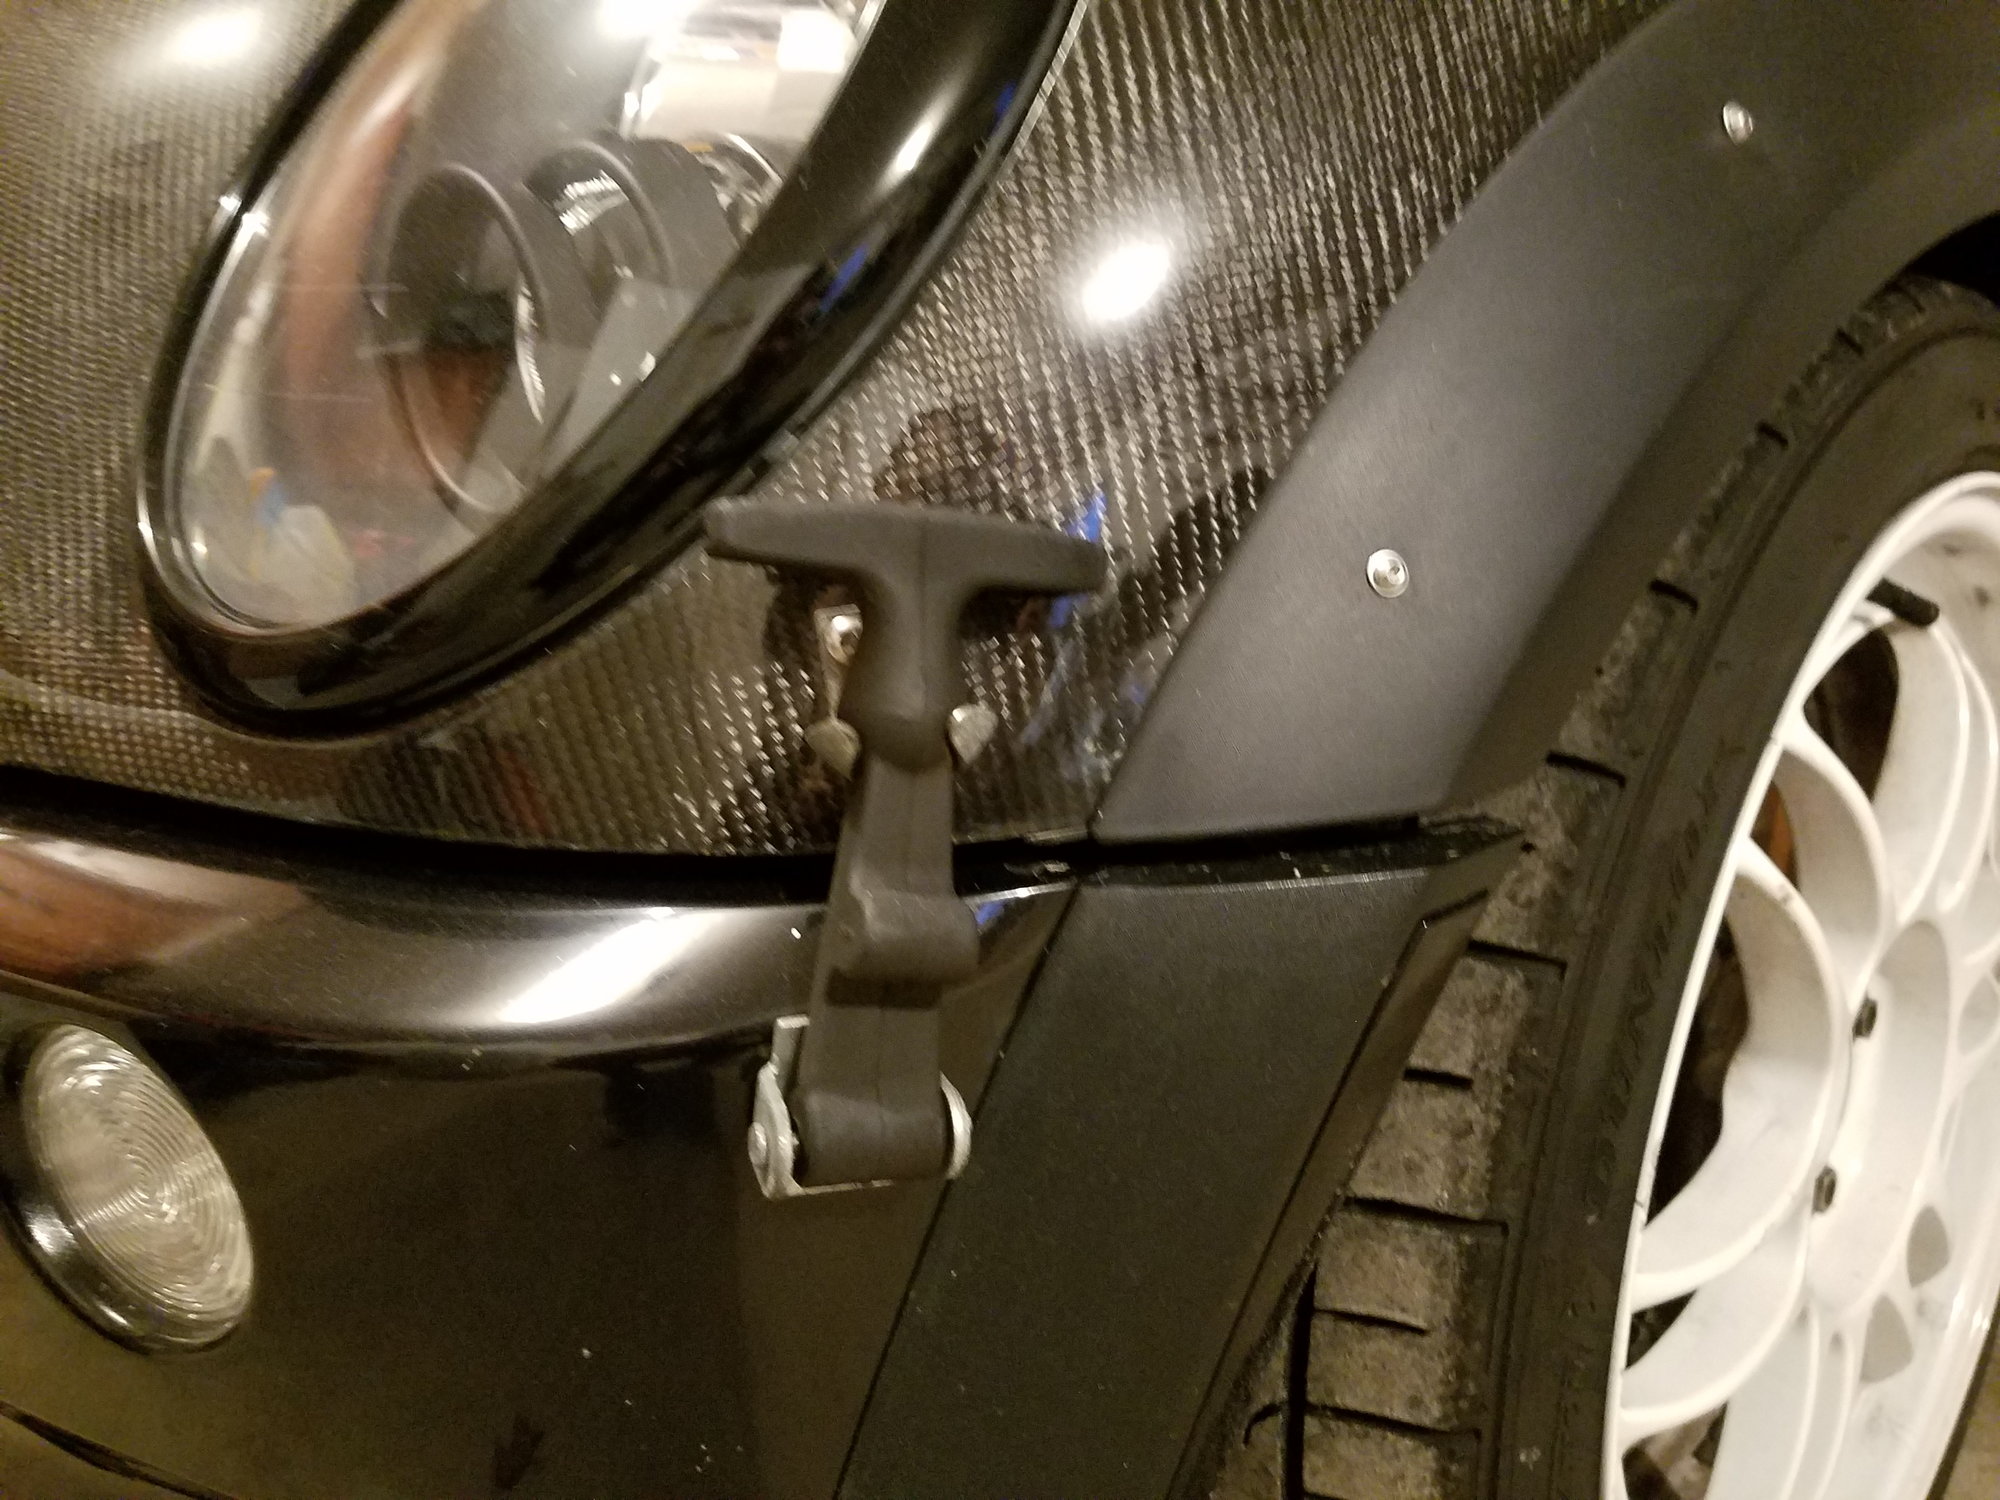
Utilizing simple camper/jeep style hood catches to hold down the sides for extra insurance. They work great.
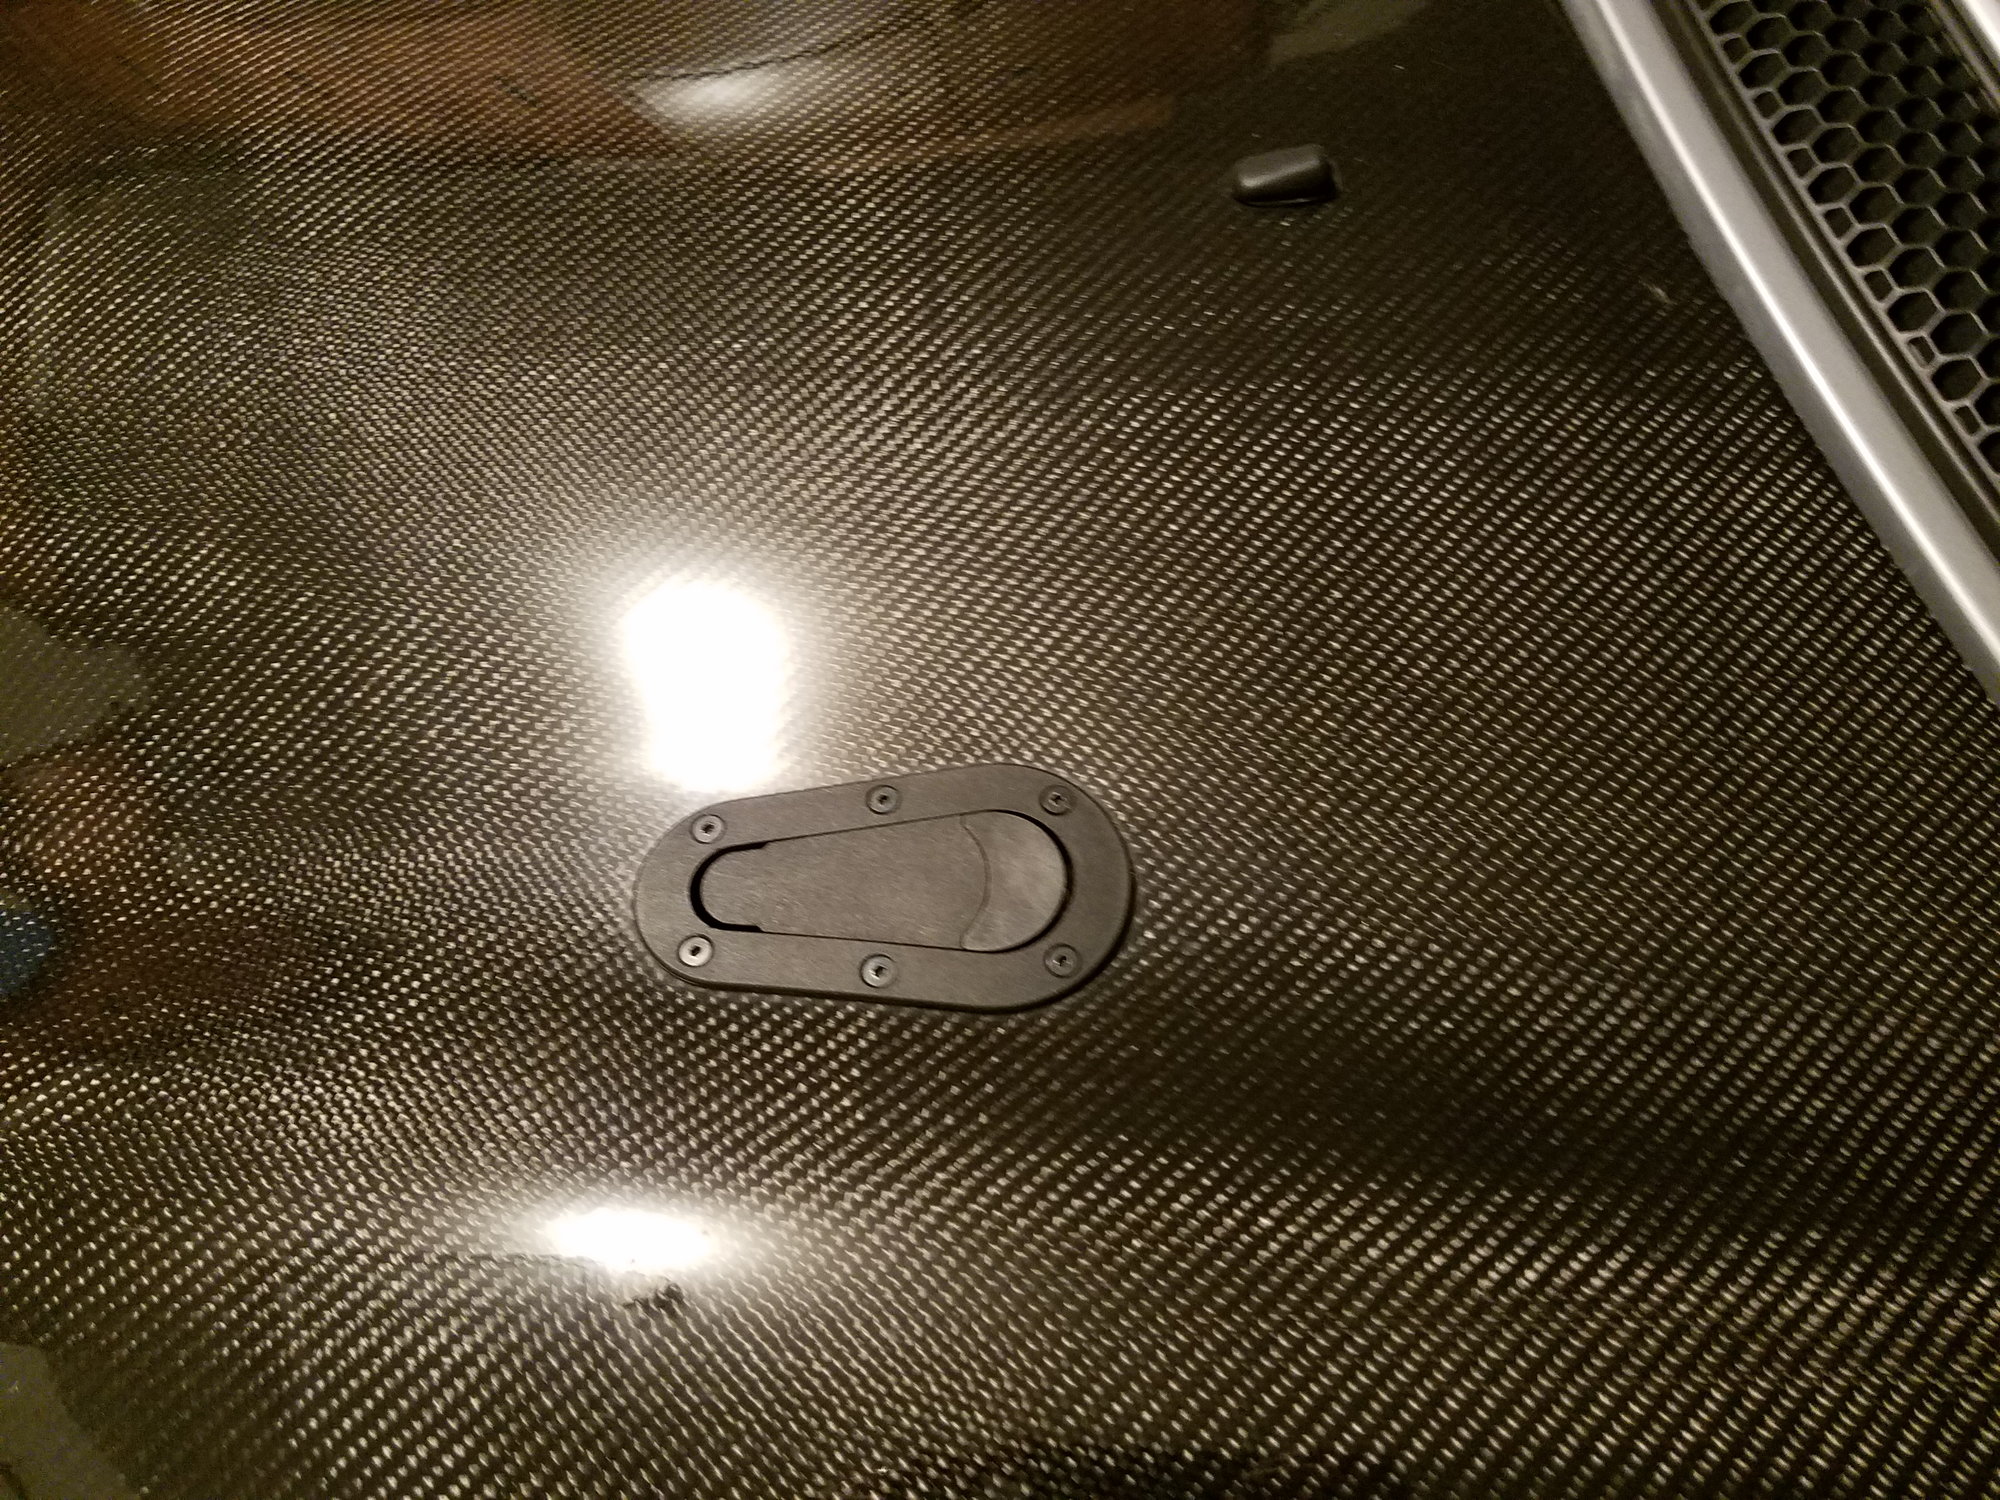
A picture of the Aerolatches from the top of the hood.
#18
Thread
Thread Starter
Forum
Replies
Last Post
benjohnson
R55 :: Clubman Talk (2008+)
5
08-12-2016 04:56 PM
PelicanParts.com
Vendor Classifieds
0
08-11-2016 04:47 PM
PelicanParts.com
Vendor Announcements
0
08-11-2016 04:46 PM
Photodesign
R50/R53 :: Hatch Talk (2002-2006)
11
08-09-2016 07:31 PM
snowmanmini
MINI Parts for Sale
0
08-09-2016 06:29 PM


