When you click on links to various merchants on this site and make a purchase, this can result in this site earning a commission. Affiliate programs and affiliations include, but are not limited to, the eBay Partner Network.
This is an awesome suggestion and design . You don't need to have a 3D printer as you can download the specs and send to a 3rd party to print. I used 3D Hubs and had it printed and delivered for $25 in under a week. Great spot for it.
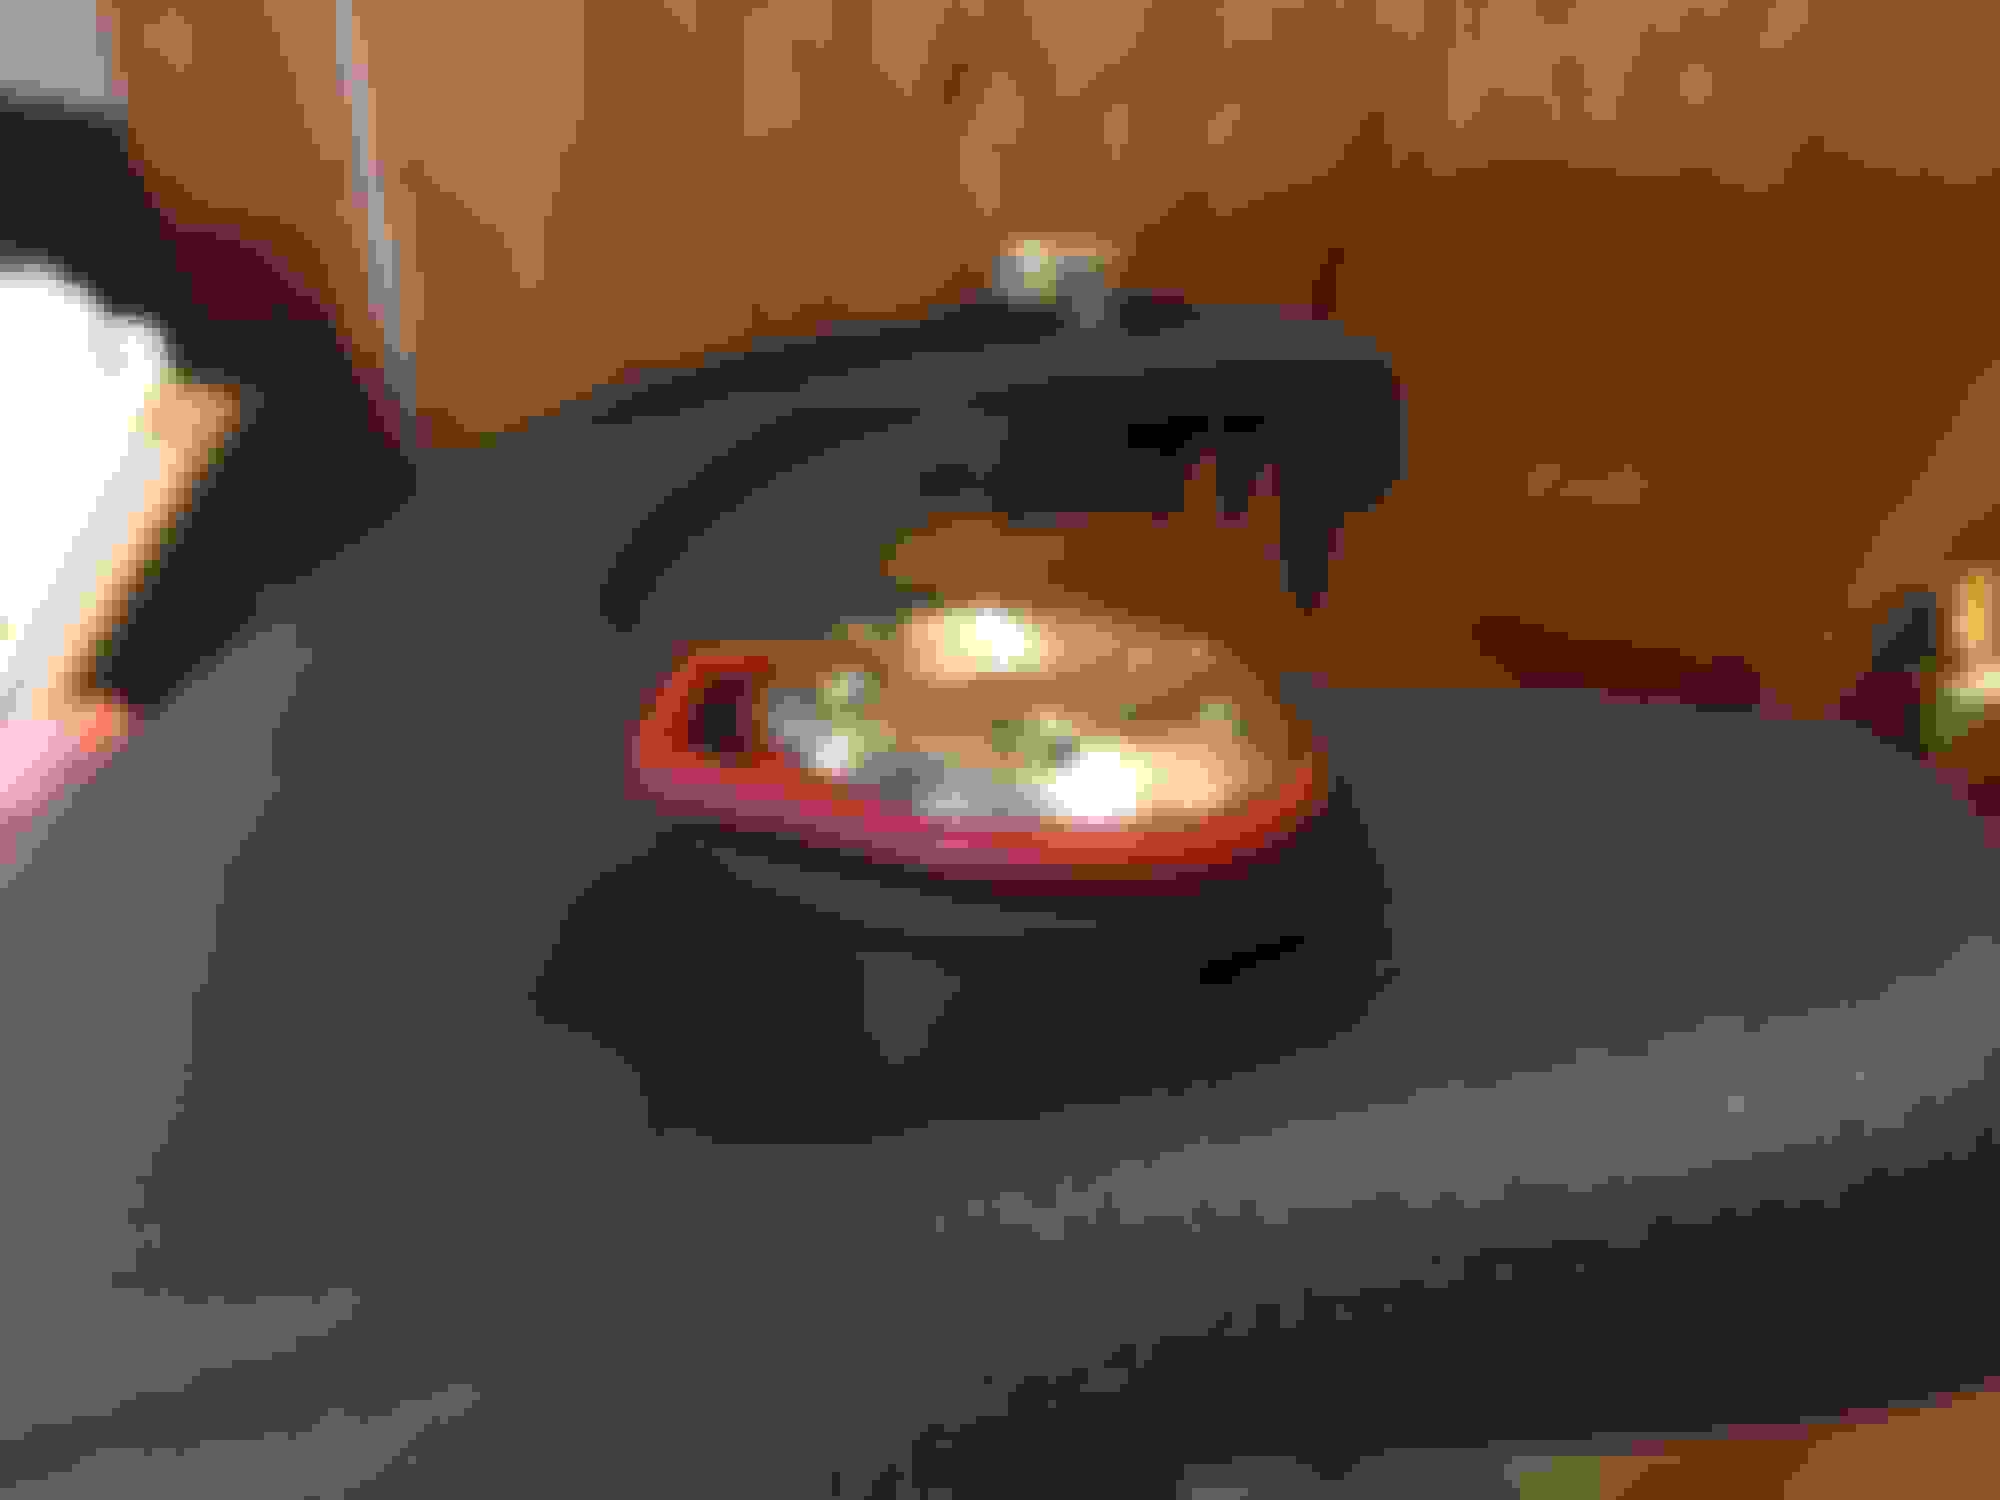
So for those folks that have the JCW Exhaust with the bluetooth remote, I was curious where you keep the remote inside the car? I had been keeping mine in the cup holder but was growing tired of that. So while cleaning the interior a bit today I decide to give this a try.
I took some pieces of 3M Dual Lock, which is basically a rigid plastic velcro, and placed it on the side and rear of the remote. Then I placed the remote in the vacant area to the left of the USB plug in.
I haven't driven the car yet with it installed, but it feels rigid enough.
So where are you keeping your remote?
I started keeping my remote in the cup holder inside foam insert. Got tired of "double-tapping" every morning so I set mine up to keep flap open all the time. If you're interested, start your Mini and double tap. Then open access panel in passenger side of boot. Disconnect the blue tooth connecter and permanent growling Mini.
there is a really nice red that match with the JCW interior... check it out
i also can 3d print for you and send it at low cost.
Are you still looking to make this for people? If so how much? I just picked up the 2018 Carbon edition and am just using the foam in the cup holder for now.
Are you still looking to make this for people? If so how much? I just picked up the 2018 Carbon edition and am just using the foam in the cup holder for now.
My favorite location so far is the dash mount (con: drilling required) 2nd favorite is 3D cup holder (con: still reaching & interferes with some bottles).
I weaved the strap thru the loops (near auto on/off) had some velcro laying around that was the perfect size for the remote, the remote sticks so it's not falling out. It doesn't interfere with the switch and moves out of the way for tall bottles. Squeeze and Go.
Is anyone familiar with the Steering column cover? There's another possible remote install location where the "key style" ignition switch once lived. This would still involve drilling or mounting a bracket.
You had better take a look at your manual-a key never "lived" there. Behind it is a sensor to read your key, from the fob, in case your battery dies in the fob.
After perusing all the forums to help me place the JCW Pro exhaust remote somewhere other than in plane sight and without wanting to drill actually into the dash, I finally arrived at my solution that I�m pretty smug about 😉
Photos attached but I pretty much used :
- 1 1/8� hole saw (Home Depot)
- Hillman 1-1/8 OD x 23/32 ID rubber grommet (Lowes)
- Hillman 1-5/8 x 1-5/16 x 1 Rubber Stopper #8 (Lowes)
- Dremel with sanding discs and cutoff disc
I simply removed the lower panel beneath steering wheel (6 pop fasteners) that came off quite easily, just make sure you pull it straight out parallel to the floor.
Then I drilled a center hole which was then transferred from the trim panel through to the dash plastic support (by fitting the trim panel back in place. Ensure you drill again parallel to the floor which will be at an angle to the trim panel surface ( the hole drilled at this angle ensures the trim panel can be installed and removed with the remote in situ). This �pilot� hole must be drilled far enough down from the panel fastener so that when the bigger hole is drilled there is at least 1/4� between the hole and the fastener tab.
The panel is removed from the car and then the 1-1/8� holes are independently drilled using the pilot as a guide and the hole saw. Again hole saw should be drilled parallel to fastener on panel (at angle to surface) and parallel to the floor in the car.
Next the Dremel and sanding disc is used to lightly open up the hole saw holes. I put a slightly larger hole in the car dash whereas the trim panel was almost the right size except for where the JCW remote stitching is .. I notched in the hole saw hole at the bottom to align the stitching.
This allowed the remote to fit pretty snug in the trim and slide effortlessly into the dash when installing back into the car.
So I had a problem that the remote didn�t sit flush on the trim panel ... here�s where the rubber stopper and grommet comes in ...
i measured red the gap from flush on the remote to panel and cut the stopper all around to this angle ( imagine taking a cucumber and turning the knife 20 degrees and cutting straight down - pretty much what I did with the Dremel and cut off disc). The stopper was long enough that I could grip down on the end and cut around the edge. DO NOT cut all the way through only about 1/4 deep all the way around.
Next (still holding the end of the stopper in the vise) use the 1-1/8� hole saw and drill the hole in the end. Get it right and the angled cut piece will shear off. Use the Dremel to sand any left over pieces of rubber in the hole.
The rubber stopper now cut off at an angle fits very snug so Dremel sand as necessary to get The remote in there. Snug is good !
Now it�s a cleanup with sandpaper (I used a belt sander and held the stopper while sanding - 120 grit) and time to �install� !
Place the remote in the cutoff angled stopper (aligned so stitching goes through notch in trim panel) and use the rubber grommet over the back of the remote to secure the remote in place and snug/ flush on the outside.
The remote is very secure and when it�s time to replace batteries I will pop the panel remove the grommet and change the battery ... it�s also out of sight yet easily accessible when driving.
Just be careful positioning the hole far enough down to clear the fastener with the big hole. I drilled the pilot hole directly in line and below the fastener position and it came out perfect. The dash has a hole in it (hidden behind the trim panel) but is still very stiff in the surrounding area.
Any problems with the hole then at least the trim panel is replaceable (part number is noted in this thread higher up ...
Good luck !
Easy reach and pretty inconspicuous ! Looking up from floor ( keytab and stitching towards floor) Looking on side showing �angle to flush� Position on top right of Trim panel Backside showing stitching that is at lower position (6 o�clock) in hole and has small notch to allow stitching not to snag Backside of trim panel close to upper fastener Hole saw from Home Depot (other hole saws are available !)
Last edited by Ian Bennett; 02-24-2019 at 04:08 PM.
Reason: Text missing
Nice work! I am thinking to do the same thing, but on the left side. That panel is a perfect place, for a few reasons- it comes out easily, there is plenty of space behind it, and it's cheap in case you mess up or want to go back to stock.
My hope was to remove the 6 tiny hex screws, and remove the red plastic part- that's where I'd like to insert the remove through the plastic panel. Held on by reinstalling the 6 screws.
 05-05-2017, 01:23 AM