Interior/Exterior Need: Front Splitter template for Aero Bumper
#1
 05-23-2012, 12:14 AM

#2
05-23-2012, 05:21 AM

If you think about it, assuming you don't hit the curb with it you should hardly ever be scrapping it.. It's only about 3/16''-1/4'' thick, and the little factory air diverter thing under the car will hit the ground first..
I have cut about 15 of these out on the CNC Router here at work over the years and as far as I know they are all still running along just fine...
I cut them out of Lexan, and or ABS Plastic...
Not sure how I can post just the file and you be able to print it out in one piece..
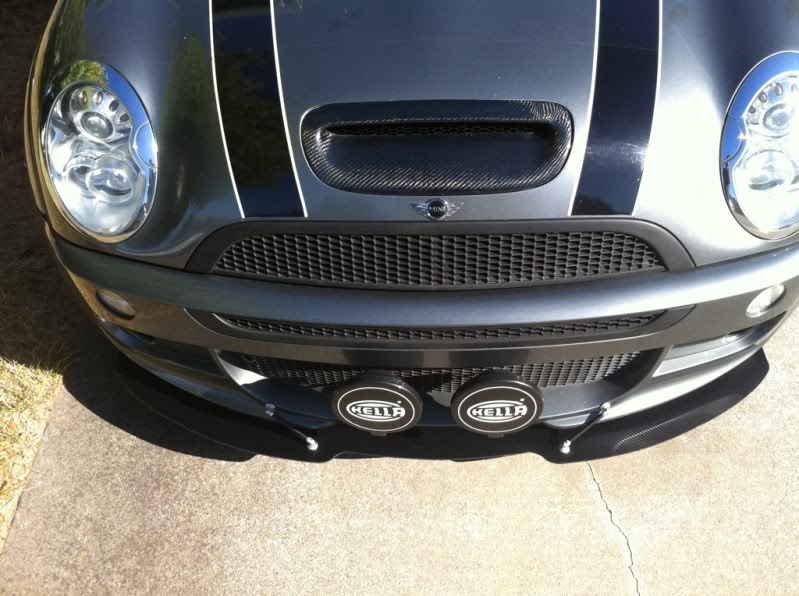
Just take a piece of card board and have someone help you hold it under the bumper up against it, and back against the air diverter and trace the front edge back to the far edge of the bumper left/right. Mine butt up against the air diverter. Then just decide how much you want sticking out front of the bumper and on paper measure and move your back line ( air diverter line ) back. If going out more then 3'' you may want to use the turnbuckles, if you keep it to 2'' or so you can get by without them most likely..

I have cut about 15 of these out on the CNC Router here at work over the years and as far as I know they are all still running along just fine...
I cut them out of Lexan, and or ABS Plastic...
Not sure how I can post just the file and you be able to print it out in one piece..
Just take a piece of card board and have someone help you hold it under the bumper up against it, and back against the air diverter and trace the front edge back to the far edge of the bumper left/right. Mine butt up against the air diverter. Then just decide how much you want sticking out front of the bumper and on paper measure and move your back line ( air diverter line ) back. If going out more then 3'' you may want to use the turnbuckles, if you keep it to 2'' or so you can get by without them most likely..
#3
05-23-2012, 05:47 AM

3rd Gear
Join Date: Jun 2010
Location: Hillsborough, NC
Posts: 160
Likes: 0
Received 0 Likes
on
0 Posts
#5
05-23-2012, 08:15 AM
If you think about it, assuming you don't hit the curb with it you should hardly ever be scrapping it.. It's only about 3/16''-1/4'' thick, and the little factory air diverter thing under the car will hit the ground first..
I have cut about 15 of these out on the CNC Router here at work over the years and as far as I know they are all still running along just fine...
I cut them out of Lexan, and or ABS Plastic...
Not sure how I can post just the file and you be able to print it out in one piece..
Just take a piece of card board and have someone help you hold it under the bumper up against it, and back against the air diverter and trace the front edge back to the far edge of the bumper left/right. Mine butt up against the air diverter. Then just decide how much you want sticking out front of the bumper and on paper measure and move your back line ( air diverter line ) back. If going out more then 3'' you may want to use the turnbuckles, if you keep it to 2'' or so you can get by without them most likely..
If you have a printable file I can print it out on a few pieces of paper and tape together. I have tried to make a template and cant get the radius's exactly right and even. I no longer have a CAD program do draft it up in so I was hoping to get a PDF of the template. If you can hook me up that would be great.
#7
05-23-2012, 10:00 AM

6th Gear
im in the same boat! id love a template as well!
Blaxin,
what do you plan to use for your splitter? as I too refuse to spend hundreds of dollars on one. I found decent turnbuckles at Lowes actually, for only a few bucks for all the hardware, ect. but again, i am almost at a loss as to what material to use for the splitter itself!
Blaxin,
what do you plan to use for your splitter? as I too refuse to spend hundreds of dollars on one. I found decent turnbuckles at Lowes actually, for only a few bucks for all the hardware, ect. but again, i am almost at a loss as to what material to use for the splitter itself!
Trending Topics
#8
05-23-2012, 10:53 AM
Most likely Lexan or ABS plastic. May get creative with fiberglass but dont really see the need as a black piece of 1/4" lexan should do the trick. Trying to stay away from turnbuckles.
im in the same boat! id love a template as well!
Blaxin,
what do you plan to use for your splitter? as I too refuse to spend hundreds of dollars on one. I found decent turnbuckles at Lowes actually, for only a few bucks for all the hardware, ect. but again, i am almost at a loss as to what material to use for the splitter itself!
Blaxin,
what do you plan to use for your splitter? as I too refuse to spend hundreds of dollars on one. I found decent turnbuckles at Lowes actually, for only a few bucks for all the hardware, ect. but again, i am almost at a loss as to what material to use for the splitter itself!
#11
05-23-2012, 08:57 PM
3rd Gear
Join Date: Jun 2010
Location: Hillsborough, NC
Posts: 160
Likes: 0
Received 0 Likes
on
0 Posts

#12
05-23-2012, 09:15 PM
That video is pretty misleading:
1) Carbon fiber panel they use is too thin compared to an actual splitter
2) Sneed splitter is mounted to a bumper that is full aluminum reinforcement and a ton of bolts securing the splitter
3) Shot angle for thier splitter causes the shot to deflect easily, the carbon fiber panel is near vertical
4) I dont drive through shot gun ranges
5) Sneed splitter is $600, carbon fiber splitters are half that much.
While I don't doubt they make an awesome splitter, the video needs to be redone to using the exact same size shape and thickness of material.
#13
05-24-2012, 06:06 AM
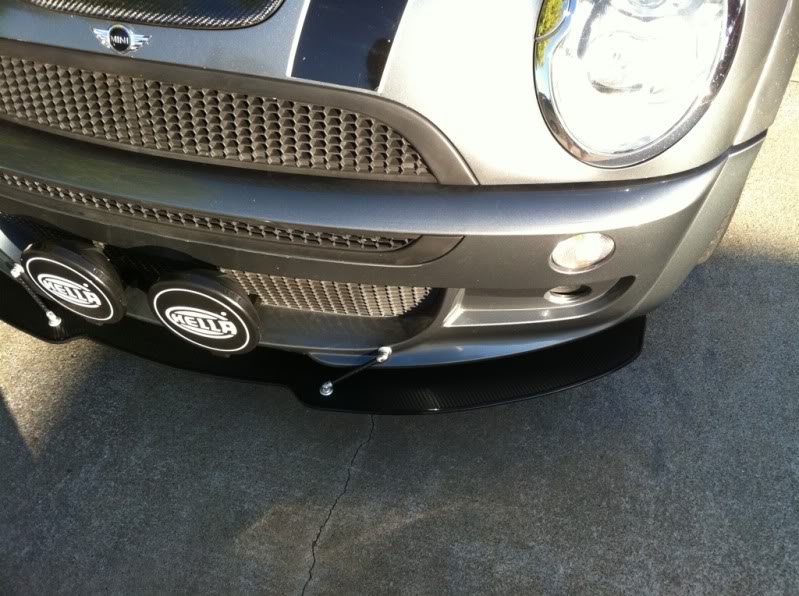
You can buy a 4' x 8' sheet 1/4'' thick of Black ABS for less then 100 bucks and get 5 splitters out of it!!!
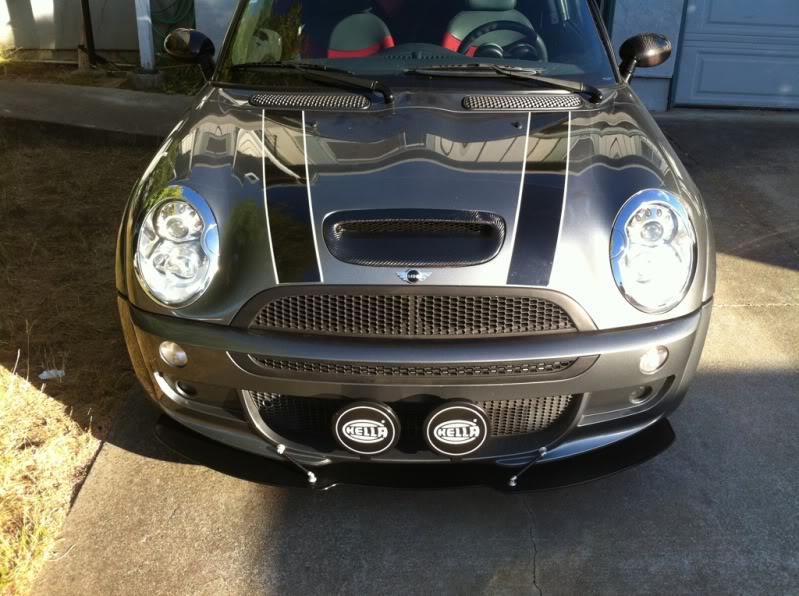
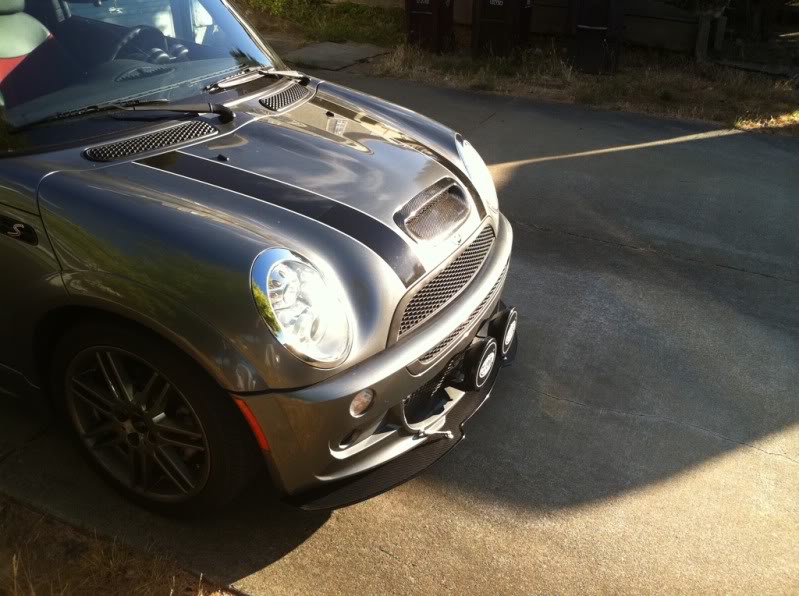
Comes down to what you want the splitter for. For me it was mainly looks, this is my daily driver, a track day here and there and a few auto-x a year. No need for me to spend that kind of money when my virually free one gives me the same look..
Not saying theirs isn't a good piece just not what I need.. Plus I got the warm fuzzy feeling of doing it myself!!!!
#14
05-24-2012, 06:15 AM
3rd Gear
Join Date: Jun 2010
Location: Hillsborough, NC
Posts: 160
Likes: 0
Received 0 Likes
on
0 Posts
Hahahaha..........
Ahhhhhh, you like MythBusters also...... 
You're correct, they didn't follow a pure science method with gun mounts, various degrees of deflection, equal thickness of material, a baseline test (whatever the hell that could be?), and the million other variables that could be taken into account........
I found it entertaining. I've had work done at Sneeds. I'm sure they were just having some fun. Sorry the "test" wasn't up to snuff........ motor on.
#15
05-24-2012, 06:26 AM
N2MINI gives good advice. I had an M7 splitter installed on my track car and, while instructing for a BMW DE at VIR hit a groundhog at 90-95 mph. It tore the splitter off, broke the turnbuckles, all black plastic trim and the radiator support. Fortunately, no A/C condenser, oil cooler or radiator damage. I used the M7 as a template and cut one out of 1/4" ABS with a jigsaw and used the larger size APR turnbuckles (which cost me more than the ABS). Total cost of all parts $500 (my labor was free). RIP, "Chuck"!
#16
05-24-2012, 06:27 PM

Splitter trace
If you are still looking for an M7 splitter trace I have one I'm about to install. If you like, I'll get some large paper and trace it out. Probably have to fold it once or twice to mail it out to you but it would still be all one piece, actual size. Let me know if your interested. 0mini6
#17
05-24-2012, 07:50 PM

If you are still looking for an M7 splitter trace I have one I'm about to install. If you like, I'll get some large paper and trace it out. Probably have to fold it once or twice to mail it out to you but it would still be all one piece, actual size. Let me know if your interested. 0mini6
#18
05-26-2012, 12:24 AM
If you are still looking for an M7 splitter trace I have one I'm about to install. If you like, I'll get some large paper and trace it out. Probably have to fold it once or twice to mail it out to you but it would still be all one piece, actual size. Let me know if your interested. 0mini6
#19
05-26-2012, 06:28 AM
Templates
Looks like N2MINI's got you all set and you won't have to start from scratch. I'm going to go ahead and make up a couple of templates in case someone might need one, including myself..... Just in case I hit a soft fury object at 90 mph! 0mini6
#20
05-27-2012, 02:58 PM
6th Gear
#22
05-28-2012, 12:18 PM

2nd Gear
Join Date: May 2012
Location: United States
Posts: 51
Likes: 0
Received 0 Likes
on
0 Posts