Interior/Exterior Interior and exterior modifications for Clubman (R55), Cooper and Cooper S (R56), and Cabrio (R57) MINIs.

Interior/Exterior My R56 Joey Mod Guide!

  #1  
Old 09-11-2016, 07:22 AM
geofox784's Avatar
geofox784
geofox784 is offline
2nd Gear
Thread Starter
Join Date: Nov 2015
Location: Denver, CO
Posts: 68
Received 13 Likes on 11 Posts
My R56 Joey Mod Guide!

"Joey mod" complete! Took a little over a day but 100% worth it. Makes a huge difference to the overall attitude of my Mini! All of the guides I found online were not that great.... so I made my own!!

It was much easier than expected. Everyone always worries about leaks afterwords... I have no problems, but if you do you can always just run some silicon along the seam. No big deal. Its also easy to vent any moisture out by just leaving the xenon cover off overnight.

I don't like the reliability of the NAM image hoster, so I used imgur. http://imgur.com/a/zz9fM


The same headlight is used on the R55, R56, and R57. It will probably work on others as well.

Let me know if you have any questions!


The following users liked this post:
dkdzyn (11-21-2017)
  #2  
Old 09-12-2016, 06:35 PM
scf's Avatar
scf
scf is offline
5th Gear
iTrader: (2)
Join Date: Oct 2011
Location: Weare, NH
Posts: 622
Received 17 Likes on 17 Posts
Ok, how the heck does the inner trim ring come off? The one around the projector lens, that you painted blue.

I'm stuck!
 
  #3  
Old 09-12-2016, 06:50 PM
geofox784's Avatar
geofox784
geofox784 is offline
2nd Gear
Thread Starter
Join Date: Nov 2015
Location: Denver, CO
Posts: 68
Received 13 Likes on 11 Posts
Originally Posted by scf
Ok, how the heck does the inner trim ring come off? The one around the projector lens, that you painted blue.

I'm stuck!
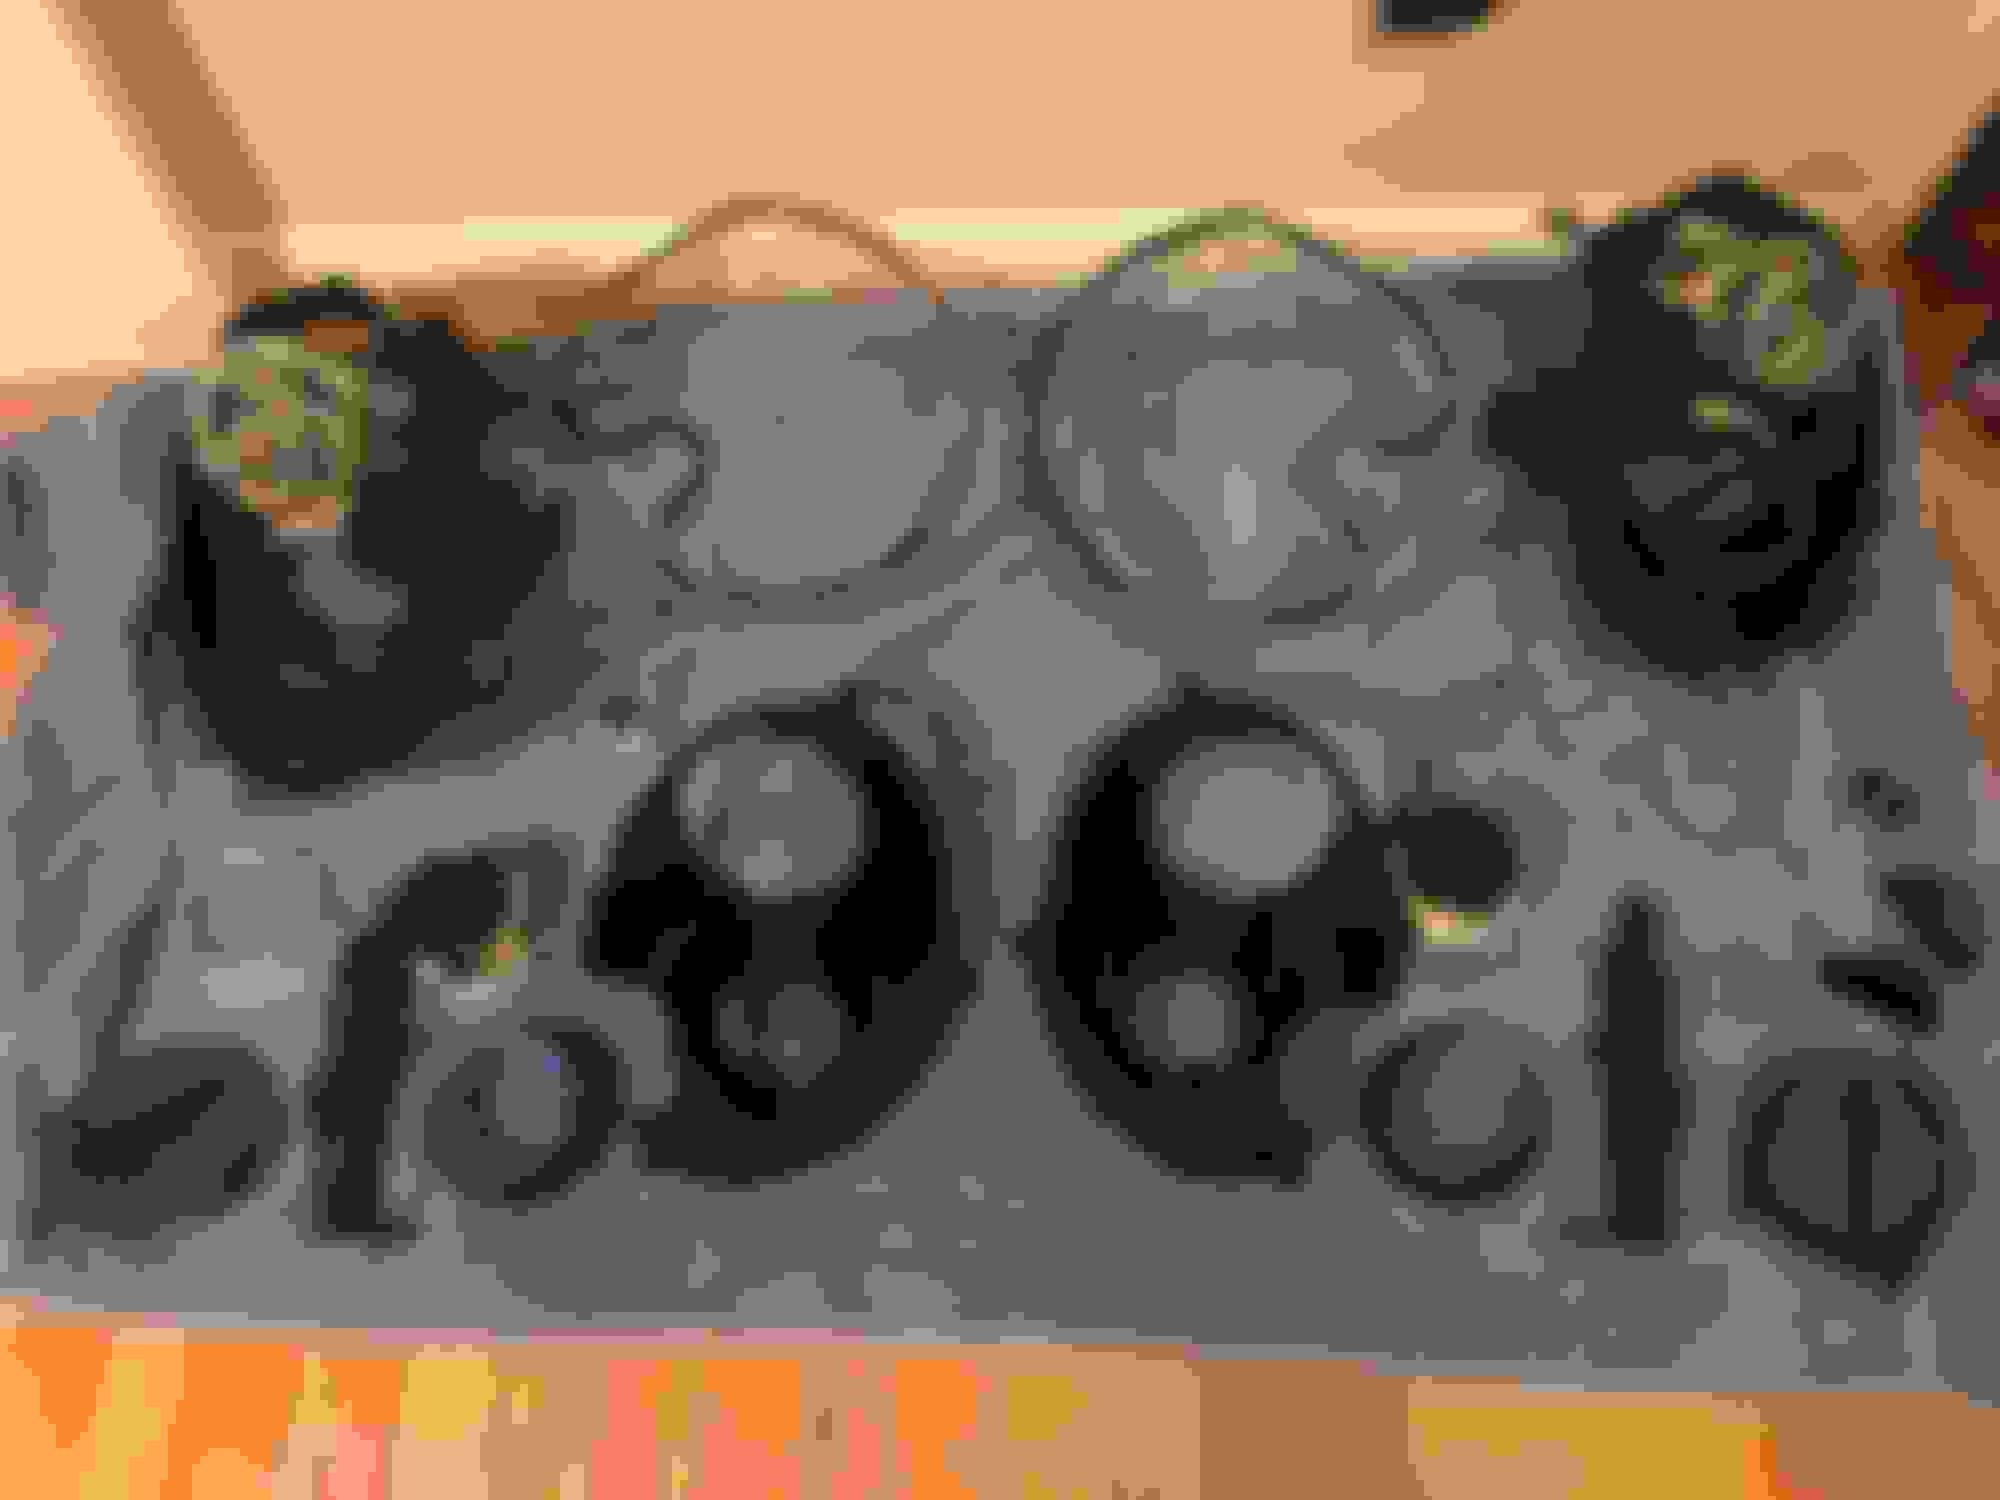
Woops! Forgot that step. Just updated the guide. Here is the updated step:

1. There are two plastic tabs holding the clear and chrome part on. You can see them sticking up at 3 and 9 o'clock in the picture. 2. Use something thin and rigid to slide in and push the tabs out and off the metal projector holder. A small flat head screwdriver works well.
3. Once a tab is moved out, slide the two parts off.
 
  #4  
Old 09-20-2016, 12:16 PM
kingkoopah's Avatar
kingkoopah
kingkoopah is offline
1st Gear
Join Date: Sep 2016
Location: Boston, MA
Posts: 21
Likes: 0
Received 0 Likes on 0 Posts
where did you get those slick (aux) fog lights, and do you get bothered by police with them?
 
  #5  
Old 09-20-2016, 12:32 PM
geofox784's Avatar
geofox784
geofox784 is offline
2nd Gear
Thread Starter
Join Date: Nov 2015
Location: Denver, CO
Posts: 68
Received 13 Likes on 11 Posts
Originally Posted by kingkoopah
where did you get those slick (aux) fog lights, and do you get bothered by police with them?
Just search for 48W LED driving lights on amazon. Around $25. There are various suppliers. Look for the "spot" kind, not "flood". They are surprisingly high quality and made out of cast aluminum. Never been bothered by the police. As far as I can tell they are perfectly legal. I only use them with high beams and used the stock wiring harness, although I'm thinking about making a custom circuit so that they are on any time the xenon lights are on, but dim when the high beams are not activated.
 
  #6  
Old 09-21-2016, 12:43 PM
scf's Avatar
scf
scf is offline
5th Gear
iTrader: (2)
Join Date: Oct 2011
Location: Weare, NH
Posts: 622
Received 17 Likes on 17 Posts
How it turned out! I'm stoked!

Next I'm going to get rid of that damn egg yolk.
 
Attached Thumbnails My R56 Joey Mod Guide!-1044373_1589277741374429_8787280327008281236_n.jpg  
  #7  
Old 09-27-2016, 06:23 PM
aabcds's Avatar
aabcds
aabcds is offline
2nd Gear
Join Date: Mar 2016
Location: Atlanta, GA
Posts: 143
Received 15 Likes on 11 Posts
Very nice. I'm glad you loaded your pictures on Imgur where they'll be available for a while.
 
  #8  
Old 10-19-2017, 01:11 PM
Kartracer442y's Avatar
Kartracer442y
Kartracer442y is offline
1st Gear
Join Date: Aug 2017
Location: Nor Cal
Posts: 15
Received 2 Likes on 2 Posts
I love this! I see you used rust-oleum engine enamel on it. How is it holding up after 2 years? I had mine done at an auto body shop. The projector rings are fine, but the large chrome (now black) piece are not. He said he used high temp paint, but they burnt after their first stint with the high beams. I am going to pull them apart again.. it should go without saying that I won't be using that same body shop guy again.. I digress; I need to find a suitable replacement paint. How did the black rust-oleum engine enamel paint hold up?
 
  #9  
Old 10-19-2017, 01:16 PM
geofox784's Avatar
geofox784
geofox784 is offline
2nd Gear
Thread Starter
Join Date: Nov 2015
Location: Denver, CO
Posts: 68
Received 13 Likes on 11 Posts
Originally Posted by Kartracer442y
I love this! I see you used rust-oleum engine enamel on it. How is it holding up after 2 years? I had mine done at an auto body shop. The projector rings are fine, but the large chrome (now black) piece are not. He said he used high temp paint, but they burnt after their first stint with the high beams. I am going to pull them apart again.. it should go without saying that I won't be using that same body shop guy again.. I digress; I need to find a suitable replacement paint. How did the black rust-oleum engine enamel paint hold up?
Holding up perfectly!
 
  #10  
Old 10-19-2017, 01:25 PM
Kartracer442y's Avatar
Kartracer442y
Kartracer442y is offline
1st Gear
Join Date: Aug 2017
Location: Nor Cal
Posts: 15
Received 2 Likes on 2 Posts
Originally Posted by geofox784
Holding up perfectly!
Thanks!
 
  #11  
Old 10-19-2017, 01:28 PM
geofox784's Avatar
geofox784
geofox784 is offline
2nd Gear
Thread Starter
Join Date: Nov 2015
Location: Denver, CO
Posts: 68
Received 13 Likes on 11 Posts
Originally Posted by Kartracer442y
Thanks!
Make sure you sand it first... I could see that causing problems if you don't.
 
  #12  
Old 10-19-2017, 01:54 PM
Kartracer442y's Avatar
Kartracer442y
Kartracer442y is offline
1st Gear
Join Date: Aug 2017
Location: Nor Cal
Posts: 15
Received 2 Likes on 2 Posts
Originally Posted by geofox784
Make sure you sand it first... I could see that causing problems if you don't.
Oh definitely. Thankfully, this time its only the blacked out piece that needs work, and I don't have to fiddle with the projector/ring (thank God).
 
  #13  
Old 11-21-2017, 09:54 AM
dkdzyn's Avatar
dkdzyn
dkdzyn is offline
2nd Gear
Join Date: Aug 2016
Posts: 100
Received 3 Likes on 3 Posts
geofox784, This is an AMAZING guide and EXACTLY what I needed to do the next mod on my Lightning Blue R55, right down to the trim rings! Great post! Thank you VERY much for creating this!
 
Related Topics
Thread
Thread Starter
Forum
Replies
Last Post
slide mini
R55 :: Clubman Talk (2008+)
1
02-02-2021 12:14 PM
chav
R56 :: Hatch Talk (2007+)
11
07-08-2019 08:27 AM
Slee_Stack
Navigation & Audio
4
09-19-2016 09:13 AM
thematural
Stock Problems/Issues
5
08-17-2016 03:18 PM
TJANK
MINI Parts for Sale
1
08-15-2016 11:28 AM


Thread Tools
Search this Thread
Quick Reply: Interior/Exterior My R56 Joey Mod Guide!


All times are GMT -7. The time now is 03:27 PM.