
Interior/Exterior Joey mod R56!

4th Gear
Joined: Aug 2009
Posts: 368
Likes: 1
From: Rota, Spain
looks sick bro..... kinda wish i would have done mine that way now....


That is correct.

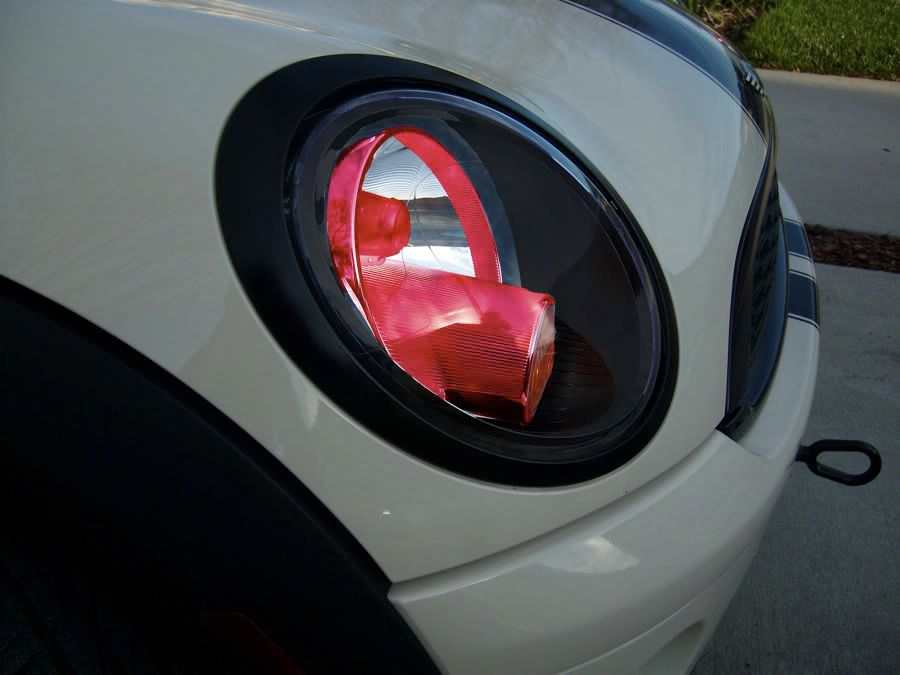
Can someone please tell me how you take off the round bezel part on the xenon's? I can't seem to figure out how to get these off without breaking them so that I can get them painted.
Yup. The one that has the clear plastic insert that goes around the projector.

4th Gear
Joined: Feb 2007
Posts: 529
Likes: 0
From: Tinley Park IL, USA


2nd Gear
Joined: Dec 2008
Posts: 113
Likes: 0
From: Huntington WV
So you didnt actually remove the light from the car??? didnt happen to take any pics did ya?
Word to the impatient....make sure you let the paint COMPLETELY dry before you re-assemble! hahah.
I have A.D.D. which doesnt help, and it was 38 degrees in my garage when I was doing this. Needless to say, I had to take my housing apart for a 2nd time and clean the clear lens as the paint off-gassed and made the inside of the lens hazy.


Good news is, it's an easy clean!
I have A.D.D. which doesnt help, and it was 38 degrees in my garage when I was doing this. Needless to say, I had to take my housing apart for a 2nd time and clean the clear lens as the paint off-gassed and made the inside of the lens hazy.
Good news is, it's an easy clean!
4th Gear
Joined: Aug 2009
Posts: 368
Likes: 1
From: Rota, Spain
dont worry man i have to do the same thing but i've been waiting on the weather to warm up a bit more before i do it again. still looks good.
Word to the impatient....make sure you let the paint COMPLETELY dry before you re-assemble! hahah.
I have A.D.D. which doesnt help, and it was 38 degrees in my garage when I was doing this. Needless to say, I had to take my housing apart for a 2nd time and clean the clear lens as the paint off-gassed and made the inside of the lens hazy.
Good news is, it's an easy clean!
I have A.D.D. which doesnt help, and it was 38 degrees in my garage when I was doing this. Needless to say, I had to take my housing apart for a 2nd time and clean the clear lens as the paint off-gassed and made the inside of the lens hazy.
Good news is, it's an easy clean!

Ugh, haven't read through this thread in a while...but after clicking through it tonight, I think I'm finally going to take the plunge this week and do my lights.
I haven't seen much talk of it, so I'm assuming it's not an issue, but is there any sort of decrease in output from the headlights afterward? I would think with all the black there would be?
I haven't seen much talk of it, so I'm assuming it's not an issue, but is there any sort of decrease in output from the headlights afterward? I would think with all the black there would be?
4th Gear
Joined: Aug 2009
Posts: 368
Likes: 1
From: Rota, Spain
I didnt notice a lot of loss with painting them. but it also depends on what type of lights you have. Either the HID projectors or just regular halogen. Shouldnt be a loss with the projectors at all. I did change my bulbs right after i did mine to a brighter bulb as well. so that could have an effect on me not seeing much of one.
Ugh, haven't read through this thread in a while...but after clicking through it tonight, I think I'm finally going to take the plunge this week and do my lights.
I haven't seen much talk of it, so I'm assuming it's not an issue, but is there any sort of decrease in output from the headlights afterward? I would think with all the black there would be?
I haven't seen much talk of it, so I'm assuming it's not an issue, but is there any sort of decrease in output from the headlights afterward? I would think with all the black there would be?
I didnt notice a lot of loss with painting them. but it also depends on what type of lights you have. Either the HID projectors or just regular halogen. Shouldnt be a loss with the projectors at all. I did change my bulbs right after i did mine to a brighter bulb as well. so that could have an effect on me not seeing much of one.
You're probably right, considering they're actually projectors, they probably don't use any of the chrome pieces in the housing for light reflection.
Ugh, I'll rip apart the motor with no fear, but I'm sooo afraid of opening the headlights up...

Hopefully it all goes well, and it will be worth it after I'm done!
4th Gear
Joined: Aug 2009
Posts: 368
Likes: 1
From: Rota, Spain
I have xenons...
You're probably right, considering they're actually projectors, they probably don't use any of the chrome pieces in the housing for light reflection.
Ugh, I'll rip apart the motor with no fear, but I'm sooo afraid of opening the headlights up...
Hopefully it all goes well, and it will be worth it after I'm done!
post your pics afterwards

4th Gear
Joined: Jan 2008
Posts: 596
Likes: 4
From: Lake District, ENGLAND
Can anyone update me with the best paint to use for the job?
I will be getting mine done in March, and want to avoid this pesky bubbling issue which a lot of you guys seem to have encountered. :(
A friend will be doing it for me, and he has just done this little mod to the inside of his light....

He has used richbrook carbon sheet and cut it to fit. Its held on with 3M adhesive, so hopefully it should do the job.
Whats the concensus, will it stop the bubbling or will the heat cause the adhesive to lift off?
Not sure how quickly peoples paint is bubbling but I have had mine done for like 1-2 months now with sanding the chrome down and cleaning, then using self etching primer and high temp black paint without any issues so far....
And Thumper...the projectors dont have a decreased light output from painting cause all the reflection is done within the glass . I drive at night everyday to work at 4am and its just fine
And Thumper...the projectors dont have a decreased light output from painting cause all the reflection is done within the glass
. I drive at night everyday to work at 4am and its just fine

3rd Gear
Joined: Mar 2008
Posts: 180
Likes: 1
From: Boynton Beach FL
I did mine about maybe more than a year ago and just took my time, sanded...used high temp heat paint and no bubbles. Trickiest part was the getting the light ring off. Other than that, it was easy.

3rd Gear
Joined: Sep 2008
Posts: 220
Likes: 2
From: Honolulu HI
Ok I Didnt Read Through All 19 Pages Of This BUt Can Someone Point Me In The Right Direction To A Step By Step Process I Want To Do This Mod BUt Clueless On How To Actually Start And Also I Dont Have The Xenons So Should I Still Go With It Or Will This Mod Affect My HIgh Beams
Ok I Didnt Read Through All 19 Pages Of This BUt Can Someone Point Me In The Right Direction To A Step By Step Process I Want To Do This Mod BUt Clueless On How To Actually Start And Also I Dont Have The Xenons So Should I Still Go With It Or Will This Mod Affect My HIgh Beams
Joey MOD How-to.pdf

Wow I Guess It Must Be Nice To Be Able To Reverse It But Wow I Would Be So Scared Of It Bubbling. It Is Just Plastic. And Wow Its Annoying Typing/Reading Text When Every First Letter Is Capitalized.

