When you click on links to various merchants on this site and make a purchase, this can result in this site earning a commission. Affiliate programs and affiliations include, but are not limited to, the eBay Partner Network.
Done! Had a good couple of days working on the Mini this past weekend and I am pretty pleased with the overall success of the build! I will add some photos and note some issues. First let me say that Youtube has a bevy of videos for the F56 and R55/56 models but is light on the F55's but even those helped with a good foundation on how to get this girl completed. I did take some photos and did some videos with explanations for some of the mods, especially in areas that I knew might be a sticking point for B48 newbies like myself. I digress.
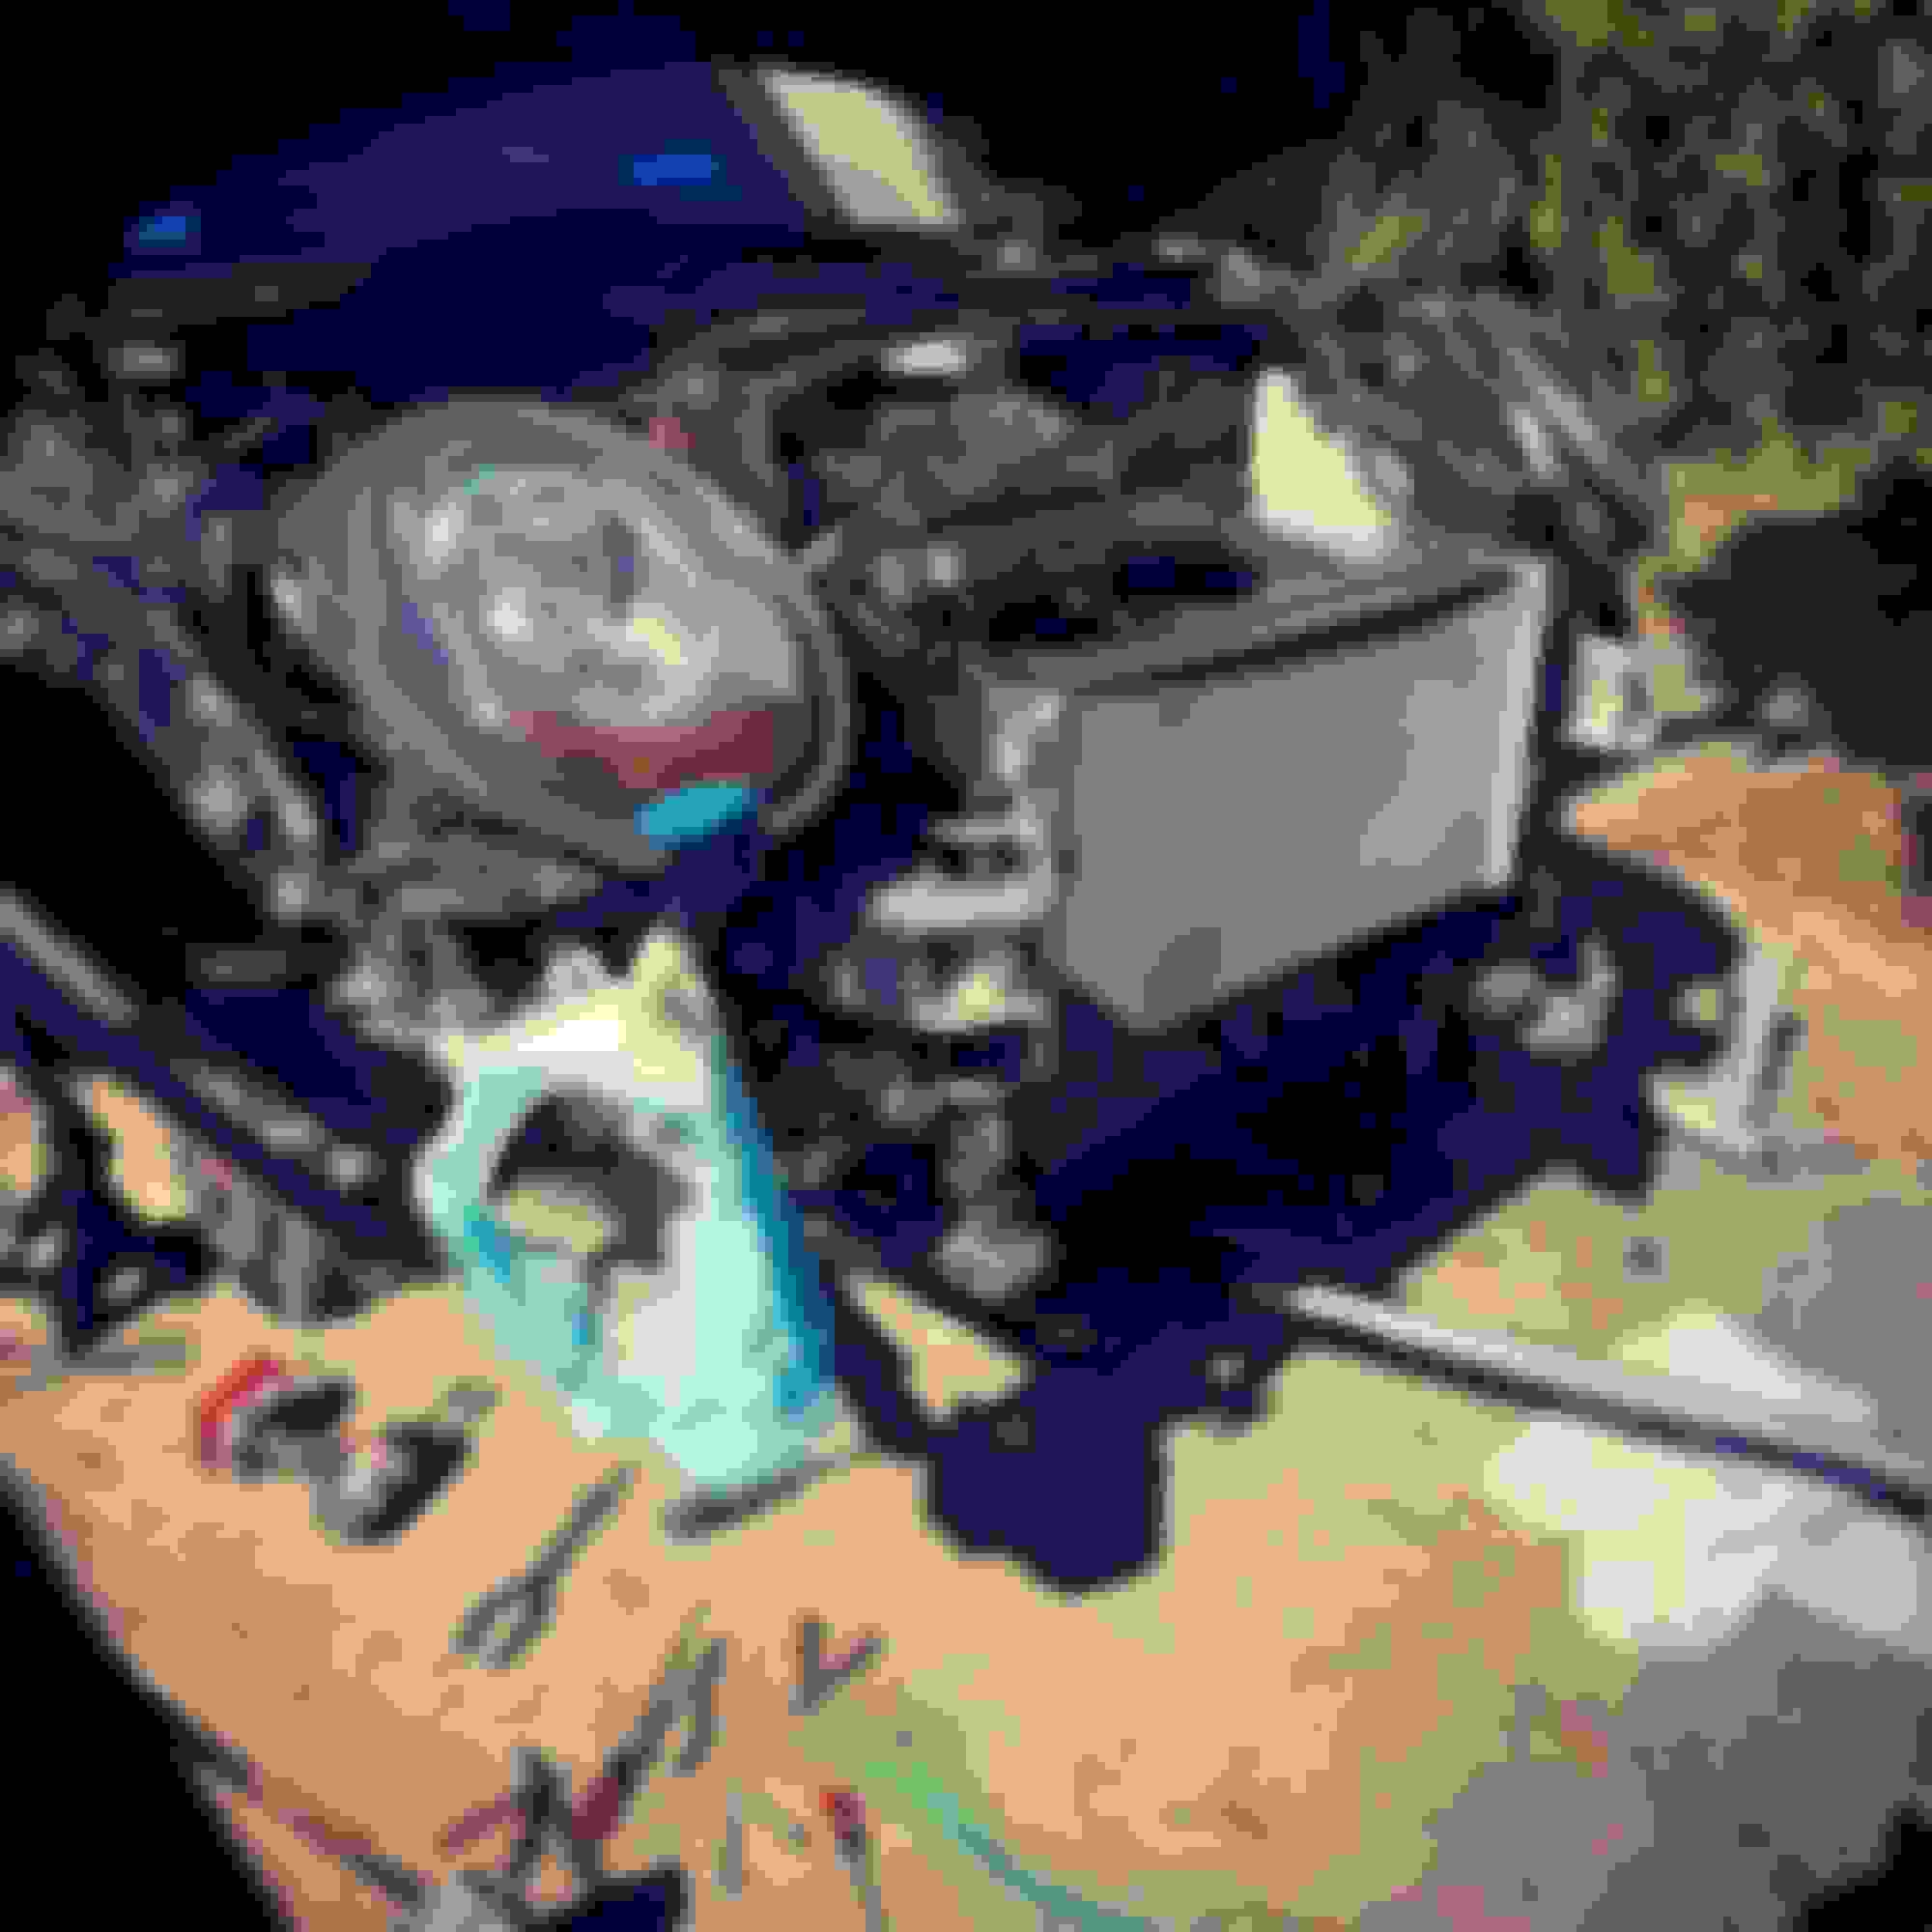
First things first. Stripping the car down was priority one in getting the F55 ready for the mods. I needed access to the downpipe (lots of videos that even for other models worked just fine for the F55). I also needed access to the intercooler as well as the charge and boost pipes. Drivers side was super easy but the passenger side required the front right tire and wheel well out for easier access. Mini got this right as the wheel well comes out waaaaay easier than a full size US truck or car which is what I am used to. I used just ramps for the most part but did have to place the passenger side on a jack stand as I progressed. It's all tight but doable. Now on to the mods and my thoughts on each.
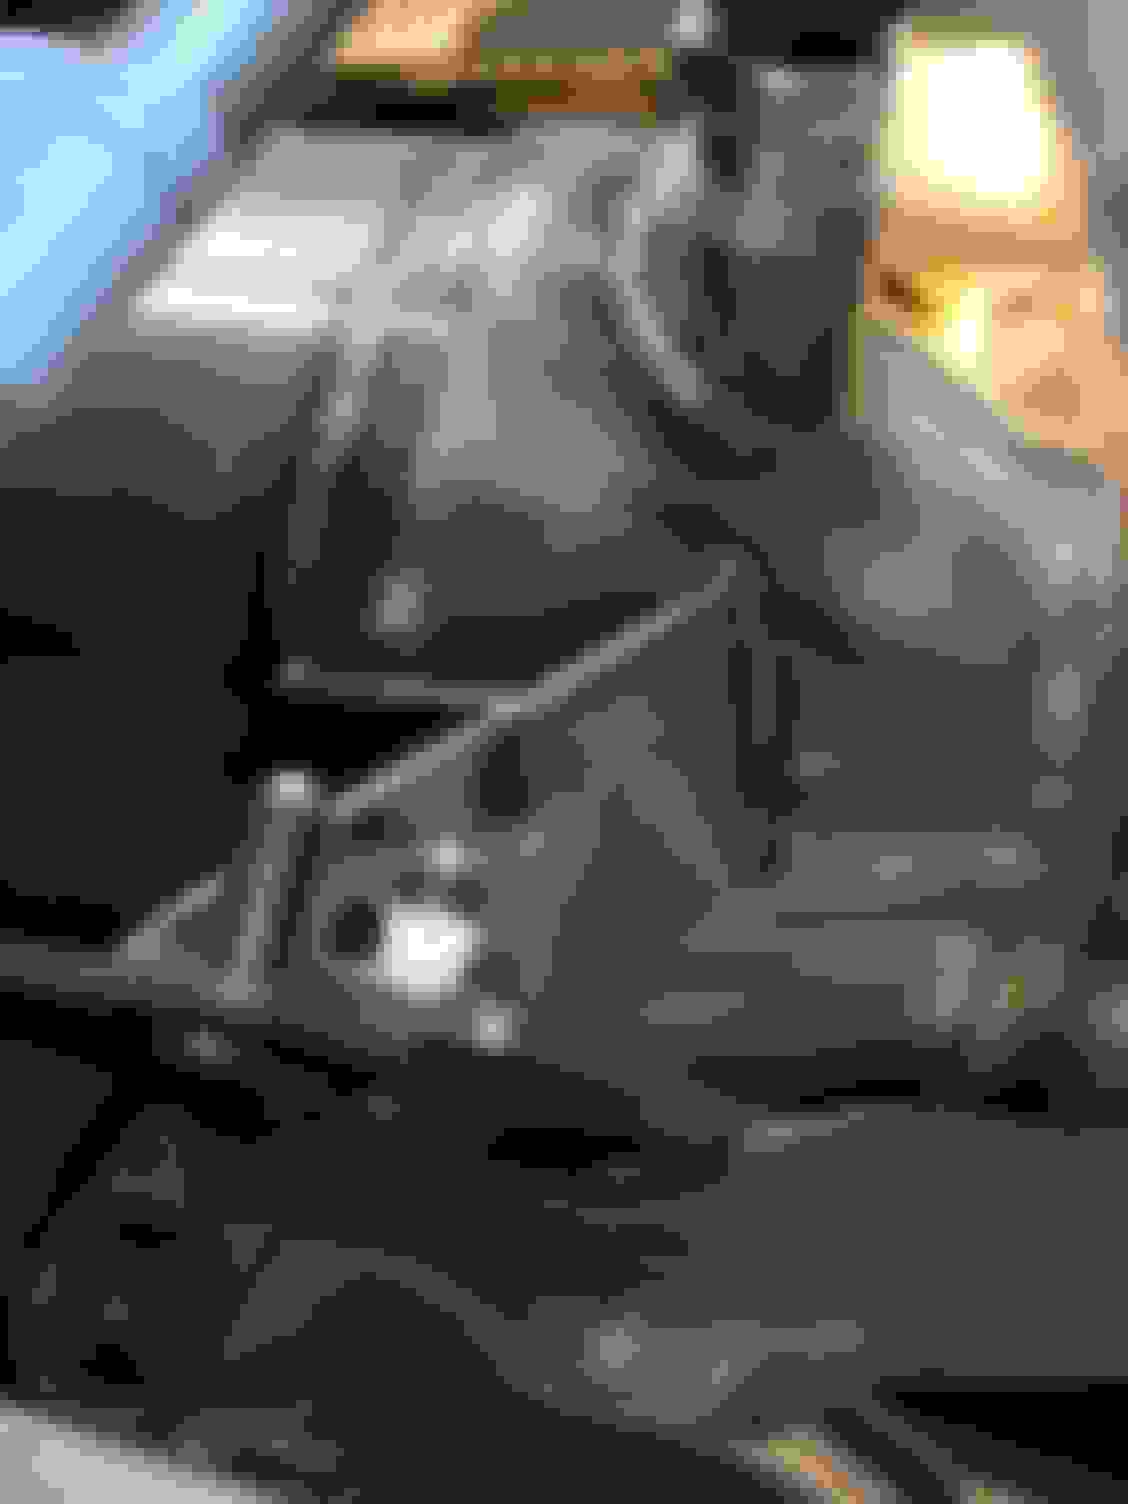
The downpipe I used was a Modpsort SS catless 2014-2020 F55/F56 (no link as Redline removed it from their site after I purchased). I verified fitment with Redline prior to purchase. The downpipe had good fully tigged welds and had a decently flexible midpipe. That being said, it didn't fit without some issues. the bracket that mounts to the block was off and ould not allow the pipe to mount and seal if I tried to get it to fit on the bracket as it was intended. The trade off was that the top slot on the downpipe is mounted only to the bottom stud on the block mount. It was rigid and i don't fear that the limited mount is going to cause any issues later on down the road. Also, I had to cut a larger opening on the heat shroud to accommodate the bank 2 O2 sensor. I used an 18mm nonfouler adapter and received no codes when test running the engine for about 30 miles. I did apply a small amount of anti-sieze on the adapter as I didn't want the threads to become galled in the downpipe over time. All that being said, it works well and only the install/fitment was an issue so I wouldn't recommend.
The intercooler was a Rev9 race spec IC (https://shop.redline360.com/products...ace-spec-black). Fitment was spot on I couldn't be happier. I did fully remove the lash from the top of the radiator to allow for me to lift the rad/assembly to remove the IC. It was significantly easier than just loosening the bolts and the hood latches lined back up with no issue. This IC is fully recommended by myself from a fitment/installation perspective.
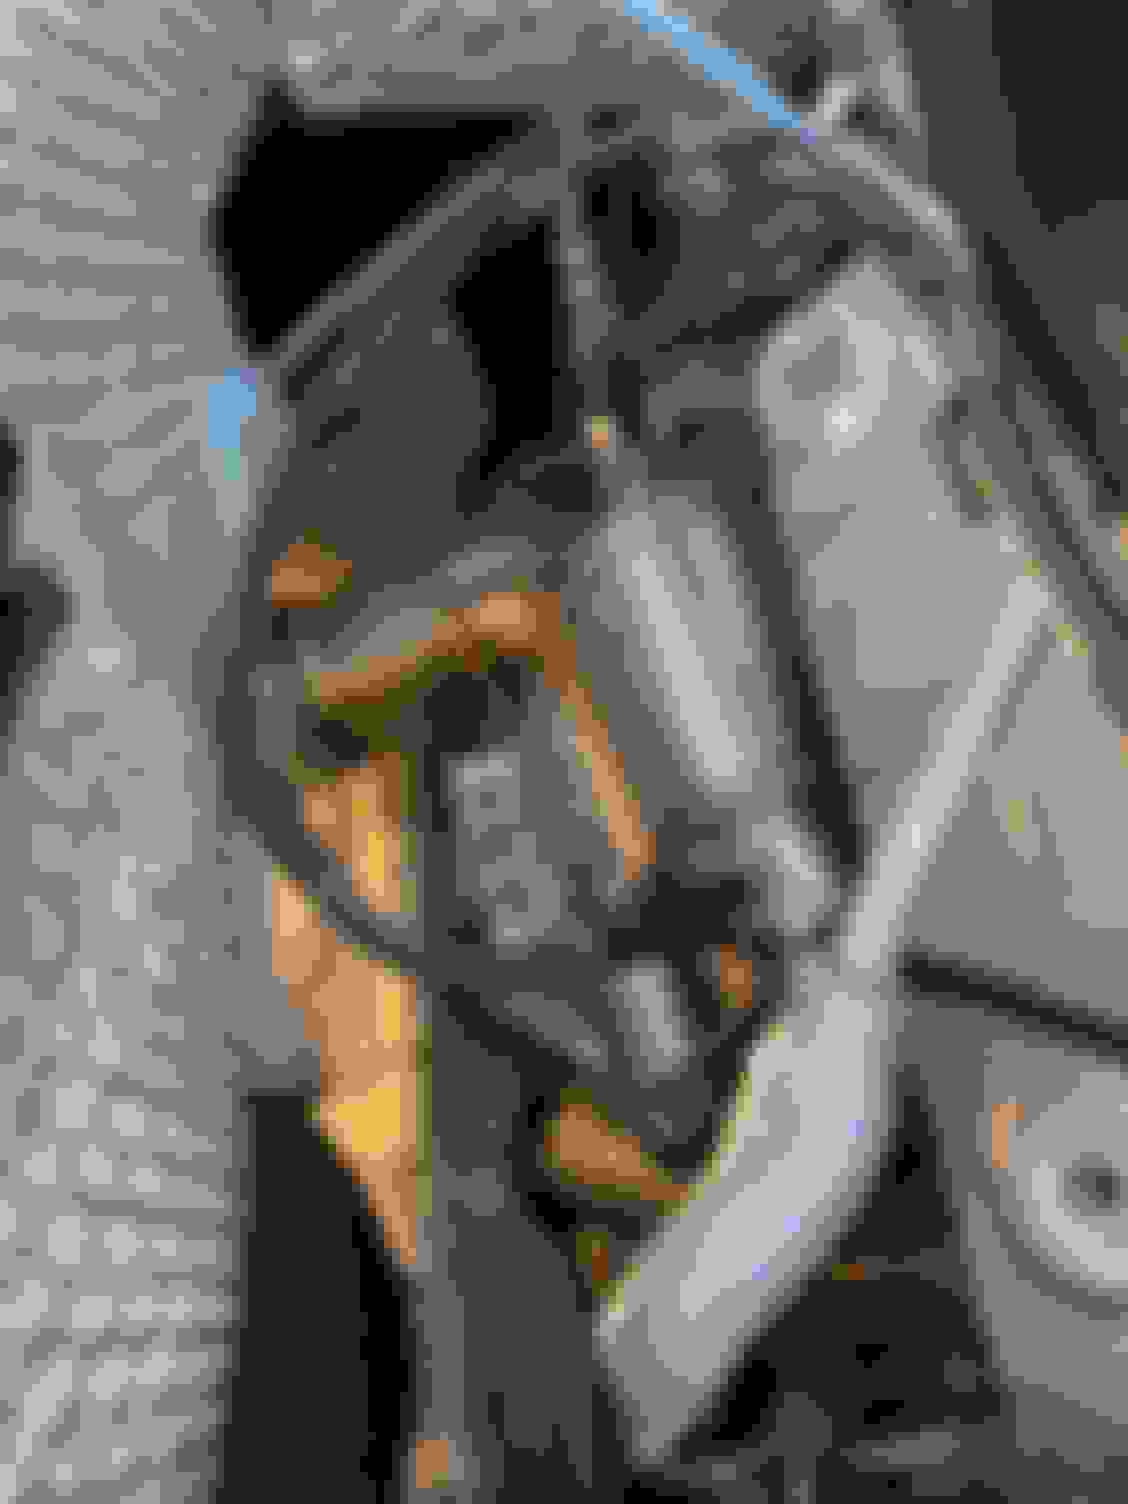
The boost/charges pipes are the Racing Dynamics aluminum pipes (https://emnotek.com/collections/2014...i-cooper-s-f56). These were very well made and had great fitment on the IC and the vehicle mounts. I never once thought that I was going to crush or roll the seal when installing. The factory F55 boost pipe (Turbo to IC) incorporated a large plastic mount at the center that rigidly affixes to the lower portion of the motor. It also has an aluminum coolant line that sits in a holder. Getting that out required me to remove the passenger side wheel and splash guard. I also loosened the bottom aluminum frame rail to allow for more room to wiggle the factory piping out. The RD boost pipe once assembled was very sturdy and had little to no movement once installed. The nylon boot was as expected. The charge pipe (IC to TB) slid right into place as well but arguably with little play. The billet a connection on the TB side is well made and has a close fit to the lower part of the charge pipe body. I slid the nylon coupling down to the water cooling port and it left very little room to maneuver the two together. Also, I sealed the water injection port with a little high temp thread sealer (not threadlocker). Overall, these are very well made and considerable for the application! Definitely recommended but will be easier installation if you are replacing the factory IC as it does require a high level of tear down to get these in place without loads of frustration from cramped spaces!
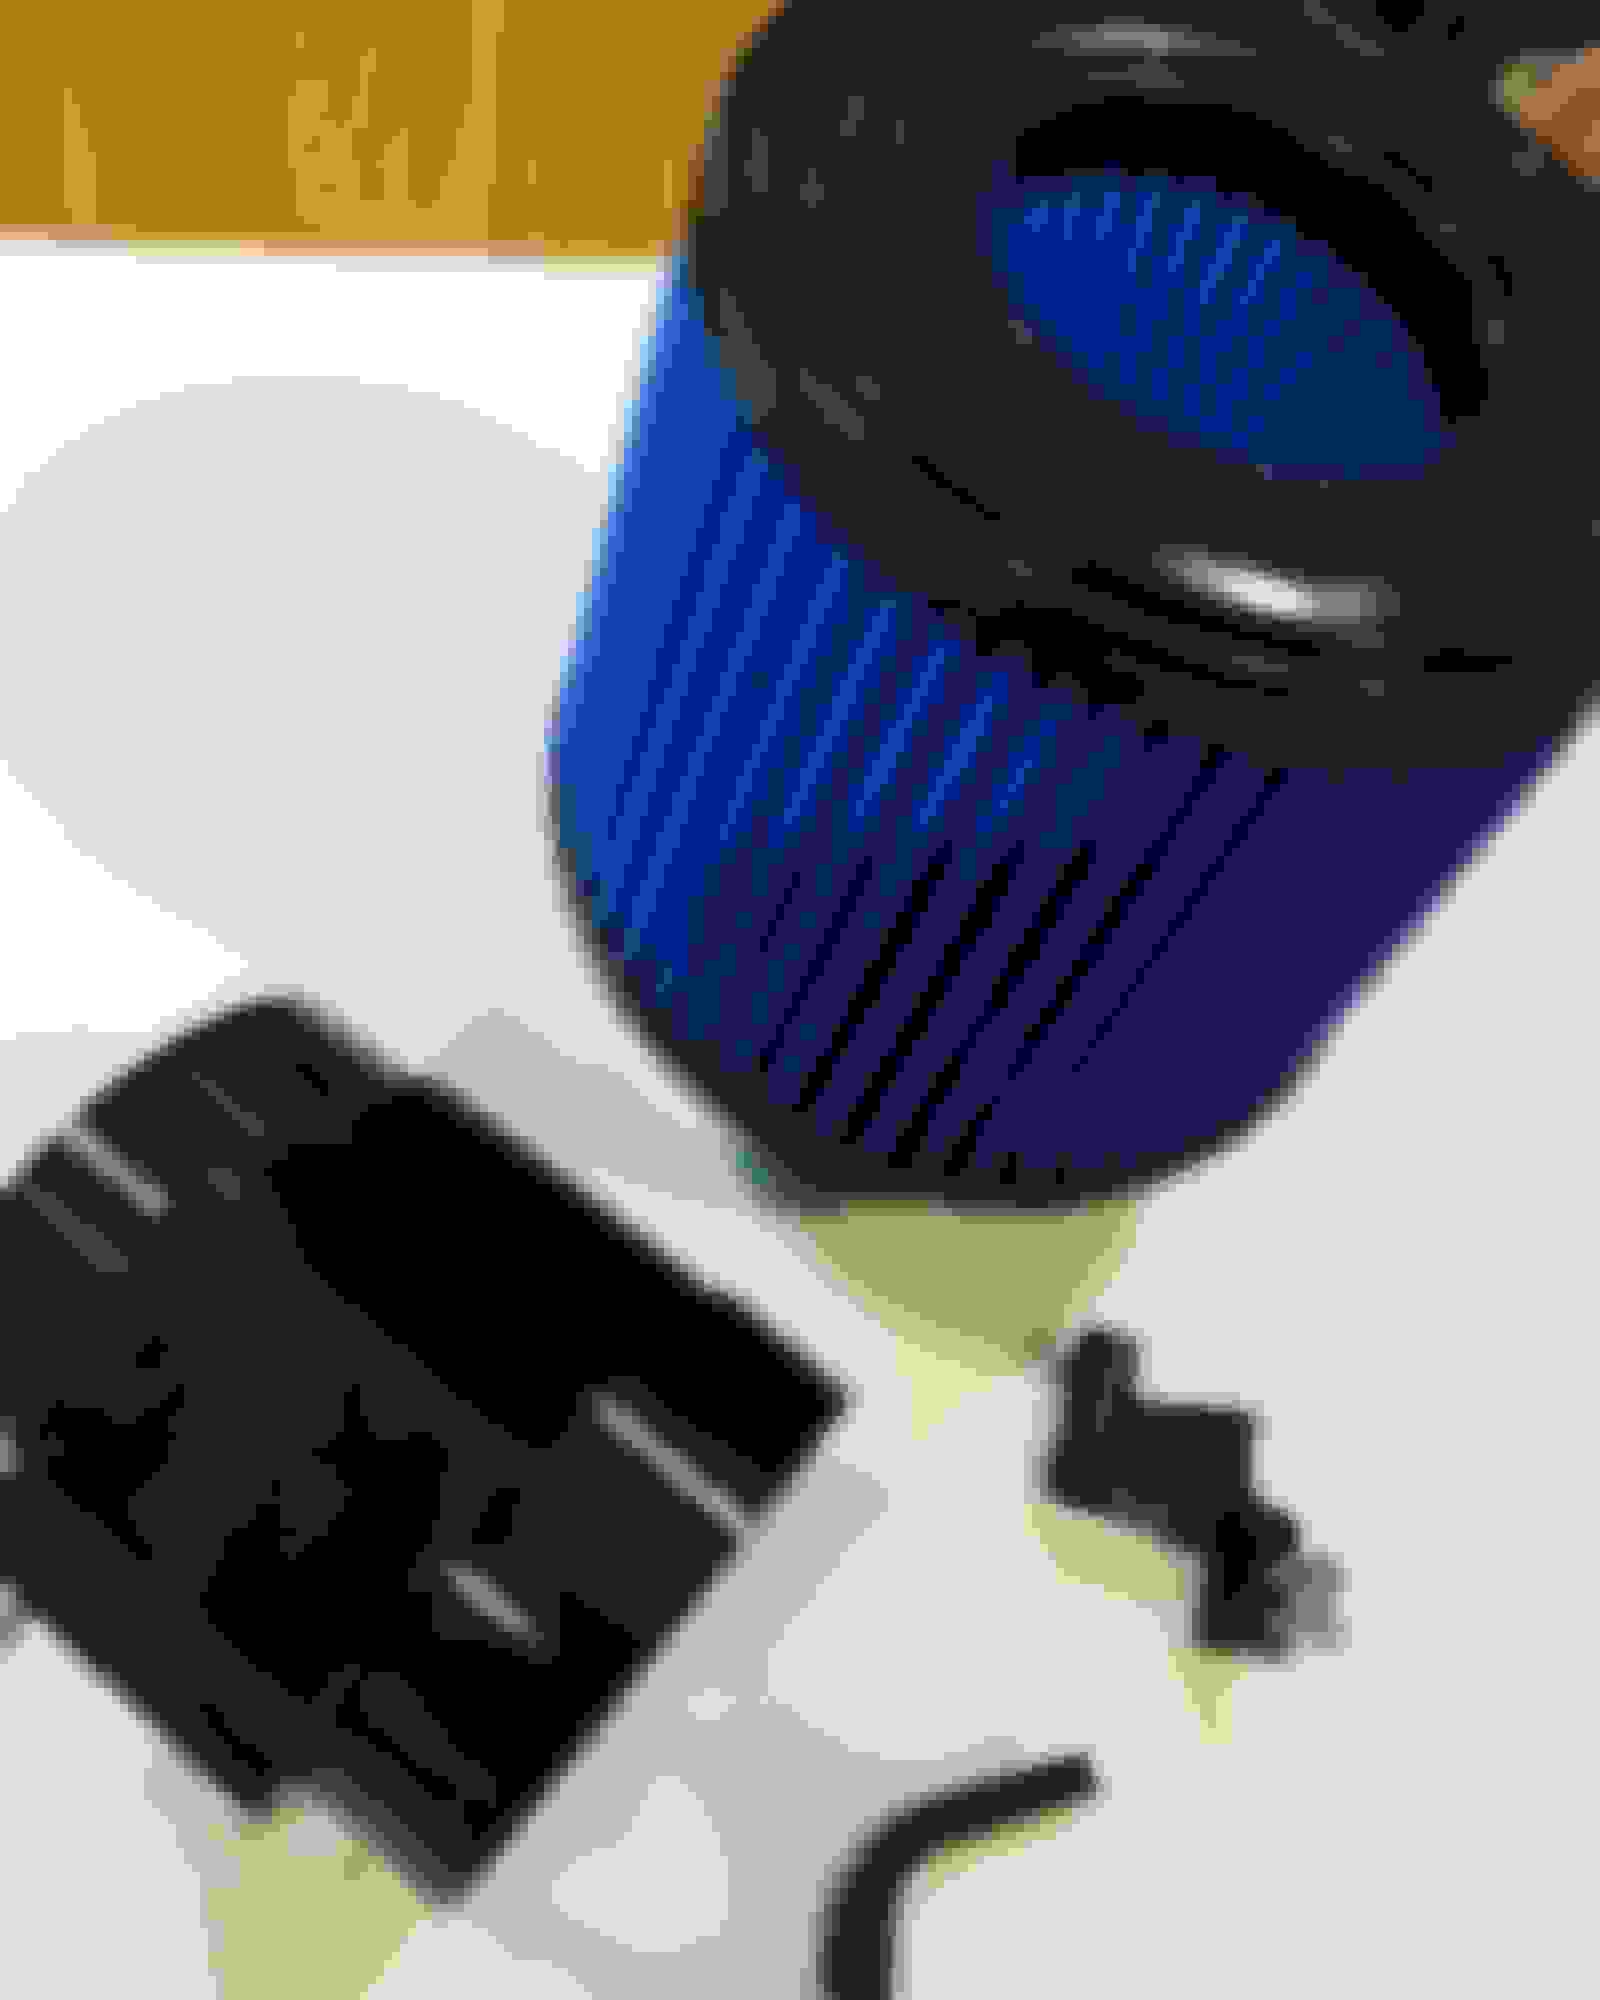
I did install a BMS CAI (https://burgertuning.com/collections...nd-b48-engines). Drop in was straight forward. Only note was that the MAF sensor factory seal would not fit in the billet opening from BMS. I removed the seal and used threadlocker on the mounting bolts. One thing to note is that you will get engine fumes in the car when it is not on recirc on your AC. Wife wasn't thrilled about that so may remove and put a drop in back in and only used this when making hits as the task is simple enough. Lots of turbo noises if that's your thing. Definitely makes folks look when it dumps boost and you get the whooshes.
Lastly, I installed the JB4 tuner ( you all know the deal) with the bluetooth dongle. I was a bit put out that I had to purchase the mobile app ($28) after all the expense of purchasing the tuner and the BT dongle! Reaching the OBD connection was super simple. I had an available opening with a small rubber grommet just over the main cable penetration that worked flawlessly. BT synced right up and mapping was a breeze once I was registered and in the tuner. All gauges worked great with no issues. Map 0 showed 15 pounds of boost and Map 2 showed 23 pounds. IAT's started at 89F and went up to 109F pretty quickly so the heat soaking will definitely be something to look out for. I wasn't interested in the gold wrap so I will jut have to live with that and try to cooler the IAT in other ways between 1320 hits. I did get one MIL for the MAF being low resulting in the fuel being too lean at one point while driving on the highway for an extended period of time but it went away after a couple minutes. That is way out of how I plan to use the tuner or car but wanted to see how it behaved under highway conditions on MAP 2. All in all I am very pleased with the build and feel confident that I can trap below a 14 which was my only goal. The car is very responsive and has a very appreciative growl to it. I did already have a Dinan Free Flow axle back exhaust on it that gave it a good low pitch growl so the decat only made that more pronounced. When you rev to get the usual pops you get some ear popping splosions which only made my wife wince as she thought it was coming apart! If you have questions or comments, please drop them below. Thanks for everyone that gave their opinion, advice, general feedback in my previous posts (even when I asked obviously dumb questions!). I added an MPEG with the sound on MAP2 with pops and bangs. Let me know if that works as Windows hates me and wouldn't let me play it back on my PC...
Mine's modded pretty much the same way except the tune. I got ByteTronik and it gives it a good kick everywhere it goes. It's wife's car and she loves it. Motor Hard!
Mine's modded pretty much the same way except the tune. I got ByteTronik and it gives it a good kick everywhere it goes. It's wife's car and she loves it. Motor Hard!
Nice! I went with the JB4 so I could just unplug it and go if I decide to sell the car. Since this I have added the Powerflex yellow lower engine mount which really gets second gear to bite but you sacrifice the ride a bit due to the engine vibration being more apparent in the car. Also, I added the Cravespeed performance lowering springs (bought from Outmotoring for $200) which makes the car look absolutely sick on those 18x8 wheels!! Between those two it's drivability on a trip is much lower but we like it rough! lol
Nice! I went with the JB4 so I could just unplug it and go if I decide to sell the car. Since this I have added the Powerflex yellow lower engine mount which really gets second gear to bite but you sacrifice the ride a bit due to the engine vibration being more apparent in the car. Also, I added the Cravespeed performance lowering springs (bought from Outmotoring for $200) which makes the car look absolutely sick on those 18x8 wheels!! Between those two it's drivability on a trip is much lower but we like it rough! lol
Very nice indeed!
Saw your location info, you're also in Houston? One of those days if we can meet and see the difference in person, that might be nice, too.
But if you're going any further than this, I highly recommend you go on and upgrade your pistons, too. These stock pistons are made of cheese, when you start power-modding it, you're burning the candle from both ends, you'll grate these cheese up sooner with too much power on stock internals.
This is as far as I am willing to go on the stock internals and stock transmission assembly. I need to go to a colder plug but haven't gotten around to identifying one. This car was modded specifically for 14 second bracket racing and drag week. Should be a fun ride and maybe put me in some money (maybe enough to cover the mods!). If we can ever get a dang dry Friday, I will be at the Houston Raceway. I need to get some logs and finalize the tune.
 02-08-2021, 10:11 AM