When you click on links to various merchants on this site and make a purchase, this can result in this site earning a commission. Affiliate programs and affiliations include, but are not limited to, the eBay Partner Network.
When I first wired up the Innovate Motorsports MTX-L Plus Lambda gauge I unwittingly tapped off the audio power. This turns on the A/F gauge even when the ignition key is switched to ACC position, which I often do. This is most undesirable. To rewire it to only switched on when the ignition key is at the On position I want to wire it up properly by tapping off the fuse panel by the left side of the driver foot well.
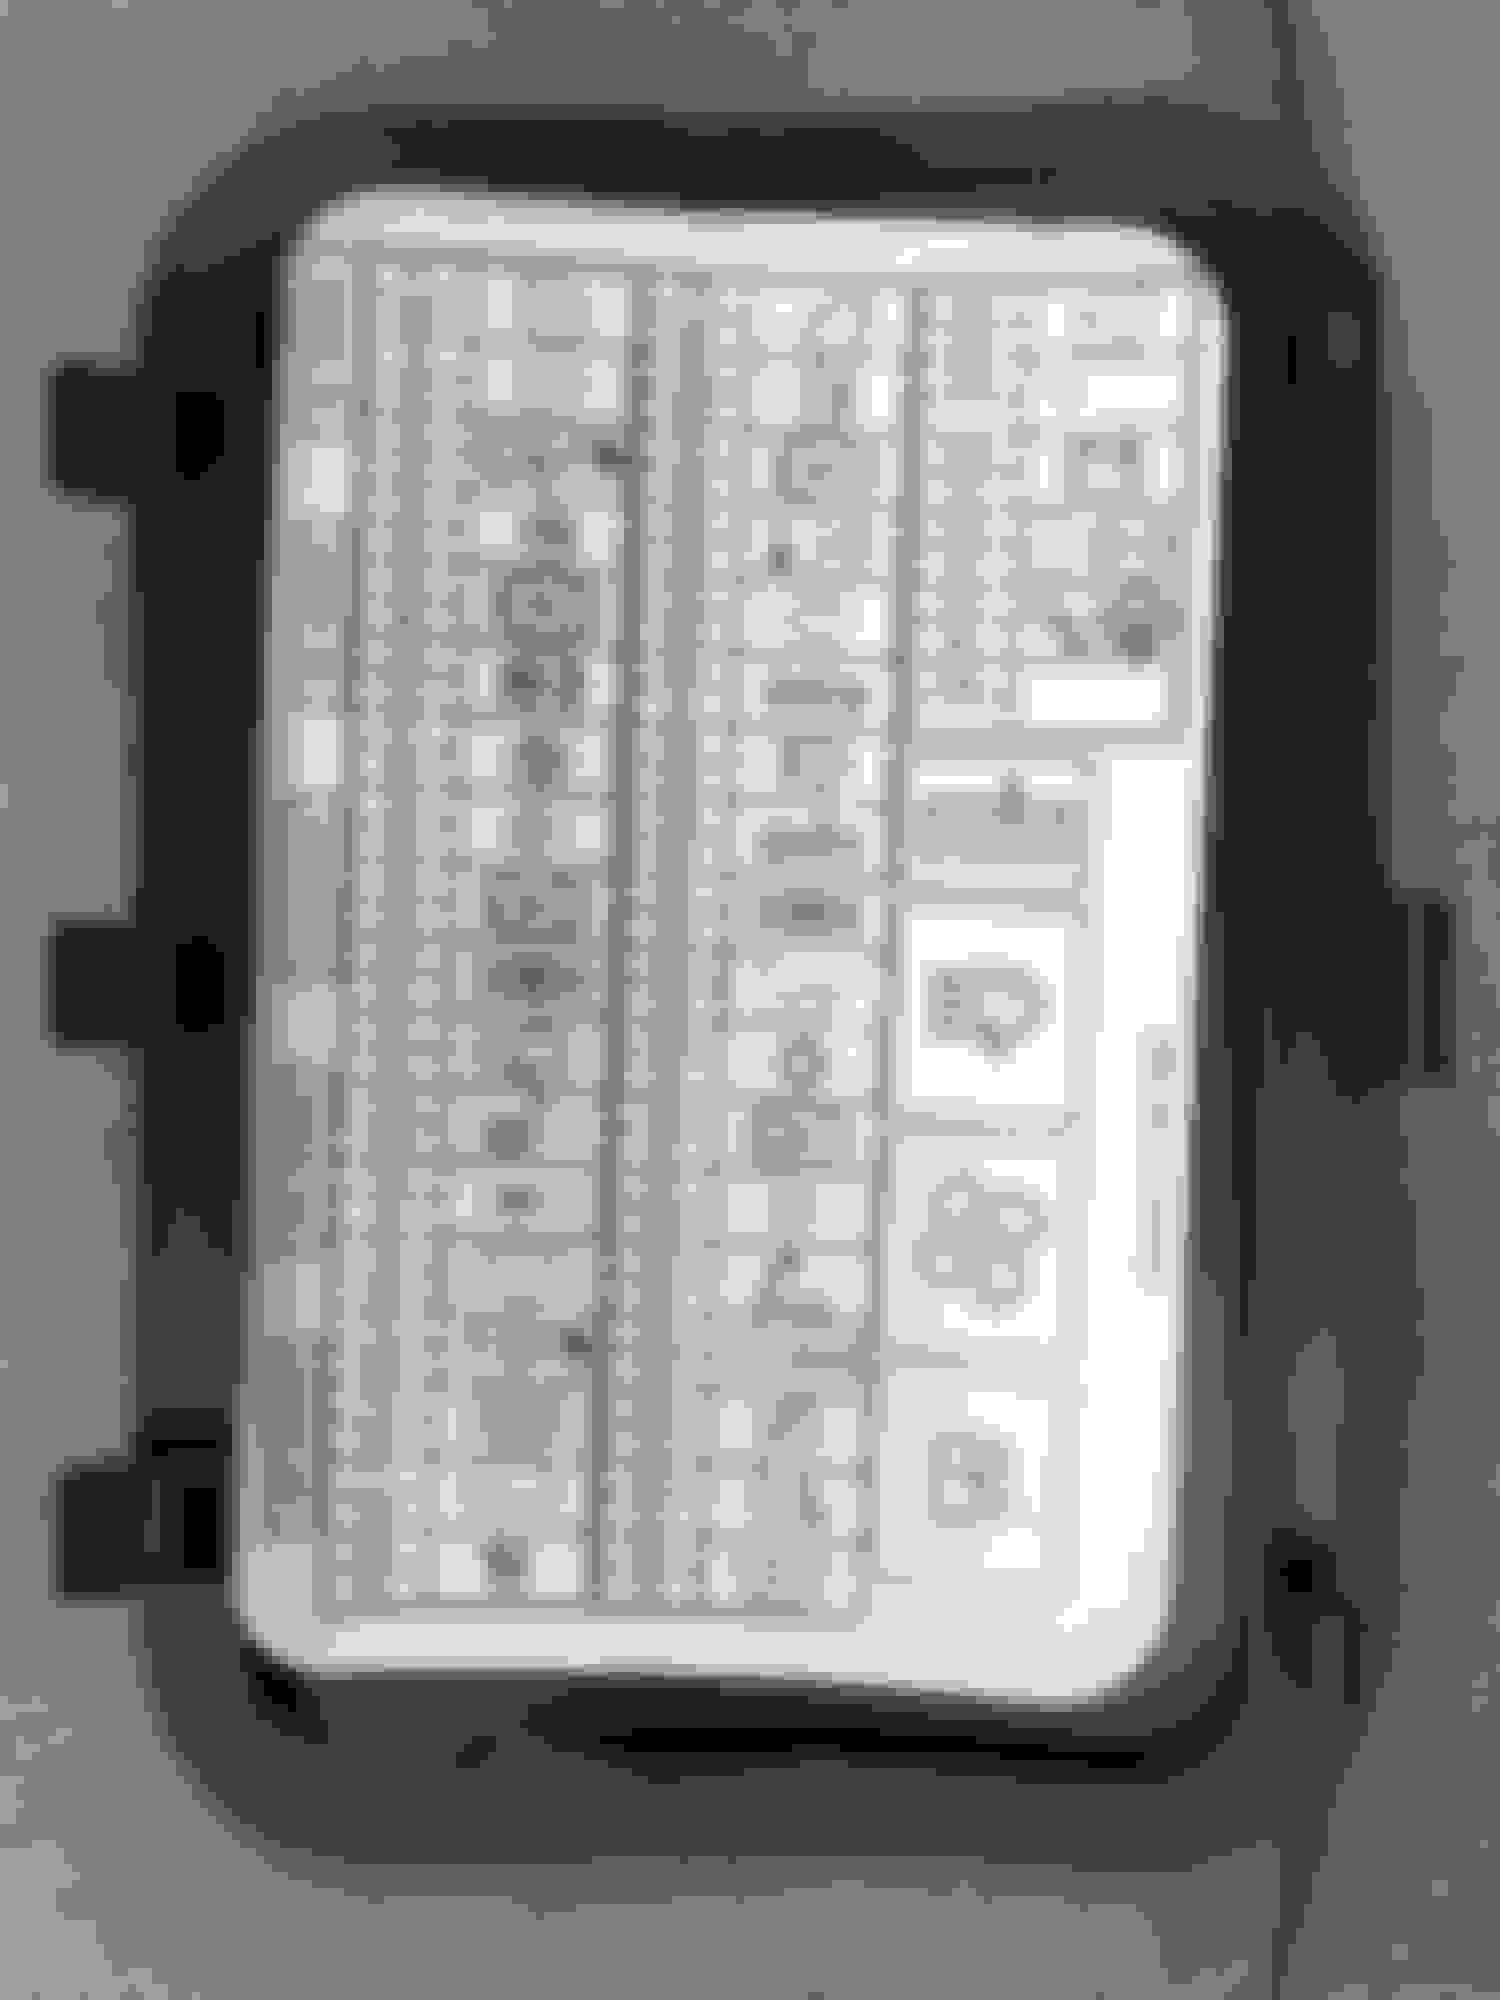
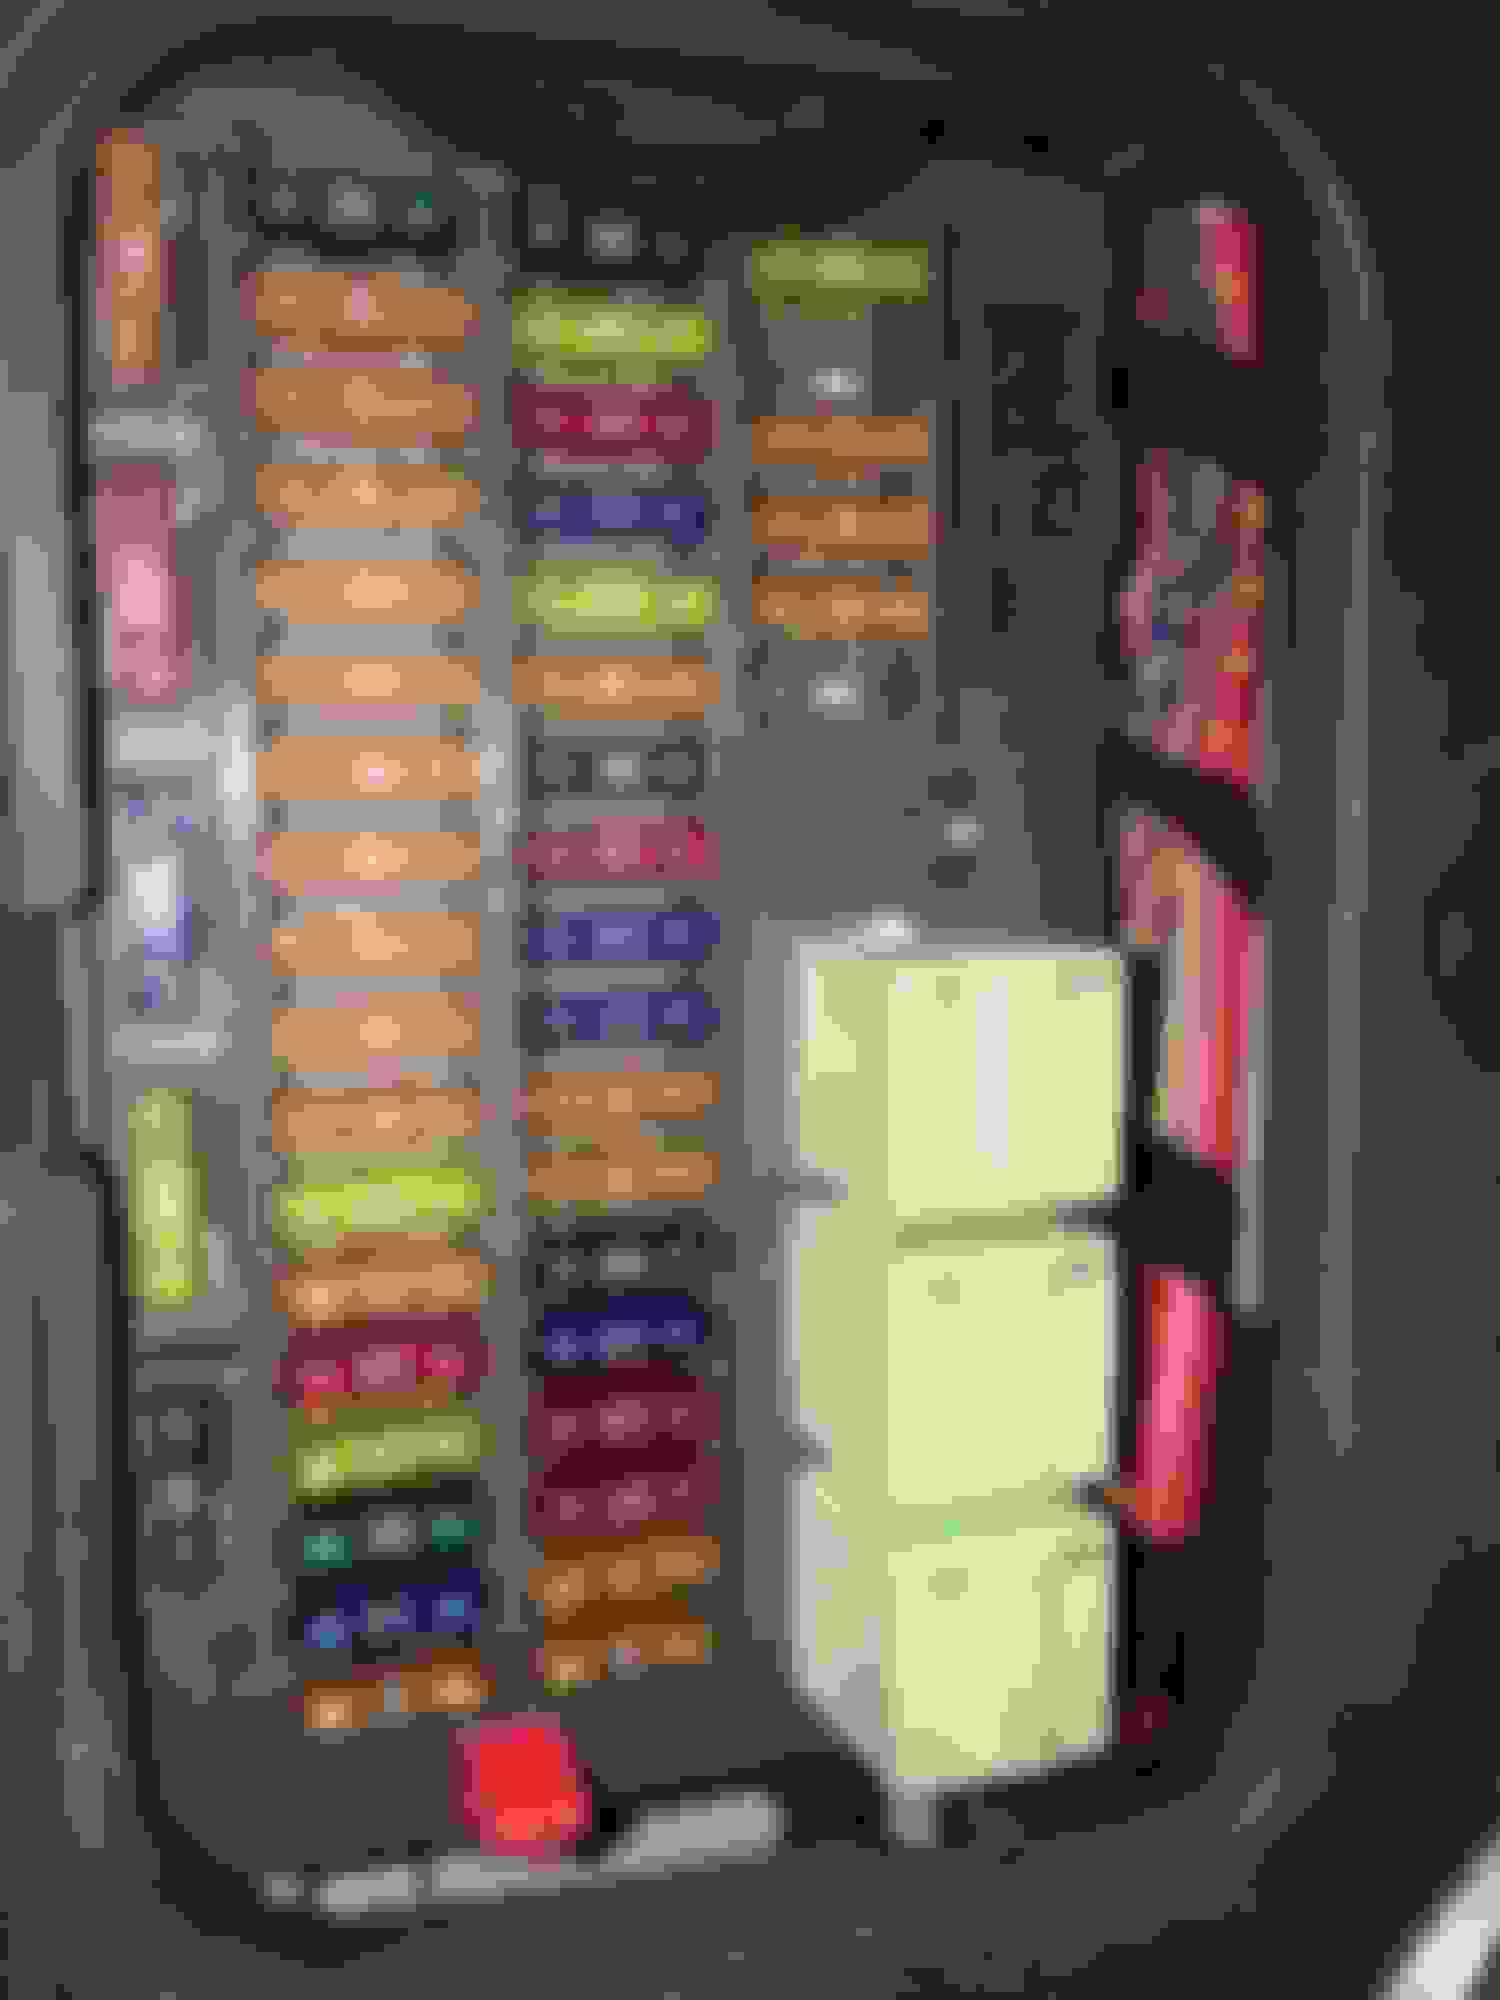
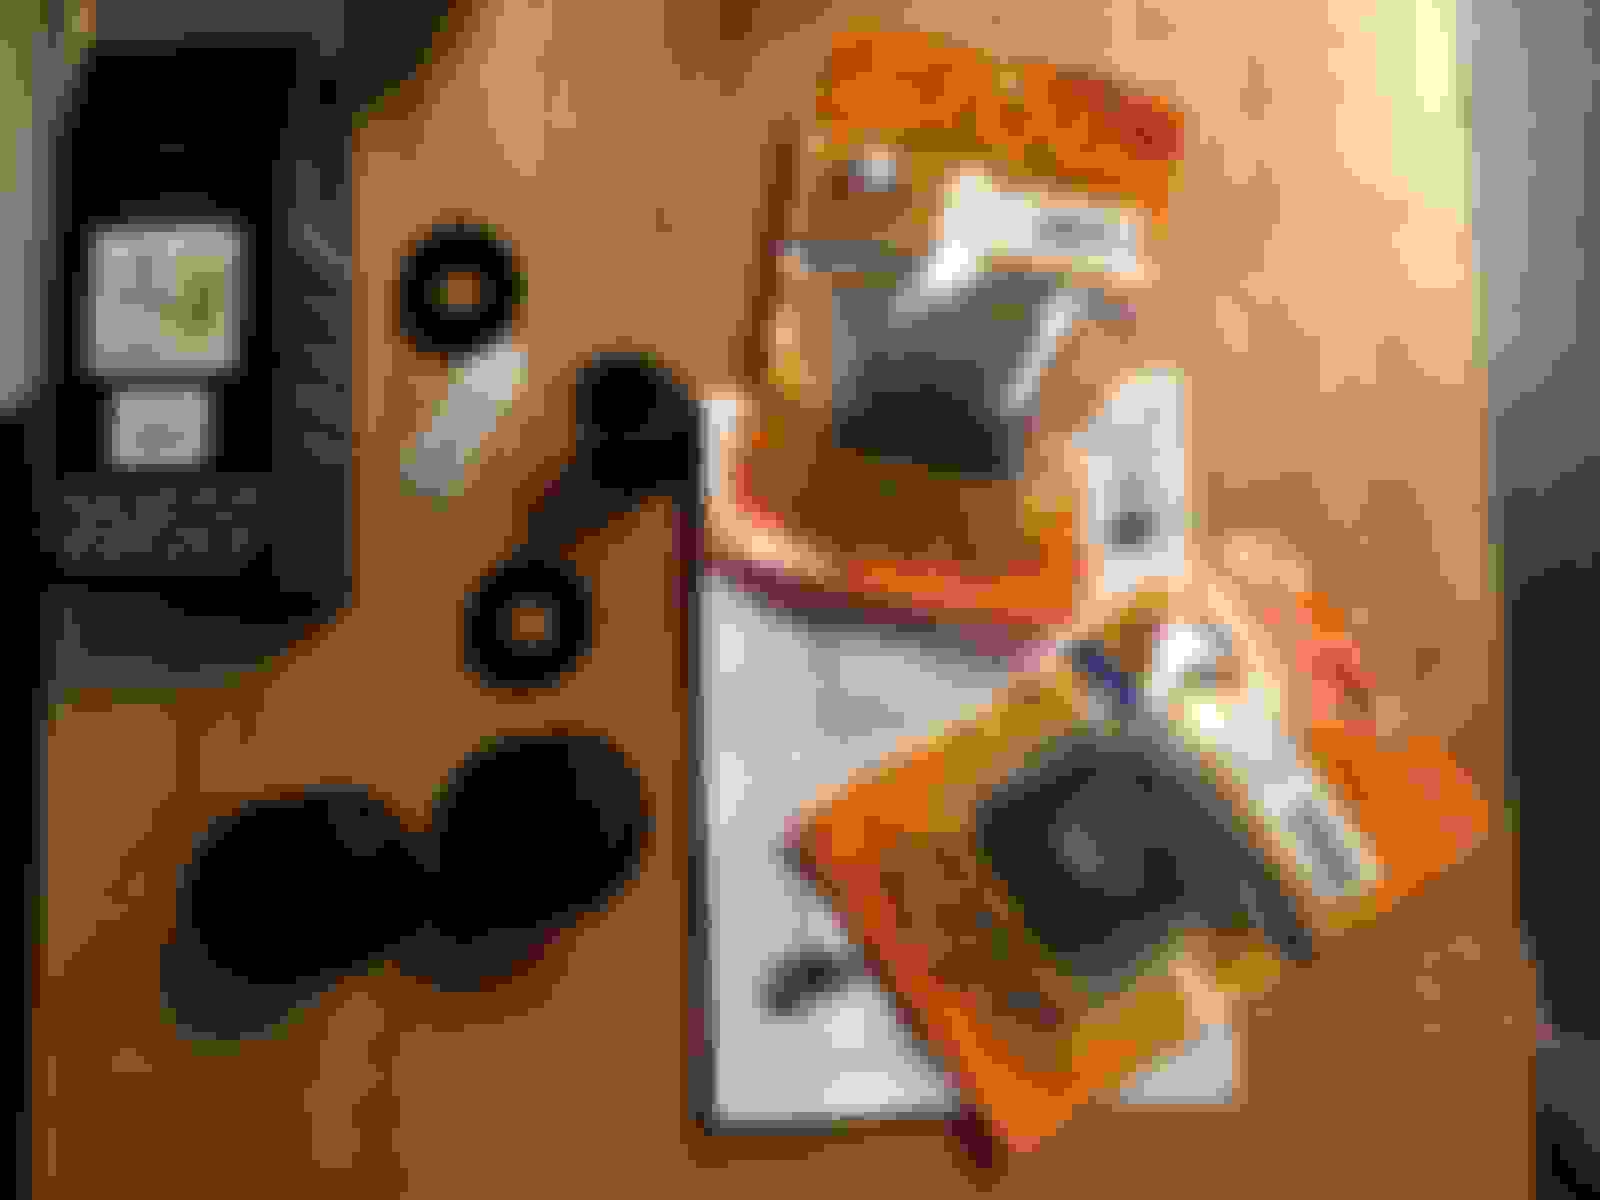
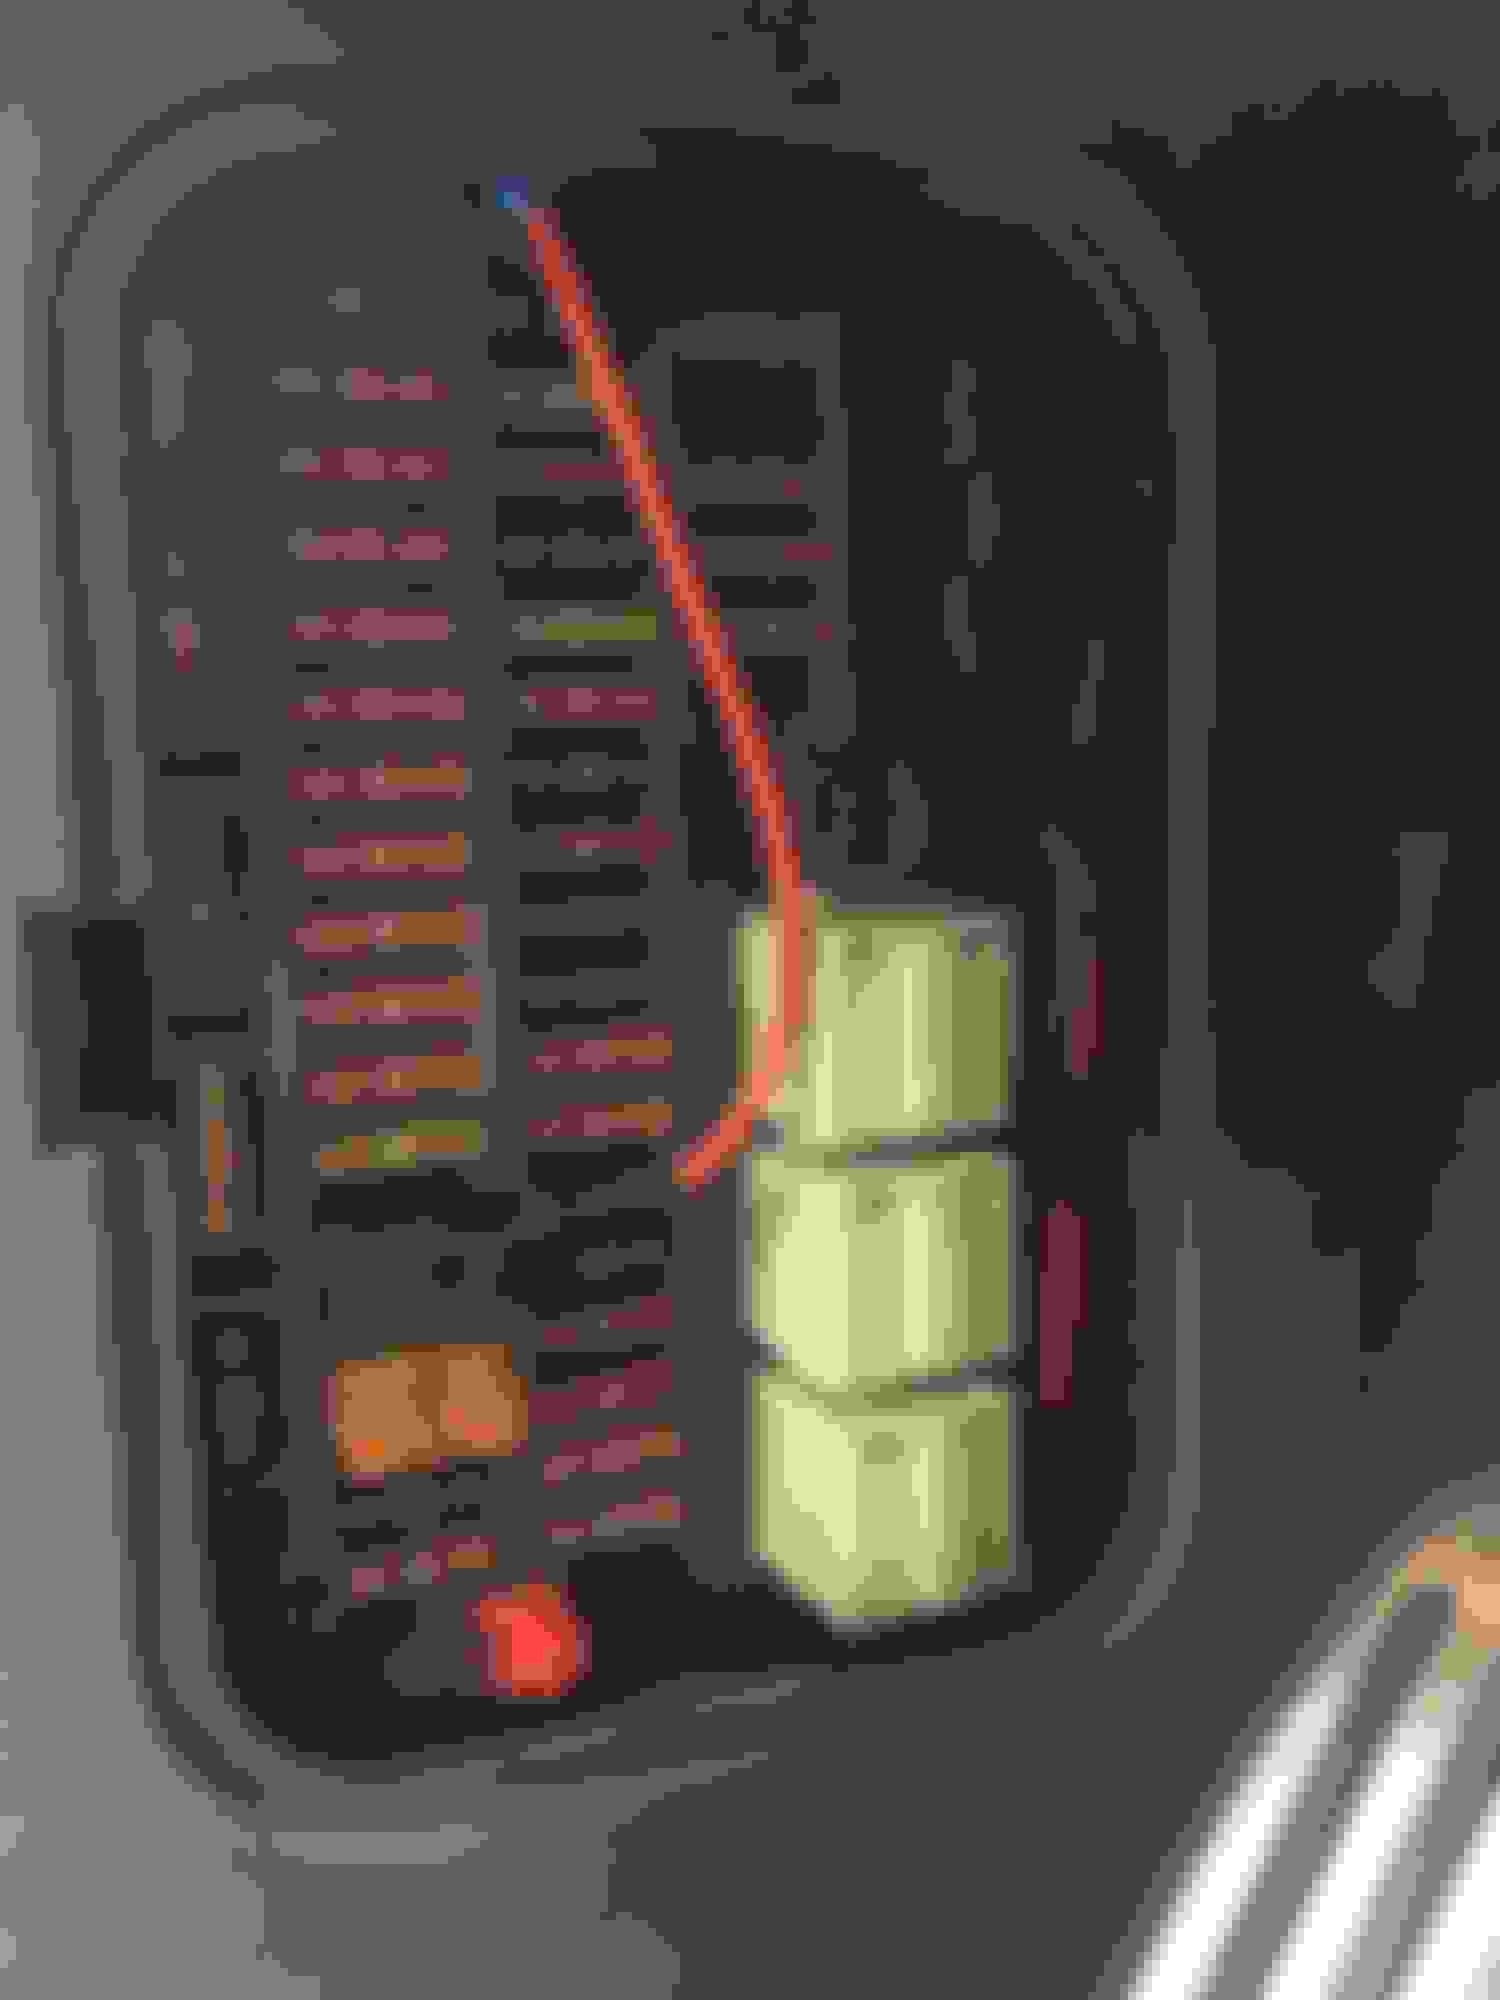
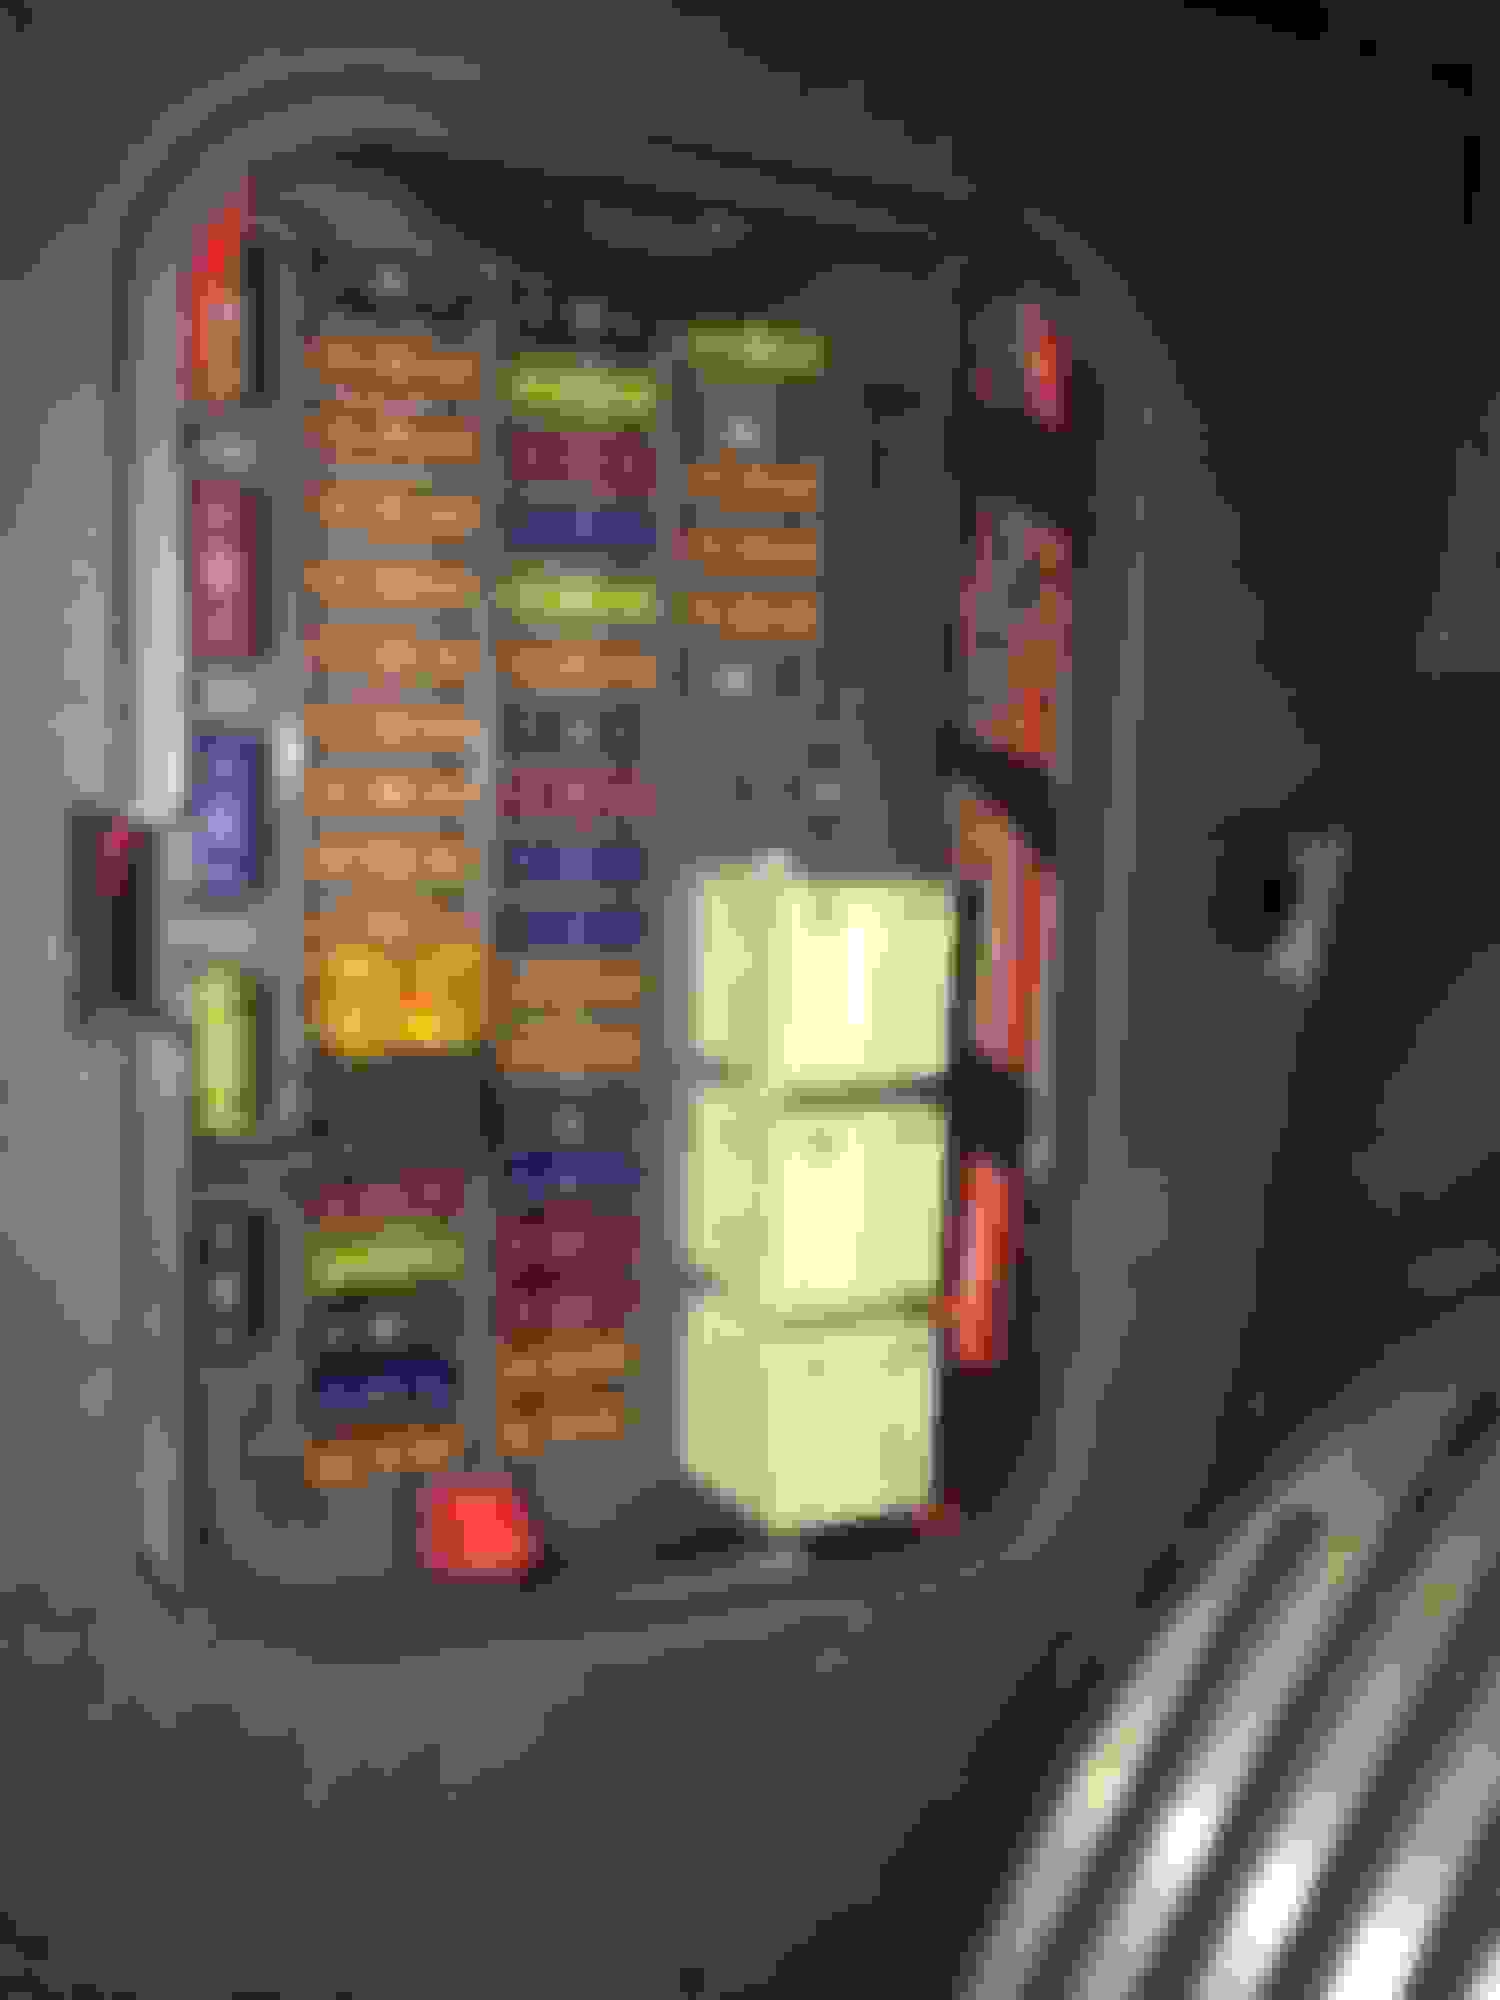
I waited for close to a month for these fuse taps. As I don't want to switch on the ignition now that the Mini is in pieces and many engine sensors are disconnected. All I can do is to plan ahead as to which fuse to tap. It is preferred to tap a fuse that is non-mission critical in case the fuse tap works itself loose. I took photos of the fuse panel for easy reference.
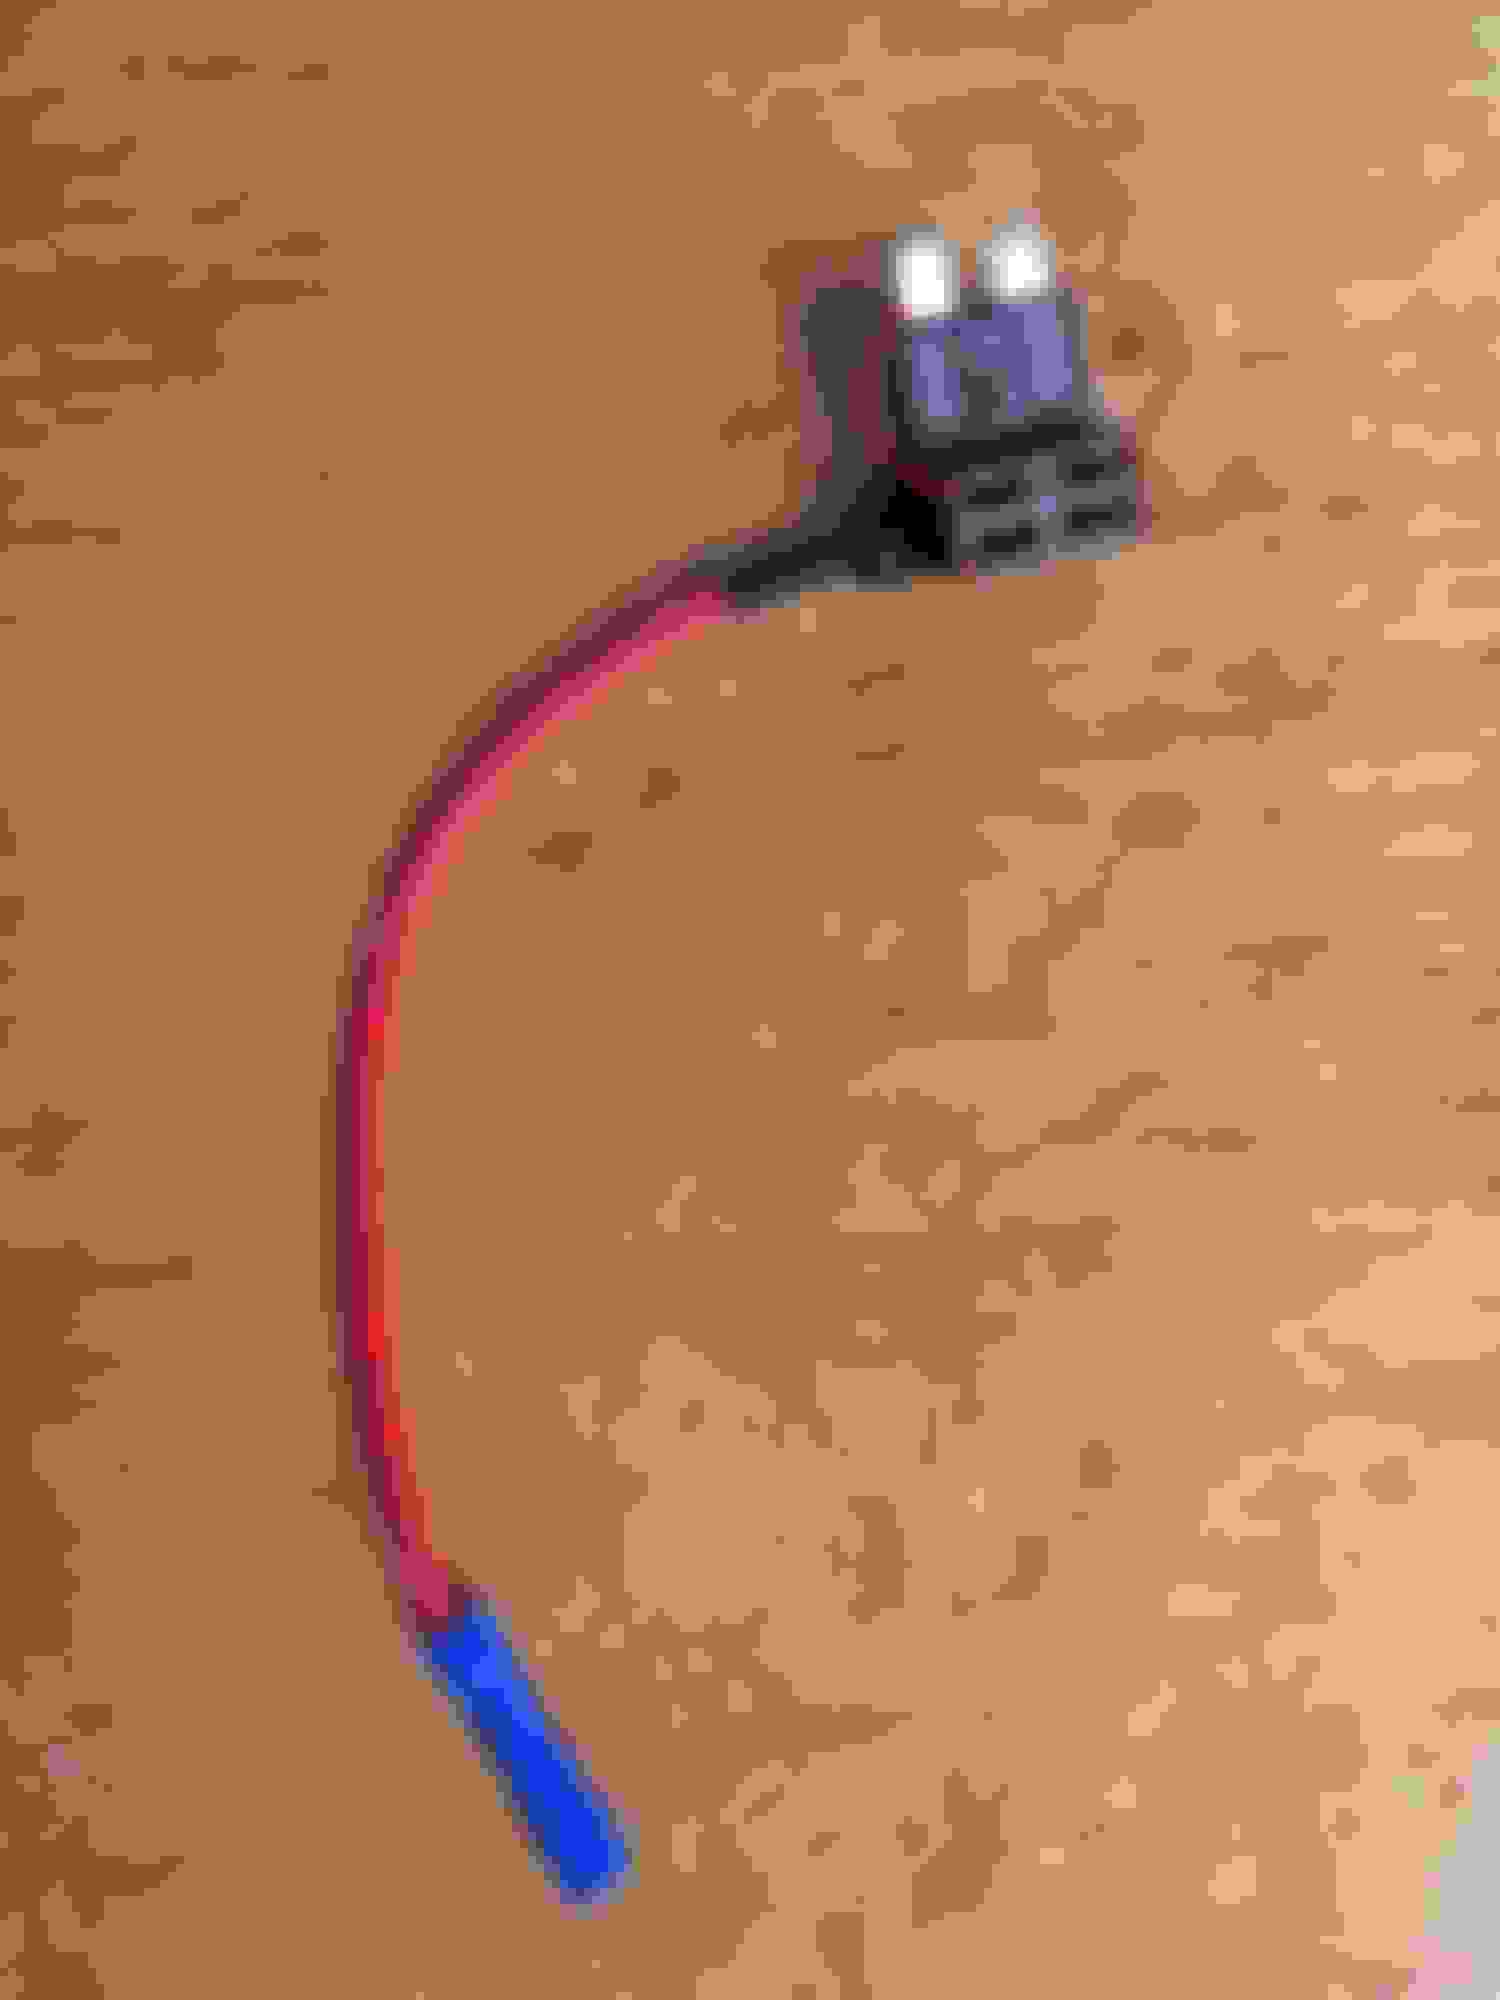
ATC fuse tap - I marked up the contacts; the tap has to be plug in in a right orientation
I plan to tap from F35 or F36 as they are not mission-critical and only 5A; both are on ignition switched power
I remember a photo in a thread that the orientation of the fuse tap is such that the pig tail needs to be on the right hand side. That would make fitting into F35 (heated mirrors) or F36 (rear defogger) a bit tight due to the banks of relays. The alternate fuses to be tap are F11 (washer pump) or F13 (backup light).
For the installation of the CoolerWorx long shifter I last left the cosmetic at this stage. That is I have been putting off trimming the silver trim rings as I knew it is a challenging job if I want a satisfactory appearance and not left with a hack job. There are a lot to consider and think through. Noise deafening, rattle abatement, dust covering, and a finished look - to name a few.
I last left it at this stage - no trim rings
Cutting the trim rings are tricky. You cannot just scribe the cut lines by aligning with those of the ABS plastic console. The features of the CoolerWorx is rather complex involving compound angles and recesses that change with elevation. Without some sort of CAD model you have to tackle it craftsman like; almost like woodworking, or metal fabrication.
I first marked the rough locations of the cut lines with pencil
the Fien MultiMaster is an excellent tool for cutting plastic
even set to rather low speed the plastic melt a little
the melted plastic looks worst than it really is; they are just fine once you clean up the cuts with files
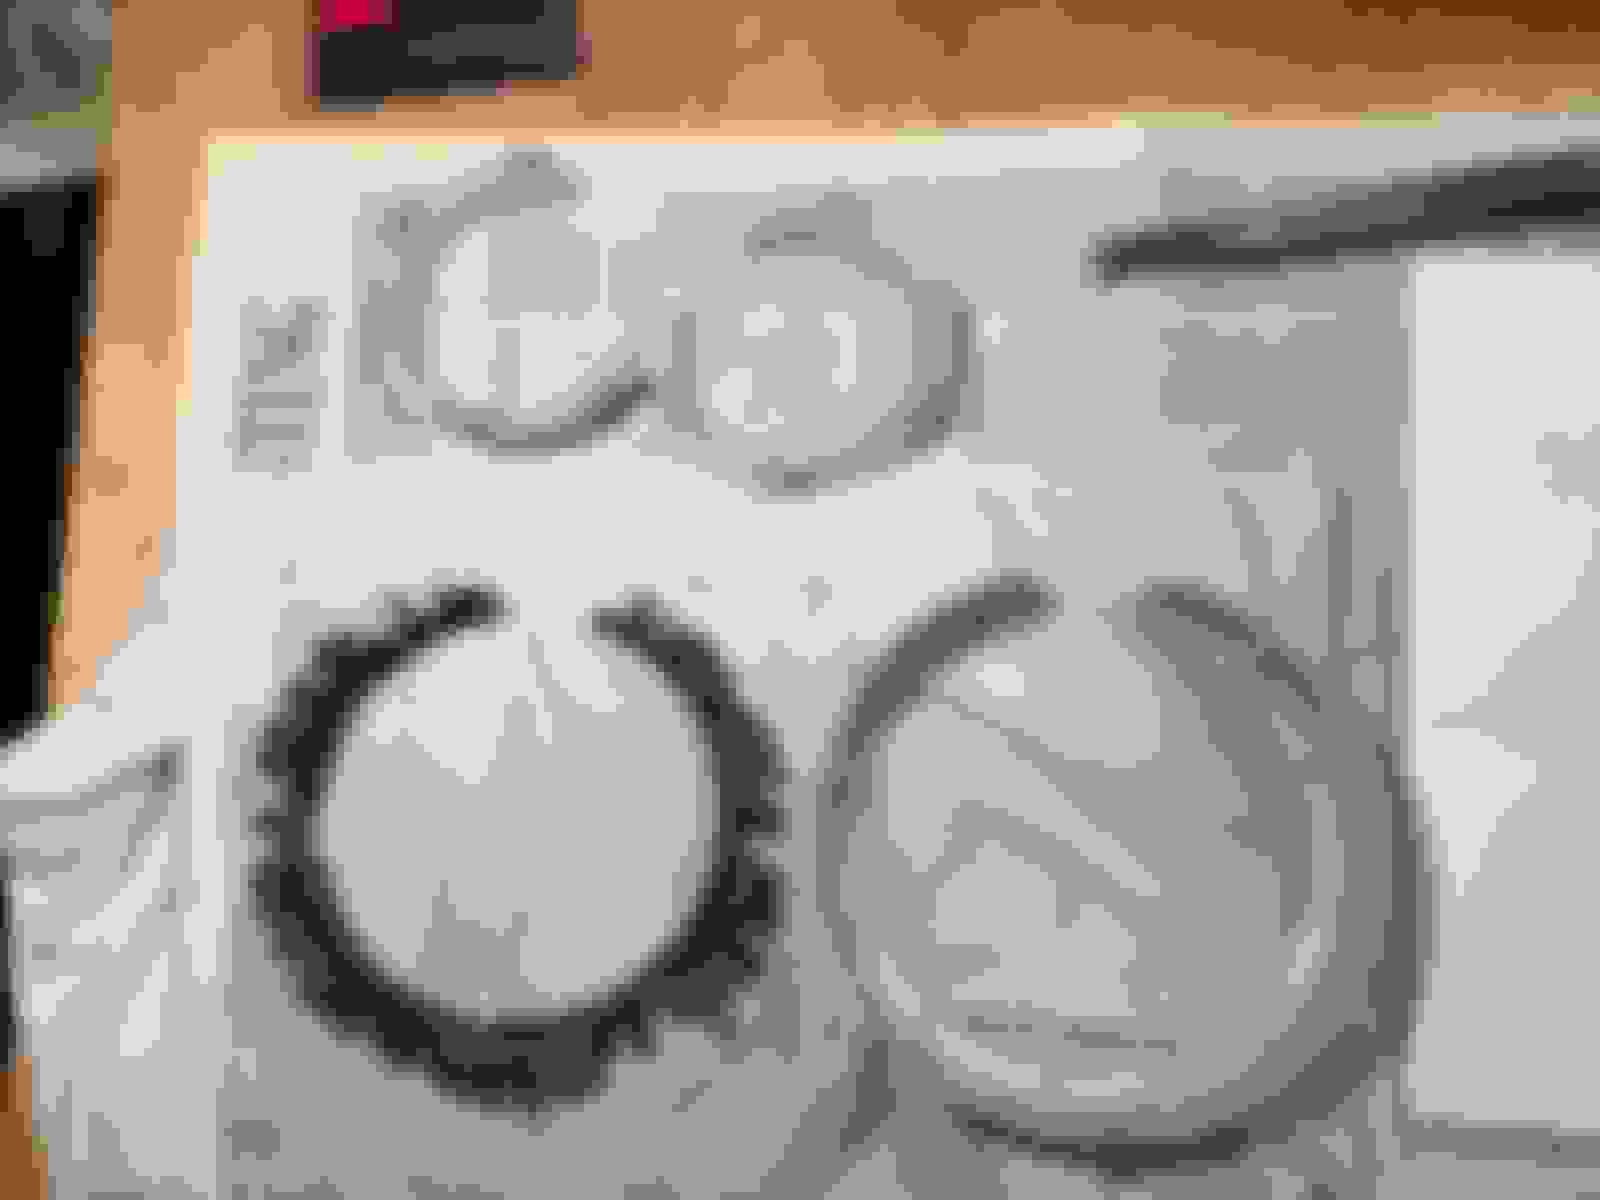
after much careful filing with different files the two small trim rings is about shipshape
many test fittings and filings they are finally are almost satisfactory as far as the cuts are concerned; there is still the rubber gasket to deal with later
Next is to tackle the large trim ring.
pencilled out the cut lines
first cut
after a lot of filings
there is the inner rings that needed to be filed separately
we are nowhere near finish
after a bit of clean up of the burrs and pencil marks
countless number of test fittings
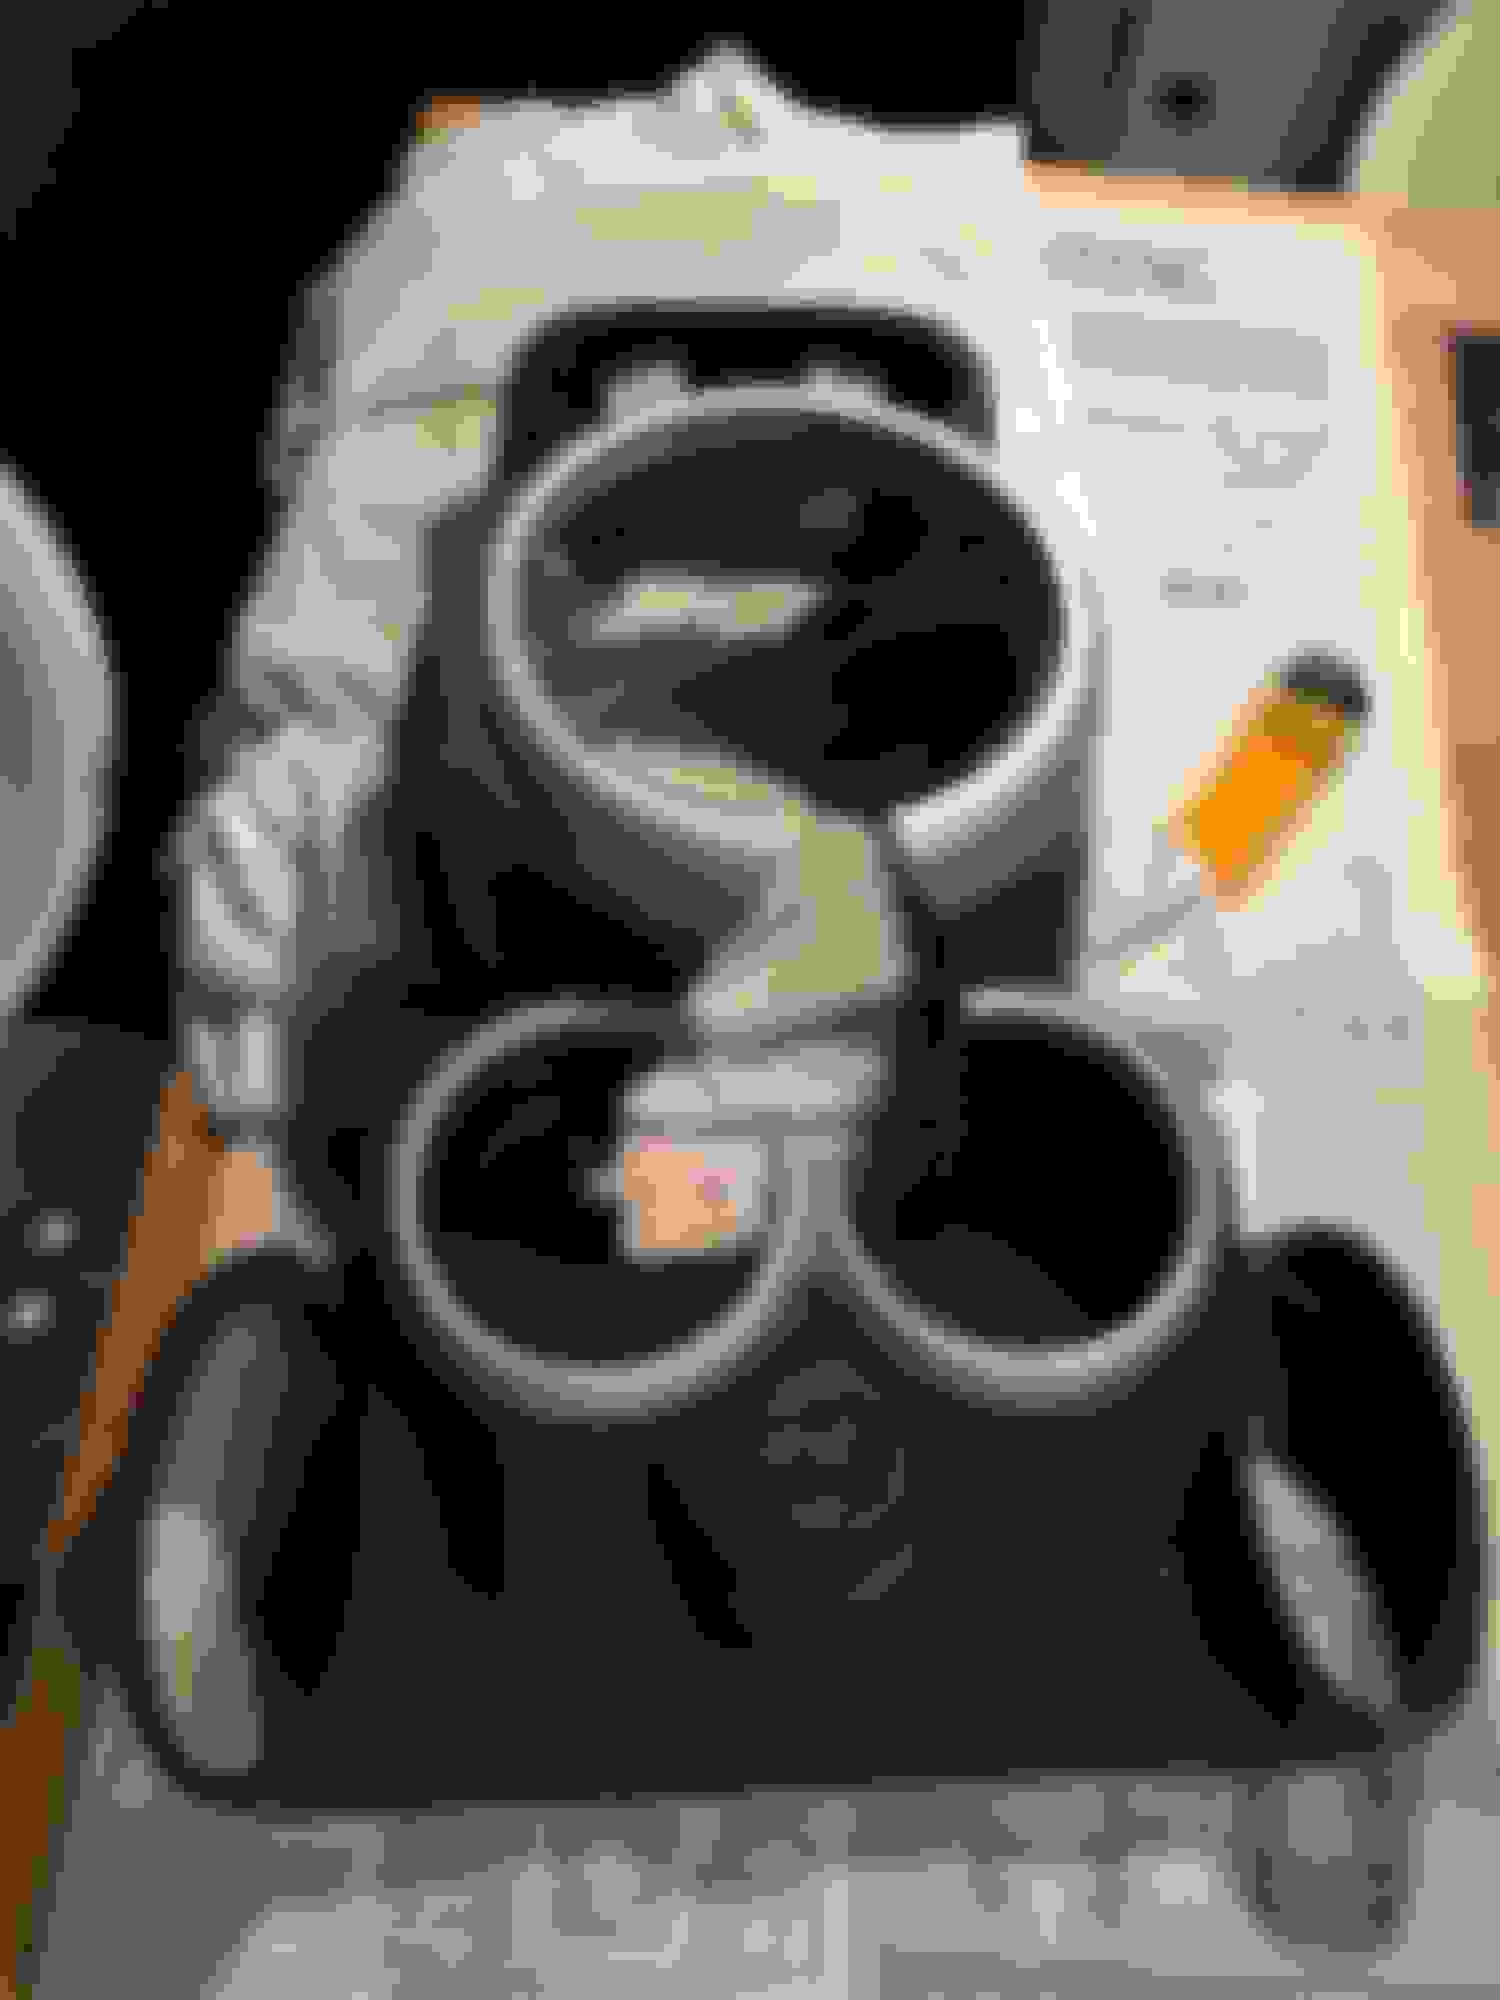
next is to trim the rubber gasket for the cupholders
rubber gasket trimmed; I also had to slightly notch the inner ring of the large trim ring for the small ball joint to clear
more test fit now with the rubber gasket for the cup holders
This is where I left it for now. I want to design and fabricate a dust boot of sort to protect the ball joints of the shifter cables. I also want to do something to strengthen the cut plastic trim rings as they are structurally compromised and will likely rattle under certain frequencies.
By keeping the Mini dual duty and wanting it very civilize for street use any modification is that much more challenging. I want my Mini to drive good, and look good, in form follows function aesthetics.
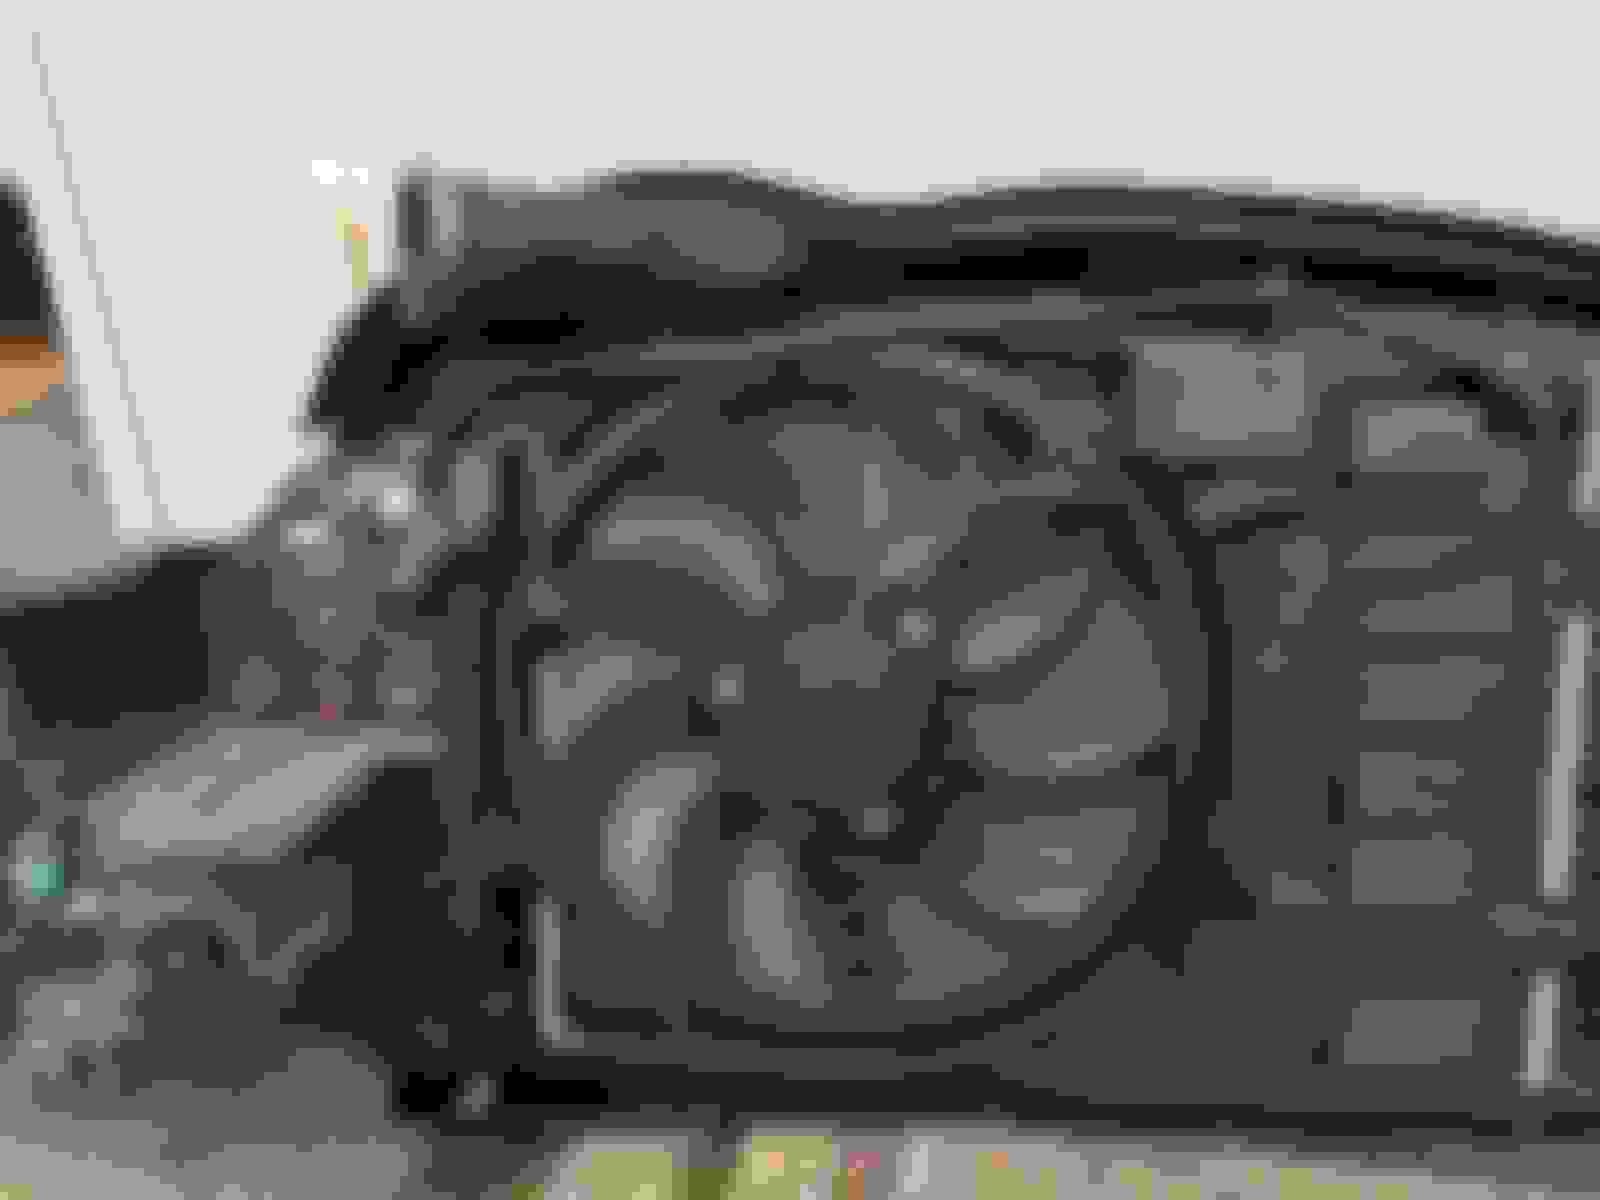
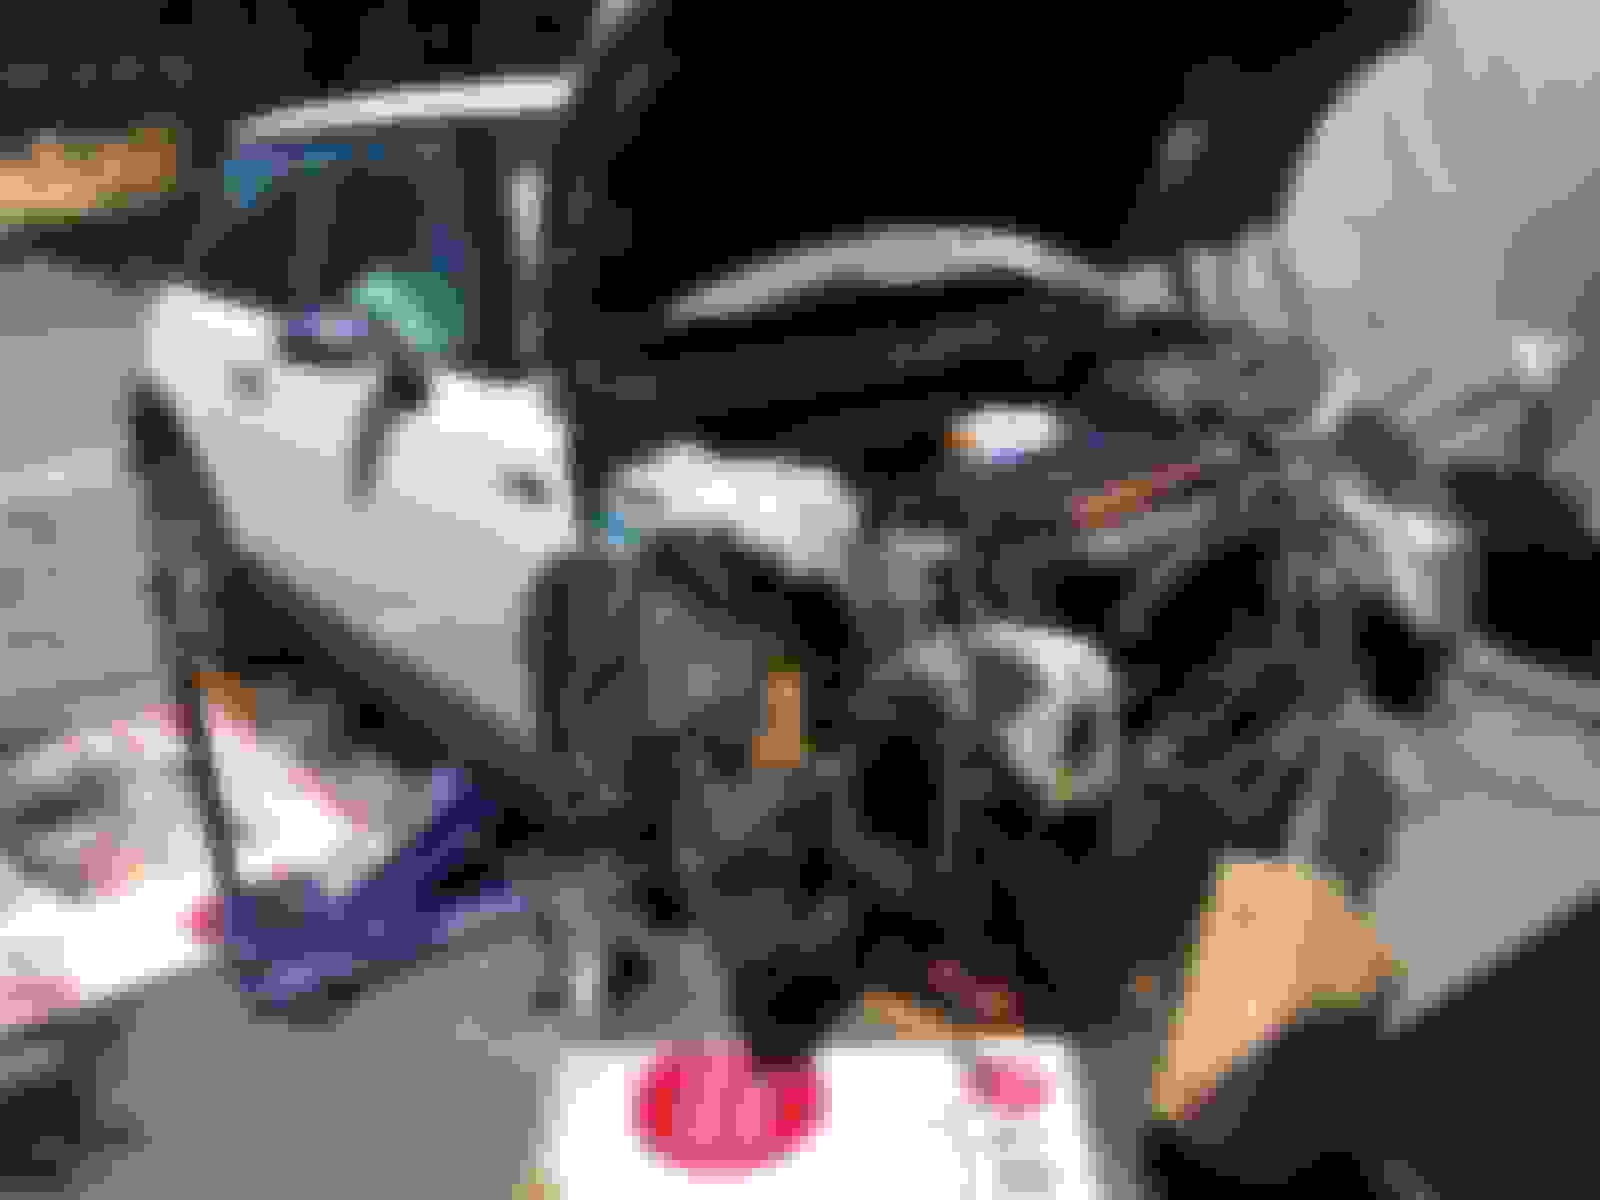
Here are some photos I took to perform the supercharger oil service. This was my second time putting the Mini into front end service mode. I am getting quite proficient at it. I am more organized now in keeping track of the countless fasteners. I took exceptional cares in handling the air conditioner condenser and the radiator which can be damaged if not careful.
last time I didn't have these hose clamp pliers
I wanted to inspect the condition of the low speed fan resistor but it is quite involving to access it - you have to separate the radiator from the front end module to get to it; based on the condition of the coolant fan and the front end module I have little reason to think it is in need of replacing
the coolant fan is in remarkable condition; no sign of oxidation on the windings
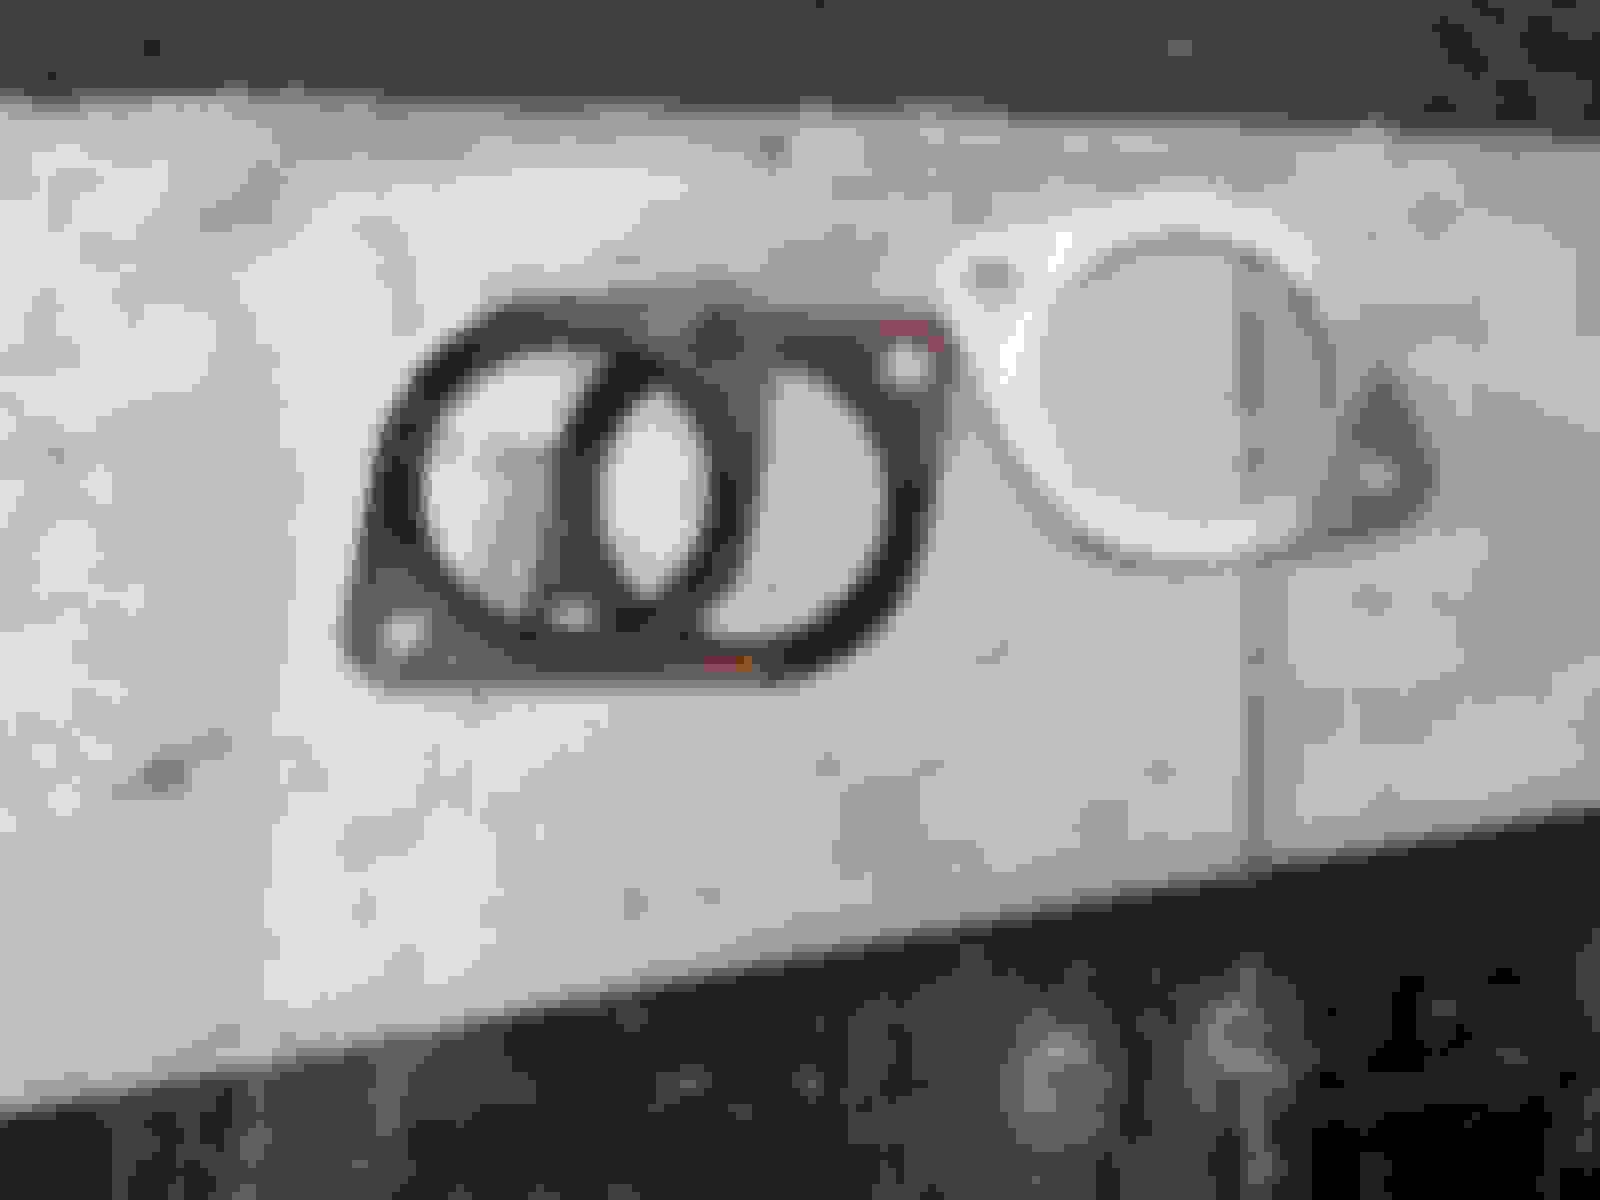
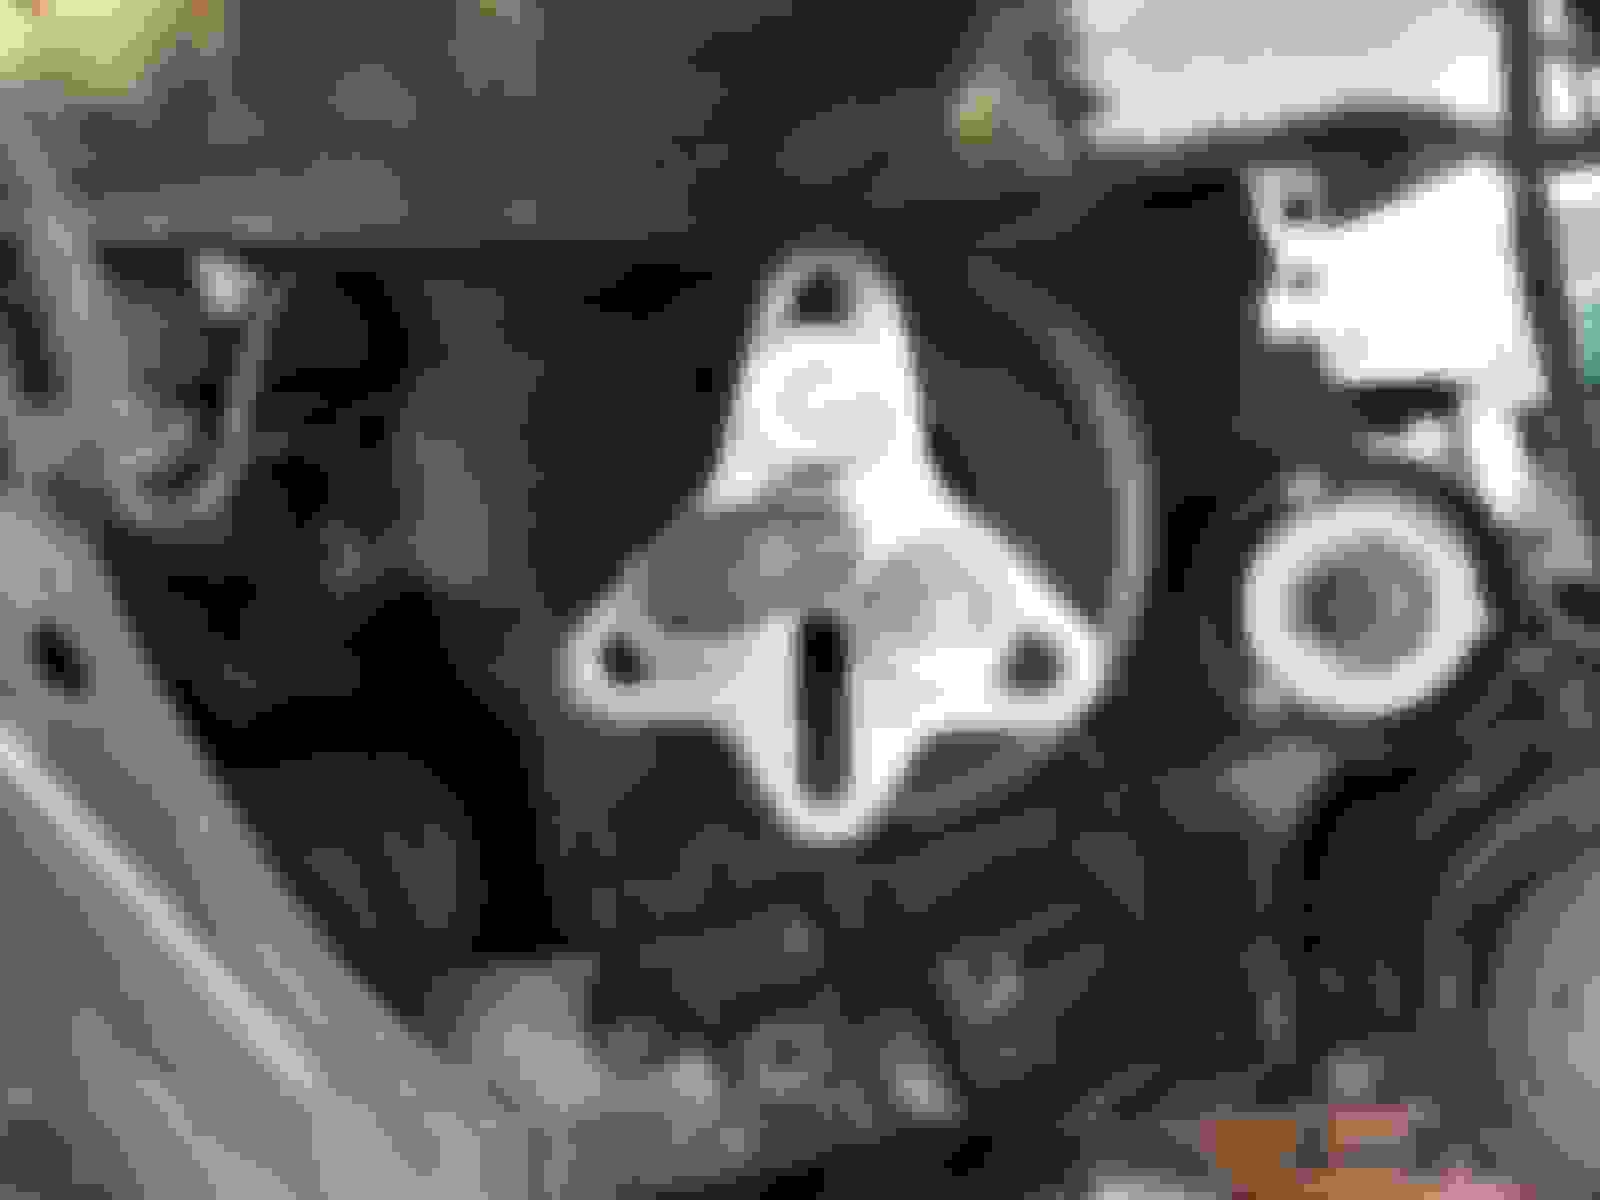
supercharger intake charge tube throttle flange
removal of the SC input charge tube requires a lot of care so you don't break something; patience and care go a long way in saving some regretful grief
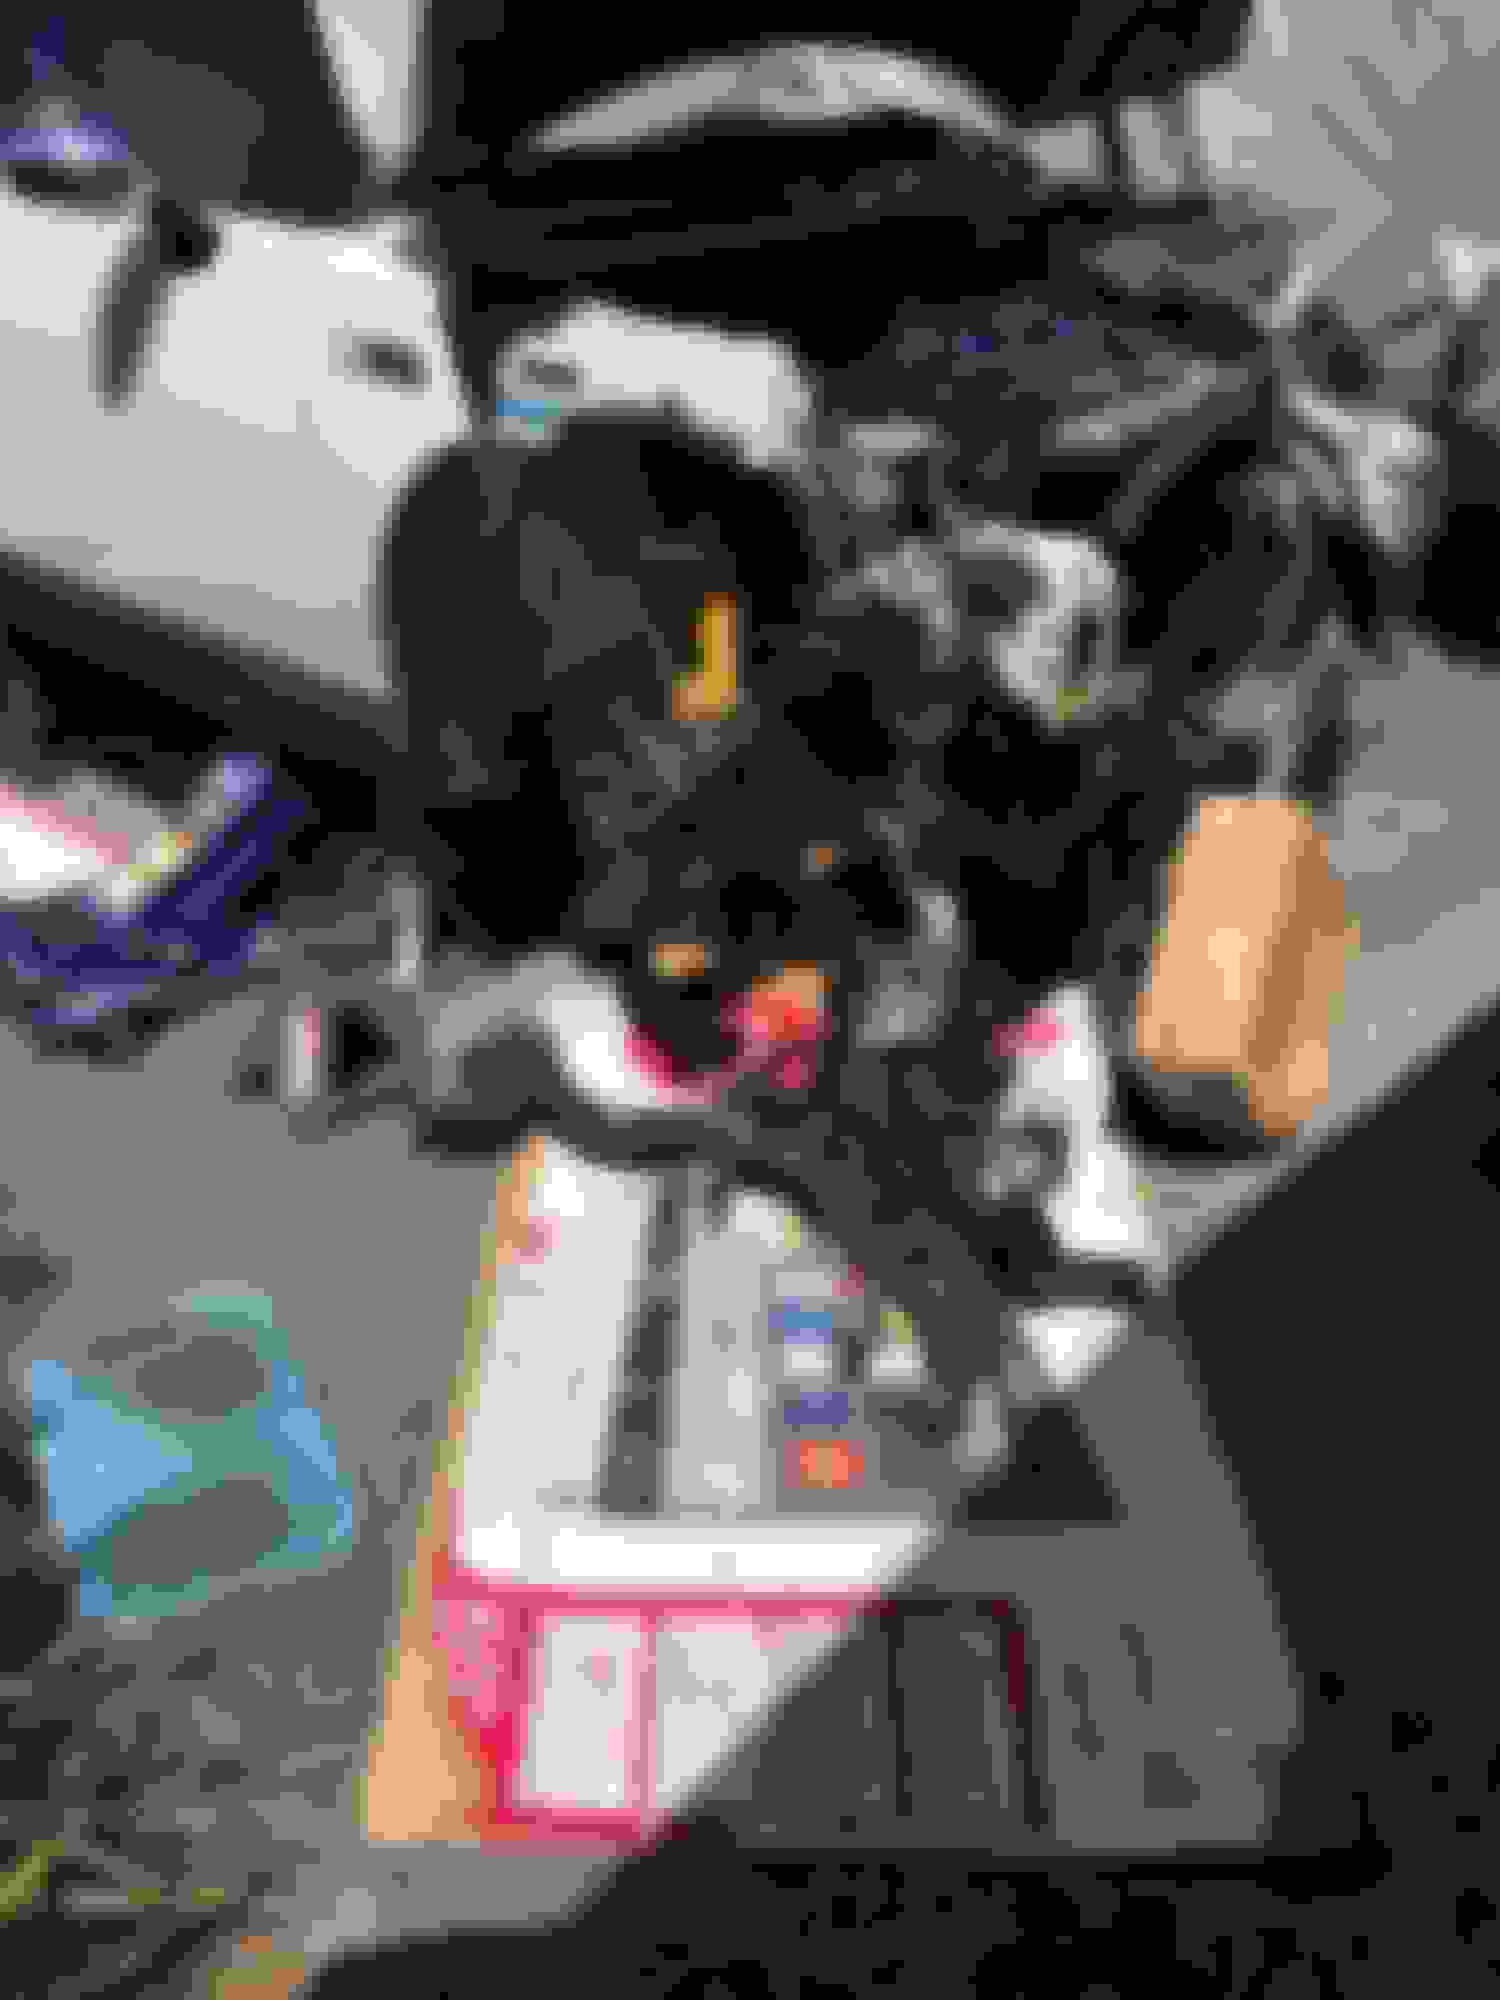
this is the first time that I paid any attention to what the bypass valve looks like
the short hose for the bypass valve is one thing that make removal of the input charge tube difficult; I hope I can reuse the OE hose clamp
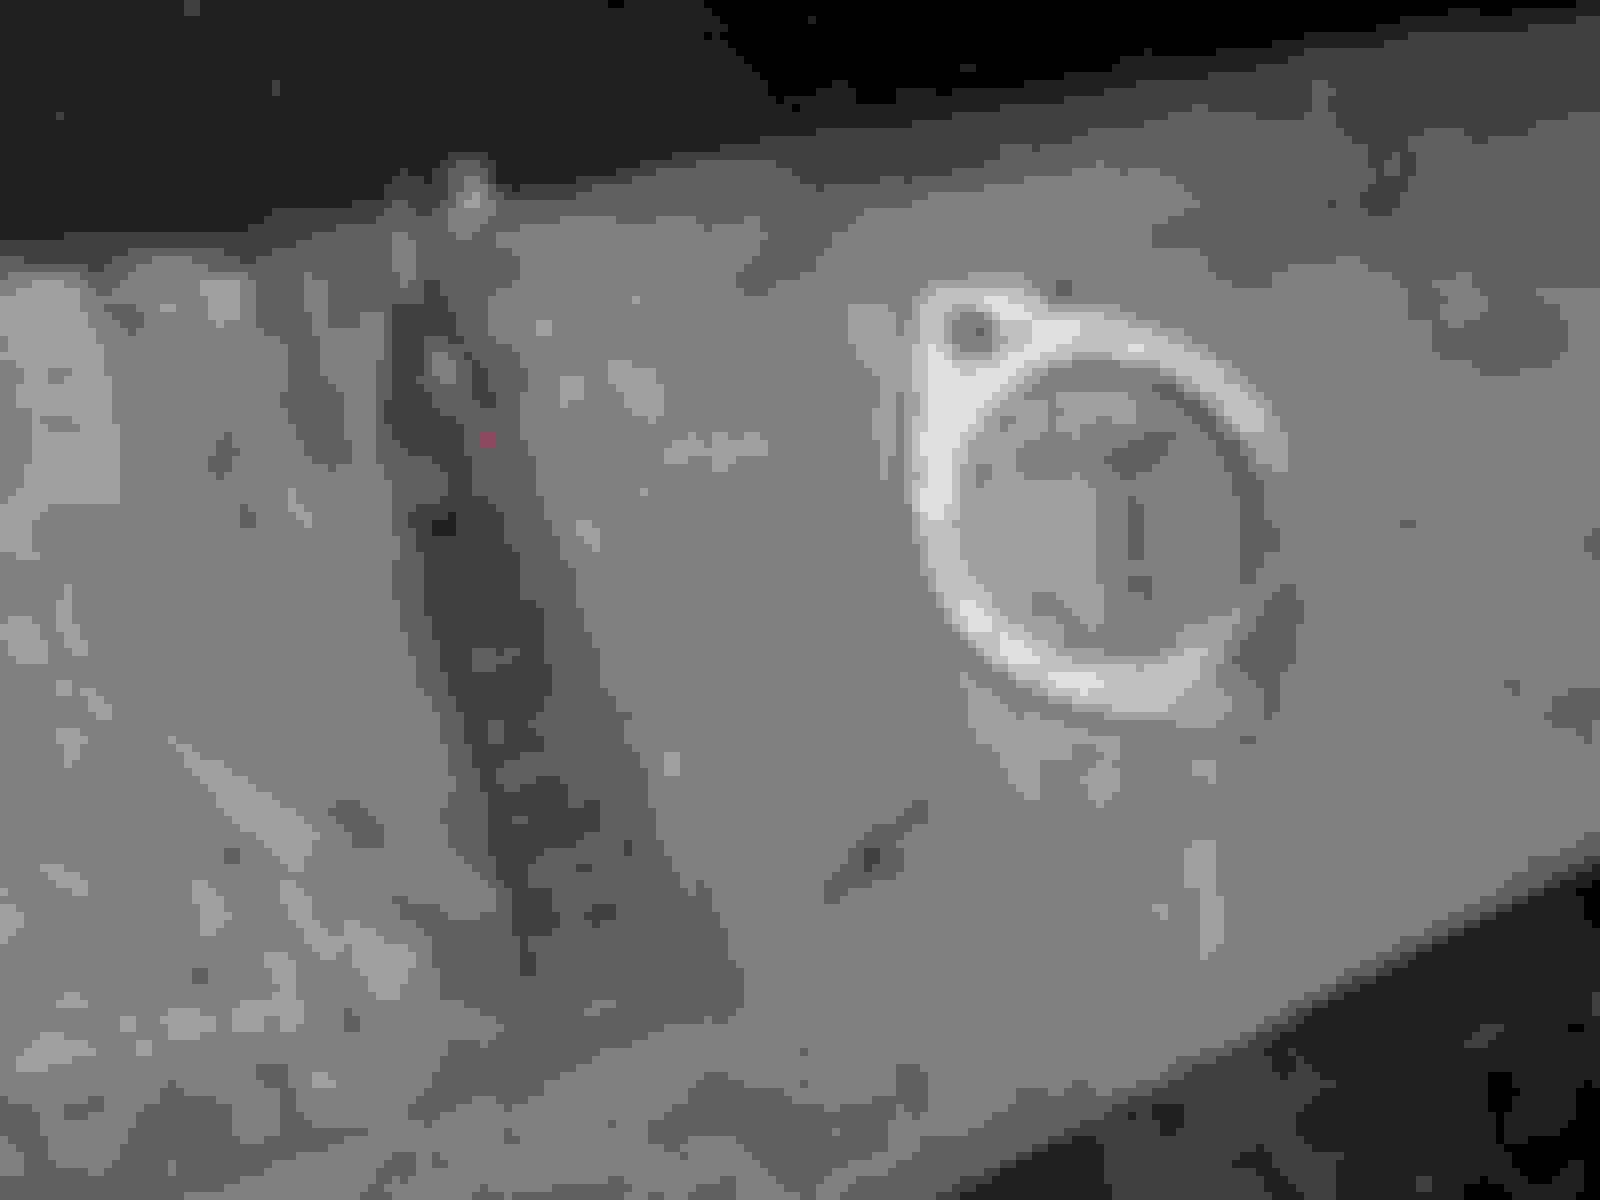
the silicone rubber gasket is in excellent shape so no reason to replace it
once the SC is out changing the oil on both ends is a cakewalk
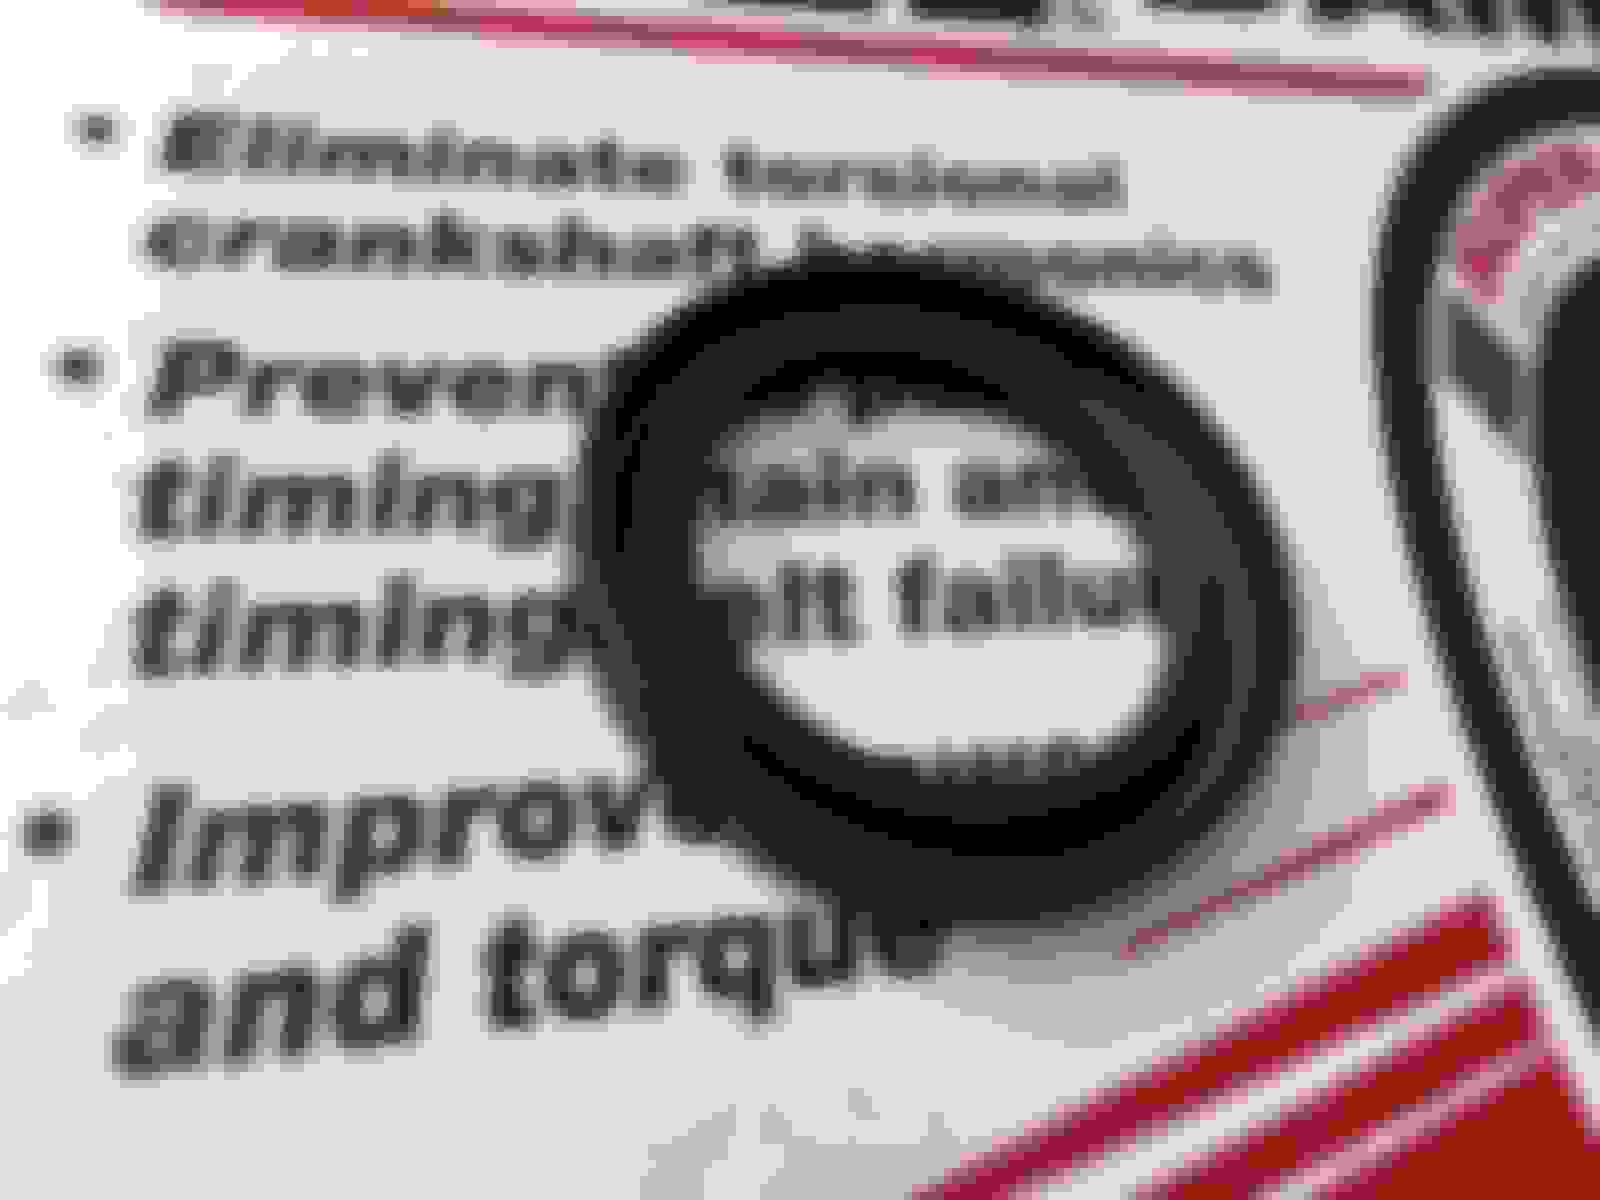
As I have to wait for the arrival of the o-ring for the water pump to the engine block after serving oil for the supercharger I decided to go ahead and replace the crank harmonic damper with the ATI Super Damper that I bought for the rainy day. This is a job that I dread as removing a crank pulley can turn into a nightmare if something goes wrong. What puller will I need, and what possible complication may I run into?
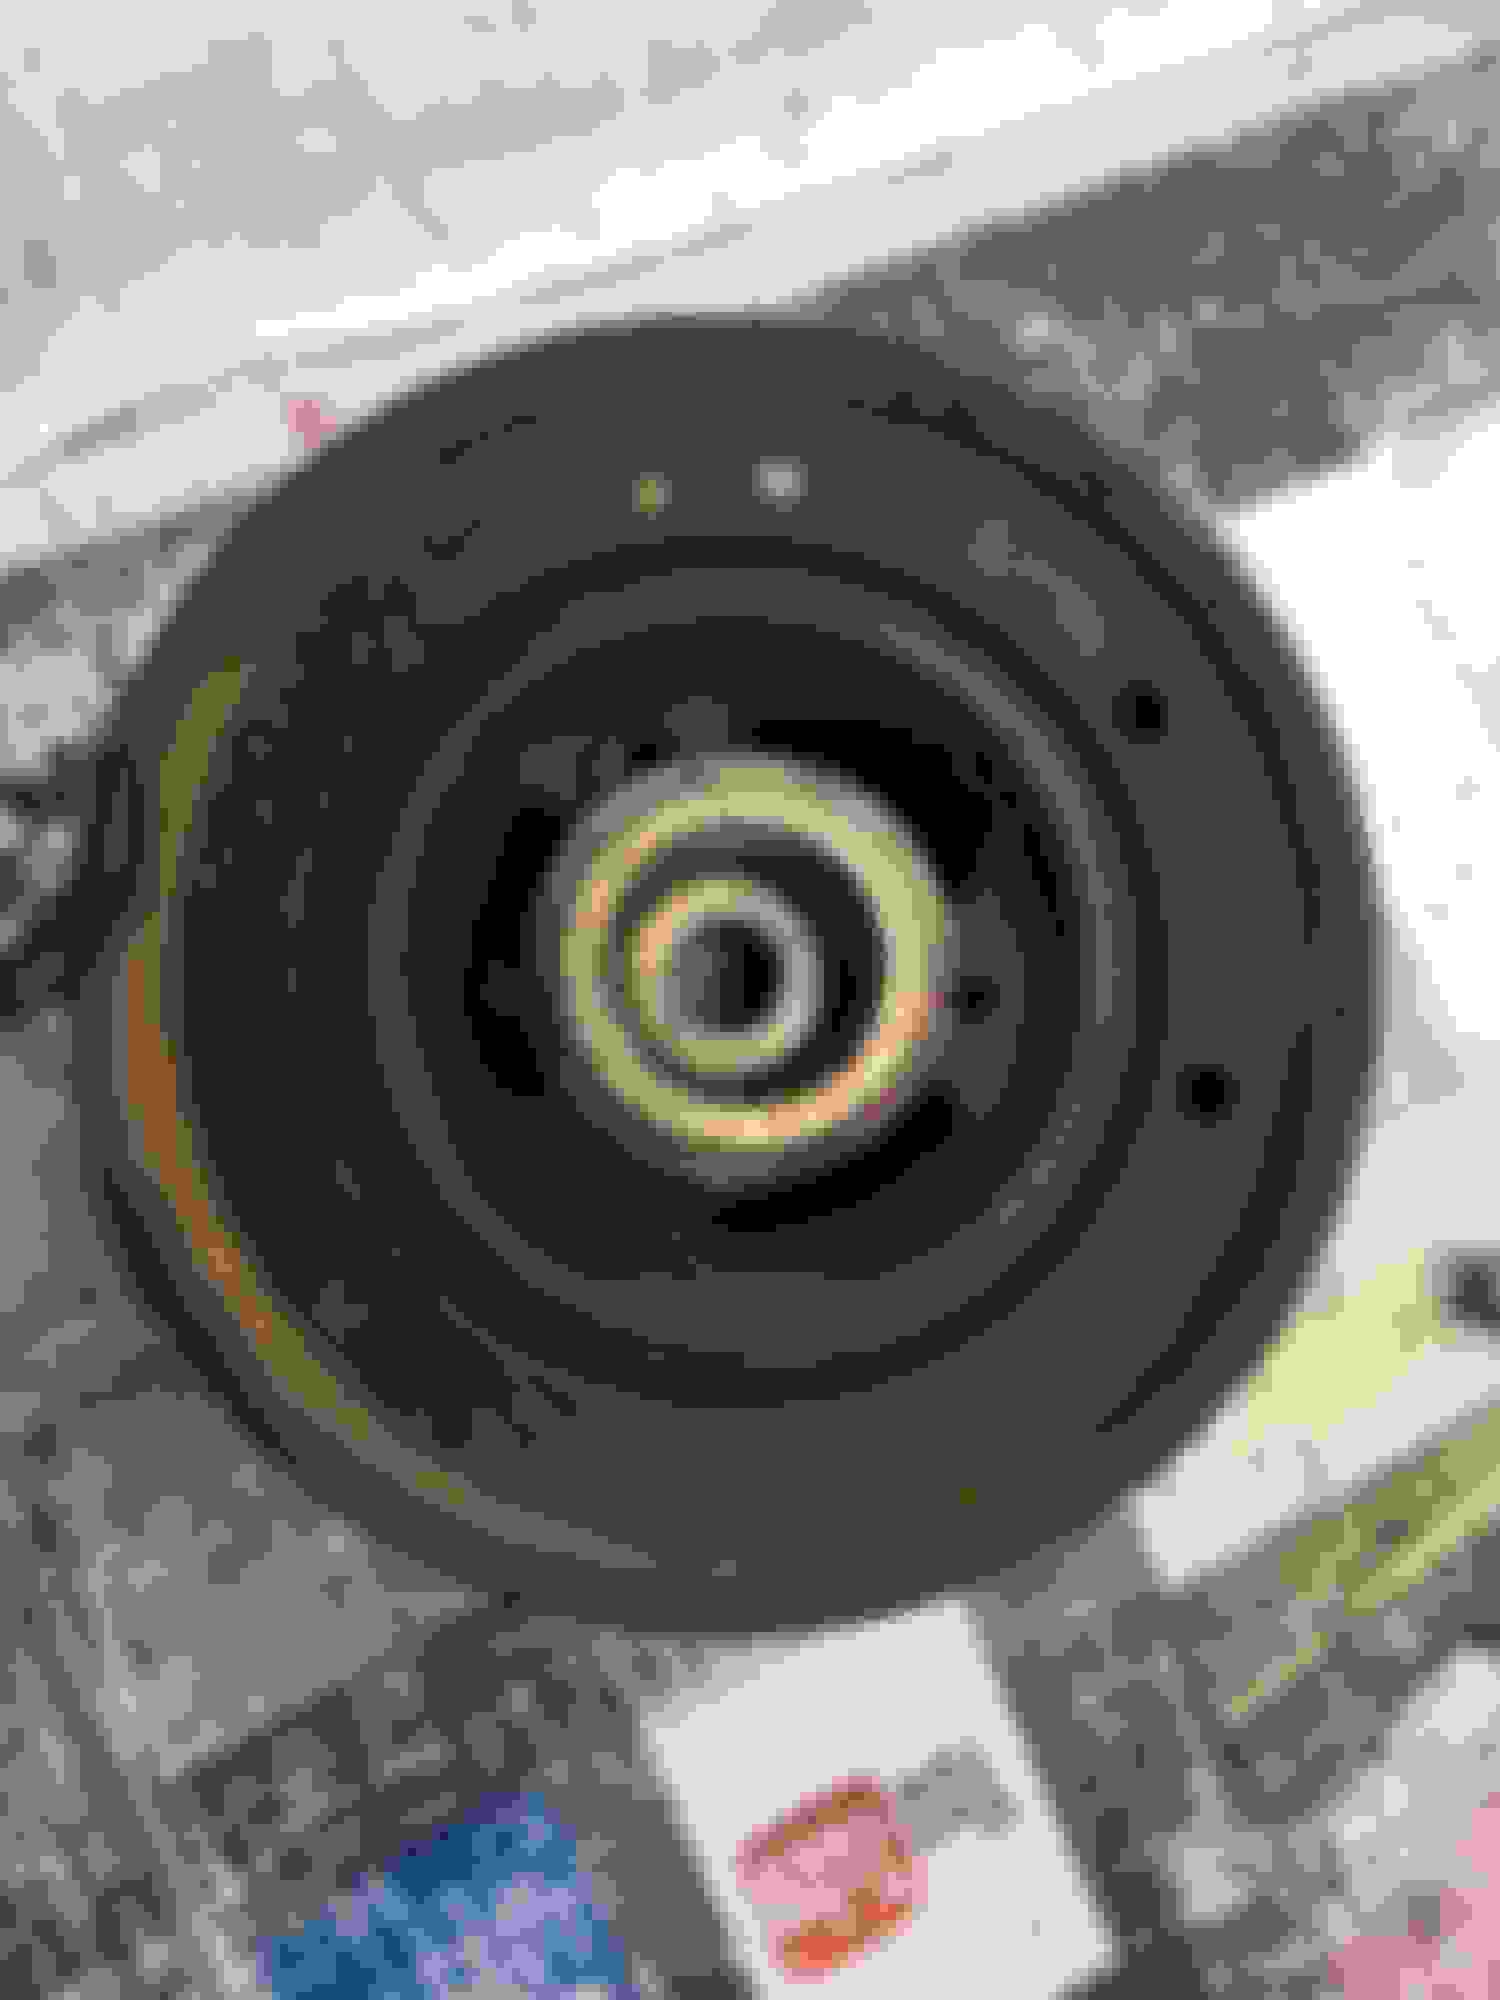
this is the first time I have a frontal view of the damper; this let me know what I need for a puller
I found my cheapo duck foot puller
a trip to a local hardware store and I bought just exactly what I need, with an extra long grade 8 bolt should I need two different lengths of studs
I made a helper from a piece of scrap PVC pipe
I did have to grind down a few washers to make them fit the pulley
I was worrying if the grade 8 M6 bolts would be strong enough for the job
the OE damper came off without much of a struggle
here is my tried and true puller kit for R53 crank damper pulley
I cannot see anything wrong with the OE pulley, though the rubber is covered by a steel plate
the original crank front seal has no sign of deterioration but I went ahead and change it with an identical Chrysler part
the original seal before removal
the original seal came out easily with a screw
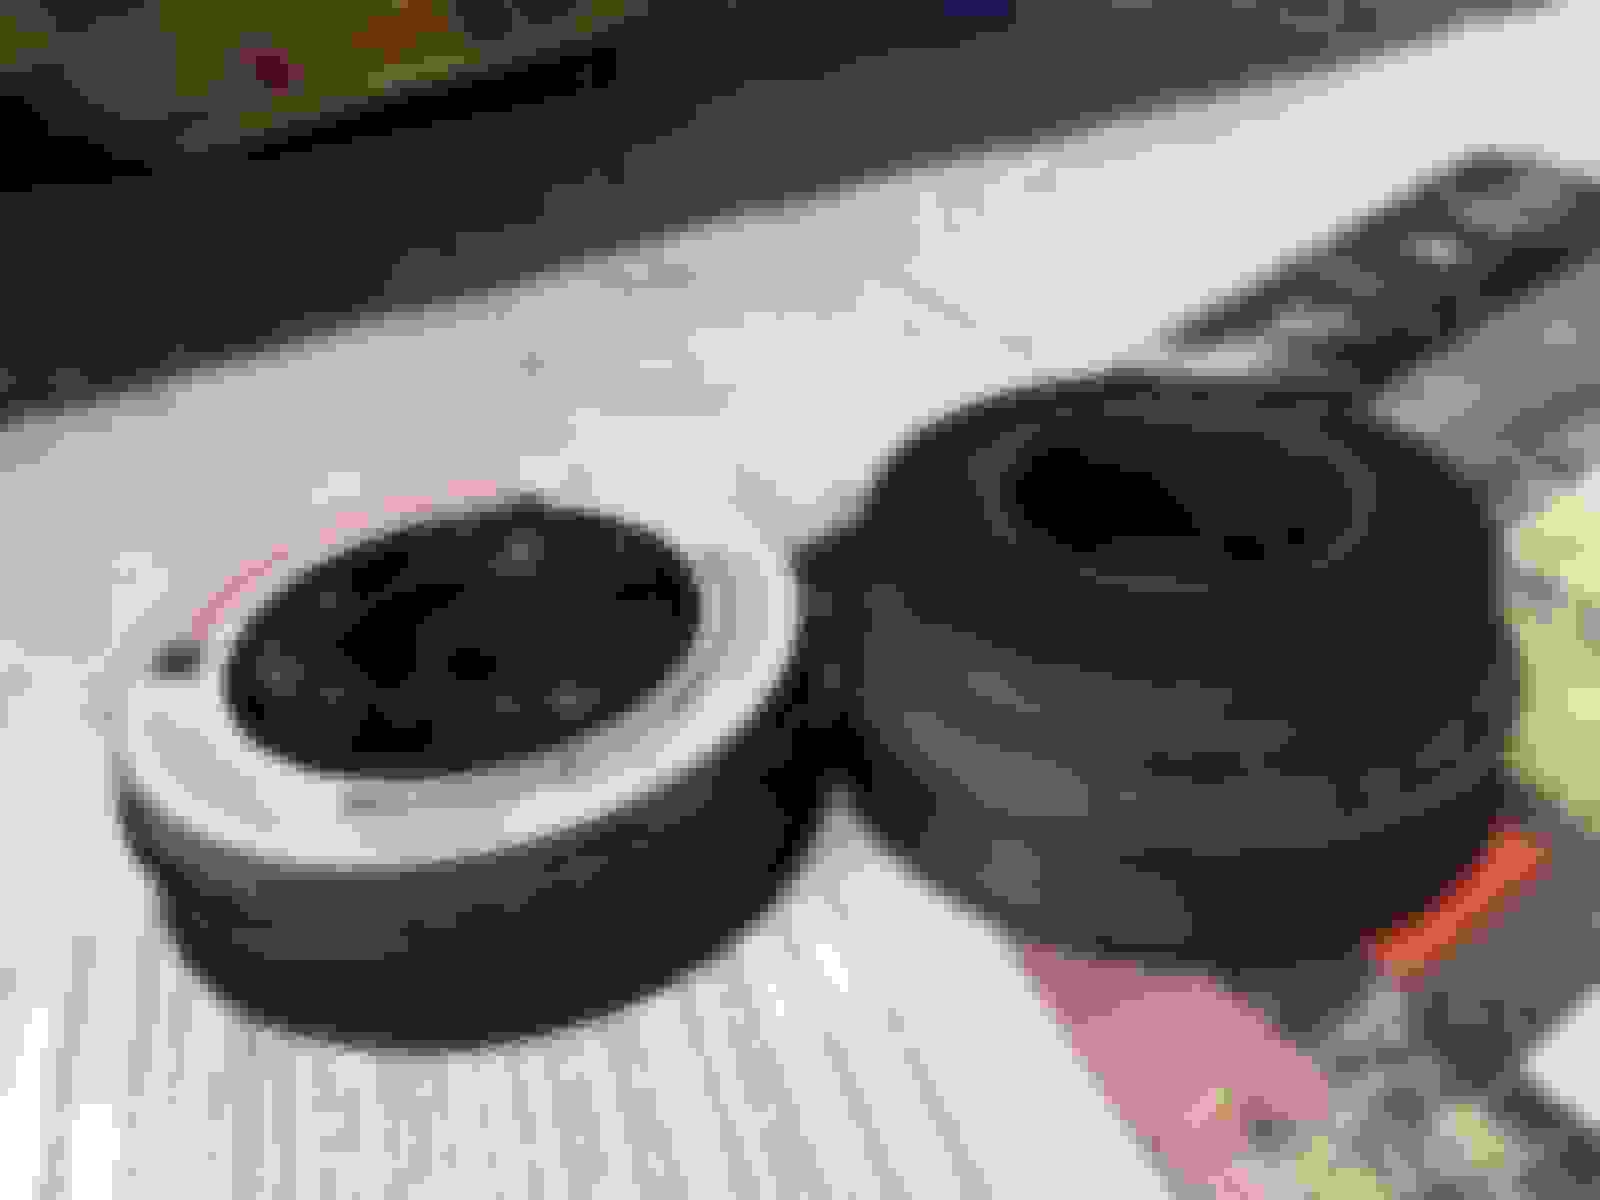
the ATI diameter is exactly like the OE upon visual inspection
the ATI is more compact and beautifully constructed
I broke out the not so manly piece of equipment , to make a simple dust boot for the CoolerWorx shifter. It goes inside to cover up the ball joints of the shifter cables. Also muffle the road noise a bit though would not be as quiet as the OE shifter boot. The shifter's exposed mechanism is too pretty to cover up.
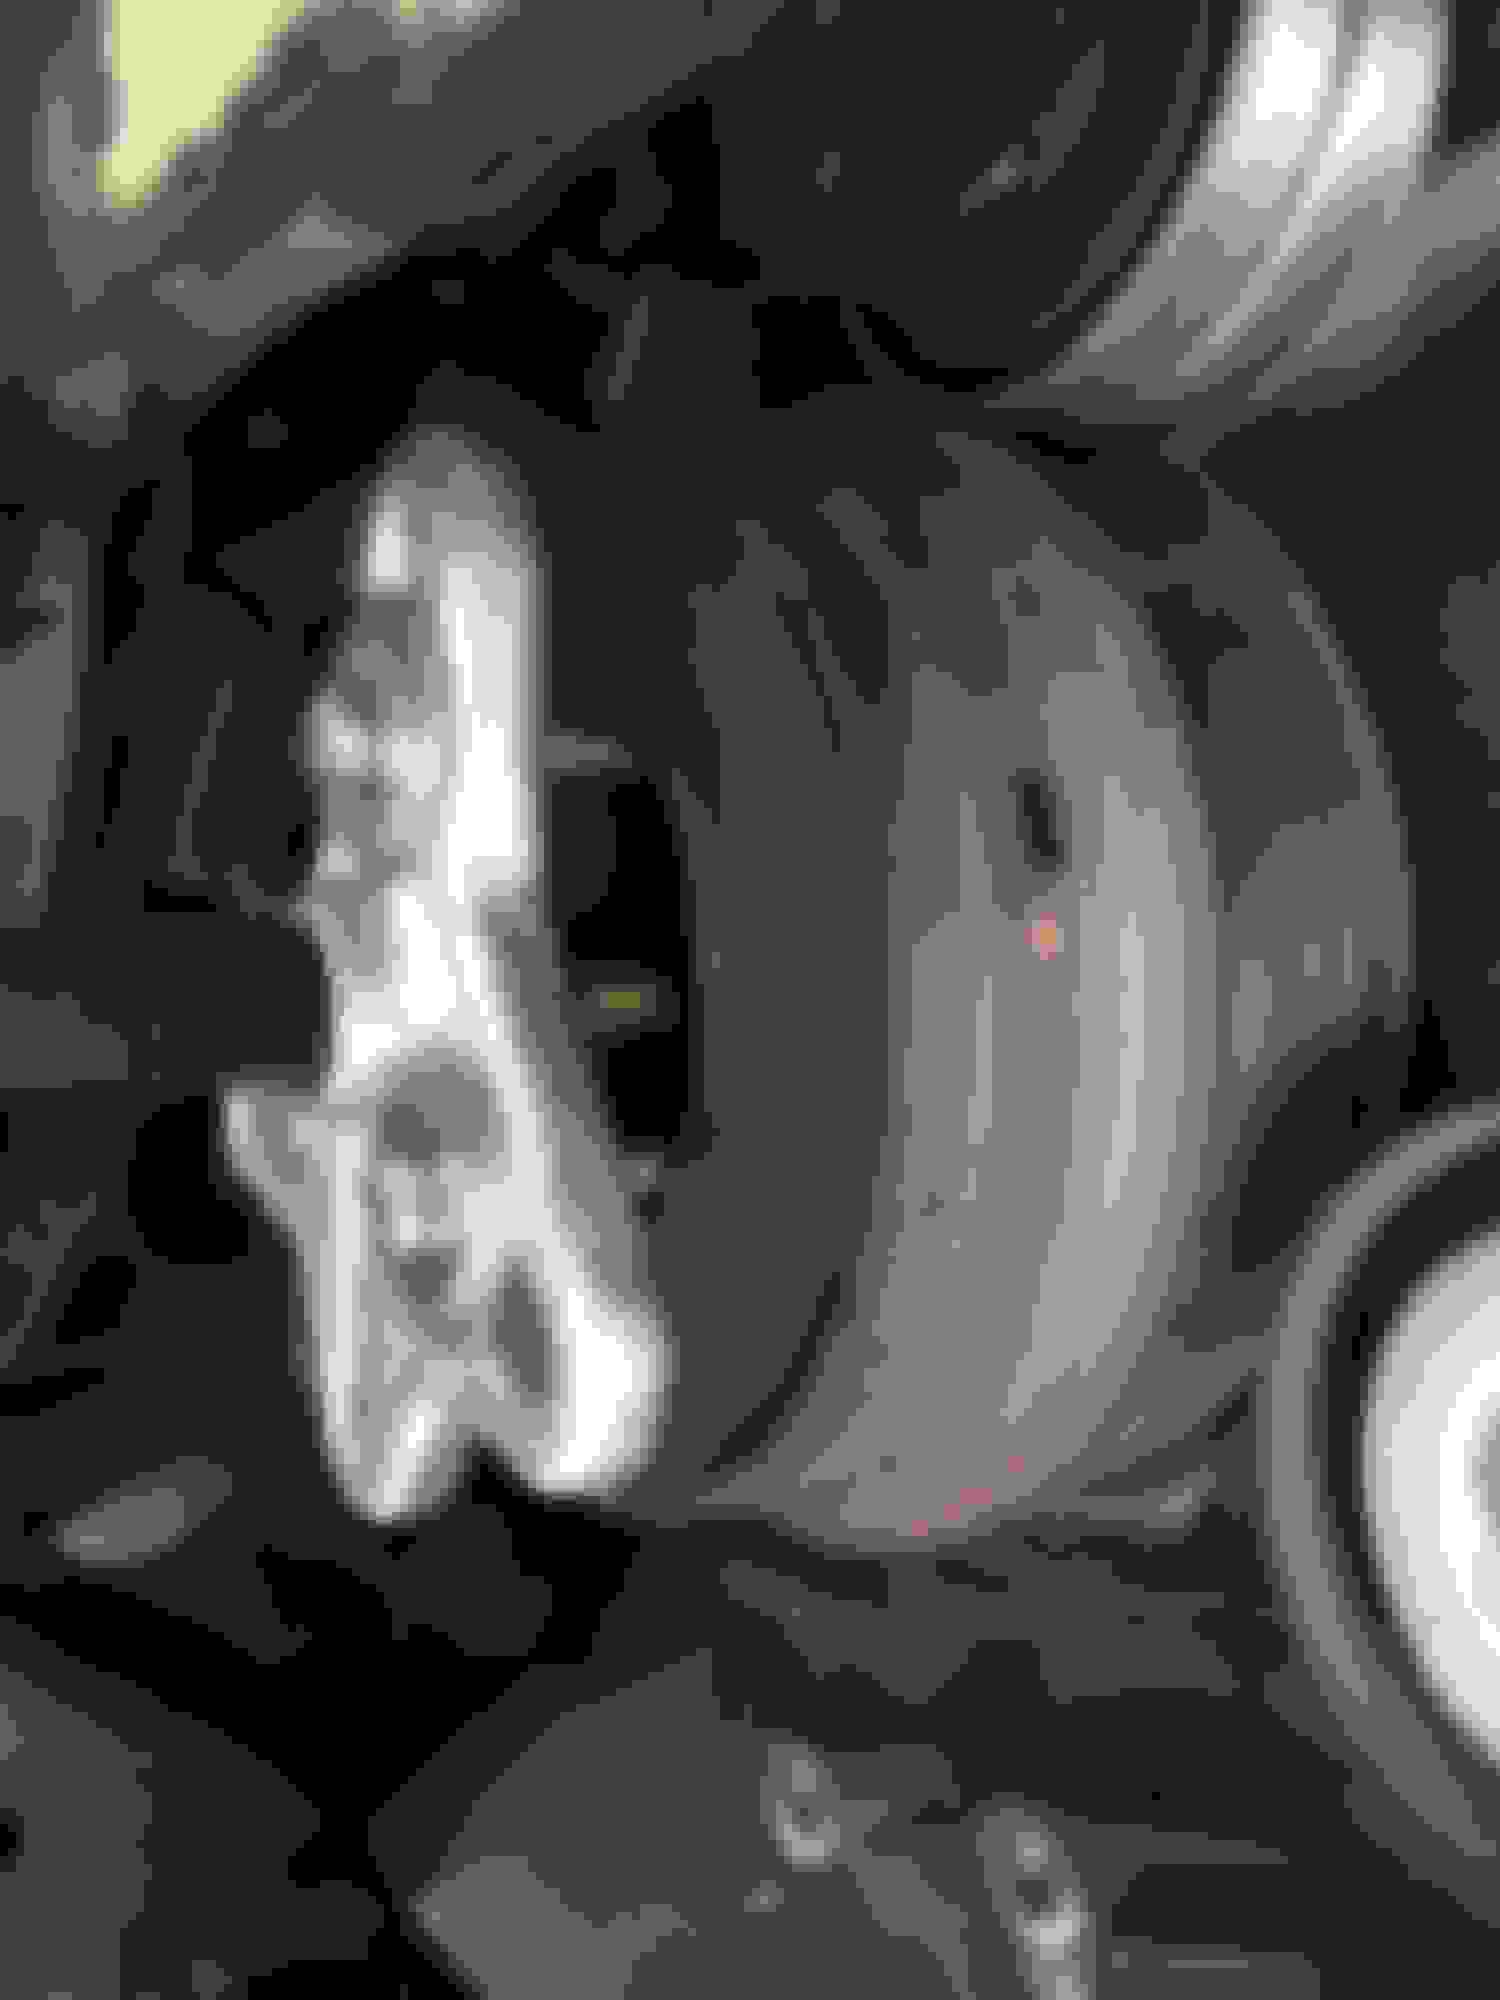
I want to check the condition of the supercharger rotors, but I don't want to remove the output horn as I don't have a gasket on hand. Then I realize I can peek through the inlet port to see most of the rotors. By rotating them I found no sign of abnormal wear. In fact there is no trace of wear at all. The teflon coating is black. They are on the rotors as well as the casing walls. There is hardly any clearance between the rotors and the casing walls at all so it will not take much of a foreign particle to cause a gouge. There are some streaks of water on the surface from degreasing the outer casing.
Here are some photos I took in installing the front end bushings. I opted to drop the subframe as I expected pressing in the Powerflex Black racing control arm bushing would not be easy. I was also very glad I did as cutting out the OE bushing is not exactly a walk in the park.
this is time that I appreciate having this little toy floor jack
As it is my first time doing this, I took extreme care to make sure all that need to be disconnected a disconnected. A simple oversight can cause a lot of sorrow. Of all my utmost concern is how the steering column coupler is detached. To my delight it is such a cleaver design. I was expecting the usual struggle with a spline connection. No it is designed for serviceability. Once the 13mm special bolt and nut is removed, the coupler hinges out and stays out. Impressive.
I dropped the subframe all by myself
the impact wrench made the removal job easier
these cracks must be the cause of front end shake braking from 112 MPH on the track; Mini only has 36,000 miles
I used a puller to remove the bushing and knuckle from the control arm so not to scuff up the paint and introduce rust
these were the bushings to be installed
first I cut out the rubber center cores with a pointy wood saw blade
the rubber center core of the OE rubber control arm bushing
I switched to a metal cutting blade to tackle the steel ring; it turns out there are two concentric steel rings; there are a lot more to these bushing than what first meets the eyes
this is the inner steel ring encased in rubber
next is to cut the outer steel ring
I used a cold chisel to finished the job
As I don't have a hydraulic press, and I didn't feel like driving to Home Depot to buy a few plumbing flange to make an improvised tool to install the Powerflex bushing, I tried using my vice as a press. It took many tries with copious soap water to persuade the Black race bushing to go gently into the knuckle. As the jaw faces of the vice is only 1" wide the two parts kept popping out of the vice. A bit of dogged persistence I managed to get the job done. These are not Powerflex. They are Powerstiff.
What I didn't capture in photos is getting the inner pieces of the bushings onto the control arms. They didn't go on and seat properly without a lot of struggle and pounding with the rubber mullet.
next is to install the sway bar bushings which are very easy
making sure the design was done right before proceeding; they have the same features as the OE rubber bushing so good
install the steering rack bushing was a breeze; I did have to loosen the clamp on the other end so this end could be lifted high enough to replace the bushing with the SuperPro poly one
As the one end of the steering rack is hard-mounted onto the subframe, I would be kidding myself the poly bushing is going make any difference to improve the rigidity of the steering feel.
note that the OE front sway bar has built-in flanges to restrain the bar from lateral shift
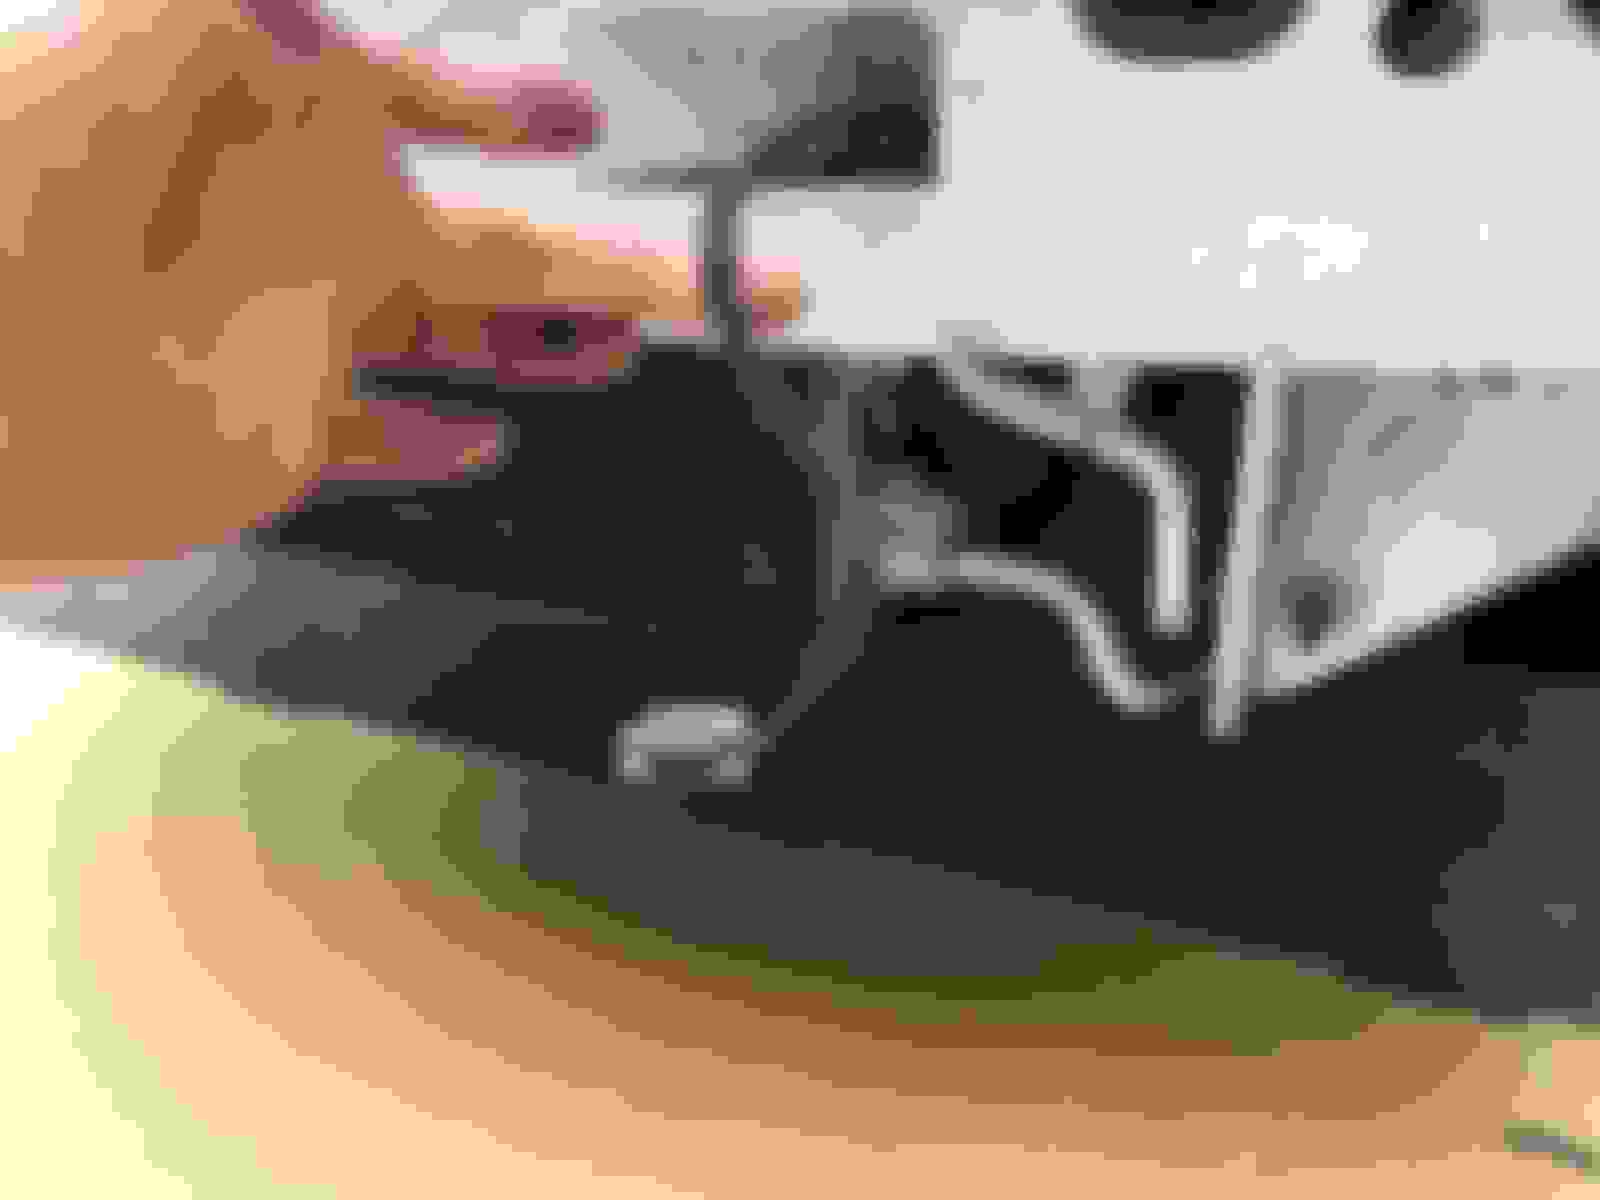
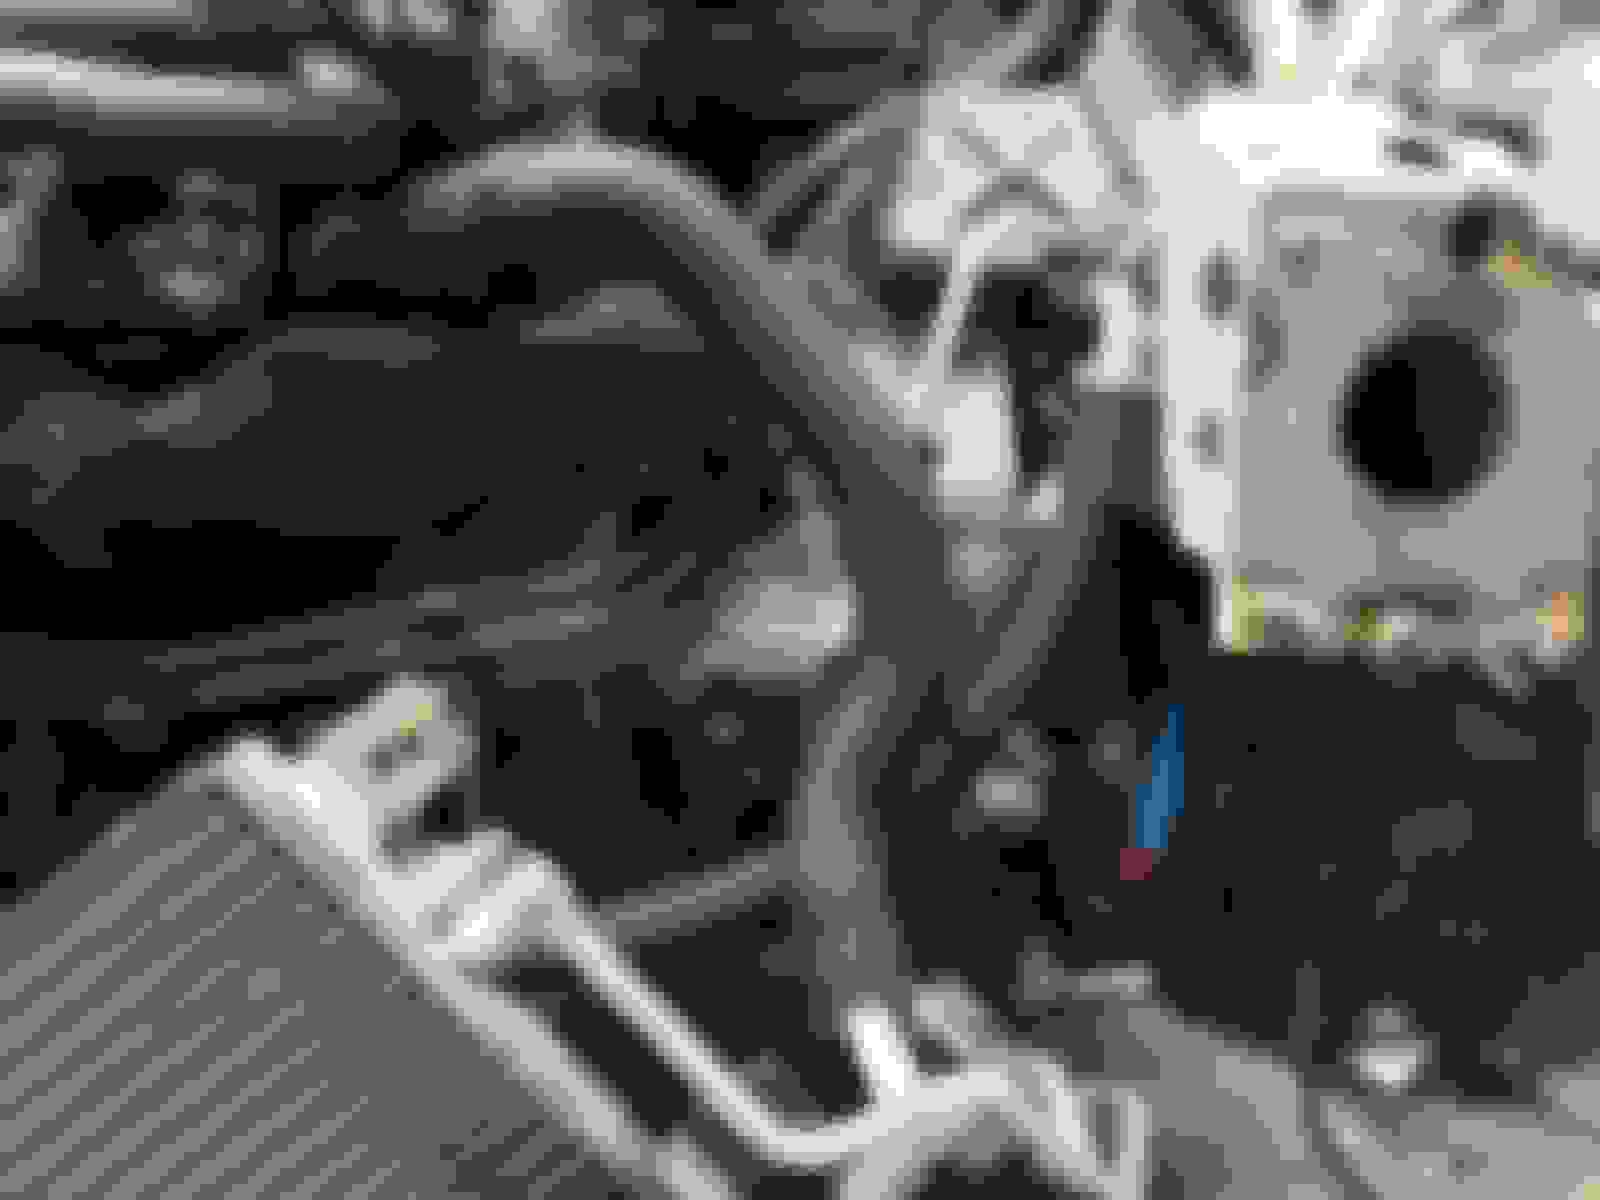
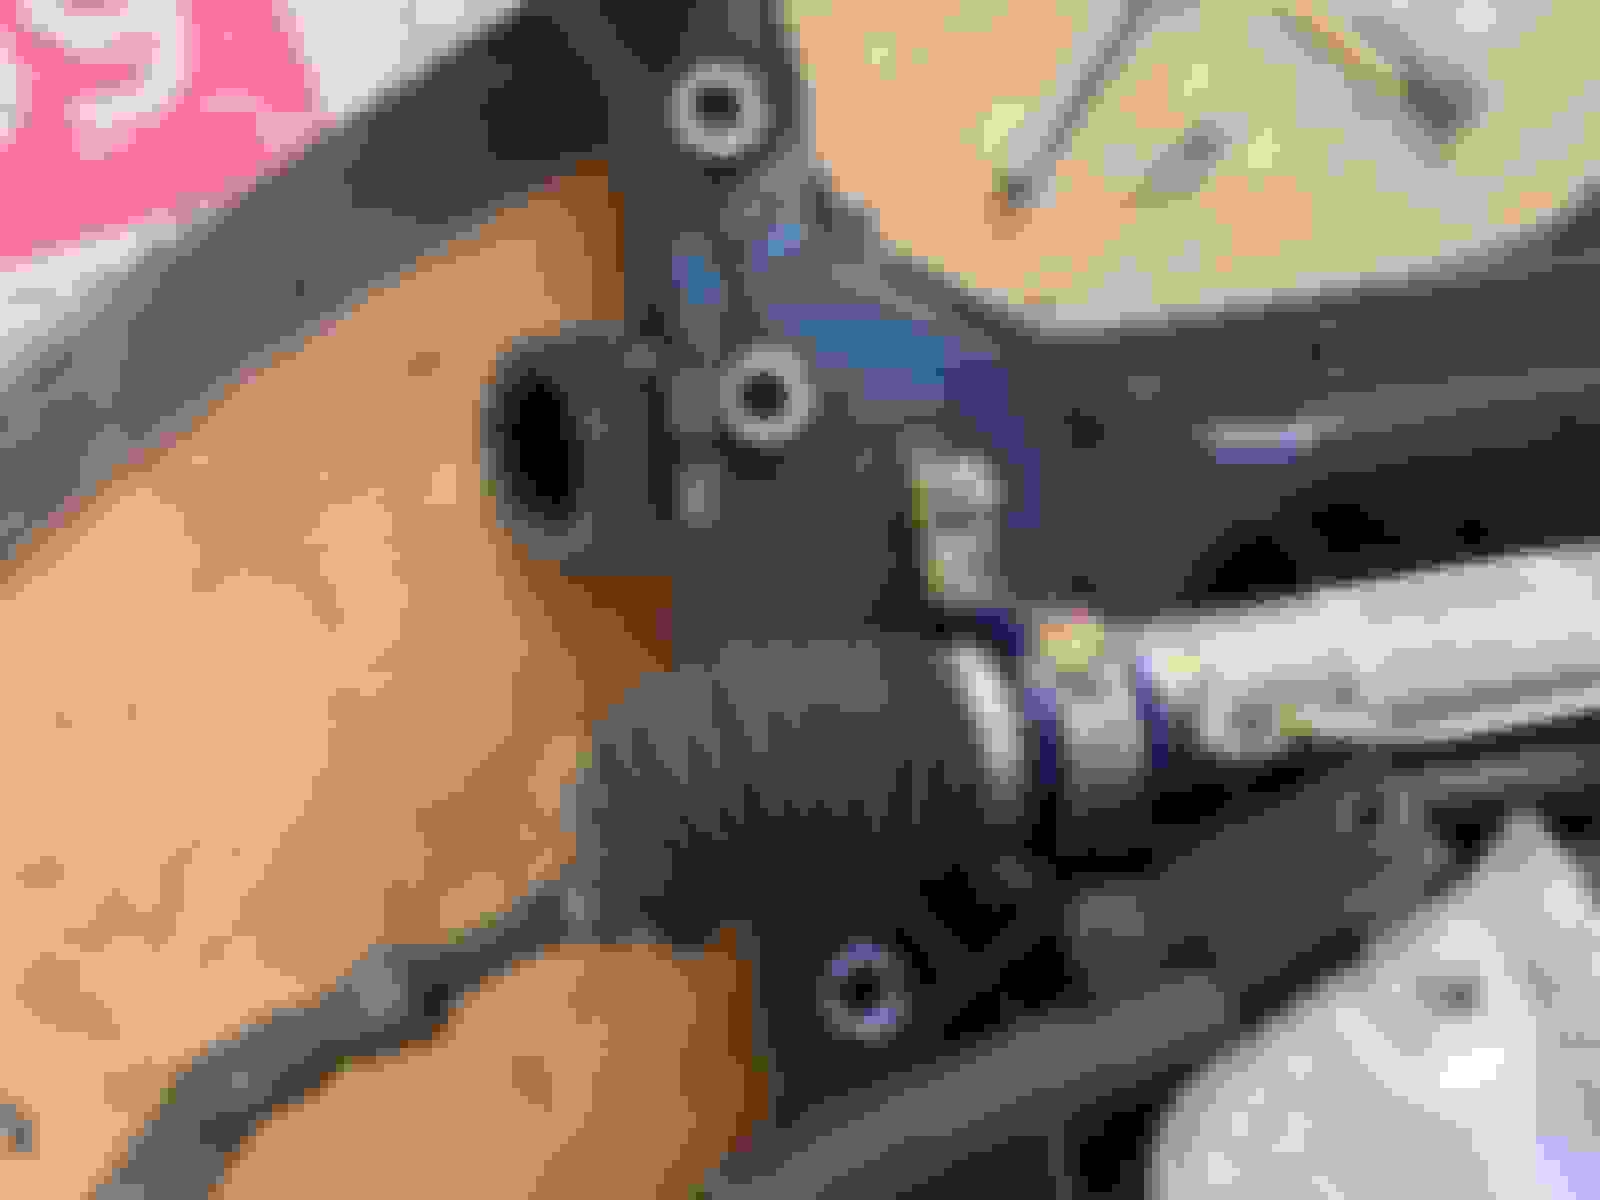
these two cable tie anchors are to ensure the power cable connector to the power steering does not work itself out; you cannot see them when the subframe is back onto the car
the power steering supply and return hoses has no sign of fluid leak; most interesting this is one of the very few worm screw clamps on the Mini
Re-installing the subframe back on was much easier with a helper. My neighbour Tony was very kind to help me put it onto the floor jack and guide the power steering reservoir into place.
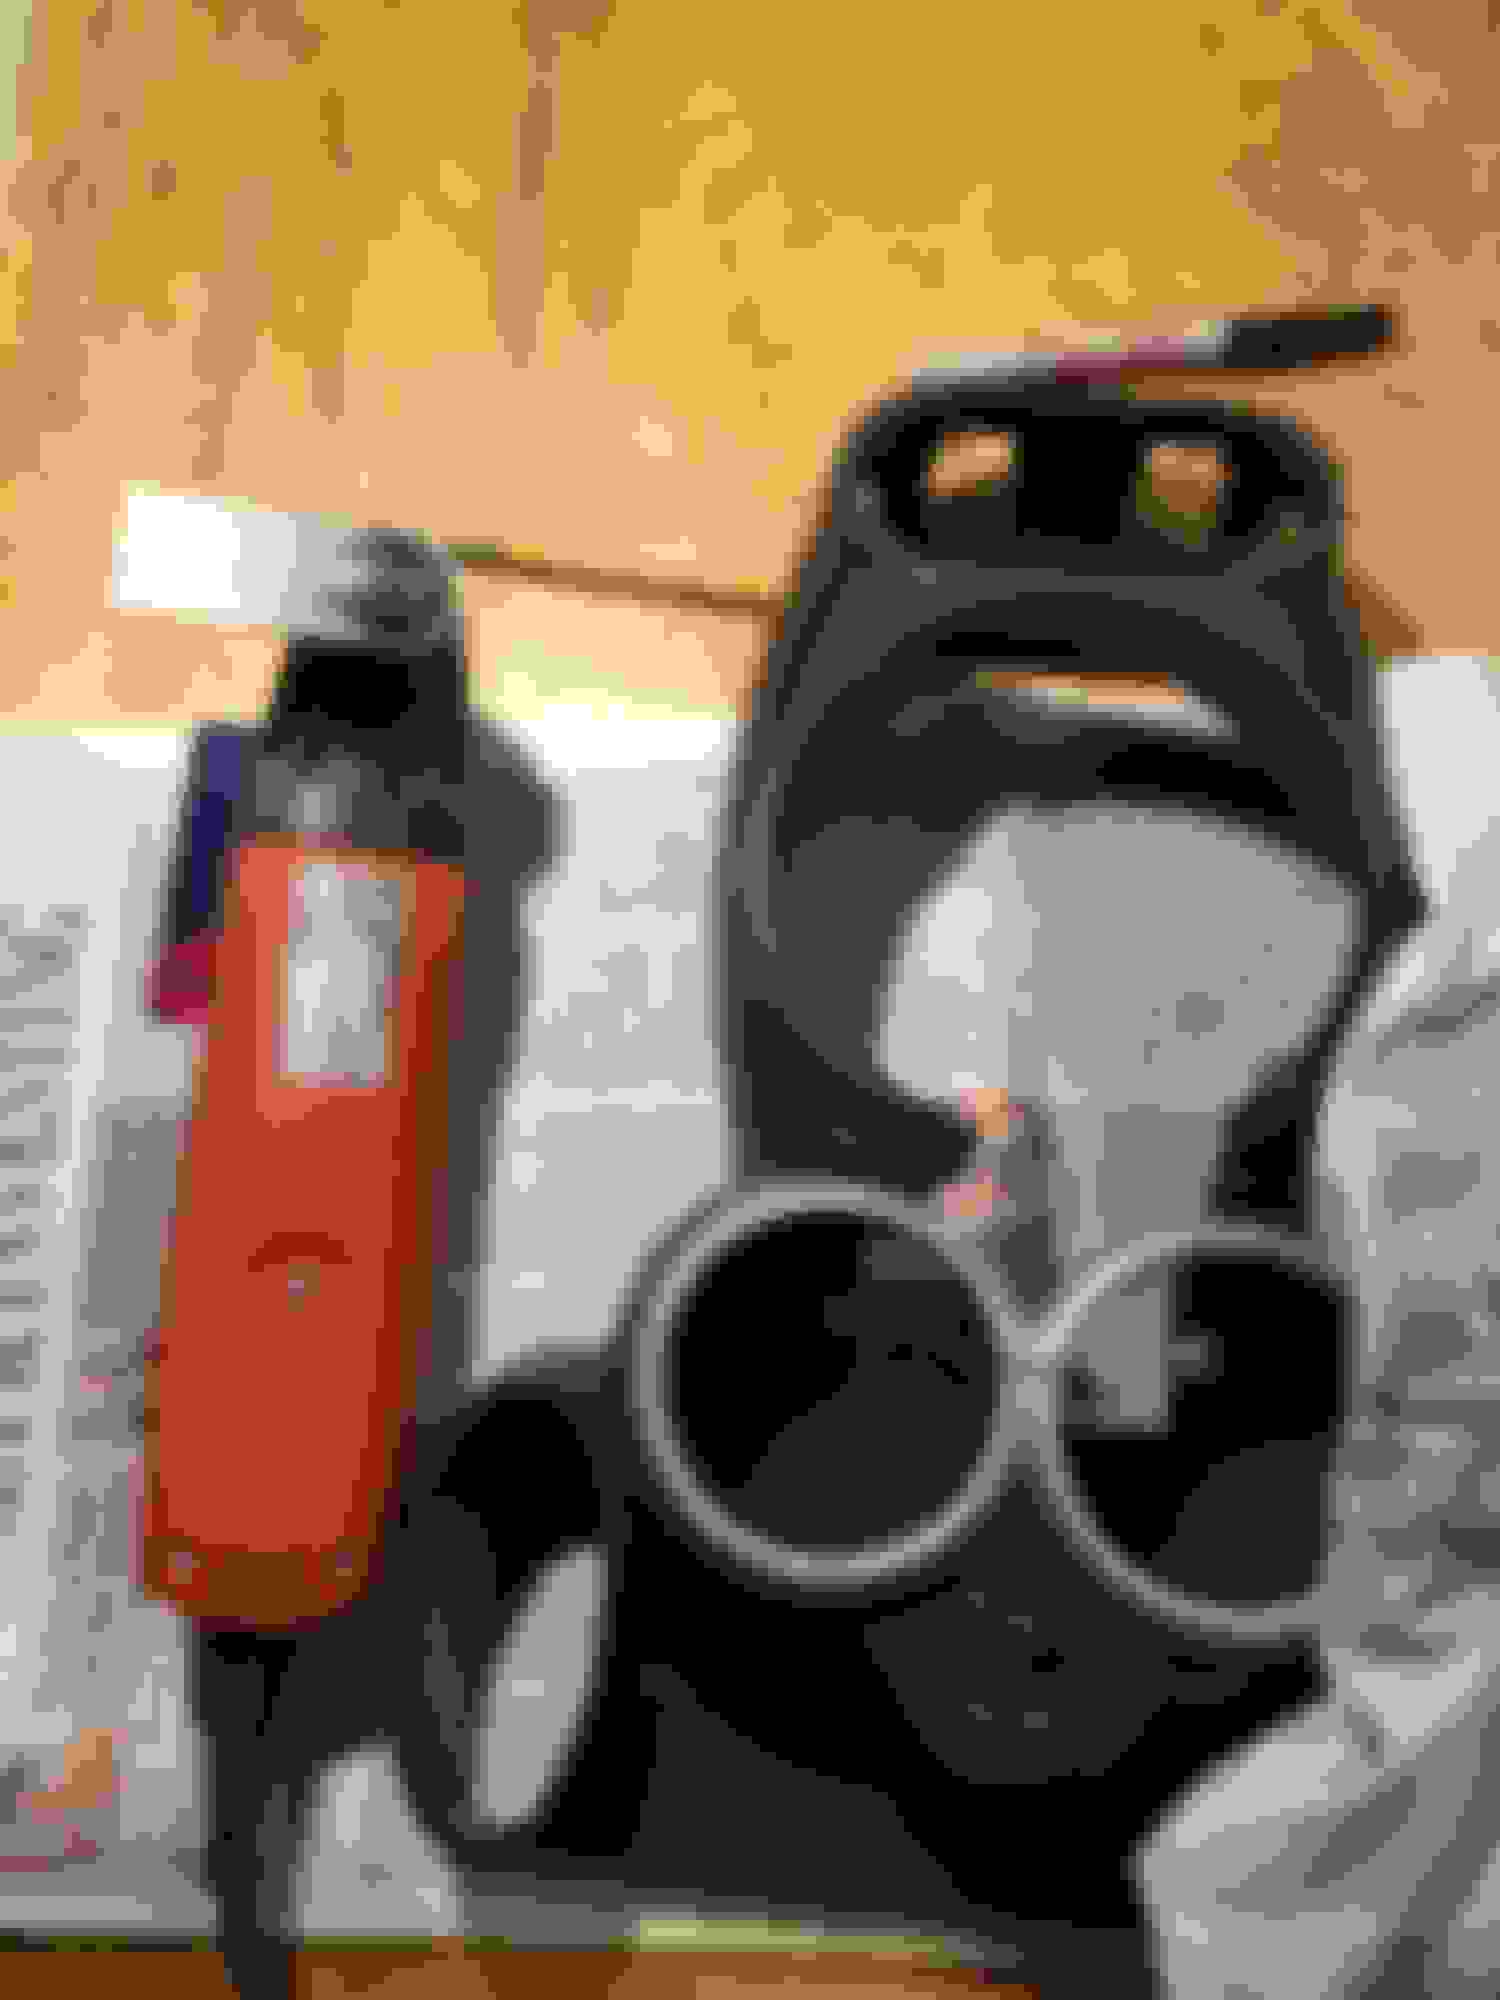
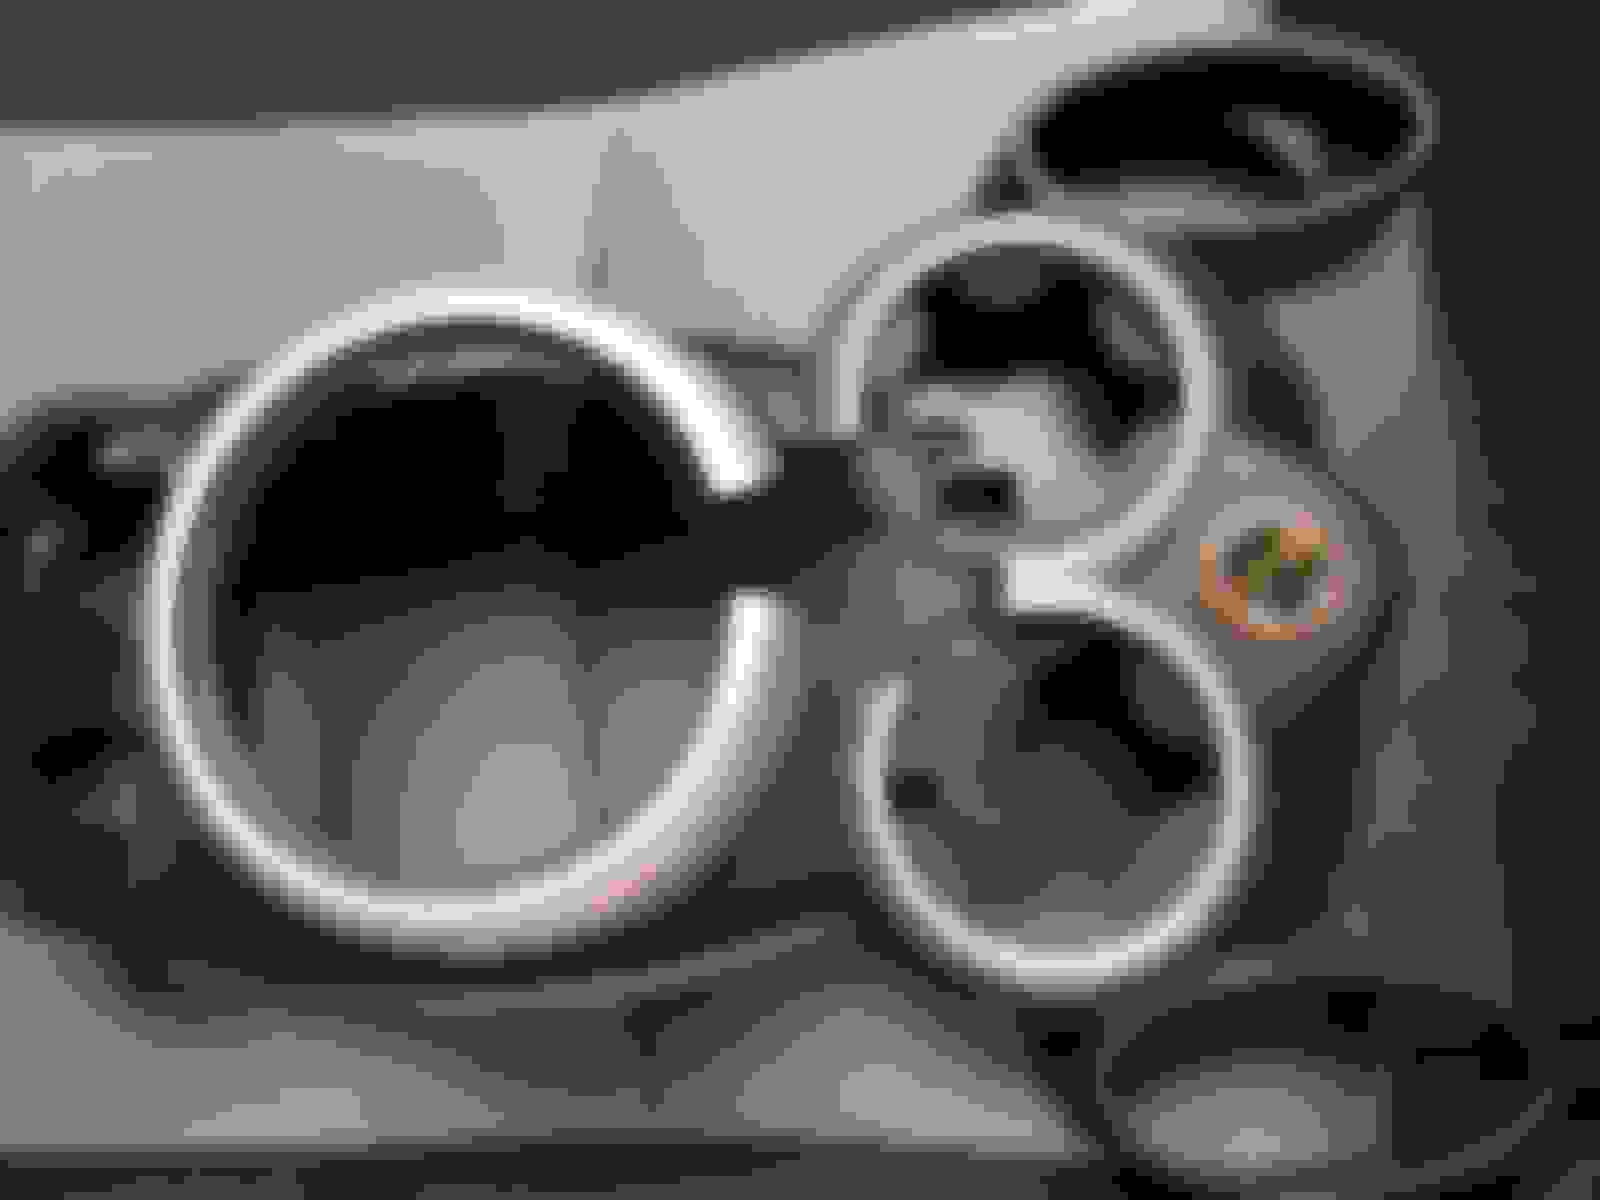
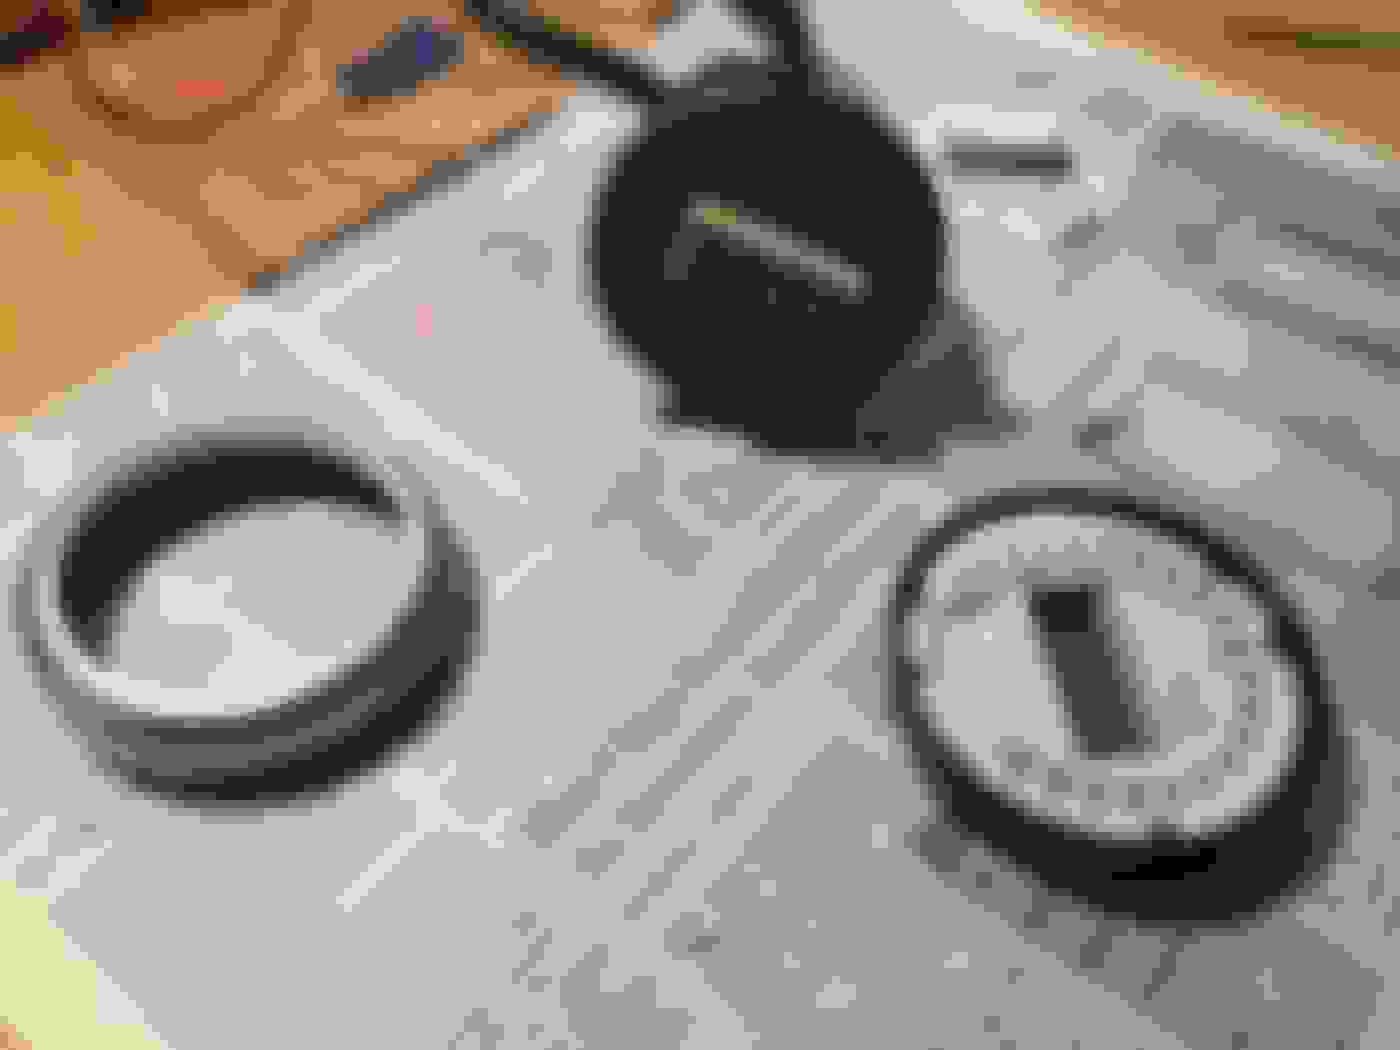
I have too much time on the hands while I have the shifter console out. I play with the gauge faces and trim rings of the Innovate Motorsports MTX-L Plus. There are 4 permutations. I am quite pleased with the design and quality of this gauge.
clever and simple design of a light baffle to eliminate crosstalk
clever and simple design of a JCW inspired aux gauge pod
I was putting Mini back together from a million pieces in the recent service and the installation of poly bushings. I took the opportunity to inspect and observe things that are normally hidden. I cannot tell you how many times that I was saved by the countless photos I've taken. As one seldom have the presence of mind to thing through something, these photos become invaluable for me to refer back in later days.
While taking photos of the front of the engine I notice a sign of chaffing on the upper radiator hose. A bit of closer inspection discovered it is caused by the hose came into contact of the coolant fan shroud. I would not know this have it not that I took time to inspect what I could. I tried to get a replacement from my local MINI dealer but none is in stock. I assess the damage and decided it would be OK as I do not have the luxury to wait for one to arrive.
The hose clamp in the photo is one that was very hard to get to even with a proper spring clamp tool. I rotate it about 120 degrees CCW to this location for easier access next time. All the OE coolant hoses has printed marks where you are supposed to set the clamp, and some has marks to line up to the index of the pipe/fitting. I filed off the sharp edge of the fan shroud and adjust the clamp of the hose to pull it away from the intermittent contact with the fan shroud caused by the vibration. Chaffing is one of the most damaging mechanism, and I always in the look out for them.
This is the second time that I put the Mini into front end service mode. I now feel like a pro as all becomes more familiar, and remember the tricks and sequences. Patience pays, and if I just take the time everything becomes so much easier. So far I have been able to reuse all the factory hose clamps. Yes, they are typically infinitely better than aftermarket replacements.
I did not disconnect the battery while doing all these work. My main concern was during the removal and reinstallation of the alternator's B+ cable. I was careful the swing of the wrench came no where near any metal. Also kept remembering not to put the key into the ignition and confuse the DME.
When I triple checked and made a metal recollection of all the electrical connectors that I removed and replaced securely. The moment of truth is the first engine ignition. I braced for a check engine light, and thankfully none. The engine started right up as if it had never been disrupted.
As the engine lost a lot of coolant due to the servicing of the supercharger, I was worry about air pocket in the coolant system. To my delight filling the coolant and bleed the air in the system was extremely easy. I just fill a 50/50 mix of MINI coolant/water into the expansion tank until it wouldn't take any more. Start the engine with the heater set to max and fan to low, and kept an eye on the expansion tank level and engine coolant temperature gauge. Opening the bleeder valve on top of the radiator made little difference.
When I went for a test drive, I bought a small bottle of water just in case but was not needed.
I wrapped up this one very big project - at least for me. The installation of the CoolerWorx shifter started back on March 20th. As if there is not enough last week I took Mini apart and dropped the front subframe. The biggest challenge is try not to have the Mini out of commission for a track event that I have signed up and paid for.
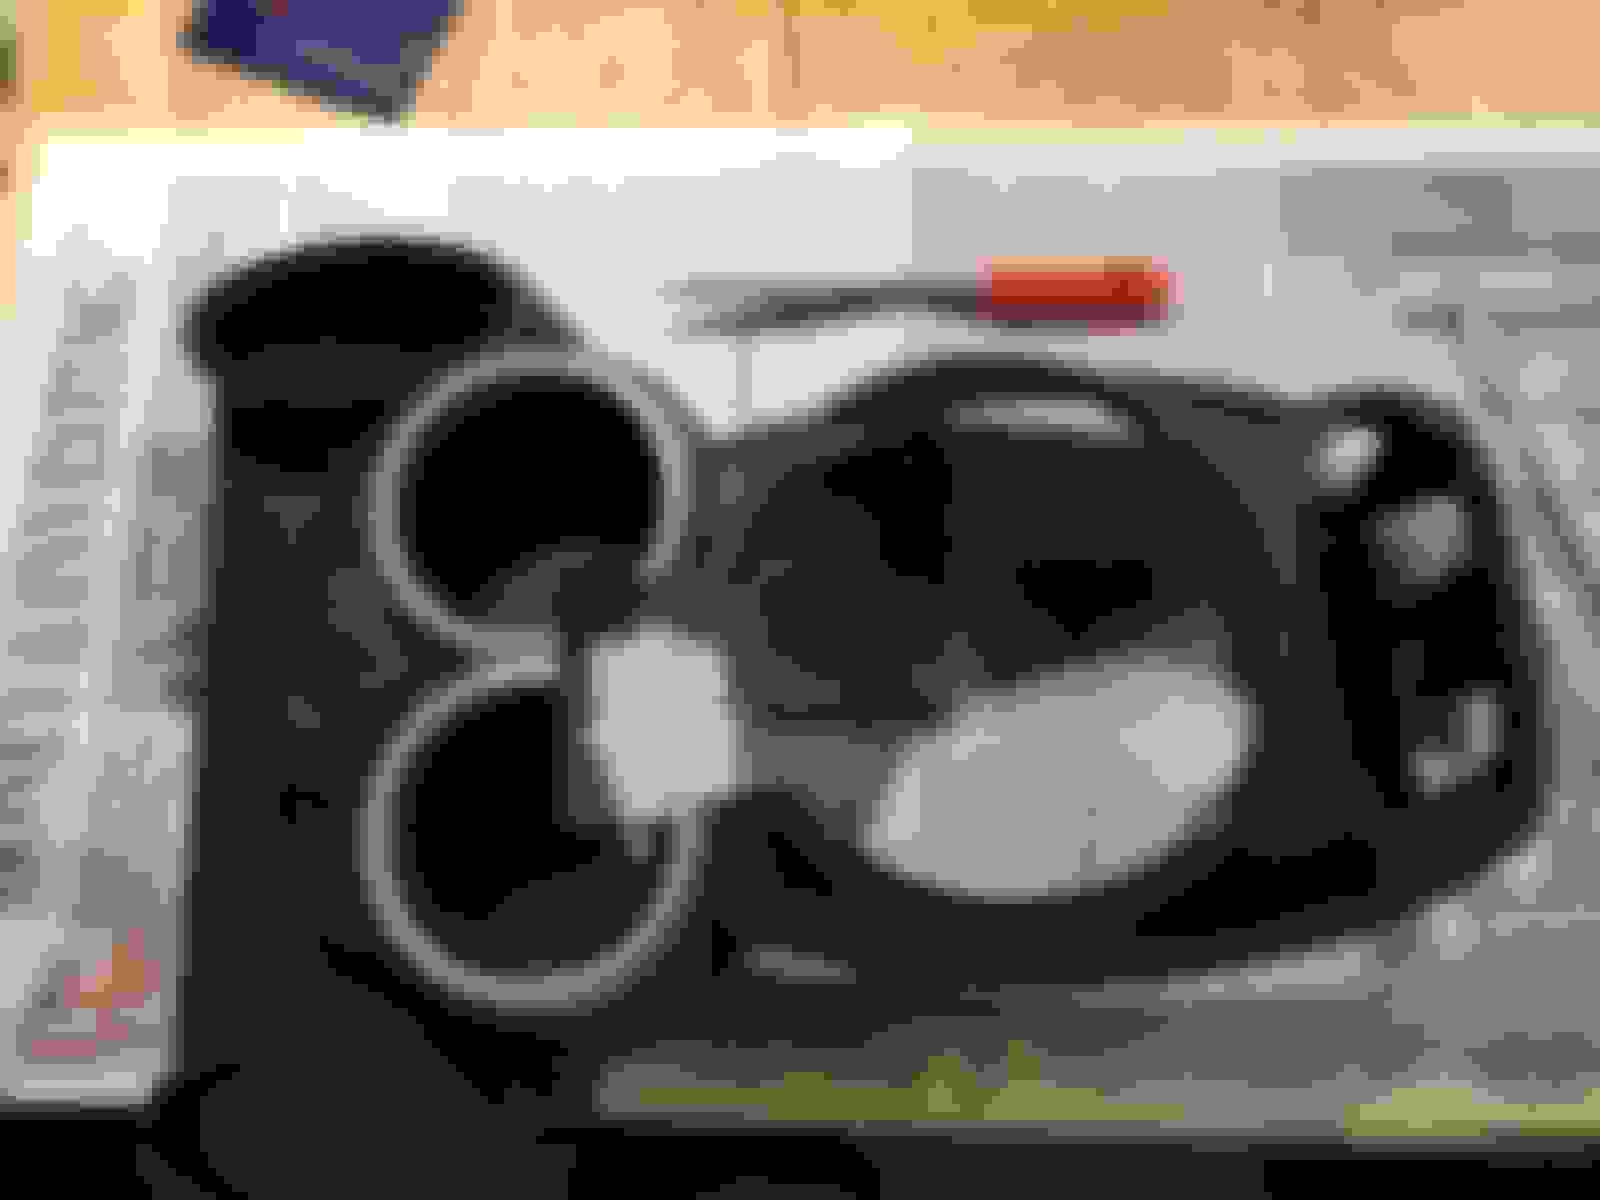
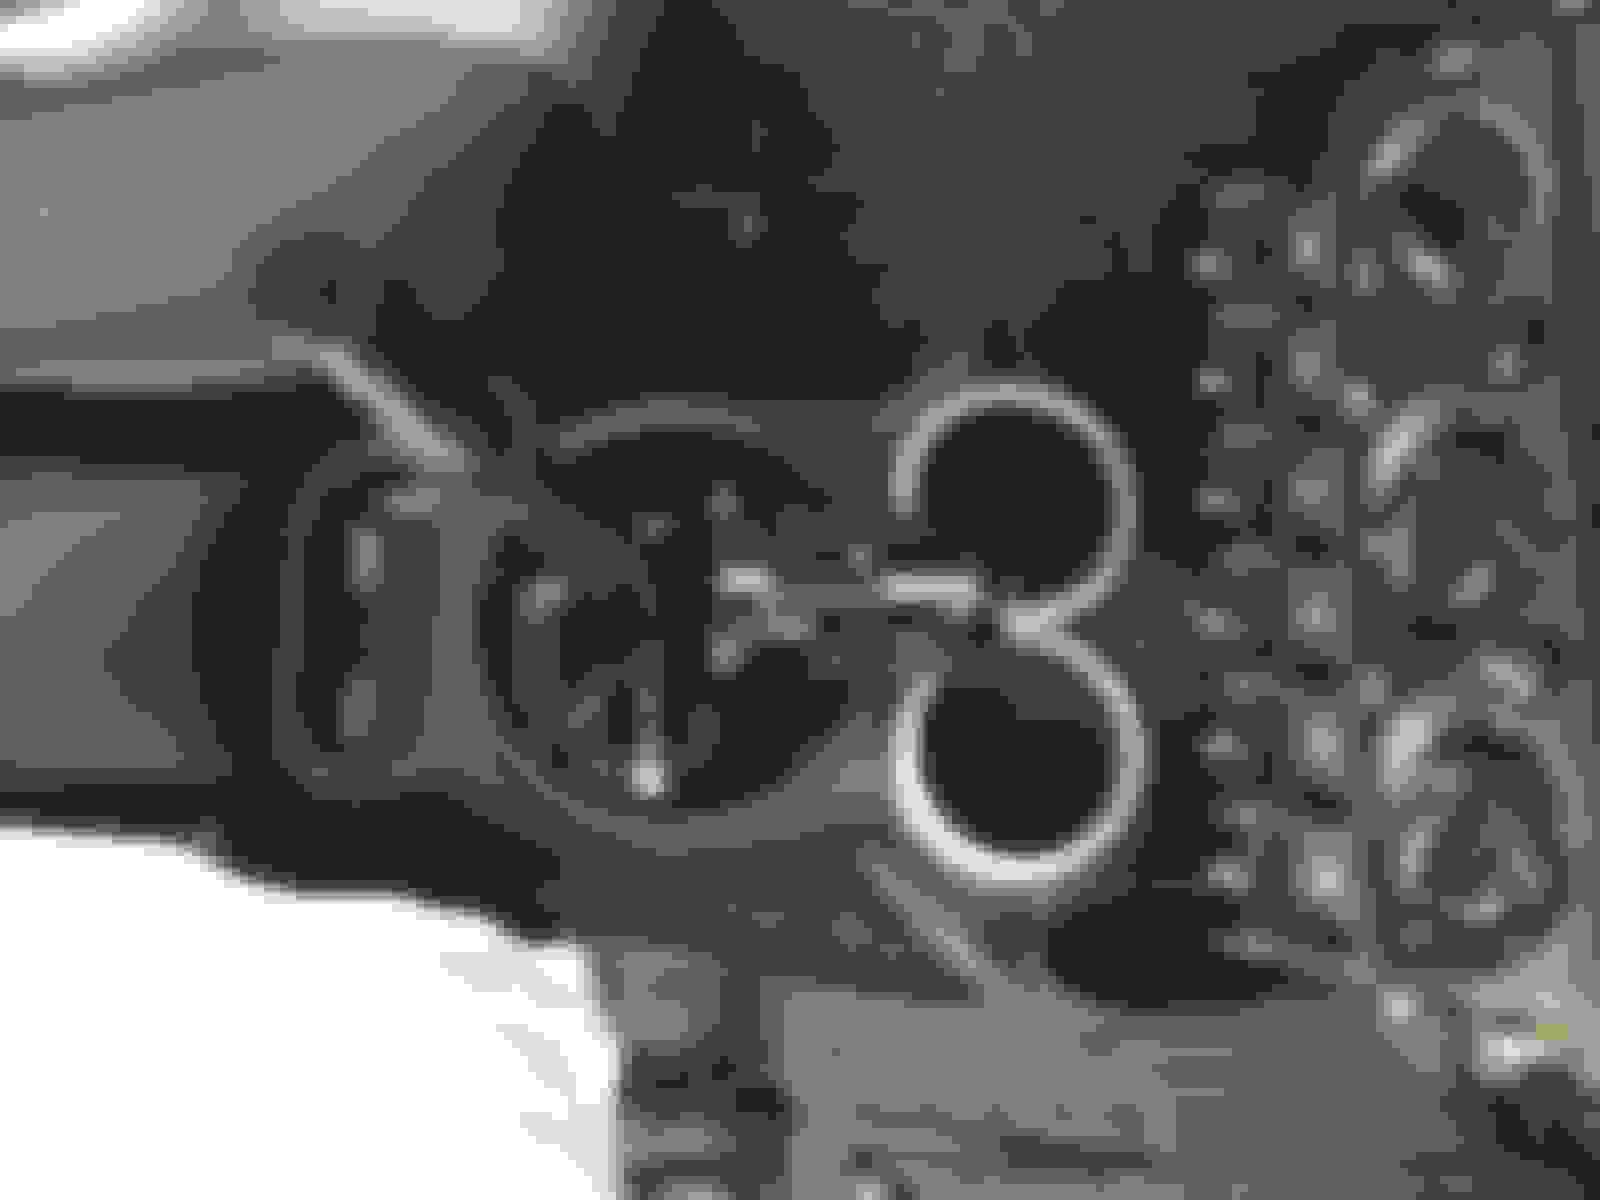
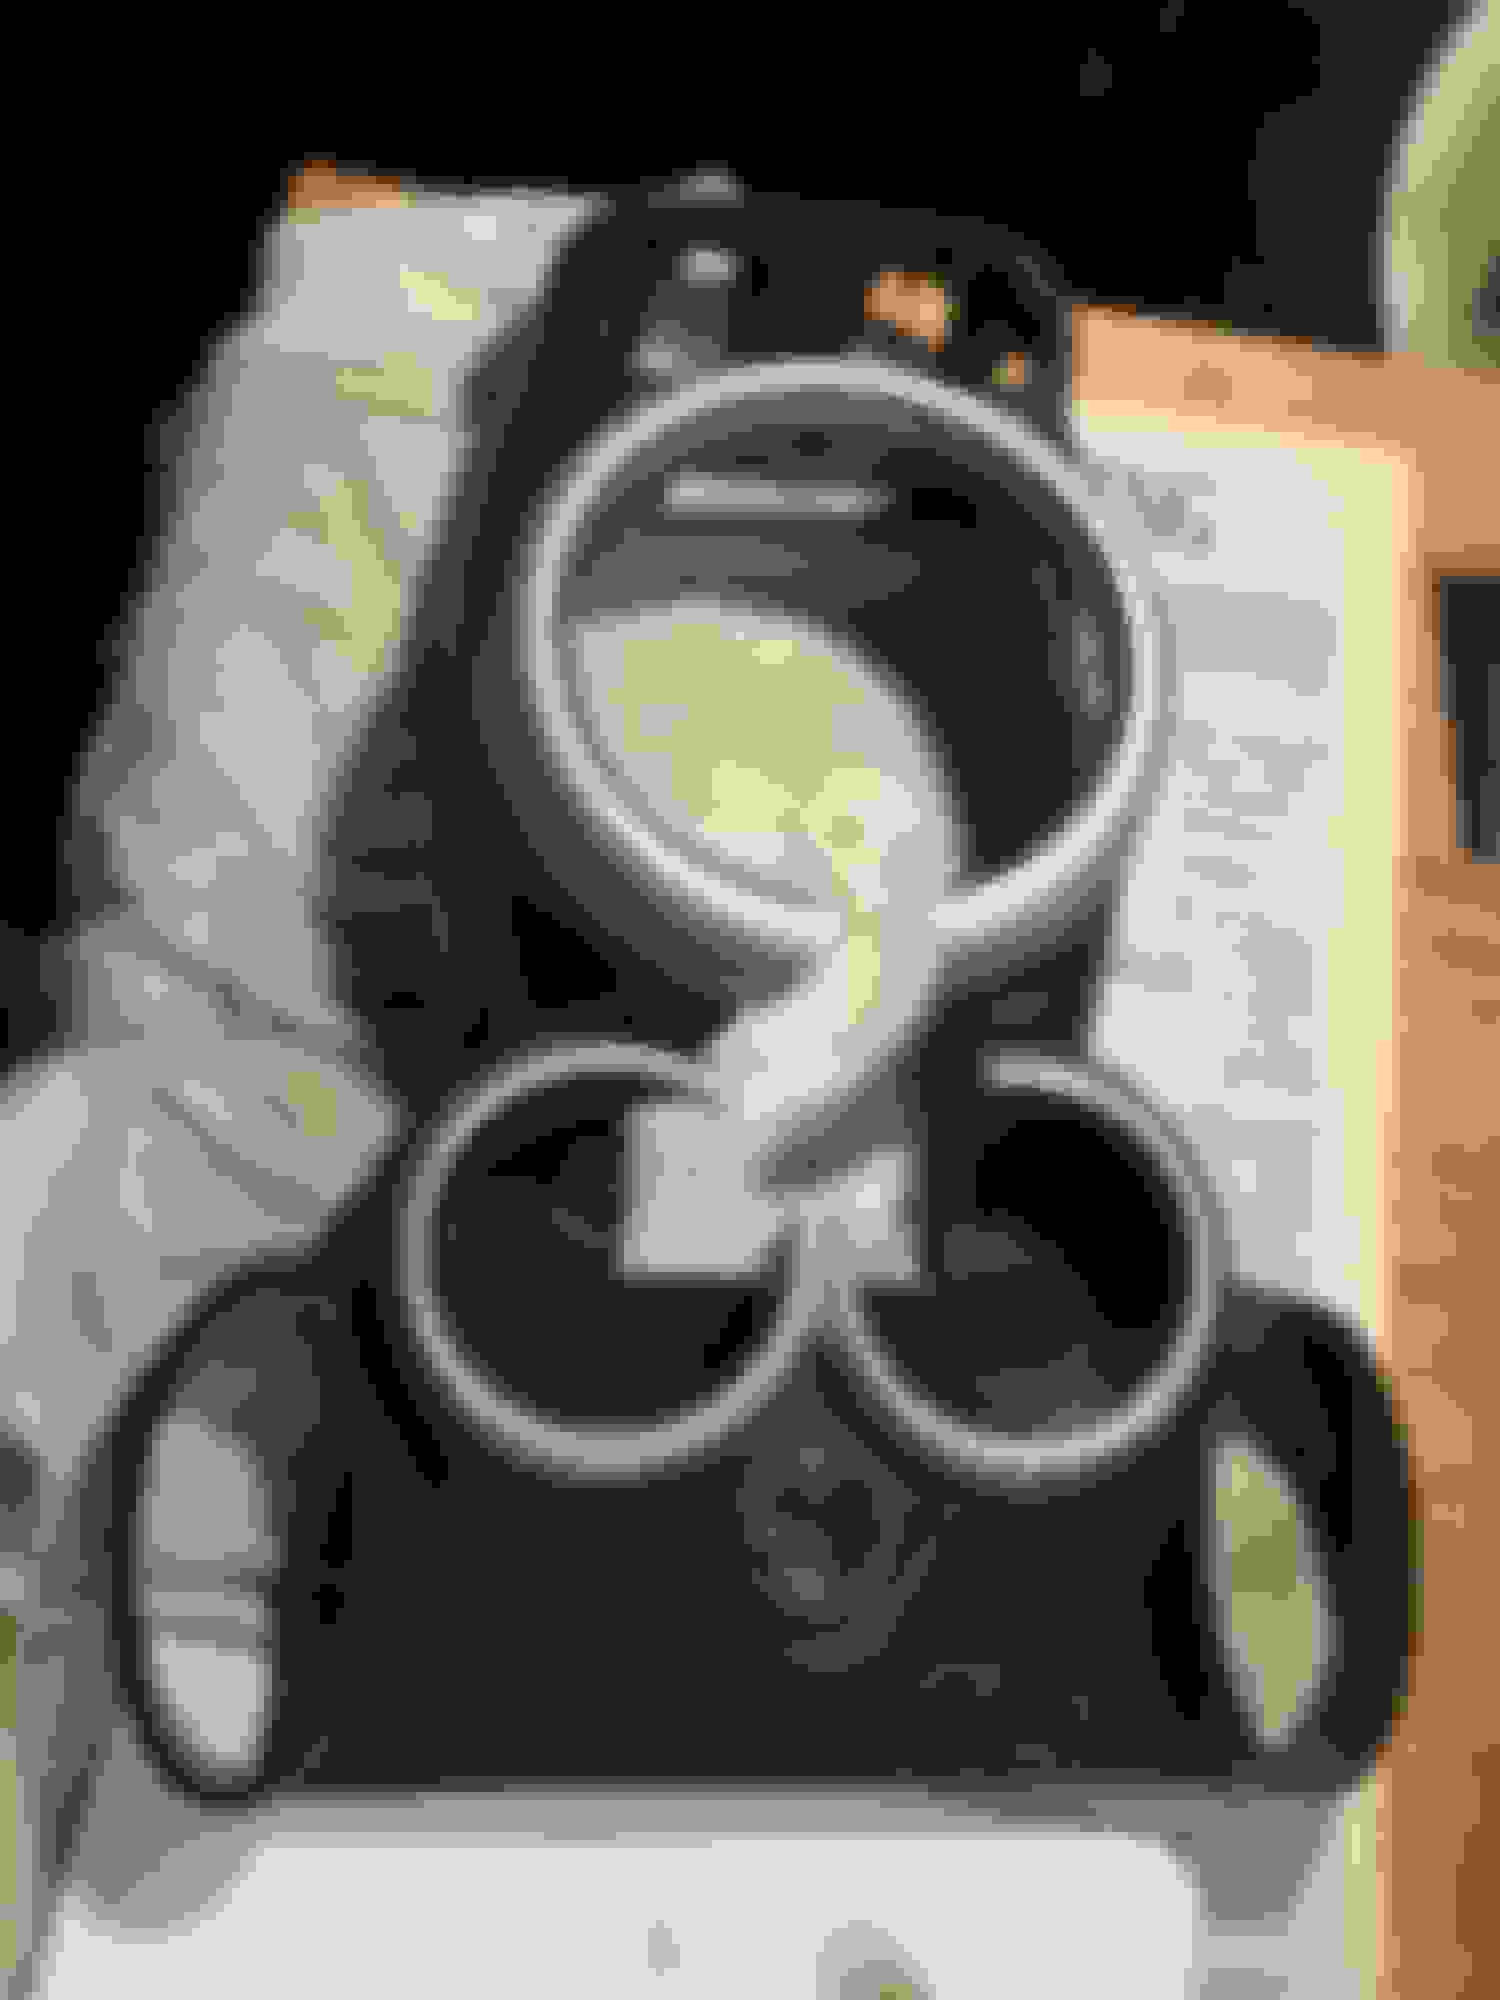
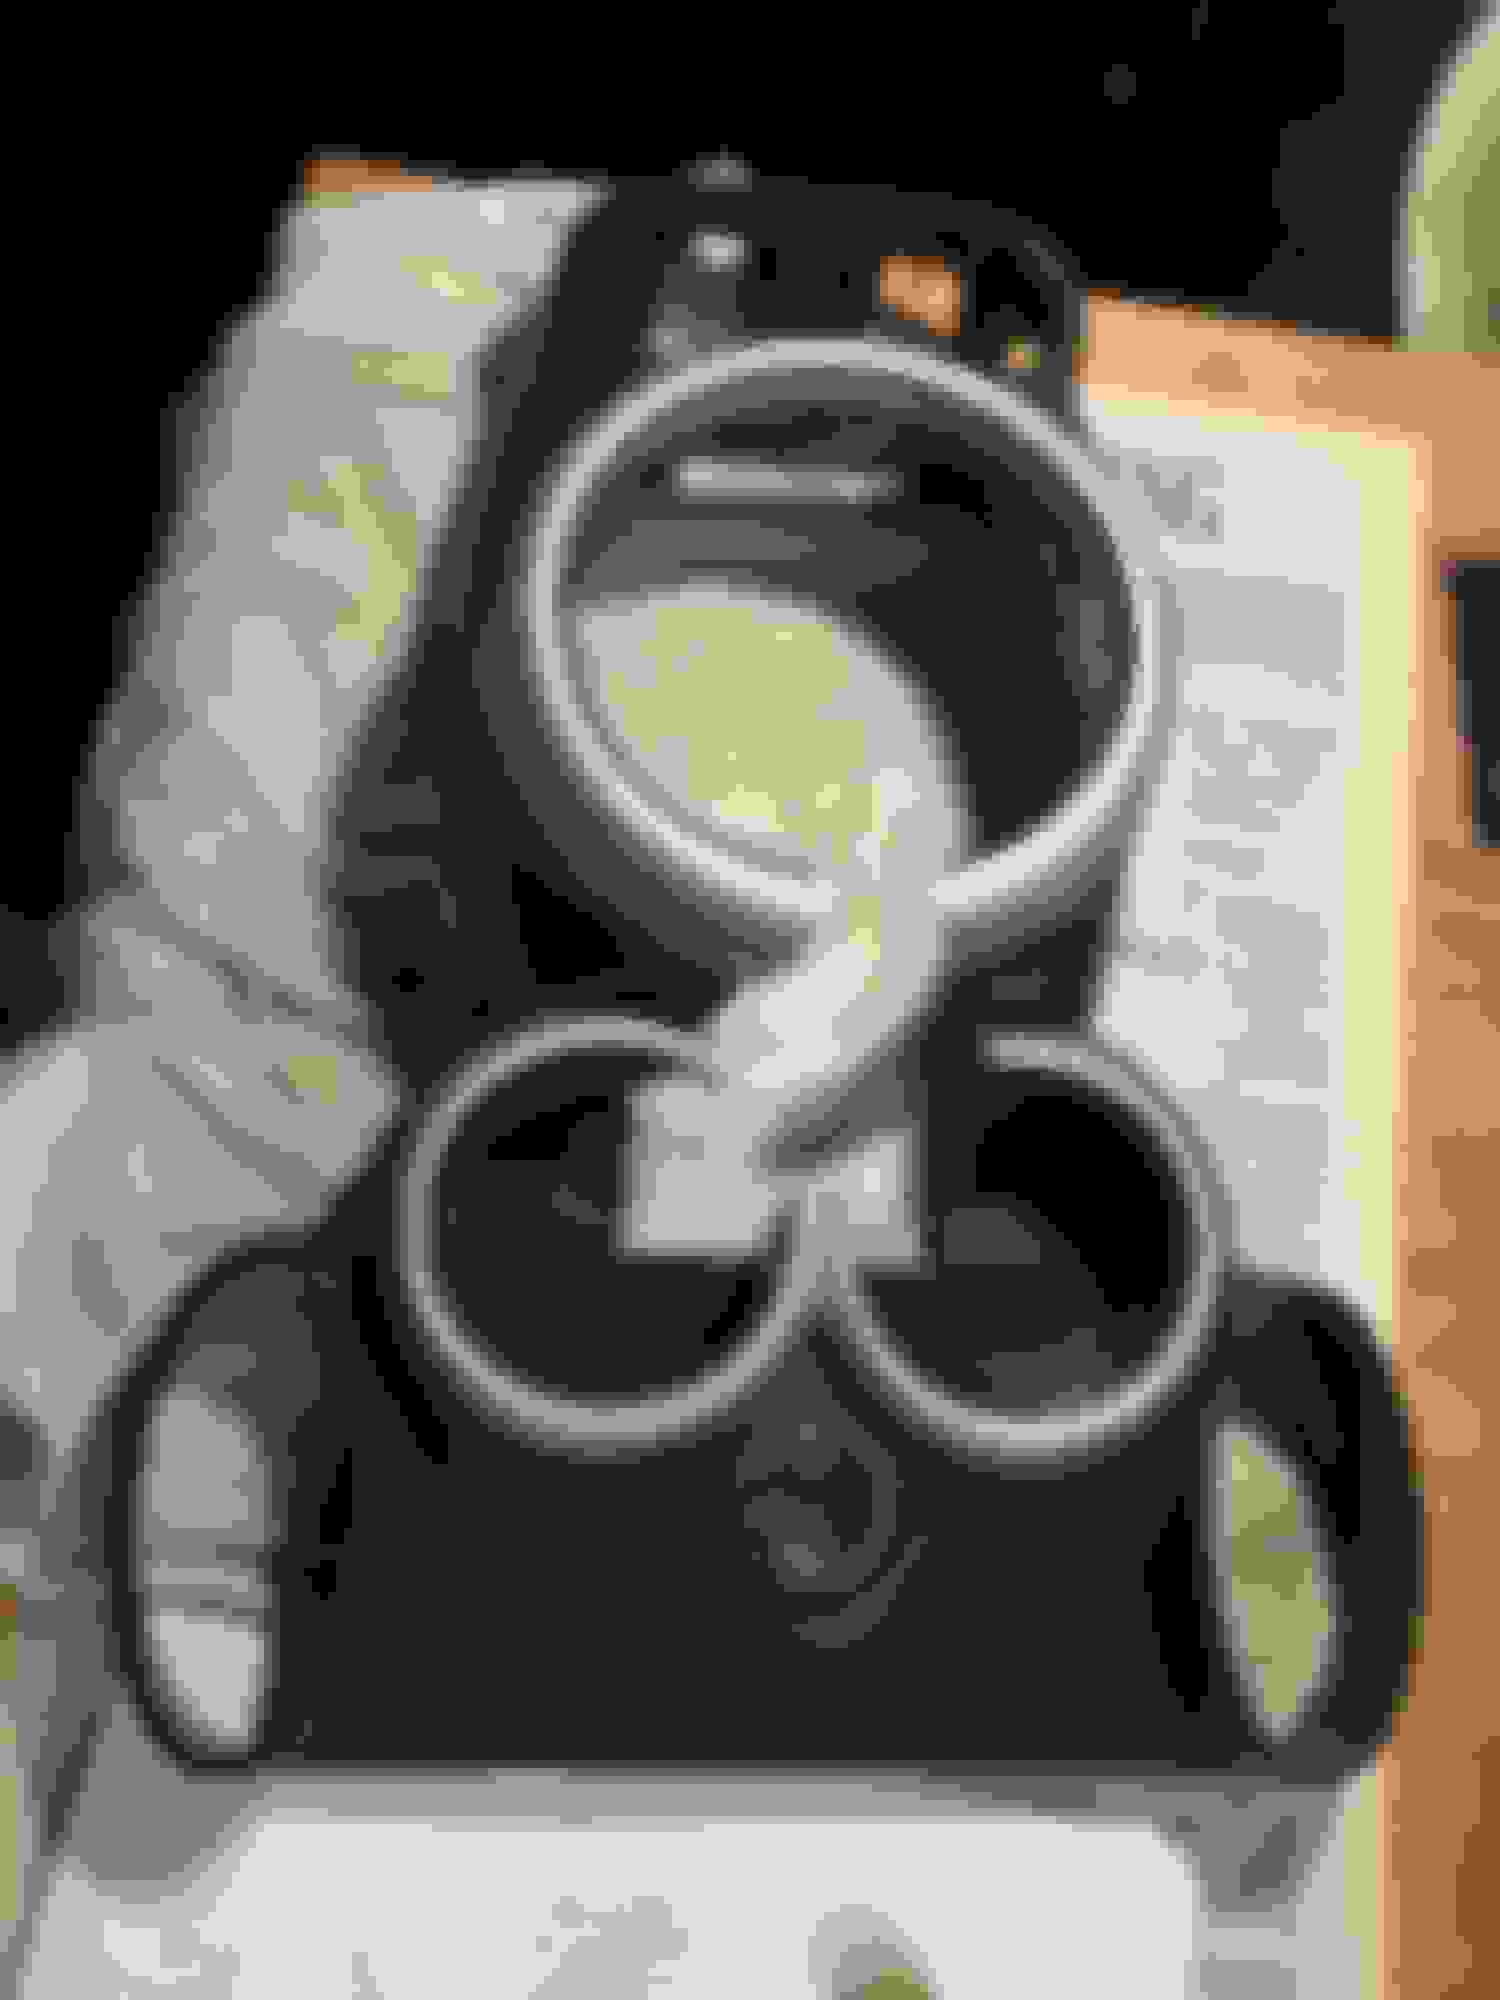
All the work in the previous few posts are done, as well as the gear shifter floor console and the trims. I am most please with all these the Mini-fini cup holder can be restored to the rightful place without running into interference with the CoolerWorx and my JCW (just copy werk) auxiliary gauge pod. The ears of the Mini-fini cup holder protrude quite far out at the back and it threaten not to co-exist with the gauge pod.
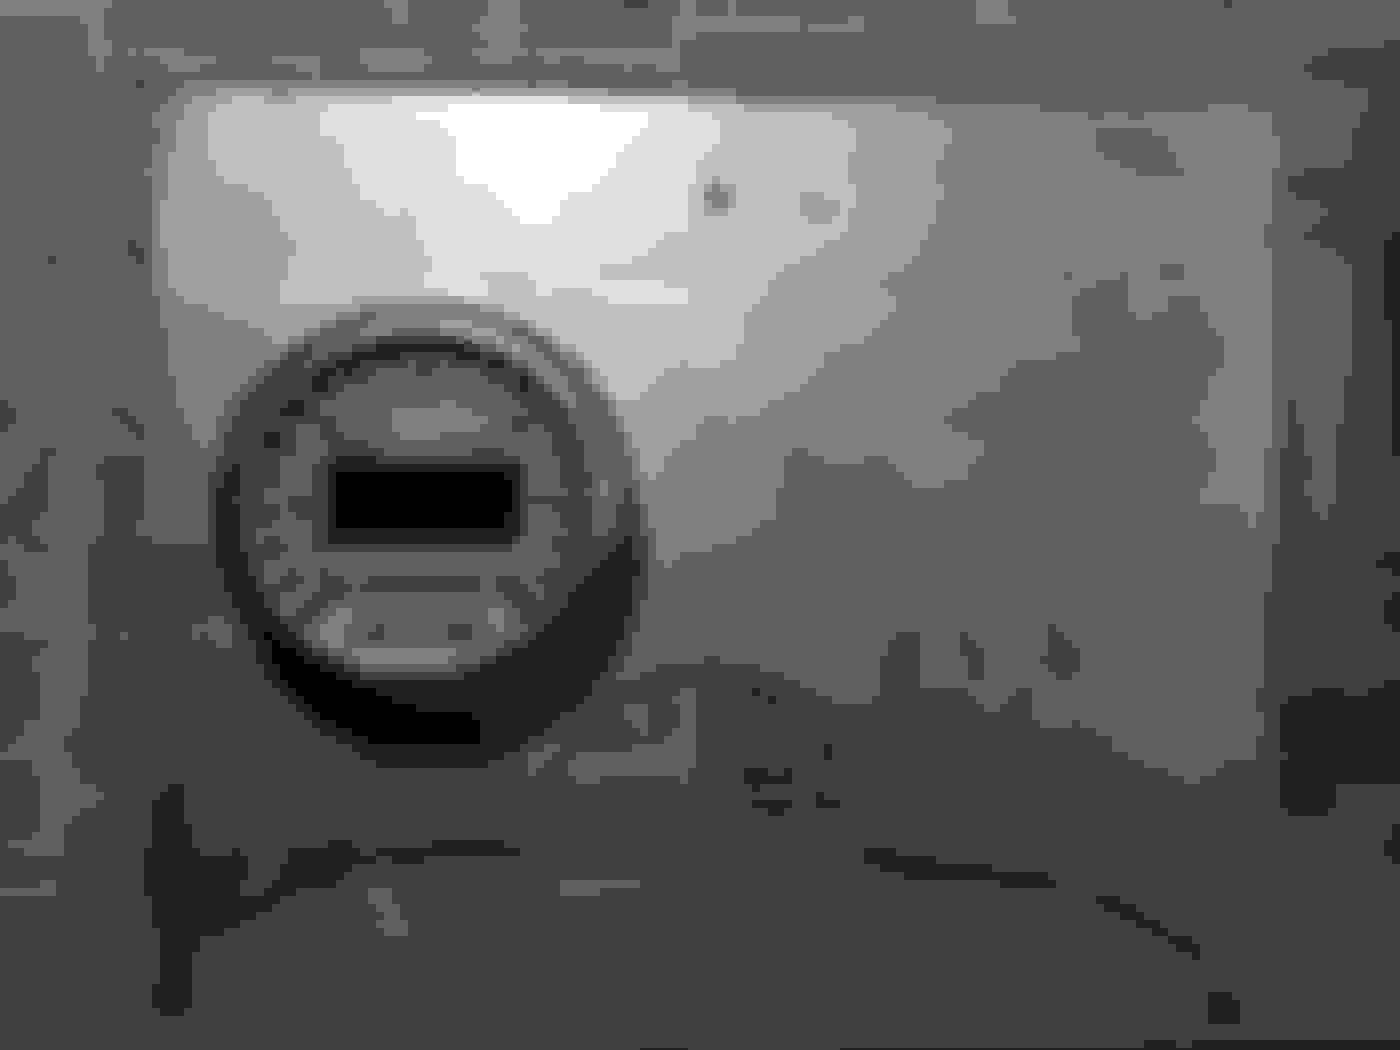
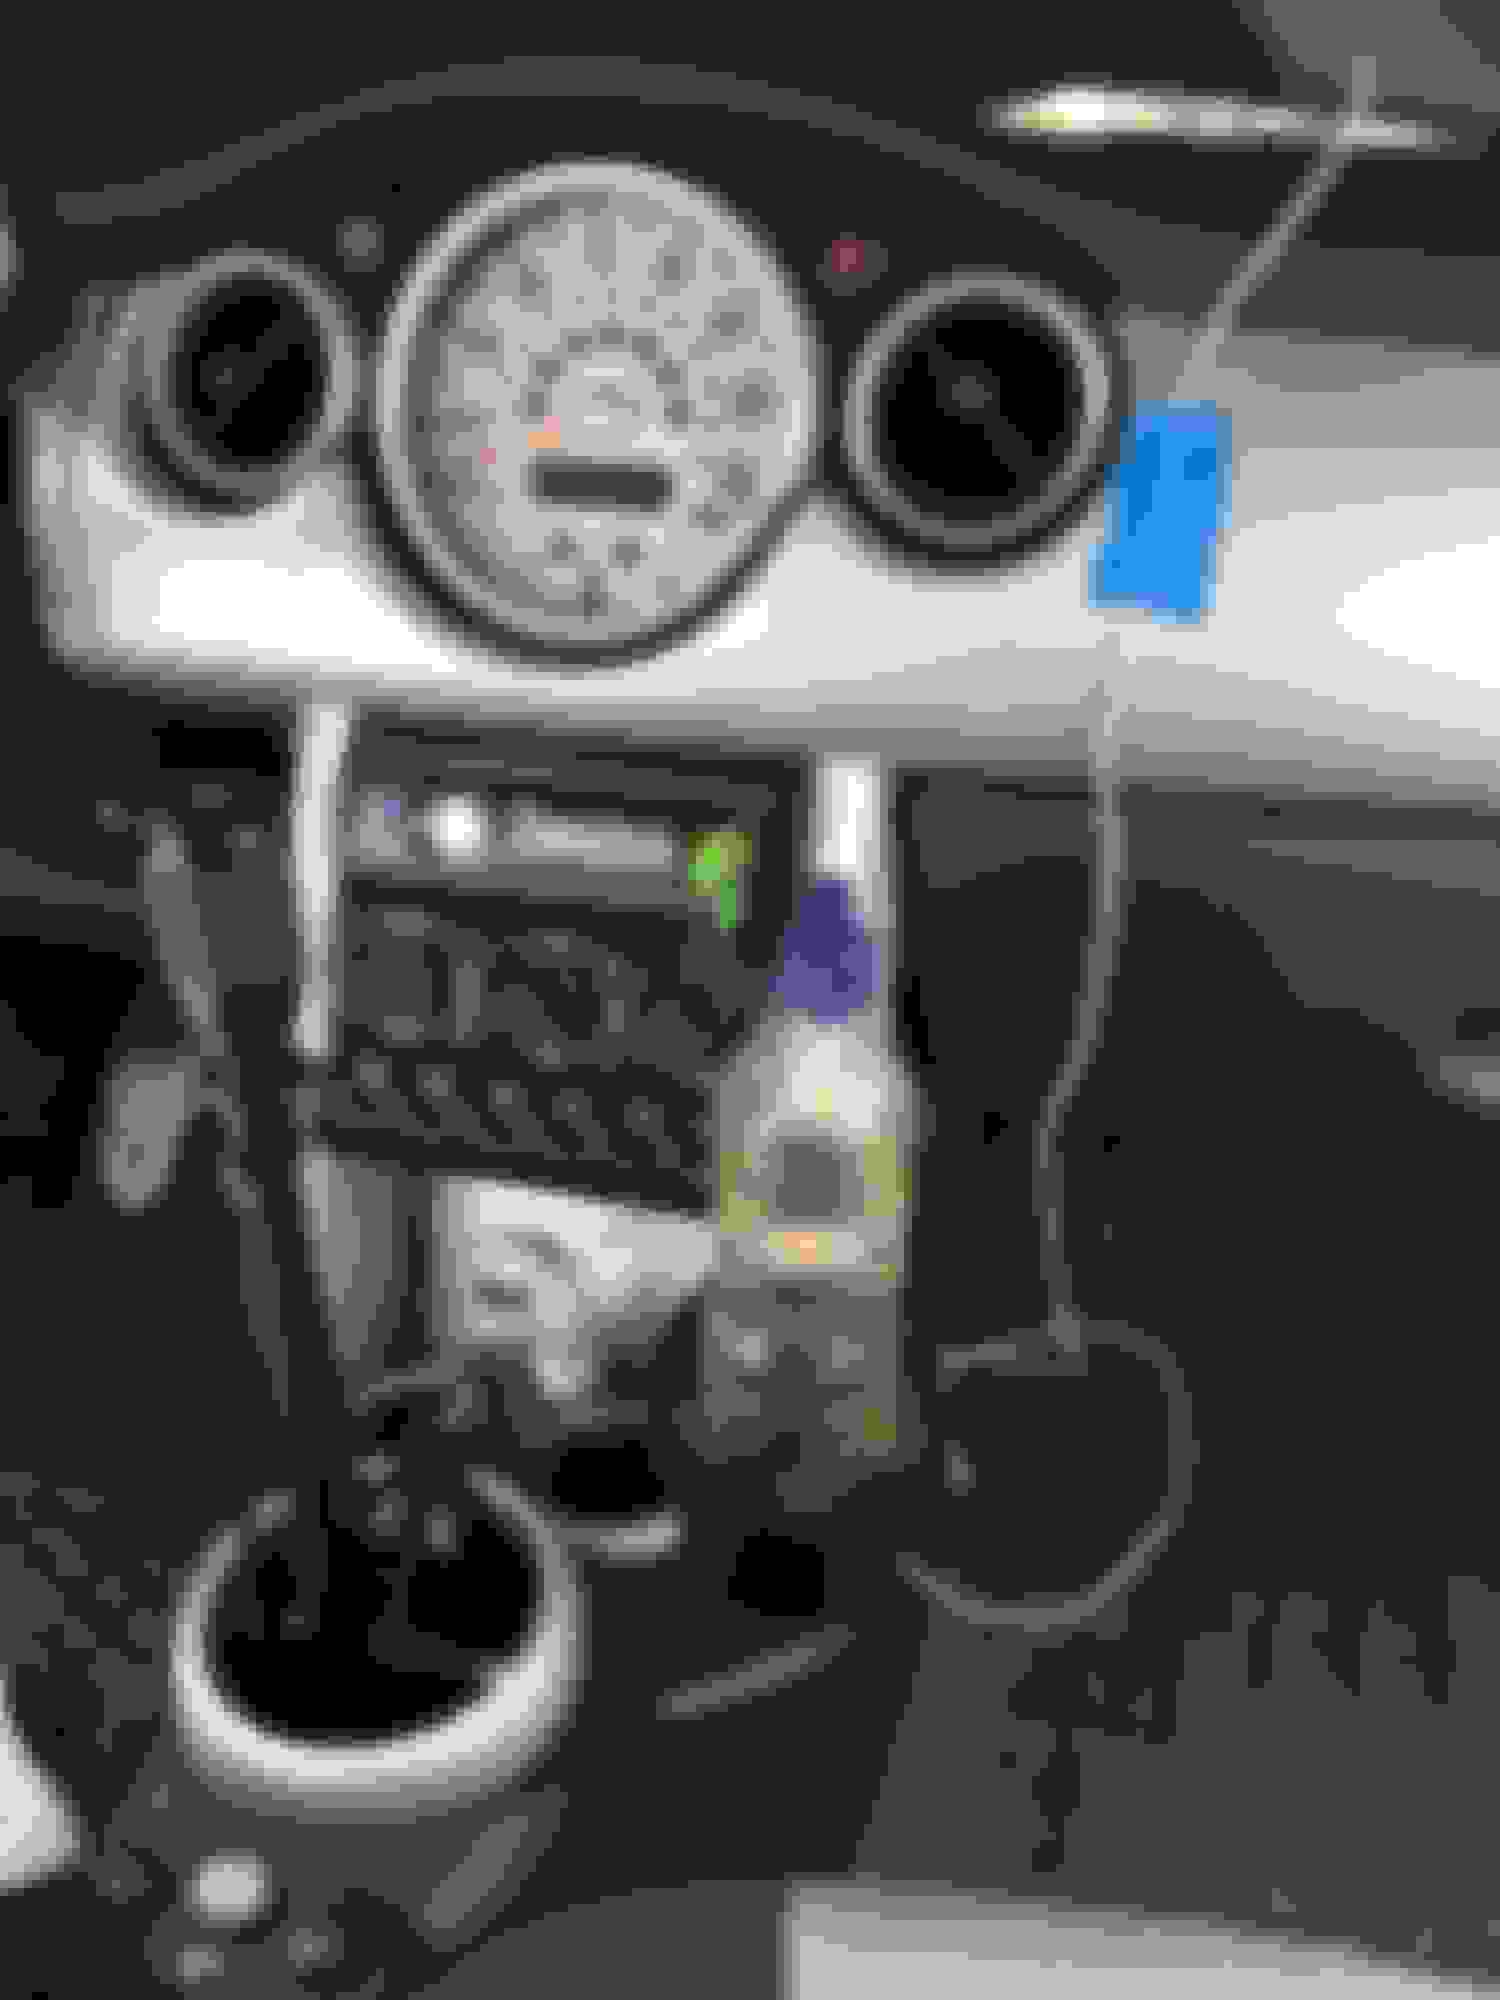
As in almost all thing in the Mini, to get to what you want to service you have to take out many things first, and this is no exception. It turns out it just fit with not one millimeter to spare. Mini's interior is all back together now. I changed the colours of the Innovate Motorsports MTX-L Plus A/F gauge face and trim ring to match that of the Mini's gauges. It now only switches on when the ignition is set to On, as opposed to at ACC before. Before I re-install the head unit's trim ring I tested everything to make sure I would not have to tear it out again.
this was the all black gauge face and trim ring a few weeks ago
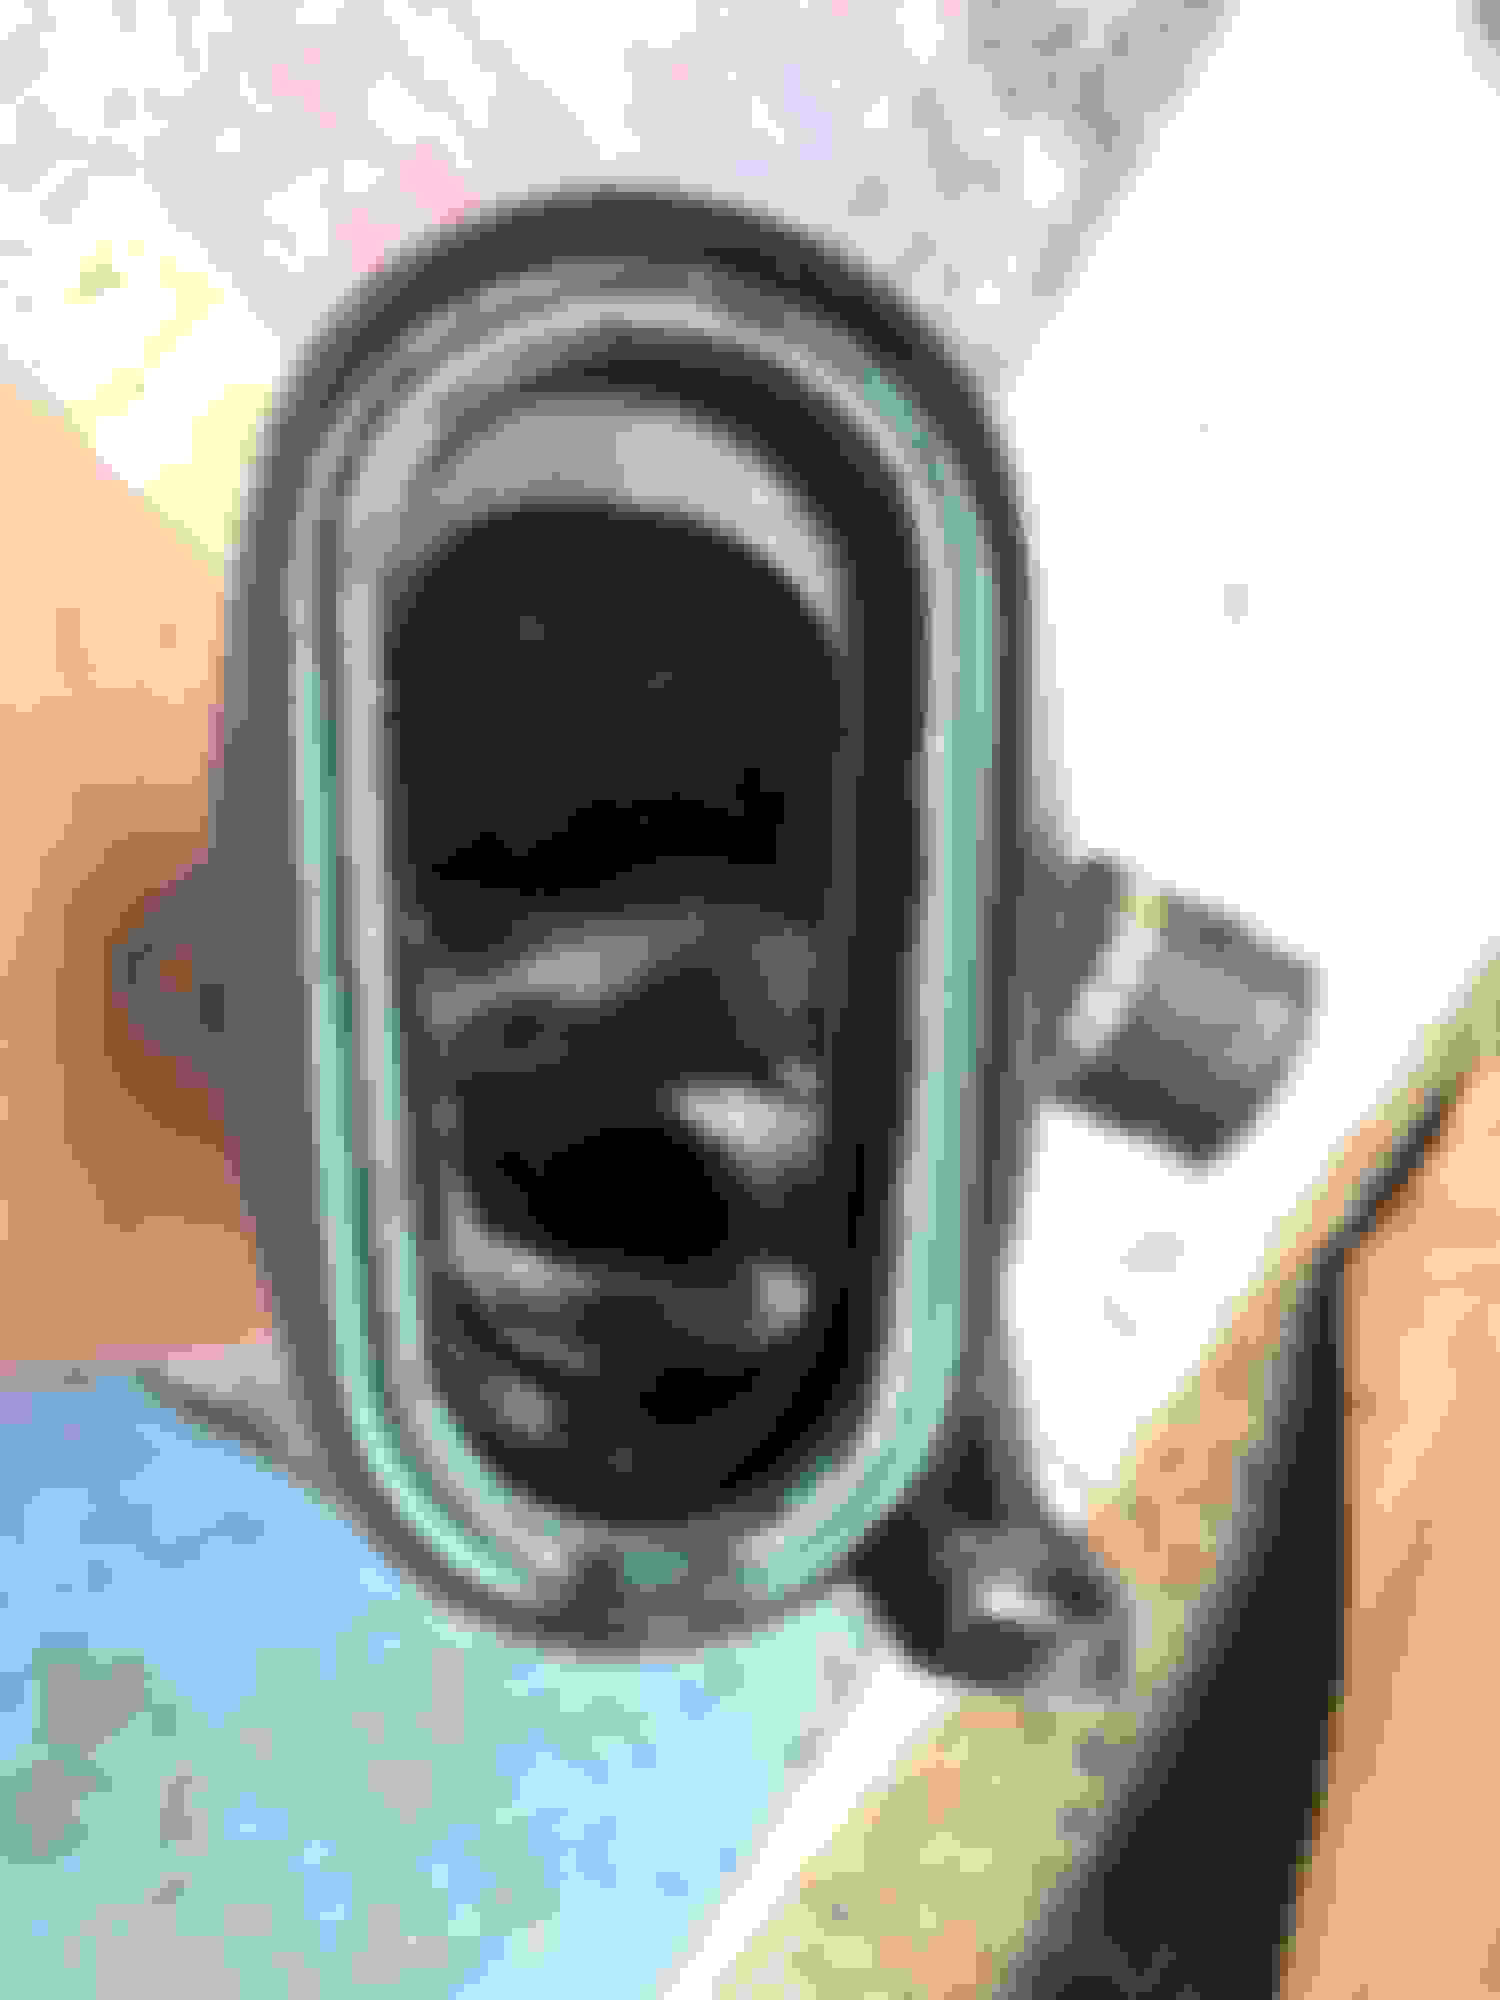
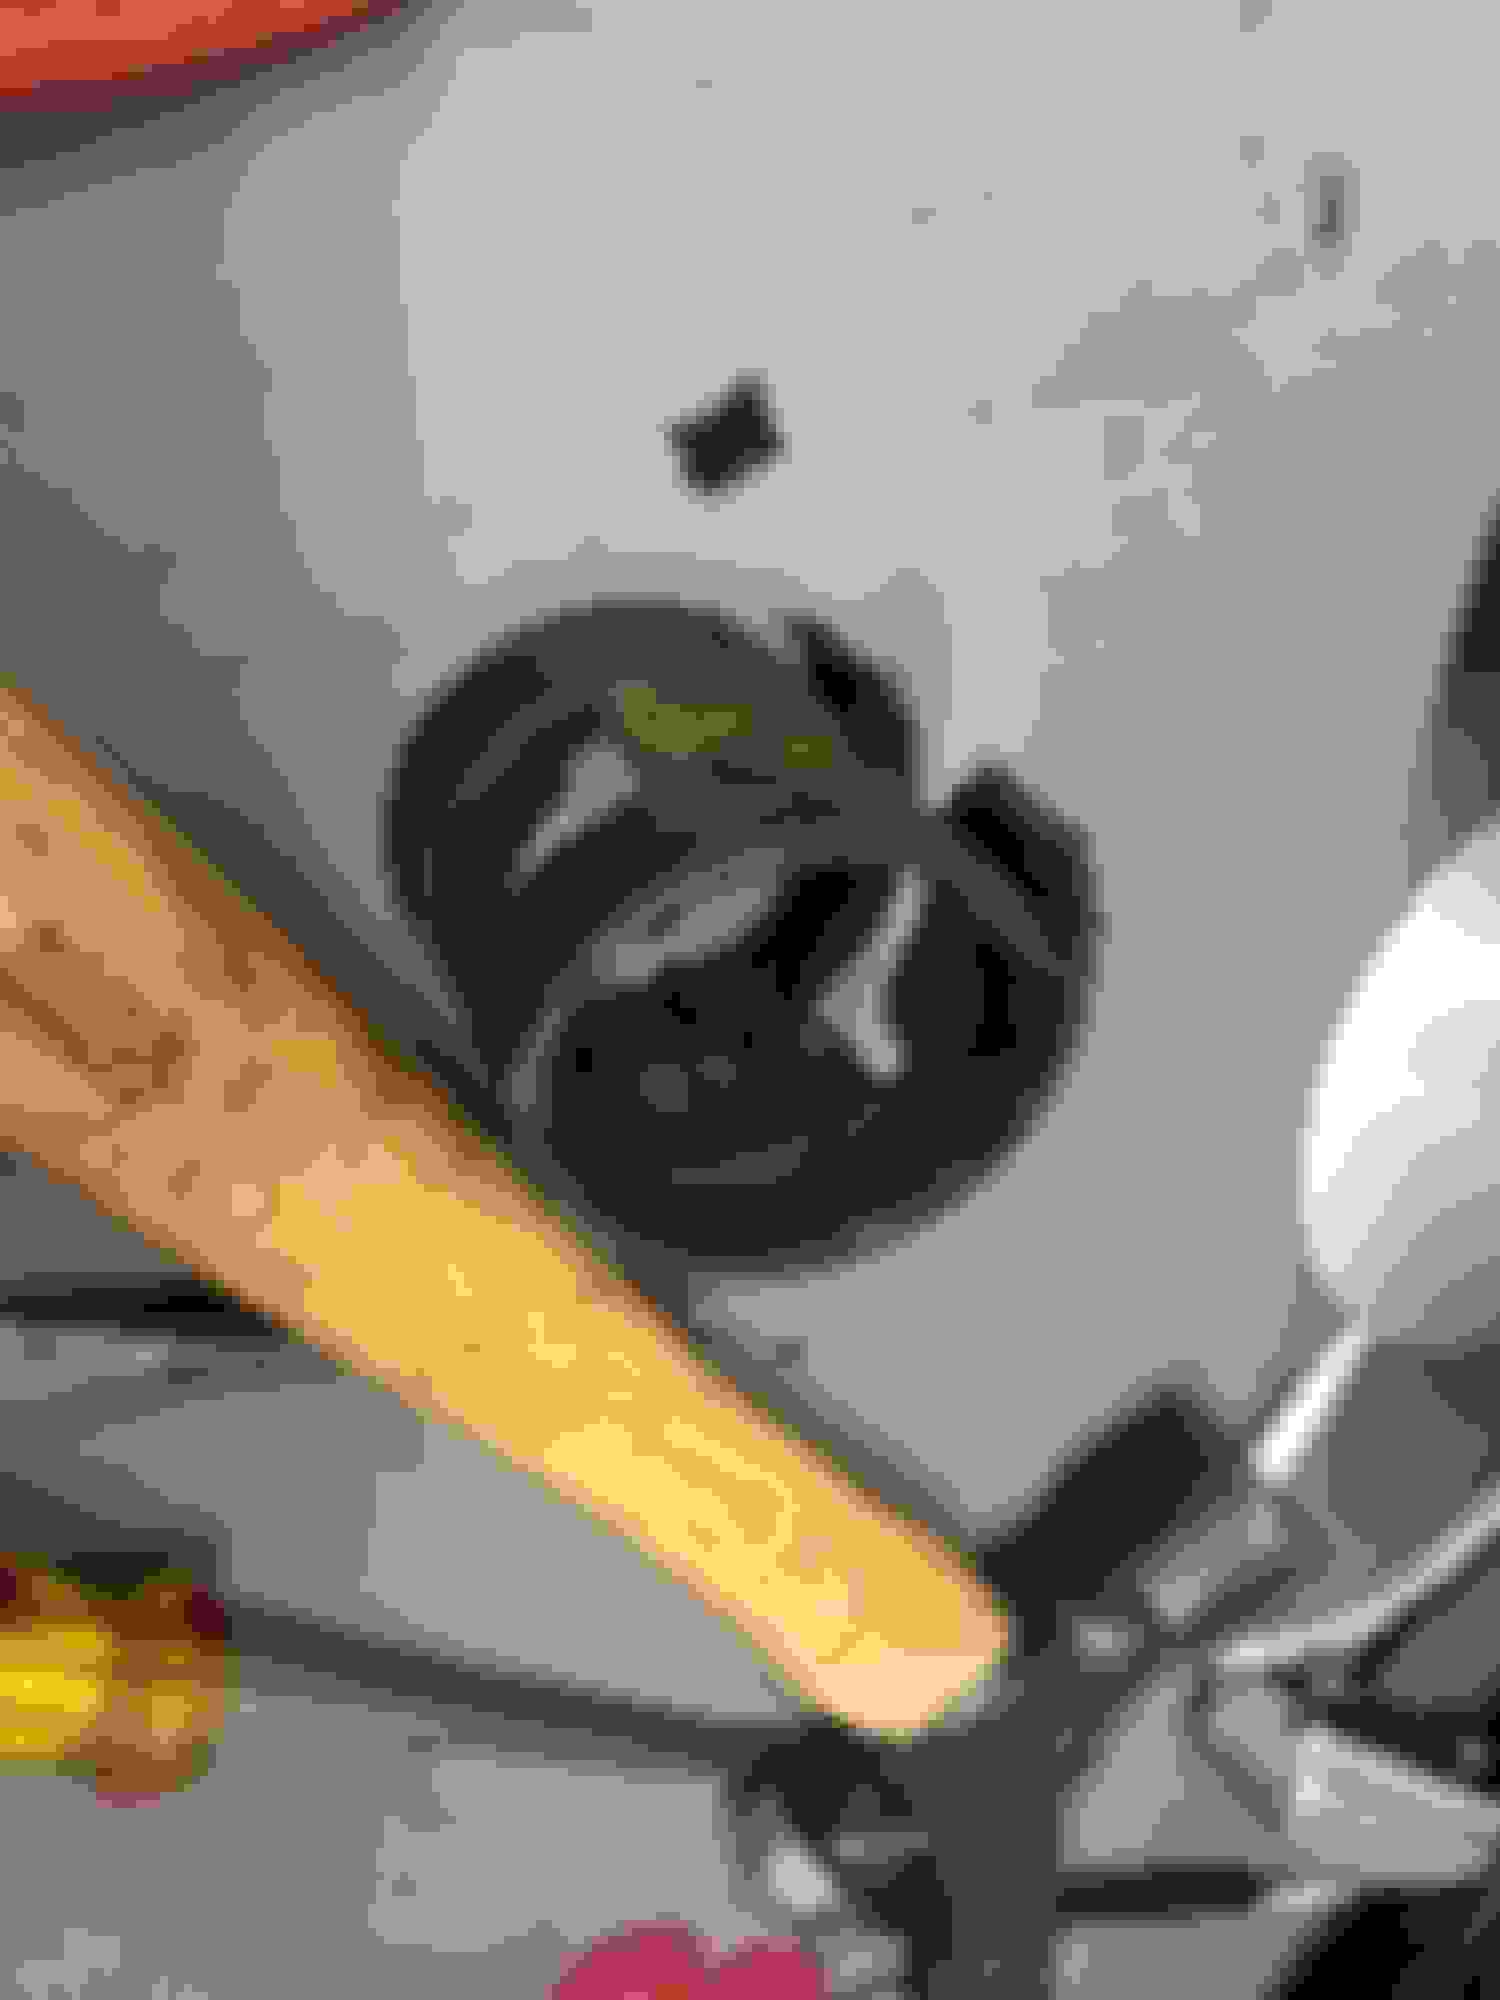
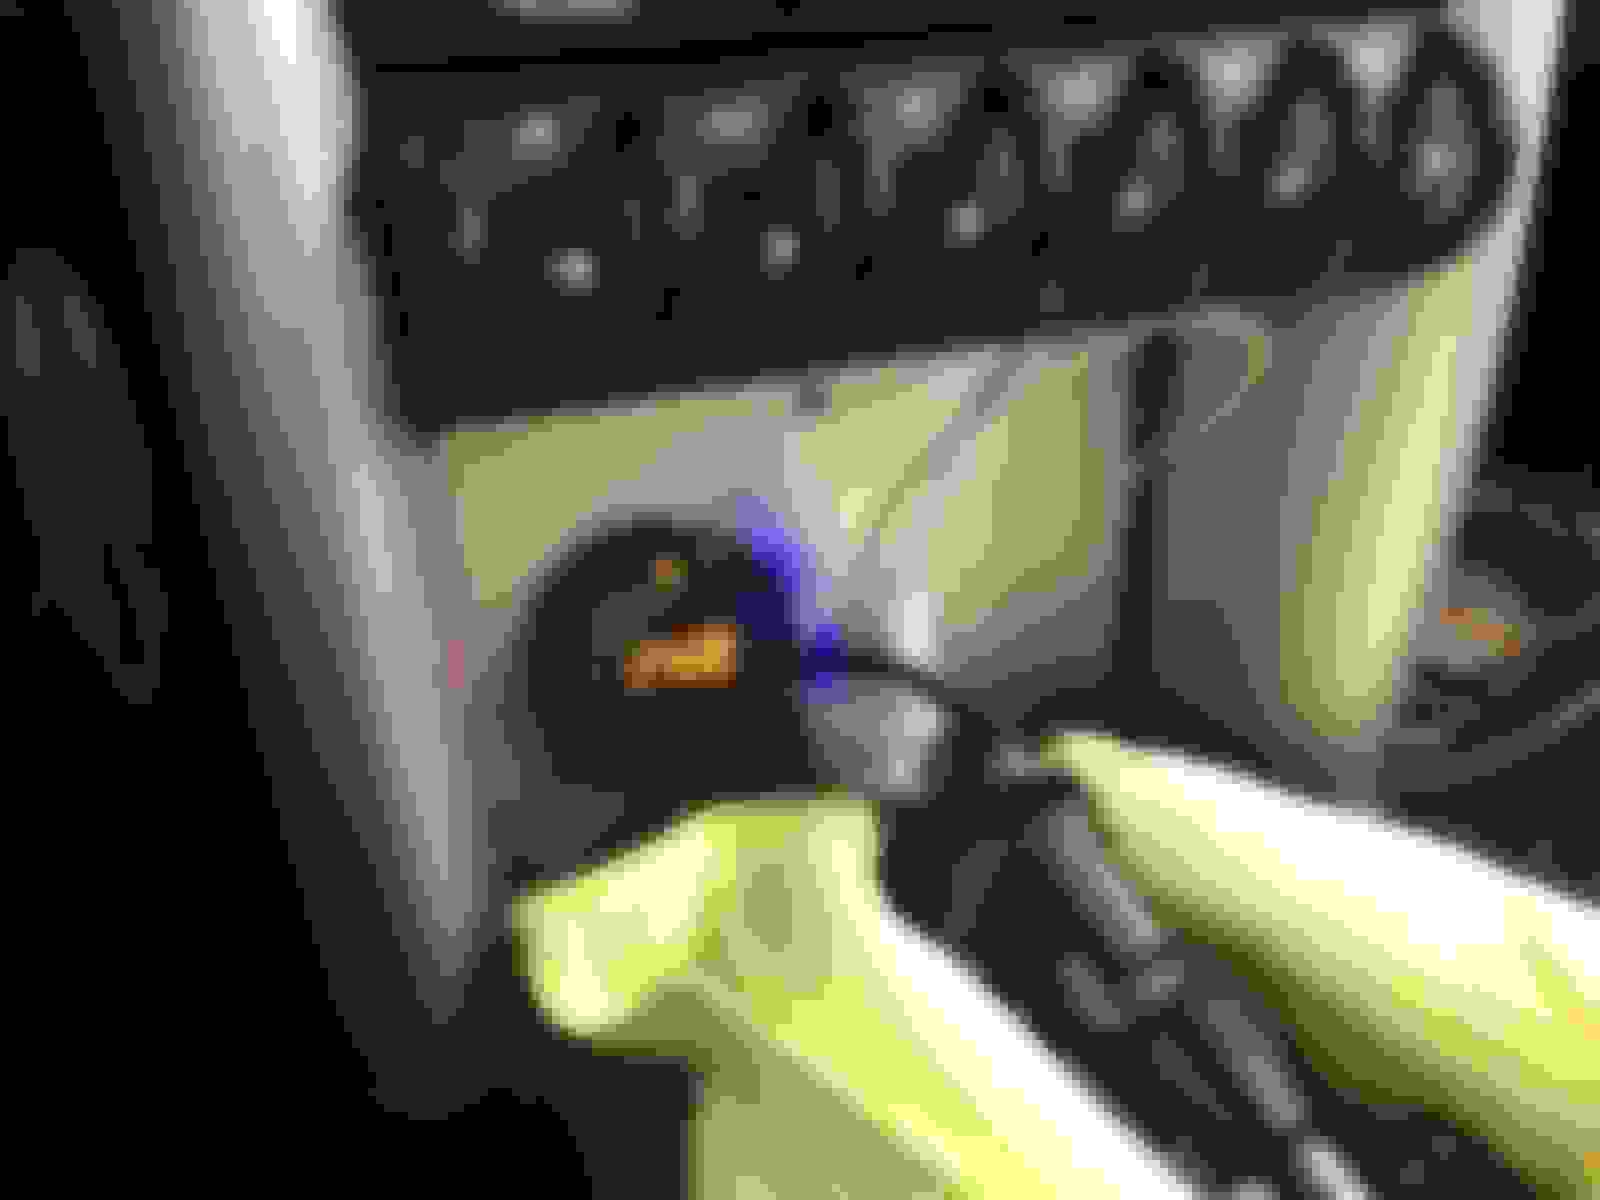
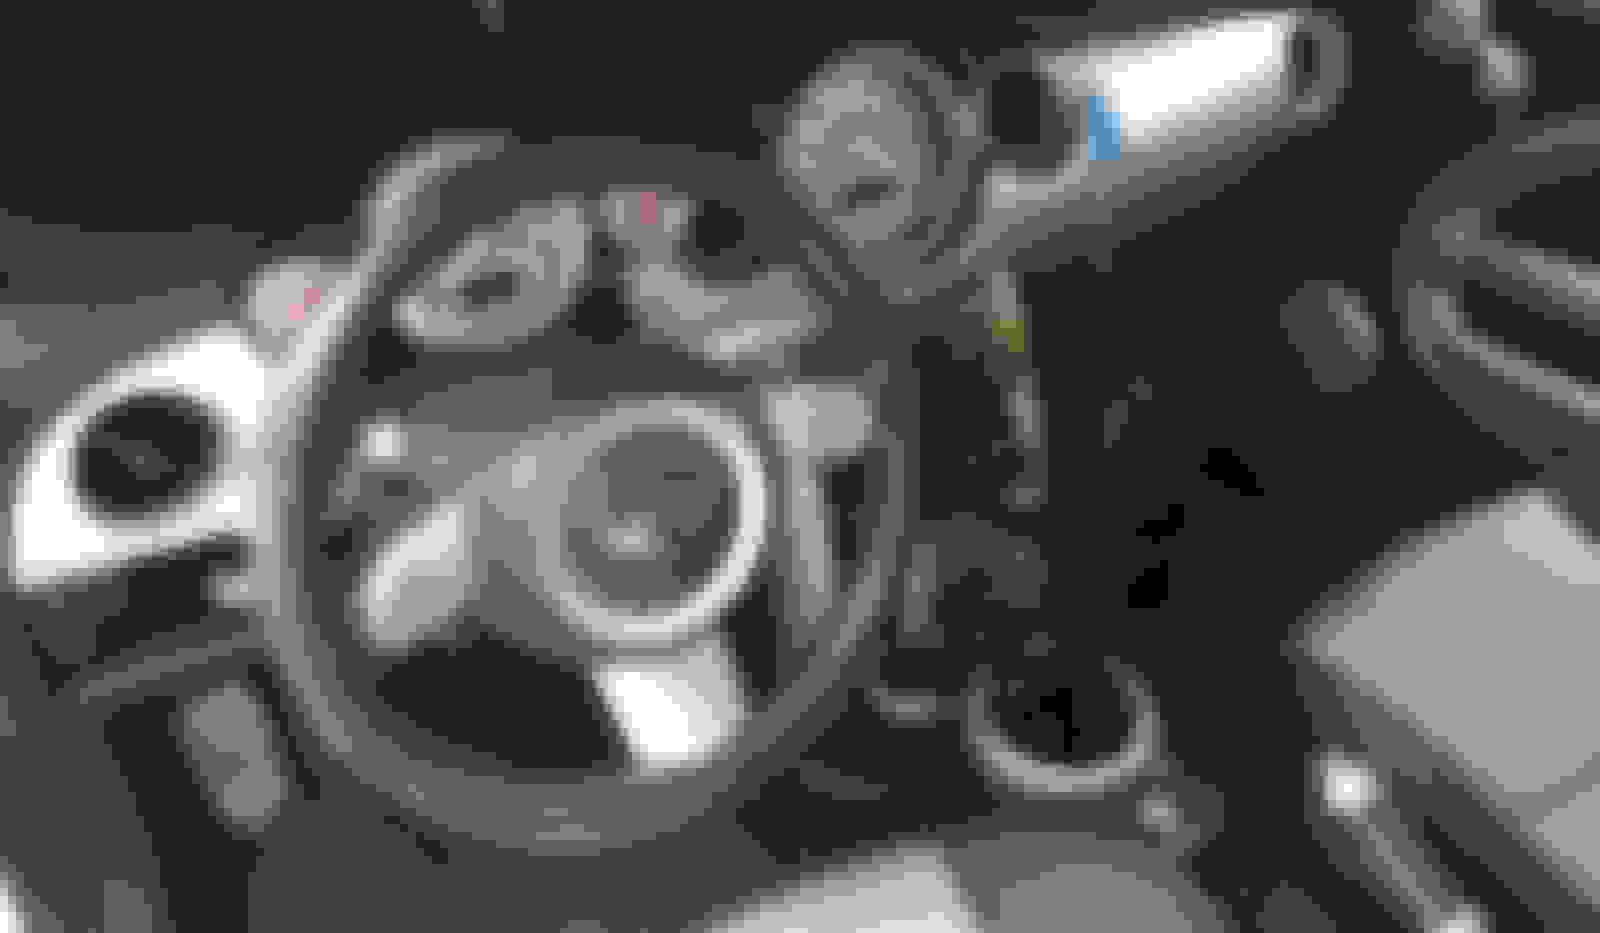
this fuse tap was installed incorrectly - somehow I lost my mind even though I ohm'ed out which side of the fuse holder is the upstream
for this column this is the right way to connect the fuse tap
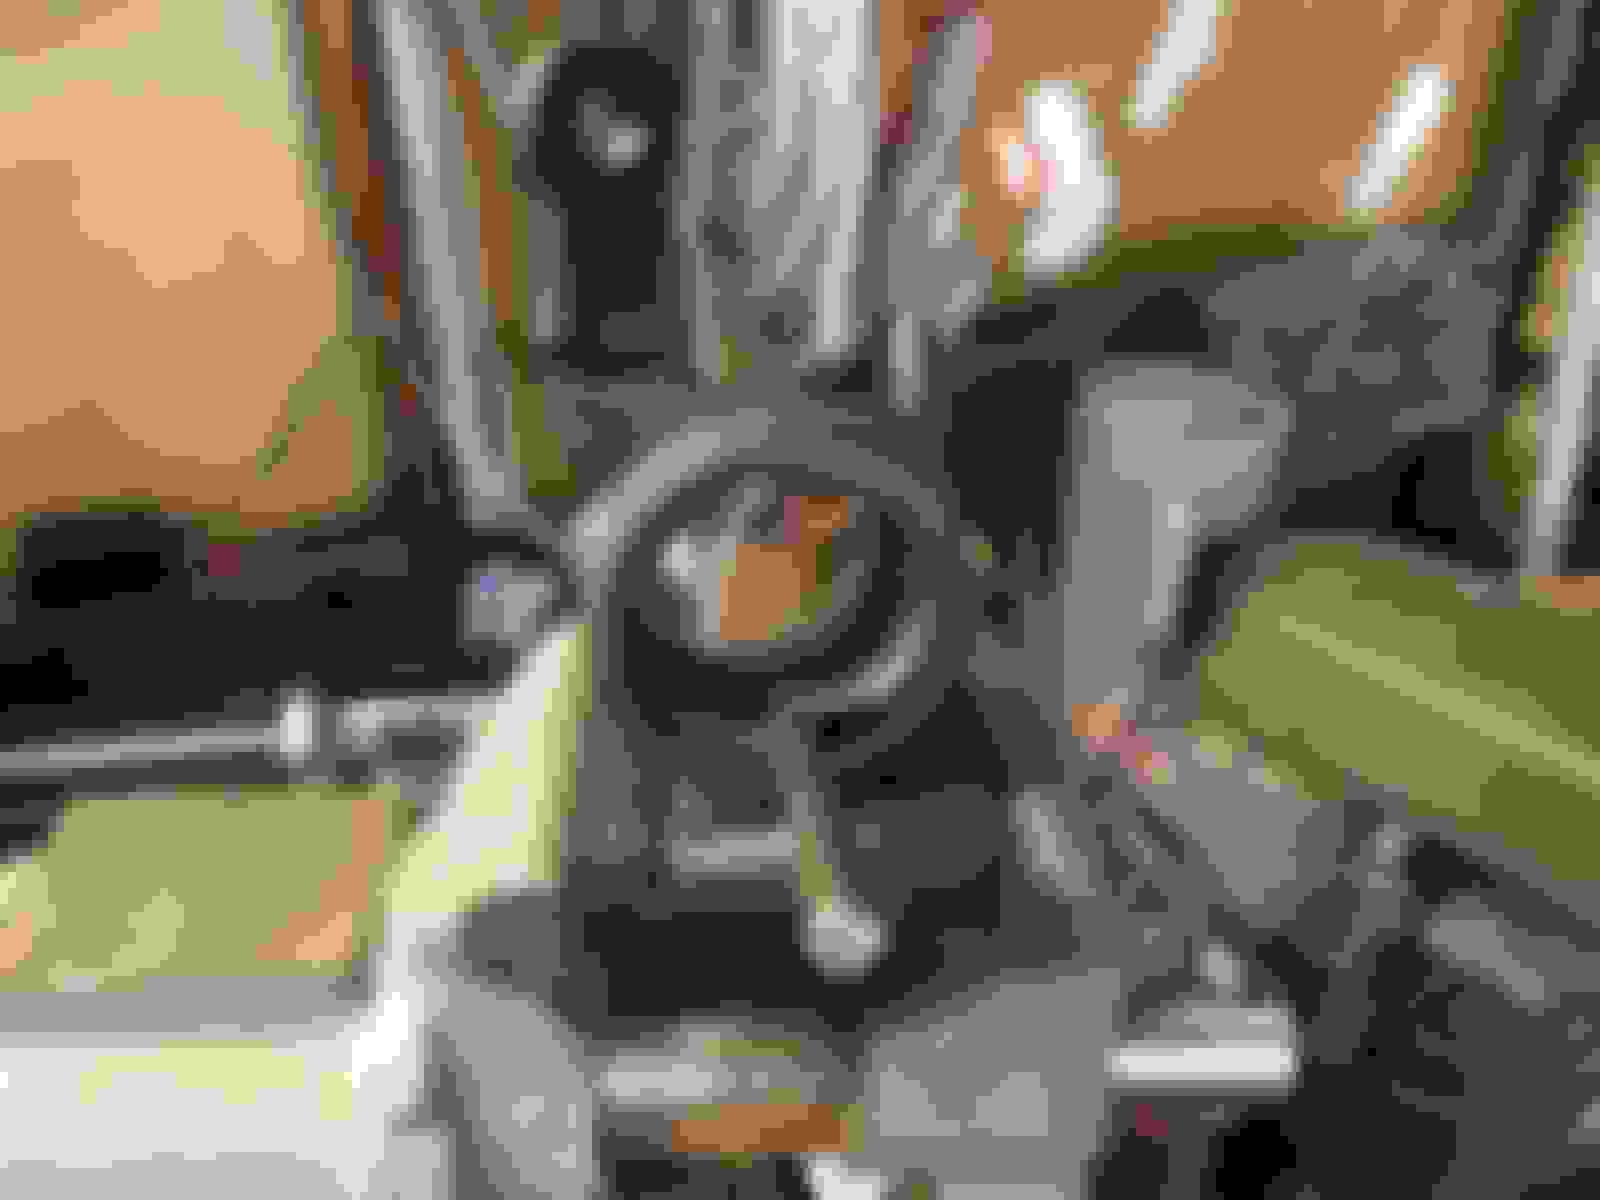
the A/F gauge now is coherent with other gauges; and the Mini-fini cup holder can swing in full articulation as before
Now with the racing brushings and sporty gear shifter, the Mini still is a polite little car in town. I was quite worry about the Powerstiff Black bushing creating very rough ride, or vibrating steering wheel, or buzzing interior trims. While I have only driven with these on in town a bit, my biggest fear has not materialized. The front end definitely responds to the steering wheel input more immediately, even with a minute input.
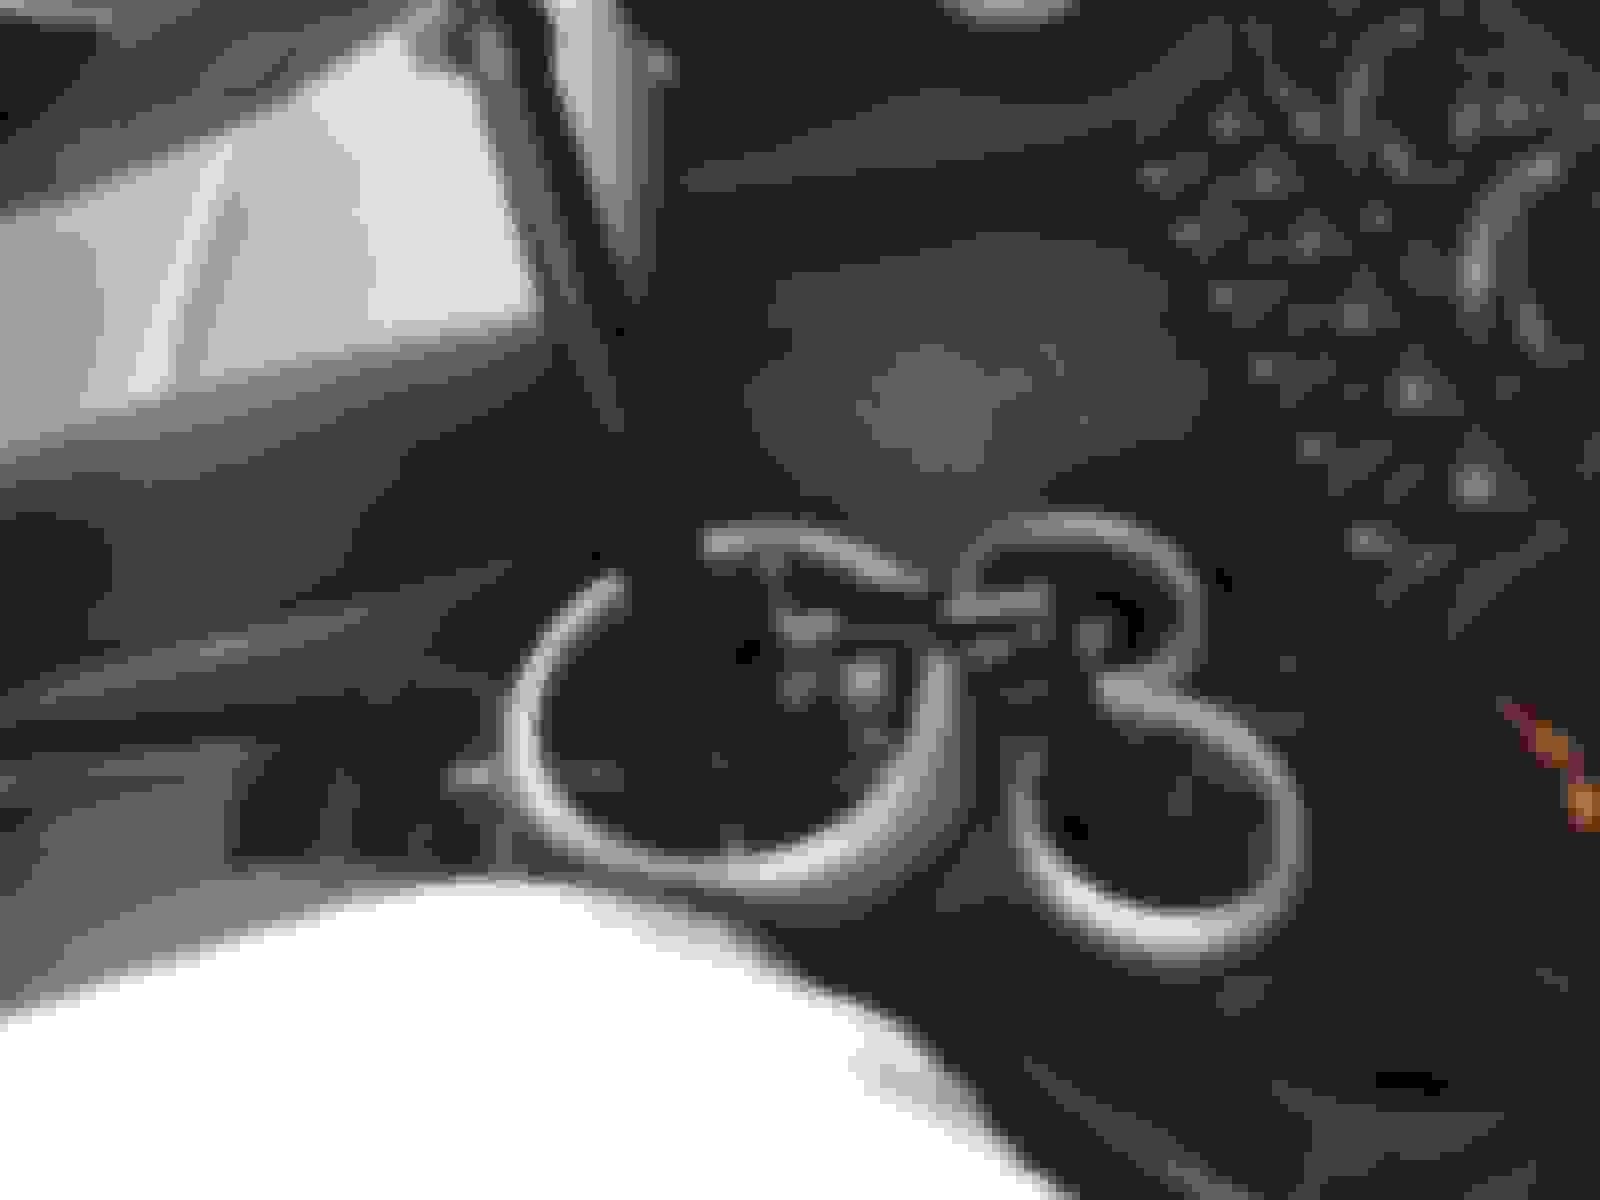
Please don't ask me how I came across this. This is the ring that you should get if you obsess about tyres and tread design. I wonder if they have a racing slick design.
I noticed an increase in exhaust noise and the tone changed recently. Looking under I can see the rear flange joint of the Milltek exhaust is indeed the source of the increased noise. The seam was burbling and spitting condensate.
up onto jackstands again - Mini is afraid of height
Since just about everything in the Mini has recently been disturbed I decided to jack Desire up again. While I clearly remember how much I torqued down the bolts and nuts of these flanges, it is better safe than sorry. Having an exhaust pipe dropping down on the track can ruin an otherwise fun day.
Crawling under I first tried to torque down the bolts but they were already torqued down well. Fortunately I have a spare crap gasket that came with the Milltek that I didn't want to use in lieu of the OE stainless steel one. The problem with these cheap gasket is they are made of aluminum foil and who know what foam like center. They compress to nothing and naturally they leak if the two planes of the flanges are not perfectly mated.
this gasket has split into two; new meaning of buy one get one free
I replace with this new crap one and lube'd the bolts with antiseize paste
With the new gasket I was not able to completely eliminate the leak. It is now just a tiny pin hole size leak and you have to have the ear next to it to know. I should have stack both gaskets to increase the thickness as each compressed to nothing.
as the driveway is sloped, I leveled out the Mini to establish a reference of how much to compensate the dipstick mark when Mini is parked sloped; it worked out to be about 1/4 inch that I need to compensate and about 1/2 quart
Mini is due for an oil and filter change, but I rather defer it until after the series of track events as if the drain back valve fails during filter change there is no time to recover. Yah, baby. That is the voice of race manager sound judgement. That's why he get paid the big quids.
Thanks for the link. I put it in the wish list for rainy days. I am going to live with the cheap ones for now, and double up should the problem rear its head again. They were fine until I loosen them a few times to install CoolerWorx and WB sensor. I like the OE stainless steel one (MINI p/n 18111170941) and you can reuse them countless number of times. But it requires beefy flange and decent flatness or slightly convex surfaces.
Thanks for the link. I put it in the wish list for rainy days. I am going to live with the cheap ones for now, and double up should the problem rear its head again. They were fine until I loosen them a few times to install CoolerWorx and WB sensor. I like the OE stainless steel one and you can reuse them countless number of times. But it requires beefy flange and decent flatness or slightly convex surfaces.
Hey Man,
No problem, I read this entire thread the other day and your build is awesome with a lot of great information, pictures and details.
Man! I almost missed the HPDE with the Mini torn all apart recently. To save a few bucks, the long post in the tent was the o-ring for the water pump to the engine block which USPS shipping from Miami failed me this time. Someone must have dropped it on the floor and it has been 12 days now and it is still MIA. Fortunately I set a drop dead day and got one from my local MINI dealer. Mini is almost whole to make today's HPDE with the local racing club. Saw a lot of familiar faces.
I have never seen so many E30 BMWs racing cars
a local NAM member; only two Mini's today and both are R53.2
Mini's shifter console is finally all back together and all is well including the WB O2 sensor - survived another punishing HPDE
this Suzuki 1-litre motorcycle motor powered race car won the most recent Rose Cup race and more - I was told; a lot of precious carbon fiber
My Mini did quite well in the run group, being passed mainly by very high power cars like Corvettes, Cameros, and yes a GT350R Mustang. I hounded a friendly VW R32 (narrow V6) Golf and he pointed me by. All in all very nice friendly group of folks, and the organization is one of the most regimented ones.
This is the first time I drove with this racing organization and I've got qualified for HPDE solo in the first session. As I paid for the next all day event, I didn't try to kill it but rather just to get my solo.
Me no go. I was so engrossed in other concerns that I totally spaced out about throwing the front end alignment completely out of the windscreen.
As I installed the Powerflex Black bushings which I removed the front control arms off the subframe all the alignment was lost. As most of us are so divorced from this mythical magic I didn't think about it much when I bolted everything back together on the subframe. In retrospect, I should have marked the inside ball joint flange location and put them back to where they were so the alignment would not have been so off. I only realized this oversight the night before the event. Before replacing the control arm bushings the steering is turned slight to the left (CCW) for straight ahead. After the replacement, it is now even more CCW. This must be because the two front inner ball joints were not bolted back to the original spot.
I think in the Mini's front end they play a major roll in the alignment in terms of pulling/straight. I am going to carry out a DIY rough alignment today. No time on a Saturday to get a shop alignment.
this steering wheel angle is straight ahead; no perceptible handling issues at the track though it pulled a bit to the left; I really don't want to know how much the toe in/out is off
I know most would be alarm when the alignment is so off and concern it will ruin the tires. My take is how much abuse the tires take at a track event this amount of alignment off is hardly material. It is a third order concern, and a first world inconvenience.
Another track issue that I recently observed was brake indicator (the one that illuminates when the parking brake is set) intermittent illuminated. I first dismissed it is the parking brake switch, and coincidently when I pull into the pit and reset parking brake the indicator switched off. It dawned on me that on the track yesterday that I suspected that even with the fluid in the reservoir is between Min and Max the G force of driving causes the fluid to slosh around and trigger the fluid level sensor. When I filled the fluid to the Max level, I always found brake fluid outside the reservoir so I thought I would leave it at half way point.
I told my chief race mechanic about the alignment issue, and he said he would get right on with it. So nice to have a sponsor, manager, and chief mechanic.
Two hours later in our vast and well equipped service center with no cussing but a bit of improvised ingenuity, the steering wheel is pointing more the less straight.
we used the extruded aluminum bar to help determine the attitudes of the two front wheels and that did the trick
We didn't adjust the obvious thing - the steering tie rod ends. That would be the wrong thing to do. Rather, we adjusted what had been disturbed. The two inner ball joints and the two ears of the bushing knuckles.
I took the Mini out for a short trip after this morning's DIY alignment. The steering is quite straight now with little to no pull. I cannot be certain as road surfaces are rarely level without crown. It is good enough to bridge me by until I install the R56 rear trailing arms. I hate to spend money on alignment more than once.
At sunset I spend 15 minutes to do a quick check on front and rear toes and a sanity check of distances between the front wheels and rear wheels. It turns out better than I expected. There are slight toe-in both front and rear. I used my made-up specs (base on my intuitions) rather than MINI's. I reckon all should be good up to 135 MPH.
Also performed a tech inspection so, as always Mini is all set.
Again the iPhone's OIS camera does not make good track video. The yellow Mustang is a GT350R with flat plane crank. It makes a droning (beating) sound when I followed it. It was eating the left side tires alive.
 05-25-2018, 03:04 PM


 , to make a simple dust boot for the CoolerWorx shifter. It goes inside to cover up the ball joints of the shifter cables. Also muffle the road noise a bit though would not be as quiet as the OE shifter boot. The shifter's exposed mechanism is too pretty to cover up.


 A bunch of sub-forums disappeared.