When you click on links to various merchants on this site and make a purchase, this can result in this site earning a commission. Affiliate programs and affiliations include, but are not limited to, the eBay Partner Network.
Excited to hear about your FA53 stuff. I've been looking more and more into tuning but I'm hesitant to spend $700 on a module though. Seems like it's very middleman-ish. I could be totally wrong, though. Either way I'd love to hear your feedback.
Like the saying goes, hurry up and do it twice to get it right. When I installed the poly spacer for the motor mount yesterday, I was so preoccupied with jacking up the engine too high and risk damaging the driveshaft or other things. I was only able to get just enough space between the cast aluminum bracket and the engine mount to slip in the spacer. I did not have a good view as how it seated except to ensure the pad of the motor mount seated inside the rectangle recess of the pad.
Today I went and examine if I indeed installed the spacer upside down. This time I use the proper procedure - by removing the cast aluminum bracket from the engine all together.
to save time I drove the Mini up onto this improvised low rams
this how it should be installed, with the pad of the motor mount rest atop the spacer - this is struggle in progress
patience pays, a bit of care goes a long way to not tearing the rubber
properly seated
once the engine is lowered onto the mount, there is no difference in the appearance
I was not expecting by correcting the intended orientation of the spacer the NVR would be much different. This is because with the spacer, most of the engine weight is borne by the spacer and hence much more vibration.
Sure enough the result with the correct orientation, there is even more vibration as even less weight is seen by the hydraulic damping mechanism. So here have you, the result of a lot more drivetrain vibration energy not damped. I am very sure I cannot live with it as it passes the threshold to cause a lot of plastic trim and glovebox to vibrate. This certainly passes the threshold of what I want my Mini to ride.
back to stock motor mount
While it may seems a setback of a wasted purchase and labor lost, I am happy that I have this experience to show the importance of the stock engine mount.
Actually I have not entirely giving up on it yet. If time is no object, I can shave off some thickness to tune the load sharing between the hydraulic damper and the spacer. I can be a Meister Mini chassis tuner.
The OEM motor mount gets so much undeserved bad raps. It has a very difficult and important job to do as the little motor creates a lot of vibration. Yes, the stock engine puts out may be 240 HP, but a good part of it goes to drive the piggy Kompresser.
I took a pic tonight of my stock manifold where the sensor bung was welded to give you an idea of where NOT to put it. My sensor got fried very quickly in this location. I will attach another pic as well of the Mynes header and you can see the sensor was in pretty much the same location as where I had the bung welded on the stock manifold, but I guess it goes to show the difference in flow and heat which fried it on the stock manifold.
Sorry to hear the engine mount has caused such vibration. I have a similar issue where some panels are rattling and it's now driving me nuts, I have to pull the panels and add some material to silence that cheap car vibration rattles.
Thanks guys for sharing your valuable experiences. I was afraid this would be a cascade of unplanned modifications. I would reply with thoughts and questions later.
First thing first. My Vibrate-technics motor mount update:
Since I corrected the installation of the Powerflex spacer I wanted to try live with it a few days, though I was quite sure it is not something that I can live with.
I took the street car named Desire out for a short drive in the neighbourhood streets just for gags. As the Mini is itching to be more race car like. Man! The rattle is severe. Everything buzzes. The worst is the glovebox door latch. Even the wires for the gauge pods were buzzing. It is so easy to fall into you don't know what you have until you lost it. Definitely ride like a race car if that is what you want. Might as well chuck the audio and speakers to save some weight as you won't be listening.
Returned home and there is no doubt in my mind I want it out right away. I am now so proficient that this time took only 15 minutes, and that includes disconnecting the battery to be safe since I have to disconnect the ground strap.
Both Mini and I are so pleased to return to the previous configuration. The Exedy SM clutch kit together with, 22mm RSW, the Milltek exhaust without resonator, and Koni Yellows are just so perfect for a dual duty Mini. There is just the right amount of vibration feedback but not enough to trigger buzzing.
The exercise was worthwhile as I found out where the NVH limit is.
it's good to hear that your upper motor mount came out so easily. The torx bolt on the bottom of mine seems to have been "glued" in place with the fluid that was once so happy in it's can... going to tackle it again this weekend...
it's good to hear that your upper motor mount came out so easily. The torx bolt on the bottom of mine seems to have been "glued" in place with the fluid that was once so happy in it's can... going to tackle it again this weekend...
I didn't need to take the mount off to add/remove the spacer. The long and skinny Torx bolt can be unnerving to remove. It twist badly like a torsion spring due to the length and you wonder when it's going to strip or break.
I have not reinstall the trim piece for the Alpine CDE-133BT head unit as I do not want to impart wear and tear by having to pull it off again. It is very difficult to remove and I was afraid I might break it. The unit is no longer available.
Finally I am tired with the work-in-progress look so I set out to put the trim back.
the naked look of the head unit without the trim piece
the Alpine CDE-133BT with the edge trim re-installed
Of all the recent Alpine single DIN units CDE-133BT has the most elegant styling and is also one of the best, and yet the bottom of the model lineup. It sound as good as the top of the range models. The main differences are satellite radio and many other features that has no value to me.
the black and chrome and well organized controls as a coherent whole is in keeping with the console controls - Mr. Frank Stephenson would approve
the display is scrolling the text of the (http) web streaming from the Safari browser in iPhone via Bluetooth
I took a pic tonight of my stock manifold where the sensor bung was welded to give you an idea of where NOT to put it. My sensor got fried very quickly in this location. I will attach another pic as well of the Mynes header and you can see the sensor was in pretty much the same location as where I had the bung welded on the stock manifold, but I guess it goes to show the difference in flow and heat which fried it on the stock manifold.
Sorry to hear the engine mount has caused such vibration. I have a similar issue where some panels are rattling and it's now driving me nuts, I have to pull the panels and add some material to silence that cheap car vibration rattles.
I wonder if your WB sensor died because it is too close to the cat. I would reason that at sustained WOT the exhaust gas temperature would be the highest, especially if running too lean. Also I don't expect much temperature different at just post-flex joint, and farther down at worst operating condition - being sustain WOT as the header's heat dissipation is negligible compared to the massive BTUs of thermal energy passing thru.
On the contrary, by placing the O2 sensor closer to the cat, you will add the temperature rise from the cat burning the residue hydrocarbon. Hence the temperature tends to be higher than slightly upstream.
I found the datasheet for the Bosch LSU49. It has operating temperature of 930C. The install note actually advises to install it at where the gas as hot as possible, but observing the operating and max temps. Further it cautions against contamination and condensation.
At this point, based on the drawing I don't see a problem that it would protrude too far into the air stream. I will have better idea when the kit arrive and I would be able to see the sensor and the bung.
That was my thought as well with the mount spacer. Since it fits underneath (persay) to support the hydraulic mount, I wonder if it pays to take the height down a tad to find that balance of support and elimination of the vibration you are picking up.
The level of vibration you are experiencing would be too much for me I think... I know when that passenger/upper mount goes as you can feel it through the steering wheel. Anymore than that and I think I would start to twitch. So I am curious to see what you think as time passes or your plans to 'improve' it...
I have given a little bit more thought to shaving the thickness of the spacer. I think it would just be a futile exercise. I know from the incremental modifications that I have done to the Mini, what I have now is golden. There is just the nice amount of rawness and Mini is very communicative, without being annoying. What surprised me the most is the increased amount of vibration from the Milltek non-resonated cat back exhaust. It is a welcomed increase for drivetrain feedback I am quite sure it is just a hair below the threshold before the trims to start buzzing.
As the spacer spring rate is much much higher than that of the OE hydraulic mount shaving it will do very little to help, especially consider that the OE mount height should drop as it ages. In order for this spacer to be more of a helper, the poly material has to be significantly softer.
There are a lot in the OE motor mount than what first meet the eyes. It is basically a suspension system like on a corner of the Mini - lateral restrains + spring + damping.
I know even on track, I would hate the buzzing from all the plastic trim parts.
Whatever I buy there is work that needs to be carried out timely in case there is something wrong so to not miss the return window. No more procrastination with getting on with the Bytetronik FA35 tuning kit.
service engine soon indicator illuminated; this occurs coincidentally right after I disconnected the battery to work on the motor mount spacer
There were some mishap with my initial attempt to use the Bytetronik. The instruction advises you to connect a battery charger to the Mini to ensure the battery voltage does not drop during the programming process (as very bad thing can happen). I first started with INPA to make sure all is well. I also wanted to find out why the Service Engin Soon light illuminates and to clear it anyway as it is just a routine maintenance. When I first launched INPA it properly detected the battery and ignition as expected. However, soon both status went de-asserted, and I thought it was my cheap $14.49 OBD 2 dongle cable.
Scratching my head, I proceeded to try the Bytetronik for the first time. I did notice the Harborfreight cheapo trickle battery charger LEDs has only the amber illuminated indicating it is charging, but the voltage is still low.
Launching the FA53 all seemed well. I was able to test out a few functionality including checking for DTCs. There was only one DTC. It was fuel refilling cap leaking, which I found and corrected just a day ago because of a loose gas cap. I clear the DTC and it worked, so I was now confident to proceed with more advanced functions.
I wanted to read the stock ROM and stock tune of the Mini ECU, in order to save a backup as well as to send a copy to Bytetronik for off premise safekeep. The command to do this is to download the FA53 fast logging code into the ECU. This is not something you want to do lightly as the possibility of bricking the ECU is real, hence the battery charger to ensure the voltage does not sag during the process.
Unbeknownst to me at the time the Harborfreight charger is not up to even this simple task. This is a second charger that failed me and I was quite sure the previously was the cause of dead battery in the Mini last winter. Never buy HF electronics. They are expensive for what you get, and are almost always crap, even for a trickle charger.
As I initiate the command the FA53 screen responded a few lines of command line echo, including the battery voltage of circa 12.45V. There was no movement on the % progress bar however. It was unclear if the program has crashed, or just busy doing its things. I waited longer than what the manual says it should take, and still there is no movement. I decided to contact Bytetronik, as the last thing I want is to brick the ECU.
Lucky for me Mike confirmed that the FA53 program did not go forward with the command because it detected the voltage being too low. Only then did I feel comfortable to terminate the program, and replace the battery charger with my CTEK charger.
With the much better charger I tested the ODB 2 with IMPA and its $14.49 dongle first. The result confirmed that my problem with it was indeed due to battery voltage too low. It is a cold day with blustery wind. I proceeded to upload the FA32 logging code into the Mini ECU. This time everything went without a hitch. The program retrieved the stock ROM image as well as the stock tune.
I gathered up the courage to test out the Bytetronik FA53 tuning software and to check out the Miniport OBD 2 dongle; I had an inflated sense of a tune Meister
When I set out to consider buying the Bytetronik Full Access tuning software kit, I have very good idea what I am getting into. I know as long as I proceed with care, it should deliver what I am looking for, more information about my Mini and also learn something new in the process. This is just the beginning.
The Innovate MTX-L Plus wide band air/fuel gauge that I ordered arrived.
the Geschenk for Mini just keep coming - this is the Innovate MTX-L Plus wide band air/fuel gauge
you get a lot for your money with this gauge kit and all appear to be very high quality
the Bosch LSU4.9 wide band oxygen sensor and the bung for welding onto the exhaust header; note that the bung has no shoulder so you can control the plunge of the sensor into the exhaust air stream
Did you also purchase the Innovate Serial patch cable (part #3812)? You will need this cable to send the signal from the MTX to the MINIPort for logging the AFR
I haven't make the purchase, as I want to think through the gauge resting place , cable routings, the possibility of multiple ODB II devices etc. All these are taxing my one-task-at-a-time brain processing that is stuck in 80286 era.
You going to need that cable for sure if you have bought the CRM package as they need the afr logs included in the datalogging for the tuning process.
Patience, my man. I have the serial cable as well as ODB extension cables on my list. I proceed carefully to avoid buying something that cannot be used. The serial cable is $16 list, yet I cannot find one for $16 shipped. I just have problem paying $8 shipping for a cable. It is not the amount of money. It is proportionality. I have now until May.
I grabbed the MTX-L Plus just before the price jumped.
You have to be careful trying to save a few bucks on the ODB extension. Some cables do not have all the pins connected. Obvious these manufacturer never bother to understand the ODB pinouts.
This is in the description on one: "Direct pass through on pins 1, 2, 4, 5, 6, 7, 10, 14, 15, 16"
Lastly there can be interop issues with using a Y-cable, as your aftermarket ODB devices may not play nice with one another. This can be more likely that the Bytetronik FA has "Trojan" code that lives in the ECU.
I have been thinking of the MINI auxiliary gauge kit to mount the MTX-L gauge. I also considering making my own as another option. I don't care for either the gauges but only want the purpose-made plastic gauge pod and its hardware. The last thing I want is to compromise the engine oil installing the cheesy oil temperature sensor as the oil drain plug.
On the web this thiefBay image pops up. I thought good, someone is selling the bare panel. Click the link to thiefBay, and it is just a thiefBay scam to get you to go there to buy other things. You can't even find the old listing.
If you are looking for this NLA MINI gauge kit and balk at the stratospheric price here in the classified, and are willing to look pass the lameness , new one can still be have. Just do a search on the web and thou shall find.
I am torn as it would be obscured by the new found almost perfect iPhone mount location
It was a dry, sunny, but blustery day. We have been having this for nearly a week now. It usually means high windchill. Still I thought I could at least install the convertible cross braces onto the Mini. I know there are already threaded holes on the body for them.
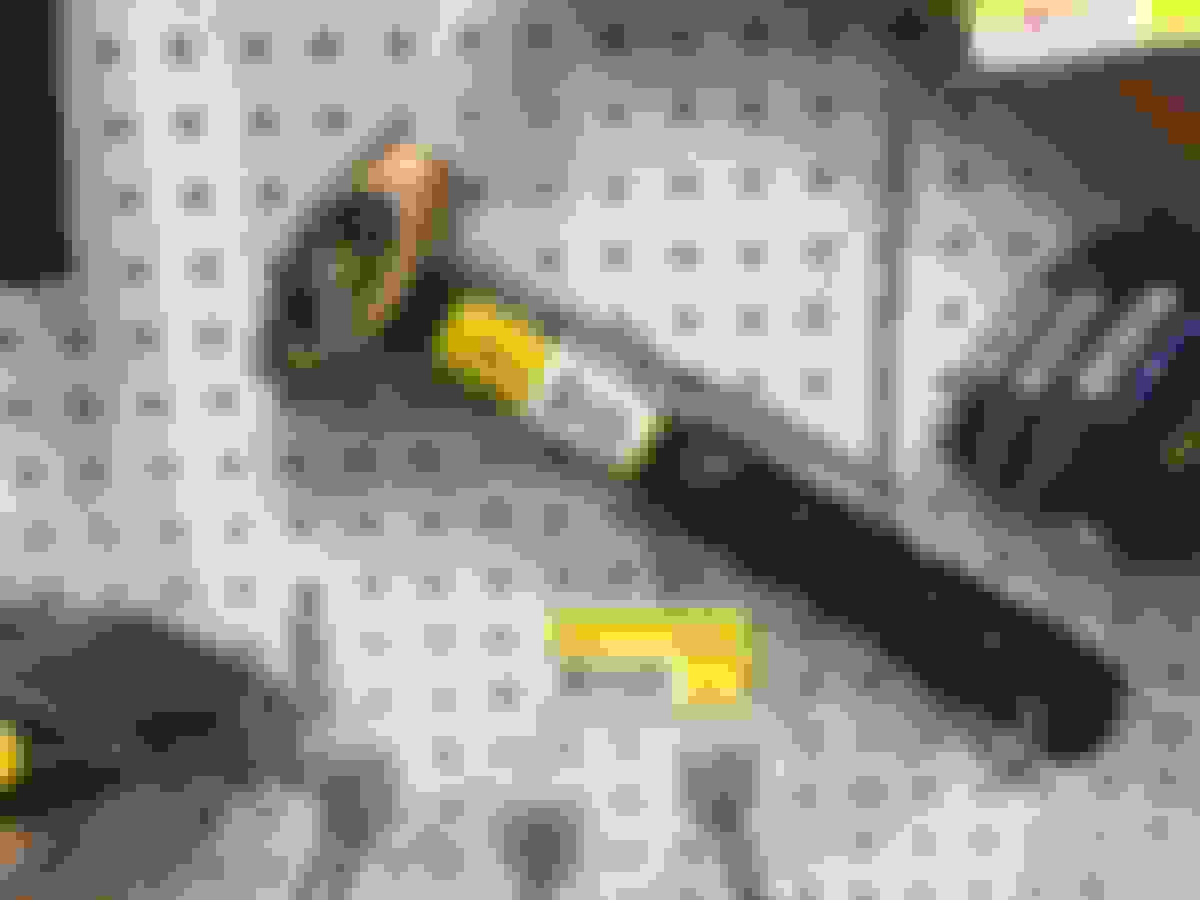
I just need to pick up two more M6x14 bolts as somehow I ordered 6 instead of the 8 needed. For these specific metric 10.9 grade fasteners there are only two hardware store I will bother to try. While there I survey their collection of hammers to see if they have a brass hammer for inspection. I reckon for most automotive inspection an 8-oz would be ideal. I was not planning on buying one just yet, but only tapping the hammers.
this 8 oz mallet feels good in the hands - only it is not brass
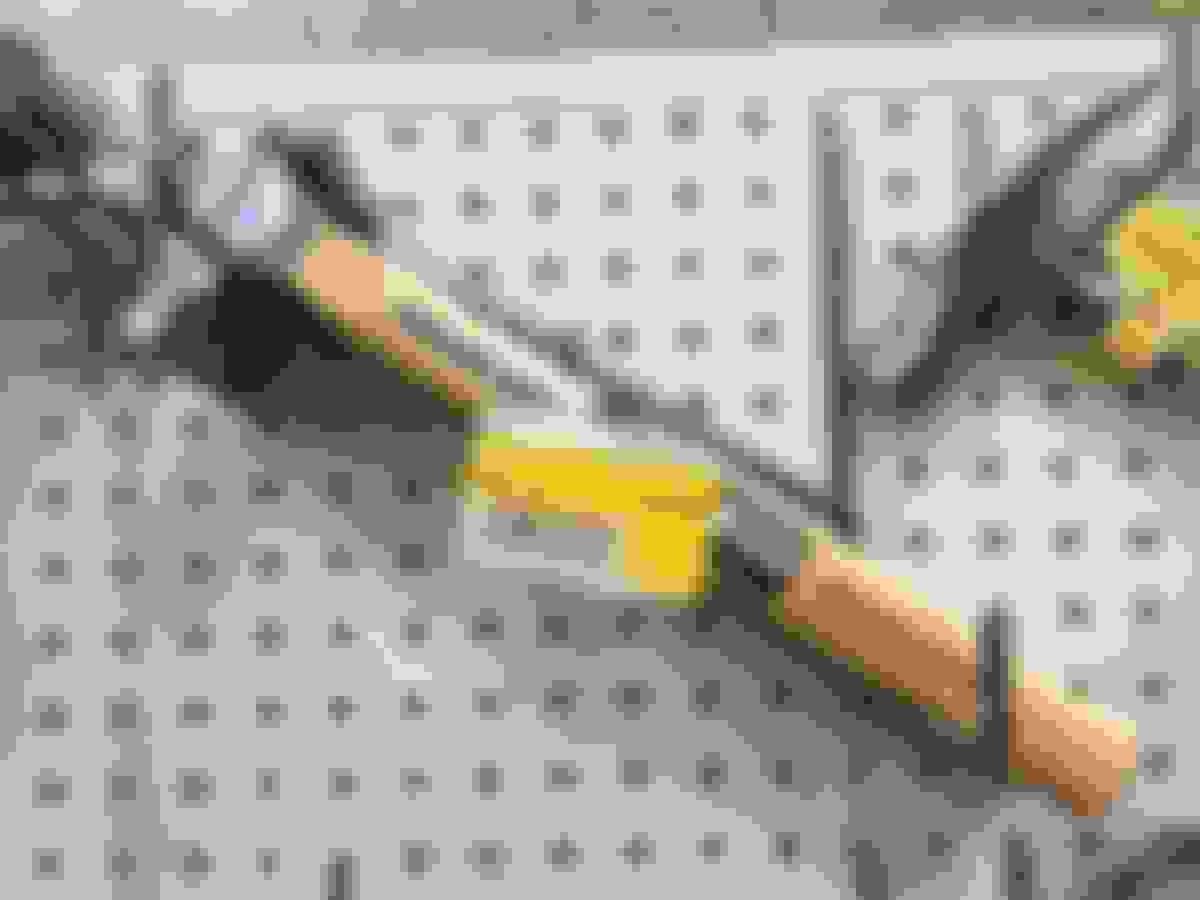
this is the only brass hammer they have - someone labeled it as 1.5 oz; this moron has no business in a hardware store
this 8 oz ball peen hammer also feel right - a sanity check that I am sane ; and I did the light striking tests against heavier hammers
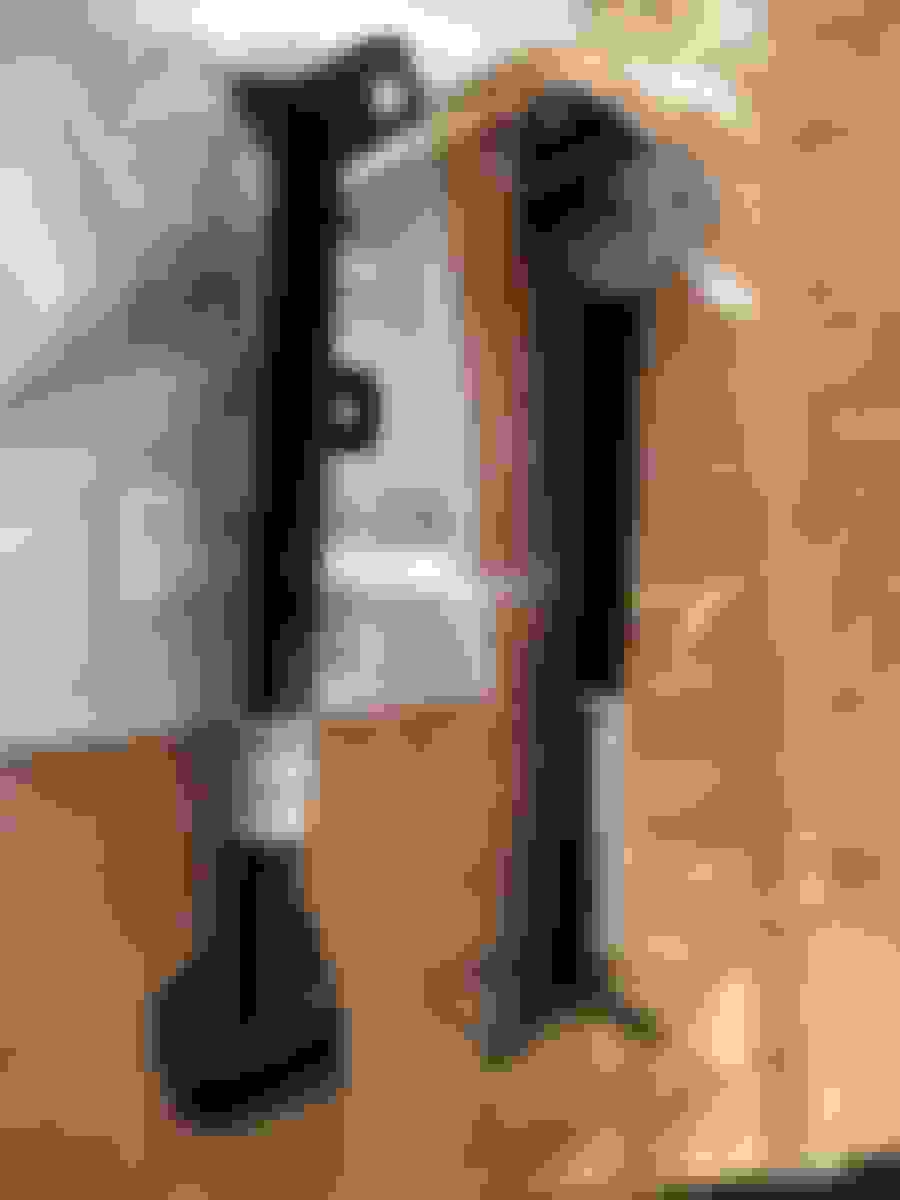
the black 10.9 grade bolts are the closest that I could find
I spent some time to remove the pesky paper labels
While I was very sure the cross braces should not interfere with the Star Wars xenon headlights I check the clearance just to be sure. You can never be too careful for something so expensive.
pesky labels are gone
note the rubber shock mount for the AC refrigerant service port
this is how the shock mount looks like
the sticky label covers up one of the four bolt holes for the Cabrio cross brace
As this installation requires using thread locker on the fasteners, I did the difficult side first and that is the driver side, where the main engine harness disconnect is and needs to be relocated slightly.
Before committing to the installation of the driver side brace I check to make sure I can get at, install, and tighten all four fasteners. To access the most difficult one, I would have to slightly relocate the engine harness disconnect. That means flexing this big bundle in low temperature. When I looked closer at this fastener it would be a bear to get to even with a perfect Torx ratchet as the plastic fender liner is in the way. I decided to abort the installation and save it for a warmer day in the spring.
my Mini is provisioned with the 4 bolt holes for the Cabrio cross brace; the one with the big arrow had me defeated as it is very difficult to install and tighten that M6x14 Torx bolt
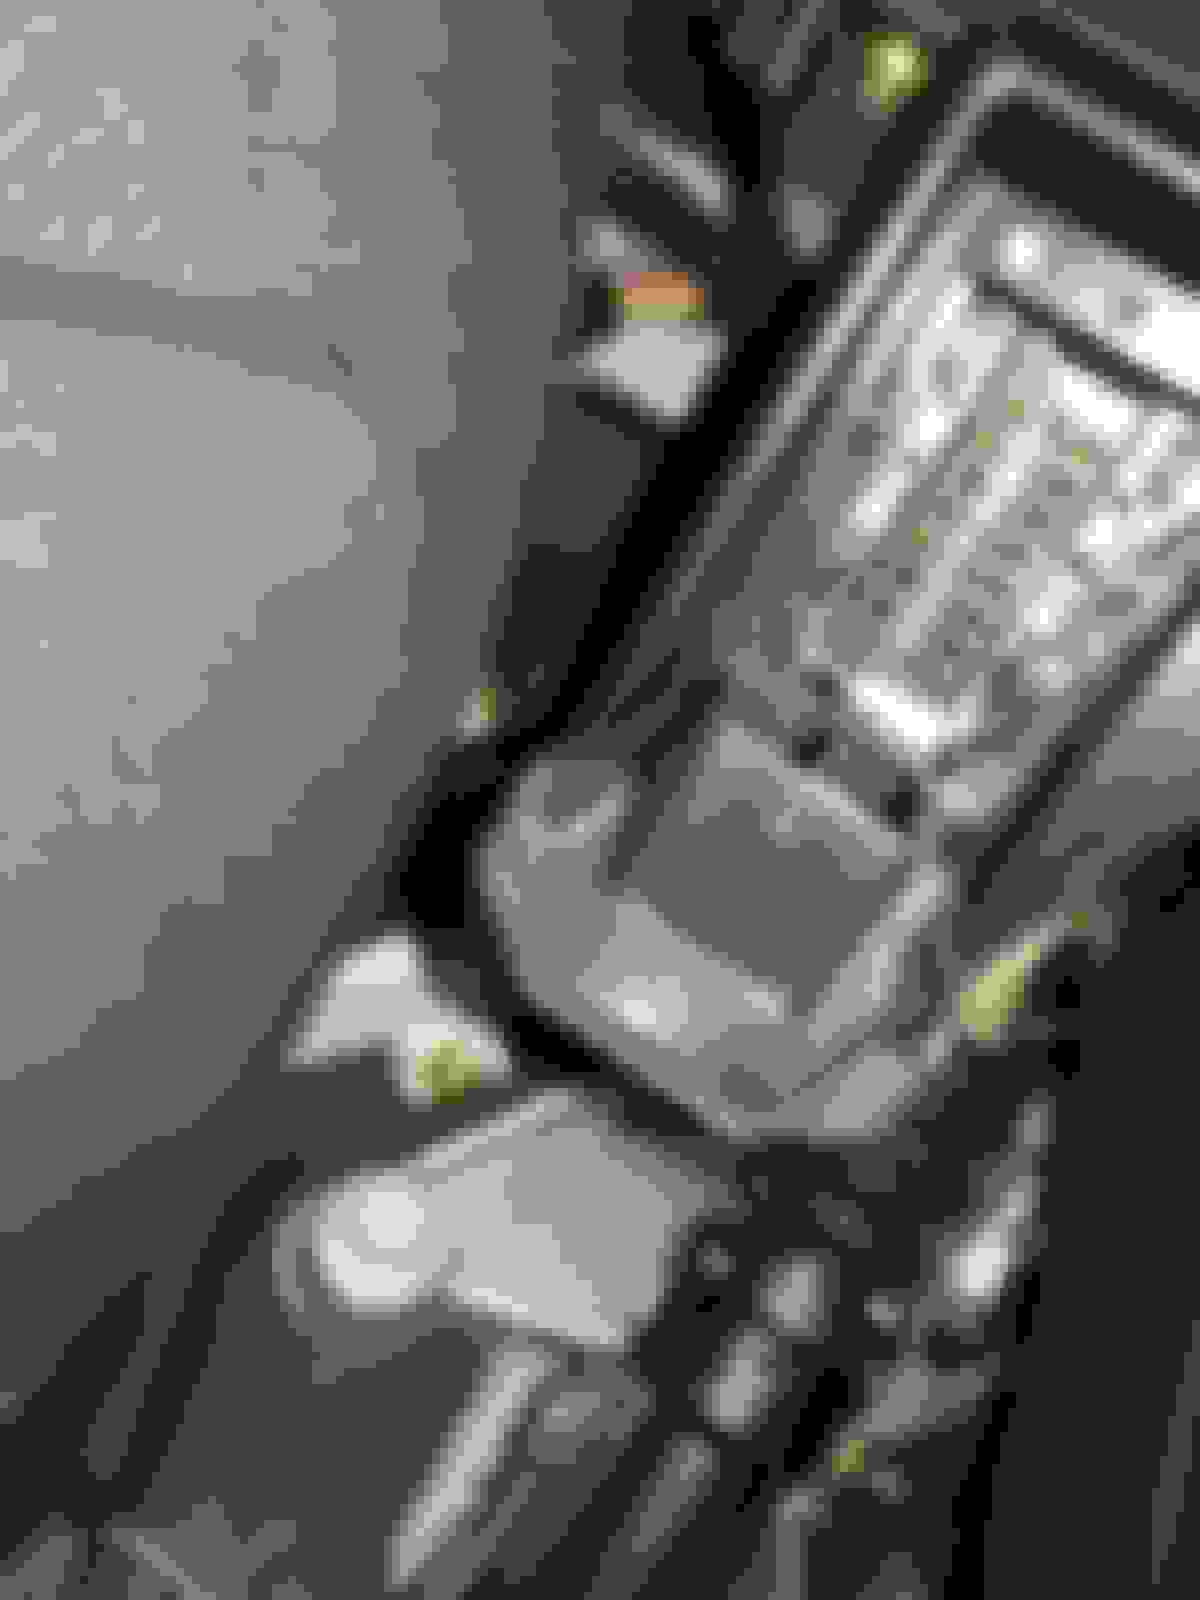
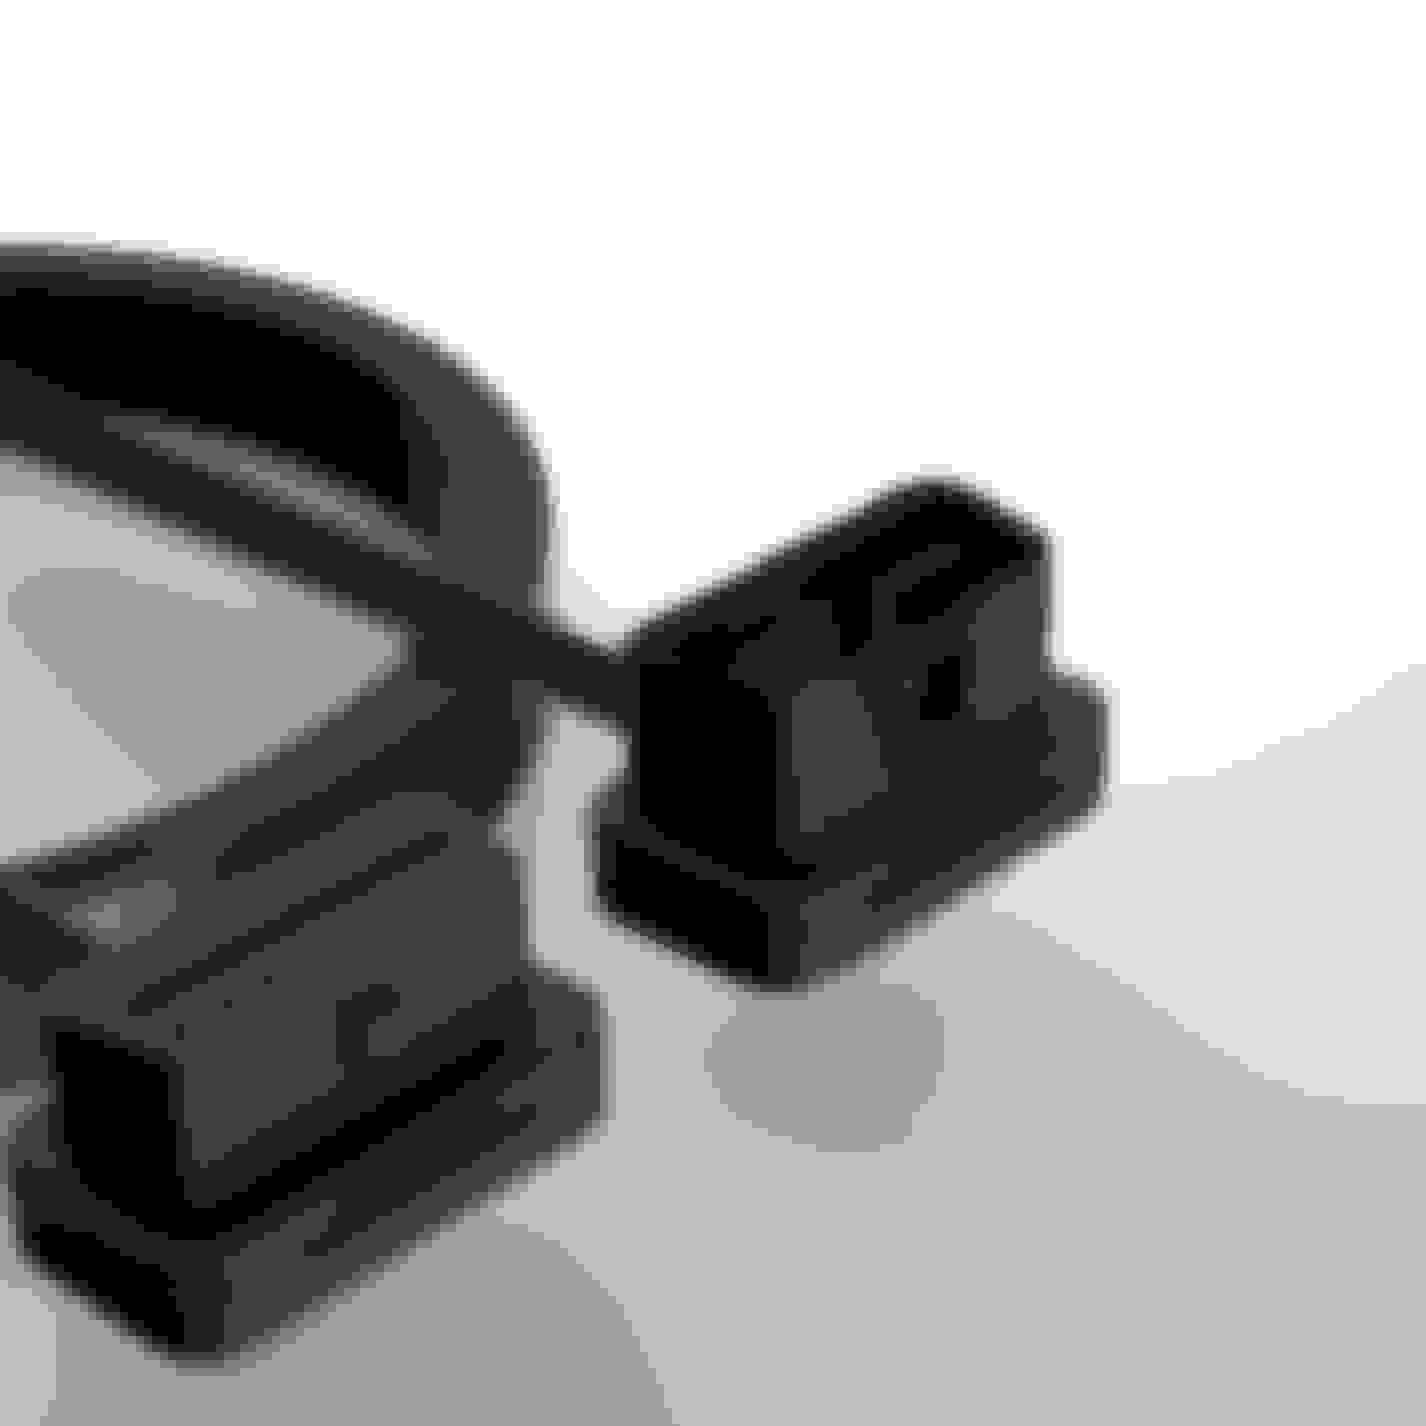
While attempting to install the convertible cross braces I took the opportunity to note the ODB II connector and its surroundings for the routing of an extension cable.
I inspected the ODB II connector to note the orientation as well as potential constraints for an extension cable
this photos shows what pins are used in the Mini - 1, 4, 5, 7, 8, 9, and 16; also I didn't know until now that the clutch master cylinder is plastic just like the slave cylinder
here is an ODB II connector pinout - showing the vendor-specific pins
this is a pinout from Wikipedia for what is worth - do note the BMW's vendor-specific pins and functions (with a big grain of salt as BMW uses of these pins changed over the year range)
I took the opportunity to inspect the rubber on the pedals for wear - they are like new; also noted the European Parcel Shelf features for cable entry and exit should I decide to place the Bytetronik and the MTX-L Plus gauge there
I plan to get this extension cable - note the cable entry orientation WRT the connectors; the ribbon cable will exit by the side wall of the footwell.
Excellent build journal! I enjoyed following your progress and I appreciate the level of detail you have given each post. I live up near Seattle, so if you make it up to The Ridge, or I to PIR, maybe we'll run into eachother at a trackday. I also have a faster car that sits in the garage, but the Mini gets most of my attention (and affection)!
 12-06-2017, 10:47 AM


 motor mount update:


 that lives in the ECU.