When you click on links to various merchants on this site and make a purchase, this can result in this site earning a commission. Affiliate programs and affiliations include, but are not limited to, the eBay Partner Network.
Thanks. I like their simple design and the silver rim finish, and especially very easy to clean. As to the weights, I messed up on my calculation as reported above. They are actually range from 11.5 lb to around 12.5 lb as the nominal weight of the new tires are about 21.5 lb, plus the balancing weights that need to be accounted for.
Just about every track videos that I watch uses Harry's Laptimer. I invested $28 for the Grand Prix edition for use with my iPhone. I plan on using just the iPhone in the next track event.
Try just pasting the link for the video instead of using the YouTube link button from the menu. When you preview it only shows the link in blue, but when it actually posts it should show the YouTube video box.
Try just pasting the link for the video instead of using the YouTube link button from the menu. When you preview it only shows the link in blue, but when it actually posts it should show the YouTube video box.
I wouldn't have guessed that it work this way. Thanks
Taking advantage of an overcast and cool day I took the Mini out for a drive around town with no rhyme or reason - just a bit of bonding. The Mini purred all the way. Seeing some wild flowers where we stopped I snapped a few photos with the iPhone impromptu.
I have been bothered by the geometric distortion of the iPhone lens. It is something that I begun to notice with many of my photos. It is no surprise to me that it has a wide photo lens, but I have noticed the non-linear distortion which favor composition that place the subject in the horizontal center. I seldom do that as it is the most boring. For most of my photos that are not intended for documentation, I tend to place the subject of interest off center. The problem is, iPhone lenses are designed to favor the masses who tend to put the subject matter dead center.
this photo illustrates how bad the off-center geometric distortion is - note the size difference between the driver and passenger side headlamps
I have no problem with geometric distortion with wide angle lens; the problem that I have is the deliberate nonlinear distortion that penalizes the off center and favors the boring dead center composition
to illustrate my point, here is one boring smack center composition that has little discernible distortion
Did you figure out your ASC NCSExpert issues? I know how to turn it off if you still need help.
If you know of a coding change that works I am all ears.
I did find the coding that turn off ASC. With it set to inactive the ASC light is always off and the toggle switch has no effect, and I was suspicious. Because of the big stumble I am very sure it actually set the ASC to be on all the time, which is consistent with the indicator not illuminating. I believe with North American firmware there is no coding to switch it off, or change it to opt-in as oppose to opt-out.
I have been thinking of a oil catch can. I know there are hundreds of treads on this subject. As I looked closely in the engine bay I realized how difficult it is to find a good mounting location for one. I also browsed many photos from google search.
I have done some exploratory check of the possible mounting location for a oil catch can. I use a jug of hand cream to approximate the size of the oil catch can.
this location requires very long hoses
this location may work but need to comprehend the engine rocking movement
this location requires drilling 2 holes for the hoses
I plan to spend no more than $50 for one so feeBay is the place.
this eBay OCC can be had for under $30
I am apprehensive with the tiny ID of one port; the ODs also look to be too small
it lack a fixed mounting bracket but gives flexibility on the port orientation
this other eBay OCC can be had for $50
I like the design of this one better. Additionally it comes with 2 sets of fittings of different diameters. My concern with it is the side facing ports and their relationship to the cast-in mounting bracket which limit the installation locations in very confined engine bay of the Mini
this one appears to have proper baffles to encourage vapor condensation; I also like the dip stick over sighting window
actually there is one more mounting location but will require buying this GTT OCC from UK; it costs way more than what I am willing to spend
In my recent track day I worn the Simpson driving shoes that I bought in 2005. I worn it once until now. To my amazement the **** material of the soles disintegrated and turned into dust-like particles.
fortunately for me being a very frugal and cautious person I worn a pair of cheap Costco no name sneakers that day and planned to put on the fancy Simpson driving shoes when I get there; the Costco no name sneaker saved my hide that day
So after the event I save the crap Simpson driving shoes and have been thinking if I should even bother to see if they can be re-soled by a shoe repair. I looked a bit closer to the disintegrated soles and the construction of the shoes, my thought is it will be throwing good money after bad.
While the cheap Costco sneakers make pretty good driving shoes, the single area that makes it not so is the thick and angular Achilles heel, as with most casual or sports shoes. I have always thought that rock climbing shoes should have every attribute of a well designed driving shoes - short of full-on autoracing shoes. Moreover they are likely to withstand wear and tear much better.
Today I browsed REI for a pair of affordable rock climbing shoes. This La Sportiva TarantuLace rock climbing shoe is the most affordable at $80. I see no reason I should not consider it over the overpriced driving shoes.
I like the pull straps - which I think all outdoors sport shoes should have; most important is the thin and rounded heel
the front looks goods for fine toe articulation
To me this should make good track day shoes.
Right! Please don't bother to point out if the said shoes are made with proper fire retardant material per racing bodies.
How much can you spend on the coolant expansion tank on the Mini?
Like many European cars the coolant expansion tank in the Mini is made of plastic. They actually work quite well, up to the time when they fail catastrophically. The one in my Mini is original and is still functional after 13 years. The one in my VW Westfalia Vanagon camper failed at 70,000 miles after 26 years. To me they are actually not that bad but I live in the very temperate Pacific Northwest. When the one in the Vanagon failed, I decided to go with a no name and not OEM brand. I figured that might give me a better odds that the welded seam may be constructed better over the ones from OEM manufacturers (a blind leading blind phenomena).
the 13 year old plastic coolant expansion tank in the Mini
As the failure of the expansion tank is a very unpleasant experience on the road I decided to purchase a replacement ahead of time. The first question is which one. There are a lot of choices ranging from the way overpriced genuine MINI, equivalent OEM, aftermarket manufacturers that replicate the similar plastic tanks, and a wide array of aluminum tanks. The last category cost widely depends where you get them. Most are presented as superior parts but the reality may be quite different.
this is one of the branded one at a high end of premium price
here are the typical offerings on eBay
From my survey of the aluminum tanks, the prices range from about $50 on eBay, to as high as $287 on a couple of Mini performance specialist shops. To my untrained eyes, I see little difference so I decided to take the challenge and find the cheapest one I could. My criteria is I must be able to reuse the factory cap with it.
I shopped around on the web and found the lowest price one that comes with a billet aluminum machined cap. I cannot tell if the cap has built in pressure relief mechanism. Since I am suspicious of the design and quality of the pressure relief cap I set out not to trust any cap that is included with the aluminum tank. Most of these tanks appear to be manufactured from a common design or copy of the design. I was counting on the one that I chose would have the collar and thread cut to be compatible with the plastic factory cap. Except a few tanks that are sold without the metal cap, I cannot find any that tell me I can use the factory cap with the tank. The tanks that are sold without the metal cap typically cost twice as much or higher. From what I observe most tanks that shipped with the cap is more likely than not, compatible with the factory cap. I decided to take a chance if I can find a tank with significant saving. Found one I did, and it was shipped from California, with the cheapest price you can find on eBay.
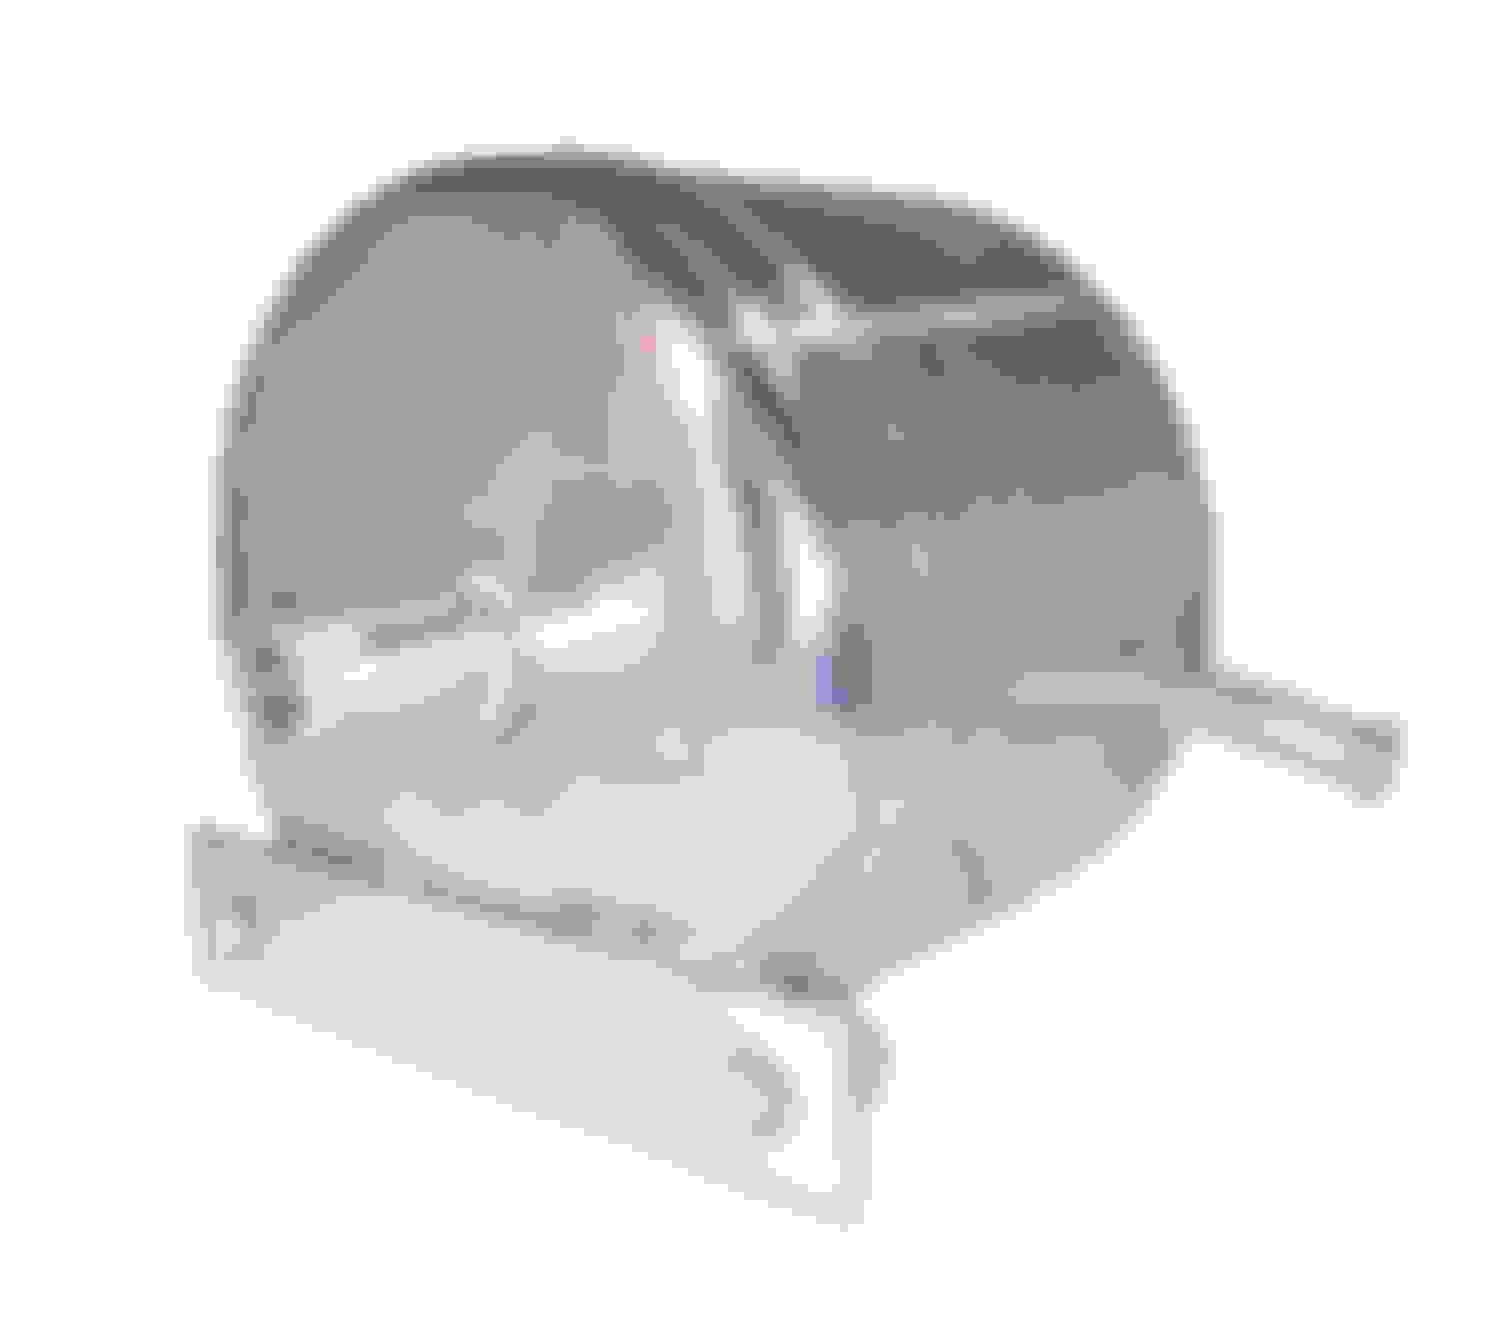
a few days later it arrived from California
I examined the welds and they are excellent as is the overall quality including the stainless steel fasteners
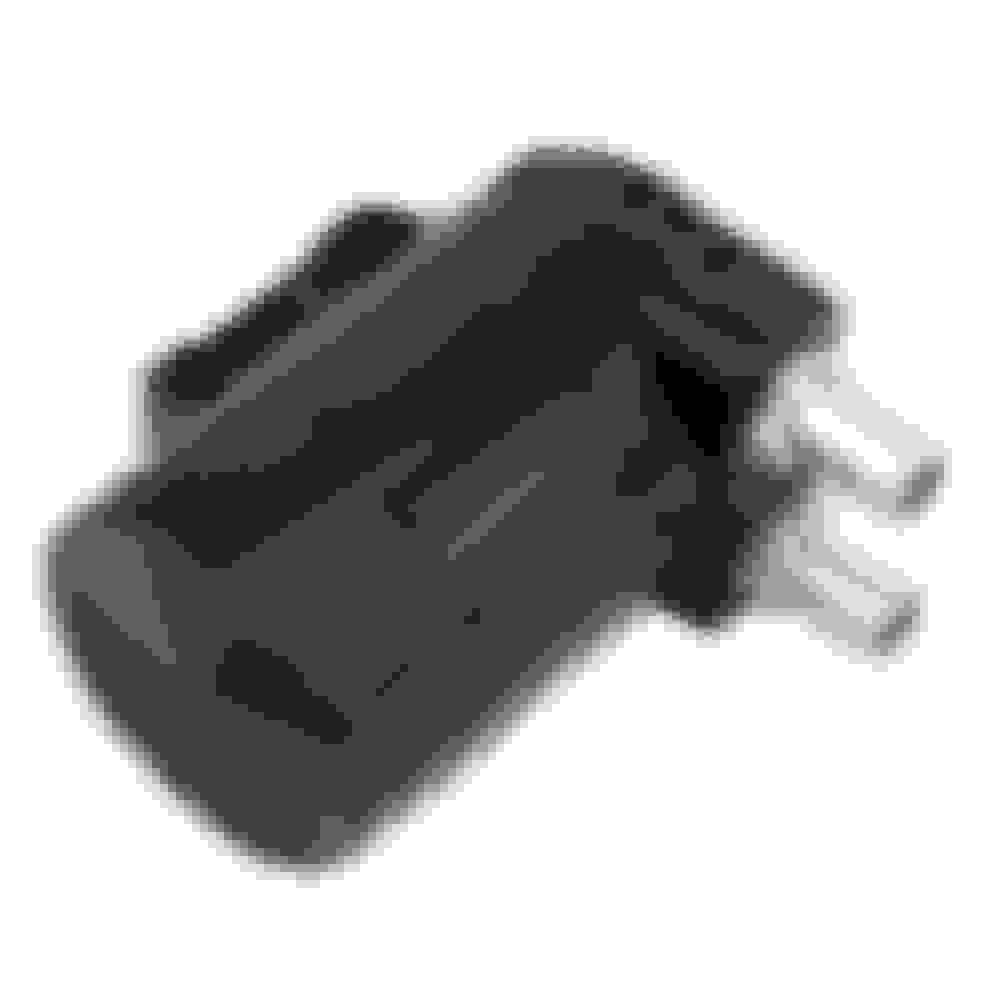
the billet machined aluminum cap threads smoothly with the tank collar too but the cap has no provision for over pressure relieve; I was expecting this so is the tank collar compatible to the factory cap?
It turned out my hunch is correct. I can reuse the Mini factory cap with this new tank. The factory cap threads smoothly and snugly (very important) with the tank collar, and I examined too the fluid escape paths of the cap against the collar (also very important).
As I don't plan to swap in the tank soon, I cannot verify the three mounting points mate perfectly. I did performed a rough (my calibrated fingers as caliper) check of the two hose fittings and I see no reason I should be worry.
I should add that when using one of these metal tank the level should not exceed about one half the depth as with the factory plastic tank to allow adequate air space for the coolant to expand.
Last edited by pnwR53S; 08-02-2017 at 07:04 PM.
Reason: added last paragraph
My biggest-bang-for-the-buck coolant reservoir has been sitting next to the couch. Occasionally I pick it up and play with it, only to lament the beautiful billet aluminum cap that I would not use because it has no over-pressure release.
As I played with the cap in my hand, it occurred to me that the size feel awfully close to the cap for brake fluid reservoir. Before I empty my wallet and bought the Schwaben brake bleeder I was going to build my own out of a $9 garden sprayer. I spent some time shopping for a brake fluid reservoir cap that I can install a brass fitting onto it. However, I soon found even a crap plastic cap cost more than what I would pay. A cheap cap and a brass fitting would cost $20. I grudgingly invested in the Schwaben and pay extra to get an aluminum cap.
Guess what? The coolant expansion tank and the brake fluid reservoir cap are the same size and thread. I could have use it to build a home made brake bleeder.
This is the first time I use Harry's Laptimer. As I have yet to get up to speed on the app I didn't want to go and spend a lot of money until I get a feel of the app. I wanted to try using it just with the iPhone 6 plus first, knowing the result would be far from optimum. Harry has warned the limitation of using the phone as camera and I knew I would soon want a GoPro, and a remote microphone setup.
I first had some challenges using the app this past track day, as I used it the first time. In the first session, the app for some reason, was not set up to use the phone's camera so no video was recorded.
For the second session I made sure the video preview was on. Unfortunately Mini, in a angry outburst at the start of the back straight, blew the header wide open (at 4:44) just when we were having some fun.
I also was one gear too high at 2:00 going into the chicane.
The iPhone 6s plus has optical image stabilization probably not tuned for motorsport vibration. It could be it's relative rigid mount on the windshield mount as opposed to a softer mount like off the passenger headrest. I would definite invest in a GoPro and external GPS setup soon.
I have been down this weekend. On Saturday I put Mini up on jack stand to see where the break on the header is.
this is where the cup shape pipe broke from the pre-catalytic converter; you can see the corrosion at the break so the crack has been developing for a while; the failure is at the weld joint which must have made the steel more brittle
to see if I can repair it with my MIG welder I did the magnet test; SS is stainless and MS is mild steel
I did a bit of research about MIG welding with stainless steel, and to my surprise you can. One good articles I found is this by Lincoln Electric, the maker of my MIG welder. However, they recommend using a different mix of gas as well as getting the welding wire for stainless steel. If I were to go to the length of getting this I might as well pick up a cheap TIG welder. Being someone that do just about everything myself, my house is choke full of tools and equipment and I have to be very careful with any new tools that I add.
If I really want to embrace risk taking and not care too much about some compromise in the corrosion resistance of the header, I can always try to weld it back together with my 75% argon/25% CO2 mix, and mild steel wire.
I decided not to rush it. I took the weekend to ponder my options. I considered getting a Milltek header, a RMW shorty header, or a complete Milltek exhaust system, which all requires that I consider the longer time horizon what I want my Mini to be. Right now I am very happy with it including the stock header and one ball exhaust. I do not want to invest in a header and only regret later should I decide to give Mini a big valve head. So for now I really just want to repair the stock header and give myself more time to ponder what, if any, after market exhaust system is best for Mini.
Right now I just want the Mini to be back on the road again fast, and get a couple more tack days.
While my early withdrawal was a bit disconcerting, Mini is fine and would soon be whole again. Just a few photos from the day. There were 3 R53 S there including mine, as well as a F56 fat MINI there. Each group must be at least 30 or more cars.
Kristine is fast - and that is her partner's Z3 behind
many pretty decked out cars like this there
my iPhone mount - I would find there is a setting to switch on/off the camera's stabilizer in Harry Laptimer; it seems to default to off with the video that I took
there was this all Miata race before our event, and all has loud exhaust; only had I kept my Miata with hardtop and LSD; I know mine is being loved and tracked somewhere
there was this big group of young Chinese - a few pretty expensive cars with an AMG MB
Was that the SCCA Track Night? I did one 2 years back at the end of August. The last run group that night was the intermediate group I was in. It was dark out and it was awesome! Driving a track at night is awesome.
Was that the SCCA Track Night? I did one 2 years back at the end of August. The last run group that night was the intermediate group I was in. It was dark out and it was awesome! Driving a track at night is awesome.
It was. Very affordable, though they let you decide which group to run in. They recently try to remind people no race cars, and height should be less then wide. They want to promote road car owners for driving enthusiasm and buy performance parts and tires. Last time there was a car without front end sheet metal and bumper, and with many parts held together with wires. I was surprised he was allowed to run.
Decision, decision. I was torn as if I should attempt to MIG weld the header or go seek professional help. Since it is stainless steel I was thinking of going to one of the stainless steel sheet metal fabricator to have it TIG welded. But reading that there is no reason you cannot MIG weld it if you don't care about compromising the corrosion resistance a bit. My thought is at the temperature of a catalytic converter the difference may not matter much.
Still, I have never attempt to weld SS and my MIG welding skill sucks. My biggest fear is to blow through the little bit of material and I would be hosed. I decided to take it to Dynasport RllyDrvrIX suggested. I could not determine if they will use TIG or MIG but I made the appointment anyway. I wait around for the work to get done and was a long wait before the guy that will do the welding arrives. He was in a foul mood and kicked me out of the shop citing insurance concern. I didn't even have a chance to discuss what he was about to do. I sensed the situation and decided to give him the benefit of the doubt, since the price is right. All I could tell is he did the welding with the header in-situ - something that I cannot do without a lift. I could see from a distance that he MIG welded it.
I didn't get to see what he has done until I got home and put the car up on jack stands. It turns out he bridged the external mild steel heat shield and the header pipe - something I would not have considered. In retrospect I appreciate this approach as there is very little material left on the pre-cat side. I did wonder for a few moments the potential danger of welding shut a small pocket of air there. A high pressure bomb?
Actually with the heat of the welding, there is very little air left in the pocket so I am not too worry. Sometimes, one can over-analyze a problem, and a bit of think out of the box this shop did goes a long way. The service adviser Devin who is very nice told me this is a very common failure, and they do this about once a month.
Here are before and after photos:
before
fixed
Mini is happy, and me so happy!
Last edited by pnwR53S; 08-15-2017 at 12:50 PM.
Reason: add member credit and acknowledge shop
I forgot to mention what I noticed as a result of the broken header. On the morning that I took the Mini to have the header welded back together, it was a low 60s morning. The Mini started with the first crank, but it idled quite rough and within 2 seconds it stalled. I restarted it again and it caught immediately and it idled rough for may be 15 seconds. With my ownership the Mini never have rough idle in this condition. I had about 7 miles on it from the time the header broke.
Driving to the shop in stop and go traffic it definitely idled a bit rougher, but not by much. Once the header is welded, it ran just as nice as before. The other thing I check is the exhaust tips. There were a deposit of black soot from the ECU enriching the fuel trim thinking the engine was running leaner than it really was. So the downstream O2 sensor sure has significant influence on fuel trim even though the upstream one is the primary one for close loop. I am not going to pull the plugs to check though would be informative to do so. I want to avoid unnecessary wear and tear of the aluminum thread. I believe the brief duration of running rich should not cause any noticeable deposit on the plugs, and likely be burnt off in no time.

 07-20-2017, 03:33 PM


 at the start of the back straight, blew the header wide open (at 4:44)
  just when we were having some fun.