
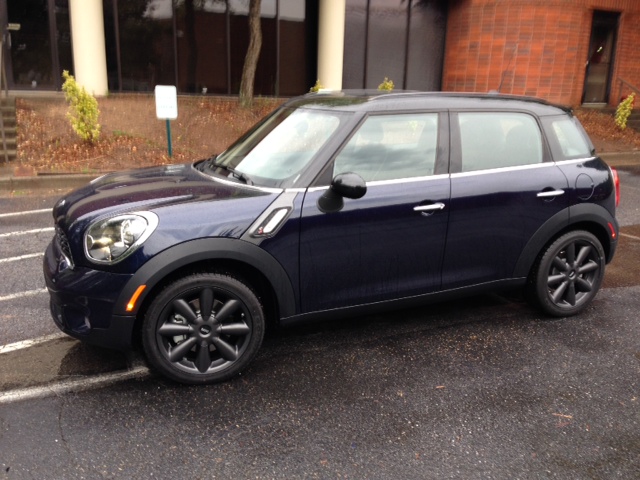
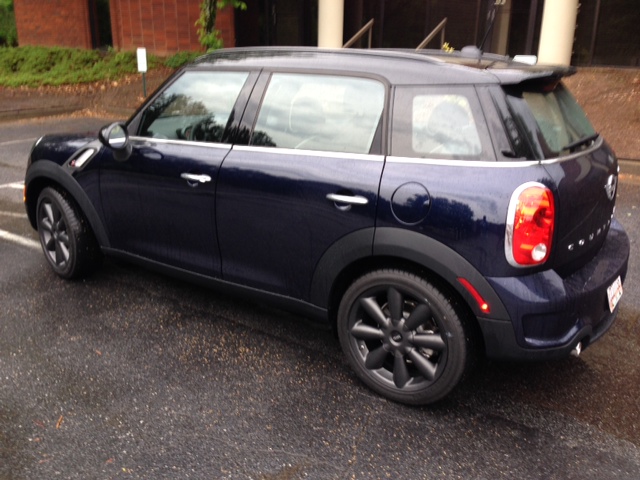
R60 What did you do to your Countryman TODAY?


Installed the updated black trim pieces for the speedo and vents, the interior instantly appeared more upscale... Also did the LED interior upgrade via kit from ECS tuning, follow instructions it's a piece of cake  free bump for ECS... Got to buy the cup holder upgrade and install done next... Later today I may tackle the LED install on the Cayenne....
free bump for ECS... Got to buy the cup holder upgrade and install done next... Later today I may tackle the LED install on the Cayenne....4th Gear
Joined: Aug 2012
Posts: 574
Likes: 5
From: New Jersey
i did mine a while back with the ECS kit and i love them. they're a clean bright white and much brighter than the stock bulbs with zero flicker. they have led bulbs for the rear plate too which add that crisp white to the exterior as well.

1st Gear
Joined: Sep 2013
Posts: 45
Likes: 0
From: STL
I got Zone Tech 20x 194 168 2825 5-smd White High Power LED Car Lights Bulb from Amazon for $15.99. That's more than enough for the interior except for the glove box. Walmart sells a single bulb for that for $10. I don't think the license plate lights need a chip, but I can't say for sure. I used some leftover chipped bulbs for mine.
I think there was one or two dead ones out of the 30 I've bought, but I can't really complain. I put them in both Countrymans and my landscape lights, and none of bulbs that worked have died and I've had them in the Countryman and landscape lights since October.
I think there was one or two dead ones out of the 30 I've bought, but I can't really complain. I put them in both Countrymans and my landscape lights, and none of bulbs that worked have died and I've had them in the Countryman and landscape lights since October.

2nd Gear
Joined: Jul 2012
Posts: 83
Likes: 0
From: NYC
I can only speak on the purchase from ECS, those bulbs are white, not blue and I am so happy with the end result  , now I'm in the mood to get the rest of the JCW body kit and some wheels... I figure at worse, I'll be in the hole 3k-4k, but it's beats the 20k I would have to find for a real JCW that I would never really get to exploit the limits on....
, now I'm in the mood to get the rest of the JCW body kit and some wheels... I figure at worse, I'll be in the hole 3k-4k, but it's beats the 20k I would have to find for a real JCW that I would never really get to exploit the limits on....

1st Gear
Joined: Jul 2012
Posts: 33
Likes: 0
It must be evey 2 years that's how long I've had cms. And I did notice a difference with the brakes when I drove it away. For the better


Neutral
Joined: Apr 2014
Posts: 3
Likes: 0
From: Buxton Debyshire UK
Received Mercedes space master wheel and the mini jack kit.
Both of Ebay. Wheel �35, jack kit �38 GBP Absolute bargain.
Blew the tyre up and tested it for deterioration, cleaned it up and it fits perfectly in the under floor section of the boot.
Now just got to wait until i fly over to US to pick up the spacer adapter. Getting it shipped to daughter in CT, to dear to ship to UK.
Wife hates running her motors without spare wheels.

Neutral
Joined: Jun 2012
Posts: 7
Likes: 0
Wheel Spacers
I just installed 18mm wheel spacers all around (Burger). They came with the extended bolts. It changed the stance quite a bit, and the drive noticeably. I have always thought that the stance on the Countryman was always a visual sore. Not anymore!

1st Gear
Joined: Sep 2013
Posts: 45
Likes: 0
From: STL
Tire size will affect things too. Some people have gone up in diameter to fill the wheel well. My summer wheels are 18x9 ET 35 with 245/40 tires and stick out nearly an inch and a half further than stock, but my diameter is 5 mm shorter than stock and I have no clearance issues at all on stock suspension. You can use this tool to visualize the change better http://www.rimsntires.com/specspro.jsp Just adjust the offset for the spacer width if that's the only change you are making.


Well, yesterday, actually.
Pics wouldn't show much. Added X-Pel polyurethane headlight protectors (easy install), and X-Pel "luggage area protector." Not so easy.
By way of explanation, the luggage area consists of the flat part of the bumper aft of the hatch, and wrapping down around the vertical edge of the bumper by about an inch and and a half; not quite to the edge of the narrow area above the tag cutout.
I suspect that someone who has worked with pieces this big before could have done it better, but if SWMBO hadn't been my (absolutely necessary) third and fourth hands, I'd have used up my remaining profanity for the month. I don't know how many mil the material is, but it's stiff enough to be hard to pull to an edge, but thin enough to form wrinkles that are tough to work out. Even with a lot of pulling and repositioning and working out of bubbles, I've still got several. It may be that like the headlight protectors, the moisture will dissipate, but at the moment, I have paint protection at the expense of it looking fairly amateurish.
To X-Pel's credit, the kit includes two pieces, so that if you don't like the result, or if you screw the first one up, you can try again.
Oh, the headlight kit comes with two different versions of protectors for the fogs. Haven't installed those, as I'm pretty intent on upgrading to the LED versions, and will need to see how those fit.


1st Gear
Joined: Feb 2014
Posts: 33
Likes: 0
From: Charlotte, N.C.
Well, yesterday, actually.
Pics wouldn't show much. Added X-Pel polyurethane headlight protectors (easy install), and X-Pel "luggage area protector." Not so easy.
By way of explanation, the luggage area consists of the flat part of the bumper aft of the hatch, and wrapping down around the vertical edge of the bumper by about an inch and and a half; not quite to the edge of the narrow area above the tag cutout.
I suspect that someone who has worked with pieces this big before could have done it better, but if SWMBO hadn't been my (absolutely necessary) third and fourth hands, I'd have used up my remaining profanity for the month. I don't know how many mil the material is, but it's stiff enough to be hard to pull to an edge, but thin enough to form wrinkles that are tough to work out. Even with a lot of pulling and repositioning and working out of bubbles, I've still got several. It may be that like the headlight protectors, the moisture will dissipate, but at the moment, I have paint protection at the expense of it looking fairly amateurish.
To X-Pel's credit, the kit includes two pieces, so that if you don't like the result, or if you screw the first one up, you can try again.
Oh, the headlight kit comes with two different versions of protectors for the fogs. Haven't installed those, as I'm pretty intent on upgrading to the LED versions, and will need to see how those fit.
Pics wouldn't show much. Added X-Pel polyurethane headlight protectors (easy install), and X-Pel "luggage area protector." Not so easy.
By way of explanation, the luggage area consists of the flat part of the bumper aft of the hatch, and wrapping down around the vertical edge of the bumper by about an inch and and a half; not quite to the edge of the narrow area above the tag cutout.
I suspect that someone who has worked with pieces this big before could have done it better, but if SWMBO hadn't been my (absolutely necessary) third and fourth hands, I'd have used up my remaining profanity for the month. I don't know how many mil the material is, but it's stiff enough to be hard to pull to an edge, but thin enough to form wrinkles that are tough to work out. Even with a lot of pulling and repositioning and working out of bubbles, I've still got several. It may be that like the headlight protectors, the moisture will dissipate, but at the moment, I have paint protection at the expense of it looking fairly amateurish.
To X-Pel's credit, the kit includes two pieces, so that if you don't like the result, or if you screw the first one up, you can try again.
Oh, the headlight kit comes with two different versions of protectors for the fogs. Haven't installed those, as I'm pretty intent on upgrading to the LED versions, and will need to see how those fit.
Be careful with the fog light protectors from x-pel as I originally ordered the headlight and foglight kit. The headlight film worked out well--very easy to install though I had my concerns in the beginning. Plan on there being air bubbles and moisture for the first few weeks after application but 99% of all of those will disappear. I wish I could say the fog light film from xpel are easy and as manageable as the headlight film but, it's actually the exact opposite. I believe the film is 15 mm thick and, for the headlights, that's fine because of their shape. For the fog lights, they're just too rounded for both foglight cut outs. I tried both types of circles for the foglights and I just couldn't get them to stay on with out crimping up and hardening at the corners. I ended up calling Lamin-x and had them send me a tinted pair of foglight covers that are, I believe 9 or 12 mm thick. Regardless, the laminx film is more manageable to work with and fit much better. Hope this helps.

Looks great! What brand paint did you use? Assuming you took off the back bumper....the tips are the only chrome left on my car too.....thanks for the idea!
2nd Gear
Joined: Nov 2012
Posts: 95
Likes: 1
From: South Florida
I sanded the tips with a fine grit sandpaper first and cleaned them with rubbing alcohol to ensure a good bond.