When you click on links to various merchants on this site and make a purchase, this can result in this site earning a commission. Affiliate programs and affiliations include, but are not limited to, the eBay Partner Network.
i once paid to have my wife's CM detailed, the guy did a good job but 3 months later ALL off the black plastic looked like this when whatever he put on it wore off, now i constantly have to put back to black on it to hide the buffer swirls.
***great looking CM by the way **
Thanks! I've put a lot of work into it over the past few years. Slowly getting closer to my goals.
I don't think there's a 'What did you do...' thread for the Paceman so... I flushed the brake lines and clutch on my son's Paceman with Pentosin Super DOT 4. Also did a partial drain/fill of the coolant with Zerex Z48. Will do it again when we change to winter tires to increase the percentage of new coolant in the system.
For some reason, my power bleeder didn't work on the clutch. No problem with the brakes but when I opened the valve on the slave cylinder to bleed the clutch -- nothing. Had to go old school, using the clutch pedal to force the fluid out.
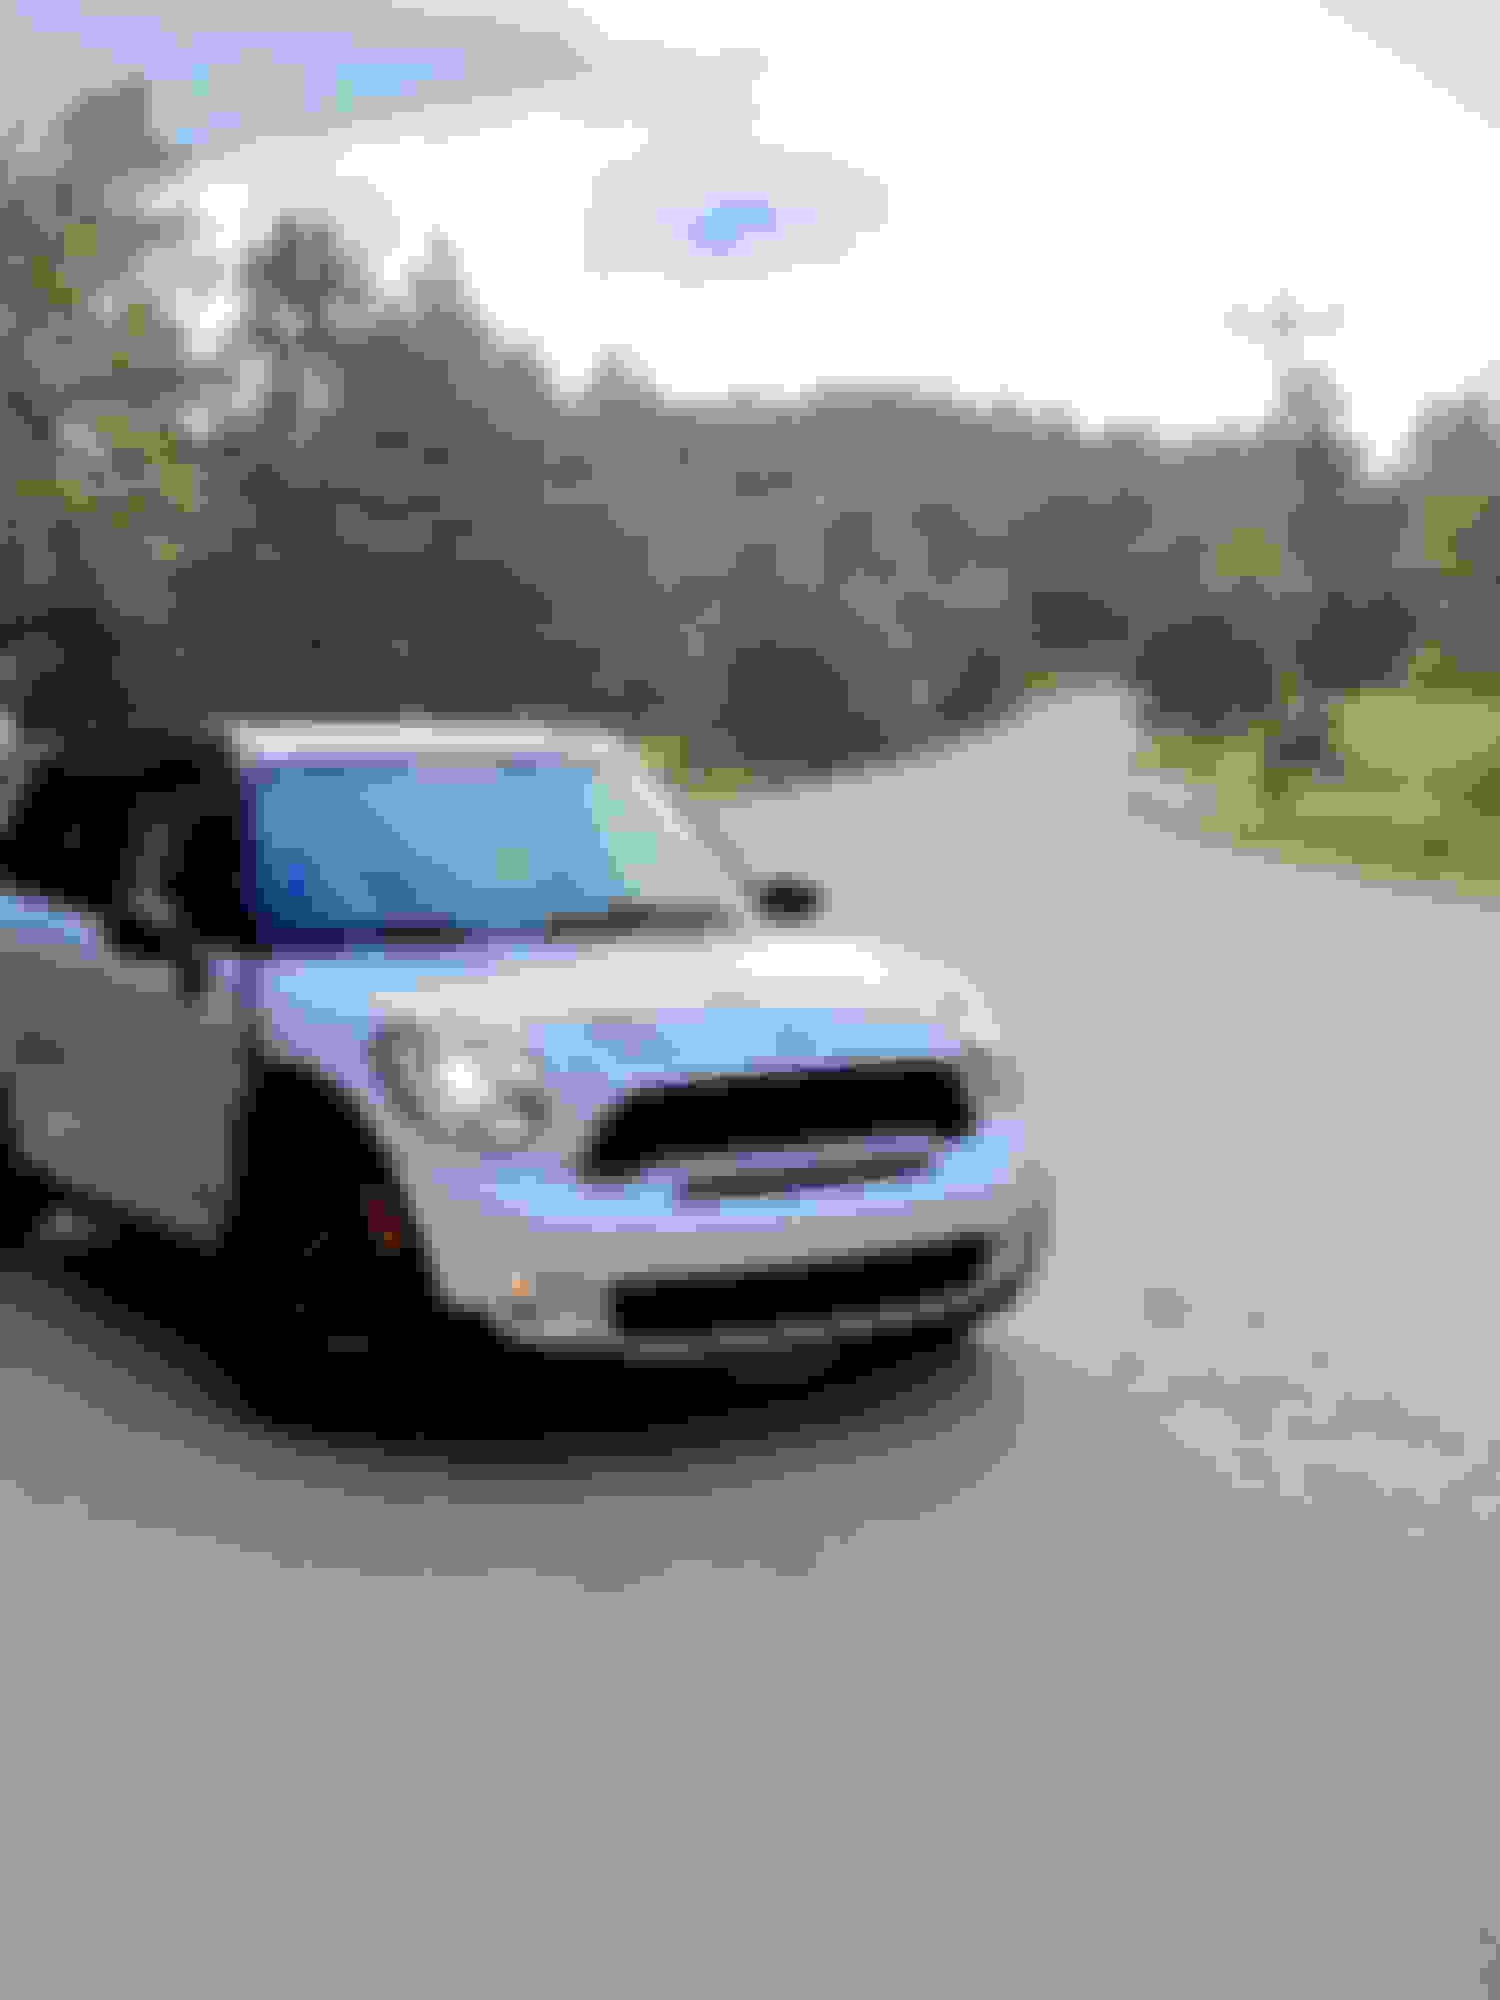
I picked up a new to me 2012 R60 Light coffee Countryman last Monday.
By Thursday I had done the following:
Coded out TPMS light via NCS Expert.
Added all comfort functions via NCS expert. (window up/sunroof close etc)
Picked up the oem rear bike rack for cheap. (like new for $100.. I think that's cheap anyways)
Picked up some lightly used snows on decent (I may use them for summer) rims cheap.
Replaced the antenna with a 2" stubby.
Added Puddle lights with Mini logo on them.
Burgertuning JB+
Installed K&N cone filter.
Ordered 35% window tint kit
Ordered white stripes for hood and trunk.
Then Thursday came around and she started leaking coolant.. (looks like at thermostat housing) She's been at the shop since then and I'm stuck with a crappy loaner.
Up next when she is back:
Interior Detail
Engine bay cleaning
Remove old peeling 50% tint and replace with new non peeling 35% tint. (drivers window catches when rolling up the window.. so annoying)
Wash car (I only have the option to use a pay by the minute type place.. So wash then dry by hand.)
Add White stripes.
Wax car (I figure wax after putting on the stripes...)
De-Chrome Car: smoked scuttle lights, white around lights? I haven't looked at pics of white around lights yet.
Remove 2nd Cat and resonator myself. (as most shops I have asked here in northern VT will not remove the 2nd cat.. if someone knows a place, I would rather have them do it )
Change tranny fluid.
Change oil.
Replace plugs and ?
Sand and paint roof box top white to match roof.. Attempt to match light brown on bottom of roof box.
Find out what tool I need to read codes with a laptop. and find the one that I can pair a battery to the car with.(inpa??) (I don't need one.. I just know I eventually will and I hate the local bmw/mini dealership prices)
This forum has been an amazing resource in my 2 weeks owning a mini
Welcome to the Forum, R60's, "and" the Light Coffee MINI Club!...the best color hands down! You will love it...I absolutely guarantee it....it will make you smile every time you drive it!
Originally Posted by geekd4d
I picked up a new to me 2012 R60 Light coffee Countryman last Monday.
By Thursday I had done the following:
Coded out TPMS light via NCS Expert.
Added all comfort functions via NCS expert. (window up/sunroof close etc)
Picked up the oem rear bike rack for cheap. (like new for $100.. I think that's cheap anyways)
Picked up some lightly used snows on decent (I may use them for summer) rims cheap.
Replaced the antenna with a 2" stubby.
Added Puddle lights with Mini logo on them.
Burgertuning JB+
Installed K&N cone filter.
Ordered 35% window tint kit
Ordered white stripes for hood and trunk.
Then Thursday came around and she started leaking coolant.. (looks like at thermostat housing) She's been at the shop since then and I'm stuck with a crappy loaner.
Up next when she is back:
Interior Detail
Engine bay cleaning
Remove old peeling 50% tint and replace with new non peeling 35% tint. (drivers window catches when rolling up the window.. so annoying)
Wash car (I only have the option to use a pay by the minute type place.. So wash then dry by hand.)
Add White stripes.
Wax car (I figure wax after putting on the stripes...)
De-Chrome Car: smoked scuttle lights, white around lights? I haven't looked at pics of white around lights yet.
Remove 2nd Cat and resonator myself. (as most shops I have asked here in northern VT will not remove the 2nd cat.. if someone knows a place, I would rather have them do it )
Change tranny fluid.
Change oil.
Replace plugs and ?
Sand and paint roof box top white to match roof.. Attempt to match light brown on bottom of roof box.
Find out what tool I need to read codes with a laptop. and find the one that I can pair a battery to the car with.(inpa??) (I don't need one.. I just know I eventually will and I hate the local bmw/mini dealership prices)
This forum has been an amazing resource in my 2 weeks owning a mini
Welcome to the Forum, R60's, "and" the Light Coffee MINI Club!...the best color hands down! You will love it...I absolutely guarantee it....it will make you smile every time you drive it!
Thank you!
I absolutely love the color. It's the only one I've seen so far in the area.
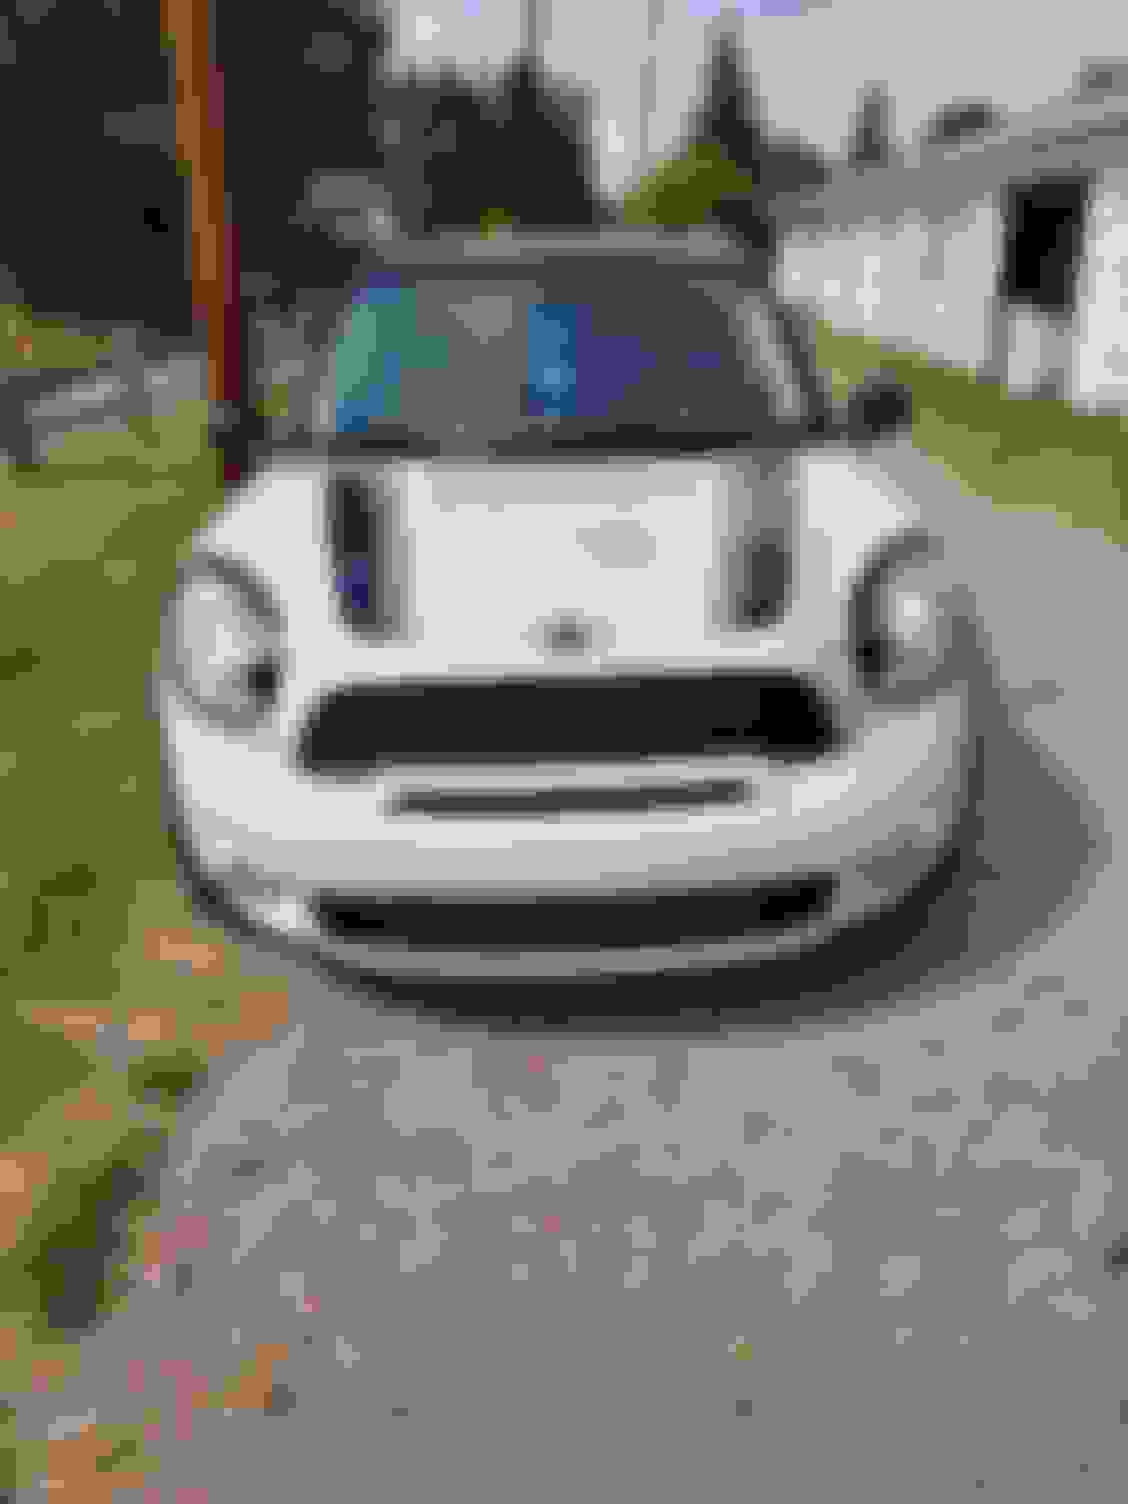
Thoughts on white stripes? Already have a white pinstripe down the side but I wasthinking it needed more.
I absolutely love the color. It's the only one I've seen so far in the area.
Thoughts on white stripes? Already have a white pinstripe down the side but I wasthinking it needed more.
Our CMS All4 has a black roof so I�d go with black stripes if I did so but it�s plain light coffee for now and like it as us. Striping is a personal thing but white would look best with a white roof like you have. You could just take your time as it sounds like you have been doing plenty! Enjoy!
Been slowing upgrading my R60 JCW, currently most recent upgrade was a front BBK- Wilwood brakes from TCE. Awesome breaks, can't believe I hadn't done this before. They set me up with some 13" rotors to fit my 17" Konig rims. Night and day difference. I would definitely look into a set of Wilwood brakes if you're thinking about making your mini faster.
Everyone for quite some time I scoffed at $50 for a sunscreen but finally after awhile I said screw it whatever just buy them. I have two minis a 2007 Cooper S convertible sidewalk edition and a 2017 countryman all4 and bought one for each. I couldn�t be more pleased the sunscreens are made from super durable hard heavy duty particleboard with a thick gray paint mini logo and each has its own heavy duty vinyl bag with Velcro closure. Perfect fit foldable. Well pleased and worth the price. Plus who isn�t a fan of the mini logo displayed prominently front center in black?
Perfect fit. Heavy duty high quality. Thick vinyl Velcro closure
Well it wasn't done today, more like over the past few weeks but I plastidipped the headlight trim black on my 2012 R60 ALL4 S named Momoko. Have some before and after pictures as well; not perfect but pleased with the results. Need to do the tail light trim to match, but that will come in time.
Also recently did a catless downpipe install in her too, wanted to hear the classic mini burbles and pops a little bit better and it does really well in that regard, just wish it was more audible inside the car, but I'm hoping it will be a little louder when I replace the exhaust clamp that connects the downpipe to the midpipe and get rid of a minor exhaust leak. I've had Momoko for almost a full year now and the car has always been a blast! Nexts mods to come are an aftermarket intercooler, aftermarket intake and possibly a strut tower bar to help the handling through the Colorado mountains. Proud to now have finally joined NAM and hope to stay a part of the MINI community for quite a while! Here's Momoko before getting a more aggressive front-end look Here's her after dipping the headlight trim The downpipe just before the install (for reference it is a CNT catless downpipe; fits perfectly but the putting the lower heatshield back on was a nightmare, lol)
Some of my R60 mods..... After reading lots and lots, decided to reach out to MarioKart.
Started chatting with Mario about 2 months ago when I was about to cross the 50K mark on the R60, very informative., and helpful. I started with his Carbon Fiber CAI, easy install.
Then put in a top mounted Megan Racing strut support and Turbo muffler delete from WMW.
Just last week got a set of SS brake lines from Mario, the SS Turbo oil line, His Catless Down pipe ( Beautiful piece of metal work) and the NM Heat shield..
I Installed the Down pipe and Turbo oil line and the NM Heat shield myself Monday of this week. whole job took 6 hours on the ground. My shoulder blade is killing me, LOL, My right hand, and forearm have bruises like if I was in a prolonged one arm street fight. But... It all worked.and sounds/feels great!
I started by removing the top heat shield, then sprayed the 3 top bolts for the OEM Pipe with liquid wrench while I continued to work underneath.
Underneath, I loosened the V Band at the end of the DP and worked my hands in to remove the front portion of the lower heat shield...those 4 bolts can kiss my butt!, GEZZUS those were difficult. Some loosened from the top and others from the bottom, finally got that sucker loose and not too much trouble to slide it out the bottom. Loosened the 2 lower support brackets on the down pipe. went to lunch and then loosened the top 3 buts on the DP. One nut removed easily, the other 2 loosened with the nut AND the stud. I had read about this happening to some folks and they went out of their way to separate the nuts from the studs...There is no need to do that. Just remember where those studs were and put them back in the same place. I removed the down pipe via the bottom of the car. Then it was time to address the turbo oil pipe. I removed the two brackets that hold on to the lower portion of the down pipe , then removed the rear lower heat shield and turbo support bracket and then had access to the turbo oil line, removed the top and bottom banjo and it took a bit to figure out how to pull out the OEM line out the top. put in the SS line and re installed the lower rear heat shield. then the lower support brackets for the DP...These had to be installed loosely because there is A LOT of adjustments possible with these. The DP went in from the bottom, I attached it on top with lots of wiggle and top/down movement, when it was attached on top I was able to adjust the lower support brackets and then tighten those. then continued with the down pipe install attaching the rest of the bolts on top and the V Band clamp on the bottom., these was quite a bit of slow adjusting, moving, tightening and nudging the pipe and everything attached to this and other areas around the install location. Slowly tightening all bolts from the top, the bottom and the sideways to finally get them all tight. then the front portion of the lower heat shield went on. I was able to secure 3 of the 4 bolts and the 4th went in cross threaded and I just kept wrenching on it.. No part of the heat shield is touching the down pipe so no rattles, everything is back together and working fine. I have checked every morning underneath the car and no oil leaks of any kind from my turbo lone install.
I did this install on Monday because I was off work and I did not want to wait, but I should have just done it all when I install the intercooler next month.. with the front cap off, it's not too much more to remove the radiator and open up the entire front of the car to VERY easily remove all these things and do the job in a more civilized way. When I do open up the front to do the intercooler I will also install a set of Hella horns while I'm at it.....
after the install the CEL came on Wednesday, a couple of days later. This was expected and will go away and get sorted when the Tune is done. I'm going with the Stage 2 tune. but this will be next month. For now, going to get the brake lines installed today and then get an NM rear sway bar to install that next week.
next month I''l have the Intercooler for me to install.
Did an oil change. Castrol Edge 0w40 -- it's going to be cold here soon.
Had another go at extracting fluid from the transfer case. I have a new fluid pump with a smaller diameter tube. I thought I would be able to fit that in but no luck. So I just topped it off. How do you guys extract the transfer case fluid on an R60 with AT?
Then put in a top mounted Megan Racing strut support and Turbo muffler delete from WMW.
Question for you, how does that Megan Racing Strut brace feel? Been on the fence about it because its only like 70 bucks but just haven't bitten the bullet yet
Question for you, how does that Megan Racing Strut brace feel? Been on the fence about it because its only like 70 bucks but just haven't bitten the bullet yet
I liked it everything was just a little stiffer a little bit less roll but I'm really looking forward to a big difference once I use the new NM rear sway bar.
Did you get any codes after installing the catless down pipe? Curious as I'm shopping for one.
I got a check engine light after a couple of days but that should be cleared when I do the stage 2 modification on the computer once I send it in to Mario.
Did you get any codes after installing the catless down pipe? Curious as I'm shopping for one.
You definitely will unless you get a tune, but definitely nothing to worry about. The performance with a tune, and even the deeper exhaust tone without a tune make it well worth living with. The code comes on every like 15 miles or so once its been cleared, but its quite easy to live with since the check engine is only in the center dash and not the digital speedo
entered the Vin, downloaded the file to a Mac, then transferred it straight to a new sandisk 16GB mini usb drive. turned on the ignition on the car ( not engine), went to the settings on the screen, then software update, it said there was no software installed, then at that point I installed the usb in the center rail slot and after like 10 seconds I got the go ahead on the screen , selected to update, and it took about 1 minute, then went back to the home screen, and to settings to see the software version and indeed it was a new number for both of the car and telephone versions. No noticeable difference that I can see but will update this if I notice anything different.
__________________
2016 Mini Countryman S, rear parking sensors, backup camera integrated into the factory Nav screen, 19" R61 rims, NM Cold Air Intake. NM Downpipe, SS Turbo Oil Line, NM SS Brake Lines, WMW turbo resonator delete. www.Silverafilm.com
Miramar, FL 33027
Yup. Let’s add a bit of non catalyzed exhaust to the air. Not a fan, there are other ways to improve performance and exhaust sound without willfully causing pollution.