When you click on links to various merchants on this site and make a purchase, this can result in this site earning a commission. Affiliate programs and affiliations include, but are not limited to, the eBay Partner Network.
SuspensionSprings, struts, coilovers, sway-bars, camber plates, and all other modifications to suspension components for Cooper (R50), Cabrio (R52), and Cooper S (R53) MINIs.
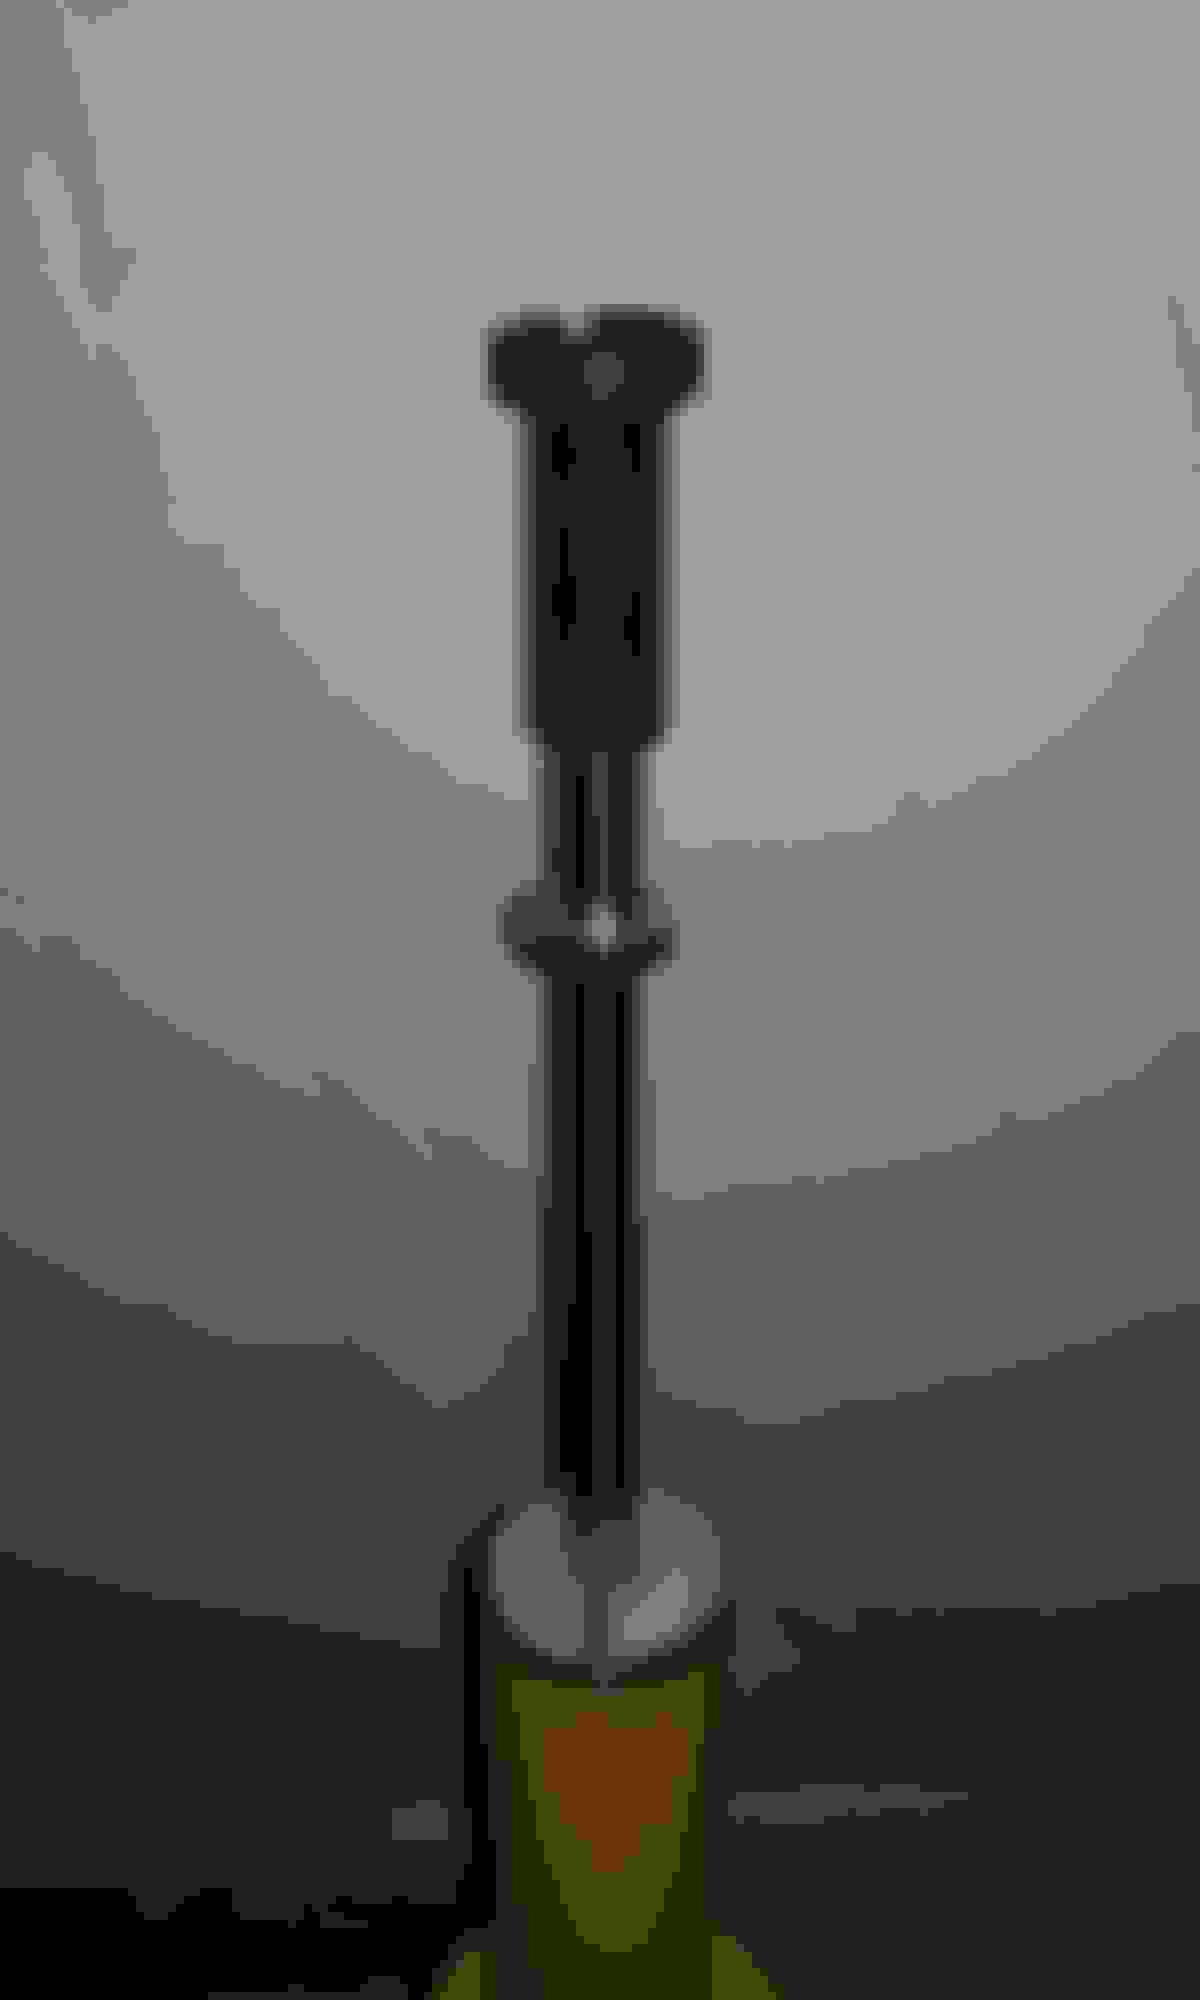
If you haven't seen my thread I have a 2003 S. I'm installing Koni yellows and seem to have run into a snag with the rear shocks. I'm putting a picture below because I'm not really sure of the exact name of the part but the the piston shaft seems to be bigger than the hole in the metal cover/boot. Everything else fits so it's just a matter of drilling out the hole a bit but I wanted to get some opinions of those who have installed them already.
Any help is appreciated. I'm probably overthinking this.
Yes, you need to drill the hat hole from 10 to 12 mm.
I think a washer above the hat might need the same done.
I did it and the only snag was finding a 12 mm bit that
fit my drill chuck. Then it was easy.
The cryptic pictorial non-verbal instruction sheet that
comes with the shocks indicates this, but it's not obvious
unless you look at it with this in mind.
Awesome thank you. I've had to modify the front a tad as well which is surprising considering how well known Koni is, and these instructions are hilariously bad.
Oh well, I'll get to trying to find a 12mm bit. Again thank you for the quick response.
I posted this in the suspension modifications section, but thought that it might help out if your car is still apart.-Be sure to get the ring seated INTO the collarof you could lose it.
KYB YellowREar Shock Issue Solution Identified When I bought Tigger, he had Koni Sport Shocks on both front corners, but only one rear corner, after contacting the first owner (I bought him from the second), it was apparent that there had been an issue after he sold it, and the second owner had ONE shock replaced with an OEM one.
I did a lot of digging, both here and on other forums and found that the Koni Rears sometimes have an issue with losing the clip ring that helps hold everything together. I sourced out a Spiral locking ring that had the same ID, OD and width as the original (I thought) as well as a new rear shock.
Last night was the truth test, the spiral locking ring worked until you put force on one side of the collar and tried to get the ring to engage solidly. I then went back to the original ring, and found that if, when you install the collar over it, if you engage one side and then push remaining bit of the ring in (I used a small flat blade screwdriver), the collar will snap over the ring and lock into place.
So I am now assuming that when people put these shocks on, due to the miserable pictographic instructions, they don't think to lock the ring under the collar, they are simply PLACING the collar down onto the ring, where it can be popped out of place under impact.
So I'm posting this to try to help others when installing the Koni Sport Shocks, BTW Tigger is an '05 MCS.
All I did was drill out the holes on the top hat and washer from 10mm to 12mm. Not sure what ring you're referring to but am curious now. Everything seems to be functioning correctly so far. Any pictures?
No pictures on hand, but I can get some tonight. The ring is on the shaft of the shock, there's a collar that's like a thick washer with an undercut (counterbore) on one side that Koni supplies, the counterbore and the snap ring need to lock together to properly hold the rest of the assembly together. There have been some people who have had the ring either not installed, or lost it, then the shock starts to beat into the metal work above the shock tower. This is (IIRC) specific to the rears.
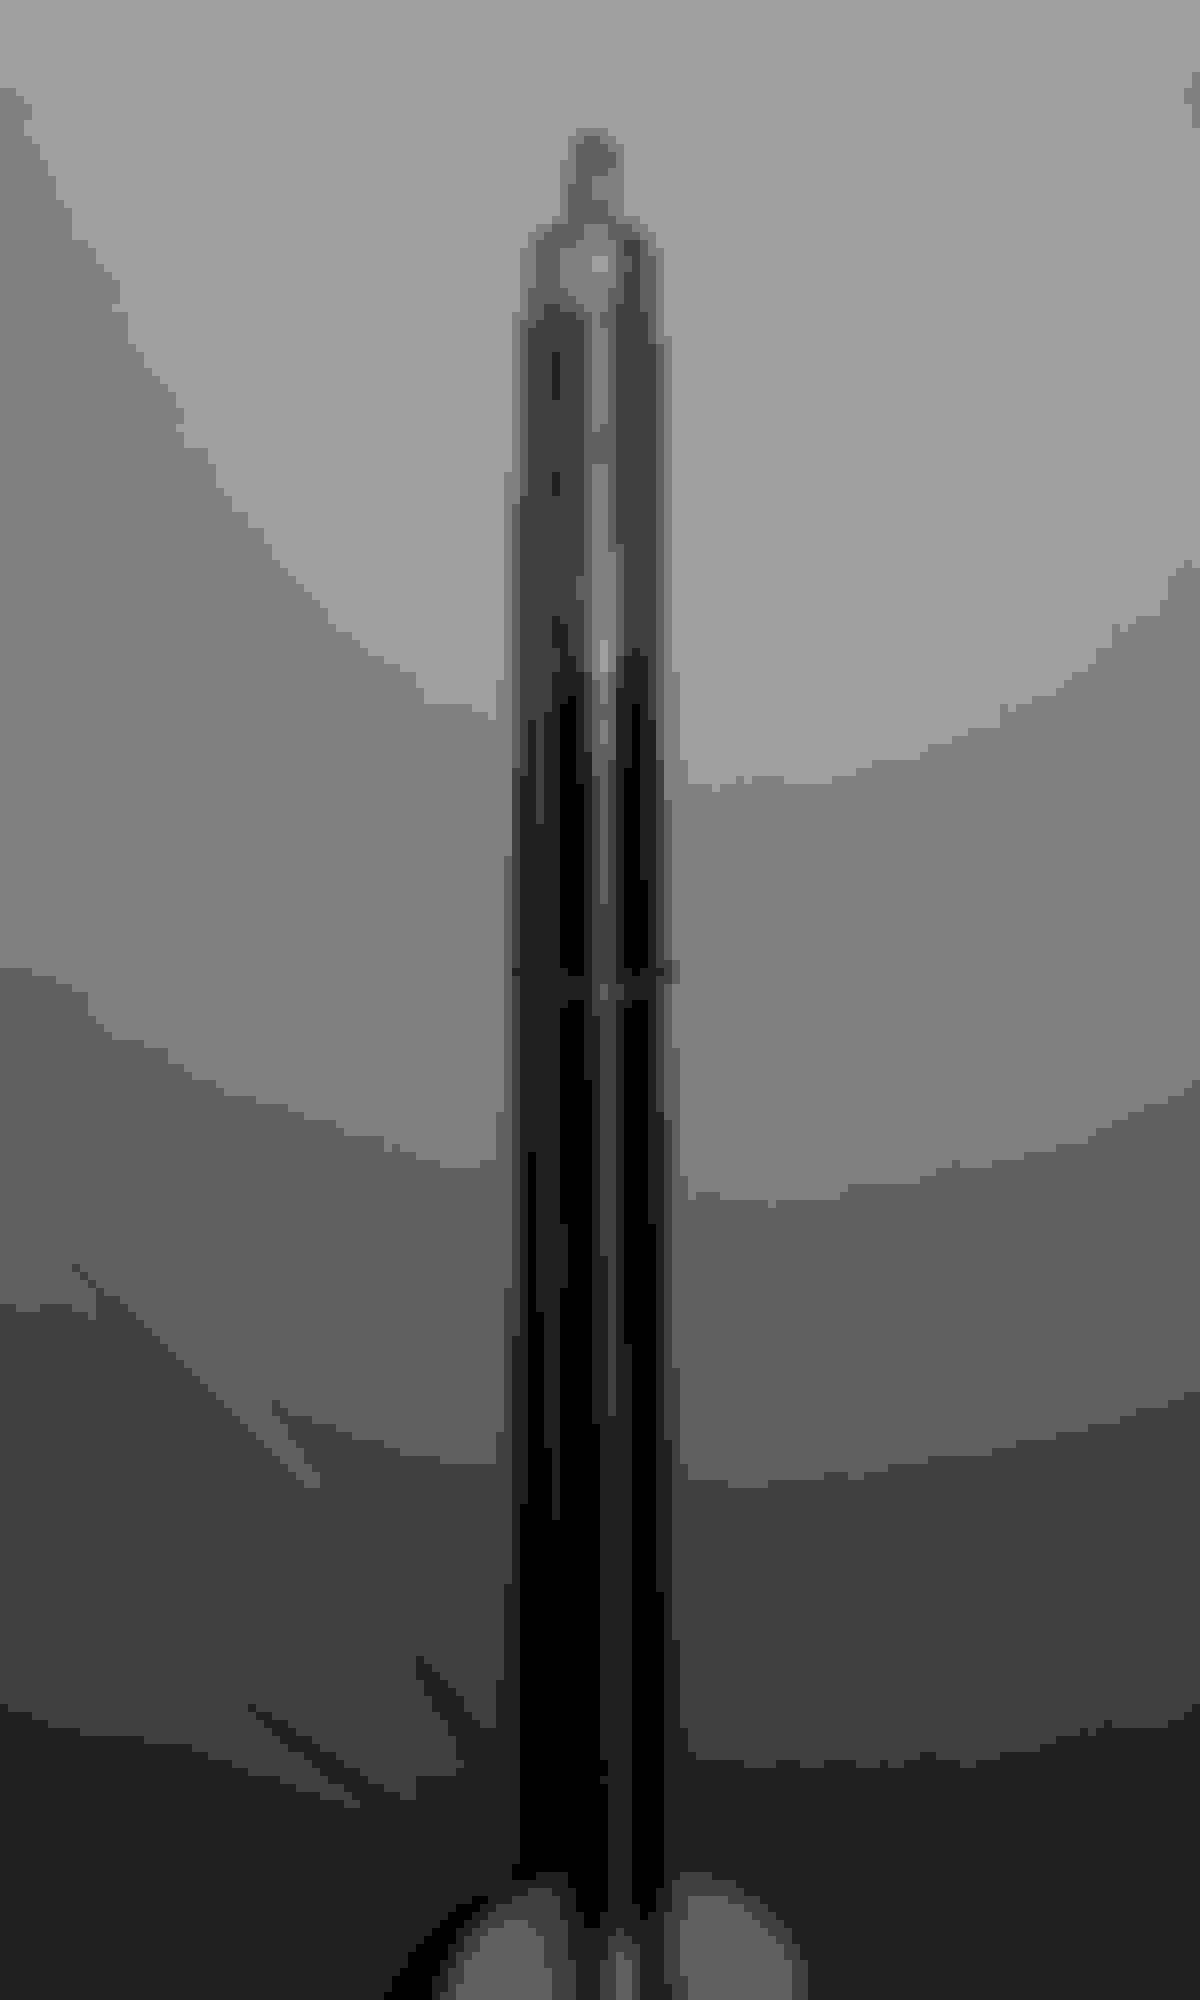
Here are a couple since I haven't installed it yet:
This is the collar in place, snapped over the ring
This is the ring itself in its groove
bottom of the collar, the counterbore is where the ring snaps into place
Once you get the feel for the collar snapping over the ring, its simple, but if its not snapped into place, a sharp jarring bump COULD knock the ring out of the groove, and cause the problems some people have been having.
HTH,
Ahh yes I see what you're talking about now. I'm pretty sure that's where they are but I didn't snap them in place before assembling it. Considering everything on top of it is torqued down I'm not sure how it would move at all but if I start to hear weird noises that's the first place I'll look, so thanks for the heads up.
Considering everything on top of it is torqued down I'm not sure how it would move at all
And that's where I think the problem can start at. But since I haven't had the problem, I don't have personal experience with it, just hearsay evidence. My RR is going on this weekend and I'll double check the LR while I'm there- I need to check its setting anyway
I needed the spring compressor for the rears so they're definitely not coming off unless necessary. But that's a good trouble shooting tip if I hear some weird noises.
And on a side note what settings are you running? I've found half way front and rear on the TSW springs to be a good compromise to keep the ride nice and handling great for anything I will encounter. I tried half a turn more stiff in the front just because they're easily accessible and it felt like I was riding on just the springs, so needless to say that didn't last long.
I checked my fronts and they were set full hard (had to fudge for a tool), backed them off to 1/2 way, but not sure what the LR is set at, the RR is an OEMSport shock, Thus the need to put a Koni in there. I plan on going to 1/2 way in the rear as well, it feels like the LR is set full hard as well.-running stock springs BTW.
Full hard might be beneficial when doing auto-x or some mountain runs but I can't imagine DDing the shocks on full stiff. Way has commented a couple of times on threads pertaining to the yellows and he usually recommends half way so think it's a good place to start from.
With the fronts at full hard, the concrete highways around here are hard on the neck & shoulders with the bouncing. The shocks wind up pumping up and you've got NO suspension travel. Its better with the fronts at 1/2, the rears are going there this weekend, I'll let you know how it feels next week.
I DO do a lot of mountain driving, simply because I live there, however a bit of compliance wouldn't hurt either
I got the RR shock on this weekend, with a bit of bother-That's what I get for reading the manual . If I'd pulled the RSB endlink to start with like I thought, it only would have taken a couple of hours. Anyway, both rears are now set to 1/2 hard (or 1/2 soft if you'd rather) and it handles much better under power on a lefthand turn. No more bobbing and weaving as it were.
Its about a 3/4hour job to pull a shock and reset the stiffness-1 1/2hours for both, I guess that I'll leave them where they are, even for AutoX, just set the fronts stiffer if I feel the need.
I put the lower bump stop onto the shaft first, then snapped the collar over the ring and brought the bump stop up to the collar and reassembled from there. Not a big deal, but letting the trailing arm droop by pulling the RSB link is a BIG help since compressing the shock and spring in situ is near impossible (did it though on the LR).
Here's to Handling!
Unless I'm forgetting something massive, the rear is only held on by 1 bolt on the bottom and 2 small ones on top. You shouldn't need to move the end link in any way. After you take the bolts out it just drops straight down. With the having to trim the top hat and washer the time makes sense for the first installation but for adjustment I would say with air tools I could see you doing it in about 5 minutes and maybe 10-15 with hand tools since you don't even need it to be pulled all the way out.
And yes I agree the instructions are garbage at best. I can't believe someone actually looked at them and approved them for distribution.
Glad you got everything sorted. I'm sure it's a huge difference now not having the car suspension uneven and all.
It was the fact that the spring extends the shock to its max length, then its impossible to get the large lower bolt aligned. I've got a 25mm RSB, and with the drivers side on the ground, it wasn't happening.
If there were an easy way to lift the rear of the car, the whole thing would have been hanging at the same height and it probably would have been a slam dunk.
And yes, I have air tools....I just don't like forcing things, especially threads
So the preferred method to adjust the rears is to drop the assembly, adjust, and reinstall? I was hoping to find that someone has already gone through the trouble of locating where the adjusters hide under the interior plastics for access from above to make quick adjustments.
I've only had the rear interior out once but from what I remember it's not just the plastic in the way. There is a metal wheel well there that would have to be drilled through also to gain access to the adjuster. Unless you were planning to strip the interior you would need a long tool that could reach through both the hole in the plastic and the hole in the well, which sounds like a huge pain.
I set all of mine to the middle and haven't really worried about this too much since it rides well enough on the road and does great for auto-x.
But to a simple answer is yes, that is the preferred method as far as I understand.
Simple answer is yes,; However, there is a thread in the racing/autoX segment that discusses just this, locating and drilling from inside to allow for adjustment without dropping the whole rear shock. I don't have the time to find it right now, but its there somewhere, ran across it when I was looking myself earlier.
Thanks Trackrat. I doubt you have your interior in but do you have any idea if the hole would be accessible from the little door in the plastic interior? It doesn't look like it from the pic but not having it apart to look at makes it tough to judge.
Take a steel tape measure and measure 19 inches from the rubber weatherstrip around the trunk on a plane level with where the hole would be to access the top of the shock. It is accessable but it would be a tight squeeze and would require patience. If you were to drill from below you MUST be very careful of the wiring harnesses on both sides that are on top of the metal structural member you're drilling through. FYI, I've only made one minor adjustment since I installed the shocks a couple of years ago.
 02-20-2016, 09:21 AM


 .
.