R60 :: Countryman Talk (2010-2015) R60 Cooper and Cooper S hatchback discussion NOT REPAIR RELATED Discussions.

R60 What did you do to your Countryman TODAY?

  #2351  
Old 01-08-2017, 09:21 PM
MannyJimenez's Avatar
MannyJimenez
MannyJimenez is offline
5th Gear
Join Date: Jul 2016
Location: NYC
Posts: 606
Received 42 Likes on 39 Posts
Originally Posted by dpike
sorry to hear that, i've had a few light covers disappear as well. i MIGHT have a spare chrome ring, if you're interested i can check.
I still have the Stock Chrome rings just petty that they only stole 1
 
  #2352  
Old 01-09-2017, 11:28 AM
ECSTuning's Avatar
ECSTuning
ECSTuning is offline
Platinum Sponsor
Join Date: Jan 2013
Location: Wadsworth, Ohio
Posts: 34,782
Received 1,964 Likes on 1,764 Posts
Originally Posted by MannyJimenez
Well today is not what I did to the Mini, but someone stole my passenger side headlight ring.

I dont understand why people do this on a MINI. Stubby Antennas, HL & TL trim, and badges seem to be the big thing.

Sorry to hear this.
 
__________________

MINI Guru/ MINI Owner Since 2004 | NEW Lifetime Part Replacement | Local Pickup
Milltek | Genuine MINI | Forge Motorsport | NM Engineering | ECS Performance | M7 Speed
Customer Service Hours: 8am-8pm EST|Sales Team Hours: 8am-11pm | SAT 10am-7pm 800.924.5172
  #2353  
Old 01-10-2017, 11:00 AM
MannyJimenez's Avatar
MannyJimenez
MannyJimenez is offline
5th Gear
Join Date: Jul 2016
Location: NYC
Posts: 606
Received 42 Likes on 39 Posts
Those of you that black out the chrome trim around the car. What have you use to black them out and have you seen them in that anthracite color?
 
  #2354  
Old 01-10-2017, 11:51 AM
808keith's Avatar
808keith
808keith is offline
4th Gear
Join Date: Dec 2014
Location: HaWaI'I
Posts: 312
Received 6 Likes on 6 Posts
Originally Posted by MannyJimenez
Those of you that black out the chrome trim around the car. What have you use to black them out and have you seen them in that anthracite color?
I just bought the kit from Outmotoring because they had free shipping.. but I think the size is 5/8"..
 
  #2355  
Old 01-10-2017, 12:16 PM
808keith's Avatar
808keith
808keith is offline
4th Gear
Join Date: Dec 2014
Location: HaWaI'I
Posts: 312
Received 6 Likes on 6 Posts
  #2356  
Old 01-10-2017, 02:00 PM
Mojo'jo'jo''s Avatar
Mojo'jo'jo'
Mojo'jo'jo' is offline
2nd Gear
Join Date: Nov 2014
Location: Culver City, CA
Posts: 65
Likes: 0
Received 0 Likes on 0 Posts
Originally Posted by MannyJimenez
Those of you that black out the chrome trim around the car. What have you use to black them out and have you seen them in that anthracite color?
I used plastidip for boot latch, trim between windows and body, front grill, "All 4 " other than that, around lights i ordered blk out when i ordered my mini. plasidip works great and is easy and forgiving.
 
  #2357  
Old 01-19-2017, 05:58 PM
MannyJimenez's Avatar
MannyJimenez
MannyJimenez is offline
5th Gear
Join Date: Jul 2016
Location: NYC
Posts: 606
Received 42 Likes on 39 Posts
So Far...
Installed the anthracite tail lights trims
Name:  IMG_0053_zpsffncp1em.jpg
Views: 742
Size:  77.3 KB

Added some color to the Turbo Heat Shield using VHT Paint
Name:  IMG_0054_zpsis6hcul3.jpg
Views: 793
Size:  108.8 KB
Name:  IMG_0056_zpsfryhrnio.jpg
Views: 847
Size:  88.8 KB

Got bored had extra paint and extra parts and this happened
Name:  IMG_0060_zpsczmlg5xq.jpg
Views: 777
Size:  71.5 KB
Name:  IMG_0055_zpsg5ijxzwn.jpg
Views: 772
Size:  95.8 KB
Name:  IMG_0059_zpseln5grno.jpg
Views: 793
Size:  74.4 KB

...and this
Name:  IMG_0057_zpssyal4yxp.jpg
Views: 844
Size:  92.2 KB
Name:  IMG_0072_zpsmmixkyqo.jpg
Views: 857
Size:  96.1 KB
 
  #2358  
Old 01-20-2017, 08:20 AM
Sall4Ken's Avatar
Sall4Ken
Sall4Ken is offline
2nd Gear
Join Date: Oct 2016
Location: Bronx, NY
Posts: 70
Received 2 Likes on 2 Posts
Nice! Different I like it!
 
  #2359  
Old 01-20-2017, 10:47 AM
MannyJimenez's Avatar
MannyJimenez
MannyJimenez is offline
5th Gear
Join Date: Jul 2016
Location: NYC
Posts: 606
Received 42 Likes on 39 Posts
Originally Posted by Sall4Ken
Nice! Different I like it!


I'm digging the Brake ducts being gold as well. I'm contemplating doing the emblems as well
 
  #2360  
Old 01-20-2017, 11:07 AM
tonmilv's Avatar
tonmilv
tonmilv is offline
2nd Gear
Join Date: Dec 2010
Location: New Jersey
Posts: 91
Received 1 Like on 1 Post
Originally Posted by MannyJimenez


I'm digging the Brake ducts being gold as well. I'm contemplating doing the emblems as well
Hello,

Looks great, do you have a full car picture?

how hard it was to remove front and rear (headlight/tails) rings?
 
  #2361  
Old 01-20-2017, 11:48 AM
MannyJimenez's Avatar
MannyJimenez
MannyJimenez is offline
5th Gear
Join Date: Jul 2016
Location: NYC
Posts: 606
Received 42 Likes on 39 Posts
Lightbulb How to do the ring trim thing

Originally Posted by tonmilv
Hello,

Looks great, do you have a full car picture?

how hard it was to remove front and rear (headlight/tails) rings?
Weather is sucky right now and the car needs a wash. Next time I wash it I'll put a full pic

Front rings are pretty easy. If you open the hood you'll see that you can just pop them out. Just be careful not to drop those little clips. Before putting on the front trims you might have to de-burr. I had to do this on the driver side front ring

The tail lights are a bit more of a PITA

you'll have to pop off the vent in the trunk/boot and you'll see the screws you'll need to loosen (4 on each light), but I suggest you take a large towel and stuff that hole that drops down before you start, so you won't lose your tool like I did you'll need a 5/16 socket and very flexible limbs. Using a tiny ratchet w/ a 5/16 cube or a ratcheting 5/16 socket wrench makes it tons easier.

1st disconnect the cable for the lights. It's one plug and it only goes it one way so it's a no brainer.

Next, Take off the 2 that you can see and loosen the bottom screws of the one you can see. The top screw that you can't see is difficult but doable. You can pop off the light without undoing that top out of sight screw but you'll need to loosen it to put it back together and you'll need to tighten it when putting it back on.

After, I bought a set of plastic prys from Geek (I love this site)
http://geek.wish.com/c/55910ca21a24bd4041ae3e90
Start from the bottom clips and you'll need to apply a small amount of gentle force always keep a pry in and slide it around and you'll get it off. Putting it on is very easy just make sure all the clips are secured before putting the light back on the car.
 
  #2362  
Old 01-20-2017, 12:44 PM
tonmilv's Avatar
tonmilv
tonmilv is offline
2nd Gear
Join Date: Dec 2010
Location: New Jersey
Posts: 91
Received 1 Like on 1 Post
Originally Posted by MannyJimenez
Weather is sucky right now and the car needs a wash. Next time I wash it I'll put a full pic

Front rings are pretty easy. If you open the hood you'll see that you can just pop them out. Just be careful not to drop those little clips. Before putting on the front trims you might have to de-burr. I had to do this on the driver side front ring

The tail lights are a bit more of a PITA

you'll have to pop off the vent in the trunk/boot and you'll see the screws you'll need to loosen (4 on each light), but I suggest you take a large towel and stuff that hole that drops down before you start, so you won't lose your tool like I did you'll need a 5/16 socket and very flexible limbs. Using a tiny ratchet w/ a 5/16 cube or a ratcheting 5/16 socket wrench makes it tons easier.

1st disconnect the cable for the lights. It's one plug and it only goes it one way so it's a no brainer.

Next, Take off the 2 that you can see and loosen the bottom screws of the one you can see. The top screw that you can't see is difficult but doable. You can pop off the light without undoing that top out of sight screw but you'll need to loosen it to put it back together and you'll need to tighten it when putting it back on.

After, I bought a set of plastic prys from Geek (I love this site)
http://geek.wish.com/c/55910ca21a24bd4041ae3e90
Start from the bottom clips and you'll need to apply a small amount of gentle force always keep a pry in and slide it around and you'll get it off. Putting it on is very easy just make sure all the clips are secured before putting the light back on the car.

AWESOME, thank you
 
  #2363  
Old 01-20-2017, 01:51 PM
MannyJimenez's Avatar
MannyJimenez
MannyJimenez is offline
5th Gear
Join Date: Jul 2016
Location: NYC
Posts: 606
Received 42 Likes on 39 Posts
Originally Posted by tonmilv
AWESOME, thank you
You're welcome


Side note found the door handles I want


It's either these or the Black and Red Union Jack, IF I can find them
 
  #2364  
Old 01-20-2017, 05:54 PM
iwashmycar's Avatar
iwashmycar
iwashmycar is offline
6th Gear
iTrader: (8)
Join Date: Sep 2008
Location: Columbus, Ohio
Posts: 3,313
Received 102 Likes on 92 Posts
Just a bath! Wolfgang Uber Rinseless is the shiz!!! Maybe a pic tomorrow
 
  #2365  
Old 01-21-2017, 11:35 AM
MannyJimenez's Avatar
MannyJimenez
MannyJimenez is offline
5th Gear
Join Date: Jul 2016
Location: NYC
Posts: 606
Received 42 Likes on 39 Posts
or these mmm maybe
Name:  Side%20Markers_zpsovmb3wyu.jpeg
Views: 812
Size:  86.9 KB
 
  #2366  
Old 01-22-2017, 07:25 PM
Sall4Ken's Avatar
Sall4Ken
Sall4Ken is offline
2nd Gear
Join Date: Oct 2016
Location: Bronx, NY
Posts: 70
Received 2 Likes on 2 Posts
Those would look good too bad you can't do the silver trim around the bottom of the windows old gold also....or can you!!! Plasti dip old gold maybe?

I did some random little mods. Cravenspeed dips tick because the stock one is annoying and the phone holder. Tomorrow I get surprise in the mail though. PS I'm moving the bx soon good to see some there will be some countryman around.
 
  #2367  
Old 01-22-2017, 08:21 PM
MannyJimenez's Avatar
MannyJimenez
MannyJimenez is offline
5th Gear
Join Date: Jul 2016
Location: NYC
Posts: 606
Received 42 Likes on 39 Posts
Ali express is taken all my monies
 
  #2368  
Old 01-22-2017, 08:22 PM
MannyJimenez's Avatar
MannyJimenez
MannyJimenez is offline
5th Gear
Join Date: Jul 2016
Location: NYC
Posts: 606
Received 42 Likes on 39 Posts
  #2369  
Old 01-23-2017, 05:32 AM
iwashmycar's Avatar
iwashmycar
iwashmycar is offline
6th Gear
iTrader: (8)
Join Date: Sep 2008
Location: Columbus, Ohio
Posts: 3,313
Received 102 Likes on 92 Posts
I forgot we had an actual Countryman thread and posted this in the all-mini one yesterday..

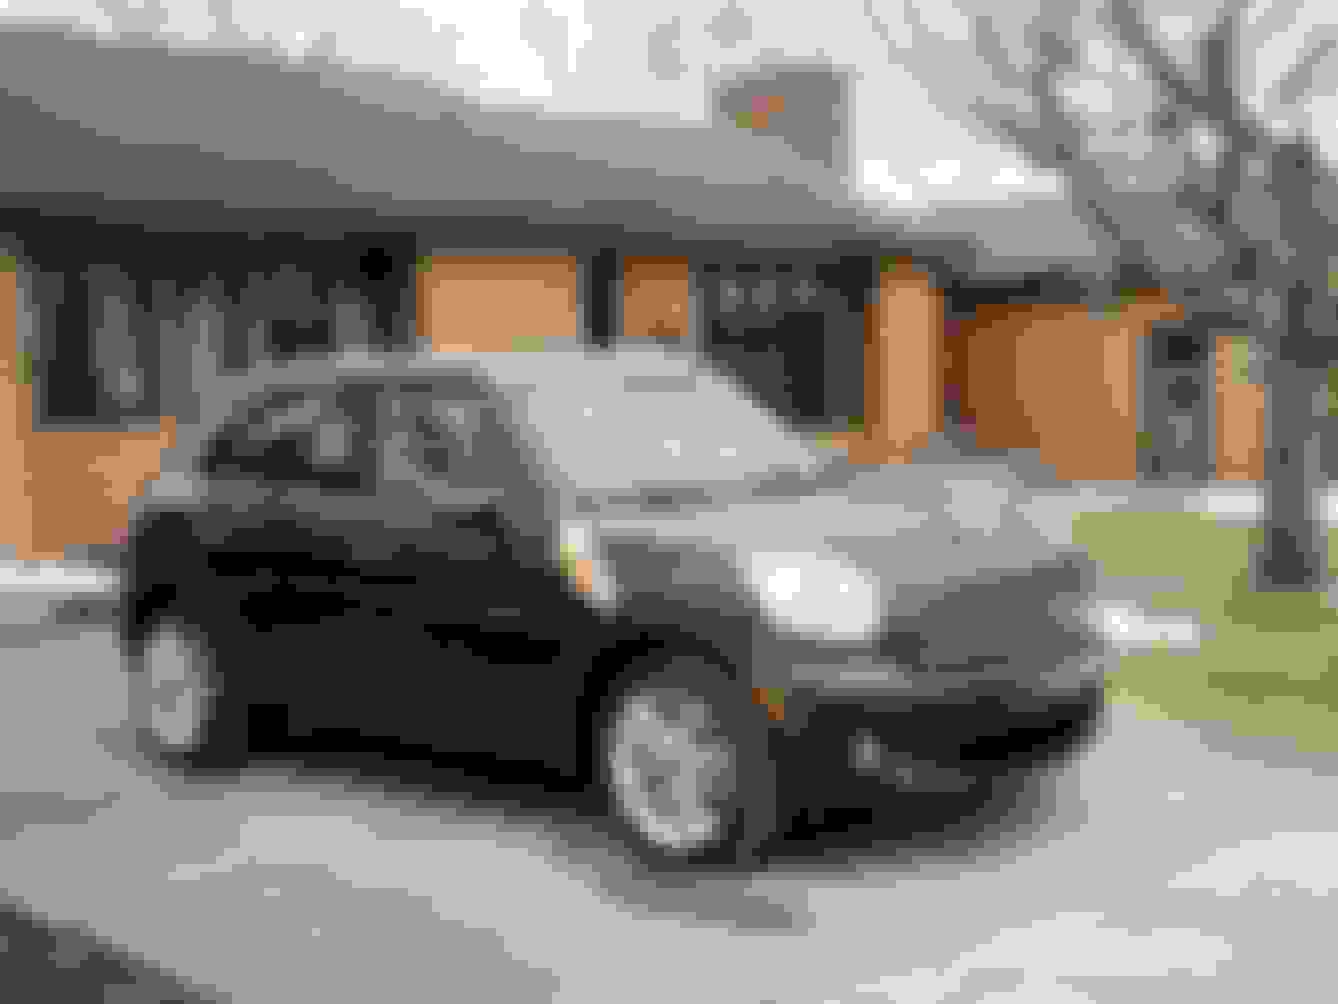
Happy with the JCW lip. I thought it might look dumb on a 'higher' ground clearance mini, but not the case at all. Stared at it for a while after install lol. I just bought the $133 lip from ECS without the install stuff. Worked fine. Pretty much just used all the wheel-well edge clips and a nut/bolt under the flare overlap. 3 original push fasteners under the bottom and its tight enough to work well.


R60 Countryman JCW lip ECS Tuning
 
  #2370  
Old 01-23-2017, 07:30 AM
ECSTuning's Avatar
ECSTuning
ECSTuning is offline
Platinum Sponsor
Join Date: Jan 2013
Location: Wadsworth, Ohio
Posts: 34,782
Received 1,964 Likes on 1,764 Posts
Looks great, thanks for the order. It's amazing just the front lower JCW lip improve the front end looks.
 
__________________

MINI Guru/ MINI Owner Since 2004 | NEW Lifetime Part Replacement | Local Pickup
Milltek | Genuine MINI | Forge Motorsport | NM Engineering | ECS Performance | M7 Speed
Customer Service Hours: 8am-8pm EST|Sales Team Hours: 8am-11pm | SAT 10am-7pm 800.924.5172
  #2371  
Old 01-23-2017, 08:48 AM
NM-1's Avatar
NM-1
NM-1 is offline
1st Gear
Join Date: Dec 2016
Location: Albuquerque, NM
Posts: 38
Likes: 0
Received 1 Like on 1 Post
Installed my ECS catch can. Used a 3/4" hose and tried to make it look as OEM as an install as possible. Took some time to find the right U-bend hose.

 
  #2372  
Old 01-23-2017, 10:17 AM
Nashvillejcw's Avatar
Nashvillejcw
Nashvillejcw is offline
2nd Gear
Join Date: Mar 2016
Posts: 123
Likes: 0
Received 0 Likes on 0 Posts


Finally got the windows tinted
 
  #2373  
Old 01-23-2017, 10:28 AM
DenisMcG's Avatar
DenisMcG
DenisMcG is offline
2nd Gear
Join Date: Jan 2017
Posts: 135
Likes: 0
Received 16 Likes on 14 Posts
I just bought a 2013 Countryman (base model). This is my first mini. Being a total newbie, I have managed to reset the TPMS and then broke the wheel lock key. I need to do the brakes and also get new tires. I managed to get one wheel off then snapped the key on the second wheel. The local BMW dealer doesn't have a key in stock so I ordered one directly from McGard. I will have to wait till it gets here to get back to the brakes.


  #2374  
Old 01-23-2017, 11:28 AM
ECSTuning's Avatar
ECSTuning
ECSTuning is offline
Platinum Sponsor
Join Date: Jan 2013
Location: Wadsworth, Ohio
Posts: 34,782
Received 1,964 Likes on 1,764 Posts
Originally Posted by NM-1
Installed my ECS catch can. Used a 3/4" hose and tried to make it look as OEM as an install as possible. Took some time to find the right U-bend hose.

Well done.
 
__________________

MINI Guru/ MINI Owner Since 2004 | NEW Lifetime Part Replacement | Local Pickup
Milltek | Genuine MINI | Forge Motorsport | NM Engineering | ECS Performance | M7 Speed
Customer Service Hours: 8am-8pm EST|Sales Team Hours: 8am-11pm | SAT 10am-7pm 800.924.5172
  #2375  
Old 01-23-2017, 06:18 PM
Sall4Ken's Avatar
Sall4Ken
Sall4Ken is offline
2nd Gear
Join Date: Oct 2016
Location: Bronx, NY
Posts: 70
Received 2 Likes on 2 Posts


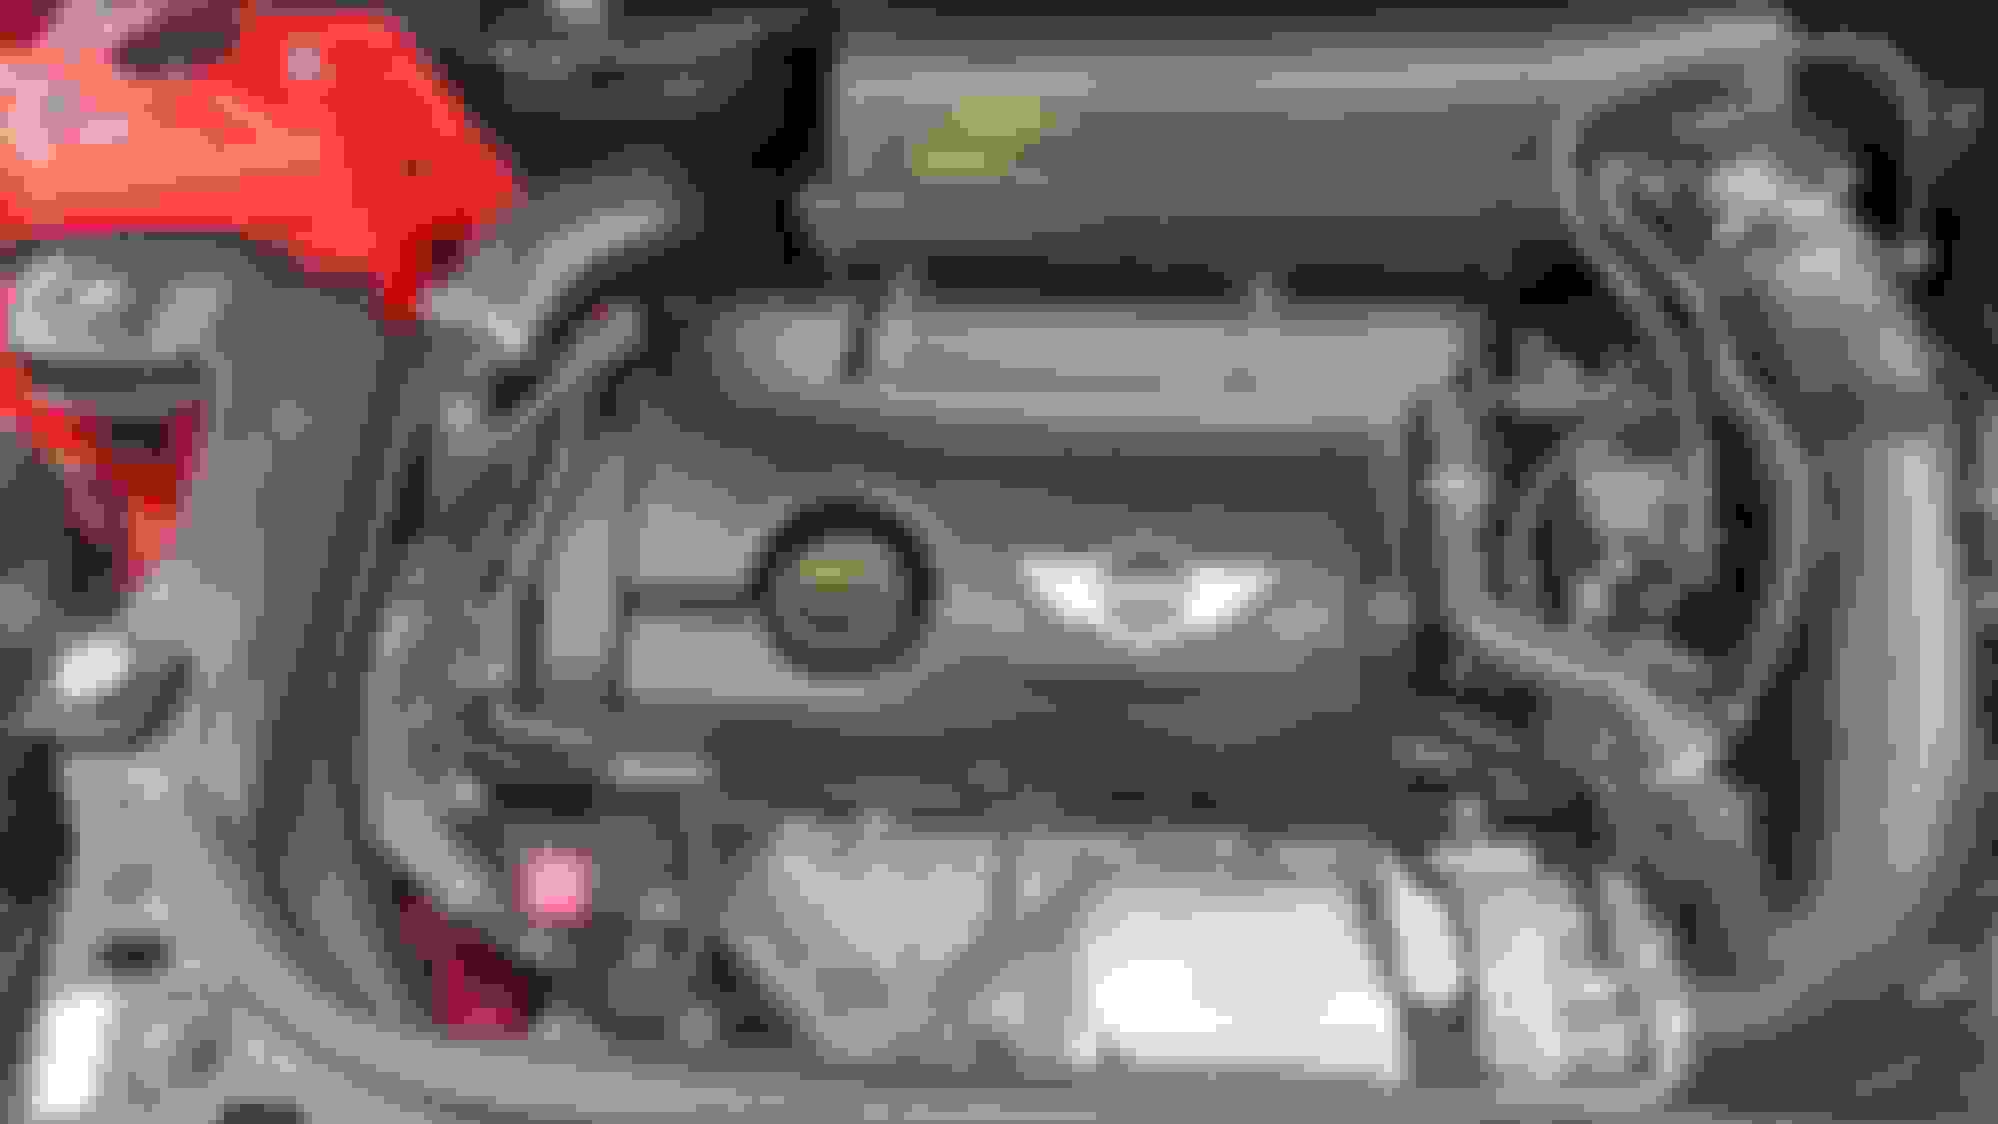
Vip custom parts air intake. Its pretty crappy out here in NY today so cant really test the butt dyno. The bov and turbo spool are significantly louder. Im shocked ive had short rams and cais on many turbocharged cars and never have they seemed as loud.
 

Thread Tools
Search this Thread
Quick Reply: R60 What did you do to your Countryman TODAY?


All times are GMT -7. The time now is 04:35 AM.