When you click on links to various merchants on this site and make a purchase, this can result in this site earning a commission. Affiliate programs and affiliations include, but are not limited to, the eBay Partner Network.
So once the frog gauges were installed I kinda got off on a tangent on the interior. The factory Recaros were out and installed in Heinrich so new seats were in order. They needed to be reclineable sport seats, comfortable, affordable and fit in a Mini. That's not always an easy combination to find. The back width in the shoulder area is where things can get tight. After a bit of measuring and searching I came across the Braum Elite V2 seats which seemed to fit the bill nicely. So I ordered those along with Planted seat brackets. When I pulled the original Cooper S seats from Heinrich I swiped the wire harness since the guy I was selling them to was planning to install them in a 47 Mercury. Slapped in some 2.2 Ohm resistors for the airbags along with an occupancy sensor bypass and the seatbelt resistor and all was good. I'm super happy with the fitment and even though they are designed as a performance seat they are surprisingly comfortable. I haven't taken any cross country trips yet so my opinion could change lol.
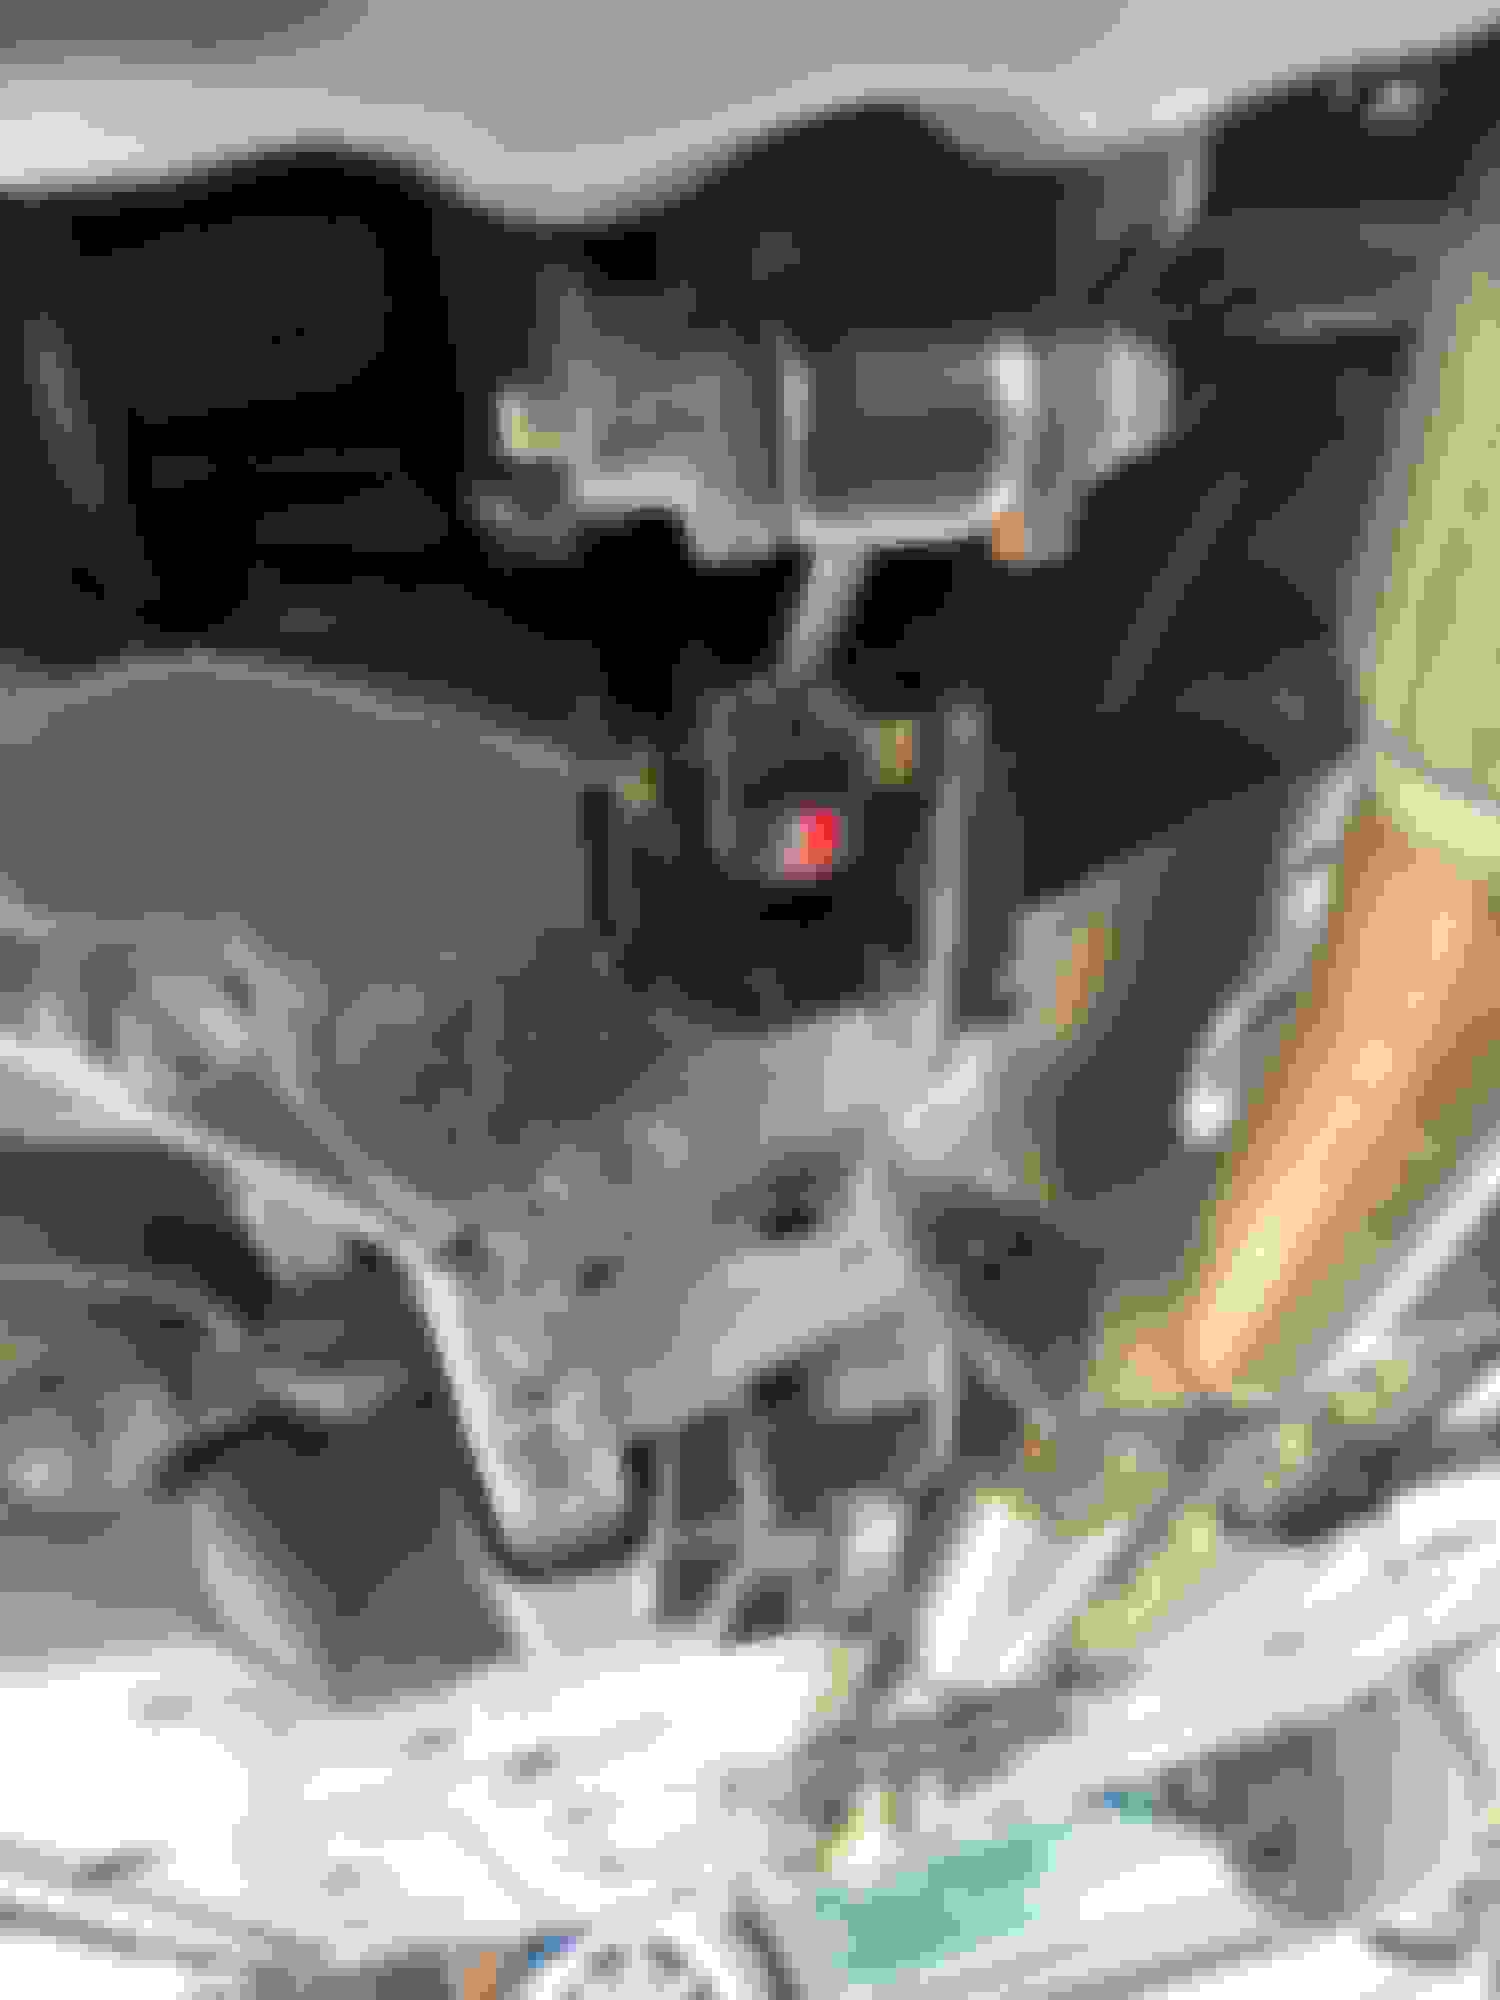
Few more interior updates. Installed the CAE shifter which I love, love, love. At the same time I installed the Vibra-Technics lower engine mount. Surprisingly I don't notice a large difference in NVH. Little more transmission noise radiating up through the open hole till I get the console re-installed. It's all trimmed up and I've been waiting for a billet brake handle I ordered that's made out of stainless. Hopefully it will look pretty good. Other updates include the Rennline pedals which are also great for those of us the aren't that great at heel/toe shifting. Last thing updated so far was the GP2 steering wheel. I looked at quite a few carbon wheels but I didn't want one with a flat bottom. Glad I choose the GP2 as it feels great and doesn't look too shabby.
The CAE is a considerable upgrade from the factory shifter and other short shifter options available. The exception to that would be the Coolerworx shifter which is also designed with motorsport application in mind. The biggest improvements is the precise nature of the shortened throw, combined with the width of gates and significant reduction in freeplay of the handle. Other notable improvements is the closer proximity to the steering wheel. When you take your right hand off the wheel to shift, the shift **** is literally right there. Another significant improvement is the reverse lockout. No more missing the gate to first and being greeted by the sound of grinding gears (cringe). Since installing the shifter I have yet to miss a single gear no matter how hard I'm driving it. Third gear used to be the bane of my existence before when letting it all hang out.
With vent gauges you do loose the ability to reduce airflow through the vent. Simple solution there is turn the fan down, so not really a problem for me. In regards to direction of airflow you have to look at the design of the one you're interested in. With some you can swivel it, and with others it is locked straight forward.
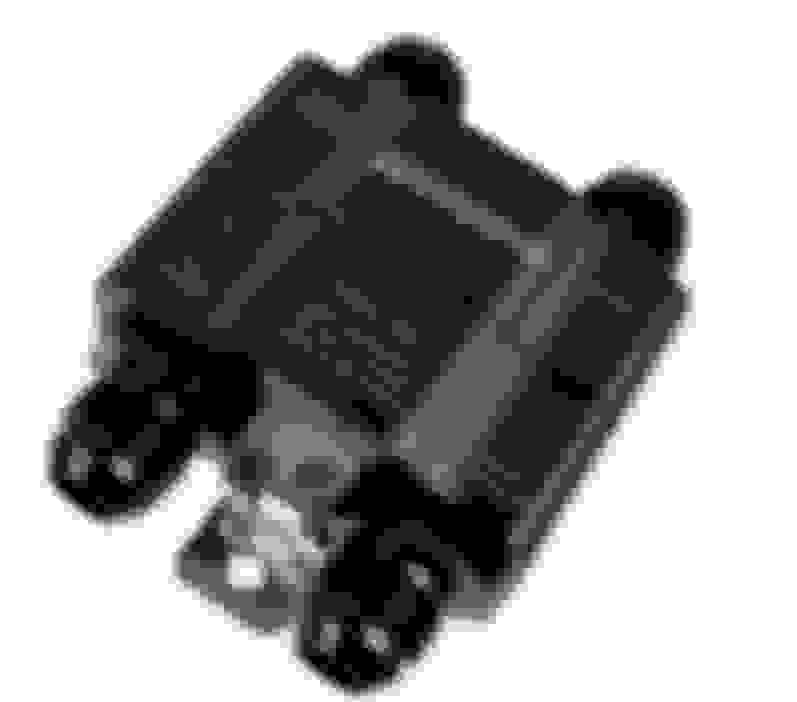
Aftermarket oil cooler is a great idea for extended track use or high power builds as it removes that thermal load from the cooling system. Where a lot of people make a mistake is not installing an oil cooler thermostat. This can result in extended intervals for the oil to come up to operating temperature or it never reaching temperature in cooler weather. Oil pressure is good. Oil flow is vital. The one I purchased for Vlad was the FSM-205. The last half of the part number is the temperature at which the thermostat is fully open.
Vlad has been rocking an Aquamist HSF4 kit from Howerton Engineering for quite some time and with plans for a five port meth system the tiny meth tank had to go. After looking around a bit I decided to go with the Aquamist 10L tank mainly because I liked the overall design and the fact that is was baffled. The Aquamist pump was also getting a bit long in the tooth so I decided to first install a new pump head and then decide to upgrade the entire pump assembly. First order of business was making a mounting system for the tank and pump. I liked the rather simple and straight forward system Howerton came up with that locked the system on the tie down points in the boot. So I set out to make something similar but that would fit the much larger tank.
Here's a couple of pictures of the main center support that locks onto the forward and aft tie down points.
Next up we needed a base plate wide enough to support the tank and pump and some side supports to give it extra rigidity. I'm a firm believer in overkill. Then everything was chemically etched and alodined.
Then on to mounting the tank and the pump. For a pump I choose to forgo the Aquamist pump which is limited to about 1,500 cc/min and selected a ProMeth 1890 cc pump. "Since I was there"... I replaced the 6mm line to the FAV with AN4 braided Teflon line.
I wasn't thrilled with the tank vent system that Aquamist has. It goes into the center of the filler cap so every time you go to fill the tank, it's another thing to deal with. I ended up choosing the red tank vent you see here which also includes a roll-over check valve to ensure the tank doesn't leak in case Vlad ever decides to imitate a turtle on it's back.
Everything all in and snugged down. I still need to build a box to enclose the whole thing though.
I also decided to upgrade the FAV and flow sensor from the standard 1300 cc/min units to the 1600 cc/min ones. While doing this I decided to do some testing of the old system verses the new. The old system would spray right at 500 cc/min with a single Aquamist 1.0 nozzle, whereas the new system would put out 620 cc/min with the same nozzle.
Since I was planning to go five port I figured why not test a multi nozzle setup the same way. First I tested the old system with four 0.5 mm nozzles and one 1.0 mm nozzle. Based on the Aquamist flow charts this should have flowed 1,390 cc/min but only managed to put out 1,140 cc's. Next up I tested the system with the new pump, FAV, flow sensor and five 0.5 mm nozzles. Again per the Aquamist charts this should produce 1,050 cc/min but actually put out 1,280 cc/min. I wasn't really surprised there was a flow difference since the Aquamist pump comes set at 160 psi while the Prometh comes pre-set at 190 psi. This last test however demonstrated the flow limitations of the Aquamist pump and the standard FAV and flow sensor.
I'll get into this a bit more when I get to the engine build later but having a little fun getting the billet manifold ready for the direct port meth nozzles.
Oh... my.... so many questoins.
If you don't mind me asking, are you a Machinist or Engineer by trade, or an avid tinkerer?
That manifold is fantastic, did you use 3d scans to figure out your dimensions or measure by hand?
Where does the 5th injector go?
Do you expect any flow improvements with the custom manifold?
What led you to design this on your own? (nothing extisted in the market that met your parameters, enjoy a challnege, had some free time lol )
Do you have a road map for Vlad, or are you enjoying the journey and iimprovising as you go?
What, in your opinoin, is the N18 realiable stage/power limitation if meth isn't a vialbe option (wife LOVES driving our Coupe, and is on board for upgrades all around, but isn't sold on meth injection).
Have you had any success finding a baffled sump for the R56 engine?
Have you seen the youtube channel This Old Tony?
Oh my God...
I wish I could make my Howerton kit to work again... No matter what I do, reconnect, change. I just wont spray as it did at some point in the past.
By the way, the short shifter! me wants!
Hi MiniMoic. Shoot me a PM with what the Aquamist is doing and I can probably give you pointers on getting her squared away.
Originally Posted by Mini Chris
Oh... my.... so many questions.'
Not a certified machinist or engineer. Studied aeronautical engineering in college till the scholarship ran out then joined the Marines to be a mechanic on Harrier jump jets. Joined civilian aviation in 1993 and currently run the quality control department at an aircraft repair center. I can usually make my way with AutoCad or Solidowrks when I need to. First nine years in aviation was as a structures mechanic so I'm fairly decent at fabrication when I want to be. Everything for the tank/pump mount system was made using a band saw, belt sander and hand tools like pneumatic drill, die grinders, etc. The center extrusion and side supports were ordered from onlinemetals.com. The side braces were actually square tube that was cut with a leading and trailing edge angle, then cut in half lengthwise.
The manifold I'm drilling on a horizontal mill/drill machine was fabricated by Kakarakis in Greece. I was looking for an intake with a tapered velocity stack design which they already had but this one has some modifications including the ability to use a larger throttle from a BMW N20 engine, inlet dimpling and bosses for meth injection to go along with the secondary injectors. It's also matched to the ported head that will be going on the engine. If it doesn't flow more than a stock manifold I'll be happy to eat my hat
The fifth meth injector is installed in the charge pipe just after the intercooler which is the standard location for a single port setup.
Definitely have a road map for Vlad. The new engine/turbo and trans will be the last pieces, then it's test and tune time. I have an ECUMaster Black ecu to control the secondary injectors but intend to start tuning with injector blanks installed.
One of the inputs on the Aquamist can be configured to allow an external ecu with programmable PWM output to control the amount of meth injected while the Aquamist itself handles all the house keeping and failsafe controls. In this case the plan is to use the Cortex EBC to control flow. This way if the Cortex fails, the boost pressure falls back to spring pressure. In addition, if the Aquamist fails, the boost pressure falls back to spring pressure which is set at 1 bar.
Hi MiniMoic. Shoot me a PM with what the Aquamist is doing and I can probably give you pointers on getting her squared away.
Not a certified machinist or engineer. Studied aeronautical engineering in college till the scholarship ran out then joined the Marines to be a mechanic on Harrier jump jets. Joined civilian aviation in 1993 and currently run the quality control department at an aircraft repair center. I can usually make my way with AutoCad or Solidowrks when I need to. First nine years in aviation was as a structures mechanic so I'm fairly decent at fabrication when I want to be. Everything for the tank/pump mount system was made using a band saw, belt sander and hand tools like pneumatic drill, die grinders, etc. The center extrusion and side supports were ordered from onlinemetals.com. The side braces were actually square tube that was cut with a leading and trailing edge angle, then cut in half lengthwise.
The manifold I'm drilling on a horizontal mill/drill machine was fabricated by Kakarakis in Greece. I was looking for an intake with a tapered velocity stack design which they already had but this one has some modifications including the ability to use a larger throttle from a BMW N20 engine, inlet dimpling and bosses for meth injection to go along with the secondary injectors. It's also matched to the ported head that will be going on the engine. If it doesn't flow more than a stock manifold I'll be happy to eat my hat
The fifth meth injector is installed in the charge pipe just after the intercooler which is the standard location for a single port setup.
Definitely have a road map for Vlad. The new engine/turbo and trans will be the last pieces, then it's test and tune time. I have an ECUMaster Black ecu to control the secondary injectors but intend to start tuning with injector blanks installed.
One of the inputs on the Aquamist can be configured to allow an external ecu with programmable PWM output to control the amount of meth injected while the Aquamist itself handles all the house keeping and failsafe controls. In this case the plan is to use the Cortex EBC to control flow. This way if the Cortex fails, the boost pressure falls back to spring pressure. In addition, if the Aquamist fails, the boost pressure falls back to spring pressure which is set at 1 bar.
Oops. Just realized I forgot to answer your question Chris about the N18 and safe tuning levels. The truth is there is very little difference between the strength of the pistons on the N14 and the N18. The difference in perceived reliability of the N18 stems from the better Bosch HPFP and the sensitivity settings of the knock sensor in the software. The N18 is much more apt to pull timing at the slightest inclination for knock whereas the N14 would plow right into it before pulling timing. My personal N18 that I used for my daily driver until I recently sold it was a Stage 1, and never failed to plaster a smile all over my face while driving it. Can you run a Stage 2 or even Stage 3 reliably on an N18? Absolutely, I had already purchased everything necessary to upgrade Heinrich to a Stage 3 non-meth configuration. But you have to keep in mind that any time you place increased load on any mechanical system you increase the rate of wear and possibility of failure. So the question you have to ask yourself is if the extra 20-25 HP for a Stage 2 is worth it to you. There's and old saying that I've found holds very true. "The last 10% of performance is 90% of the cost."
Kind of ironic, this coming from me. But then again I'm borderline certifiable anyway.
Oops. But you have to keep in mind that any time you place increased load on any mechanical system you increase the rate of wear and possibility of failure."
Kind of ironic, this coming from me. But then again I'm borderline certifiable anyway.
Just adding to this - while load does add stress, it is usually the heat associated that decreases ( or kills ) system life ! Hence the strong effort to keep temps where they should be.
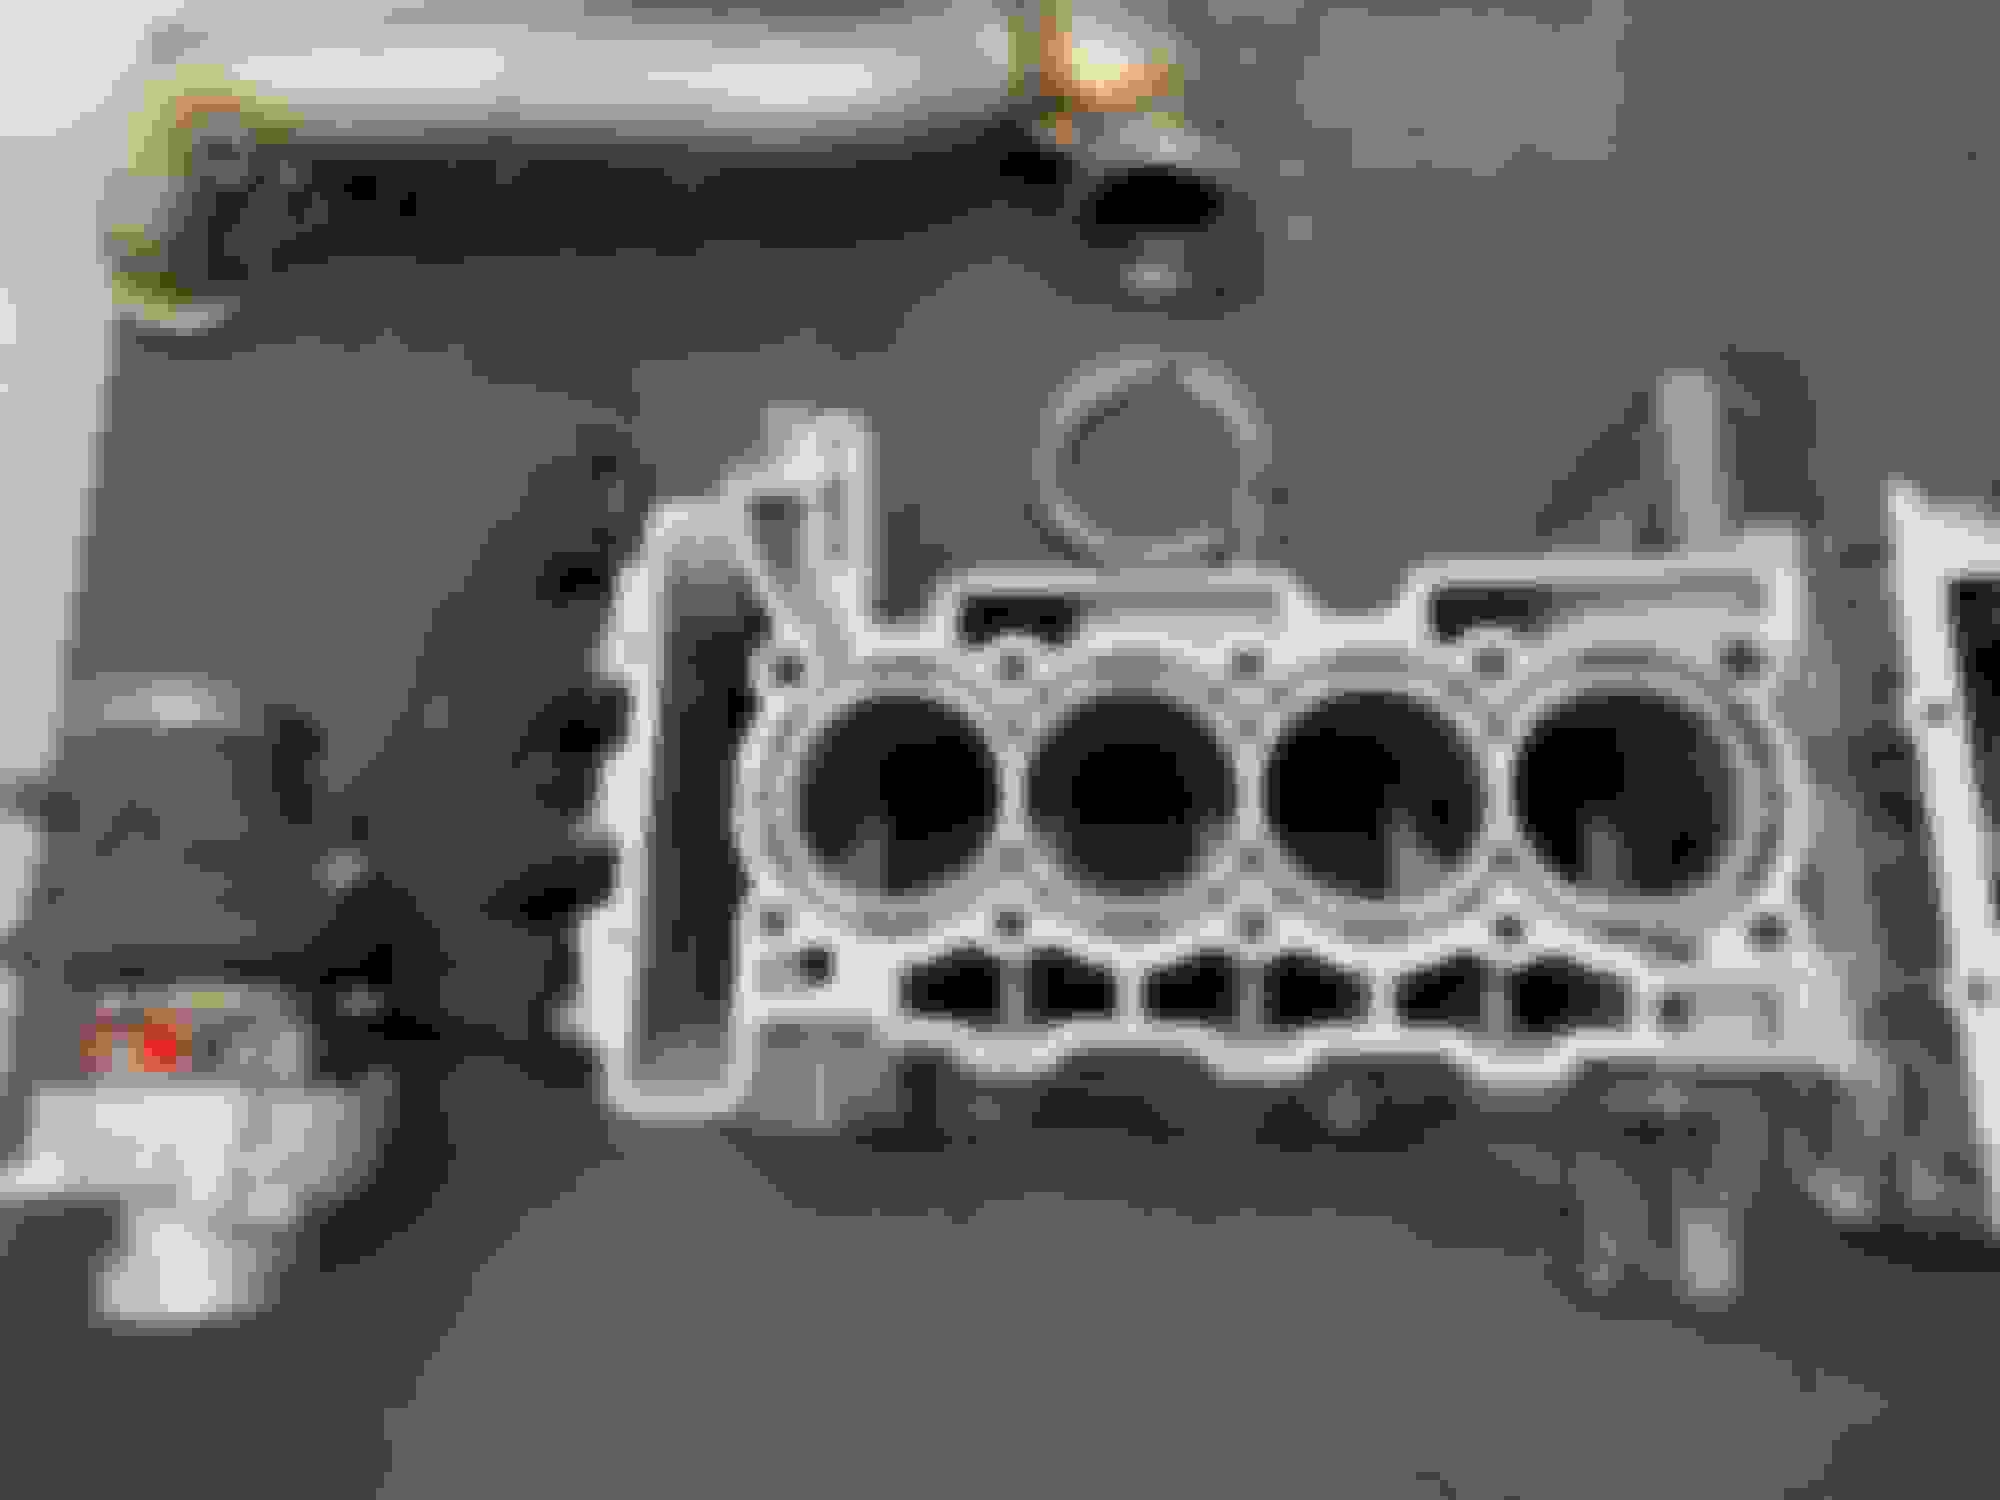
Time to get into the engine build so I'll start with the short block which had Darton MID sleeves installed by PME engines in Mooresville, NC. Feel free to ignore the stufff on the left for now. "These are not the droids you are looking for."
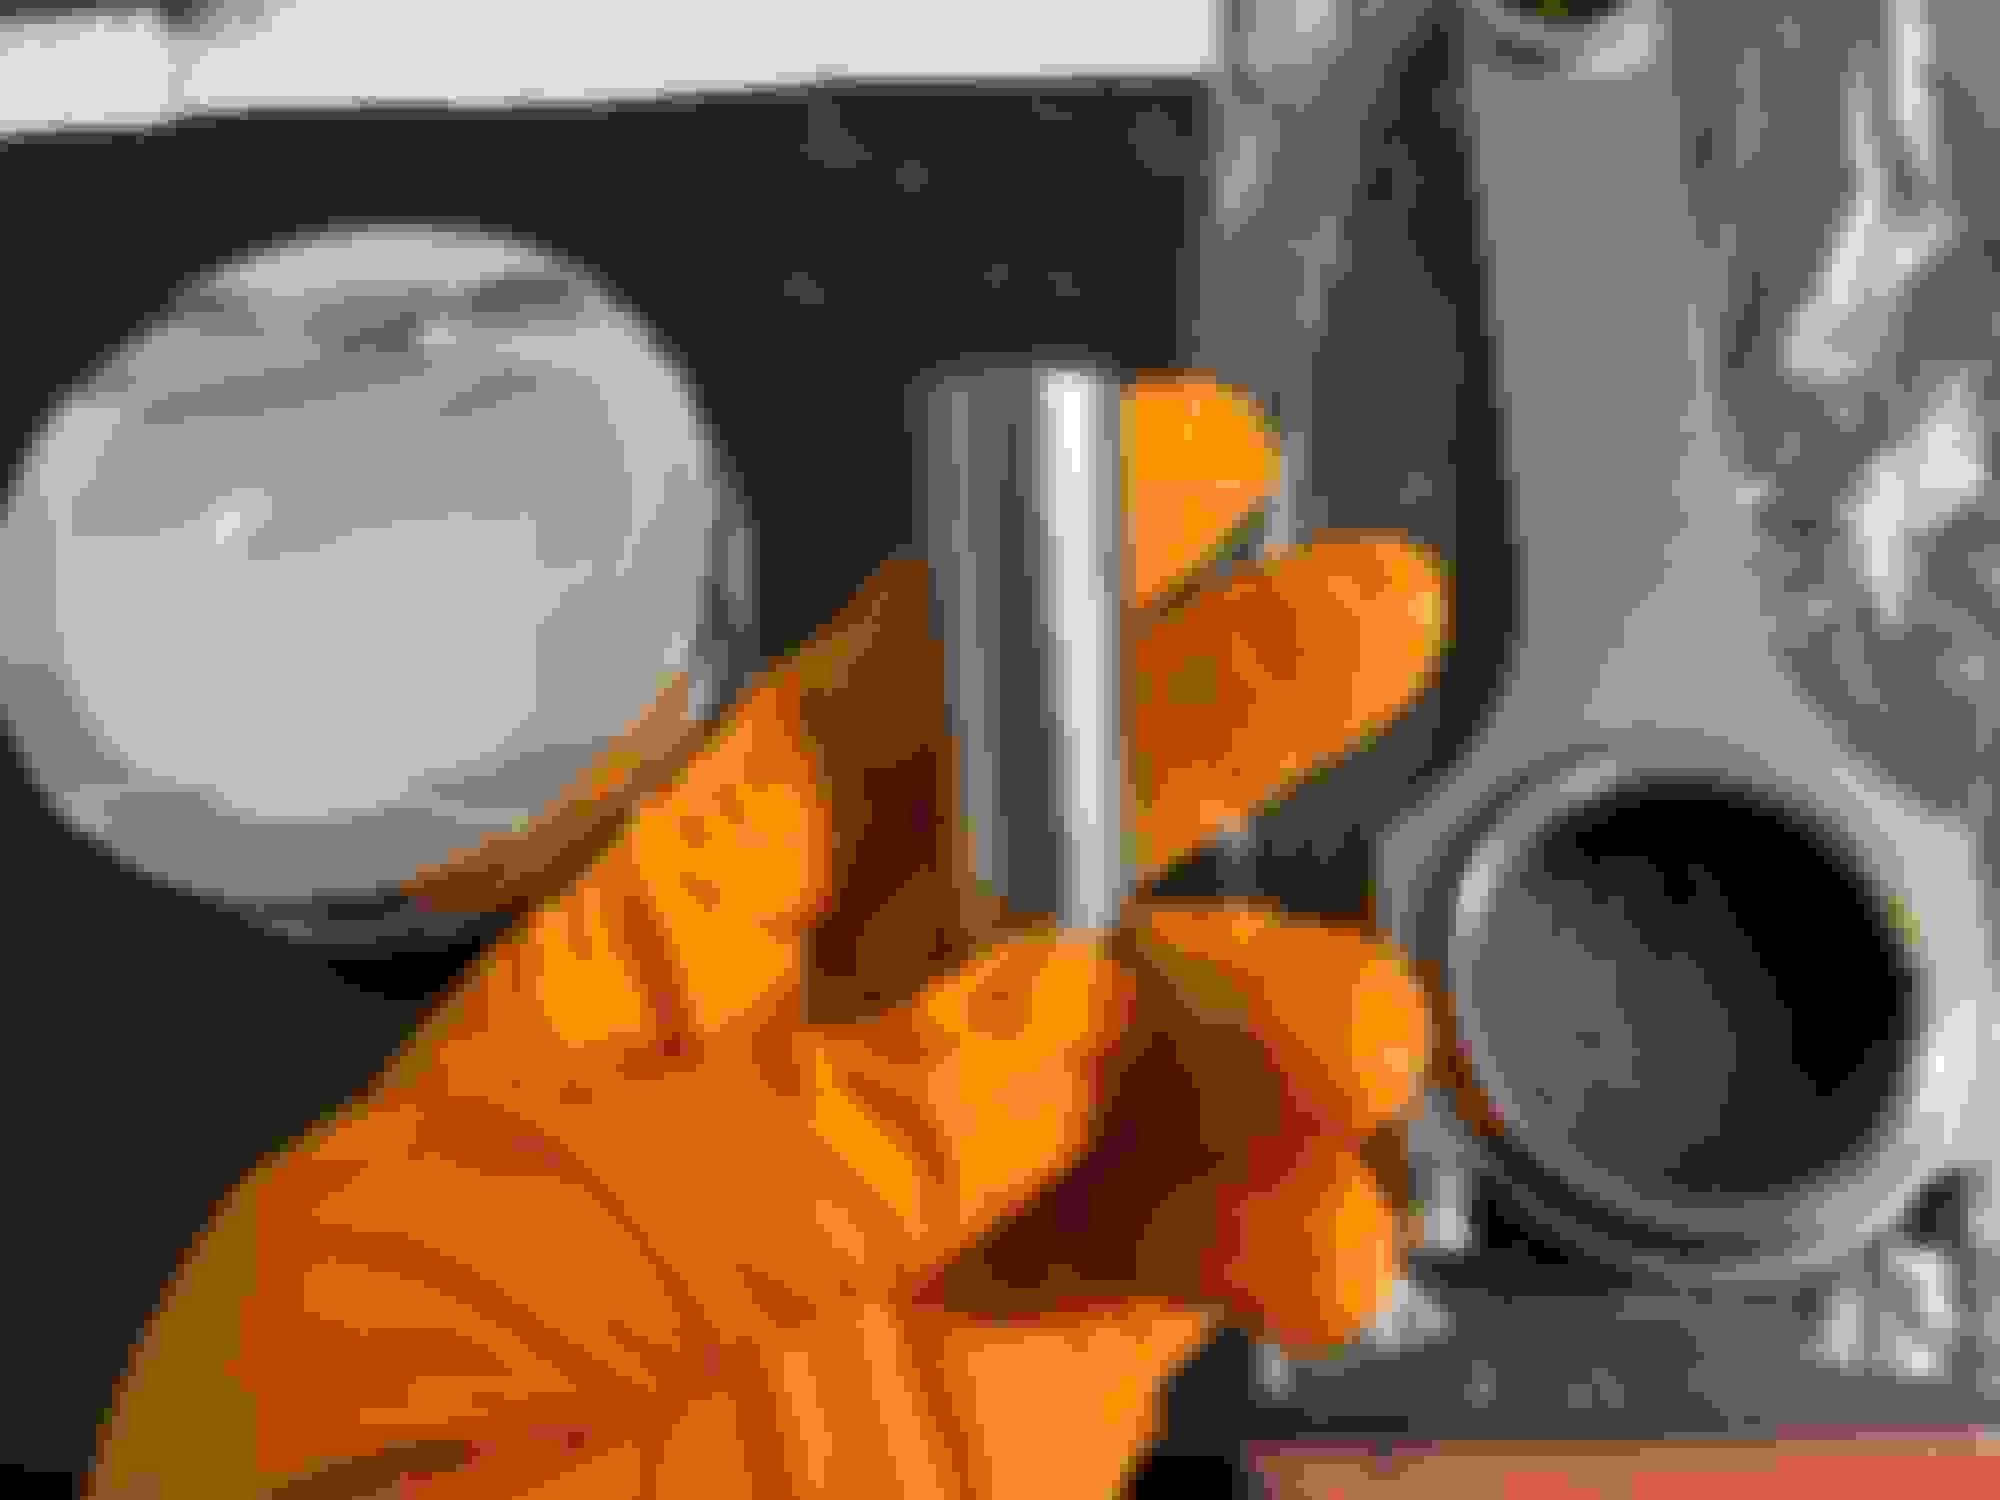
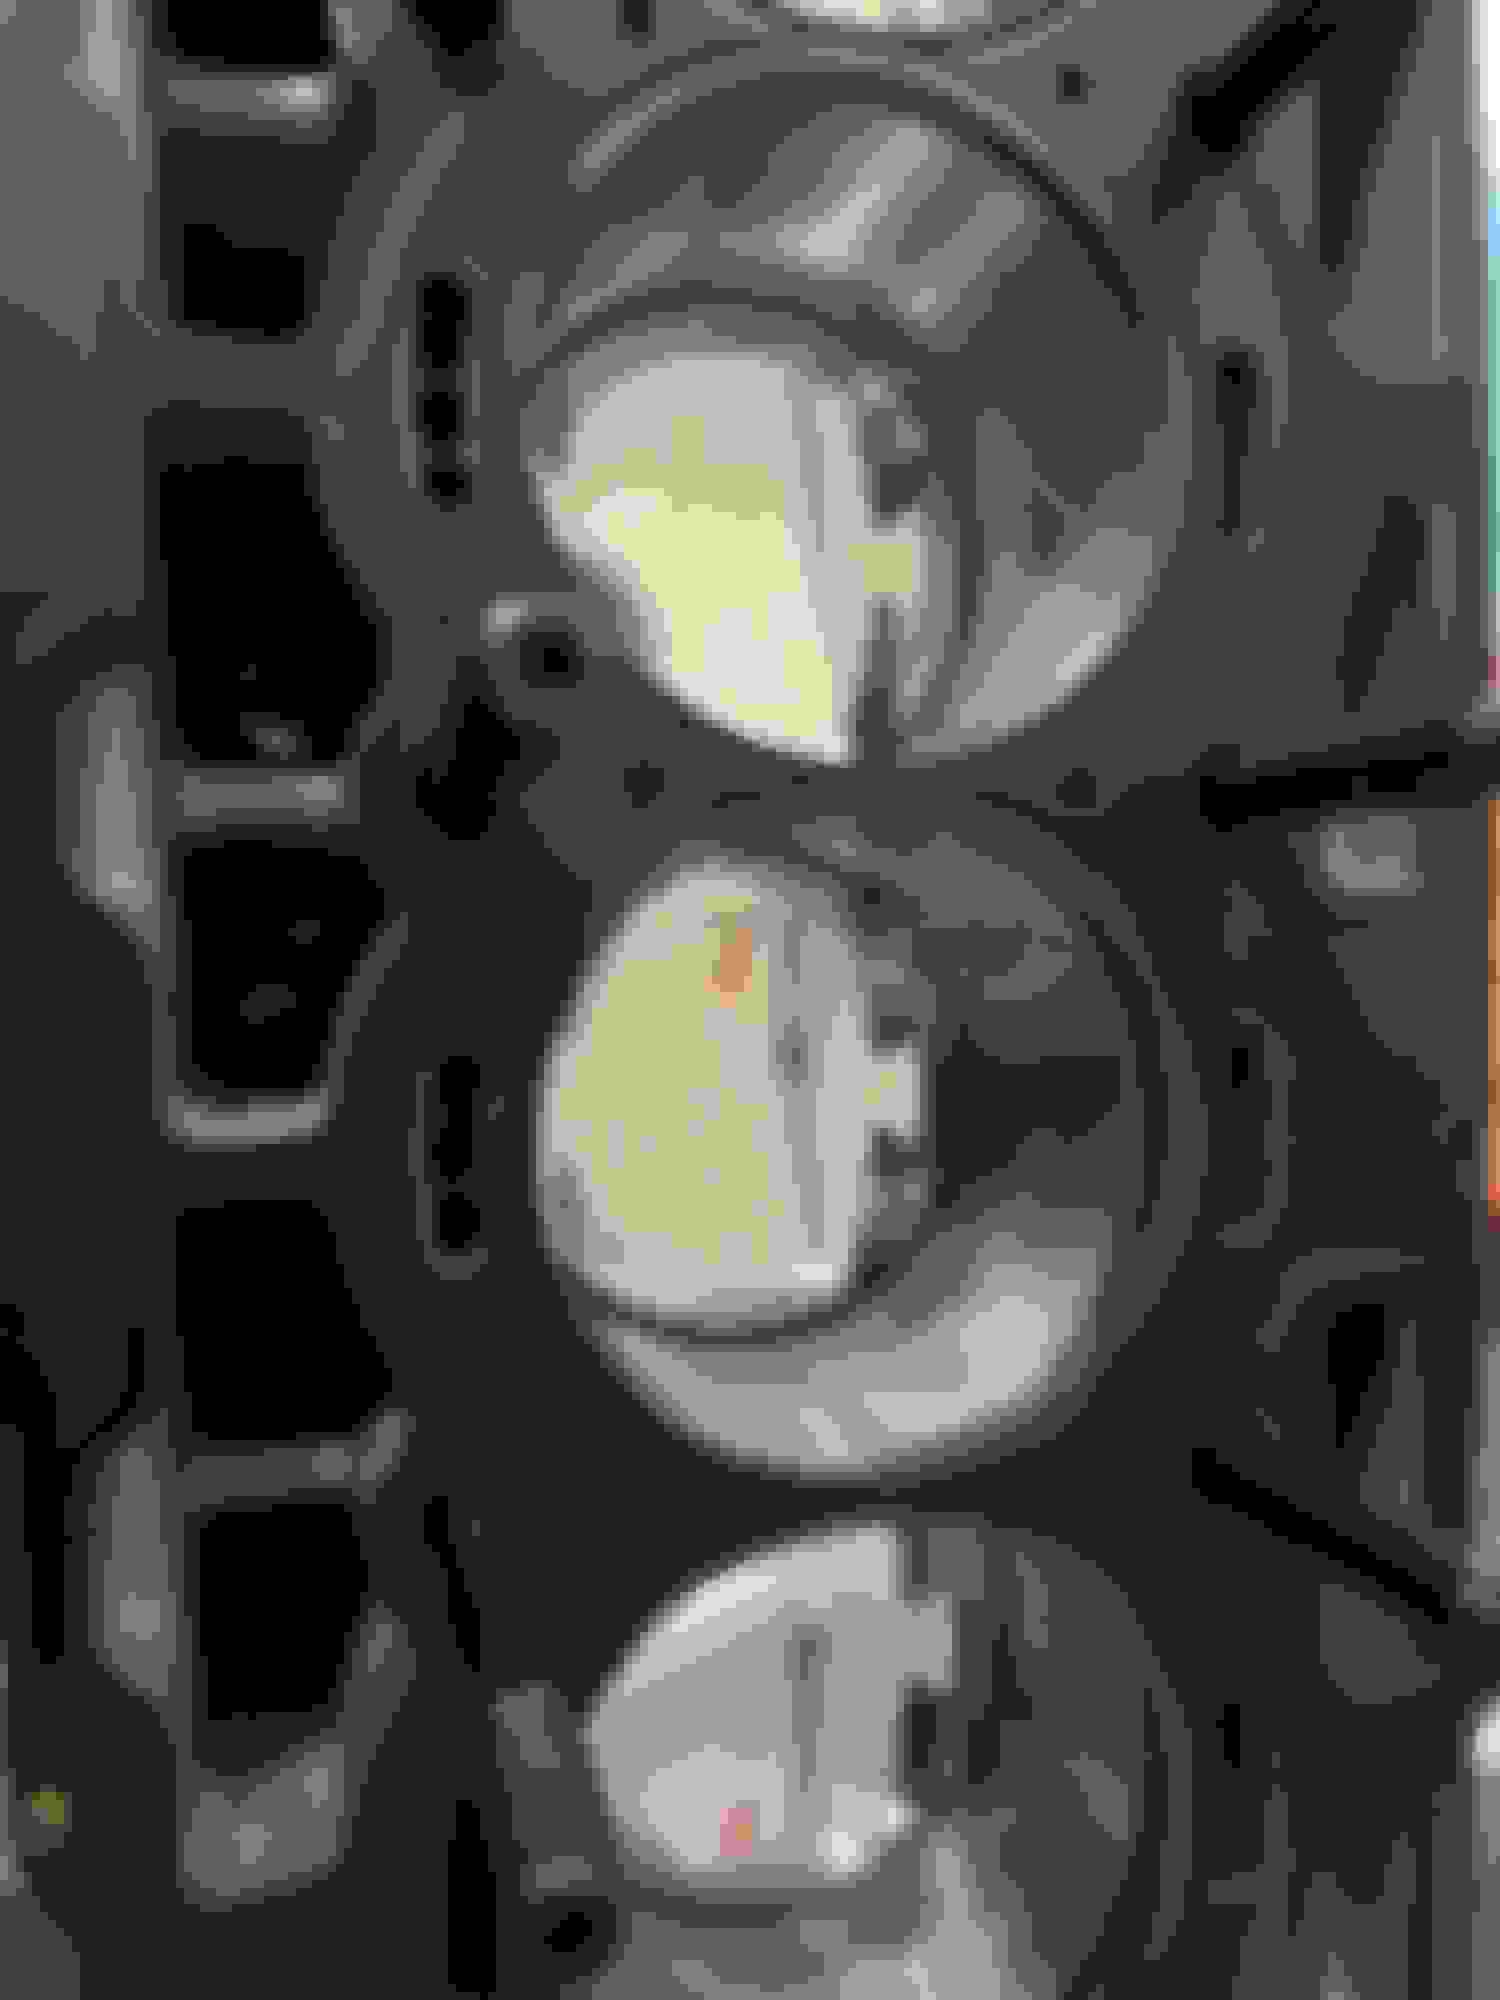
Pistons are custom CP 9.5:1 compression with compression ring land anodized, moly skirt coating, oversized valve reliefs and heavy duty wrist pins that have been WPC treated.
As you can see the WPC micro-peening gives the surface a satin appearance.
Rods are Carrillo. Weight is very similar to the factory powder forged units.
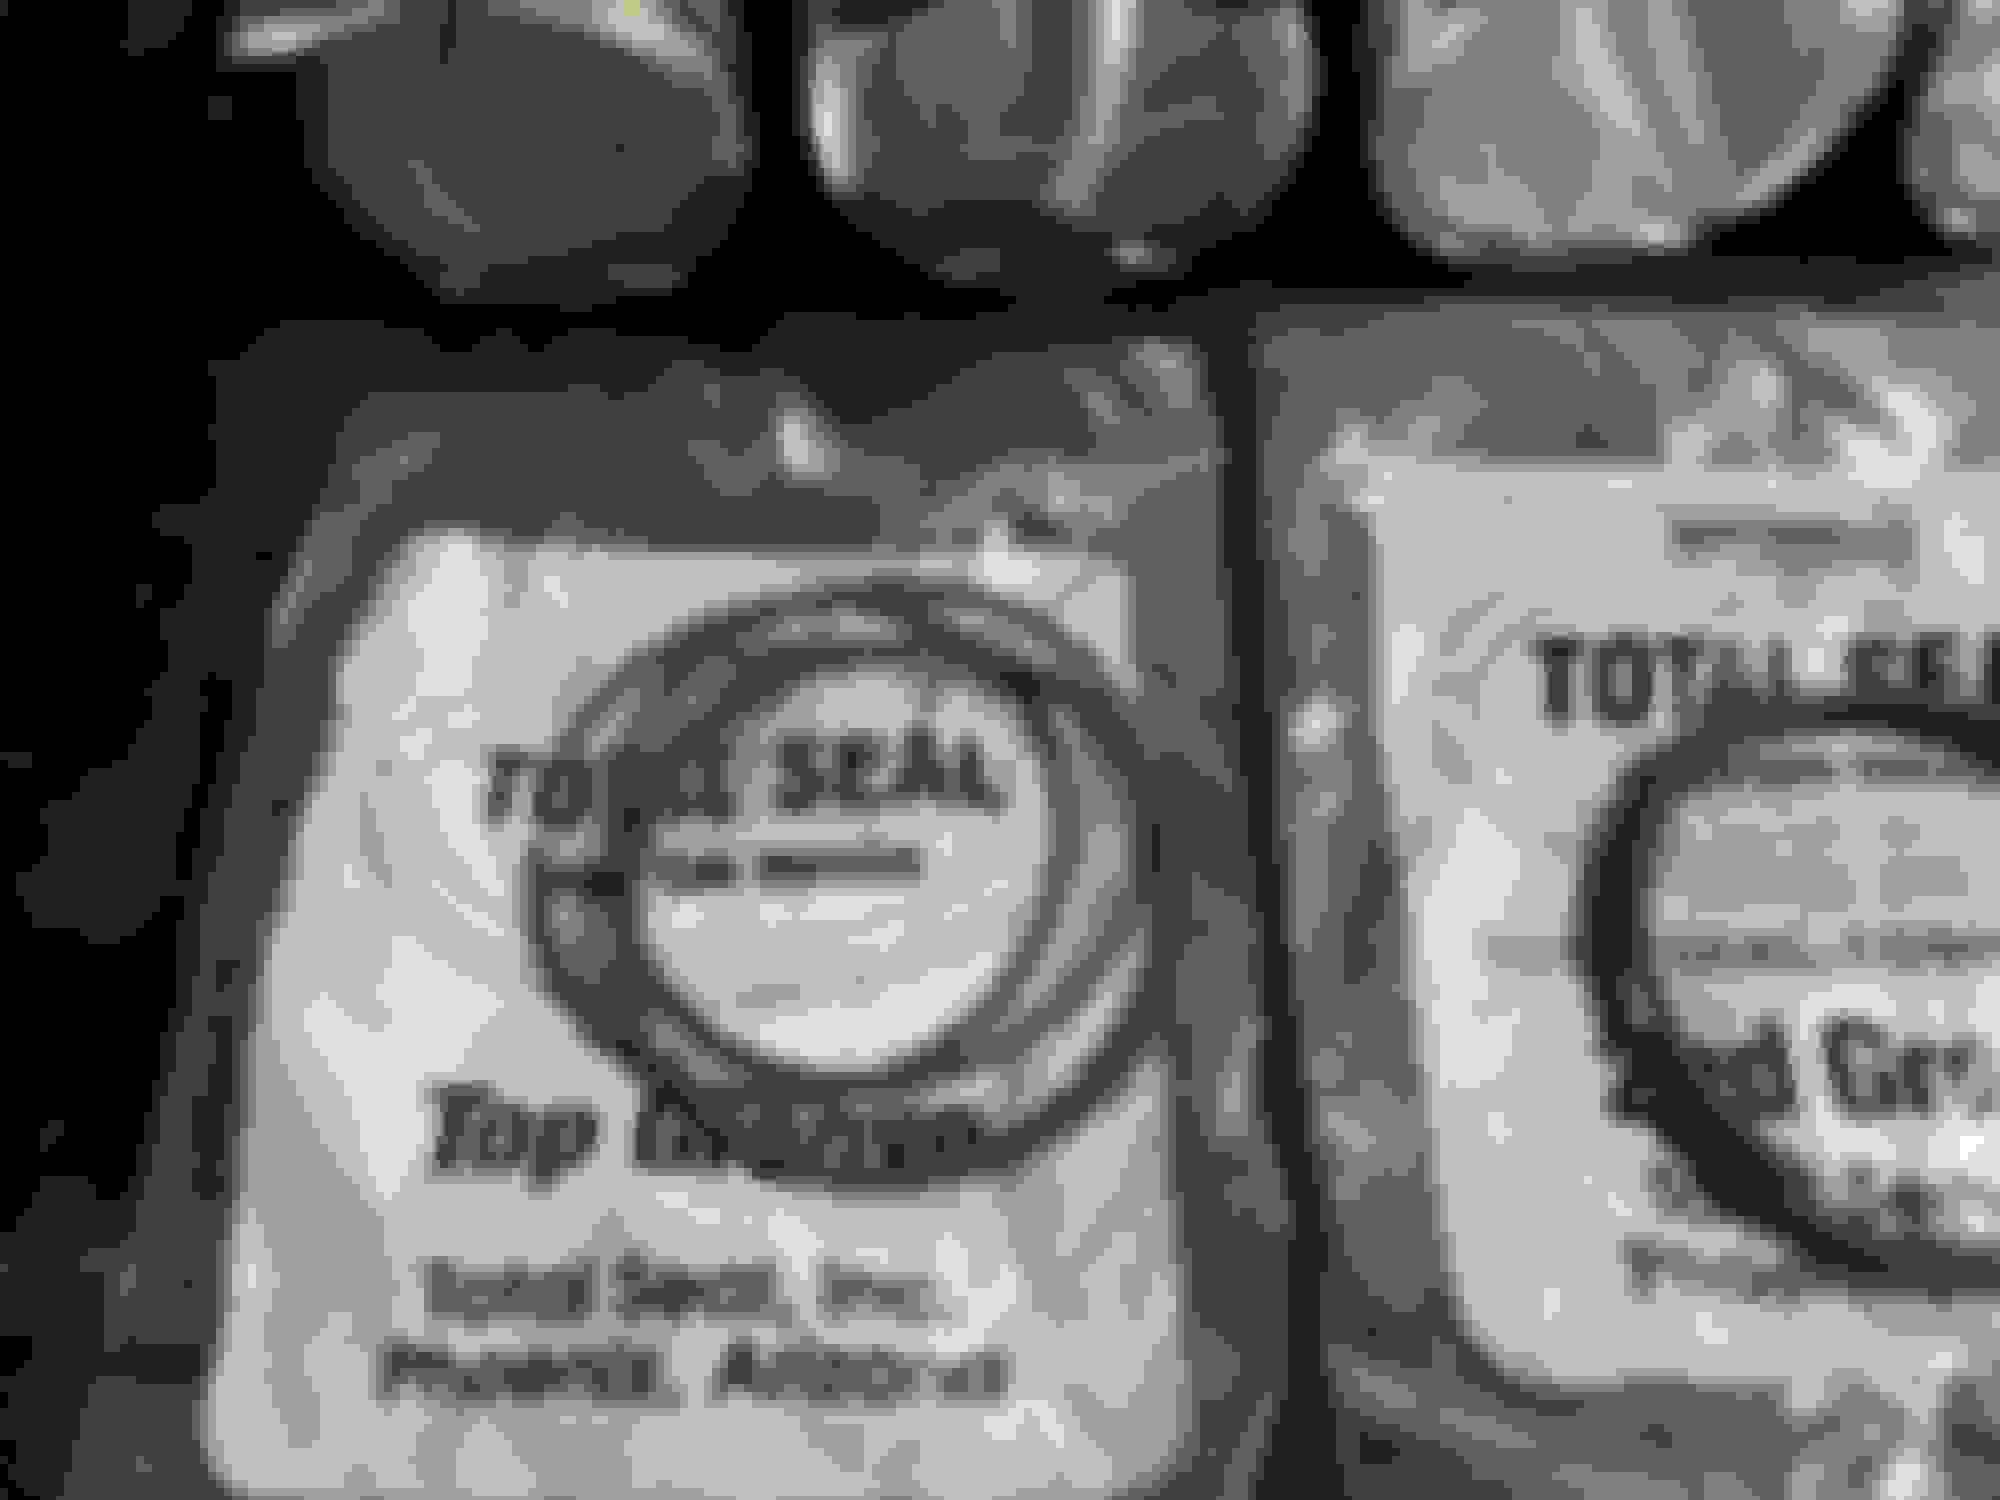
Rings are a low tension custom pack from Total-Seal. Compression rings are 1.2mm gas ported rings while the oil wiper/secondary ring is 1.0mm and standard oil ring.
Crankshaft was Magnafluxed, balanced, trued, polished and also got WPM treatment on the the main and rod journals. Bearings are King XP race bearings.
Top and bottom end will be held together with ARP studs. Head Gasket is Cometic 0.038 MLS.
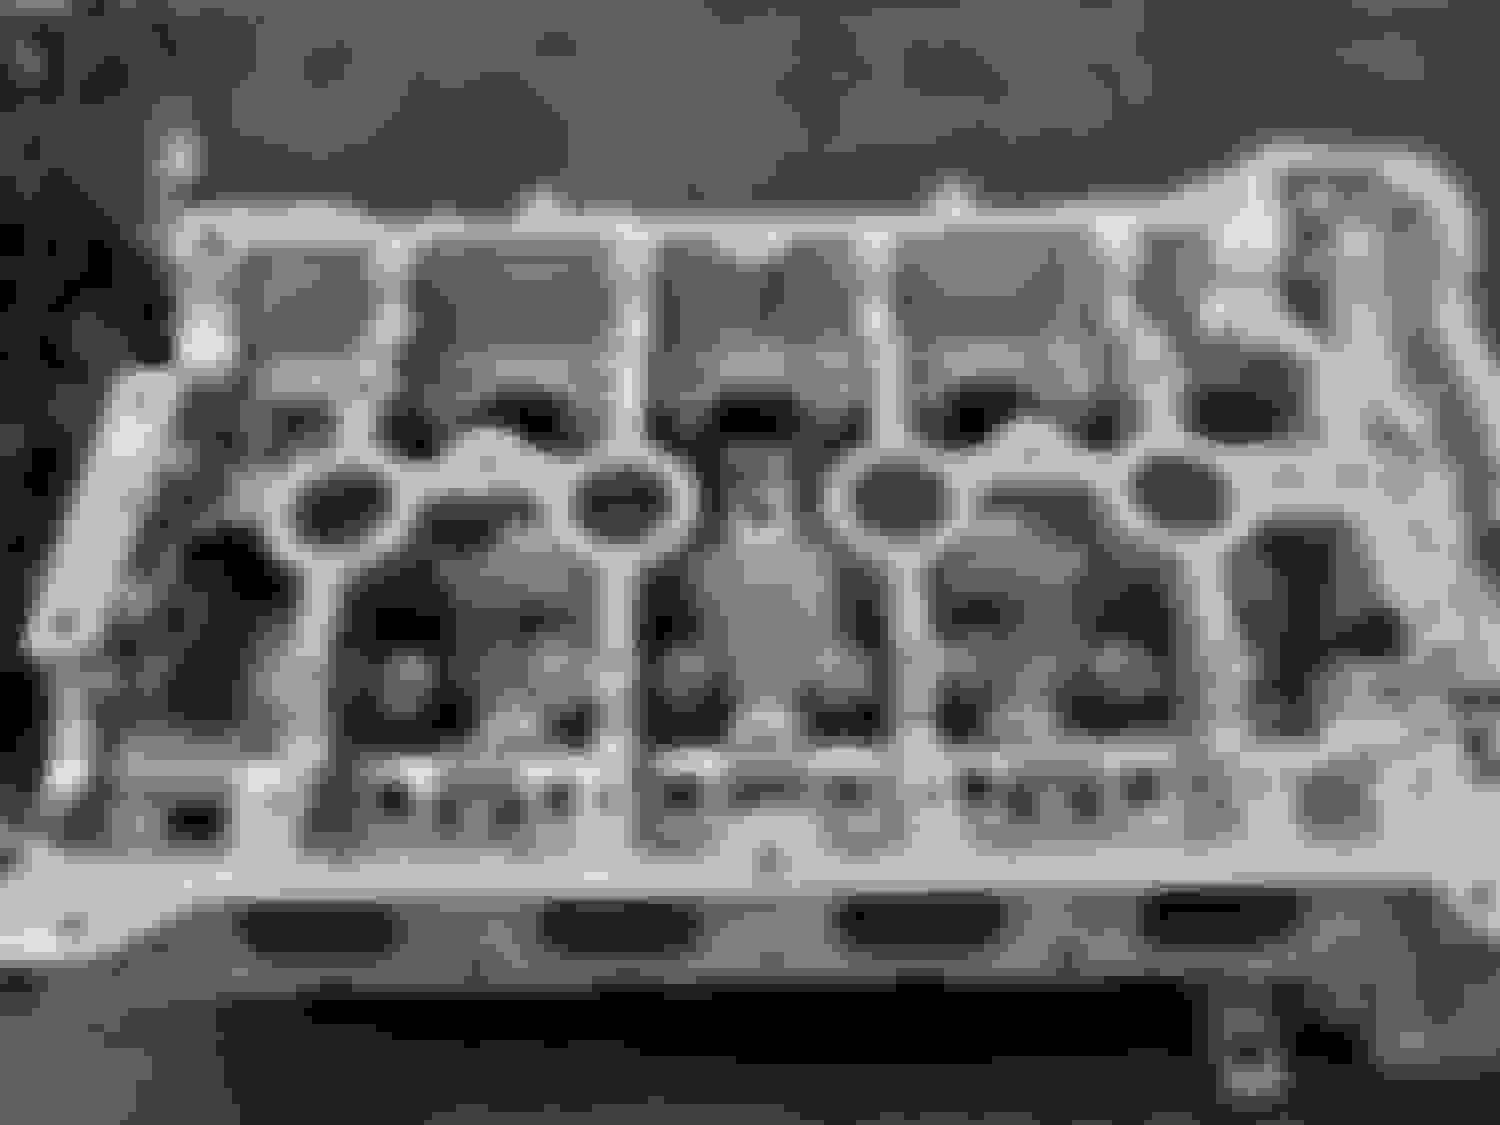
The head for this I managed to pick up for $500. A little under 30k miles on the clock and it had just been rebuilt by Cylinder Head Exchange in Fort Lauderdale.
I suppose I could have just bolted it on but then you see the ports and it's like ummm... no. So off she went to have Thumper work his magic on it. Intake and exhaust ports profiled, ported and pockets reworked. And since we're already there... Supertech oversized valves with SS in the intake and inconel on the exhaust side with 5 angle valve job and new Supertech valve guides, seals, springs and keepers with the titanium retainers that cam with the Schrick cams.
Getting started.
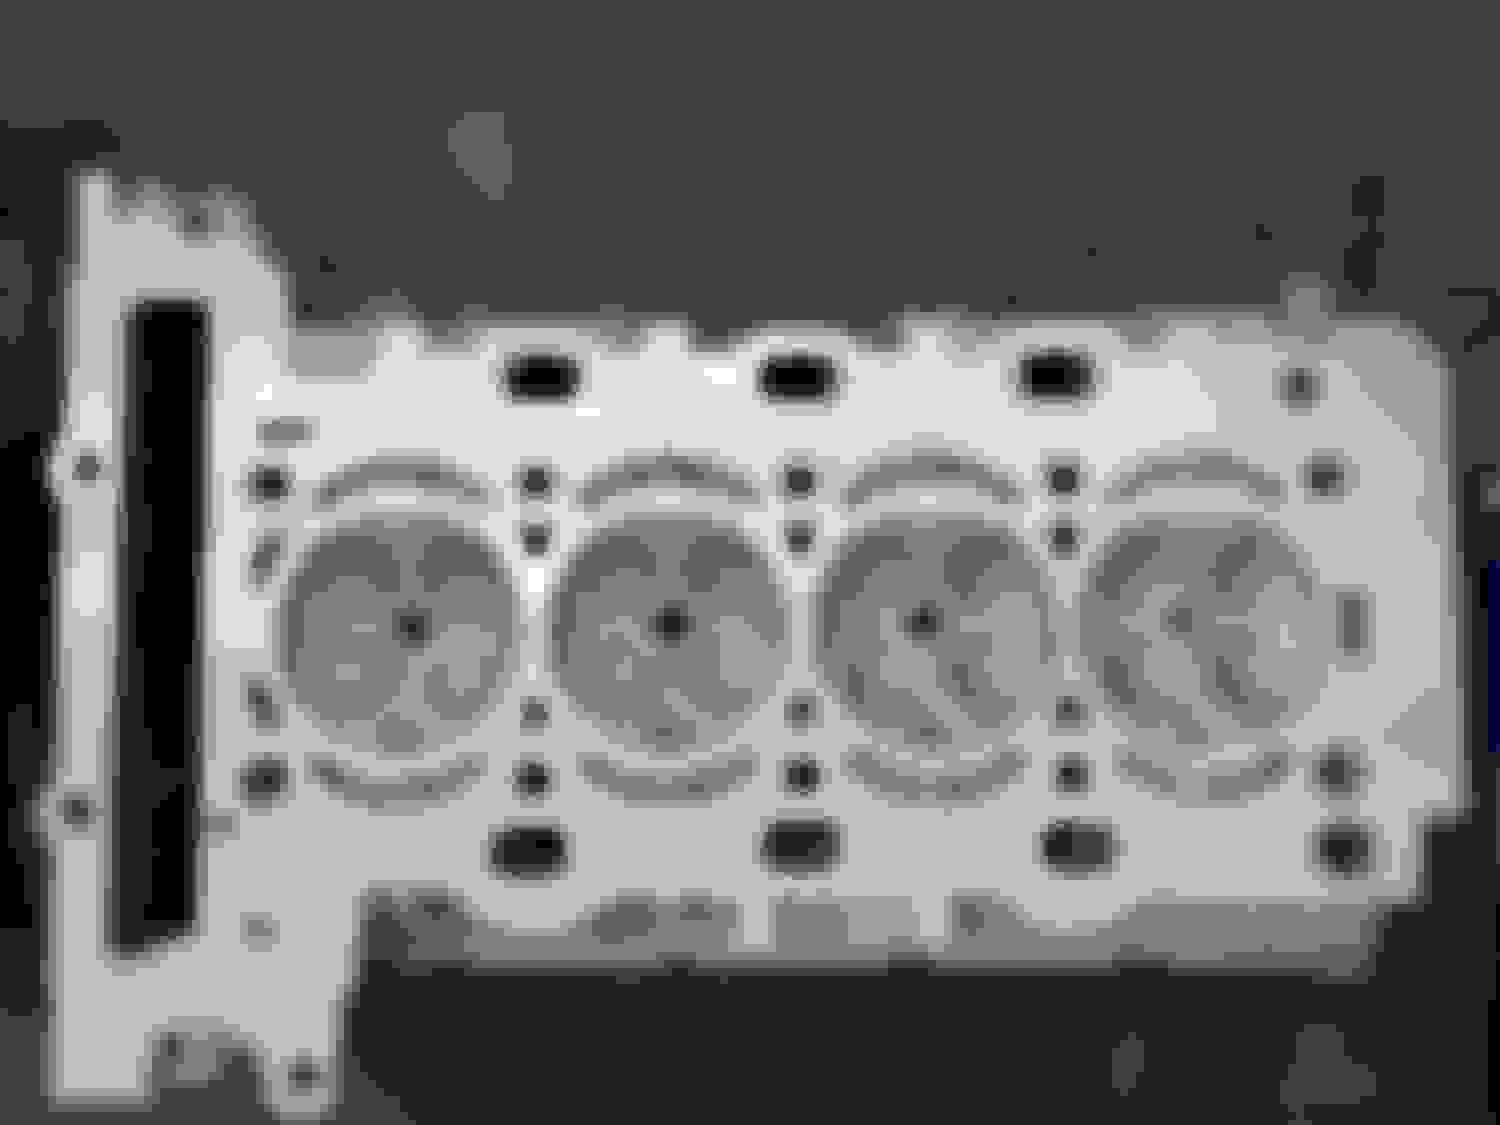
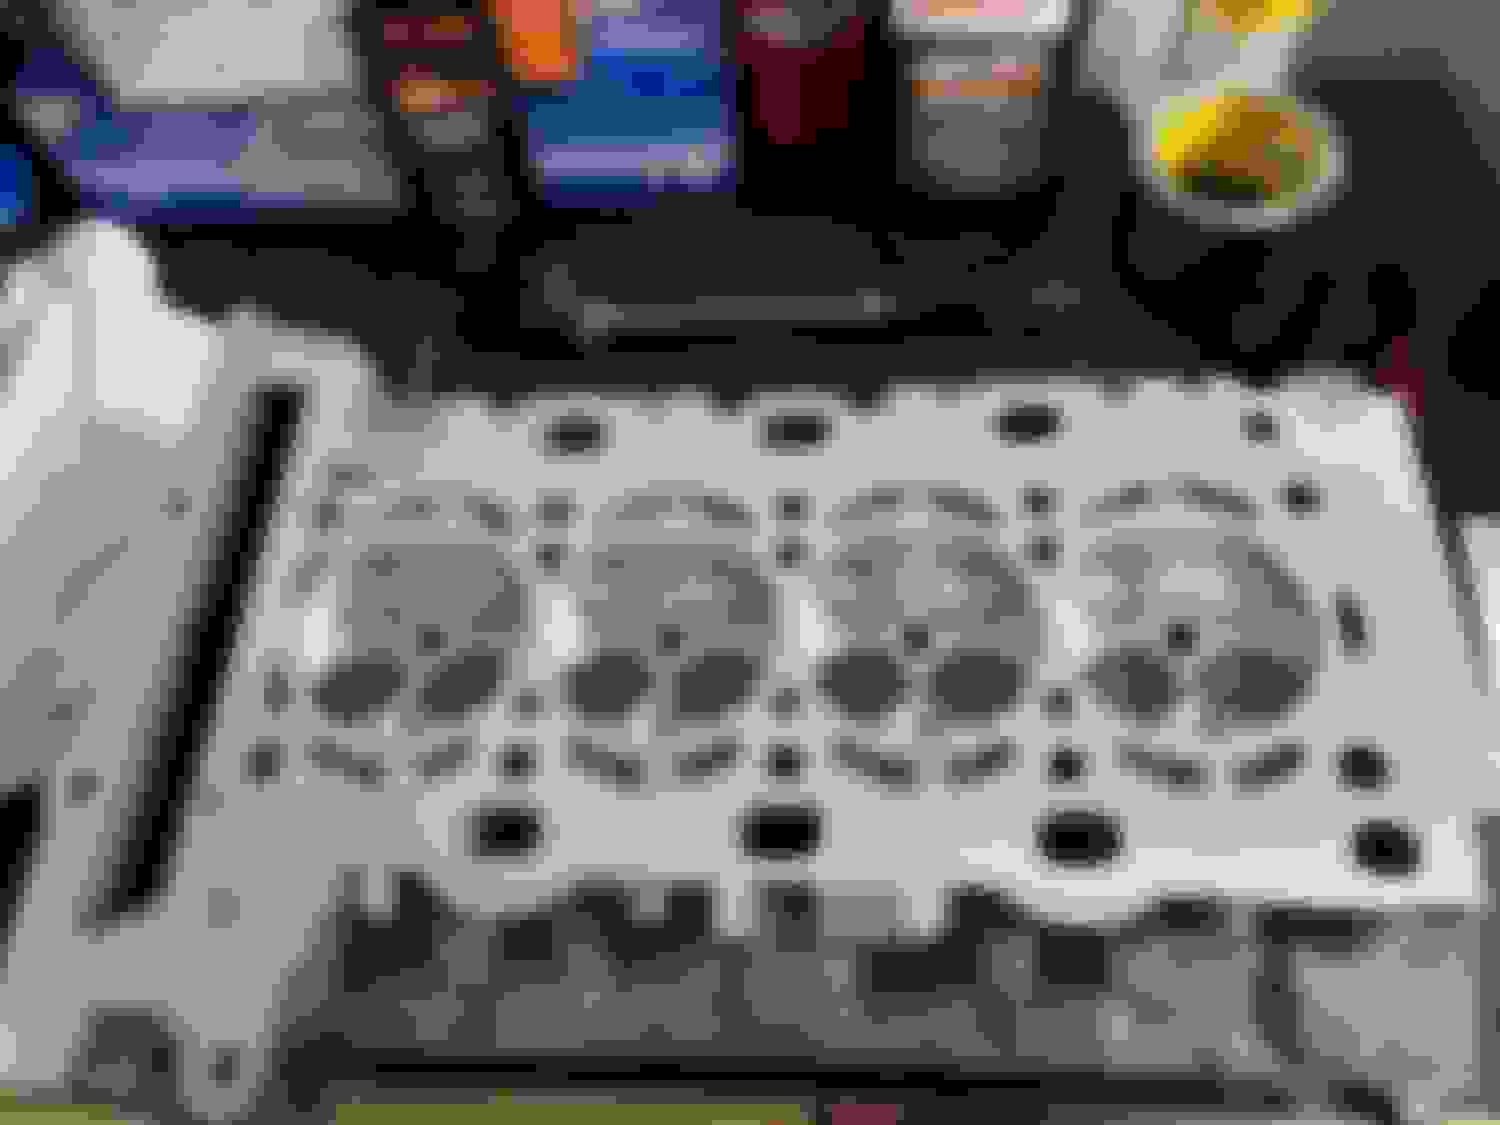
Completed head with combustion chambers polished and CC'ed.
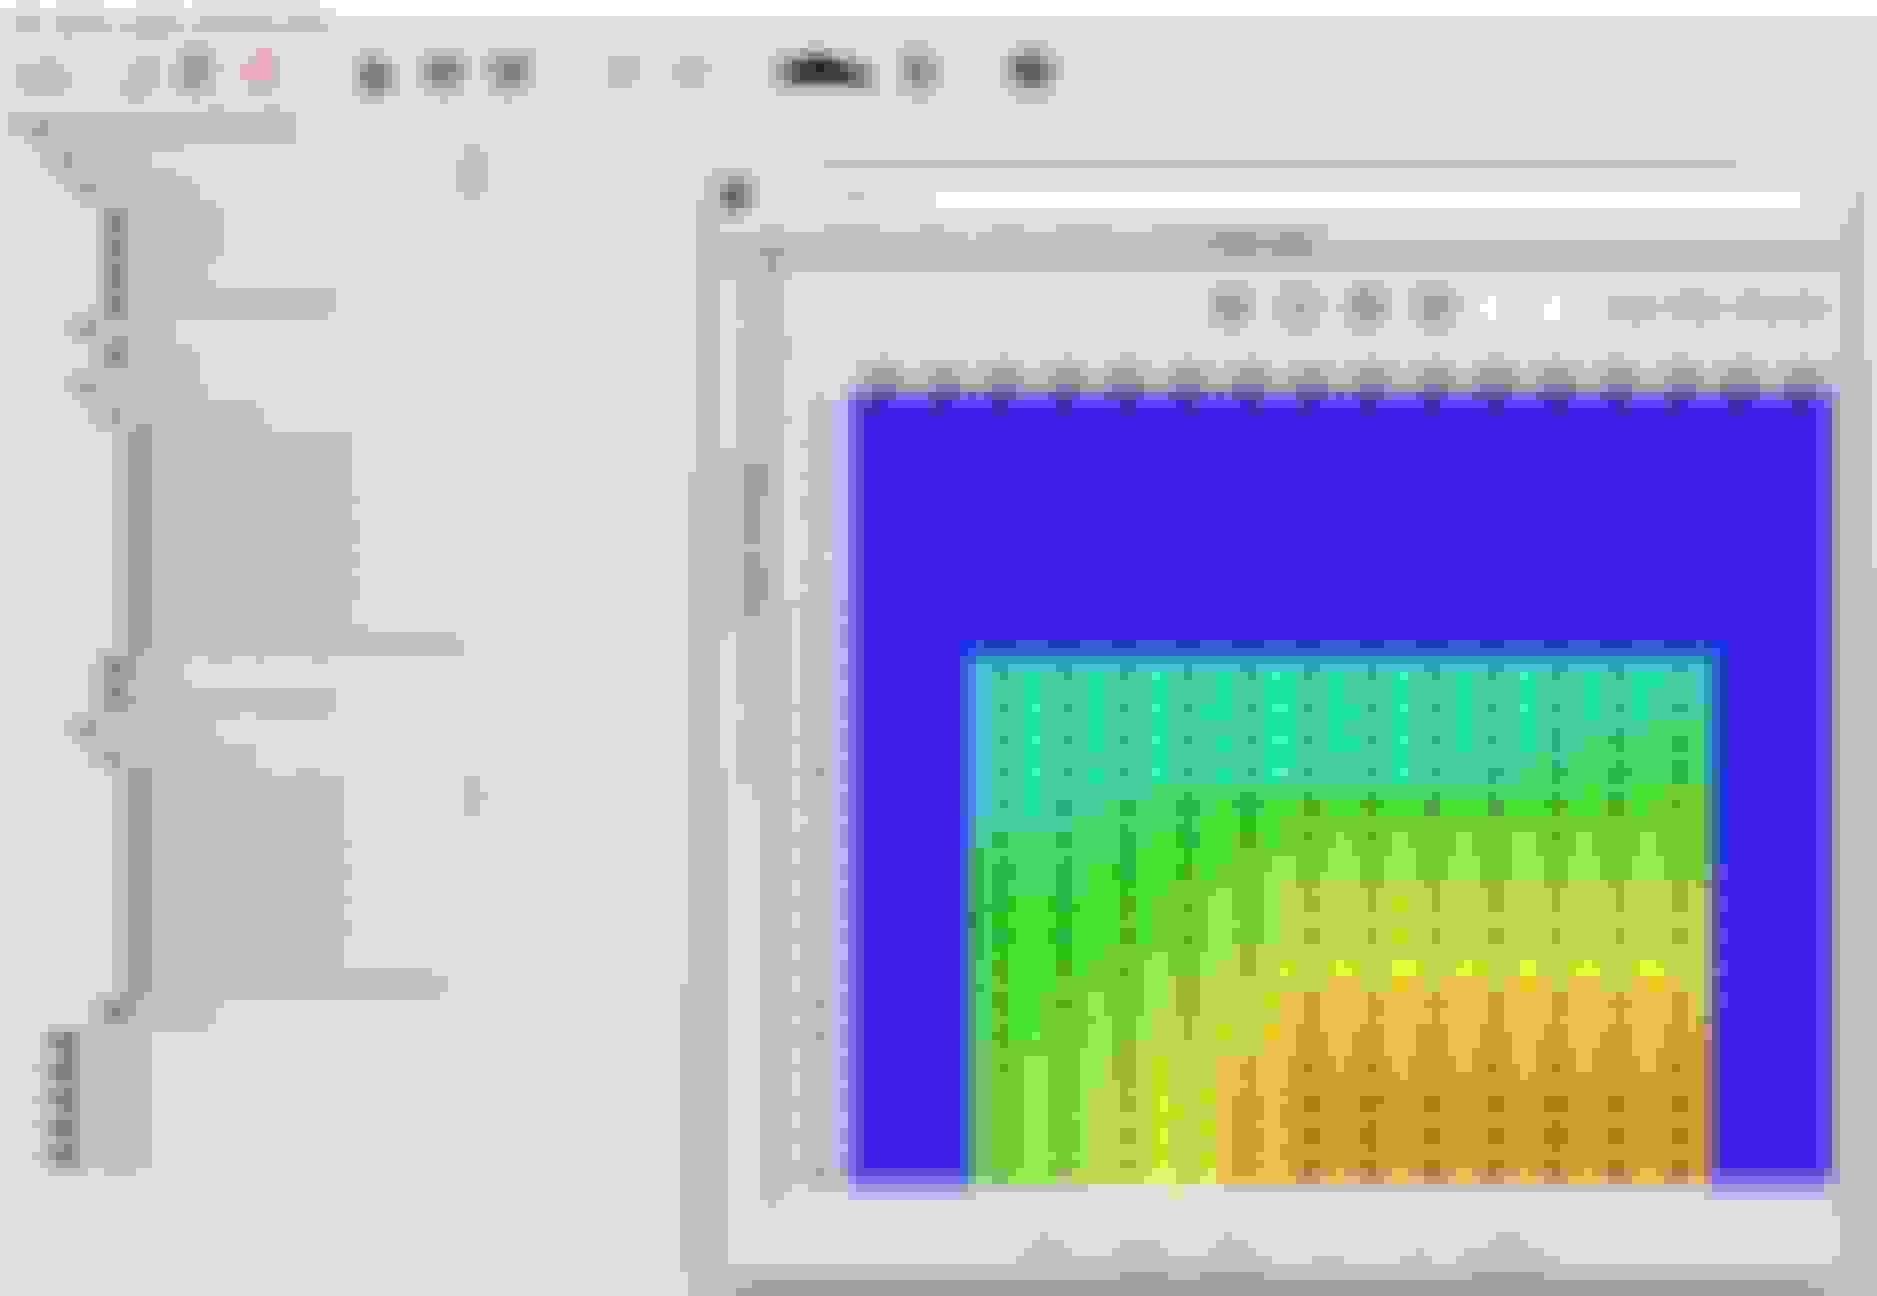
Speaking of Shrick. Here's the 10.7mm lift cams. I've included a combined intake and exhaust cam card for these in case anyone is interested.
Yes the plan is street and track. Gains for the head, cam and manifold combo should be in the 45-60 hp range at identical boost. With the longer duration of the cams and the intake design I expect peak torque to shift to the right from 800 to 1,000 rpm. I'm hoping to also pick up a bit more via lower EMAP with the larger AR of the K04 housing on the turbo, but I'll get more into that later.
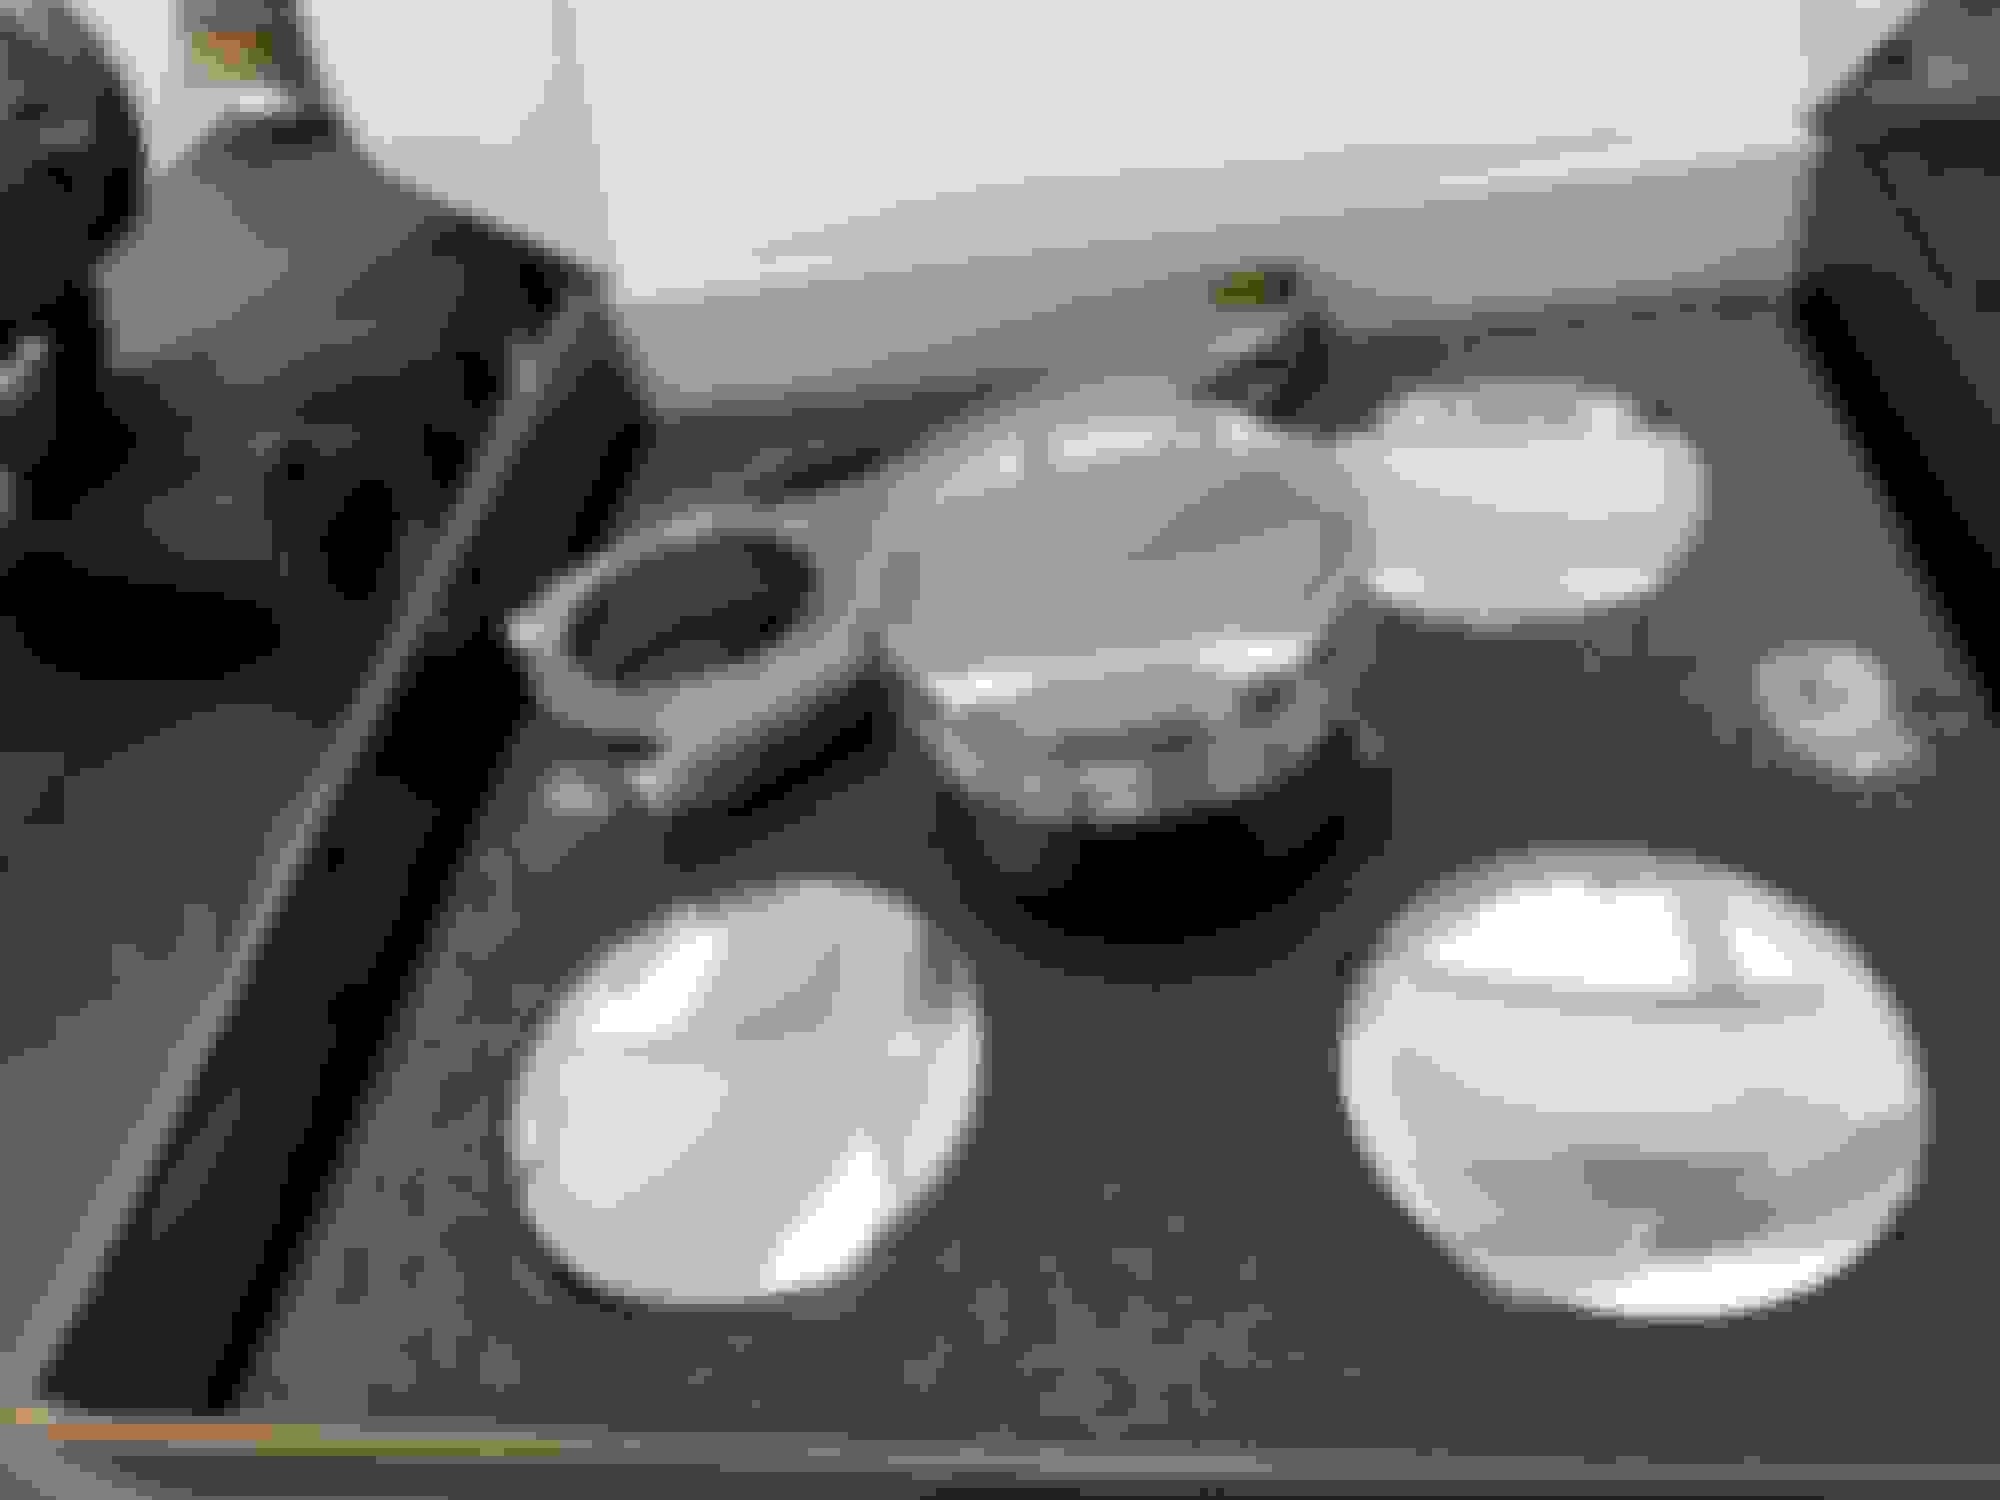
Previously I mentioned I was waiting on a stainless steel EBrake handle to arrive. The handle is made by a company called Storm Motorwerks out of the UK. The Director of the company is also a Co-Founder of Eventuri so it's not surprising that they make a quality product. Tracked it via FedEx to Memphis where it got held up. Could not get an answer out of FedEx other than it was held up in customs. Turns out customs managed to lose it. Grrr... the Sales Director, Sulaiman was super cool about it though and sent me another one that made it with no issue.
Packaging was excellent and as you can see from the cut out in the box they also make billet shift ***** as well.
The handle uses three stainless set screws to secure the base and has one o-ring in the base and one towards the front to ensure a snug fit with no movement. The billet cap is held on to the factory release button with two set screws which are hidden inside the handle. You slide the handle on first, secure the end cap, slide the handle forward which covers the setscrews then you secure the base. One thing to note is that the end cap is a very tight fit on the factory release button. I sanded the end of the button down some to make sure it would slide on far enough for the set screws to fully engage it.
Really happy with how the handle turned out. The is zero movement of the handle, engagement is smooth. I was expecting to feel NVH through the handle being a billet unit but the o-rings isolate the handle very well.
Next I need to finish the Lohen sport button relocation and decide what I'm going to do with the open area around the CAE.
 10-02-2023, 06:46 AM