When you click on links to various merchants on this site and make a purchase, this can result in this site earning a commission. Affiliate programs and affiliations include, but are not limited to, the eBay Partner Network.
$1800 car with a $1500 junkyard motor and I'd be happy too! I've got an old 1995 nissan 240sx (my first real car as a teenager, 15 years ago) sitting in my garage with a blown piston stroked SR20. I'm gonna need $15k to get that stroker running again and replace all the urethane suspension bushings and every square inch of rubber. That car's sat for 10 years in arizona (shaded and covered, but not immune to heat)
Well I got bored and did a lot of aesthetic stuff, then got the rest of my parts in and hit the build hard.
Resurfaced the head and block at a brand new performance shop that opened up in Wasilla. Unleashed HP. Great work.
Nice and clean.
Blades and coating look great
Even more PARTS!!!
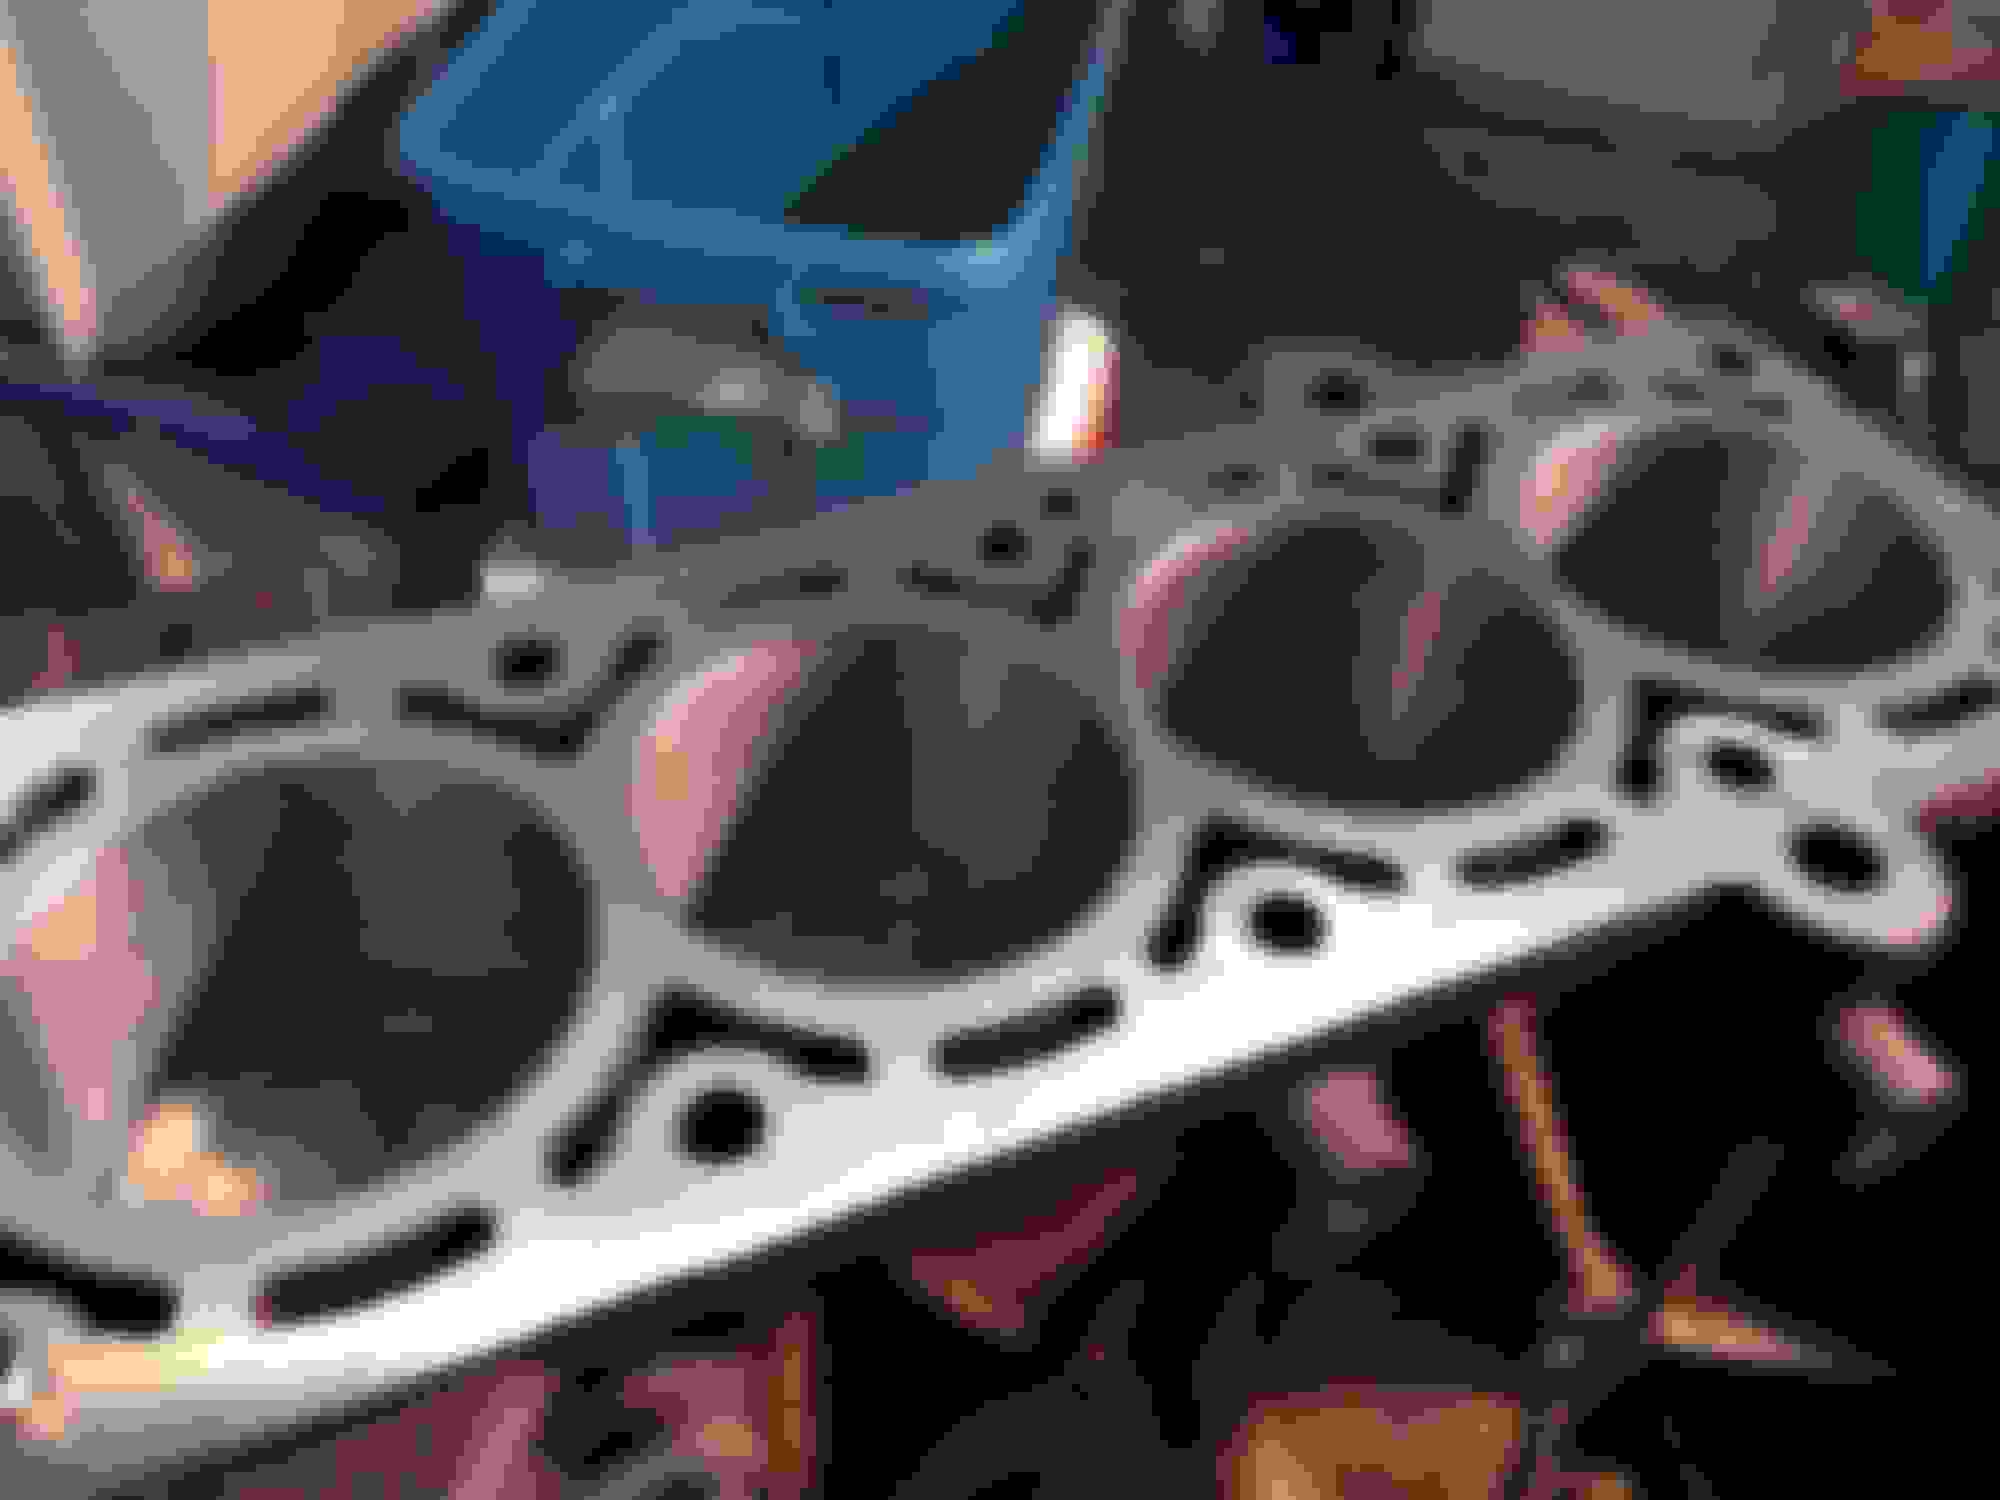
Got the block back. Looks great. This is aftr I deglazed the cylinders myself and got the pistons back in.
New con rod bearings, ARP con rod bolts, and new rings
MMmm, new ARP studs.
Shiney.
Worth every penny on the stud kit.
Starting to look like an engine again.
The one discolored one came from the 2005 head. One of the hydrolic lifters was bad, so I swapped it out. Glad I have a completely extra head assembly.
Timing chain and guides back in. Luckily these are brand new from BMY about 20 miles before the engine blew up.
All good.
And all good.
The tensioner is a neat little device.
The things a power washer can do. Looks like new again.
Yanking these and putting on the new LCA bushings. These were SHOT.
Some things I did when I got bored waiting for parts. More little color additions to come.
Thanks for the pics of the chain and rails! Always wondered how the chain sat while looking for the timing marks. You see the parts drawing but never a color pic.
Plus, the stock orginal chain has no marks. Only a new chain has the marks on it(I had a new chain). It took me a while to feel confident that I was doing what was needed as there seem to be no real guides on how to reassemble the block from scratch. Just directions if you were taking the block apart and then putting it right back together. Meaning "mark this, and that" and when you put it back together, make sure the marks line up.
When it's all new, you didn't make any marks. The new OEm chain marks and the arrows on the sprockets and the Bentley guide say all you need to do is line these up so....
Hope she doesn't blow up.
I was a bit spoiled by the RAVE manual for the Land Rover I rebuilt last year. The guide is 100% better about measurements, tearing anything down to bear and back up again, and if this measures this, then order this part for bearings, etc.
The Bentley manual just does not go into that kind of detail.
I'm currently researching in the interwed myself. about to start to build and engine or rather looking into it. You have a parts list and reasons why you went with said parts. what kind of machine work you got done or you did it yourself?
So funny but true. That why I'm going crazy with the research now. I cant even find a manufacture Service manual anywhere.
Originally Posted by KnighTT
I ran into the same issue. Not a lot of pictures.
Plus, the stock orginal chain has no marks. Only a new chain has the marks on it(I had a new chain). It took me a while to feel confident that I was doing what was needed as there seem to be no real guides on how to reassemble the block from scratch. Just directions if you were taking the block apart and then putting it right back together. Meaning "mark this, and that" and when you put it back together, make sure the marks line up.
When it's all new, you didn't make any marks. The new OEm chain marks and the arrows on the sprockets and the Bentley guide say all you need to do is line these up so....
Hope she doesn't blow up.
I was a bit spoiled by the RAVE manual for the Land Rover I rebuilt last year. The guide is 100% better about measurements, tearing anything down to bear and back up again, and if this measures this, then order this part for bearings, etc.
The Bentley manual just does not go into that kind of detail.
Got a set of facelift HID's on the way. Just in time to refinish them before the road trip.
Does anyone know where is the best place to source 2 cans of spray paint Dark Silver OEM color paint??
Cherry picker should be here today. I'll attempt to get the tranny and accessories back on the engine today and ready to drop it in tomorrow afternoon.
Man that is really impressive! I'm down in Atlanta myself and go climbing right around the corner from WMW. It is definitely nice to have a decent shop around. My 06 R53 is my daily driver around here and it is very nice to have with the horrendous drivers on the road here. Good luck on the move!
Last edited by Gadgetrunt; 09-21-2016 at 11:36 AM.
About 90% done before fire up. All of the engine is back in and next is the subframe after a thorough inspection of all of my work.
The subframe out leaves you a lot of space to make any changes. I suggest putting the SF back in as a last step. I'll have it back in tomorrow if plans go well.
Waiting for the new facelift HID headlights to come in, so I have been doing some more cosmetic customization in the mean time.
Turned out alright I think.
Shaded the intercooler and added a bit of branding.
A little bit of bondo, primer, and a shot of black, and they actually look like new.
So, she is up and running with 0 issues. Well now anyway...
So, we primed up the oil and she turned over great. Then we went on to fire her up
No dice.
After a lot of looking around and thinking, we checked the fuel back to the pump and found no gas in the lines at all. Turns out when you fire it up, it was spewing out of the fuel canister inside the tank and not pressuring the line at all. So, as I did replace the fuel filter during the build, I checked the filter and gaskets. Guess what, I destroyed the large internal O ring putting it back together. Twas in two pieces. Luckily I had just thrown out the old, but still had it.
Solved the problem instantly.
She turned over for about 20 seconds, chugged, then she came to life!!
She purred and sounded great right off the bat, but, upon getting her up to level, she ran hot. 239-242. Ran the heat for a while, and she finally kicked the air out of the heater core, as the air ran cool for a while, and then finally popped into place. She now runs at 194-197 in the garage and cooks the heater just fine.
Turned her off and I'm going to leave her be until the wheels are done so I can get her out and break her in as needed. Only 1 of the 4 wheels are done so far.
She has 0 pending codes. 0 warning lights. No issues at all so far. Sounds great. Idles great. Purrs.
I've got a celebratory 6 pack with my name on it. Thanks to you all for the help and well wishes along the way.
More to do, but today we celebrate the victory of bringing a dead Mini back to life. Worth ever penny of the $1,800 I paid for her.
Unfortunately I can't get the car out and drive it just yet(killing me....), as I am in the middle of refinishing the wheels. So, I'll take this time to paint a few more interior pieces and give her more of a custom feel before I throw the wheels back on. They need to cure for a few days before I feel confident that they can be mounted and balanced without damaging the new surface.


 09-12-2016, 02:04 AM