When you click on links to various merchants on this site and make a purchase, this can result in this site earning a commission. Affiliate programs and affiliations include, but are not limited to, the eBay Partner Network.
Thought if anyone would like to see another R53 brought back to snuff again it would be you guys.
This all sarted with the clutch release bearing making noise for the last 2 years or so. I was actually planing on doing a quick clutch job and sell er off (been a good 5 years) but after test driving cars for 2 weeks I decided I was going to keep the Mini and restore it back to right since nothing compared.
So did a compression test ( 165-170 on all) and pulled the supercharger to see if it was in ok shape. IF these were suspect at all that is where the money would ge first, lucky they were both in fantastic shape.
SC gears looked brand new and the oil was right to the top and clean, going against all I have read since has not been touched in 10 years to my knowledge.
About a month ago started ordering parts to redo the suspension etc, took a good look at the underside and decided the whole back end would be replaced since rust had gotten very bad.
2 weeks ago put it up on stands and started pulling it all apart.
Next day I went out to the shop (family owned bodyshop) and blasted the front sub frame, front control arms, bumper horns and the new (new to me off ebay) rear K member since the one from the car was toast. As well as the rear trailing arm mounts.
Epoy etch primed and epoxy painted with charcoal metalic, didn't get a pic of the pieces off painted.
New wheels showed up at this point so here's a pic.
This is definitely one heck of a project. Looks like you're doing pretty good so far. During the restore, do you plan to do anything cosmetic or just mechanical? Looking forward to seeing the finished product.
Lots of parts started to arrive at this point, more ordered.
I tried to order a bunch of this stuff from Way Motor Works and Detroit Tune but neither would ship to Canada.
So ended up spreading around the 4K or so to Rock Auto, ECS Tuning, FCP Ero, Ebay and a few board members.
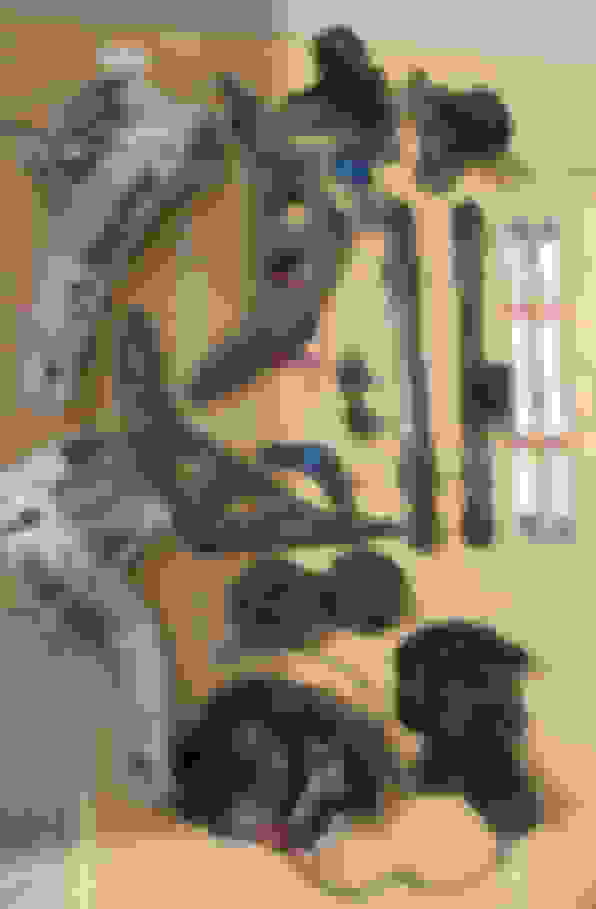
Here's what I ended up with that I was replacing.
Rear K member
lower adjustable control arms
Stagg rear shocks
rear shock upper mounts and boot
2G aluminum trailing arms along with all new bolts
JCW rear sway bar (19mm)
Stagg front struts
front strut mounts and boot
innner and outer ball joint
control arm mount/bushing
energy suspension sway bar bushings front and rear
H&R springs (Member Sooper S)
Front Red Stuff brake pads (Member Sooper S)
Slotted and drilled brake rotors with rear ceramic pads
Valeo full clutch kit with Flywheel
Front and rear main seals
camshaft sensor O-ring
Crankshaft sensor O-ring
Oil housing O-rings including gasket to block and filter
New water pump and stat/gasket
Timing chain tensioner
Oil pan gasket
17% Alta pulley
tensioner (stop ordered not here yet)
Idler pulley
Gates HD blet
NGK BKR7EQUP plus
Jackson Racing plug wires (Member 11budlite)
Transmission output and input seals
clutch release shaft bushings
Release bearing guide tube
Stainless steel braided brake lines front and rear (Red)
Stainless steel braided brake lines front to both rears (olds ones rusted out)
Aero bumper
Aero Side skirts
Aero wing
All mounting plates or adaptors to go with the Aero pieces
Aero grilles (all 3)
Windshield top seal as well as all clips for mouldings
Winshiled will be replaced
Rust free hatch from the auto wreckers
I'm sure there is more but that is all I can think of at the moment.
Anything not replaced including the fasteners (all frame motor etc) were dissasembled bead blasted and epxy primed and or painted. SC horns were bead blasted and painted and cleared with high temp paint etc.
This is definitely one heck of a project. Looks like you're doing pretty good so far. During the restore, do you plan to do anything cosmetic or just mechanical? Looking forward to seeing the finished product.
Thanks. And yes start on the bodywork tomorrow if all goes well.
I used to be a bodyman owned a shop with my dad for 23 years, now I make moive props.
I plan to remove all interior as well to treat for rust or prevent it. I'll be fiting on the Aero parts as well as changing the paint from the metalic to the solid BRG. It will be as close a match as I am able to get to the the JCW WC50, can't get that actual color since they don't have a code for it at my supplier. Also all the white on the car will be painted Old English white rather than the stark white Mini chose.
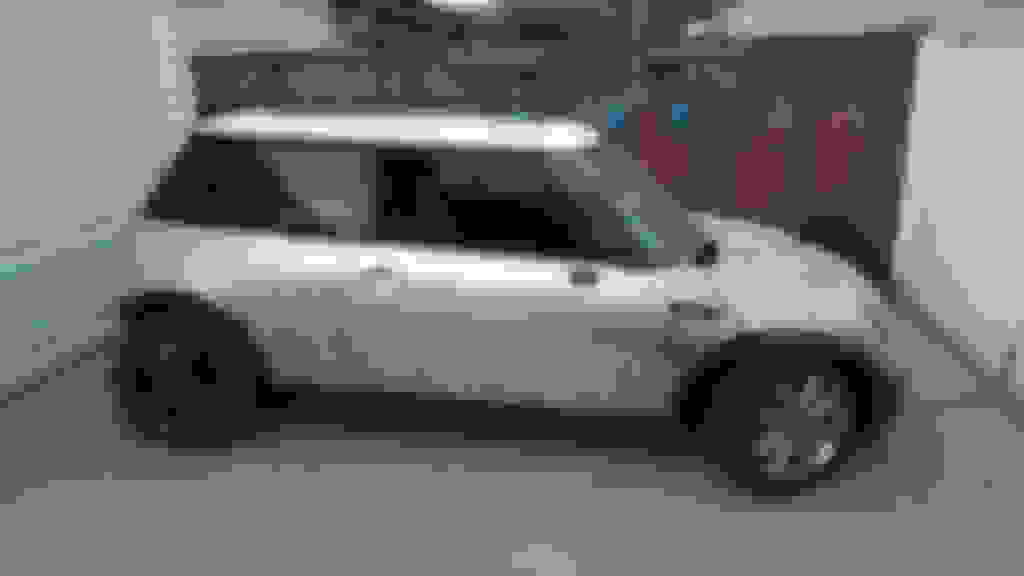
Here is what the car looked like last night before I put all the fluids in, exhaust on, tires on and put it back on the ground after 2 long weeks. Fired up and ran like a watch Man that clutch feels strange, super easy compared to the worn out sticking relase bearing mode I was in.
Thanks. And yes start on the bodywork tomorrow if all goes well.
I used to be a bodyman owned a shop with my dad for 23 years, now I make moive props.
I plan to remove all interior as well to treat for rust or prevent it. I'll be fiting on the Aero parts as well as changing the paint from the metalic to the solid BRG. It will be as close a match as I am able to get to the the JCW WC50, can't get that actual color since they don't have a code for it at my supplier. Also all the white on the car will be painted Old English white rather than the stark white Mini chose.
Here is what the car looked like last night before I put all the fluids in, exhaust on, tires on and put it back on the ground after 2 long weeks. Fired up and ran like a watch Man that clutch feels strange, super easy compared to the worn out sticking relase bearing mode I was in.
That's pretty awesome that you owned a shop with your dad. I'm sure you've learned a lot, which actually shows with the work you've posted up here. I know a lot of people wouldn't be able to carry out a job like this. So props to you. It's like the MINI will look as if it just rolled out the factory when you're done with it. Seriously, great work!
Thanks guys, and would have ordered more from you guys at ECS but the wait time for some items were just too long and shipping multiple parcels makes it a no go.
Originally Posted by PelicanParts.com
That's pretty awesome that you owned a shop with your dad. I'm sure you've learned a lot, which actually shows with the work you've posted up here. I know a lot of people wouldn't be able to carry out a job like this. So props to you. It's like the MINI will look as if it just rolled out the factory when you're done with it. Seriously, great work!
Yes it was pretty good for the most part, did a lot of custom cars, hot rods and bikes in our day. From ground up frame builds, drivetrain, upholstery you name it we did it. I've been a licensed Autobody tech for 24 years now so this job is very mild for what I have done.
Just for fun here's my second car, I put air ride on it back about 20 years ago when it was just bearly starting out. It's in teardown mode now as well, needs a bit of a freshining up after 20+ years of constant summer diving.
Nice wheels, what kind are they and where did you get them?
Thanks, they are MSR 045's matte black/red stripe. I got them from a company the next province over http://kxwheels.com/ but they are made in the US as far as I know.
Awesome work!
The line green color for the suspension components is out of this world!
Good to see another father son shop team. I feel all Dad's should teach their kids mechanics. From the look of it he's done well your both quite skilled.
Awesome work!
The line green color for the suspension components is out of this world!
Good to see another father son shop team. I feel all Dad's should teach their kids mechanics. From the look of it he's done well your both quite skilled.
Thanks the Green on the springs is stock H&R.
And yes he was a very skilled craftsman.
Not sure if anyone here is interested in the process for rust removal all the way to finishing or not?
Here is the start if there is no interest I'll just wait and post the final product in about 2 weeks or less.
Had half a day to work on it on Sunday. I did a quick test fit of the new bumper to be sure I didn't need to mod anything, I don't so that's good.
Stipped off all the mouldings, headlights, grilles and inside of the doors.
Don't mind the wheels there just spare ones I don't care if they get damged or paint/prim,er on.
Pulled the windows our of the doors and removed part of the seam sealer on the inside bottom/edge. I went way past where the rust stopped to be sure. And blasted the inside after hammering out (backed up with a piece of hardwood) the heavy stuff. Normally I would cut the entire edge off and weld in new but I plan to get new shells within the next year or 2 so quick job is what this is.
Total time on each door at this point was about a hour-hour 15 a side with removal and blasting. Called it a night after this.
Yesterday after work I spent about another 45 min on each door, plan was to just spot blast what was there and feather out the paint and prime etc. I found there was rust starting under the paint at various points, this happens from rock chip/paint fractures happens to pretty much all daily drivers. So at this point decided to strip the doors down to bare metal and start fresh. I will be doing the whole car minus the roof and inner jams like this since it's such a small amount of extra work and expense but huge piece of mind.
Finding the hidden rust.
2 passed with the 120 on the 7" sander, took off the clear.
Third pass took off the base color and primer, now a guy can see all the hidden rust spots and can quickly be spot blasted and start the prep for etch primer, epoxy primer then any bodywork and high build primer.
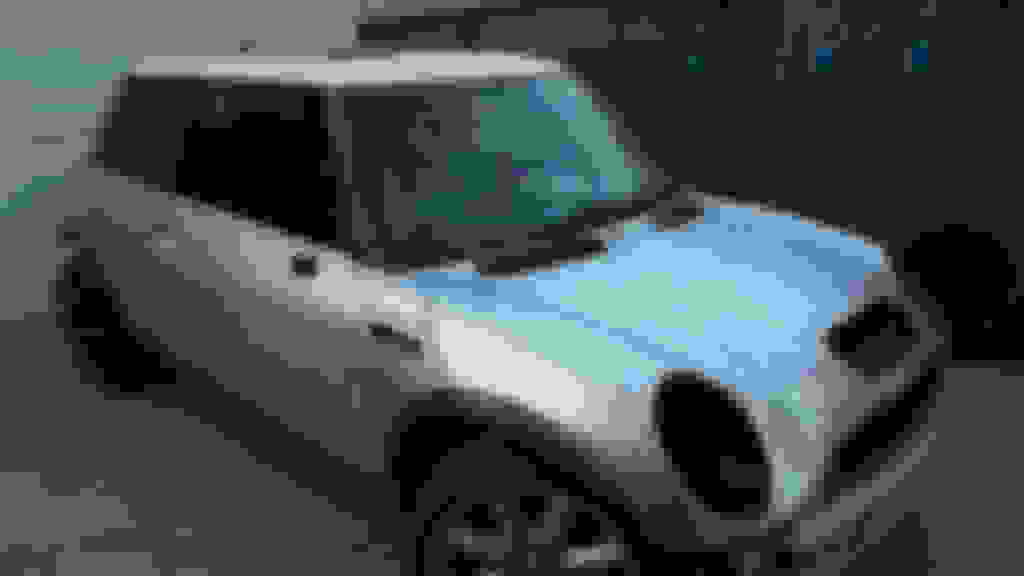
Just wanted to post a few last pics and I'll stop until it's all in paint and on the road. Just thought these were pretty cool, Mini doing it's best Delorean impression.
All down to bare metal bead blasted in spots, have the rear tail lights to patch and the one door corner 1.5" piece. Zero body work on the rest of the car.
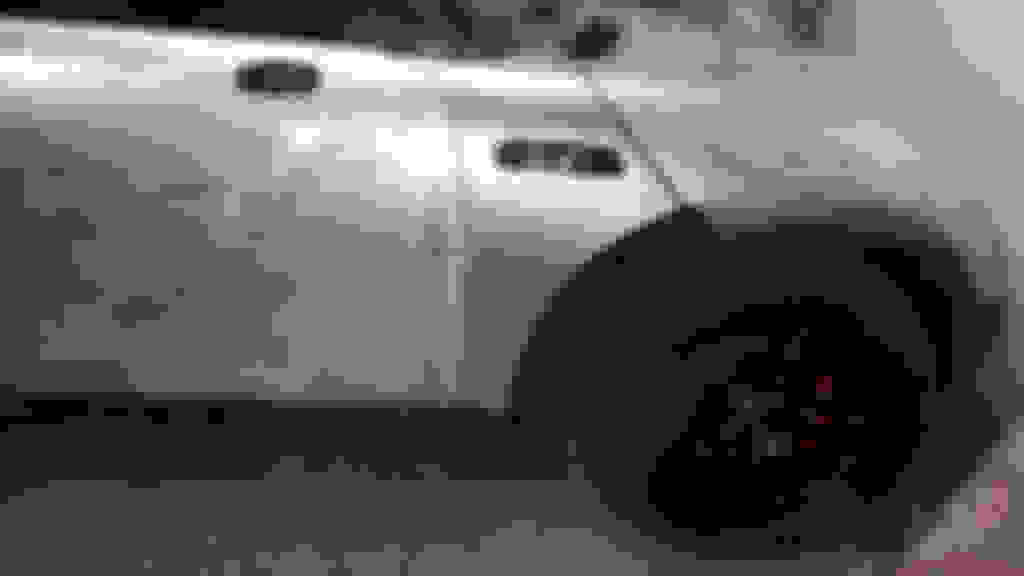
And had the tires mounted on the wheels yesterday afternoon so thought I would see how they looked quickly.
Thanks guys, since there are a few still reading this I'll keep updating as I make progress. Work is busy so it's going a little slower now, but managed to get shiney stuff on the inside of the doors both sides and hatch both sides. Roof should be tomorrow night, widshiled and hatch window will go back in today I hope.
First picture is the most accurate to what it looks like in person in full on sun, it will look much darker in normal light. Second is a comparison with the picture lightened so a person can see the difference in color I'm going with. It's a very true Old school BRG.
 08-21-2015, 09:26 AM


 Man that clutch feels strange, super easy compared to the worn out sticking relase bearing mode I was in.