When you click on links to various merchants on this site and make a purchase, this can result in this site earning a commission. Affiliate programs and affiliations include, but are not limited to, the eBay Partner Network.
2003 Mini Cooper- S six speed. Friend gave it to my son and me as a project car. He heard a “pop”, it lost power and limped it to a parking lot where it sat for eight months. I towed it here and got it to start. Ran rough and only two cylinders seemed to be working. #1 plug was fouled with oil completely, #2 wet with oil. Pulled the valve cover and discovered chipped camshaft lobe on cyl #1 and excessive pitting and wear on other lobes. Purchased cam shaft removal tool and marked timing chain position at cam sprocket indicator. Removed and replaced entire head with remanufactured unit. New unit flawless and tight.
During this process I had a mechanic look it over while the head was off. He spun the crankshaft by hand to check for broken rods and inspect cylinder walls. Walls were gorgeous and still had honing marks after 215K miles. He saw no need to do bottom-end work and endorsed the new head unit.
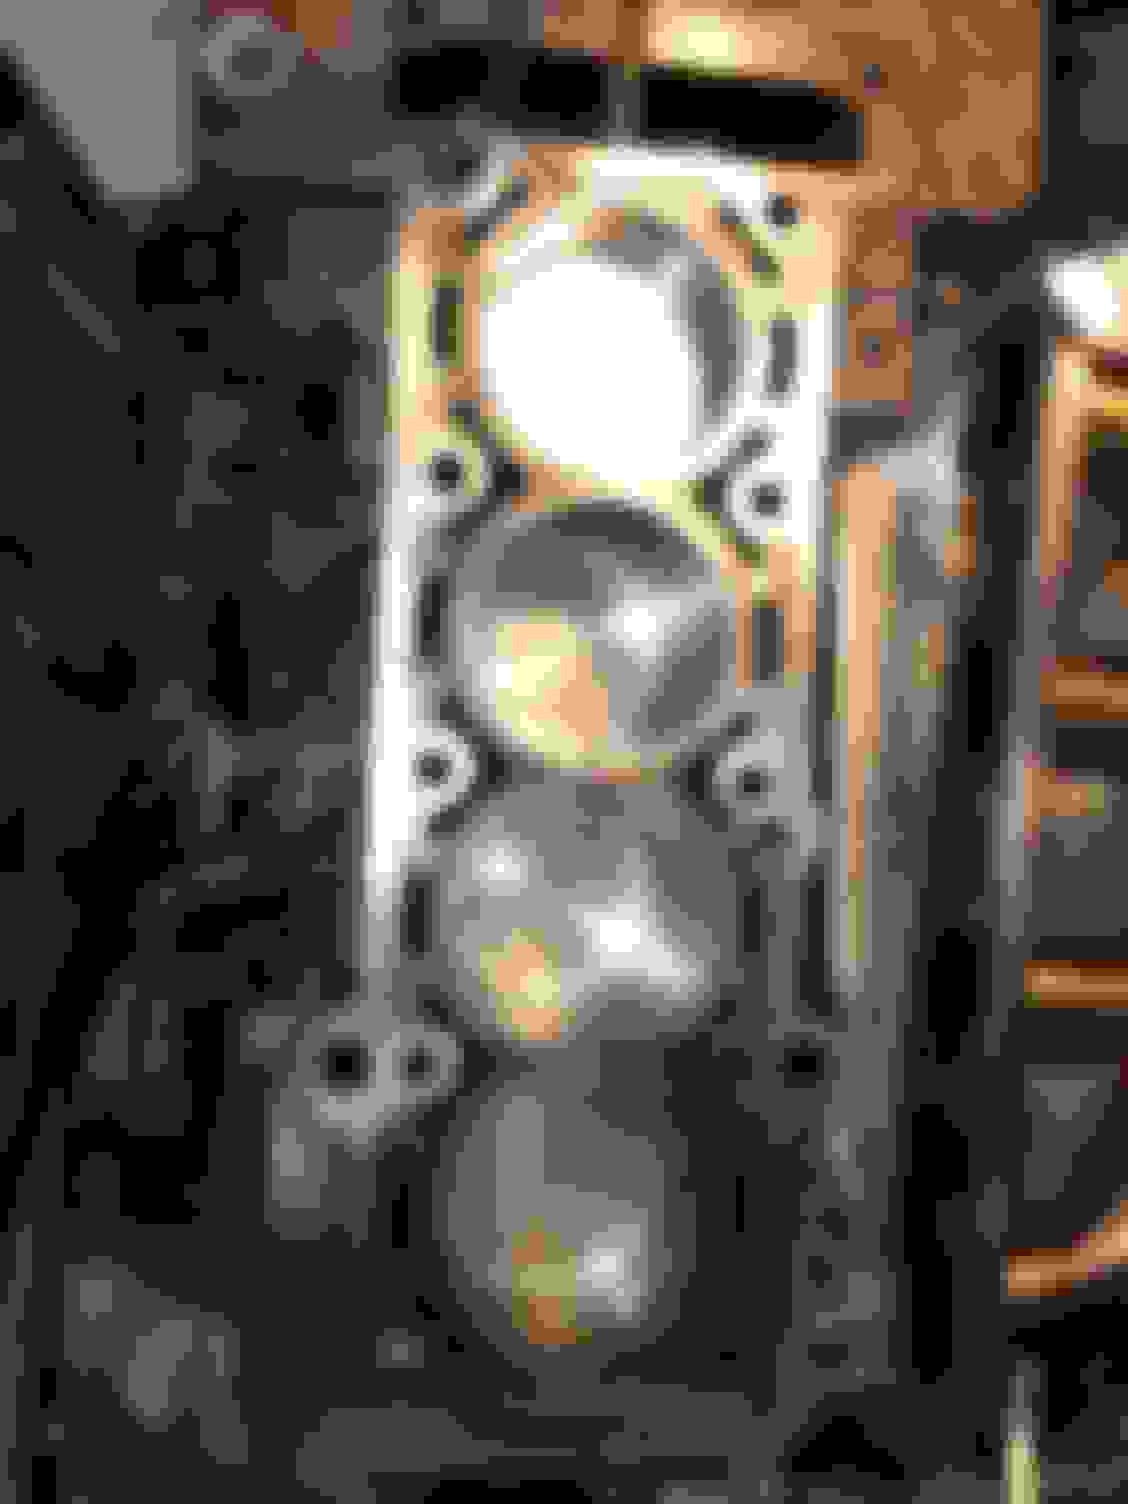
We proceeded on but soon realized the camshaft was moved and cylinder position changed. When we pulled the damaged head with cam removal tool in place all four pistons were dead level in the center of the cylinders. Brass timing chain indicator link was visible but not on the camshaft sprocket triangular timing mark (we have photos of this entire process).
We rotated the crankshaft by hand again and again until the camshaft sprocket and timing link were perfectly aligned when the camshaft sprocket tool was installed. (We noticed every eight rotations or so moved the link about Ľ rotation around the sprocket.) Ultimately, piston positions matched valve positions, and cyl #1 was at TDC with valves closed. Not having the ambition or tools to examine the link position on the crankshaft sprocket we made the judgement call that the timing chain had to be correct.
So once all was reassembled and new fluids in we cranked it. It cranked well and popped a few times but would not run. Checked all four new plugs for spark- they all are sparking. OBD II diagnostic tool gave two codes: P0341 Camshaft position sensor A- bank 1 CKT Range/performance and P0638 Throttle actuator range/performance (bank 1) - with both returning and pending again after clearing codes. We replaced the camshaft position sensor since it was easy and cheap but no change. Examination of the throttle body butterfly valve when cranking indicates it is shut and barely moves (opens). Raw gas is smelled immediately and removal of the spark plugs (all four) indicates flooding. I removed the fuel rail intact with wiring and turned the key to see if the injectors were stuck open. Nope. Replaced o-rings and reinstalled.
We are at a loss here as it ran before disassembly. We are fairly sure we reconnected all wires and none were damaged. Cranking sounds “normal” and no evidence of timing error as in valves hitting pistons or the like. To me it seems either the electronic communication is not working or perhaps the timing is off which would really suck… Any advice or insights on this dilemma would be much appreciated! Thank you!
I am not a Mechanic.
2yrs ago i replaced my Cylinder Head with a Thumper2. (www.thumperheads.com)
I also had to be sure of all timing related issues. You said all piston were dead level.
I would check on that. I had everything go smooth on first try. My piston positions were
1&4 up, 2&3 down. The 2 end pistons were higher in the cylinders than the 2 center pistons.
Piston positions 2ea center low, 2ea ends high.<br/>Timing chain held in place during maintenance.
Again I'm not a mechanic, I'm not sure all Mini S are as mine is.
You need to remove the crank pulley and the oil pump and check the timing--IT"S THE ONLY WAY. The lower links are not in the right position..regardless of where you think the pistons are/should be.
Thanks so much for your input. I looked at my photos and the pistons still look level but in any case I now wish the mechanic did not rotate the crank. Glad yours went so well. So did you just keep crank static and bolt on the new head? That is what I was hoping for!
You need to remove the crank pulley and the oil pump and check the timing--IT"S THE ONLY WAY. The lower links are not in the right position..regardless of where you think the pistons are/should be.
Oh lord have mercy... I knew this may be the case and did a long hesitation before reassembly. Two mechanics thought it seemed reasonable to assume all would be in place. Perhaps not and I will take it back down if need be. My questions now are:
1) Would the "misalignment" of the crank and cam throw the codes and,
2) Why haven't I destroyed the new valves???
Thanks for you input! Bad news with a direction to go is better than no news dead in the water!
I will guarantee you that if your pistons are all on the same plane--level...that you have f'd it up. The crank marks align with the cam with #1 at TDC. I can post a picture of the crank gear..marks are at the bottom with the crank journal fully up in the case. Even if you put #1 at tdc and use the cam tool, you can't be sure the lower links are at the perfect 2 marks on the crank(because of chain slack and the tensioner)...even during a complete engine rebuild the chain can skip a tooth if your not careful....the chain tensioner isn't installed when you tighten the cam bolt and the chain can move once you install the tensioner
Yes it should throw codes..crank and cam sensors are confused..the two work together. Or it simply won't start and it need to run for it to register a code. If you guessed at #1 tdc and cam link...it could be only 1 or 2 teeth out.
As for valves..are you sure they are not bent..have you tested the head..most times you can't see by looking.
Save a lot of heartache/time/money and pull the oil pump and do it right!!!
Thanks again! To be clear- when the old head was removed (with camshaft sprocket removal tool installed) the pistons were level and the timing link NOT on the cam sprocket mark. I marked the link with intent to "plug and play" the new head. Along came the well-meaning mechanic who spun the crank...
When we put the new head on, after much spinning and blisters, we got cylinder one at TDC and respective valves closed as well as the bronze link directly on the triangular mark on the cam sprocket while camshaft removal tool was installed. Maybe the crank gear was just a tad off (a link or two) so the valves do not contact the pistons? Of course, I am assuming the valves would contact the pistons if the timing was dreadfully off? Maybe this is not the case.
I will guarantee you that if your pistons are all on the same plane--level...that you have f'd it up. The crank marks align with the cam with #1 at TDC. I can post a picture of the crank gear..marks are at the bottom with the crank journal fully up in the case. Even if you put #1 at tdc and use the cam tool, you can't be sure the lower links are at the perfect 2 marks on the crank(because of chain slack and the tensioner)...even during a complete engine rebuild the chain can skip a tooth if your not careful....the chain tensioner isn't installed when you tighten the cam bolt and the chain can move once you install the tensioner
I have no idea if his timing is right. The safest thing would be to check that its correct, as you suggested.
Was wondering about the above statement though.
I am also not a mechanic or engine builder, but this seems to contradict what I read in the Bentley manual. It says the chain is designed to not come off the lower sprocket.
When I did the head gasket on my 02 r53 the chain fell off the rope holding it up. Thought I was screwed, even though I marked it before I started. The marks were off, but only because of my error.
I messed with it for a long time and it seemed impossible for the chain to come off the bottom sprocket, as indicated in the Bentley manual. I put the head back on and it still runs great.
I've never taking the timing cover off, or even the crank pulley, so forgive my ignorance if you are referring to something else
Pulling the dampener and timing cover to set timing properly is an hour or two work - I am sure much more time has gone into futzing with this than in doing it correctly.
I would also strongly consider replacing the damper with an ATI and replacing the oil pump while it's opened up. Both good insurance for many more miles on the engine.
Thanks to all of you for your assistance. I plan to open it up and check the timing so that is out of the question. I will search this forum and other online resources for how to do this and any tricks that will come in handy.
The front cover does have a gasket, and there are two oil pump seals that come off at the same time, and finally, the center screw has its own special seal...(these days the funny screw and seal come together). Front Main seal is also looking at you woefully...
Awesome man, thanks again. Getting the serpentine belt off without special tool looks challenging. The balancer is definitely full of hairline cracks as is the belt. I am looking up if I need to remove the belt tensioner assembly- looks like it to get cover off. Ready to cut the belt but still have to get it back on... Burning up the internet today!
The only special tool you will need is the pulley puller. I found the harbor freight universal one fit fine. Some shops sell a MINI specific version.
Remember also you are supposed to replace the heavy bolt that holds the damper on the crank.
As general advice, inspecting/replacing and/or cleaning debris out of the oil pump should be part of any tear down following an "adverse event" ...
OK... so tear down went fairly well. I have all new seals, bolts, and gaskets coming for the timing cover as well as a new harmonic balancer.
Here is the deal: with the help of my neighbors I was able to align the two copper links on the crankshaft and the single copper link on the cam with removal tool installed. Serious PITA but I'd like to think I am golden now...
However, to achieve the perfect match of bliss the crankshaft was rotated about 1/4 turn different from Bently Manual. I.E. instead of the arrows straight down as pictured they were pointing towards the front of the car. We started with cylinder #1 at TDC (with straw in cylinder to tell) and this did NOT work. So we went with what the car said and the piston positions ended up in exactly the same position as when I first pulled the head...
I suspect the picture in the manual was for illustration only, and not for timing reference. Again, someone say I am golden here!
I don't know what you meant by "what the car said".
I think you are saying you lined up the arrows on the sprockets with the colored links on the chain ... The only sure way ...if so, then that really is the gold standard!
Take the cam tool OFF. On a W10/11 the cam tool is simply to hold the gear while you tighten the cam bolt (some silly torque like 88#). Everything is pin indexed. Unlike the N series motors which the cam tool and flywheel index pin are critical thru out the whole process.
--#1 cylinder at TDC
--align 2 lower chain links with arrows
-- align the one cam link and arrow with the bolt loosely installed so that you can rotate the cam gear and chain assembly. You can't go wrong because the copper links are only on one side of the chain and should be visible when looking at the arrows. Rotate the crank or the cam (your choice..I usually rotate the cam--you should only need to move it 10-20 degrees max...assuming you are starting from the cam tool installed position) until the cam gear and cam index pin align...tighten the cam bolt hand tight.
--assuming the chain guides are install and the tensioner has been depressed into it's retracted position---now release the chain tensioner
--turn the engine (crank)until you can install the cam tool and tighten the cam bolt
--reassemble everything else and you are good to go
Once you have aligned the chain/marks and have tension on the chain--all will be fine.
I think the cam tool was confusing the whole process.
If you reassemble it and it won't start==it's not the timing.
Did you do a close inspection of the valves and piston tops for any sign of valve strike BEFORE you started this attempt at setting the timing--best to check before you finish and realize you need to do the whole job again. Someone else did the same thing on here with an N14 motor (had the cams in wrong position while using the tool) and he bent some valves while attempting startup.
Thank you for the detailed breakdown of the process. We basically did exactly what you said and all links are dead perfect with the tensioner back in. When the crank timing marks were pointing down, cyl #1 was at TDC. We loosened the cam sprocket to be able to rotate it to match the links and then turn the crank to slide it back on the cam pin.
I did not remove the head as I read on this forum in multiple posts that this is a non-interference motor. Of course, erroneous info could be lurking and I may have to pull it off... A definitive answer to the non-interference motor would be welcome at this junction, as the motor is sitting with valve and timing cover off awaiting parts. Basically, best I can recollect, the crank was about 45 degrees off (based on cam tool) which would make the cam off by 20- something degrees. But as you said, the tool is a device- not a timing tool. As such the timing may have only been off by 10 degrees or so. It did fire a few times...
I don't know what you meant by "what the car said".
I think you are saying you lined up the arrows on the sprockets with the colored links on the chain ... The only sure way ...if so, then that really is the gold standard!
What the car said was "Rotate the crank 90 degrees CCW to line up the cam timing mark. Ignore the cam tool and the photos in the manual". All is perfectly aligned with respect to the links on crank and cam.
My understanding from several reliable sources (engine builders) is that ALL MINI engines are INTERFERENCE MOTORS (not sure about the current motor but assume it is as well).
If you don't want to take the head back off at this point--the timing is correct--so do a compression and leakdown test now and you will know if all is good to go!!!
My understanding from several reliable sources (engine builders) is that ALL MINI engines are INTERFERENCE MOTORS (not sure about the current motor but assume it is as well).
Damn. I may be able to find the post on this forum but the gist was the non- supercharged 2003 motor has flat topped pistons and could contact the valves, as opposed to the indented "S" version that cleared the valves. Could be totally bogus info but I remain hopeful...
If you don't want to take the head back off at this point--the timing is correct--so do a compression and leakdown test now and you will know if all is good to go!!!
Good call! that would save a lot of headache, hassle and $$$!!!
 08-01-2015, 08:46 AM