R50/53 My r53s progress thus far
#76
 11-02-2014, 07:06 AM


Looks great, came out nice a flush at the ends !! If someone wants to install the middle grille w/o using a dremmel/modding the bumper itself, here is a PDF file "how to" just modify the grille. ( only need to enlarge two slots I think ) I would also suggest folks use some black paint on the bumper area behind the middle grille area so the painted body color doesn't t show thru. http://www.motoringfile.com/howto/MI...ll_install.pdf
#77
11-02-2014, 07:26 AM
I found the best way to remove caps is:
- Place a blanket on the ground below the mirror area. ( If mirror cover pops of suddenly it wont scratch or ding up on bare ground/cement)
- Find some wooden popsicle sticks ( 3 or 4 ), rub one end on sandpaper to make somewhat of square/sharp end.
- Angle the mirrors down as far as they can go.
- Carefully get your index, right and middle finger tips behind top edge of mirror glass and pry away from the round center drive disk it's snapped into. Remove glass and just let it hang from the brown heat wire.
- The 5 tabs have "bridges", best not to fracture those. Three tabs up top and two at bottom.
- Start at the two bottom ones, usually once those are released the tops release thereafter. Hold onto sticks between your teeth...easier than fishing around for them while doing this.
- Use one modified popsicle stick with shaved end to pry up on one of the covers clips while simultaneously making some tension to bottom of cover by lightly pulling. Remember just apply slight pressure here at this point don't want to break that bridge.
- That tab will be raised up some now but not totally free.
- leave the stick under that raised tab, grab another stick and work on the one to the bottom right now doing same process.
- Applying more pressure and continue the prying process to get the bridge over the black molded tab until both bottom bridges make it over releasing the bottom two.
- May have to work at others up top in same fashion if they don't immediately free up.
when re-installing cover line up all the tabs first before applying pressure to front of cover snapping it in....eye ball each tab to be sure they are lined up exactly.
when putting glass back on, line up the tabs at the back of the glass with the mounting disk and use even pressure. Pin point pressure will crack the mirror.
GL!
#78
11-02-2014, 07:31 AM
#79
11-02-2014, 07:39 AM
#82
11-02-2014, 08:37 AM
hahaha..
When wrapping the caps it may take a few attempts. "I think", the best way is to start at the top of the crown of the cap....
Here, then using hair dryer to warm it and with thumbs fan your way out from that point.
Compound curves can be a pita.
wrapacover.jpg?1414946166629&1414946167392
When wrapping the caps it may take a few attempts. "I think", the best way is to start at the top of the crown of the cap....
Here, then using hair dryer to warm it and with thumbs fan your way out from that point.
Compound curves can be a pita.
wrapacover.jpg?1414946166629&1414946167392
#83
11-05-2014, 05:42 AM

#84
11-05-2014, 05:57 AM

Platinum Sponsor
We have the clear top that flashes amber and then the amber lens tops also for the 7/2004+
Amber top.
https://www.northamericanmotoring.co...oem-parts.html

Clear lens top:
https://www.northamericanmotoring.co...ts-06-mcs.html

Then you can get the Ziza Back up Leds: 7/2004+ Gen 1 MINI
https://www.northamericanmotoring.co...erse-leds.html

Thanks
Amber top.
https://www.northamericanmotoring.co...oem-parts.html
Clear lens top:
https://www.northamericanmotoring.co...ts-06-mcs.html
Then you can get the Ziza Back up Leds: 7/2004+ Gen 1 MINI
https://www.northamericanmotoring.co...erse-leds.html
Thanks
__________________

MINI Guru/ MINI Owner Since 2004 | NEW Lifetime Part Replacement | Local Pickup
Milltek | Genuine MINI | Forge Motorsport | NM Engineering | ECS Performance | M7 Speed
Customer Service Hours: 8am-8pm EST|Sales Team Hours: 8am-11pm | SAT 10am-7pm 800.924.5172
MINI Guru/ MINI Owner Since 2004 | NEW Lifetime Part Replacement | Local Pickup
Milltek | Genuine MINI | Forge Motorsport | NM Engineering | ECS Performance | M7 Speed
Customer Service Hours: 8am-8pm EST|Sales Team Hours: 8am-11pm | SAT 10am-7pm 800.924.5172
#86
11-05-2014, 06:54 AM
Platinum Sponsor
Clear top on BRG convertible:
_%E2%80%93_Heckansicht,_25._September_2011,_Mettmann.jpg)
__________________
MINI Guru/ MINI Owner Since 2004 | NEW Lifetime Part Replacement | Local Pickup
Milltek | Genuine MINI | Forge Motorsport | NM Engineering | ECS Performance | M7 Speed
Customer Service Hours: 8am-8pm EST|Sales Team Hours: 8am-11pm | SAT 10am-7pm 800.924.5172
MINI Guru/ MINI Owner Since 2004 | NEW Lifetime Part Replacement | Local Pickup
Milltek | Genuine MINI | Forge Motorsport | NM Engineering | ECS Performance | M7 Speed
Customer Service Hours: 8am-8pm EST|Sales Team Hours: 8am-11pm | SAT 10am-7pm 800.924.5172
#88
11-05-2014, 12:35 PM
Platinum Sponsor
You are welcome. As long as your MINI is happy. 
__________________
MINI Guru/ MINI Owner Since 2004 | NEW Lifetime Part Replacement | Local Pickup
Milltek | Genuine MINI | Forge Motorsport | NM Engineering | ECS Performance | M7 Speed
Customer Service Hours: 8am-8pm EST|Sales Team Hours: 8am-11pm | SAT 10am-7pm 800.924.5172
MINI Guru/ MINI Owner Since 2004 | NEW Lifetime Part Replacement | Local Pickup
Milltek | Genuine MINI | Forge Motorsport | NM Engineering | ECS Performance | M7 Speed
Customer Service Hours: 8am-8pm EST|Sales Team Hours: 8am-11pm | SAT 10am-7pm 800.924.5172
#90
12-22-2014, 01:48 PM
Platinum Sponsor
We have some holiday promos going on right now From instagram to our wheel spin. Goodluck.
https://www.northamericanmotoring.co...-contests.html
From instagram to our wheel spin. Goodluck. https://www.northamericanmotoring.co...-contests.html
__________________
MINI Guru/ MINI Owner Since 2004 | NEW Lifetime Part Replacement | Local Pickup
Milltek | Genuine MINI | Forge Motorsport | NM Engineering | ECS Performance | M7 Speed
Customer Service Hours: 8am-8pm EST|Sales Team Hours: 8am-11pm | SAT 10am-7pm 800.924.5172
MINI Guru/ MINI Owner Since 2004 | NEW Lifetime Part Replacement | Local Pickup
Milltek | Genuine MINI | Forge Motorsport | NM Engineering | ECS Performance | M7 Speed
Customer Service Hours: 8am-8pm EST|Sales Team Hours: 8am-11pm | SAT 10am-7pm 800.924.5172
#91
12-27-2014, 09:53 AM
#92
12-29-2014, 03:14 PM
OK so my scoop is on, finish is excellent no broken clips or scratches like some members have reported. Fitment was good no issues there, the scoop has a wider opening so it looks a little more aggressive than the stock scoop. I love it, i would have liked the m7 but this was only $100 vs $220 which is just too pricey for me. Unfortunately, by the time i got home and installed it was dark and snowny, so these pictures will have to do for now but better pictures will follow.
[IMG]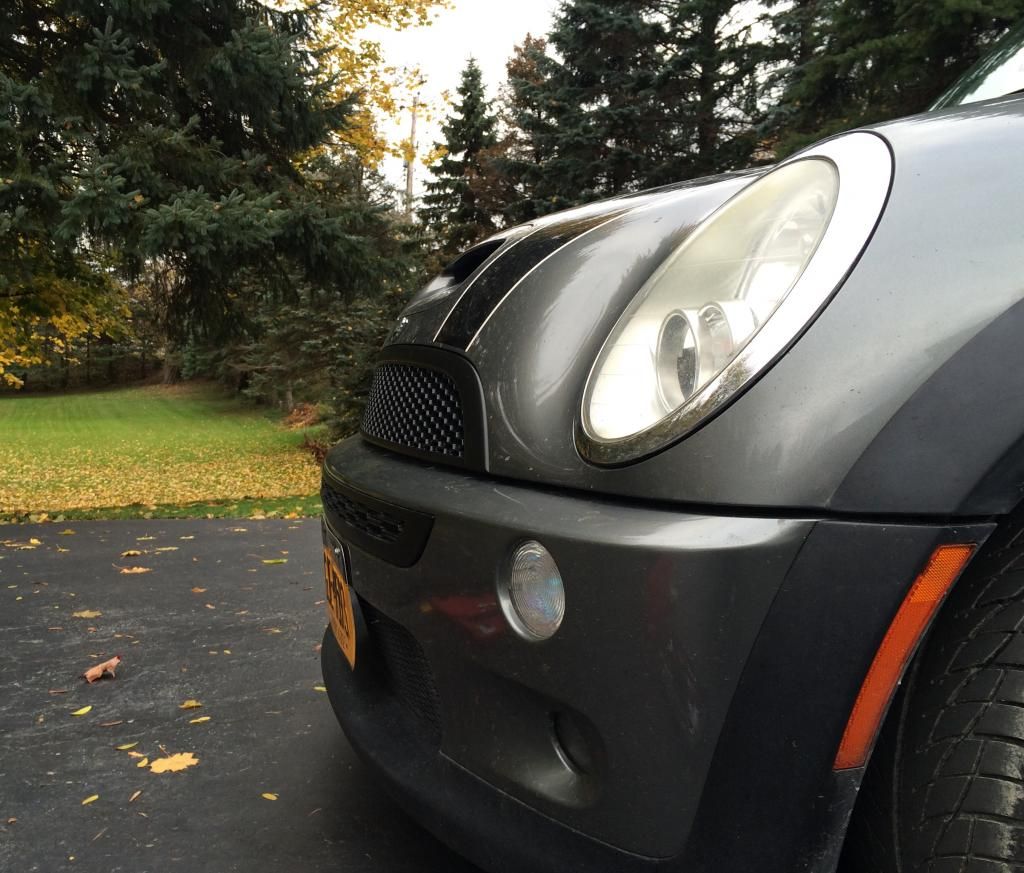 [/IMG]
stock size for comparison
[IMG]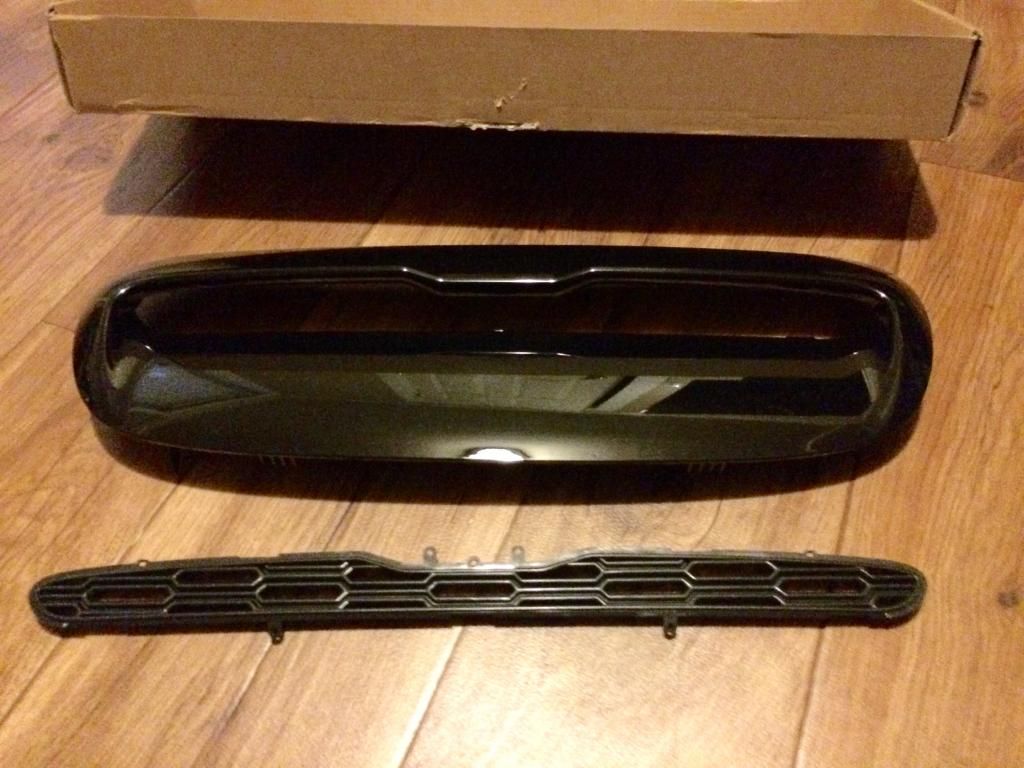 [/IMG]
[IMG]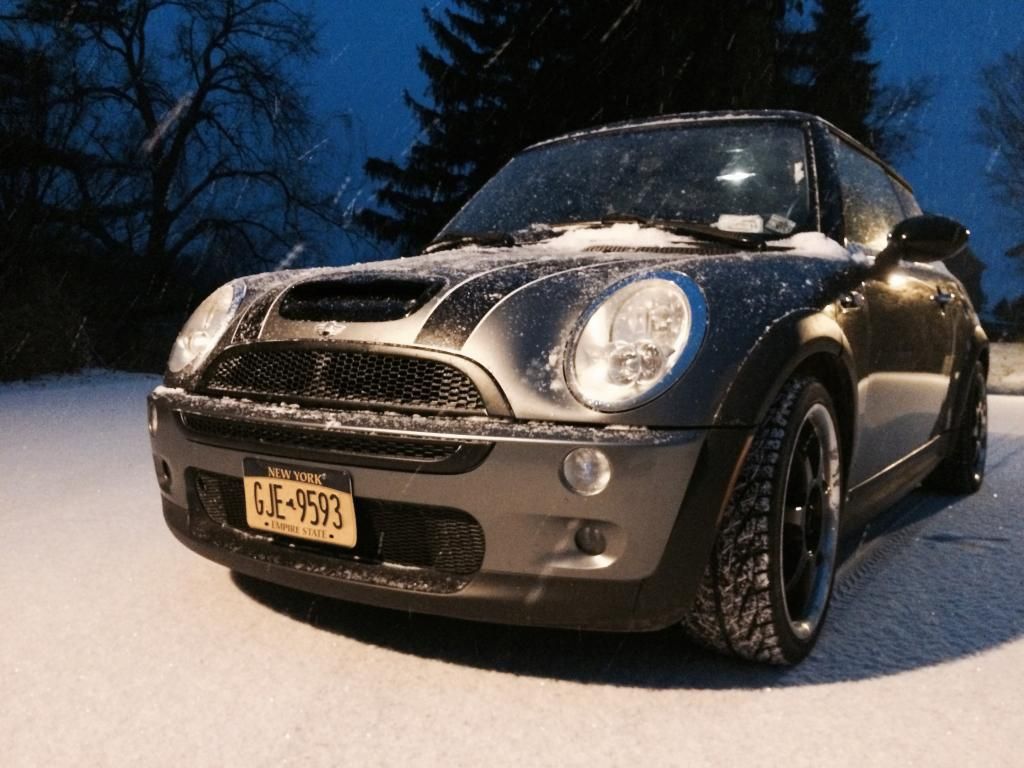 [/IMG]
[IMG]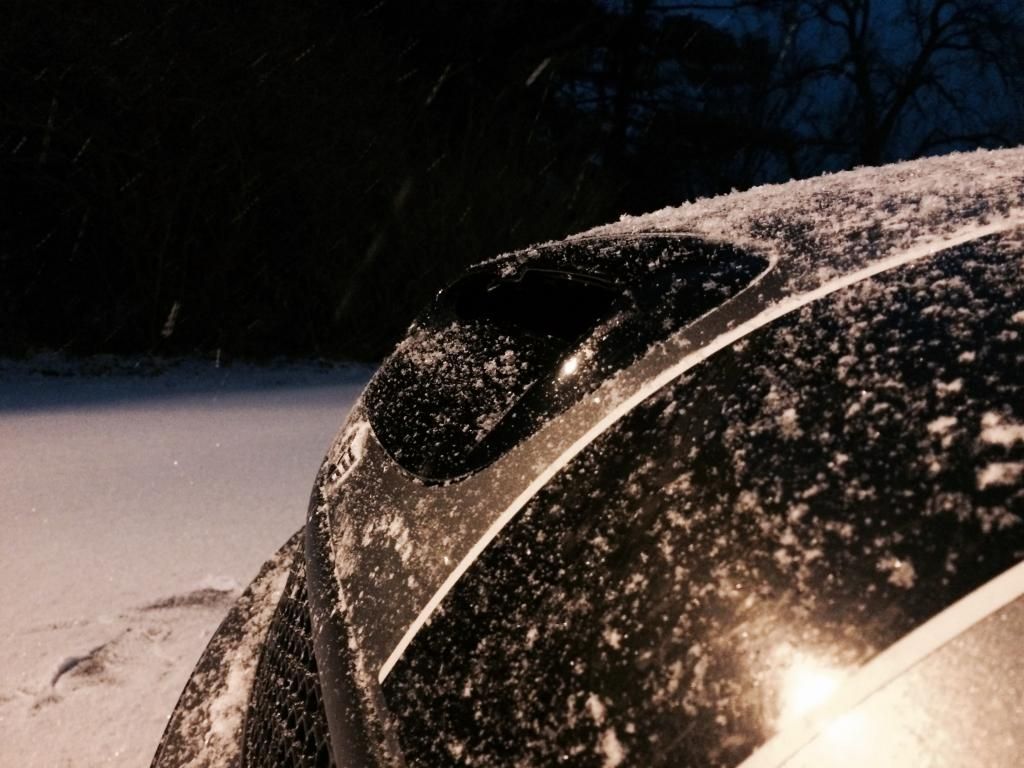 [/IMG]
[IMG]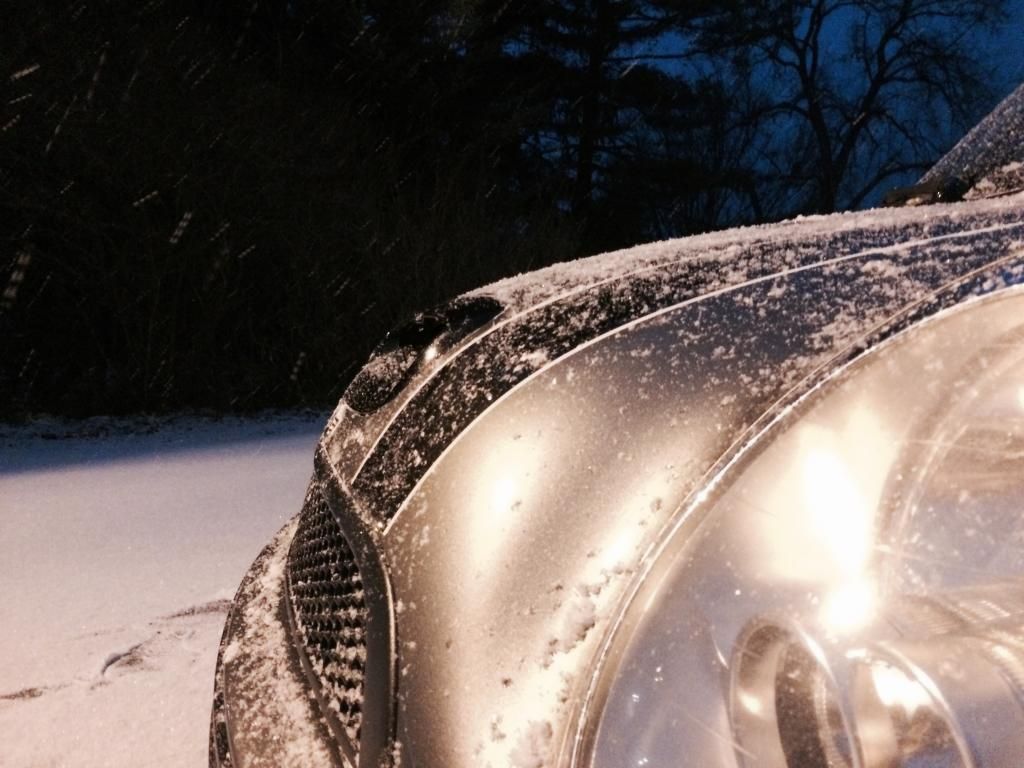 [/IMG]
[IMG]
 [/IMG]
stock size for comparison
[IMG]
 [/IMG]
[IMG]
 [/IMG]
[IMG]
 [/IMG]
[IMG]
 [/IMG]
Last edited by bavmotors; 12-29-2014 at 03:17 PM. Reason: pics added
#93
01-02-2015, 01:07 PM
#97
01-12-2015, 11:29 AM
Platinum Sponsor

__________________
MINI Guru/ MINI Owner Since 2004 | NEW Lifetime Part Replacement | Local Pickup
Milltek | Genuine MINI | Forge Motorsport | NM Engineering | ECS Performance | M7 Speed
Customer Service Hours: 8am-8pm EST|Sales Team Hours: 8am-11pm | SAT 10am-7pm 800.924.5172
MINI Guru/ MINI Owner Since 2004 | NEW Lifetime Part Replacement | Local Pickup
Milltek | Genuine MINI | Forge Motorsport | NM Engineering | ECS Performance | M7 Speed
Customer Service Hours: 8am-8pm EST|Sales Team Hours: 8am-11pm | SAT 10am-7pm 800.924.5172
#99
01-23-2015, 10:42 PM

Those look awesome and exactly what I want on mine. Did you take them off to spray? Also how did you keep the "s" red? Lastly did you use a sealer or just the plasti dip?
#100
01-24-2015, 05:36 AM