Navigation & Audio Eric the Clubbies with HK setup, ICE upgrade
#1
 08-30-2014, 07:08 AM


Eric the Clubbies with HK setup, ICE upgrade
Its about time I made a thread on the ICE upgraded I have done to my 2012 Clubman SD. It has the HK set up as standard, as decent as that sounds, its not good enough for me, so the plan was to upgrade it, man it wasn't as simple as my previous cars.
I bought Eric in Feb 2014 after trading in my 2010 R56 Dooper, it was nice, but the lack of a decent boot space for a good sub made me want to change for a Clubbie. So this ICE upgrade took me a few months and its not finished yet but it does sound pretty damn good now..
These cars are not easy to install an after market set up, but once you do it, it sooooo worth it.
The kit I had was:
Alpine 178BT Head Unit
DLS A7 5 Channel Amp
Boston Acoustics 6.5 Pro component speakers
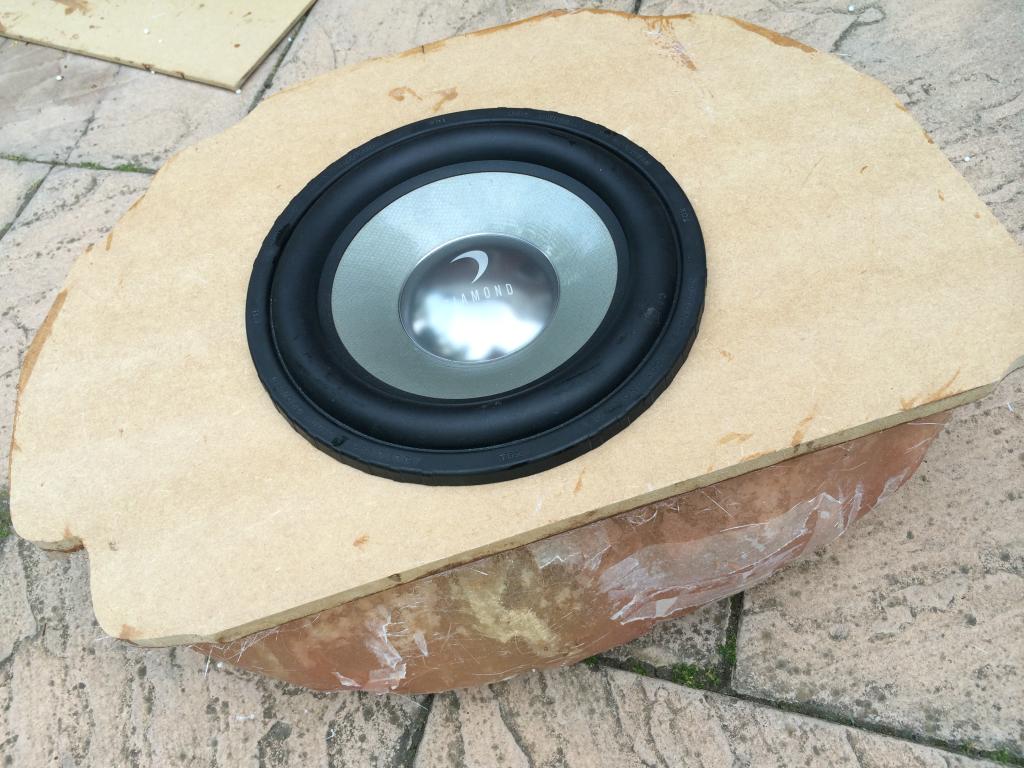
Diamond Audio TDX12 d4 Sub
Now the Diamond sub wouldn't fit in the R56 so I bought a pair of Vibe QB69 and stuck them in sealed boxes and they were pretty impressive for bass.
The Clubbie has HK and Nav so removing the stereo is a no go, installing the Alpine in the clubbie is a problem as you cannot remove the original stereo and nav screen (the the R56 dooper, I replaced the fascia to house a double din slot and was able to install the Alpine) so after a lot of research, the best way was to buy a processor (Audison Bit One) and install that using a feed from the HK amp.
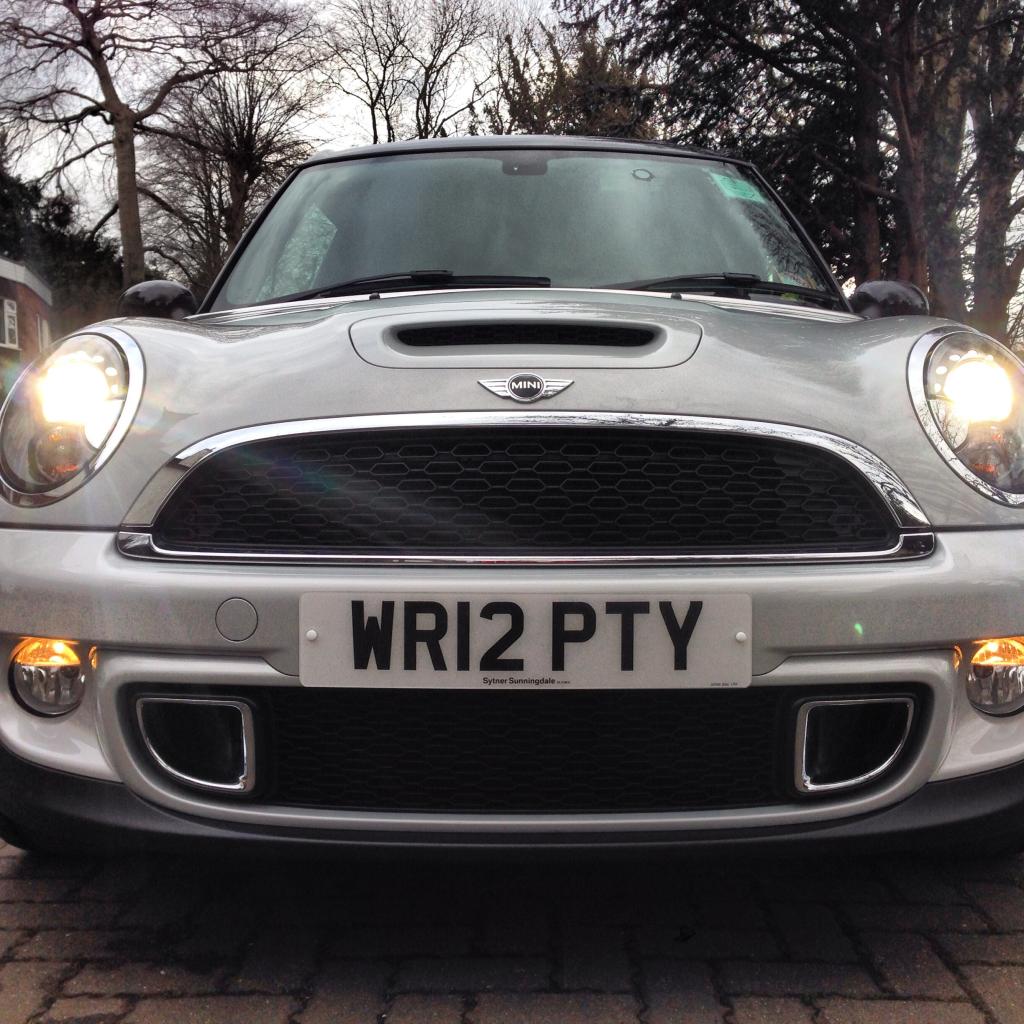
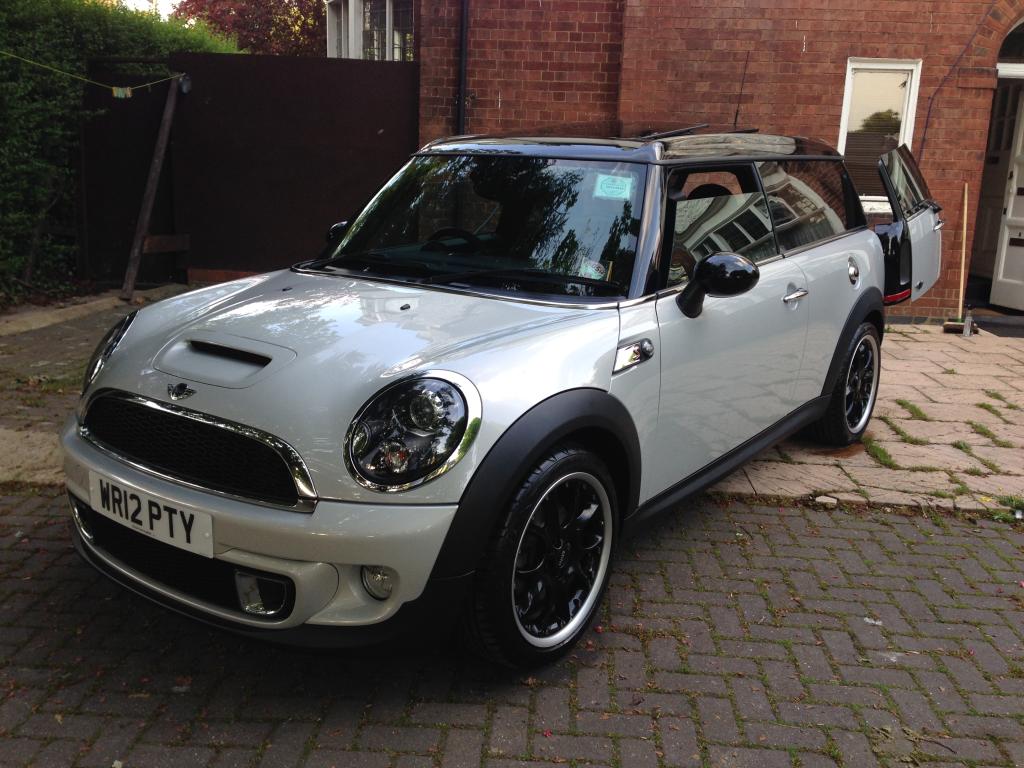
Starting with Eric, here he is...
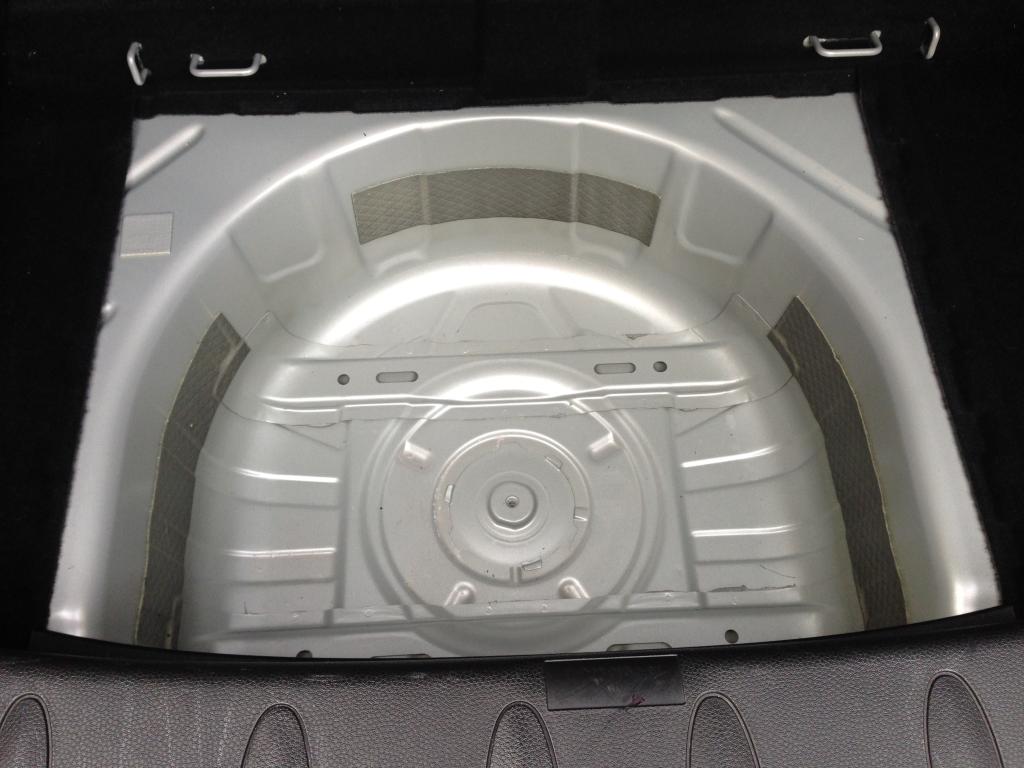
The first thing for me to start was the boot built itselt, my plan was to build a sub woofer enclosure into the spare wheel well, saving space and not need a big *** box moving around in the boot. Heres the wheel well, theres a decent amount of space here...
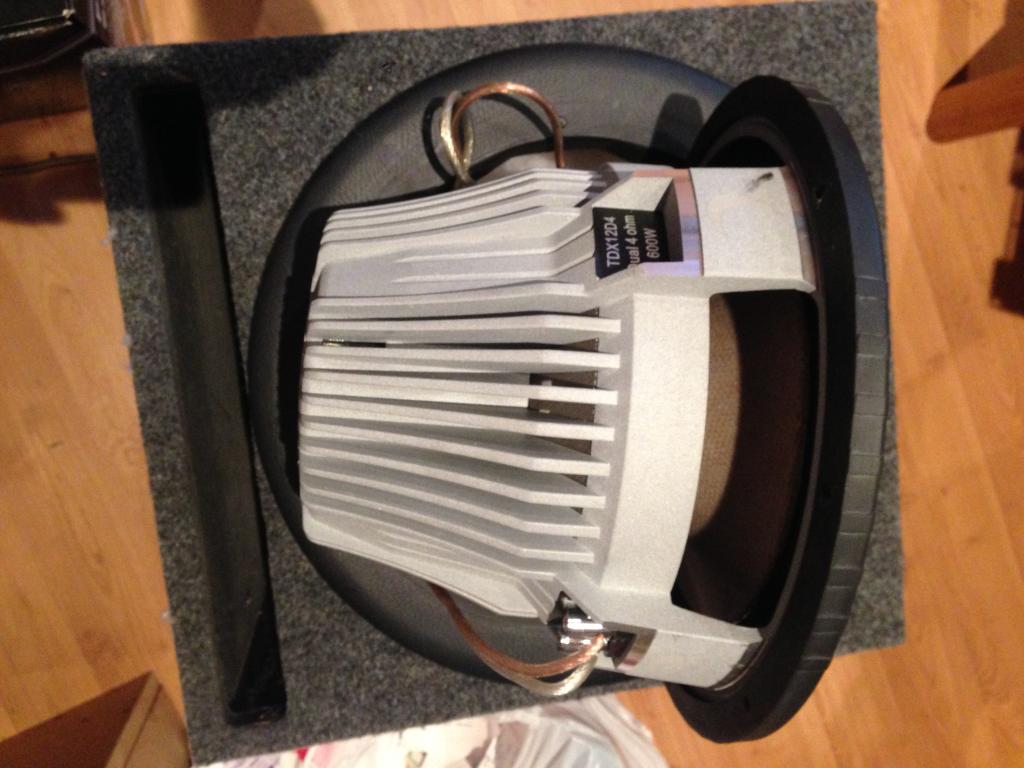
This is the Diamond Audio TDX12 d4 Sub, its a BEAST of a sub with a massive *** end. I originally thought I had about 1.7cuft of box space available in the well, which after a mishap (with the first enclosure) I worked out I only have 1.2cuft to play with so going sealed was the only option with this sub.
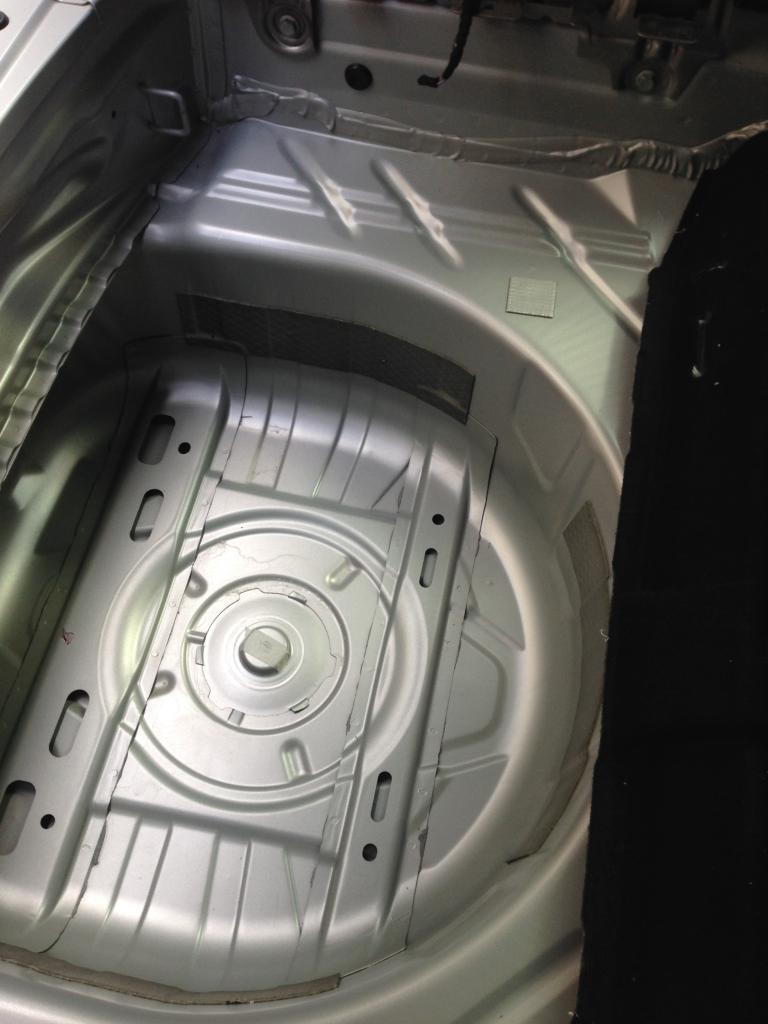
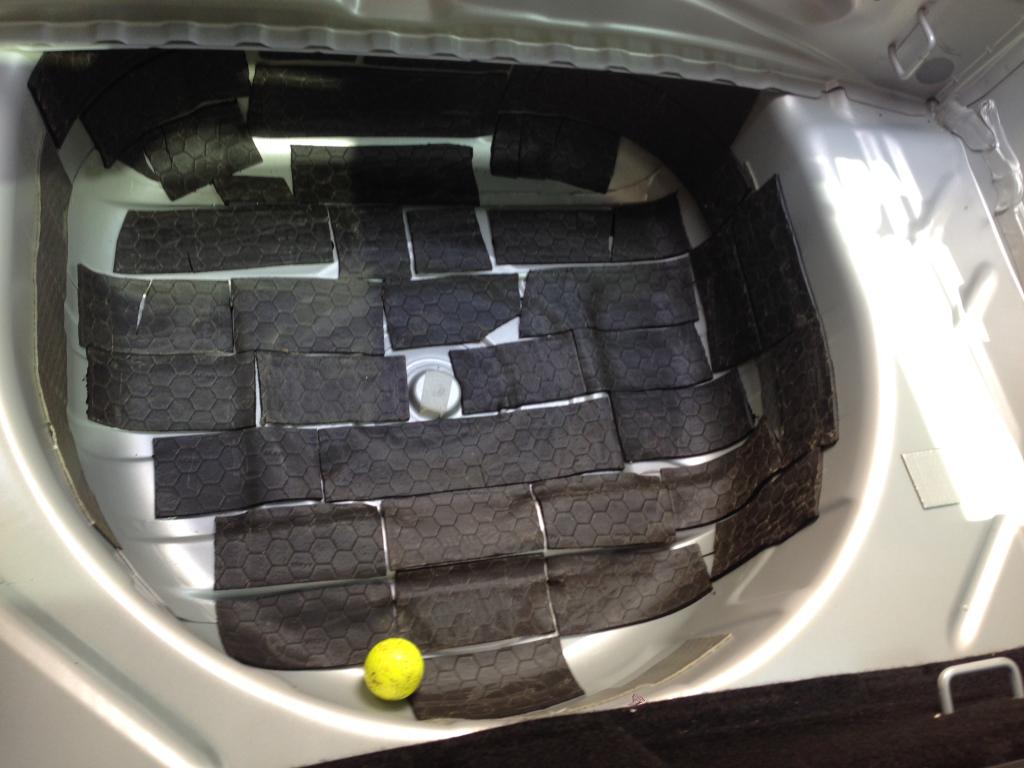
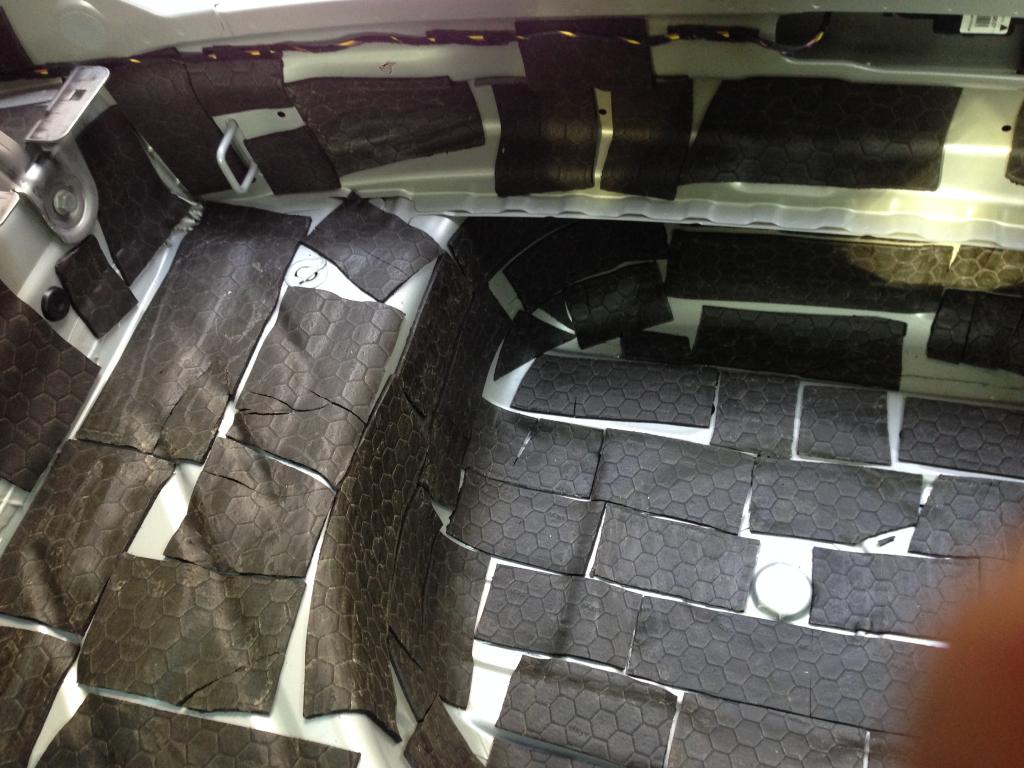
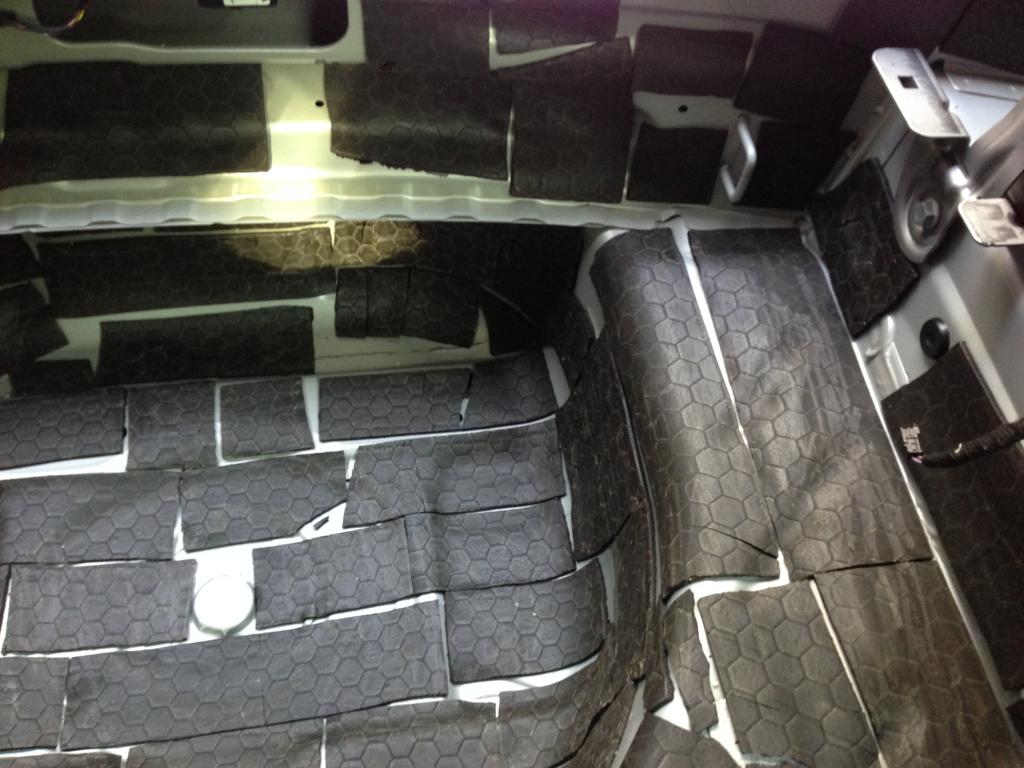
Time to clean the boot floor of grease and crap and fit the sound deadening material. This stuff is 4mm thick so only need 1 layer opposed to a couple of layers with the thinner stuff. When using this stuff, a clean grease free surface is important or it wort stick or work effectively. Its best to cut the material into manageable strips, then using a heat gun, heat the material (sticky side) so its a lot tackier and sticks pretty damn well to any surface. The yellow golf ball is a great tool to press the material onto the well floor, I find it better than using a roller which I have broken plenty off in the past haha
For best results, cover as much of the metal area you can get to...
Then it was time to start making the sub woofer enclosure using fiberglass. You need Resin, 450gm chopped strand matting, lots of masking tape, aluminum foil (see later pics), gloves, cloths to cover the bits you're not going to fg onto and important... DO THIS OUTSIDE IN FRESH AIR or you'll be spinning, a lot.
First thing you must do is to mask the area you want to fg over, I used a couple of layers of masking tape, then added the a couple layers of matting and the resin. This was a huge mistake...
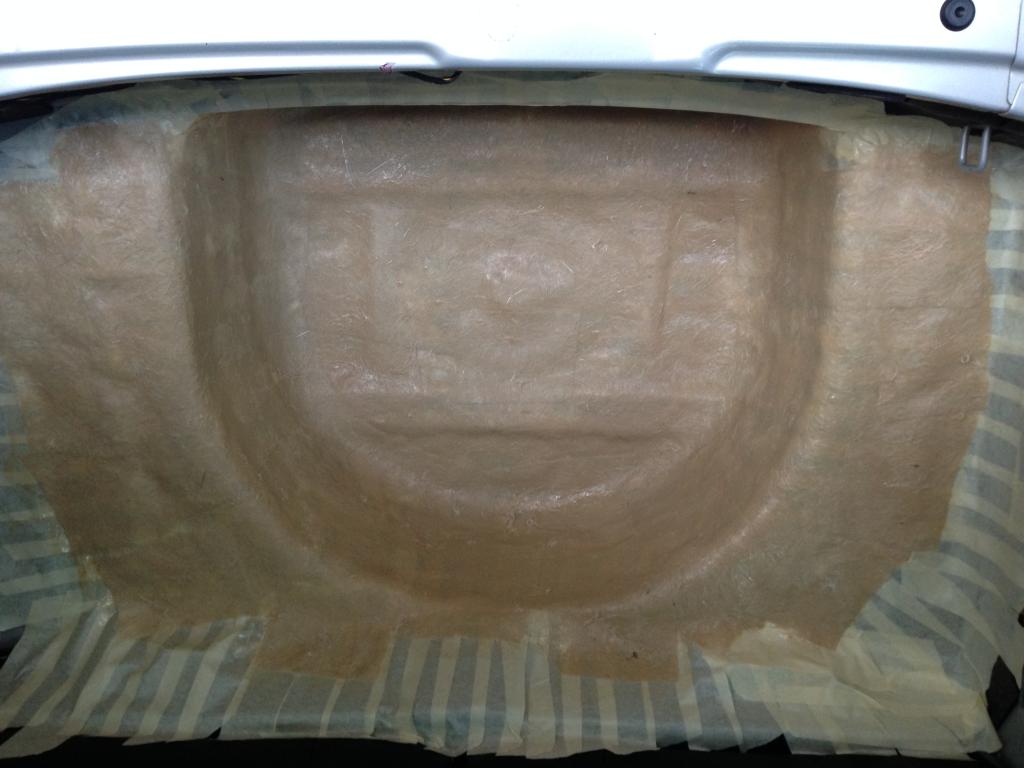
Now as you can see, the above pics look great!! However I let it cure over night which was advised, but the stink the next day in the car was incredible, infact the smell eventually went after about 5 weeks!! Not good :ugeek: That was only part of the problem, because i made it tight into the corners and because I didnt use enough masking tape, the box was stuck into the wheel well, the bastard thing didnt want to come out. It took 3 of us and FOUR crow bars to prise it out. It cracked, broke and well it was the only way it was going to come out, it had to be done.
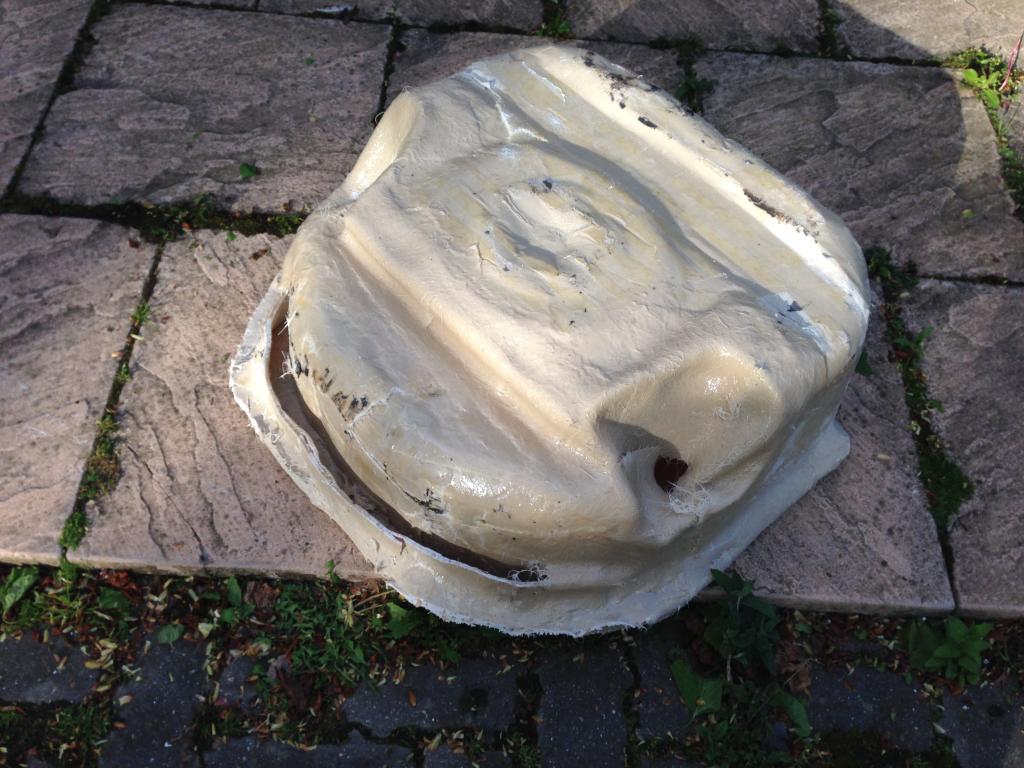
The next day I tried to build the box back together only for it not to fit back into the well, so cut the box open and tried to make it smaller but it ended up looking like this..... smiley little bastard!
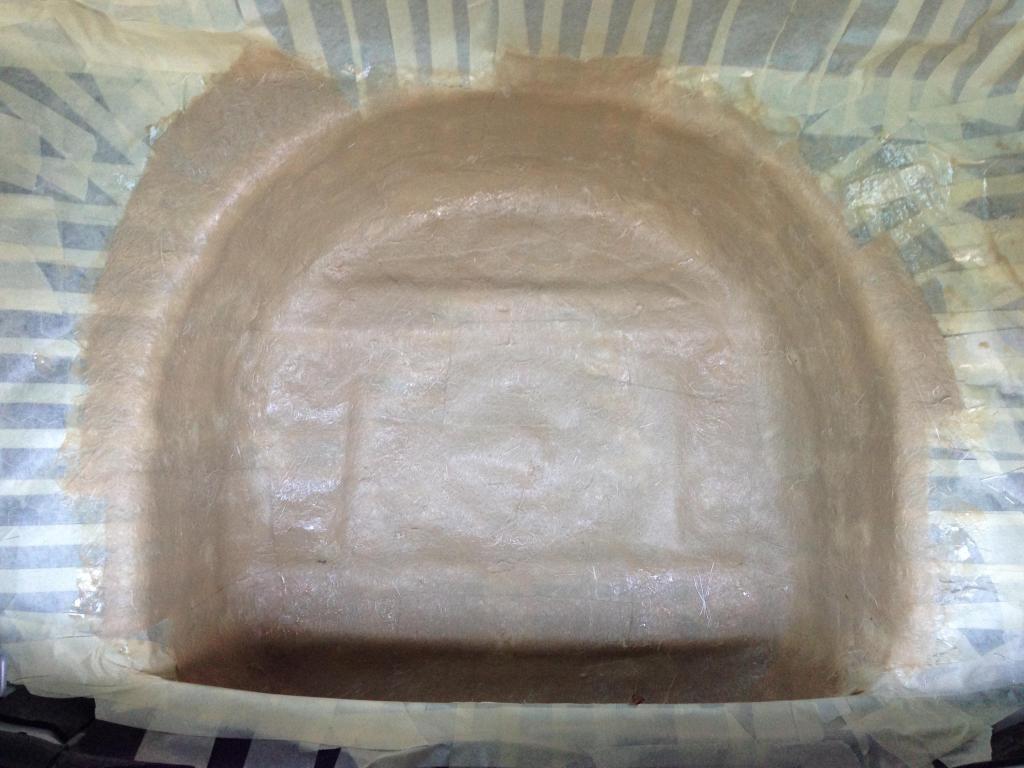
So I decided to start again only this time i put down about 4 layers of masking tape (so the resin didnt seep thru and stick to the boot floor this time), then 2 layers of ally foil, and another layer of masking tape on top of that. That did the trick, thankfully...
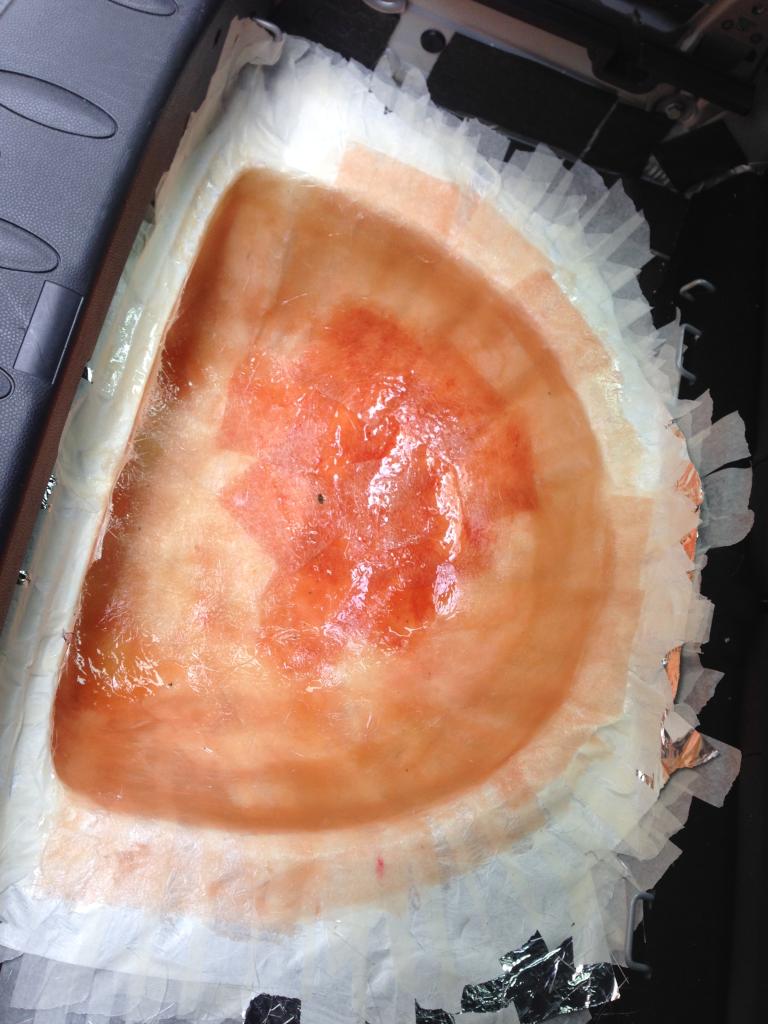
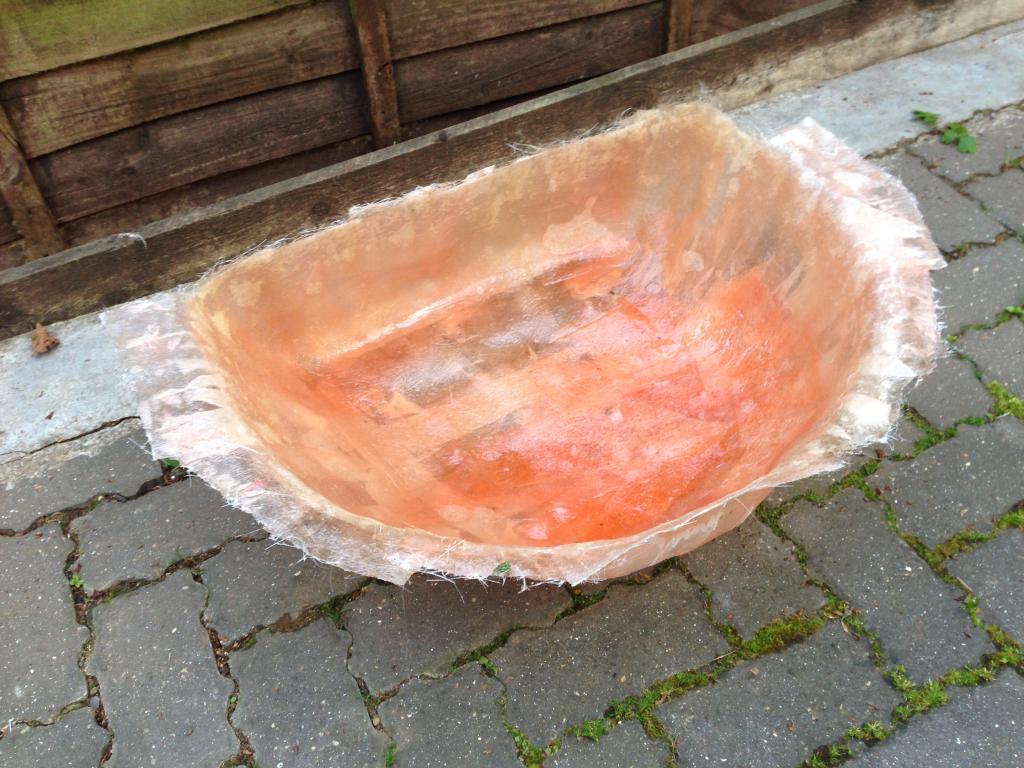
I put down a couple of layers and let it set hard enough to pull it out so it didnt stink the car out again. After 40 mins, it came out very easily and looked like this....
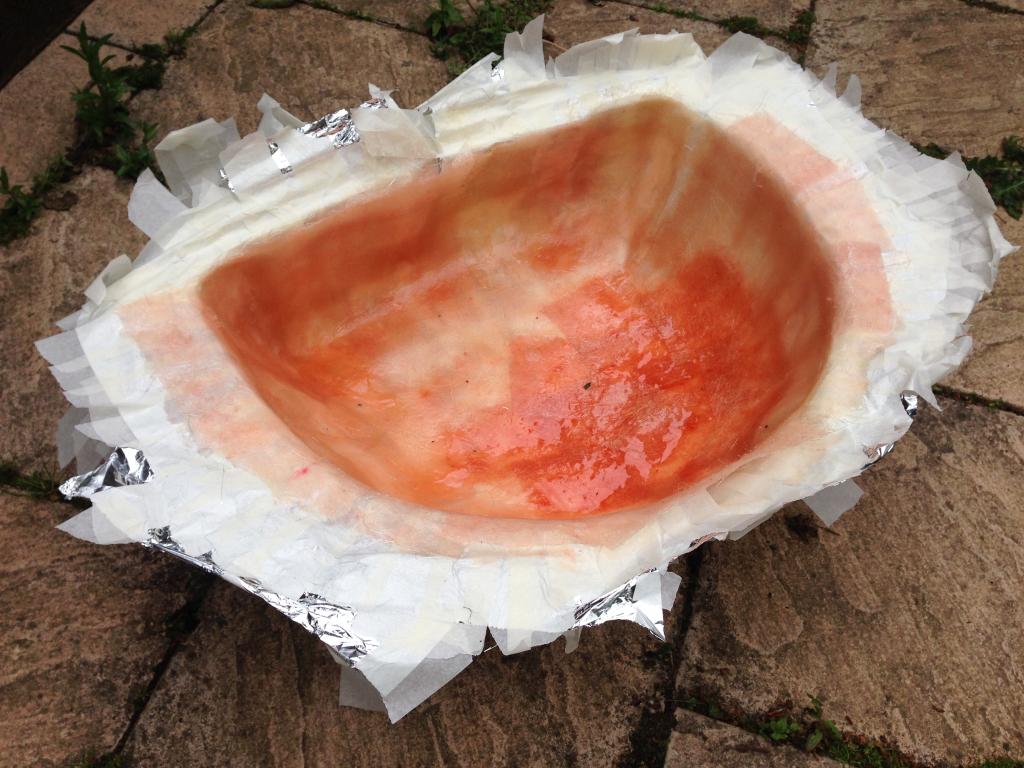
I let it set hard over night, then the next day peel off the masking tape from the underside of the fg enclosure, only do this once the fg has set and cured hard or it will flex, deform and cure hard into an odd shape.
I bought Eric in Feb 2014 after trading in my 2010 R56 Dooper, it was nice, but the lack of a decent boot space for a good sub made me want to change for a Clubbie. So this ICE upgrade took me a few months and its not finished yet but it does sound pretty damn good now..
These cars are not easy to install an after market set up, but once you do it, it sooooo worth it.
The kit I had was:
Alpine 178BT Head Unit
DLS A7 5 Channel Amp
Boston Acoustics 6.5 Pro component speakers
Diamond Audio TDX12 d4 Sub
Now the Diamond sub wouldn't fit in the R56 so I bought a pair of Vibe QB69 and stuck them in sealed boxes and they were pretty impressive for bass.
The Clubbie has HK and Nav so removing the stereo is a no go, installing the Alpine in the clubbie is a problem as you cannot remove the original stereo and nav screen (the the R56 dooper, I replaced the fascia to house a double din slot and was able to install the Alpine) so after a lot of research, the best way was to buy a processor (Audison Bit One) and install that using a feed from the HK amp.
Starting with Eric, here he is...

The first thing for me to start was the boot built itselt, my plan was to build a sub woofer enclosure into the spare wheel well, saving space and not need a big *** box moving around in the boot. Heres the wheel well, theres a decent amount of space here...


This is the Diamond Audio TDX12 d4 Sub, its a BEAST of a sub with a massive *** end. I originally thought I had about 1.7cuft of box space available in the well, which after a mishap (with the first enclosure) I worked out I only have 1.2cuft to play with so going sealed was the only option with this sub.

Time to clean the boot floor of grease and crap and fit the sound deadening material. This stuff is 4mm thick so only need 1 layer opposed to a couple of layers with the thinner stuff. When using this stuff, a clean grease free surface is important or it wort stick or work effectively. Its best to cut the material into manageable strips, then using a heat gun, heat the material (sticky side) so its a lot tackier and sticks pretty damn well to any surface. The yellow golf ball is a great tool to press the material onto the well floor, I find it better than using a roller which I have broken plenty off in the past haha
For best results, cover as much of the metal area you can get to...


Then it was time to start making the sub woofer enclosure using fiberglass. You need Resin, 450gm chopped strand matting, lots of masking tape, aluminum foil (see later pics), gloves, cloths to cover the bits you're not going to fg onto and important... DO THIS OUTSIDE IN FRESH AIR or you'll be spinning, a lot.
First thing you must do is to mask the area you want to fg over, I used a couple of layers of masking tape, then added the a couple layers of matting and the resin. This was a huge mistake...


Now as you can see, the above pics look great!! However I let it cure over night which was advised, but the stink the next day in the car was incredible, infact the smell eventually went after about 5 weeks!! Not good :ugeek: That was only part of the problem, because i made it tight into the corners and because I didnt use enough masking tape, the box was stuck into the wheel well, the bastard thing didnt want to come out. It took 3 of us and FOUR crow bars to prise it out. It cracked, broke and well it was the only way it was going to come out, it had to be done.
The next day I tried to build the box back together only for it not to fit back into the well, so cut the box open and tried to make it smaller but it ended up looking like this..... smiley little bastard!

So I decided to start again only this time i put down about 4 layers of masking tape (so the resin didnt seep thru and stick to the boot floor this time), then 2 layers of ally foil, and another layer of masking tape on top of that. That did the trick, thankfully...

I put down a couple of layers and let it set hard enough to pull it out so it didnt stink the car out again. After 40 mins, it came out very easily and looked like this....

I let it set hard over night, then the next day peel off the masking tape from the underside of the fg enclosure, only do this once the fg has set and cured hard or it will flex, deform and cure hard into an odd shape.

#2
08-30-2014, 07:08 AM
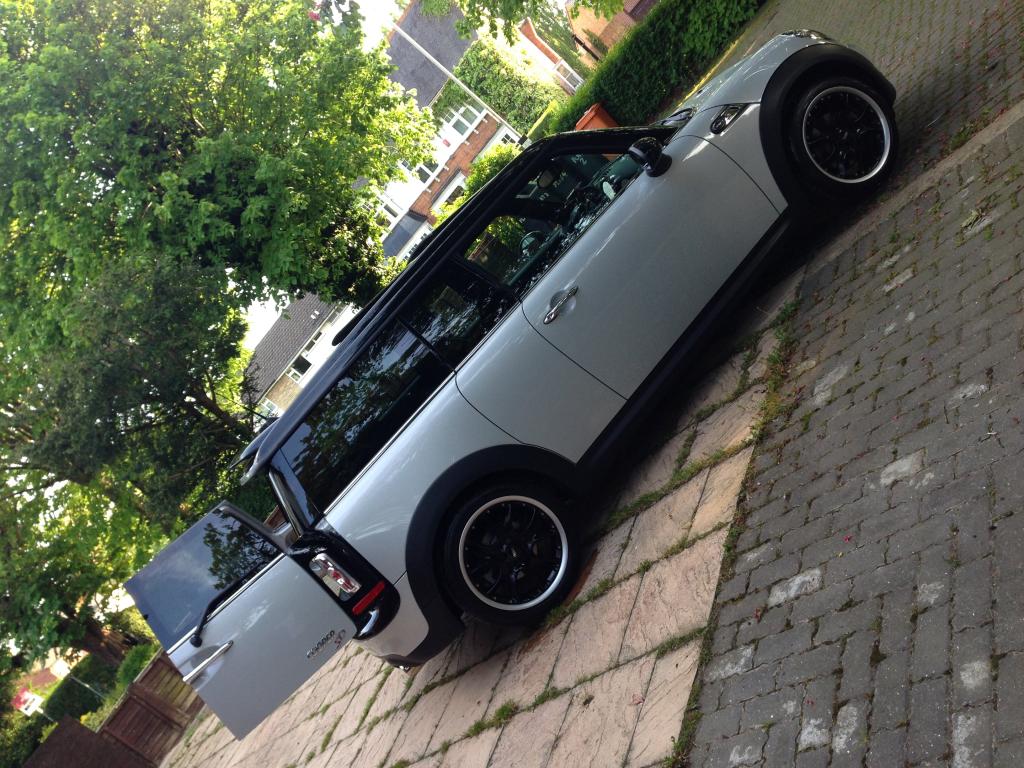
Couple more shots of Eric, he needs to be lowered...
Back to the enclosure...
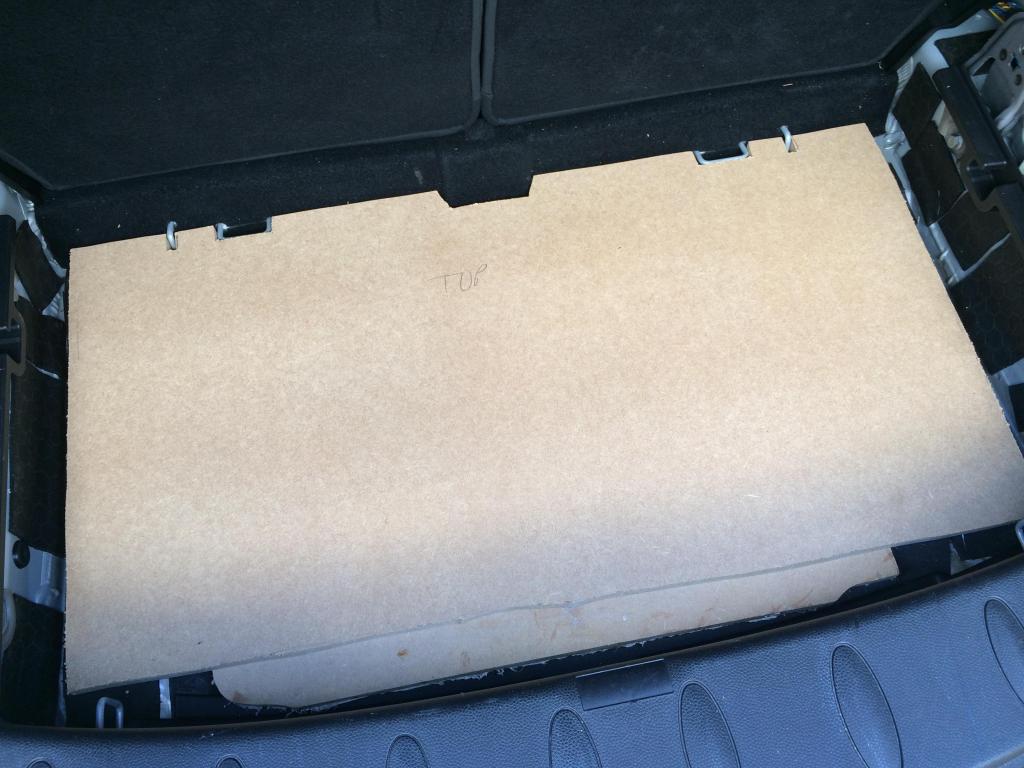
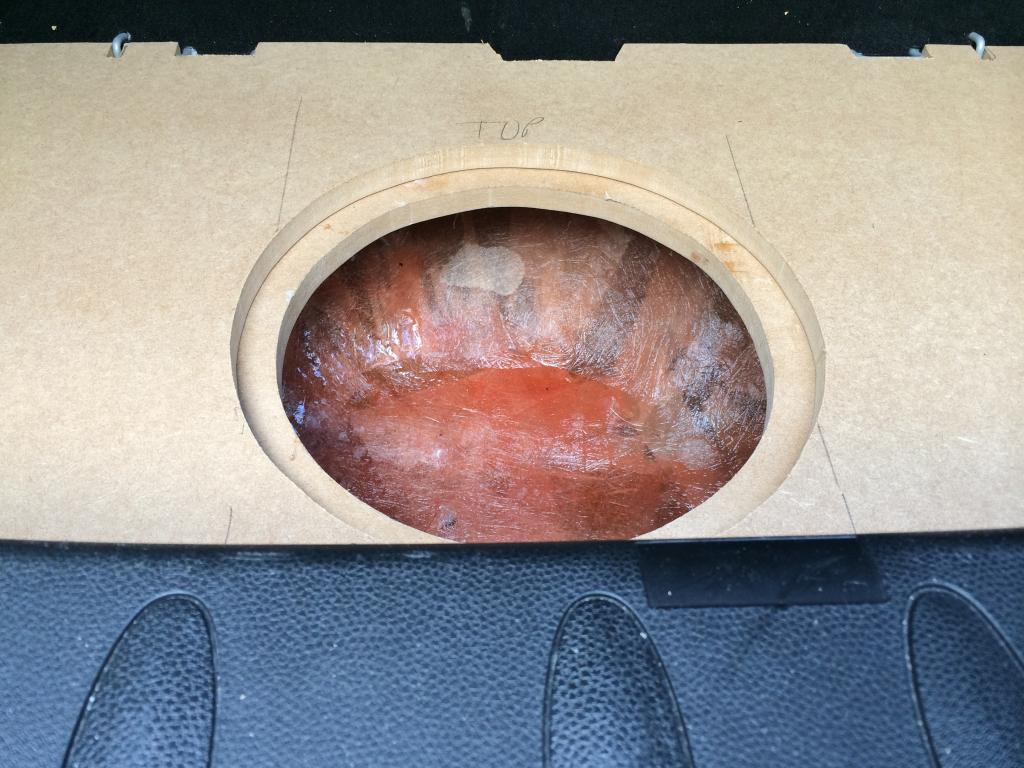
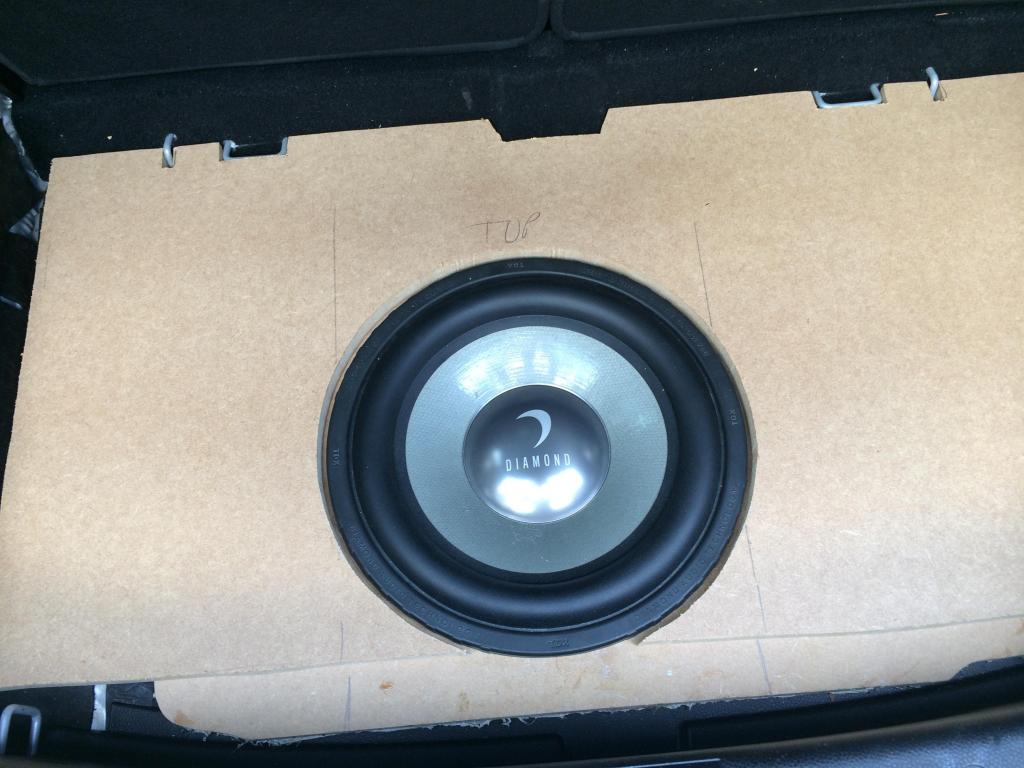
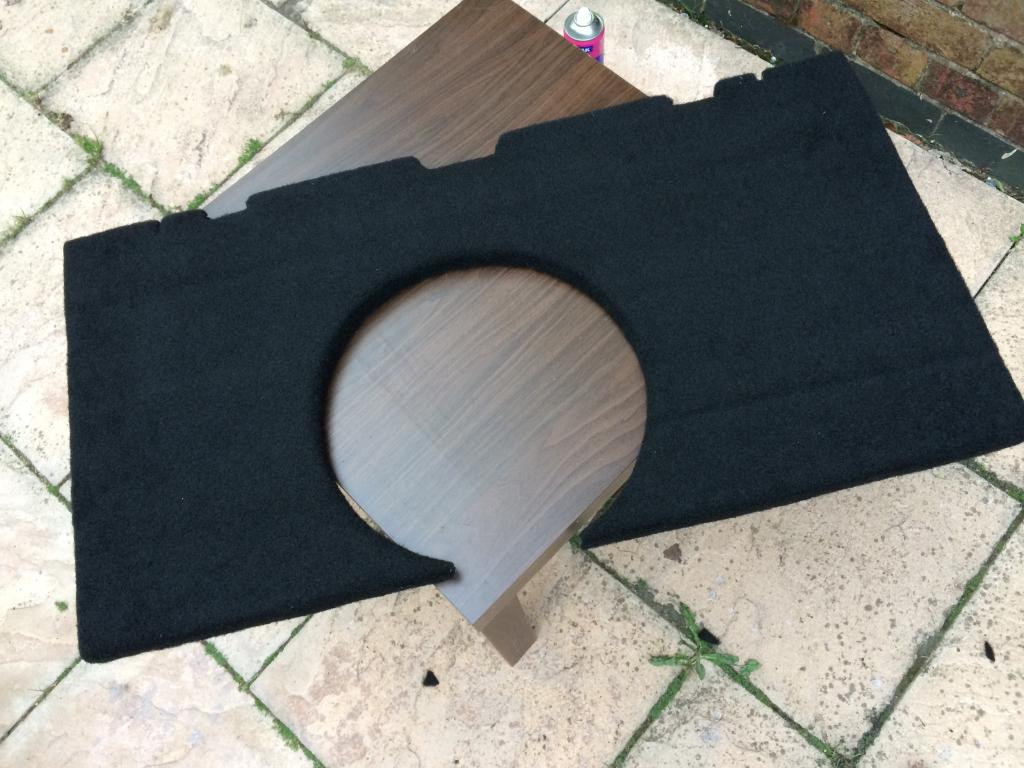
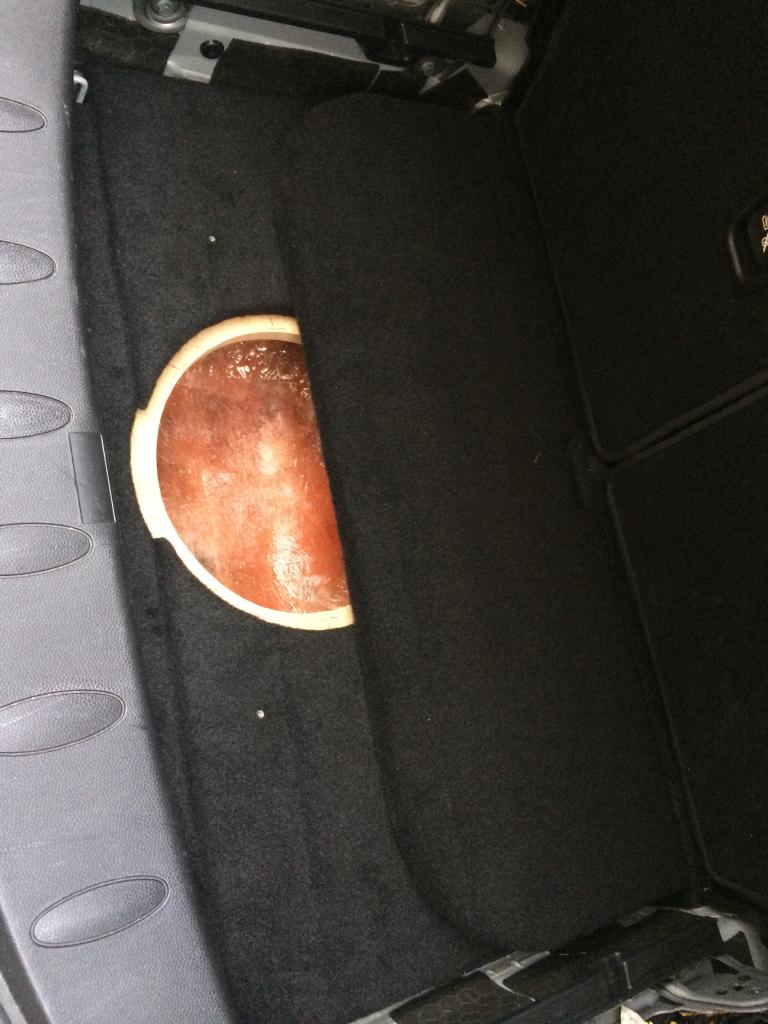
So after a test fit (thank god it fit this time - oh I forgot to mention this 2nd box is smaller than my 1st attempt, it wasnt built tight into the corners, I layed the masking tape out a little so it doesnt go into the corners, this made the box volume smaller but a lot easier for it to come out) I made the top using 18mm MDF to house the TDX12 and made the cut out for it too. The top was screwed to the FG enclosure then more resin and matting was layer over the edge to bond the top to the enclosure. Then using fg putty on the inside corners to seal it and make it air tight. It fits pretty well, so far so good...
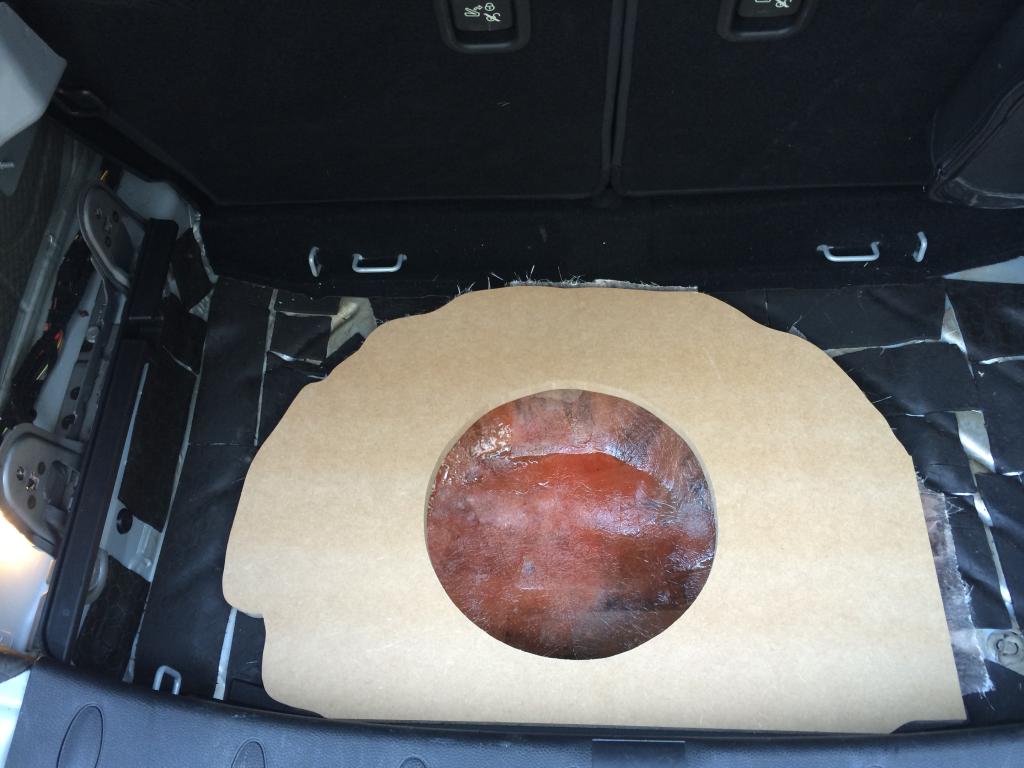
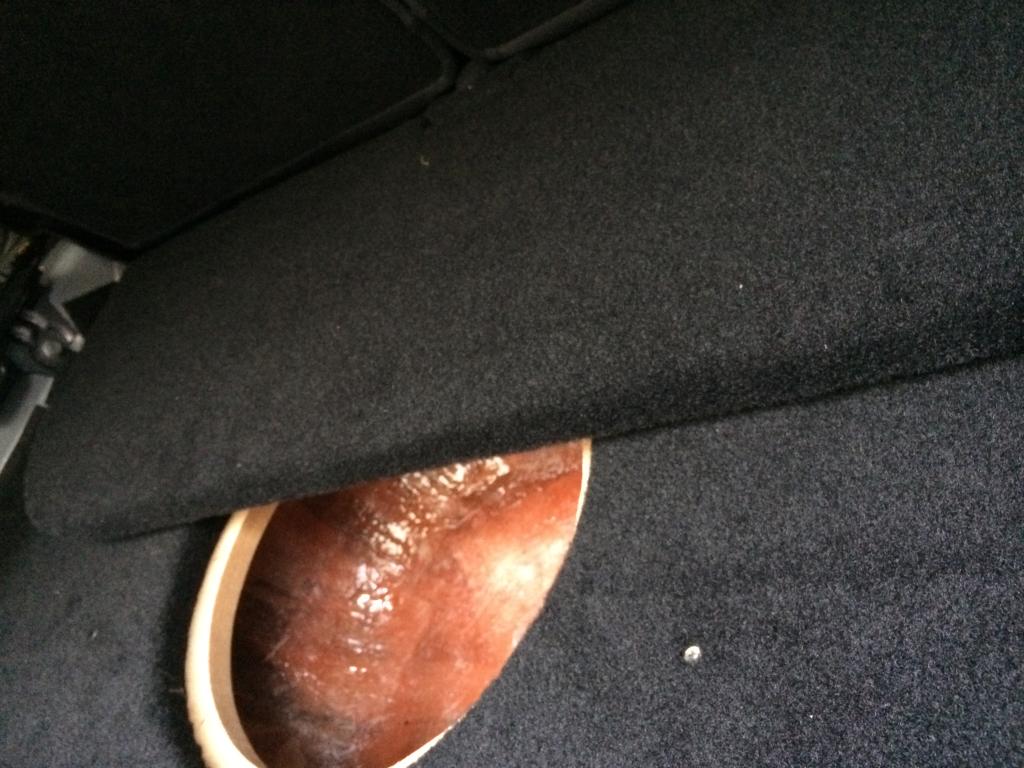
To fit the sub flush, i then made a false floor for everything else to mount to, then made the recess hole for the sub to sit flush with. I cut out holes at the top to fit tight with the storage net holding points, this makes the floor tight and wont move about when driving, then the floor was screwed to the top of the sub box so its one unit when pulled out.
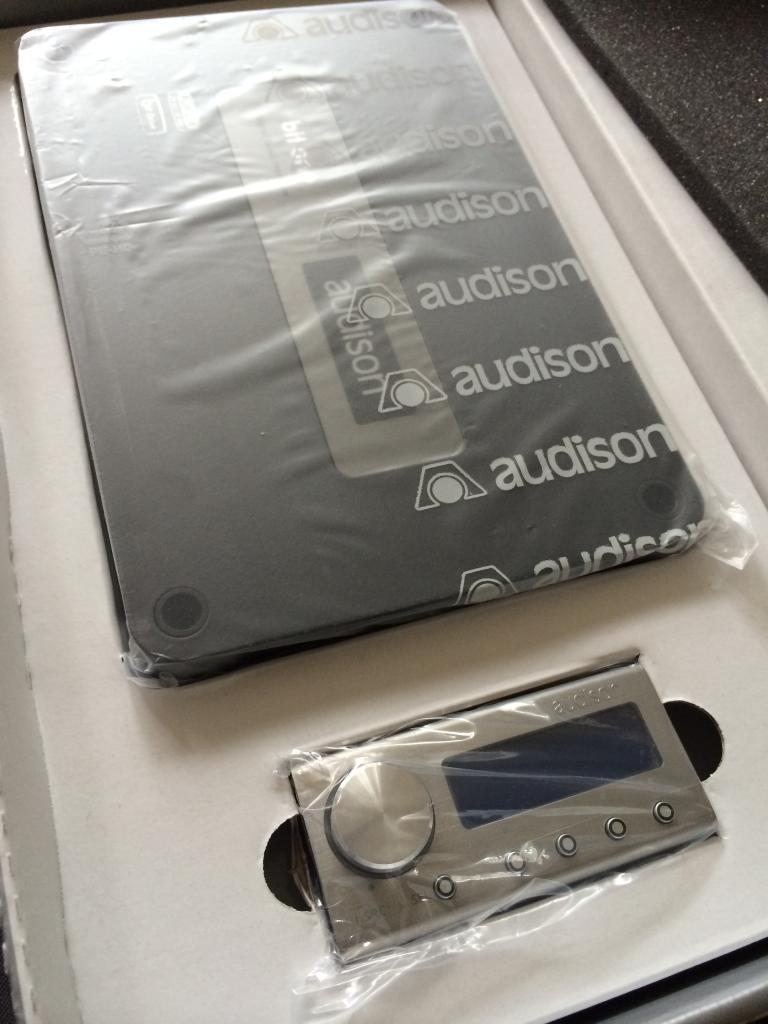
This is the next lot of kit to go into Eric, this needed much more careful planning...
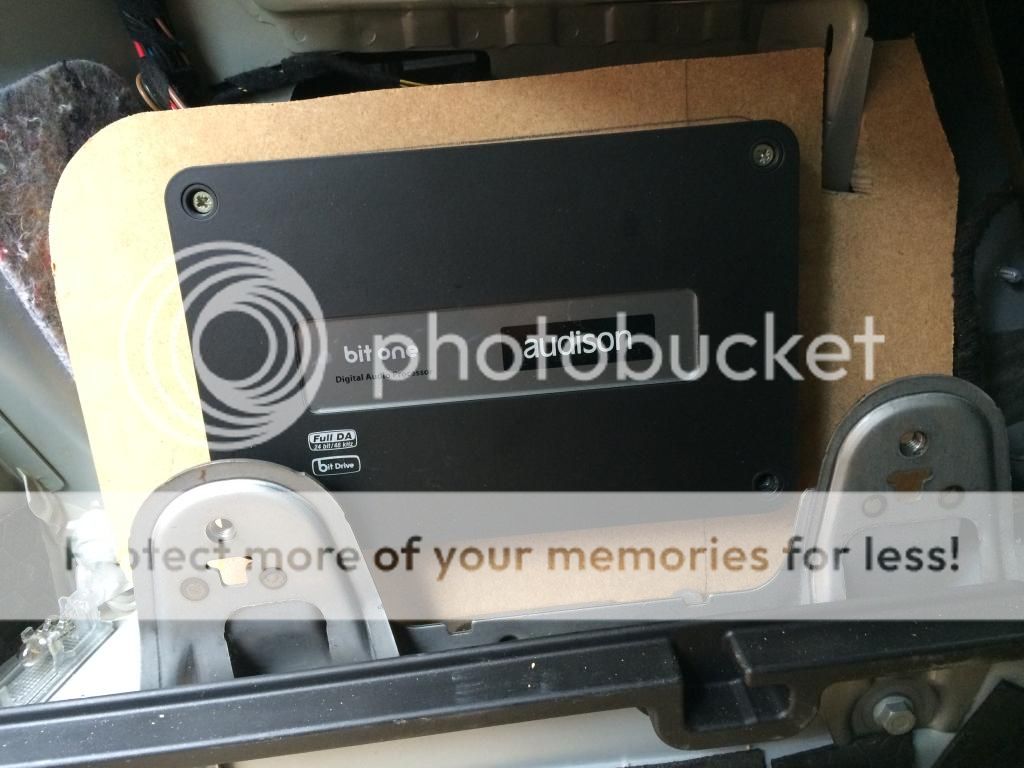
Audison Bit One processor...
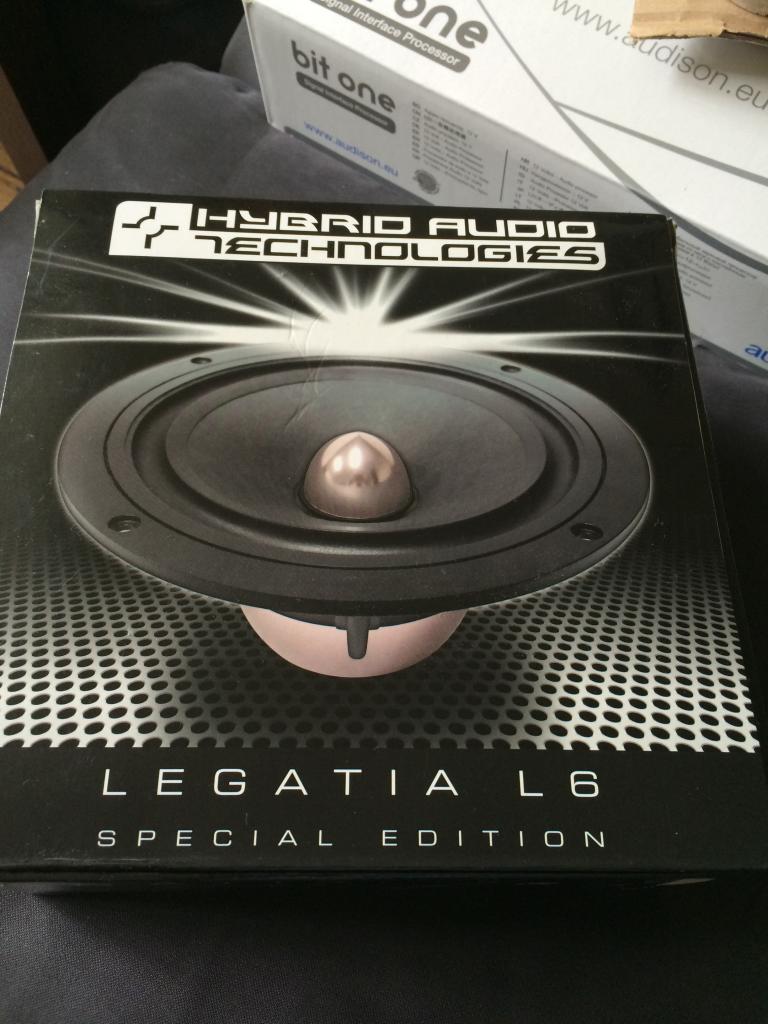
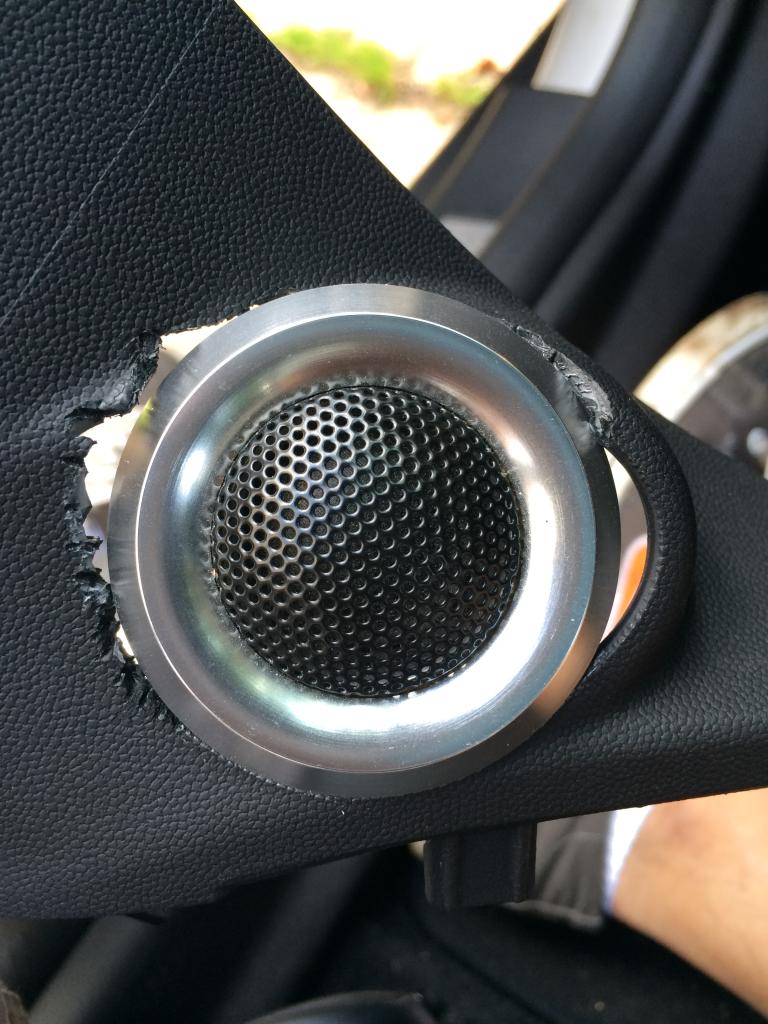
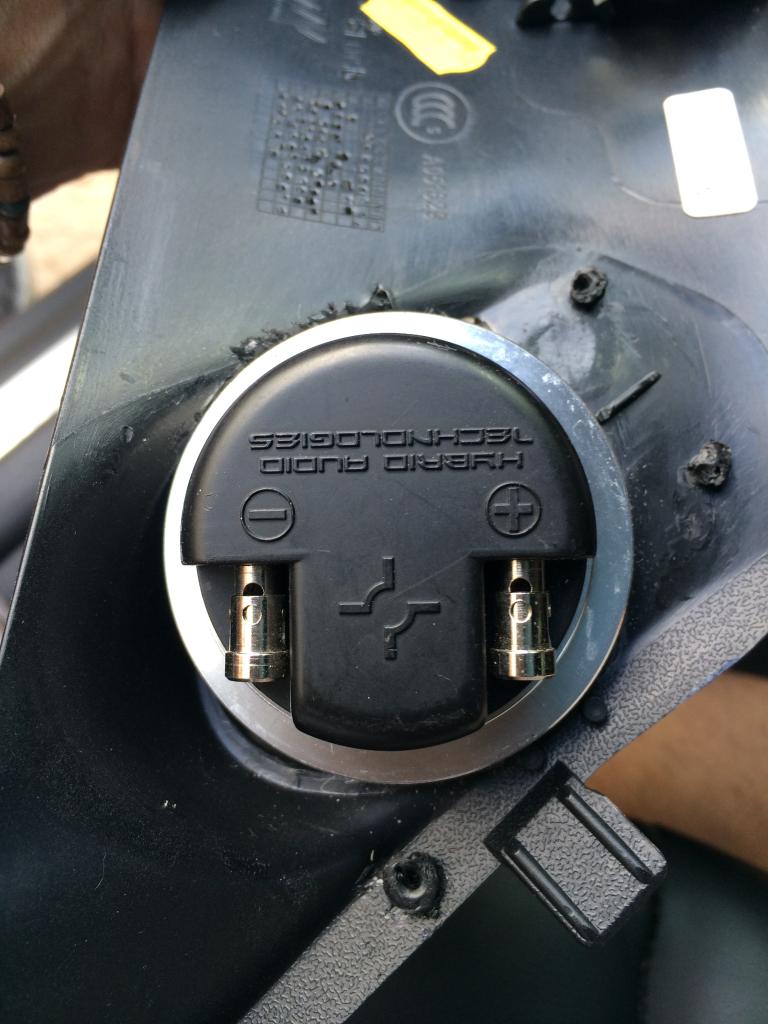
I decided to replace the Boston Pro comps with these beauties..... Hybrid Audio L6v2 SE comps....
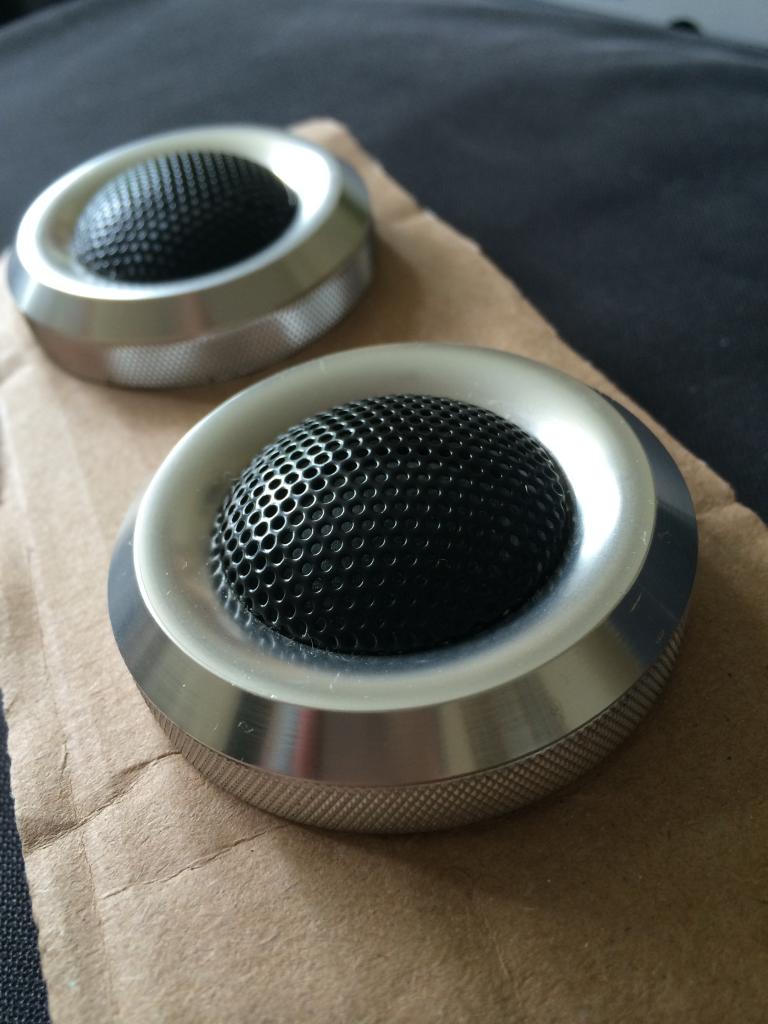
And these Hybrid Audio L1 Pro tweeters...
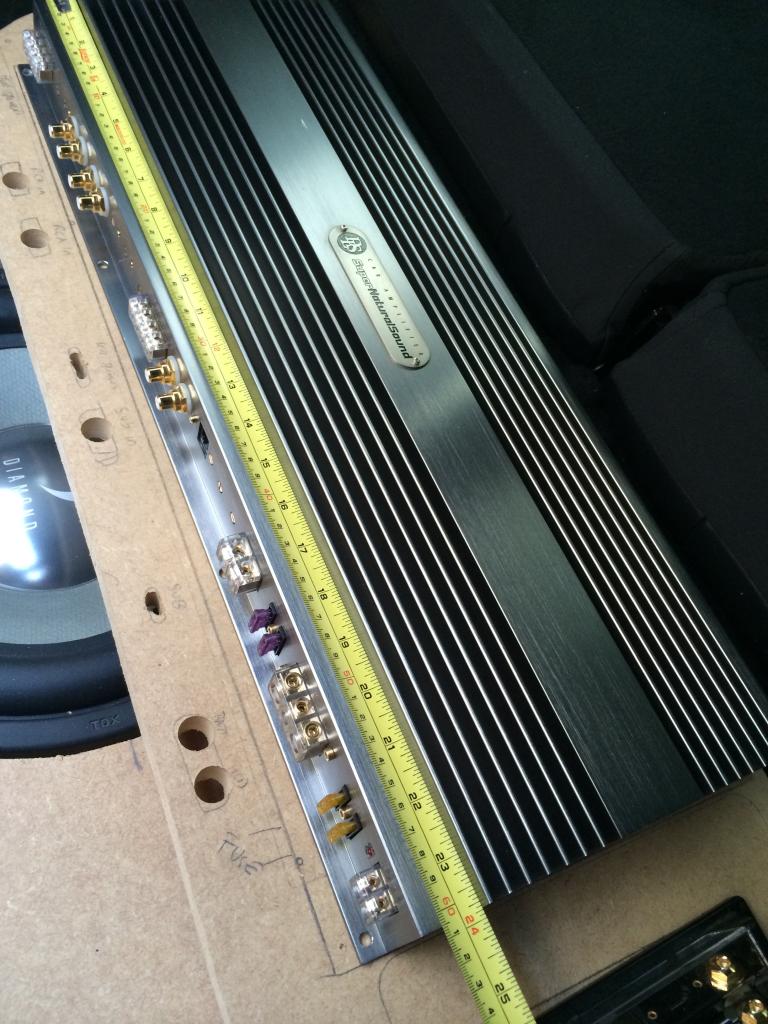
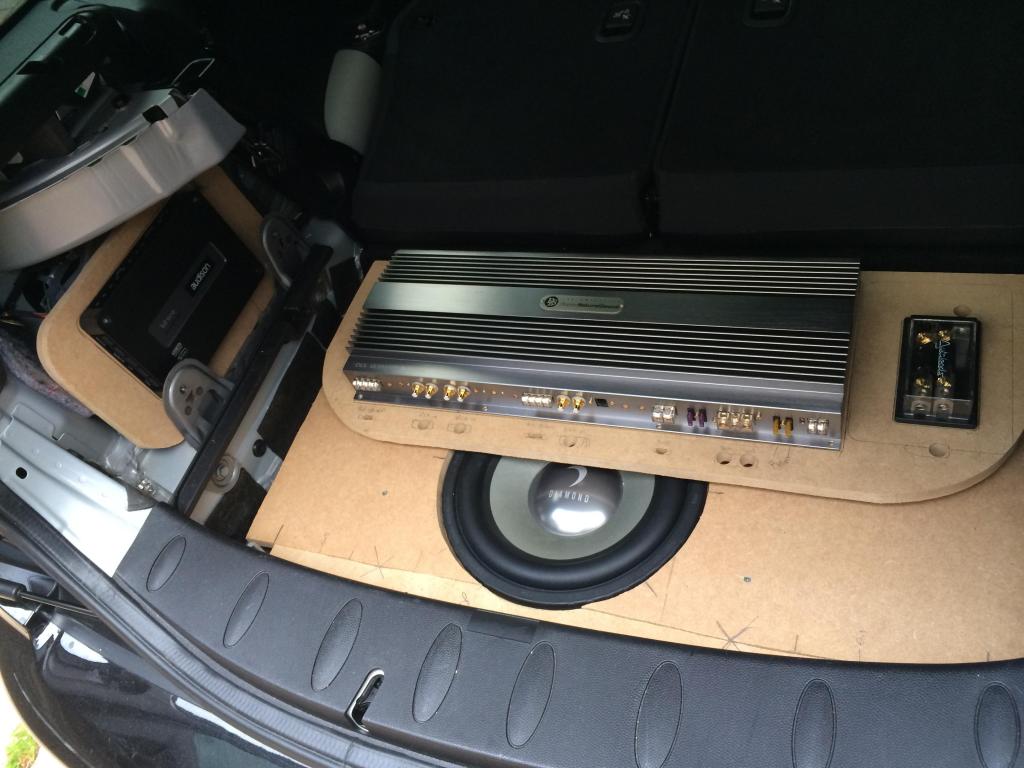
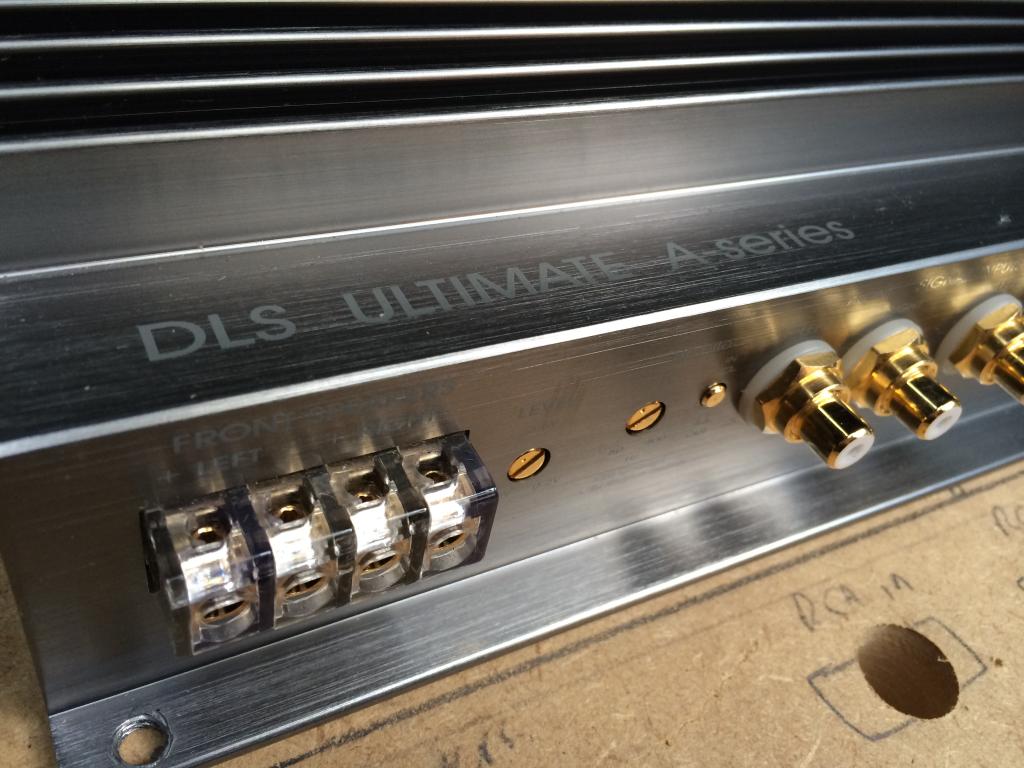
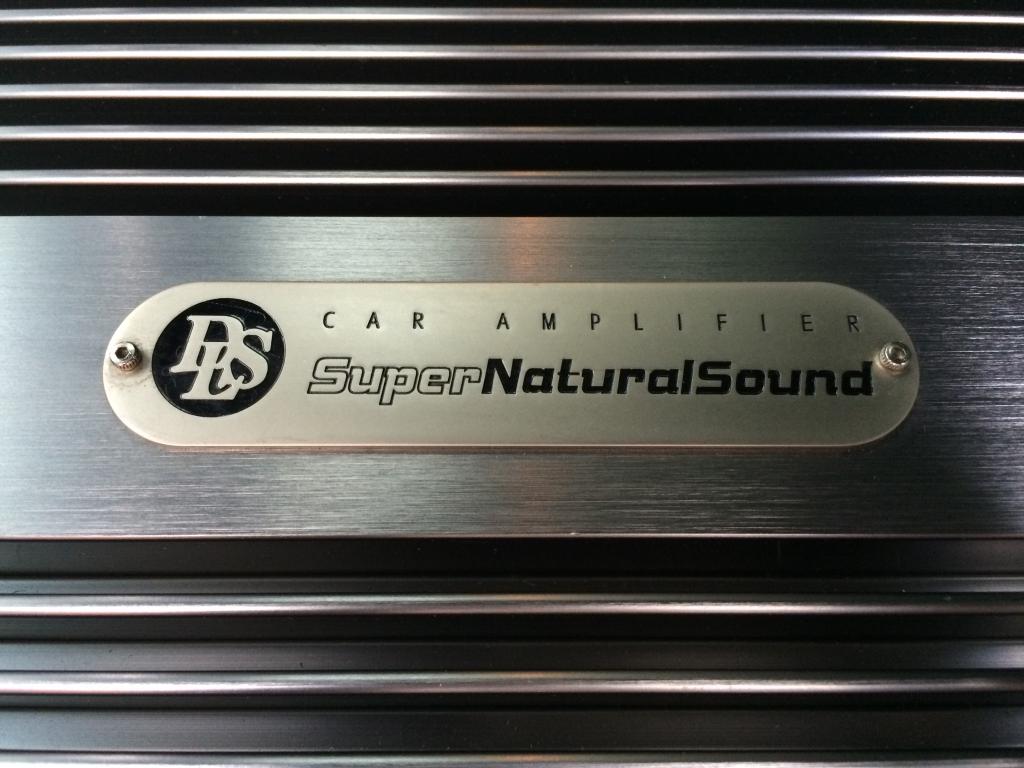
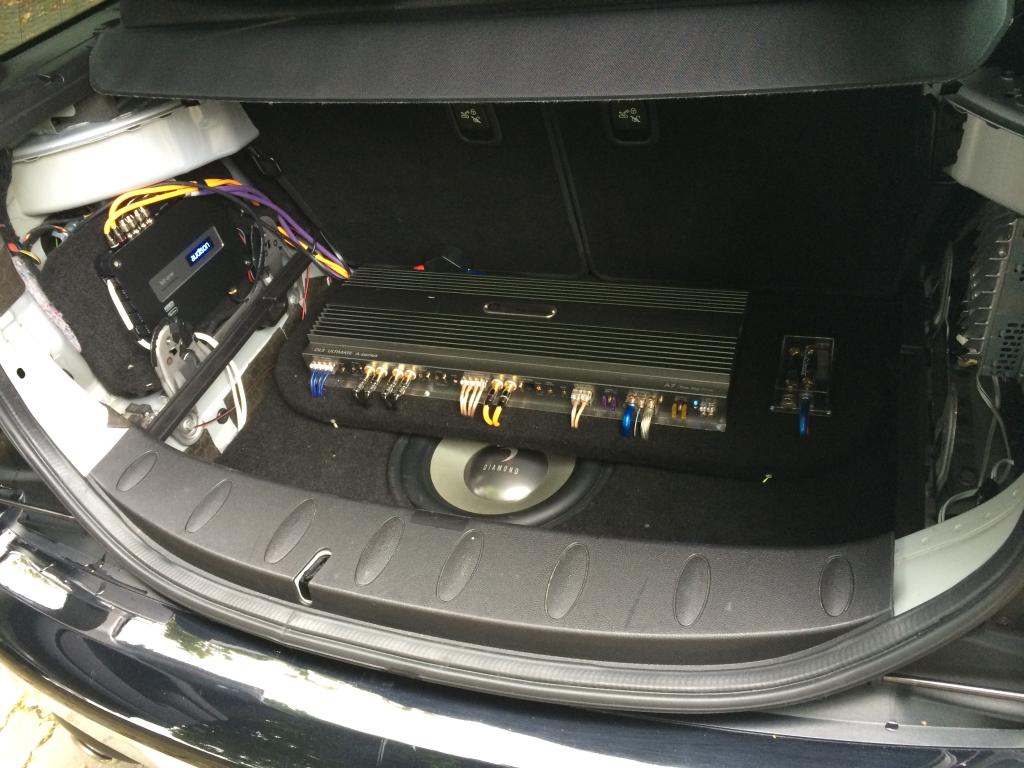
and this small amp, its only 2ft long, no biggie! EEK!! DLS A7 - 5 channel amp.
I made another layer, looks like its floating to house the amp and the power lead fuse holder. Drilled the holes for all the amp cables ready for installation. To the left of the boot, I made a platform for the Bit One to sit on, tucked away in the corner.
Ive planned out the wiring already so its time to cover the mdf panels..
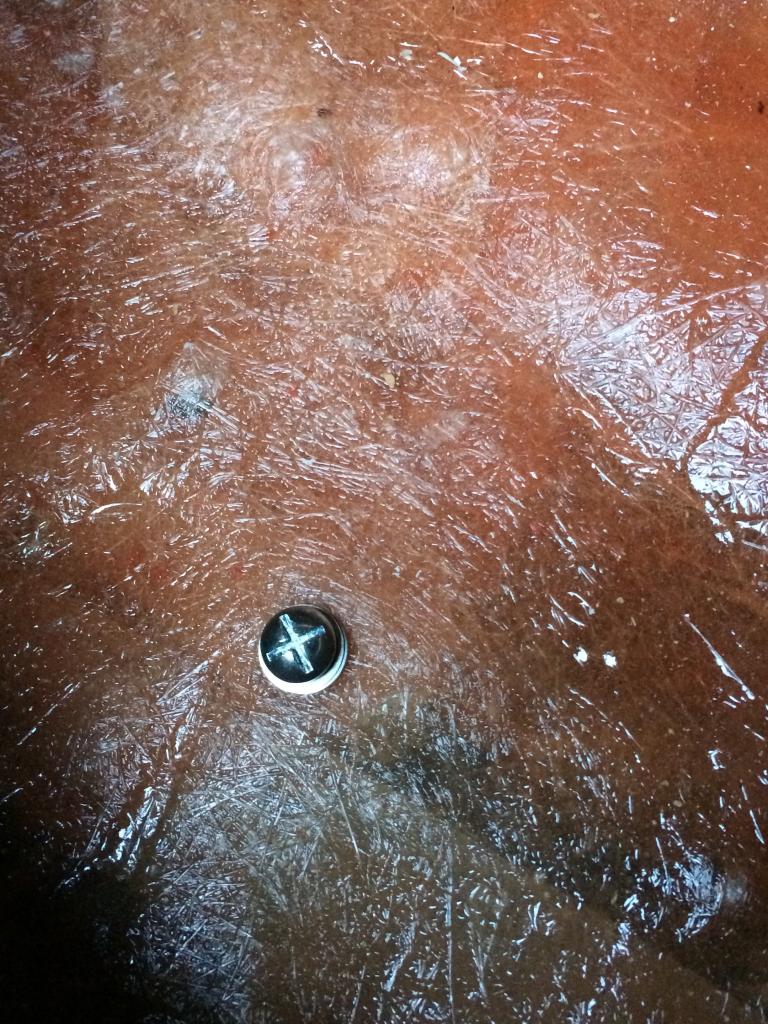
Then to stop the box jumping up and down when going over bumps etc, I drilled a hole in the bottom of the enclosure exactly where the spare wheel nut is and used a M8 ( I think) bolt to secure it down, now its tight, doesnt move so all good.
Now lets sort out the wiring. I had already fed a power cable from the battery in the engine bay into the back of the car (didnt take pictures of this, wish i had tho).
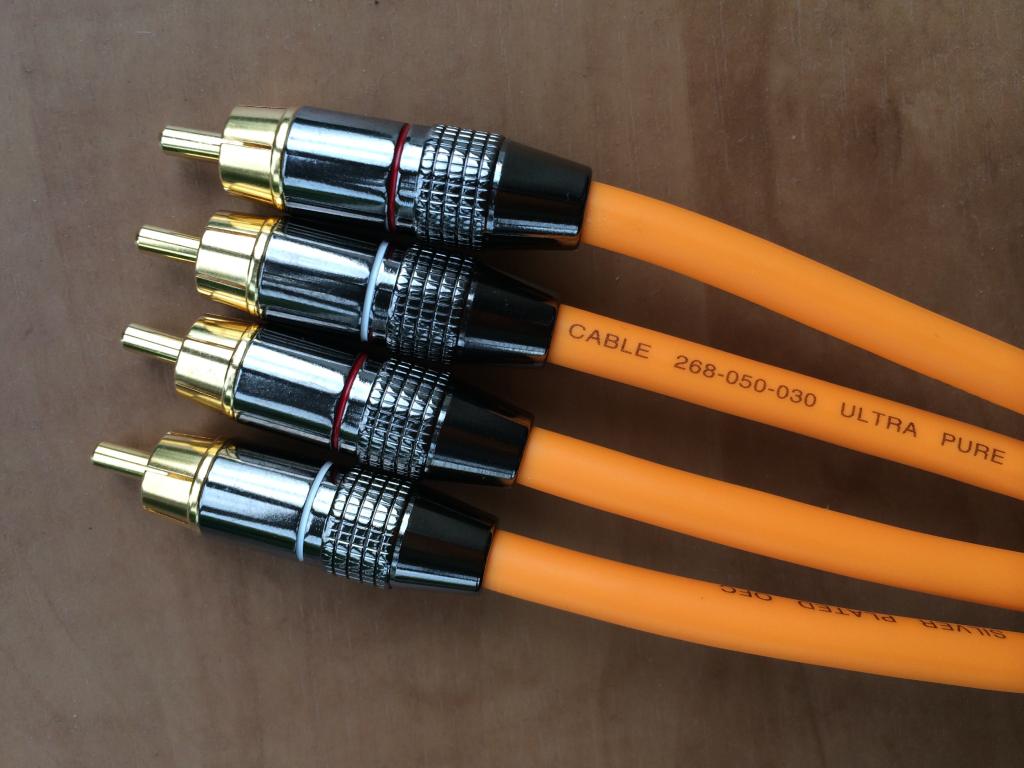
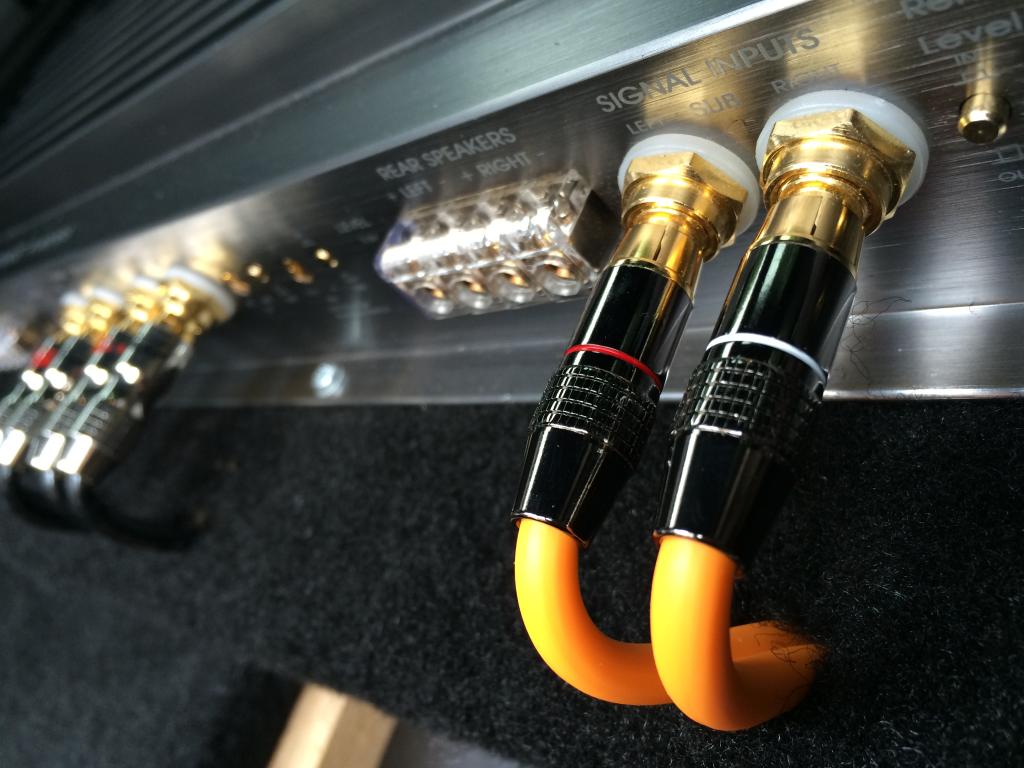
I made up my own RCA cables for the amp to the Bit One, I only have 5m RCAs so waaaay toooo big, only need 2ft cables so made them up. Bought the cables and connectors off ebay, pretty happy with them...


Back to the enclosure...
So after a test fit (thank god it fit this time - oh I forgot to mention this 2nd box is smaller than my 1st attempt, it wasnt built tight into the corners, I layed the masking tape out a little so it doesnt go into the corners, this made the box volume smaller but a lot easier for it to come out) I made the top using 18mm MDF to house the TDX12 and made the cut out for it too. The top was screwed to the FG enclosure then more resin and matting was layer over the edge to bond the top to the enclosure. Then using fg putty on the inside corners to seal it and make it air tight. It fits pretty well, so far so good...


To fit the sub flush, i then made a false floor for everything else to mount to, then made the recess hole for the sub to sit flush with. I cut out holes at the top to fit tight with the storage net holding points, this makes the floor tight and wont move about when driving, then the floor was screwed to the top of the sub box so its one unit when pulled out.


This is the next lot of kit to go into Eric, this needed much more careful planning...
Audison Bit One processor...

I decided to replace the Boston Pro comps with these beauties..... Hybrid Audio L6v2 SE comps....

And these Hybrid Audio L1 Pro tweeters...

and this small amp, its only 2ft long, no biggie! EEK!! DLS A7 - 5 channel amp.

I made another layer, looks like its floating to house the amp and the power lead fuse holder. Drilled the holes for all the amp cables ready for installation. To the left of the boot, I made a platform for the Bit One to sit on, tucked away in the corner.


Ive planned out the wiring already so its time to cover the mdf panels..


Then to stop the box jumping up and down when going over bumps etc, I drilled a hole in the bottom of the enclosure exactly where the spare wheel nut is and used a M8 ( I think) bolt to secure it down, now its tight, doesnt move so all good.

Now lets sort out the wiring. I had already fed a power cable from the battery in the engine bay into the back of the car (didnt take pictures of this, wish i had tho).
I made up my own RCA cables for the amp to the Bit One, I only have 5m RCAs so waaaay toooo big, only need 2ft cables so made them up. Bought the cables and connectors off ebay, pretty happy with them...

#3
08-30-2014, 07:09 AM
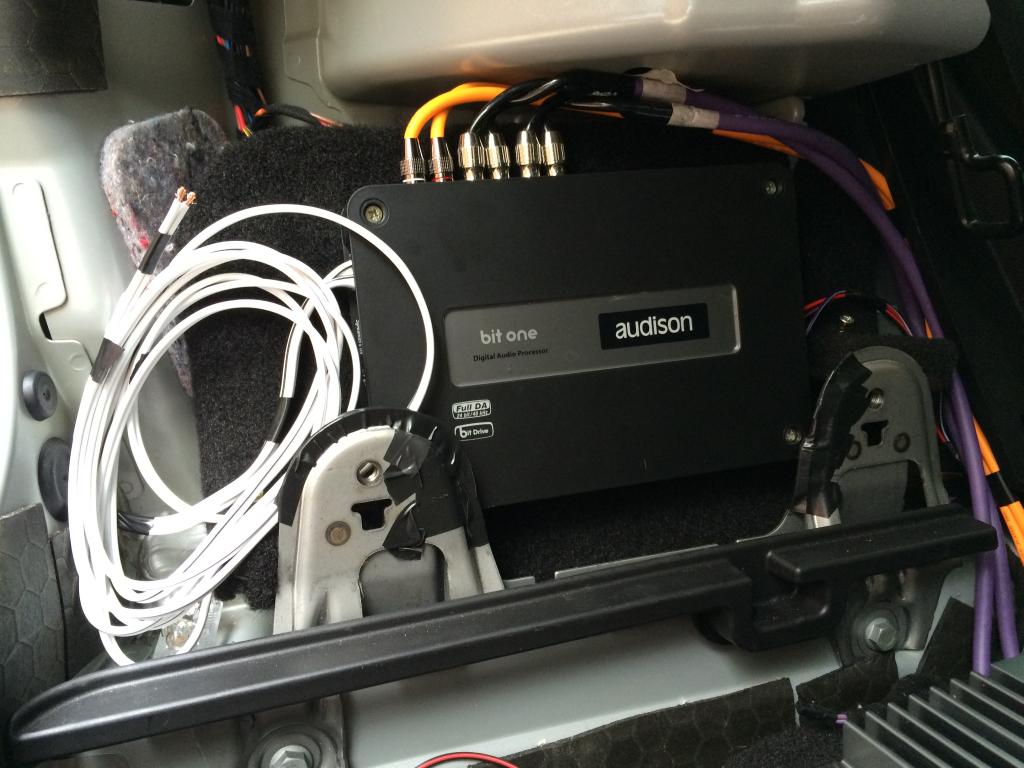
Now the time had come to find the audio feed cables i need to use from the original HK amp to go into the Bit One Processor, this was a pain in the ***! Finally found a feed (Full signal) that comes from the original stereo and into the HK amp, so cut these and joined cables to them long enough to feed into the Bit One.

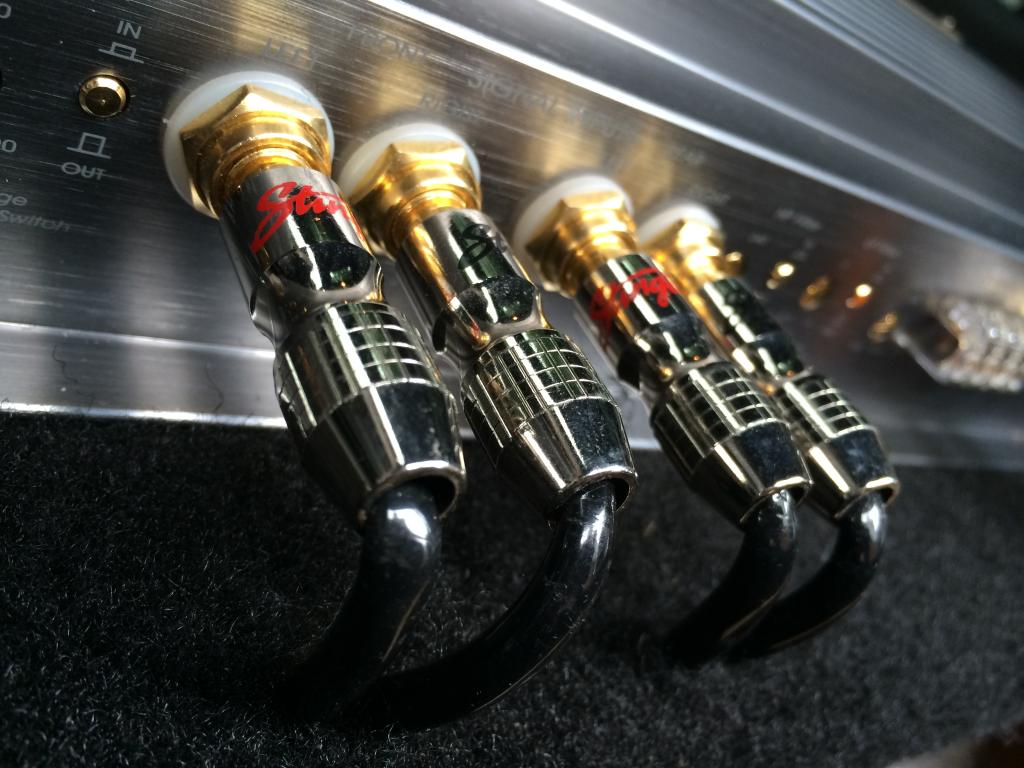
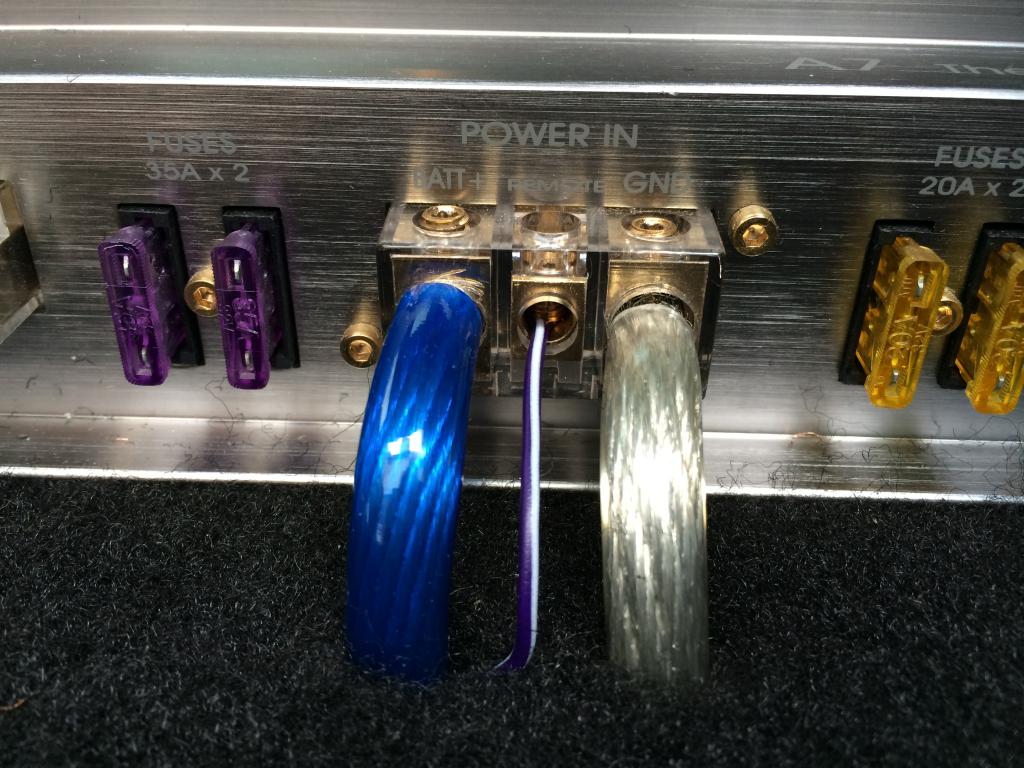
The white speaker cables to the left of this image is what I used to extend the original feed to go into the Bit One. Then I had connected the RCAs up, again made a boo boo and had to use some old existing RCAs (hence the purple/black Stinger cables) but in time I will order more orange cabling and finish the job properly
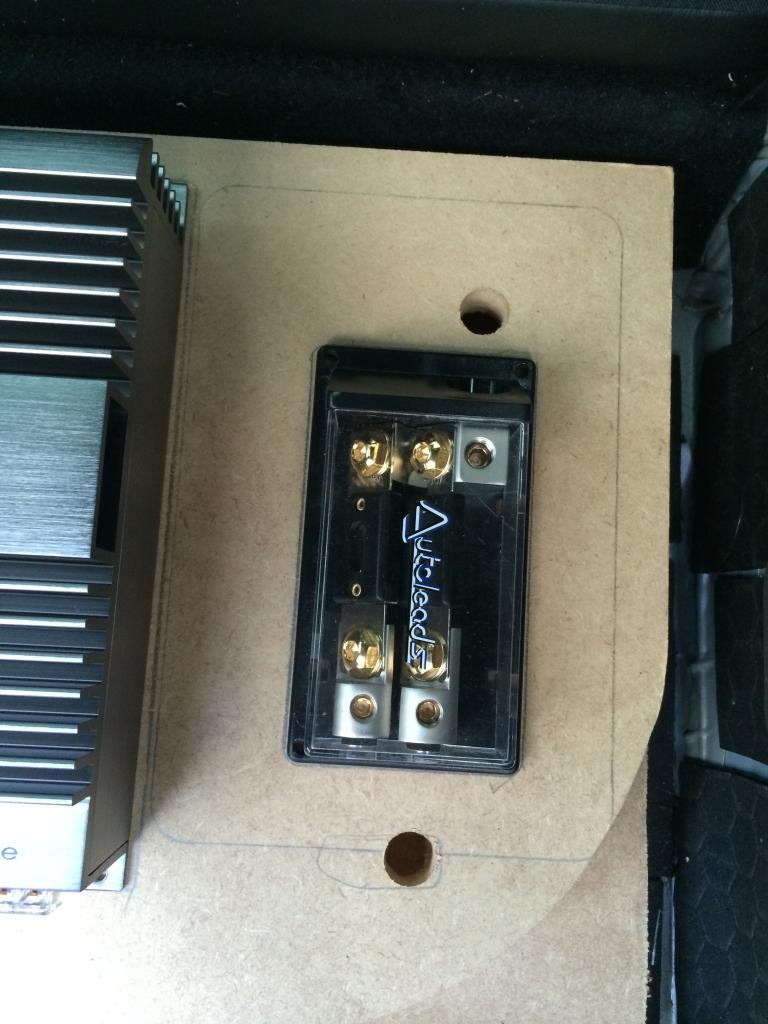
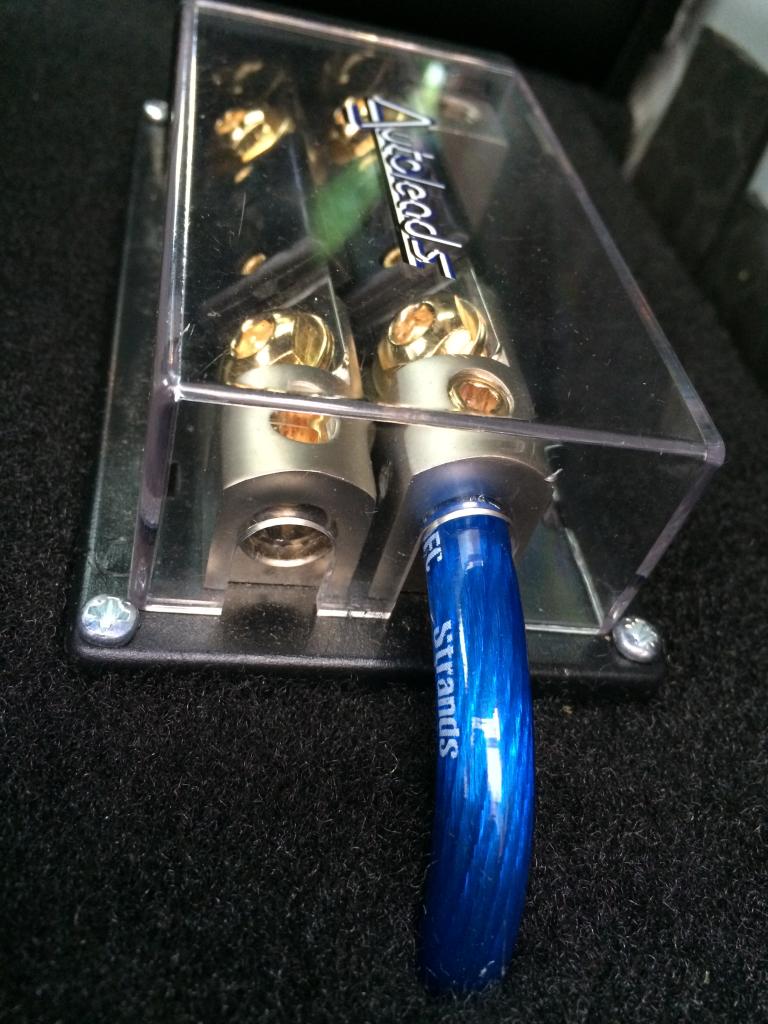
Next to connect the 4guage power cable which I had already fed from the battery in the engine bay (with a 60a inline fuse for safety) into the boot, and connect it up to the fuse splitter (100A), then into the DLS amp.
The connected the ground cable from the amp into a clean grounding point in the boot, simple.
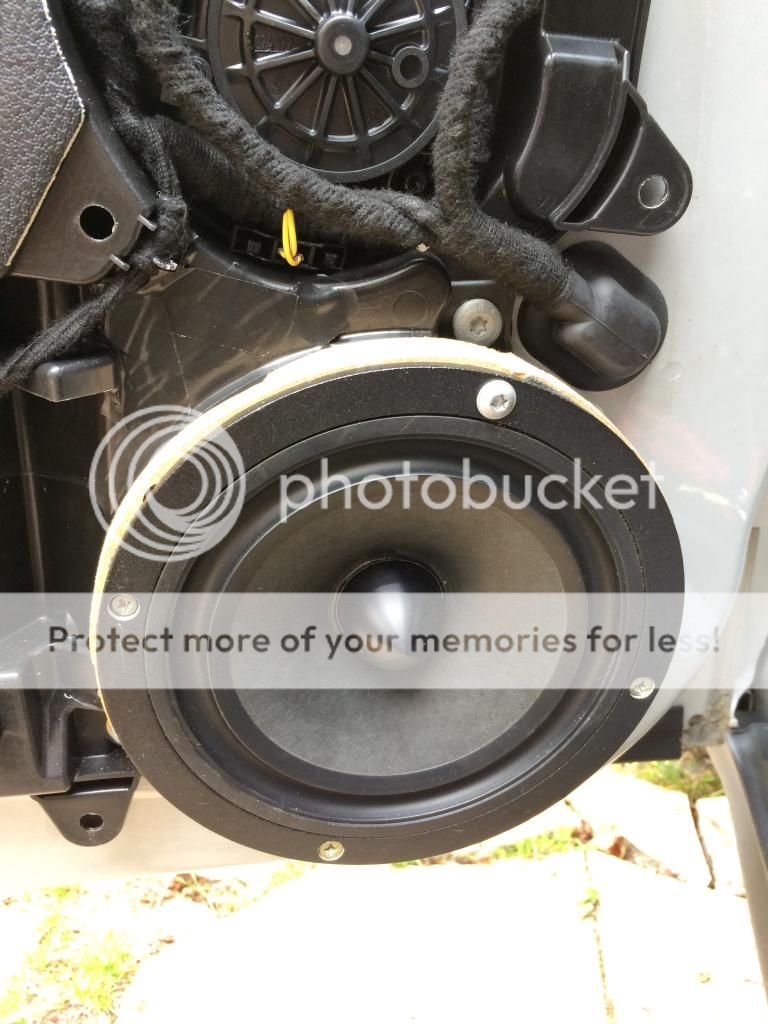
Its time for the Hybrid Audio L6v2 beasts to be fitted. Took out the original front mids, and made my own speaker mounting rings. I had to cut away some plastic to make the rings fit flush, that was easy enough to do, sadly didnt take many pictures of this. I paid a car audio shop here to feed the speaker cables from the amp to the front doors for me, as the connector is solid I was sure how best to do this so they charged me �25 to feed them thru, easy for me! haha
The mount the Hybrid Audio tweeters. I had a spare set of A pillars (i used them in the R56 Dooper) and cut the tweeter mounts bigger to house these beasts! Ive not finished them yet, thats something I have to do over the next few weeks (before the big mini show hopefully)
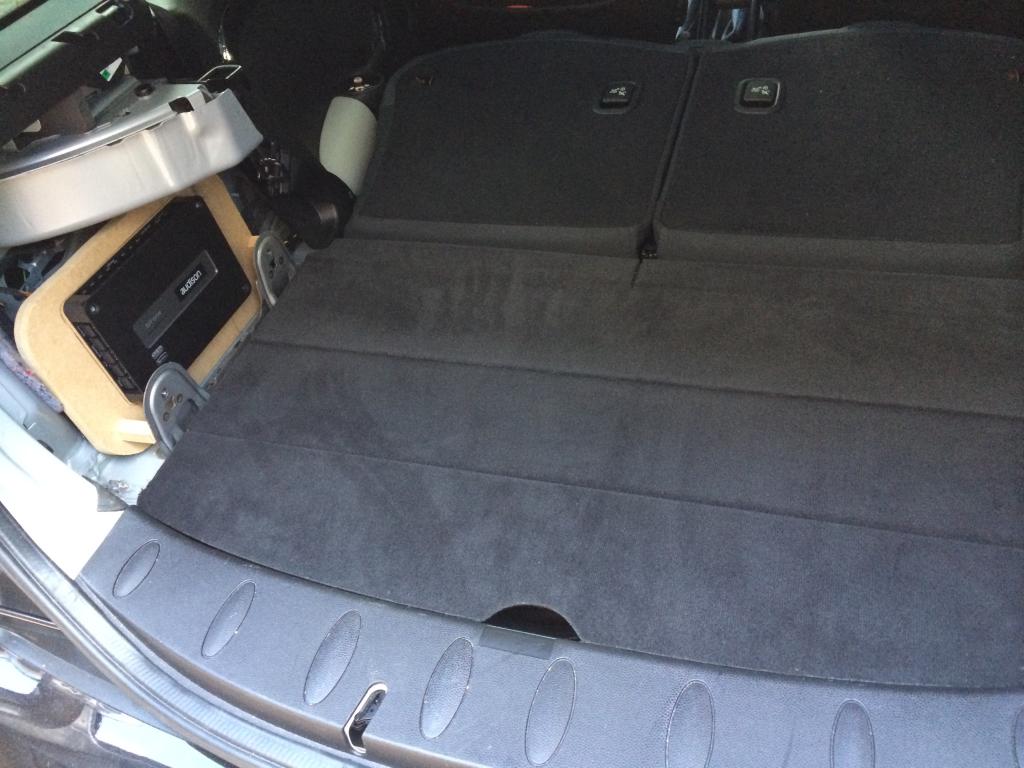
So currently it looks like this....
Theres still a bit of work to do, make new RCA cables, sort out the power cable block I had to add as the cable was a bit short (grrrrr), refit the side panels, sort the tweeters pillars out, sort the mids out too.
To set the sound up, the Bit One needs to be hooked up to a pc (laptop) and its all set up using the software, its a mission doing this, lots of ***** and sliders to fiddle about with to get it to sound right, it sounds decent now but i need to get a couple of experts to set it up for me.
I designed this so I can still use the false floor and I have about an inch room from the top of the amp and the bottom of the false floor, niceeeee!! Everything is hidden under the floor, I have bass and still retain good use of the boot. Perfect.
The sub box is a sealed 1.2cuft design, ideally I wanted ported so thats something I will look at a later date (when I have time).
The sub is getting about 520wrms from the amp so its plenty power. The fronts are getting approx 70wrms to each of the 4 speakers. You dont need a lot of speakers, Ive always had a simple yet very effective set up, 4 speakers up front and either 1 or 2 subs in the boot, done!

The white speaker cables to the left of this image is what I used to extend the original feed to go into the Bit One. Then I had connected the RCAs up, again made a boo boo and had to use some old existing RCAs (hence the purple/black Stinger cables) but in time I will order more orange cabling and finish the job properly


Next to connect the 4guage power cable which I had already fed from the battery in the engine bay (with a 60a inline fuse for safety) into the boot, and connect it up to the fuse splitter (100A), then into the DLS amp.
The connected the ground cable from the amp into a clean grounding point in the boot, simple.


Its time for the Hybrid Audio L6v2 beasts to be fitted. Took out the original front mids, and made my own speaker mounting rings. I had to cut away some plastic to make the rings fit flush, that was easy enough to do, sadly didnt take many pictures of this. I paid a car audio shop here to feed the speaker cables from the amp to the front doors for me, as the connector is solid I was sure how best to do this so they charged me �25 to feed them thru, easy for me! haha

The mount the Hybrid Audio tweeters. I had a spare set of A pillars (i used them in the R56 Dooper) and cut the tweeter mounts bigger to house these beasts! Ive not finished them yet, thats something I have to do over the next few weeks (before the big mini show hopefully)


So currently it looks like this....
Theres still a bit of work to do, make new RCA cables, sort out the power cable block I had to add as the cable was a bit short (grrrrr), refit the side panels, sort the tweeters pillars out, sort the mids out too.
To set the sound up, the Bit One needs to be hooked up to a pc (laptop) and its all set up using the software, its a mission doing this, lots of ***** and sliders to fiddle about with to get it to sound right, it sounds decent now but i need to get a couple of experts to set it up for me.

I designed this so I can still use the false floor and I have about an inch room from the top of the amp and the bottom of the false floor, niceeeee!! Everything is hidden under the floor, I have bass and still retain good use of the boot. Perfect.

The sub box is a sealed 1.2cuft design, ideally I wanted ported so thats something I will look at a later date (when I have time).
The sub is getting about 520wrms from the amp so its plenty power. The fronts are getting approx 70wrms to each of the 4 speakers. You dont need a lot of speakers, Ive always had a simple yet very effective set up, 4 speakers up front and either 1 or 2 subs in the boot, done!
#4
08-30-2014, 08:03 AM

2nd Gear
Join Date: Mar 2014
Location: Las Vegas NV
Posts: 141
Likes: 0
Received 0 Likes
on
0 Posts
#5
08-30-2014, 08:30 AM

#6
09-02-2014, 09:47 AM

2nd Gear
#7
09-02-2014, 01:34 PM
Trending Topics
#8
09-03-2014, 08:27 AM


#9
09-04-2014, 12:07 AM

#10
09-04-2014, 03:40 PM
The Bit One is one impressive piece of kit, im pleased I bought it. The adjustments available is just silly amazing, well worth it.

Thread
Thread Starter
Forum
Replies
Last Post
molala
MINIs & Minis for Sale
1
10-02-2015 01:53 PM