Interior/Exterior Carbon Fiber'd the interior first photos!


#52
 09-22-2012, 05:52 AM

2nd Gear
Join Date: Jun 2012
Location: Rochester NY
Posts: 93
Likes: 0
Received 0 Likes
on
0 Posts
#53
09-24-2012, 06:51 PM


#55
10-11-2012, 08:30 AM

#56
10-11-2012, 12:45 PM
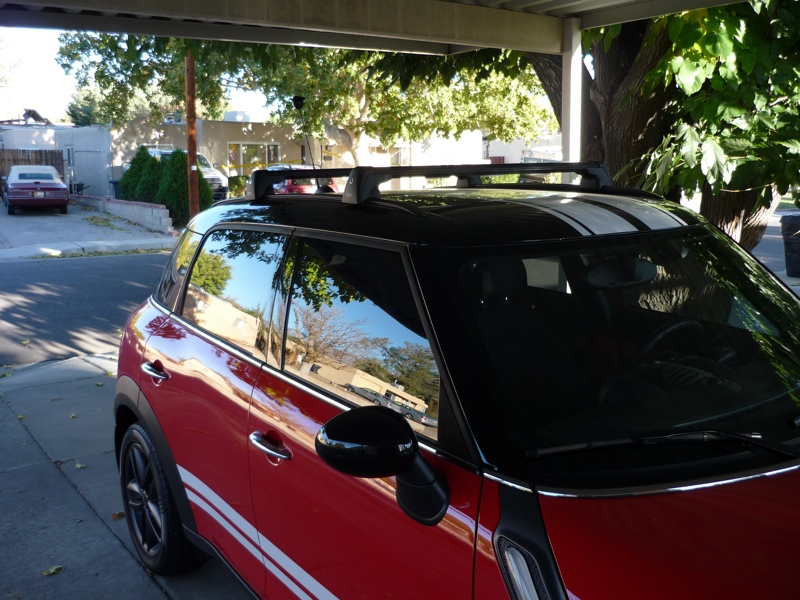
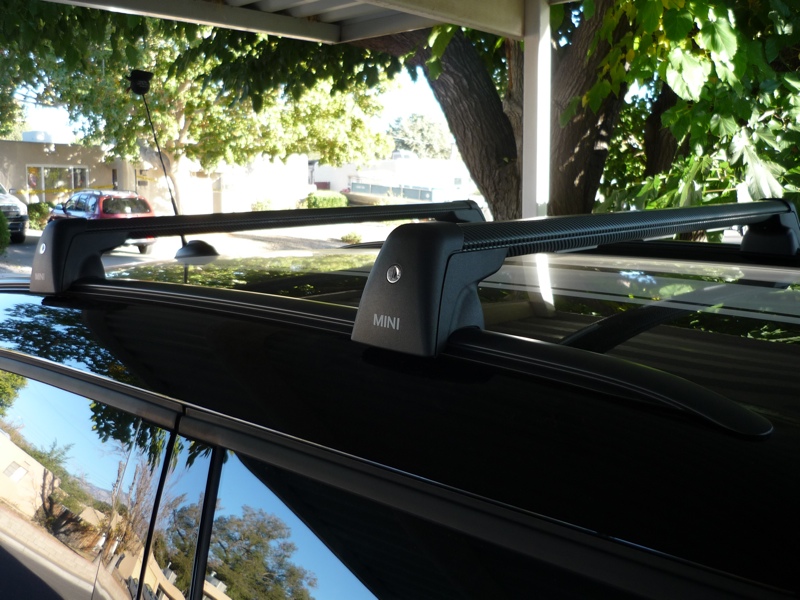
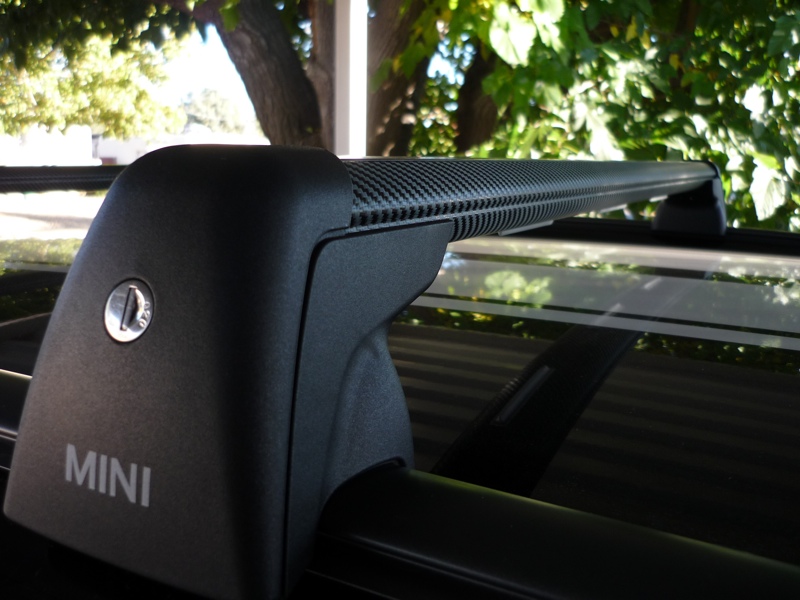
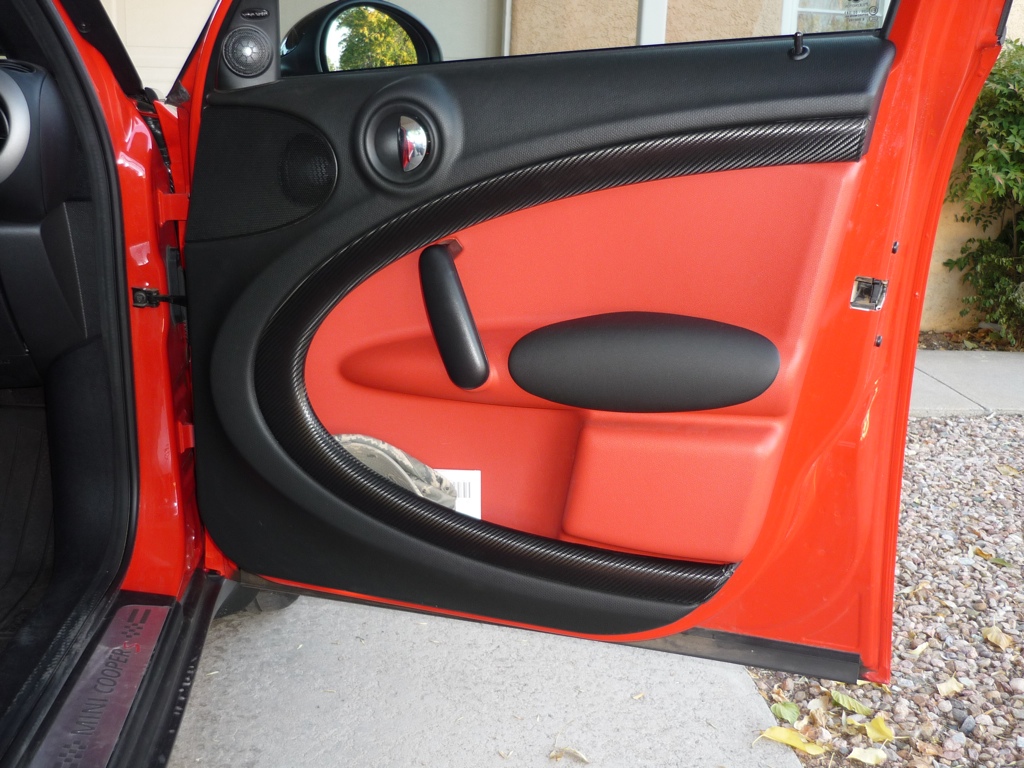
I never could get the door panels off, so I just wrapped the door trim while still on the car. The trim doesn't detach anyway, so it's not that much different. The trim is about 2 feet tall by roughly 5 feet long, so you need a minimum of 20 square feet for both sides of the car. You may be able to get by with less if you were really precise, but having some extra is nice. I ordered 25 square feet so I could do my roof rack as well. If you plan to do headlight/taillight rings you probably need another 4 square feet.
I'll post some pictures of mine when I get home. It turned out really well.
I'll post some pictures of mine when I get home. It turned out really well.
#59
10-12-2012, 07:09 AM
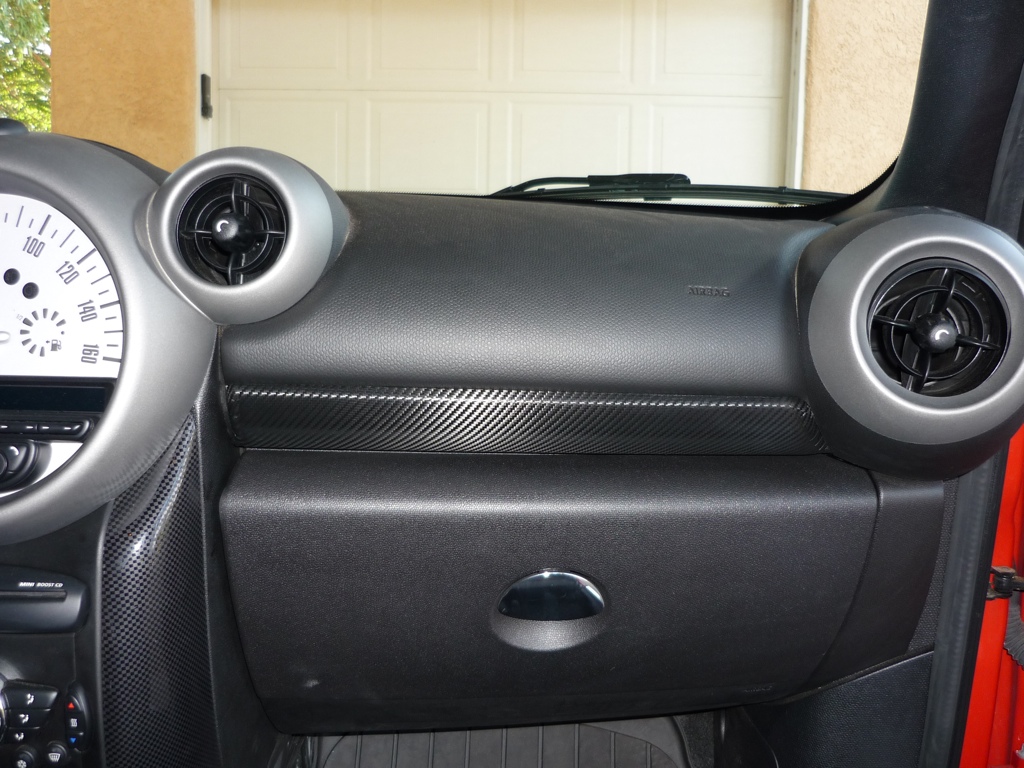
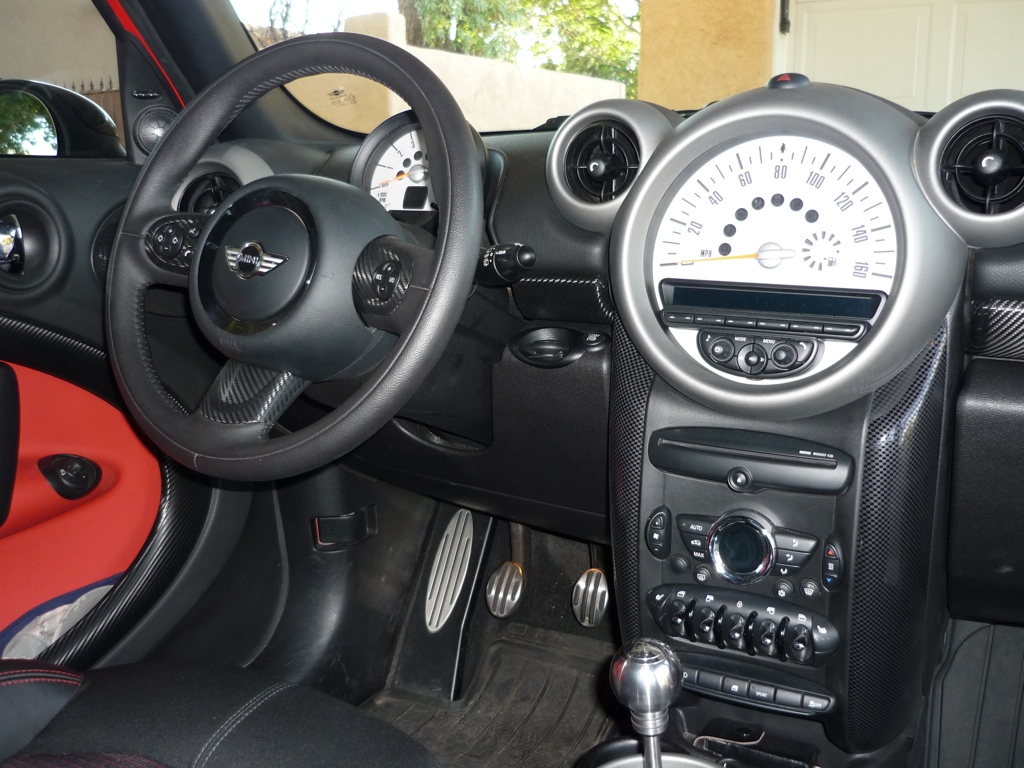
Fantastic. Great job. I particularly like the strip you did across the dash board. I think I would prefer to just do that and the door trims. A little here and there goes a long way. I wouldn't want to go too crazy. As for the exterior I think i only want to hit the side scuttle trims.
Does this material have texture to it? I guess I should grab some samples from them.
Thanks again for the info and the great shots of the job you did.
Does this material have texture to it? I guess I should grab some samples from them.
Thanks again for the info and the great shots of the job you did.
#60
10-12-2012, 08:47 AM

4th Gear
Join Date: Aug 2009
Location: Maryland
Posts: 308
Likes: 0
Received 0 Likes
on
0 Posts
What gets me is MINIs concept of where they decide to paint silver and black. Why are some rings black and others have silver. If I had a Countryman, I would do my best of to find a CM that does not have Sliver Mickey Mouse Ears. Needs to be black or cover that with CF. They really screwed up IMHO with the 2009 MCS models (my R56). All silver on them. Then 2011, they have the air vent rings sliver and the wheel controls and tach matte black and the horn ring gloss black.
They need to rethink their interior color design. Sorry, after seeing the Mickey Mouse Ears silver, I just had to say something.
Great job on the CF covering yourself by the way. I am now going to do my wavy checkers on the door panels sometime, the side scuttles, my gas cover, etc. All of my chrome has been plasti-dipped, but I am now going to wrap some parts.
Here's few things I have done thus far:
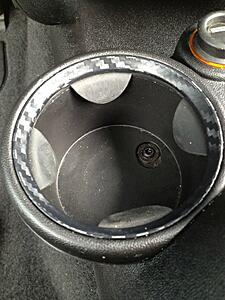
Left Cup Holder Ring:
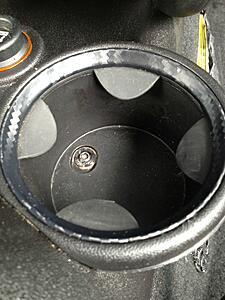
Right Cup Holder Ring:
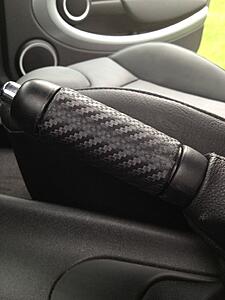
Hand Brake:
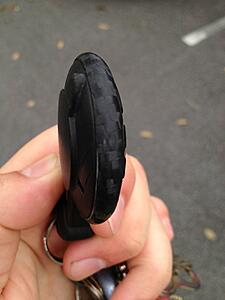
Key Fob:
I also cover any car parts with Di-Noc CF from MetroRestyling on the side, here's a pix of my friends Si boot handle:

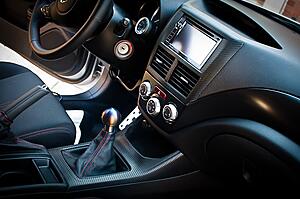
Here's a customer's Soobie Center console and center dash, (I have yet to do it as he does not have the money available to pay, but this is what it will look like when I am finished:
IF anyone doesn't want to deal with the hassle of CF covering their parts they can send them to me. You can contact me at carbonfiberwrapping@gmail.com and we can further discuss what you want done and how long and how much it will cost.
They need to rethink their interior color design. Sorry, after seeing the Mickey Mouse Ears silver, I just had to say something.
Great job on the CF covering yourself by the way. I am now going to do my wavy checkers on the door panels sometime, the side scuttles, my gas cover, etc. All of my chrome has been plasti-dipped, but I am now going to wrap some parts.
Here's few things I have done thus far:
Left Cup Holder Ring:

Right Cup Holder Ring:

Hand Brake:

Key Fob:

I also cover any car parts with Di-Noc CF from MetroRestyling on the side, here's a pix of my friends Si boot handle:

Here's a customer's Soobie Center console and center dash, (I have yet to do it as he does not have the money available to pay, but this is what it will look like when I am finished:

IF anyone doesn't want to deal with the hassle of CF covering their parts they can send them to me. You can contact me at carbonfiberwrapping@gmail.com and we can further discuss what you want done and how long and how much it will cost.
#61
10-12-2012, 09:23 AM
Did you end up using the excess material after cutting the door trims for the smaller pieces like the dash and the steering wheel? On a related note, does removing the steering wheel pieces really involves disconnecting the battery and temporarily removing the airbag?
#62
10-12-2012, 10:56 AM
You can possibly get the steering wheel doors off without removing the airbag, but I wouldn't recommend it. Taking it off is really simple.
I need to try wrapping my fob again. It was the first thing I tried and it turned out pretty bad so I pulled it off. I think I could do a lot better now that I have more experience.
#63
12-06-2012, 03:41 AM

How did you wrap the doors? Did you just press the excess in on the sides with the credit card looking thing? (sorry I don't know what it's name is.) How about the end, how did you get it to shape nicely near the door's edge?
Did you take off that part of the dash above the glove compartment to wrap it?
Did you take off that part of the dash above the glove compartment to wrap it?

#65
12-09-2012, 09:13 AM
How about the end, how did you get it to shape nicely near the door's edge?
Did you take off that part of the dash above the glove compartment to wrap it?
#66
12-09-2012, 09:18 AM

Interesting.... Just took delivery off the dealer's lot of a Pepper White Clubman, the interior has some PW bits I'da rather had something darker, like the carbon-fiber pattern on my traded-in R56. This just might be the ticket if'n I can figure out how to do the dash panel behind the tach!
#68
12-12-2012, 12:16 PM

#69
12-12-2012, 12:21 PM

#71
05-19-2016, 06:40 AM

2nd Gear
Join Date: Jul 2012
Location: Turkey
Posts: 88
Likes: 0
Received 0 Likes
on
0 Posts
How to do it, it seems perfect, I have carbon fiber vinyl
#72
10-27-2017, 07:27 AM

Thread
Thread Starter
Forum
Replies
Last Post
molala
MINIs & Minis for Sale
1
10-02-2015 01:53 PM
M7Speed
R50/R53 :: Hatch Talk (2002-2006)
0
09-03-2015 07:48 AM