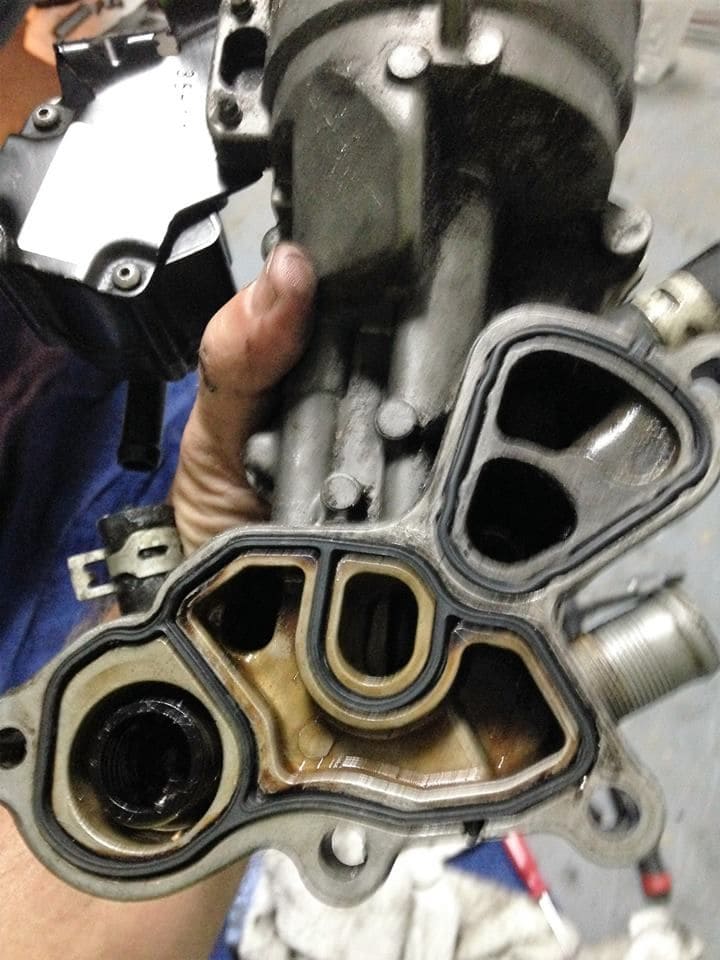
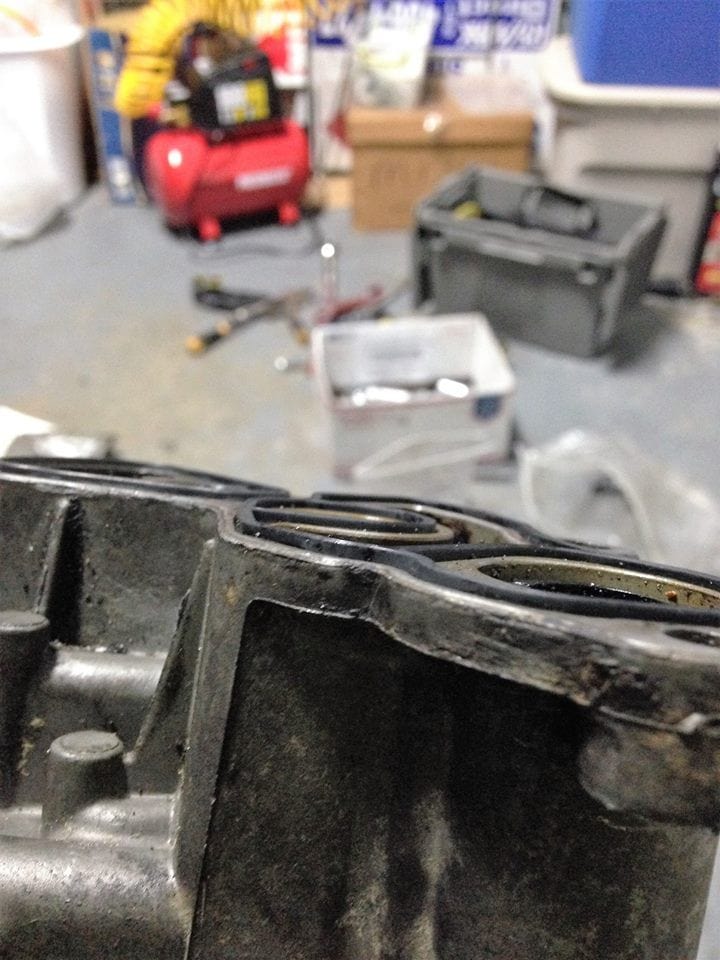
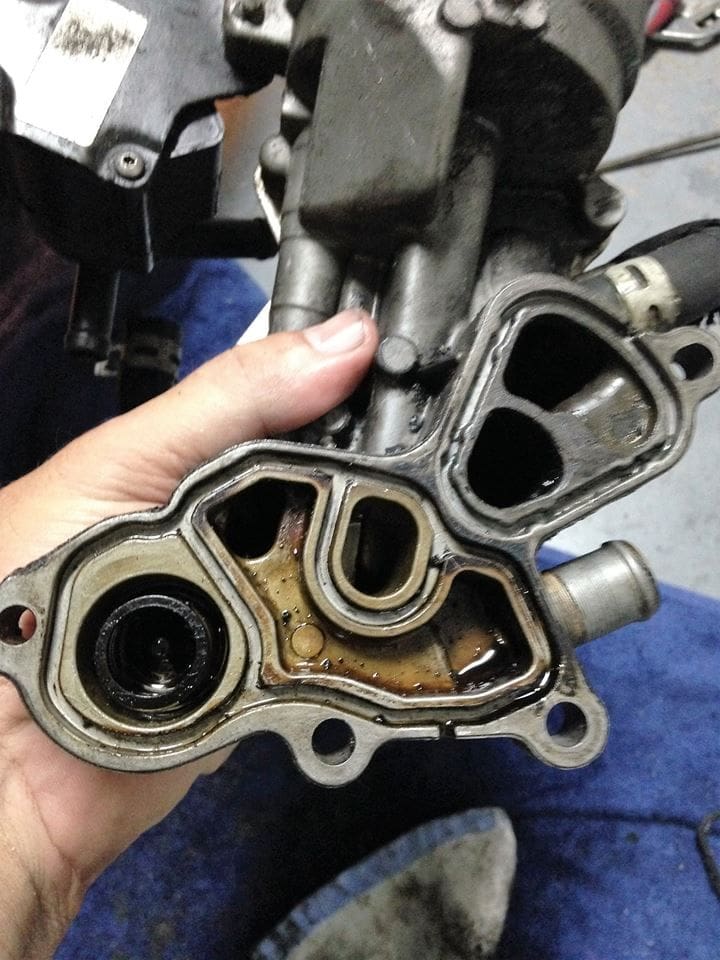
How To Oil cooler/filter housing gasket replacement
#202
Use a torque wrench.
Use a torque wrench.
Use a torque wrench.
Use a torque wrench.
#203
will do for sure. How does the bleeding the cooling system work? When this project is finished I realize this is a must.
#208
#209
#211
#212
116,000 miles Turbo leaking oil?..I changed the oil feed line to the turbo not long ago...
Valve cover make this smoke?..I have a little oil around that I resealed twice...
Hard to pay $325 for a plastic valve cover...but prob cheaper than valves and a ring job...
Unless your a Hooker ring job is cheap...
Valve cover make this smoke?..I have a little oil around that I resealed twice...
Hard to pay $325 for a plastic valve cover...but prob cheaper than valves and a ring job...
Unless your a Hooker ring job is cheap...
#213
Well...Im not a hooker, sorry. But I know where you can find some....
Ya the seals in the turbo can leak. The same or a very similar turbo is used on Mazdaspeeds and they have had recalls on "smoking turbos" (blue smoke from exhaust caused by leaking turbo seals). As far as I know thats not an issue with the R56.
Since our valve cover has the integral PCV valve, if yours is blocked up, it could cause this yes because the crankcase cannot ventilate and it forces oil into the combustion chamber. Pull it off and check its operation. Yes $325 for a PCV valve is so stupid; But thousands cheaper than the valves or piston rings.
#214
I have taken the vlave cover off twice...Now, Question?
How do I check the PCV valve on the valve cover? other than the obvious cracks etc..
What am I looking for? How do I check the PCV Operation?
It's my first Mini and prob last...
How about the Vanos Solenod?
I'm going to pull that tonight and clean it...
Could be the PCV Plastic Hose?..I will check that this eve as well...should change that anyway..plastic..omg..what the hell was BMW thinking...PLASTIC>>>>
Last edited by coachvminis; 01-04-2017 at 12:18 PM.
#217
The rest of the repair worked out. No oil or coolant leak from the oil filter housing gaskets that were replaced. Thanks for the help
#218
Did you open the bleeder at the thermostat? There is a black hex headed screw (with an X in the head) that is a bleeder. Take a flashlight and look down between the right side of the valve cover and the air intake tube, down about 5 or 6 inches. You should be able to see this hex bolt.
Use a long, regular screwdriver and open it about 2 turns. Start the car, and use the flashlight to see if liquid and bubbles come out. Try not to open the screw too much, its tough to get back installed. If nothing comes out, open another 1/4 turn at a time until you see liquid. Continue to bleed until no bubbles are seen. Top off the coolant reservoir and you should be all set.
It isn't easy to find the bleeder screw, if you can't find it there should be threads here with pictures.
Have fun,
Mike
#219
Did this last weekend. If I had to do the whole thing again, I probably put it into radiator service mode for those few extra inches. The only real challenge that occurred was the turbo support bracket. When I took it off, the top bolt (mounted to the turbo housing) was barely engaged and the lower bolt (into the block) was challenging to get out. Thanks to the dealer who did the turbo oil line 50k ago under warranty.
The end result in re-assembly was that I couldn't get either to go back in. I re-assembled everything without the turbo bracket installed but with plans on getting it back in there in the next few weeks.
Any suggestion on getting these bolts back on if the holes are stripped?
The end result in re-assembly was that I couldn't get either to go back in. I re-assembled everything without the turbo bracket installed but with plans on getting it back in there in the next few weeks.
Any suggestion on getting these bolts back on if the holes are stripped?
#220
Oh No, you stripped the holes. :( All I think of it to try to re tap with the same thread very gentle. Or retap with a larger size, or helicoli inserts. Good luck and hope you can get the old bolts to take.
__________________

MINI Guru/ MINI Owner Since 2004 | NEW Lifetime Part Replacement | Local Pickup
Milltek | Genuine MINI | Forge Motorsport | NM Engineering | ECS Performance | M7 Speed
Customer Service Hours: 8am-8pm EST|Sales Team Hours: 8am-11pm | SAT 10am-7pm 800.924.5172

MINI Guru/ MINI Owner Since 2004 | NEW Lifetime Part Replacement | Local Pickup
Milltek | Genuine MINI | Forge Motorsport | NM Engineering | ECS Performance | M7 Speed
Customer Service Hours: 8am-8pm EST|Sales Team Hours: 8am-11pm | SAT 10am-7pm 800.924.5172
#221
 At least my oil leak is gone!
#222
Well, try one of those above and see if you have any luck.
__________________

MINI Guru/ MINI Owner Since 2004 | NEW Lifetime Part Replacement | Local Pickup
Milltek | Genuine MINI | Forge Motorsport | NM Engineering | ECS Performance | M7 Speed
Customer Service Hours: 8am-8pm EST|Sales Team Hours: 8am-11pm | SAT 10am-7pm 800.924.5172

MINI Guru/ MINI Owner Since 2004 | NEW Lifetime Part Replacement | Local Pickup
Milltek | Genuine MINI | Forge Motorsport | NM Engineering | ECS Performance | M7 Speed
Customer Service Hours: 8am-8pm EST|Sales Team Hours: 8am-11pm | SAT 10am-7pm 800.924.5172
#223
You need to see what shape those threads are in. Hopefully a few threads are intact enough to hold the bolt in place and support the turbo. Otherwise your gonna need a helicoil (cheaper) or Timesert ($$$ and only worthwhile for high torque applications in my opinion). I had to use 2 helicoils in my oil pan. Its no big deal to install them, the problem is access...do you have the space to get a drill and tap in without having to take it all apart again?
#224
You need to see what shape those threads are in. Hopefully a few threads are intact enough to hold the bolt in place and support the turbo. Otherwise your gonna need a helicoil (cheaper) or Timesert ($$$ and only worthwhile for high torque applications in my opinion). I had to use 2 helicoils in my oil pan. Its no big deal to install them, the problem is access...do you have the space to get a drill and tap in without having to take it all apart again?
Thanks everyone for the info.

#225
When I first tore things down, the upper bolt (connects to the turbo) was engaged but barely. The bracket had plenty of movement on the bolt. In the next couple of weeks, I am going to take the heat shield and downpipe off again and see what I can do.
Thanks everyone for the info.
Thanks everyone for the info.


