When you click on links to various merchants on this site and make a purchase, this can result in this site earning a commission. Affiliate programs and affiliations include, but are not limited to, the eBay Partner Network.
Also I doubled up with Permatex Copper Gasket Maker. There isnt much room for it but Im trying to avoid this mess again. I didnt have a reducing tip so it was a bit sloppy.
I did this on both sides, engine block to oil filter housing and housing to cooler.
"Amazing # of bolts holding those 3 shields in place"
Understatement of the friggin' year. I went to do this job over the weekend. Was going to do the whole Detroittuned super kit.
I ended up with 4 10mm bolts left over because I was fed up with those heat shields. They're totally secure and I get no vibrations or noise from it.
Only my supply line was leaking so, I only changed it. I didn't have a long enough extension or 8mm socket to get the return line off. I'll keep the oil cooler gaskets and turbo oil return for another time.
Banjo bolts are supposed to be 22ft lbs.
I was thankful that I got the whole kit because the exhaust clamp bolt broke in half even after soaking it in PB Blaster. Turbo to DP gasket wasn't reusable either so I'm glad I got the kit.
I just hate that I didn't have the funds to change the DP at the time.
You beat me...I only had 2 left over!
Ya banjo bolts 22 ft lbs I know, its the oil cooler bolts and oil filter housing bolts that I used a tiny INCH POUND torque wrench on. I think 12 inch pounds is what I torqued to.
That oil return line (mine was leaking too I think) it way up there. You need like 2 feet of extensions to reach it and be able to turn the ratchet.
$25 for the new v-clamp (downpipe to exhaust). Think about buying a new one before you start this job or check your existing for rust condition.
Shitskies, after all that work I'm leaking coolant now. Cant tell for sure from where. It drips down onto the bend at downpipe. I can see a little just above the and behind the oil filter cap.
I ran the car to operating temps before I put all the shields on and it wasnt leaking. I drive it 30 miles and DRIP DRIP DRIP.
Please let it be the cooling system air release screw on the top of the motor and not the oil filter housing.
Maybe I didnt torque down tight enough.
BTW this mechanic says to just take the entire downpipe with the heat shields attached to save time.
MY APOLOGIES...I did not see that SpeedRacer had called the stealership ""Before I left to go to Lowes I called MINI Service and ask for the torque spec and they said 12 NM which = 8.8 ft/lbs."
I called the dealer around here and they said 13 NM. Did they pull that # out of their memory? I dont know.
My mechanic/friend found the specs in ALL DATA.
Both the oil filter housing to engine block and oil cooler to oil filter housing are 10 NM or 7.4 FOOT POUNDS or 88.5 INCH POUNDS
What's a few NM between friends anyway? meh...
Now it only leaks coolant after motor is off and its cooled down. Not when its running.
I must have not tightened it to spec or maybe I forgot to position the hose clamp. Need to check.
My biggest problem was removing the auxiliary water pump. You cannot see those two bolts to remove it from the oil filter assembly. I tried to remove the whole unit with the auxiliary water pump attached. I removed the first hose from the bottom, then the wiring connector, and while trying to remove the other hose, the d... plastic hose outlet part of the pump broke off. I couldn't believe it, I wasn't pushing on it very hard, the clamp is very difficult to get at.
I like this video. He is so relaxed like he had done a million of these. Nice.
Because our goal is to replace the gaskets and not the aux pump, what you can also do to gain better access is the following.
Once you've released the oil filter housing & cooler from the engine block just shift the entire unit WITH THE AUX PUMP ATTACHED towards where the coolant bottle normally sits. This will give you better access to the 2 bracket bolts.
Clearly something is loose or I wouldnt be leaking. Maybe 1/4 -1/2 cup after shut down.
I did not know the turbo aux coolant pump kept running. That's good info. Make sense. Thanks.
You are welcome, yes, I would go through the whole cooling system. Follow all the lines, even into the heater core. Follow the other lines into the little aux pump in the front. Check the main water pipe from the thermostat housing to the main water pump and below the main water pump. Let me know what you find. The expansion tank can get a very slow leak and have hair line cracks on the bottom.
You are welcome, yes, I would go through the whole cooling system. Follow all the lines, even into the heater core. Follow the other lines into the little aux pump in the front. Check the main water pipe from the thermostat housing to the main water pump and below the main water pump. Let me know what you find. The expansion tank can get a very slow leak and have hair line cracks on the bottom.
I took the downpipe and heat shields down. SO much faster second time around. No service mode is needed.
Anyway its very slow leak from the area indicated in the pics. The turbo blocks a view of the top of the unit so I cant tell exactly where the leak starts. I ran my hand up along the coolant line into the oil filter housing and felt no moisture. Coolant expansion tank is fine.
Must be that one of the seals shifted or perhaps I didn't torque down cross wise. I checked and bolts were at spec.
Maybe the extra gasket maker is the problem.
I think I have no no choice but to drain the coolant and pull it off. Check seals, remove gasket maker and reaffix, attach downpipe, heat cycle engine and see if leaks again. Then and only then, put heat shields on.
That's what I am thinking, or the block side was dirty a little or crud build up, maybe touched something with the gasket maker and its logged into the seal, dirt or small piece of metal. Check the screw holes and the thread on the bolts and head side if you do remove it again. Something is not adding up.
That's what I am thinking, or the block side was dirty a little or crud build up, maybe touched something with the gasket maker and its logged into the seal, dirt or small piece of metal. Check the screw holes and the thread on the bolts and head side if you do remove it again. Something is not adding up.
I would take it off again.
Indeed. And this time I will drain coolant first because the rush of coolant out of the oil filter housing journals ended up contaminating my engine oil by getting into the oil journals which are right next to each other.
I think I know what I did wrong. I removed and reinstalled the oil filter housing again with the same gaskets. This time I torqued down the lowest and highest bolts on the unit to make sure it was sitting flush to the engine block.
If you look at the part you'll notice that the bottom half has no bolts to hold it flush but the top has 2 bolts. It therefore has a tendency to sit more tightly at the top and leave a gap at the bottom. As a result you need to make sure the bolts at the bottom and top are torqued first so it sits flush. Then torque the two top bolts.
Also in order to make getting the black metal bracket for the auxiliary water pump OFF AND ON easier, when you have released the 4 bolts for the oil filter housing and removed the turbo oil return line and the coolant line, just push the unit up towards where the coolant expansion tank was and you will have easy access to those 2 bolts.
Really great thread, thanks for all the sharing of experiences!
My 2009 MCS has 131k on it and this thread just re-confirmed that I'm glad I'm letting Jerry at http://www.eurotechsaz.com/ handle this repair, hehe...
Definitely beyond my patience level or willingness to deal with it in our summer AZ heat...
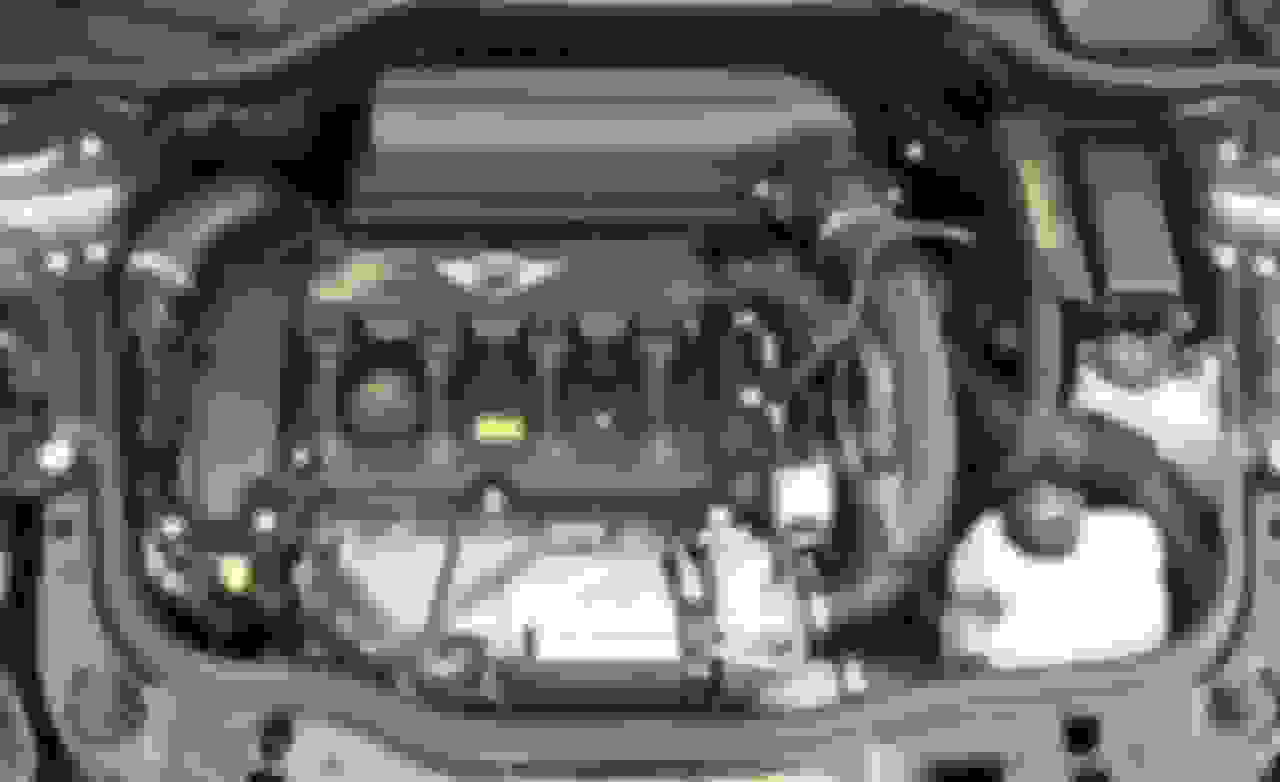
Help, I just finished this job and I can't remember where this bolts on. I've attached a photo. Can you please send me a photo showing where it bolts on? Thank you!!
Look at your picture...just down and to the left of the oil dipstick, there looks like a threaded hole. There maybe? Someone correct me if I'm wrong here.
 08-31-2015, 01:04 PM


 . I couldn't believe it, I wasn't pushing on it very hard, the clamp is very difficult to get at.