Roof chop mini
#176
 09-29-2014, 11:20 AM


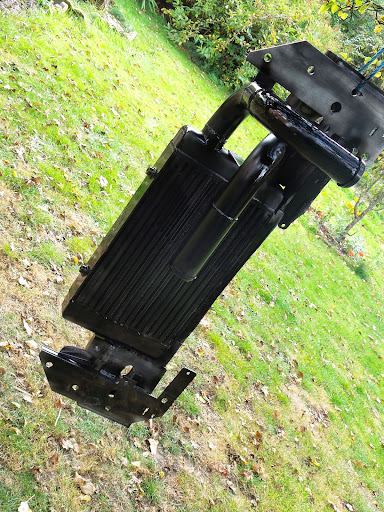
Today has been more about the pipework, I cut off the bottom pipe and changed it to go in the top to try and keep all the heat at the top of the cooler, I then made all the pipework for the riser to the plenum. I really like the way that after removing the front end the rad and cooler all come off together so easily. I do however need to find a better way of release the pipe from the blower as that is quite a trick. at the moment you need to slide the silicone over the pipe and that allows the front to come off. This isn't ideal so I need a quick release system though I probably can just do that each time I want to remove it...
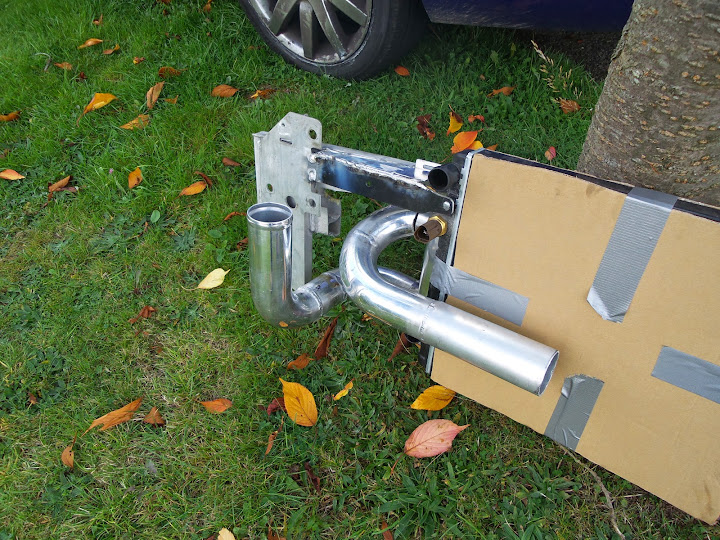
Pipe work taped into place while I worked with the angles
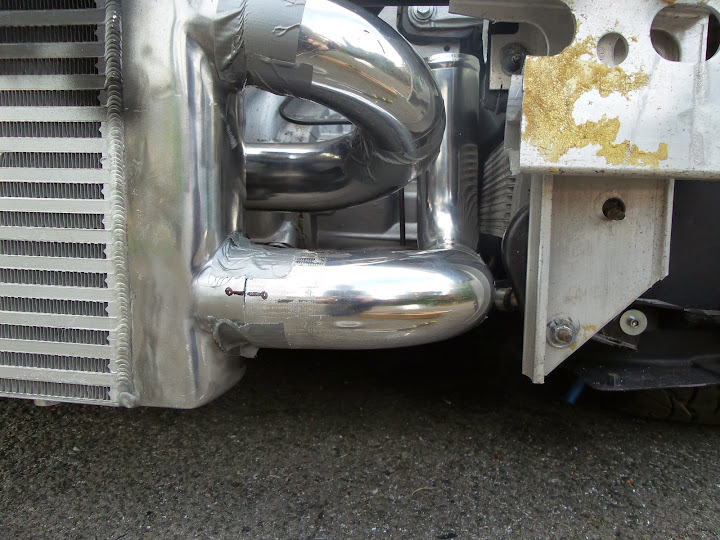
Mostly welded up now, I can now spend the evening finishing and bracing all the pipes and front member. There is a lot of welding needed and I really do not like alloy welding any more :( I find the heat off aluminium cooks me and even with a TIG finger this work is too hot
Pipe work taped into place while I worked with the angles
Mostly welded up now, I can now spend the evening finishing and bracing all the pipes and front member. There is a lot of welding needed and I really do not like alloy welding any more :( I find the heat off aluminium cooks me and even with a TIG finger this work is too hot
#177
09-29-2014, 12:13 PM

6th Gear
#178
09-30-2014, 04:58 AM


#181
12-29-2014, 01:53 PM

#183
01-01-2015, 12:00 PM
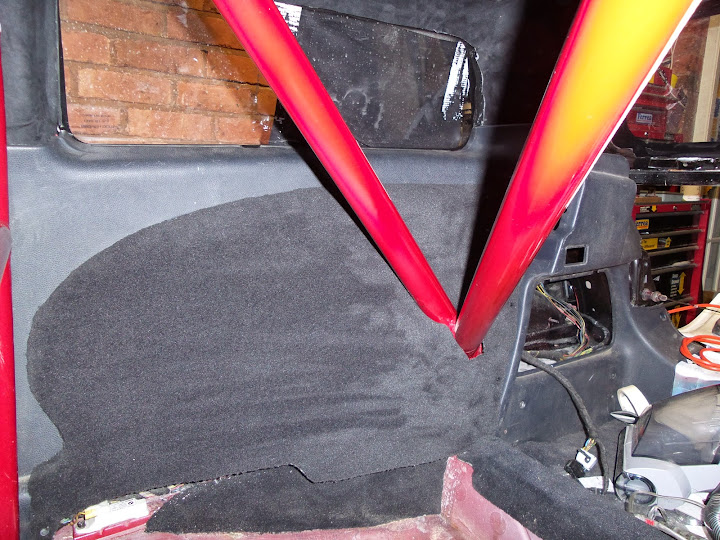
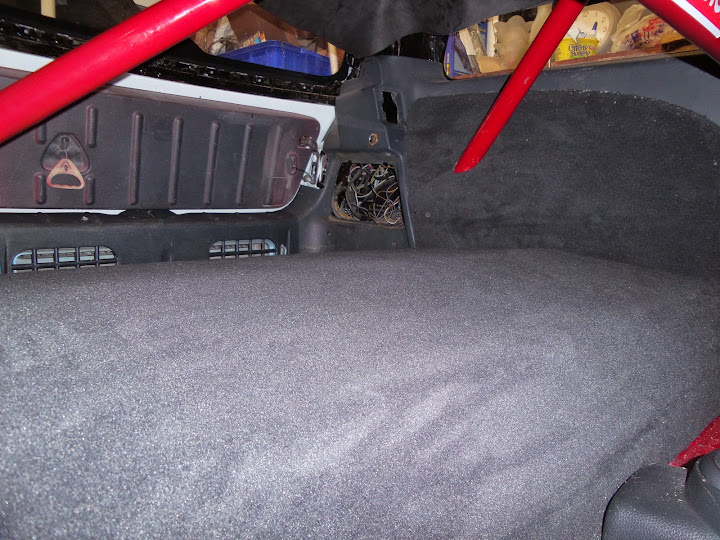
Orranje GP style panels cut to fit the cage then carpeted to suite the rear delete going in.
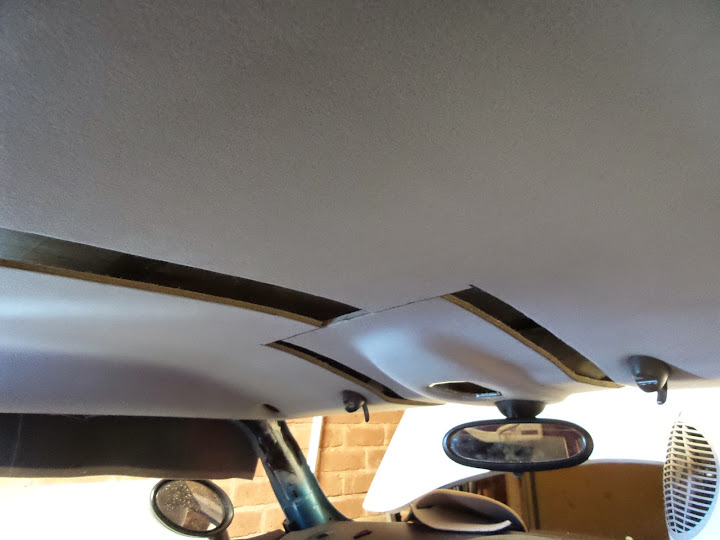
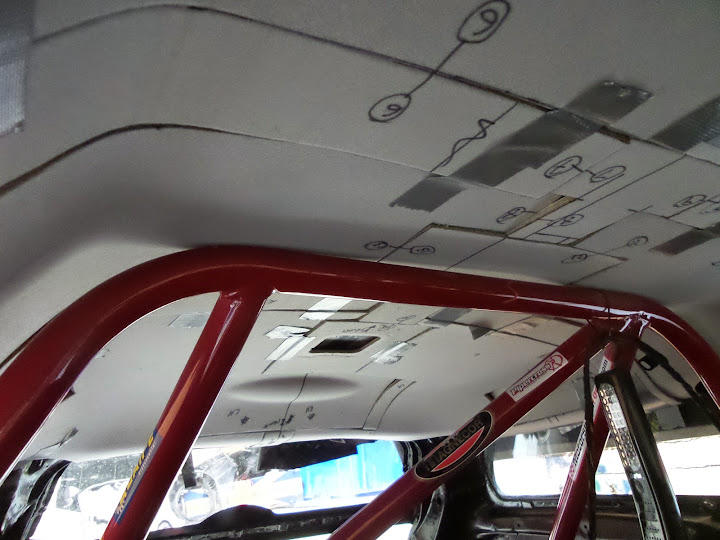
Segments of the roof liner cut and pushed together, they fit really well and held up without any glue or tape. Still have to take it all down and glue it all together. Also as the roof liner is a grp construction I will grp bond the back to make it more rigid.
The rear looks like its going to be interesting...
#184
01-02-2015, 10:53 AM
roof lining all bonded together with GRP on the rear. Its taken the whole day but I am very pleased with it. Just have to wait for the new headlining material to turn up so it can be trimmed. To make the install easier I have left the head liner in two sections which will have the finial bond in the car
#185
01-02-2015, 02:20 PM

Neutral
Join Date: Dec 2013
Location: Lexington, KY
Posts: 3
Likes: 0
Received 0 Likes
on
0 Posts
#186
01-03-2015, 01:47 PM


#187
01-04-2015, 07:28 AM
5th Gear
Join Date: Nov 2007
Location: RI
Posts: 686
Likes: 0
Received 0 Likes
on
0 Posts
Well if that's all it takes... I am still in awe and love dropping into this thread to see your progress. You are doing things I could only dream about (in fact I fantasized -- and photoshopped -- a similar treatment to a PT Cruiser, which was as close as I'll ever get). Cannot wait to see these final steps. 
#188
01-04-2015, 12:56 PM
It is... it helps so much when I am down about the car and not caring. Cheers for the comments too
today...
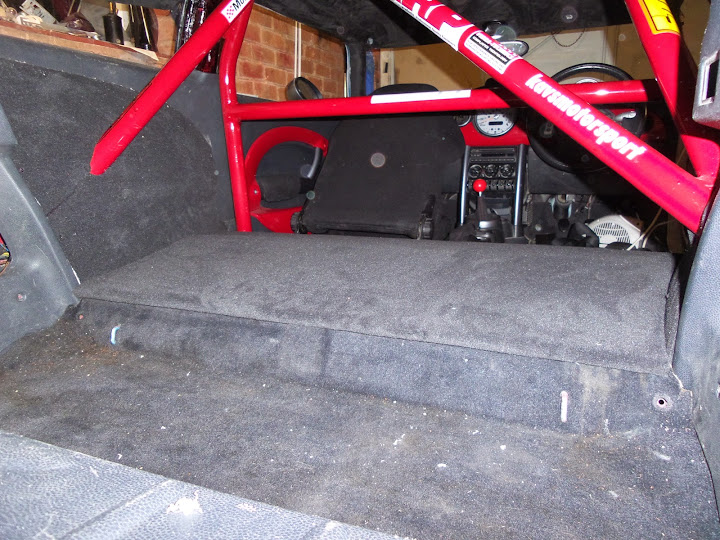
Rear panels went in today, finally got about to making the LH side rear panel and covered it in carpet. Same as the RH side.
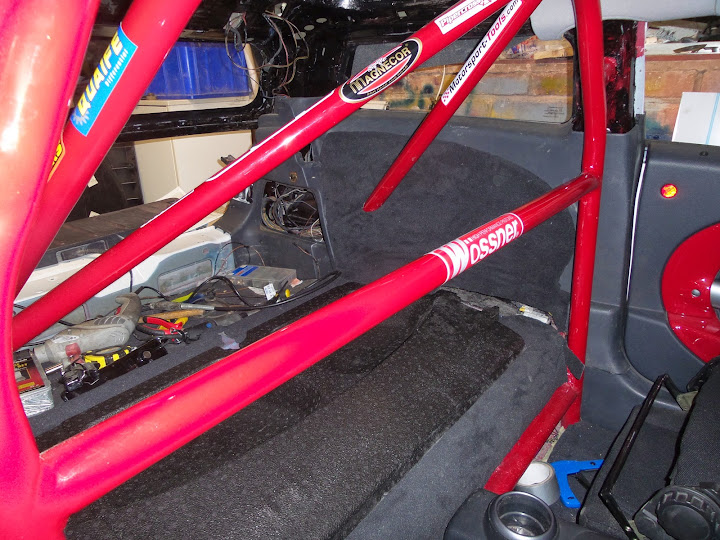
Wish I had installed the boot panel before this photo but the rear is very close to being completed. Hoping that this week the material will arrive for the headlining and the pillars

I am pleased with the turn out of the interior and I am realising that I will soon have nothing left to do on the inside which will only leave a few parts remaining on the engine and to bond the windscreen in.
today...
Rear panels went in today, finally got about to making the LH side rear panel and covered it in carpet. Same as the RH side.
Wish I had installed the boot panel before this photo but the rear is very close to being completed. Hoping that this week the material will arrive for the headlining and the pillars
I am pleased with the turn out of the interior and I am realising that I will soon have nothing left to do on the inside which will only leave a few parts remaining on the engine and to bond the windscreen in.
#189
01-04-2015, 02:27 PM


#191
01-05-2015, 05:07 AM
#192
01-10-2015, 10:51 AM
I added resin over the oem foam and fabric which turns it still, no point removing it. I have never removed it before and never had any issues even if I have in the past just glued over. The correct glue really makes the difference
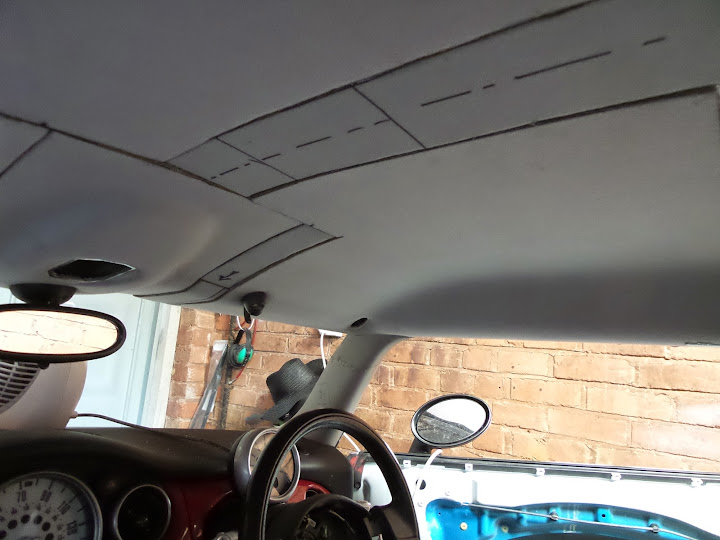
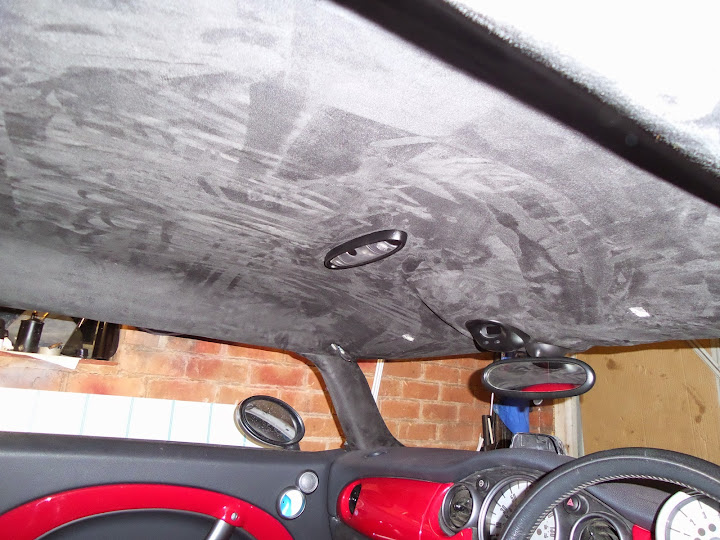
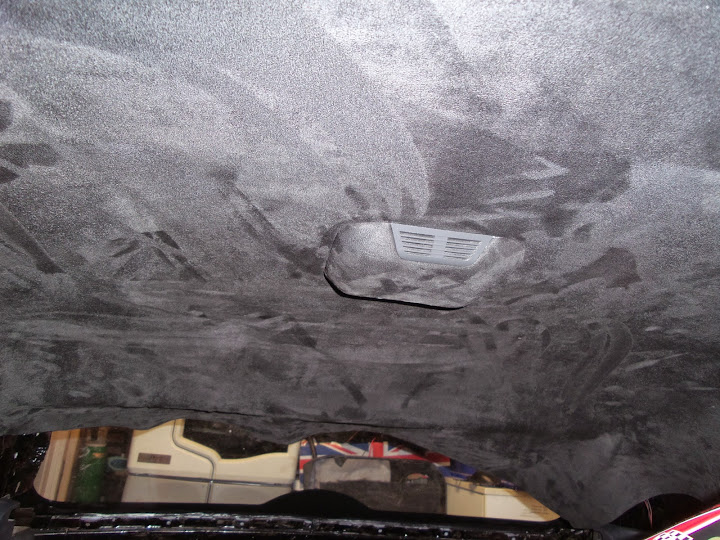
I managed to get most of the roof lining done today and I am pleased with how its all going. I did the front half out the car and had to do the rear in the car. The glue I used was nasty but did a great job.
Decided that it was too dark in the car and I went and found a roof light, painted it and the clock then cut the lining to install the light. Clock clipped in as it should
Alarm module went in too
A pillars have turned out great, really pleased with them
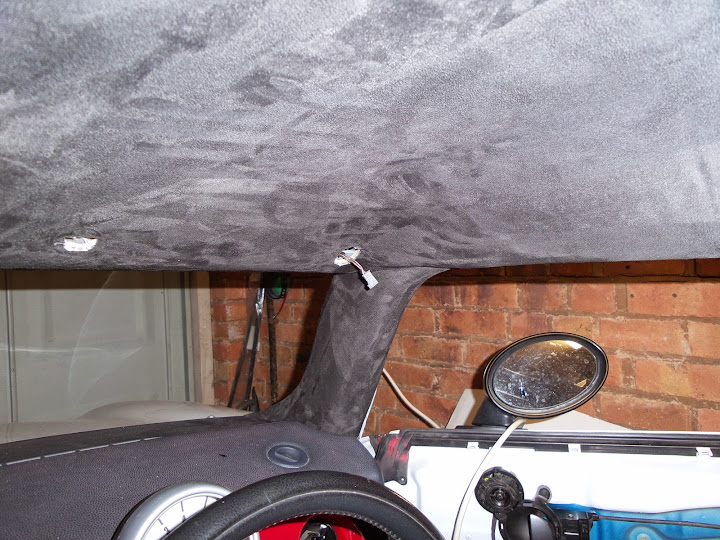
Just have to finish the edges at the rear but the glue has taken it's toll and I have had enough
I managed to get most of the roof lining done today and I am pleased with how its all going. I did the front half out the car and had to do the rear in the car. The glue I used was nasty but did a great job.
Decided that it was too dark in the car and I went and found a roof light, painted it and the clock then cut the lining to install the light. Clock clipped in as it should
Alarm module went in too
A pillars have turned out great, really pleased with them
Just have to finish the edges at the rear but the glue has taken it's toll and I have had enough
#193
01-14-2015, 01:55 PM
Rear delete kit required...
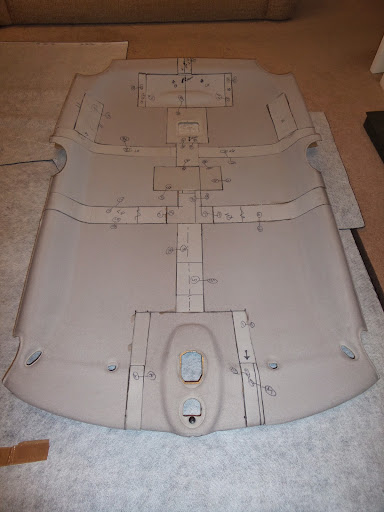
Got some 6mm ply wood as it was the lightest I could find and I am partly past caring for weight so much at this moment. So I made a paper template, cut 3 sections of ply wood
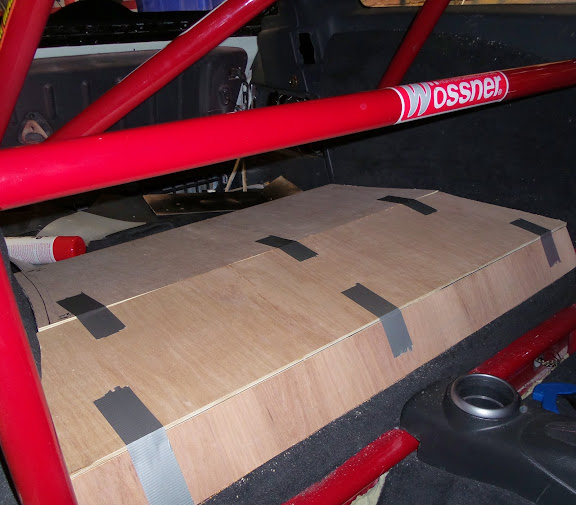
I then used some aluminium brackets bent at 135 degrees to sort the front section and then some hinges in the middle, the sections were then trimmed in carpet

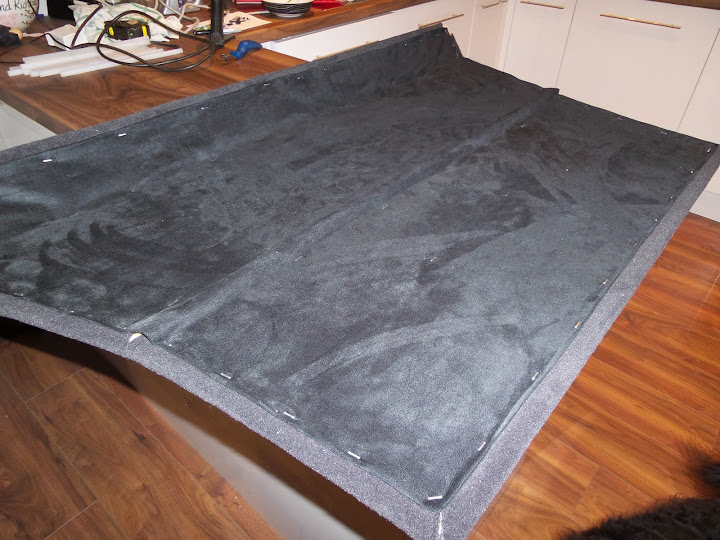
The back was then trimmed in black ultra suede to cover the inside plywood. I then coloured the staples in after the photo
I then installed the cover, was a pain to get it past the roll cage but after a few attempts I found how to install it but it was tight. Even the lid only opens till it hits the roll cage, not bother as I am not sure I will use the storage for much anyway


Now I need to make a boot carpet as the one I have is a little tatty having spent loads of time in the garage and being 13 years old. Then time to finish the pillars and time for a big clean inside, drivers seat and steering wheel - probably loads more too
Got some 6mm ply wood as it was the lightest I could find and I am partly past caring for weight so much at this moment. So I made a paper template, cut 3 sections of ply wood
I then used some aluminium brackets bent at 135 degrees to sort the front section and then some hinges in the middle, the sections were then trimmed in carpet
The back was then trimmed in black ultra suede to cover the inside plywood. I then coloured the staples in after the photo
I then installed the cover, was a pain to get it past the roll cage but after a few attempts I found how to install it but it was tight. Even the lid only opens till it hits the roll cage, not bother as I am not sure I will use the storage for much anyway
Now I need to make a boot carpet as the one I have is a little tatty having spent loads of time in the garage and being 13 years old. Then time to finish the pillars and time for a big clean inside, drivers seat and steering wheel - probably loads more too


#196
02-23-2015, 12:08 PM
Today I cleared out my garage and turned the car around so I can work on the engine when I get home from work each evening. Almost killed me having to push the car around on the drive with no power assist or an engine running. Did it on my own and while resting I took some photos from another angle than normal
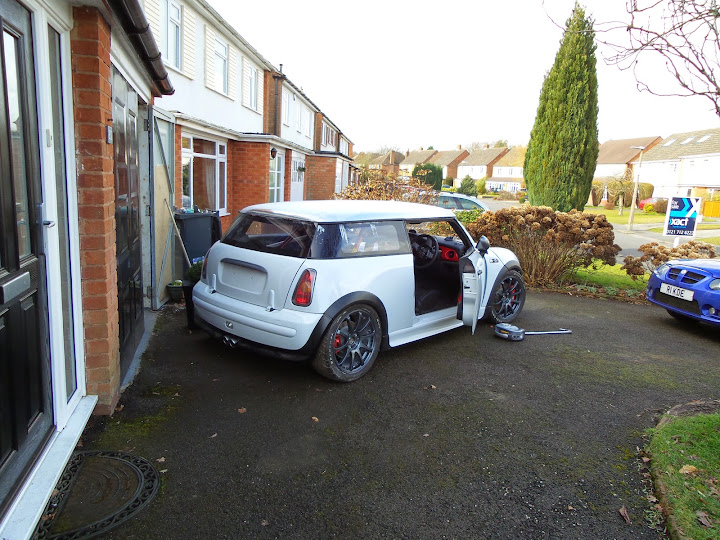

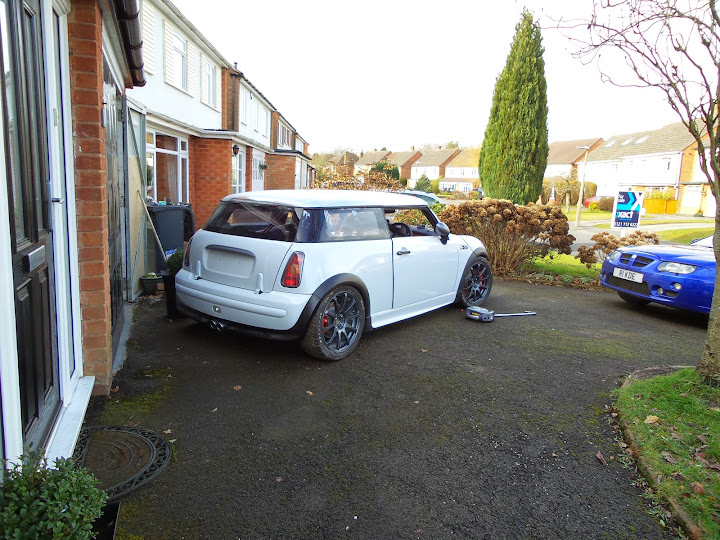
Then some of the interior
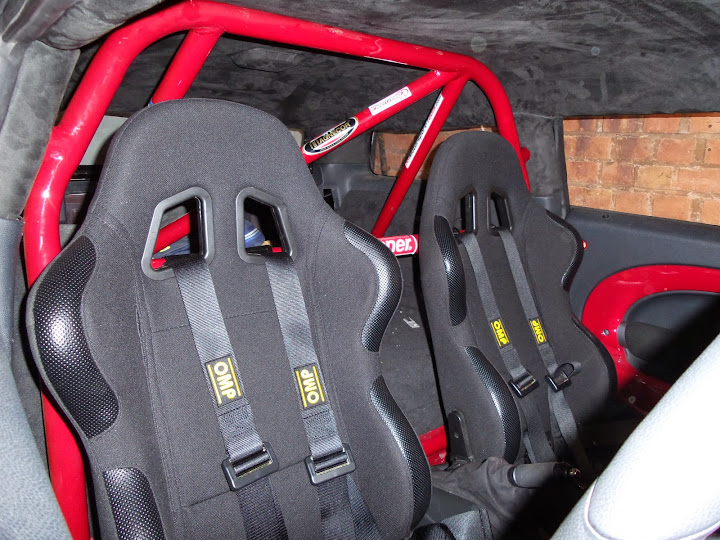

With the car in the garage I got it up in the air and fitted the power steering pump can't remember it being so loud... need to listen to another mini and key position 2
Then some of the interior
With the car in the garage I got it up in the air and fitted the power steering pump can't remember it being so loud... need to listen to another mini and key position 2

#199
02-24-2015, 05:08 AM

I have read this thread from the beginning, I am so very impressed with your ability to re configure/mold and manipulate materials. This is a gift not many people have! The fact is you have an astounding amount of intellect that allows you to see something and change it at will. Creative Genius is the only way to describe your ability. I am completely in awe of this entire project, kudos to you sir.

