Drivetrain My build. Teaser photos and updates
#76
 11-21-2013, 06:29 AM


#77
11-23-2013, 10:22 AM

I have the benefit and sadness of being single, no kids, young, so I have me time every day after work. Split between working on the appt and the car.
small update!
it's looking good!
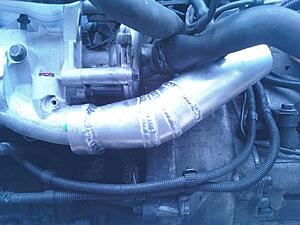
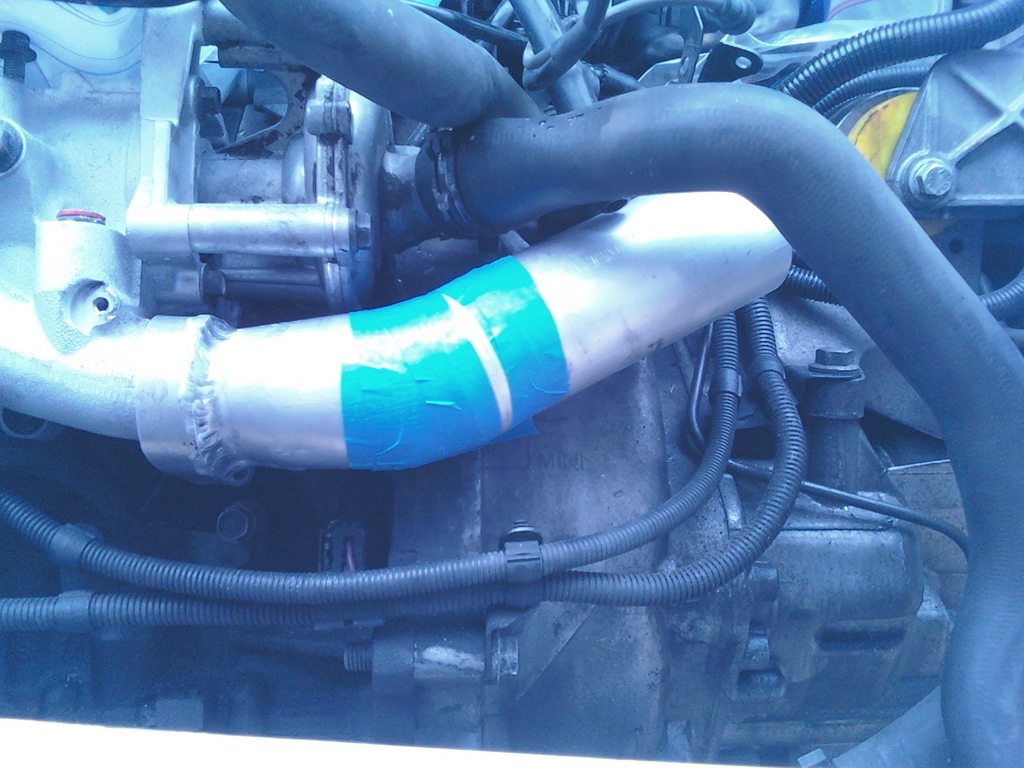
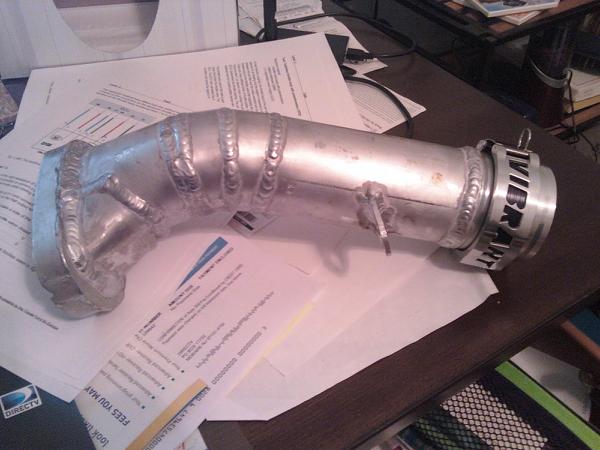
mock-up : cut pieces at 7.5� (pie cuts) and varied the "short side" to adjust bend radius.

after I had it all mocked up, took it off the car, marked and tacked the pipe together,
removed the tape, cleaned up the pipe, then ran the weld beads.
came out pretty well!
small update!
it's looking good!
mock-up : cut pieces at 7.5� (pie cuts) and varied the "short side" to adjust bend radius.
after I had it all mocked up, took it off the car, marked and tacked the pipe together,
removed the tape, cleaned up the pipe, then ran the weld beads.
came out pretty well!


#80
11-26-2013, 06:04 PM
Thank you!
Weld beads not so good today. Ran out of propane, so no preheat, and it is 22�F outside, plus it is raining... Only got the two tabs welded on after work today, but the tube now is bolted VERY securely in place. Can shake the engine with it.
I need to just suck it up and buy a new camera - these are from an LG enV 2 -_- (yes I still have a dumb phone.. building a car over here! ain't got no money for a smart phone! [jk, I do, just rather spend it elsewhere] ) (nice pictures were with a DSLR that I was borrowing)
anywho /rant
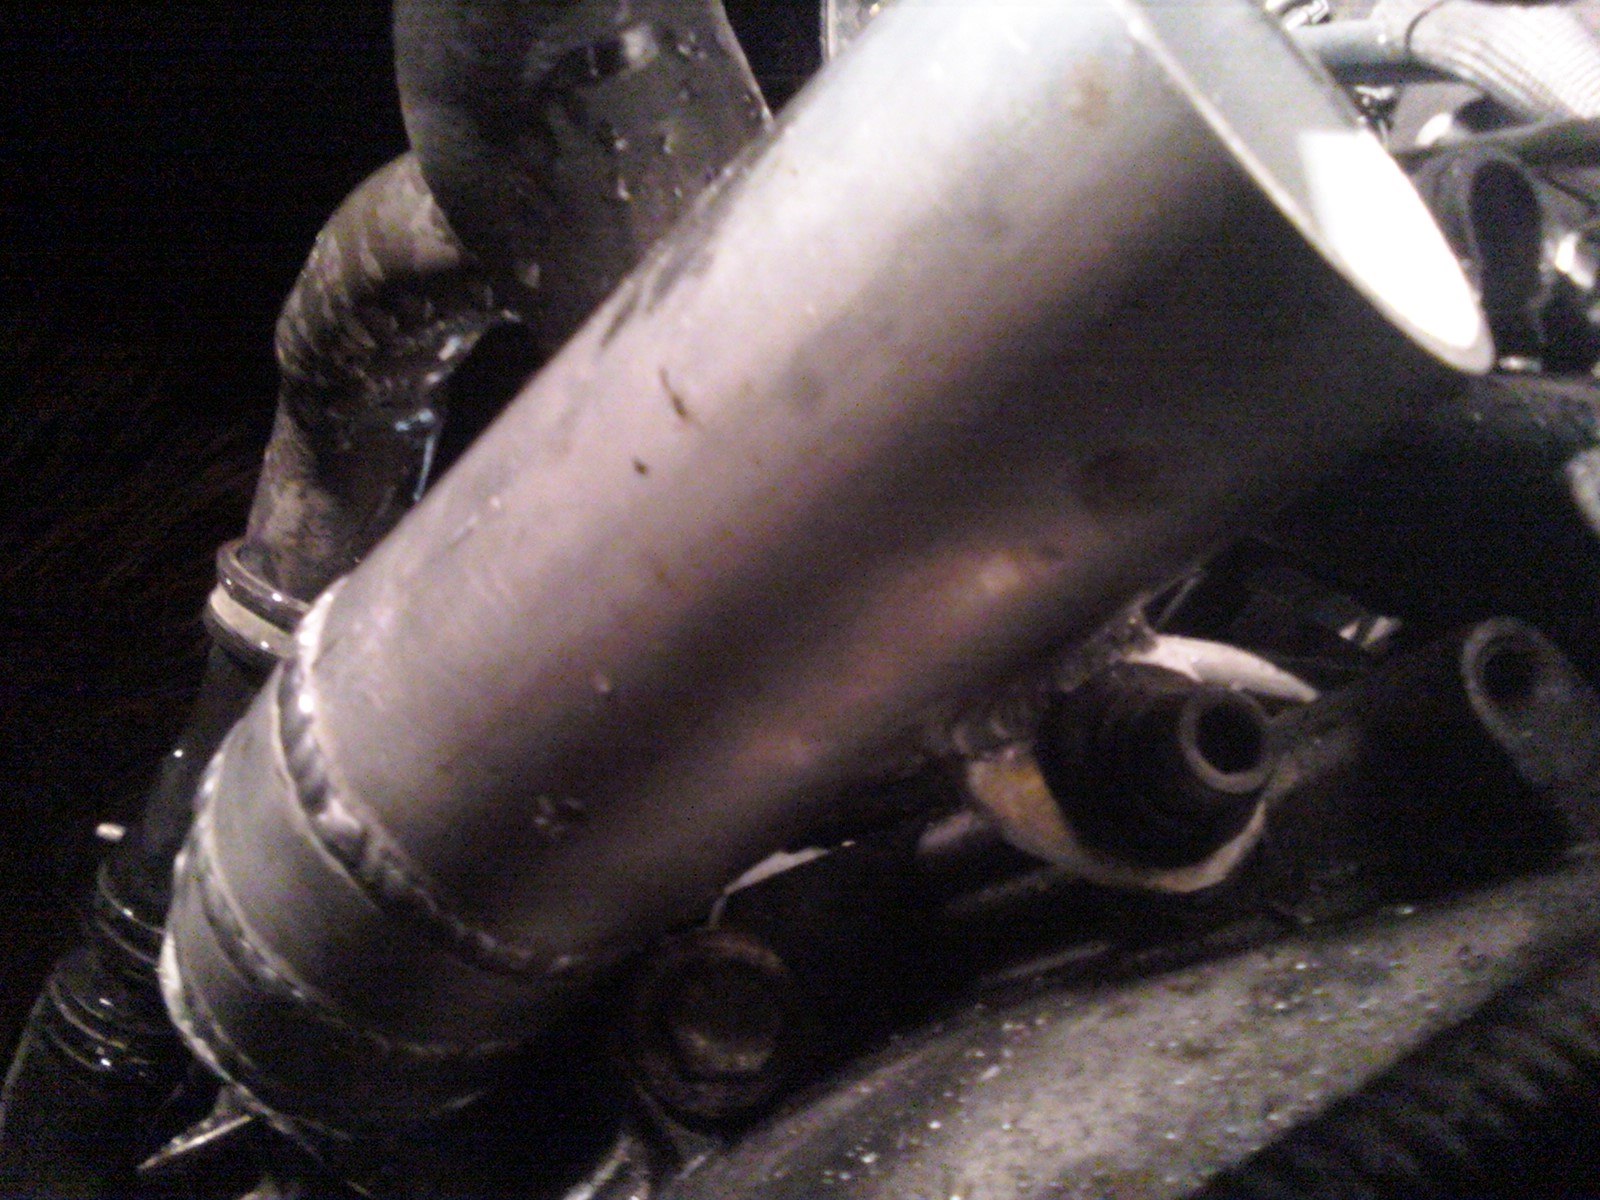
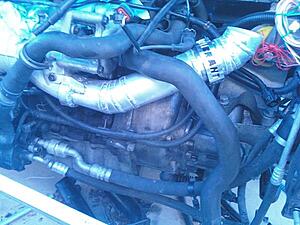
pictarz! rawwwrr
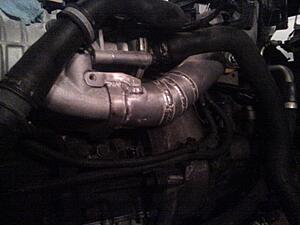
(tab-bolt not shown)
I re-used the stock rubber bushing and sleeve'd bolt here
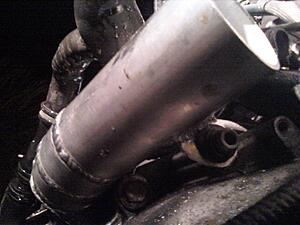
Very securely mounted now!
Weld beads not so good today. Ran out of propane, so no preheat, and it is 22�F outside, plus it is raining... Only got the two tabs welded on after work today, but the tube now is bolted VERY securely in place. Can shake the engine with it.
I need to just suck it up and buy a new camera - these are from an LG enV 2 -_- (yes I still have a dumb phone.. building a car over here! ain't got no money for a smart phone! [jk, I do, just rather spend it elsewhere] ) (nice pictures were with a DSLR that I was borrowing)
anywho /rant
pictarz! rawwwrr

(tab-bolt not shown)
I re-used the stock rubber bushing and sleeve'd bolt here
Very securely mounted now!
#81
11-26-2013, 06:46 PM

5th Gear
#82
11-27-2013, 05:33 PM

#84
11-28-2013, 08:56 AM
:3
anybody know where I can find the connector for the new-gen BMW throttle bodies?
it is square in profile, but the same pin layout (different spacing though)
Tried mouser.com as well as going directly to the AMP/TE, moltec, and delphi sites to try and find it with not much luck.. :/
found the OE connector though! (doesn't help me unfortunately...)
if anybody is interested in giving it a gander,
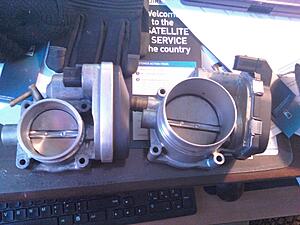
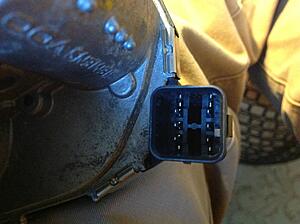
this is what the one on the new TB looks like (had a spare from an 07 335i laying around. 76mm)
square profile, pins are pushed more towards the outside of the housing, one wider tab on top with two smaller tabs on the sides. none on the bottom.
6 pin in a 3x2 row arrangement with a locating bar between pins 2 and 4.
anybody know where I can find the connector for the new-gen BMW throttle bodies?
it is square in profile, but the same pin layout (different spacing though)

Tried mouser.com as well as going directly to the AMP/TE, moltec, and delphi sites to try and find it with not much luck.. :/
found the OE connector though! (doesn't help me unfortunately...)
if anybody is interested in giving it a gander,
this is what the one on the new TB looks like (had a spare from an 07 335i laying around. 76mm)
square profile, pins are pushed more towards the outside of the housing, one wider tab on top with two smaller tabs on the sides. none on the bottom.
6 pin in a 3x2 row arrangement with a locating bar between pins 2 and 4.

#86
11-28-2013, 10:57 PM
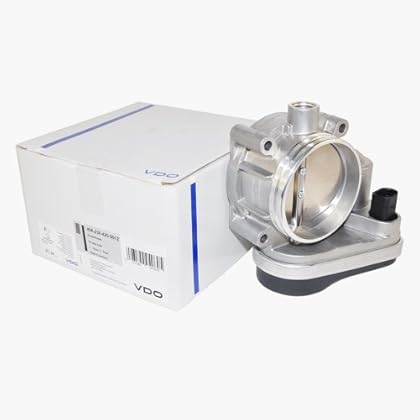
yes I did. Unfortunately it only provided the entire engine harness. While I could buy a harness and just use the one connector I need off of it, I would rather not spend $320 for a single connector. At that point I would just buy a throttle body from a VW phaeton, which is also 76mm, and made by VDO, but uses our style connector.
#87
11-29-2013, 06:32 PM
micro update!
been busy with the family over the holiday, but I did take a break and went and did a little bit of cutting and welding.
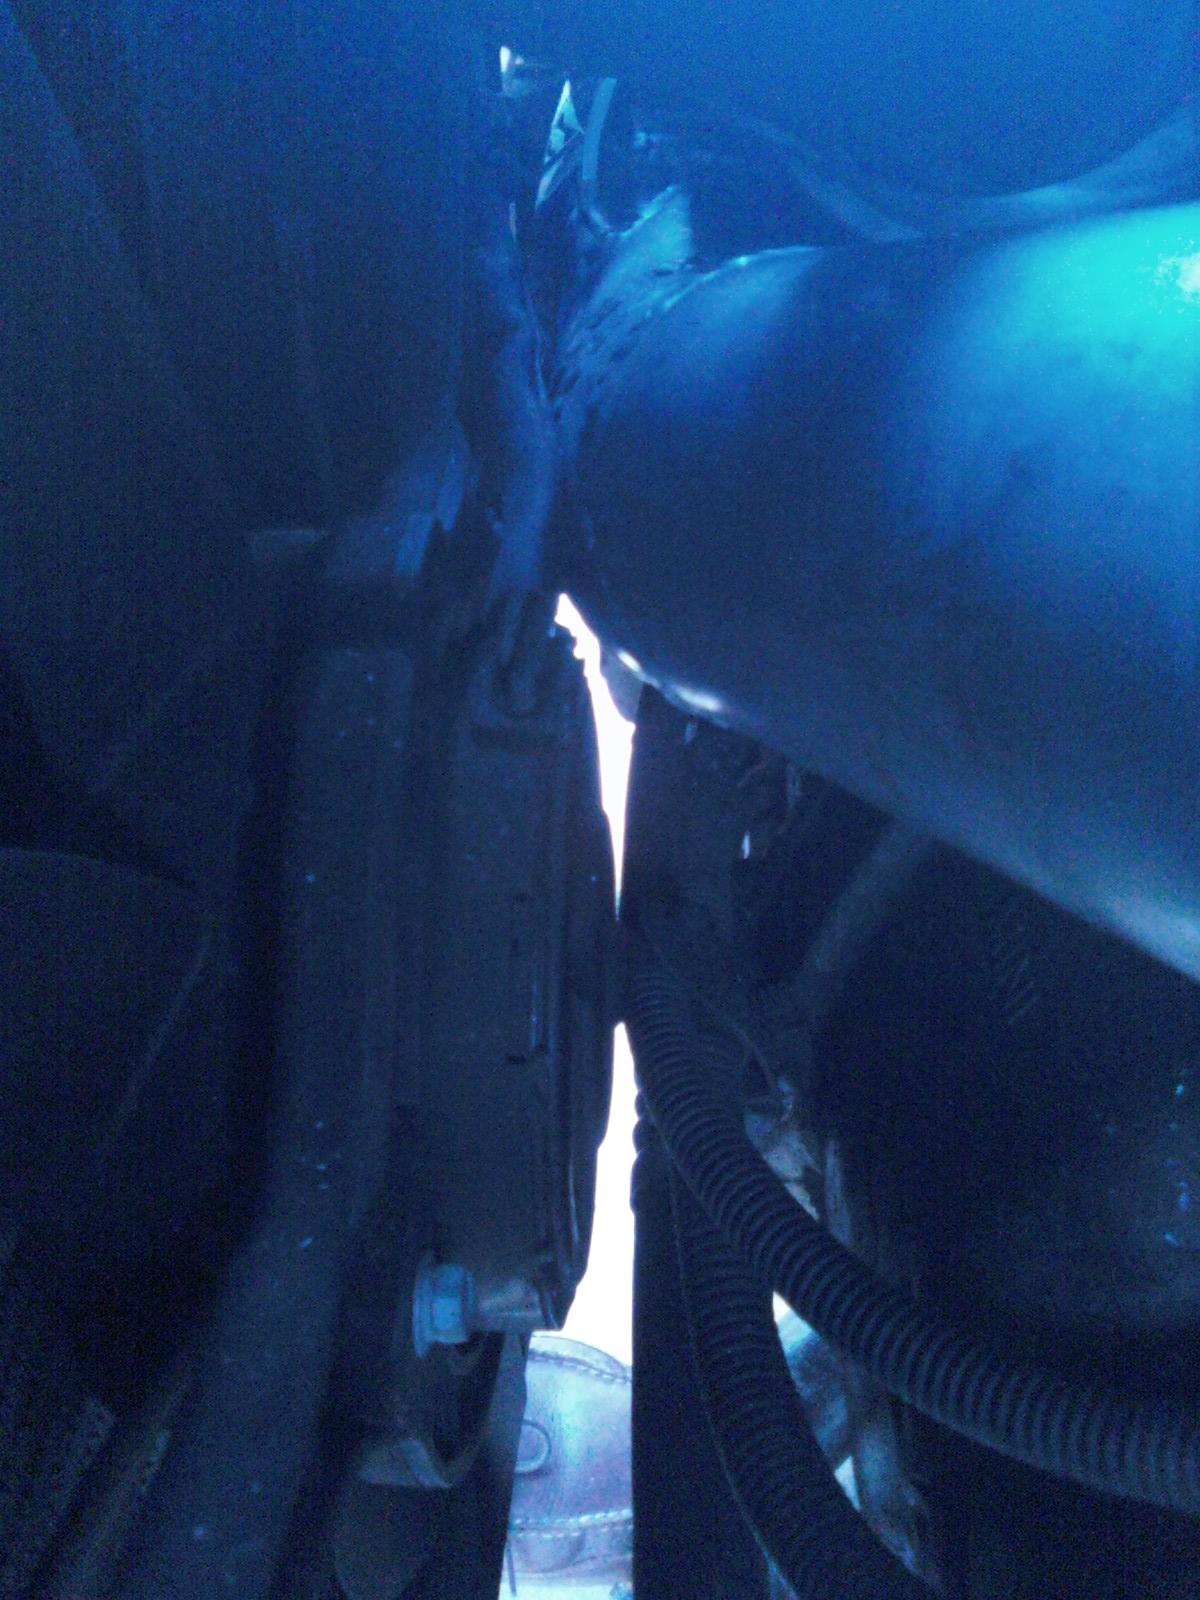
Clears the tranny mount with ~1 " to spare,
now the fan motor is a little bit tighter squeeze, but it is clearing it!
(I put the retaining nuts in place to make sure it was in it's final position - the radiator that is)
although in other news I also found that if I just shell out and but the throttle from an 06 E90 3 series, it is also 76mm, but uses our style connection, so it should just plug right up!
#88
12-04-2013, 08:28 PM
okay everyone, so I have come to a point where I have to essentially have everything in hand so that I can make sure positioning is finalized before I start welding more pipe in place.
That being said
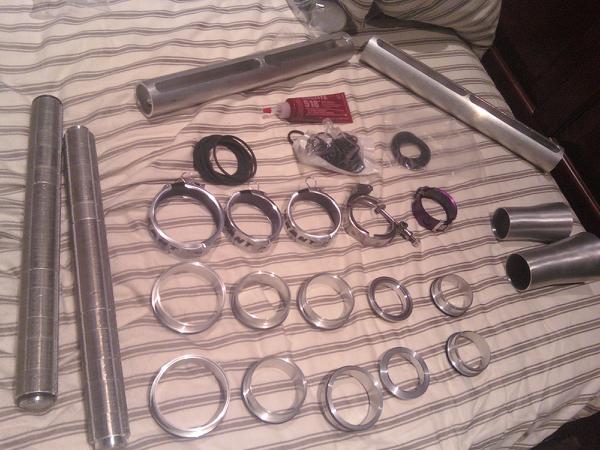
2 more vanjen clamps are on their way
1 wiggins clamp as well! (smaller than vanjen is offered)
321 stainless for the exhaust header. We are goin pie cut!
1.66" 16 ga for the headers! light weight and good for turbo temps
5% oversized SC pulley - KAVS
a few rolled and seam welded transitions between pipe sizes.
and today...
http://compturbo.com/products/turbos...illet/ct2-5147
turbo has been ordered (officially!)
CT2 5147. T3 inlet, V-band outlet.
Will be welding the wiggins on the outlet and a vanjen on the inlet of the compressor.
billet bearing housing
billet compressor wheel
inconel exhaust turbine
triplex ceramic ball bearings
oil-less
will be cooling it with a water line from the W2A IC to make sure that packed grease stays nice and cool and gives me a good turbo life
Hope everyone in the states had a lovely thanksgiving! and happy holidays to everyone everywhere!
That being said
2 more vanjen clamps are on their way
1 wiggins clamp as well! (smaller than vanjen is offered)
321 stainless for the exhaust header. We are goin pie cut!
1.66" 16 ga for the headers! light weight and good for turbo temps
5% oversized SC pulley - KAVS
a few rolled and seam welded transitions between pipe sizes.
and today...
http://compturbo.com/products/turbos...illet/ct2-5147
turbo has been ordered (officially!)
CT2 5147. T3 inlet, V-band outlet.
Will be welding the wiggins on the outlet and a vanjen on the inlet of the compressor.
billet bearing housing
billet compressor wheel
inconel exhaust turbine
triplex ceramic ball bearings
oil-less
will be cooling it with a water line from the W2A IC to make sure that packed grease stays nice and cool and gives me a good turbo life
Hope everyone in the states had a lovely thanksgiving! and happy holidays to everyone everywhere!
#89
12-06-2013, 01:43 PM

Peace Keeper

#91
12-08-2013, 03:21 PM
Thanks!
I just started machine work and welding ~ 3 months ago as a hobby
Time for a small break from all things mini though!
should be starting back on it in a week (I hope!, just waiting on stuff to ship)
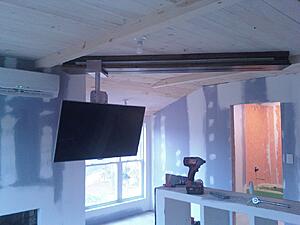
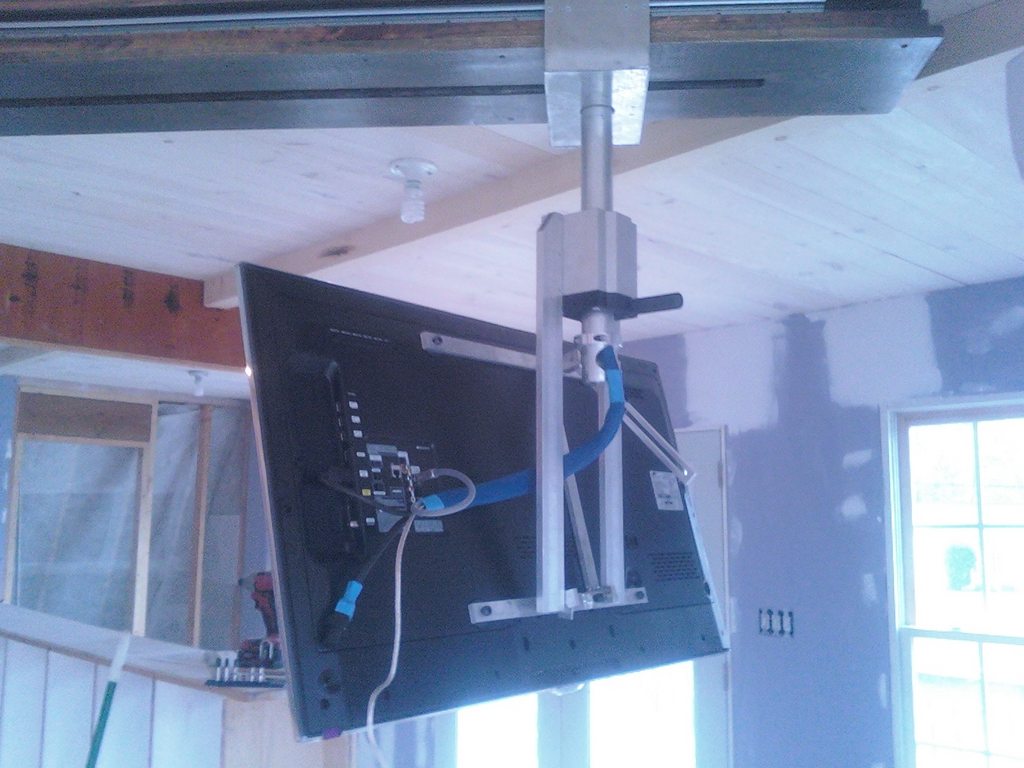
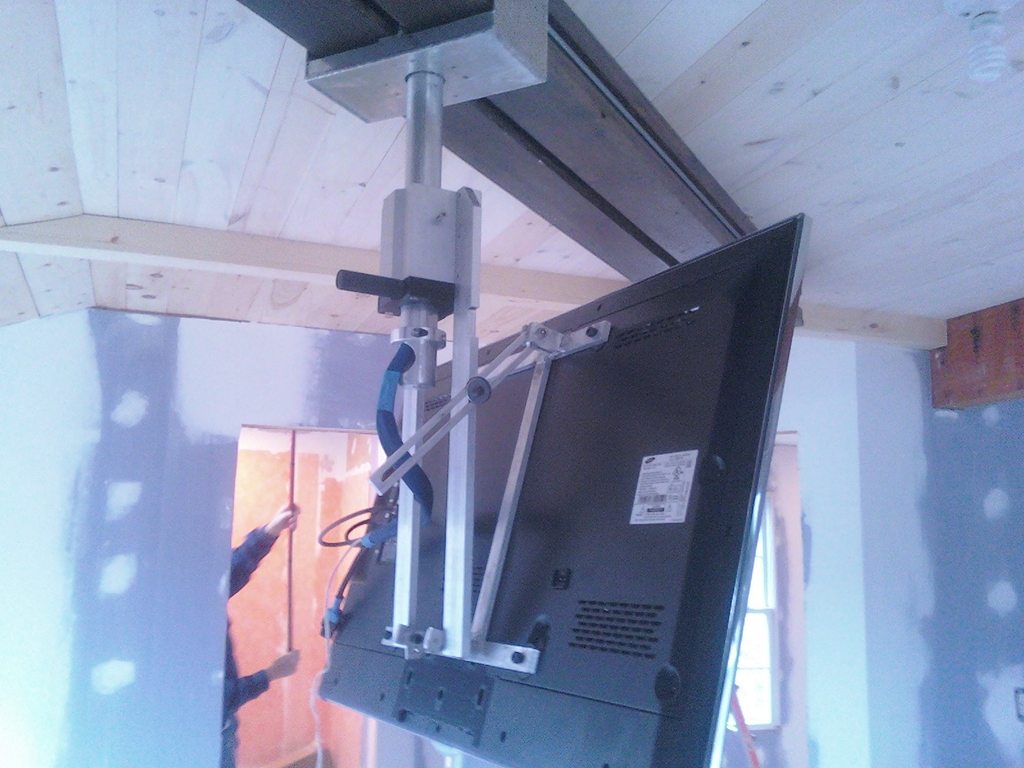
To keep myself entertained this weeked however, I finished the TV mount!
Only fair to keep you guys updated on "cool" stuff that is keeping this thread from developing further :P
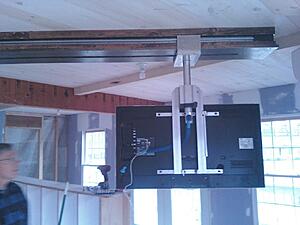
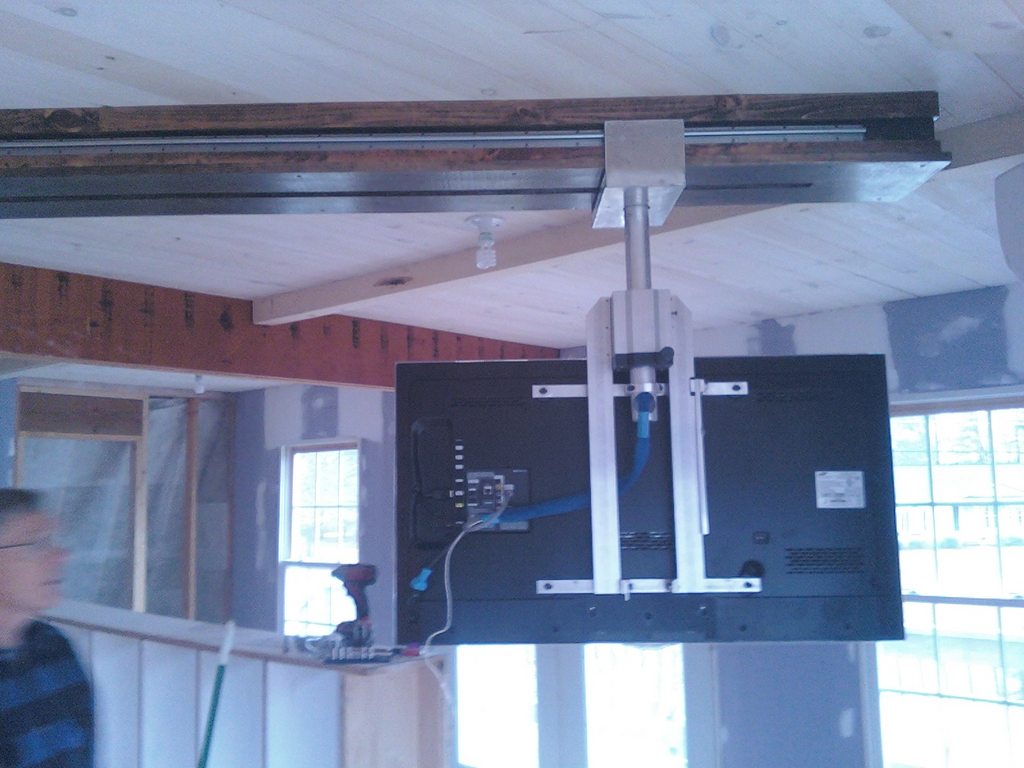
anywho, here it is
Went a bit crazy and just made most of the small pieces from billets
moves 7.5' across the ceiling, rotates 360�, has articulating cable chain on the inside of the box, moves up and down ~8" and tilts out to 90� if so desired!
There are also no free spinning nuts in this mount. Everything is drilled and tapped, with the exception being the beams in the ceiling to which this mounts which uses threaded furniture inserts (pronged T-nuts) and the slewing ring which I printed out of ABS and bolted together when the mount was apart (pictured on previous pages I believe.. the black thingy)

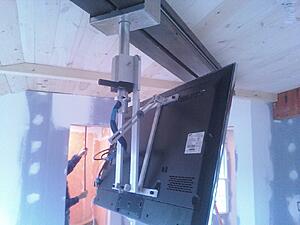
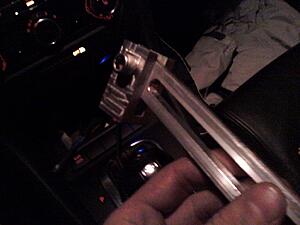
One of the billet pieces I made last night.
this is the tilt mechanism.
I just started machine work and welding ~ 3 months ago as a hobby
Time for a small break from all things mini though!
should be starting back on it in a week (I hope!, just waiting on stuff to ship)
To keep myself entertained this weeked however, I finished the TV mount!
Only fair to keep you guys updated on "cool" stuff that is keeping this thread from developing further :P
anywho, here it is
Went a bit crazy and just made most of the small pieces from billets
moves 7.5' across the ceiling, rotates 360�, has articulating cable chain on the inside of the box, moves up and down ~8" and tilts out to 90� if so desired!
There are also no free spinning nuts in this mount. Everything is drilled and tapped, with the exception being the beams in the ceiling to which this mounts which uses threaded furniture inserts (pronged T-nuts) and the slewing ring which I printed out of ABS and bolted together when the mount was apart (pictured on previous pages I believe.. the black thingy)

One of the billet pieces I made last night.
this is the tilt mechanism.

#92
12-10-2013, 06:19 AM

#94
12-11-2013, 04:55 PM
#95
12-12-2013, 08:23 AM

2nd Gear
Join Date: Nov 2013
Location: Mayport, FL
Posts: 75
Likes: 0
Received 0 Likes
on
0 Posts
#96
12-14-2013, 09:21 PM


#100
12-15-2013, 07:23 AM
okay I'm about tot explode with excitement / anticipation.
No, it is not the newman made and designed but sold by RMW camshaft.
I got another Cat Cam!!!
but this one has a lot less overlap. and is being made for a turbo application
duration:
270 / 259�
Max Valve Lift:
10.50 / 8.50mm
Lift at TDC:
.95 / 1.05mm
No, it is not the newman made and designed but sold by RMW camshaft.
I got another Cat Cam!!!
but this one has a lot less overlap. and is being made for a turbo application
duration:
270 / 259�
Max Valve Lift:
10.50 / 8.50mm
Lift at TDC:
.95 / 1.05mm